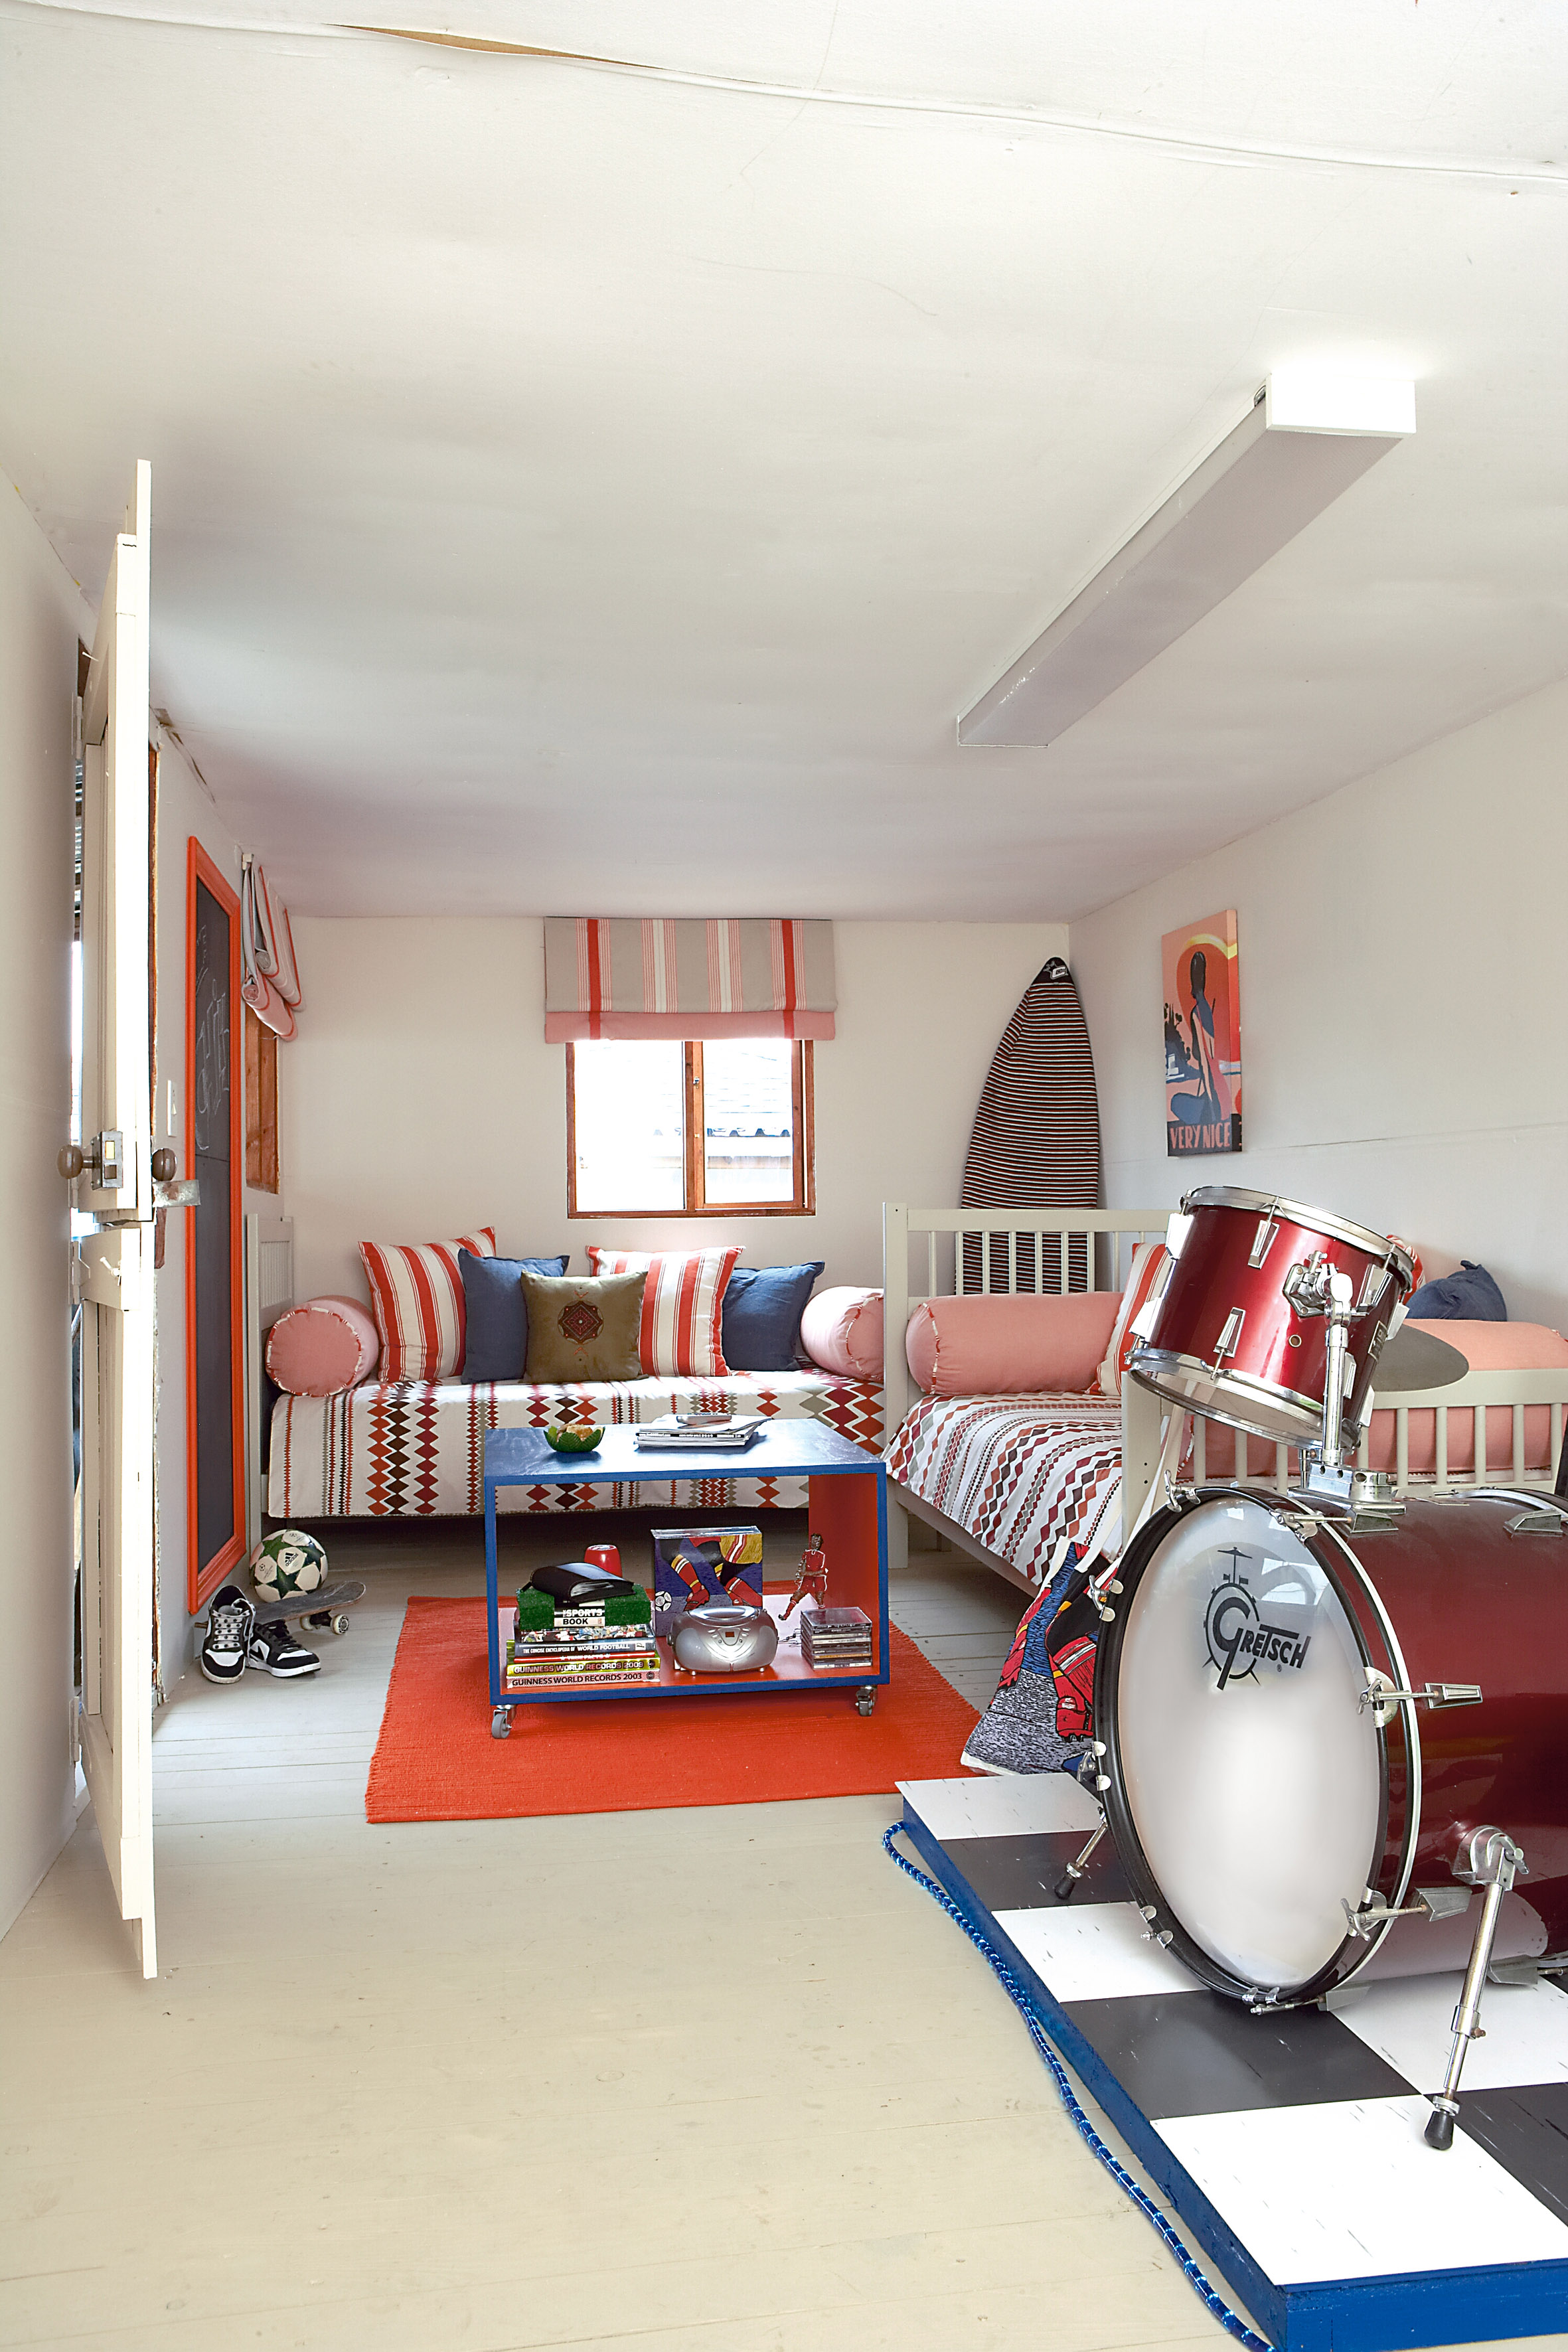
If your teenagers need a chill room of their own, follow our step-by-step guide to converting a Wendy house into an awesome teen pad.
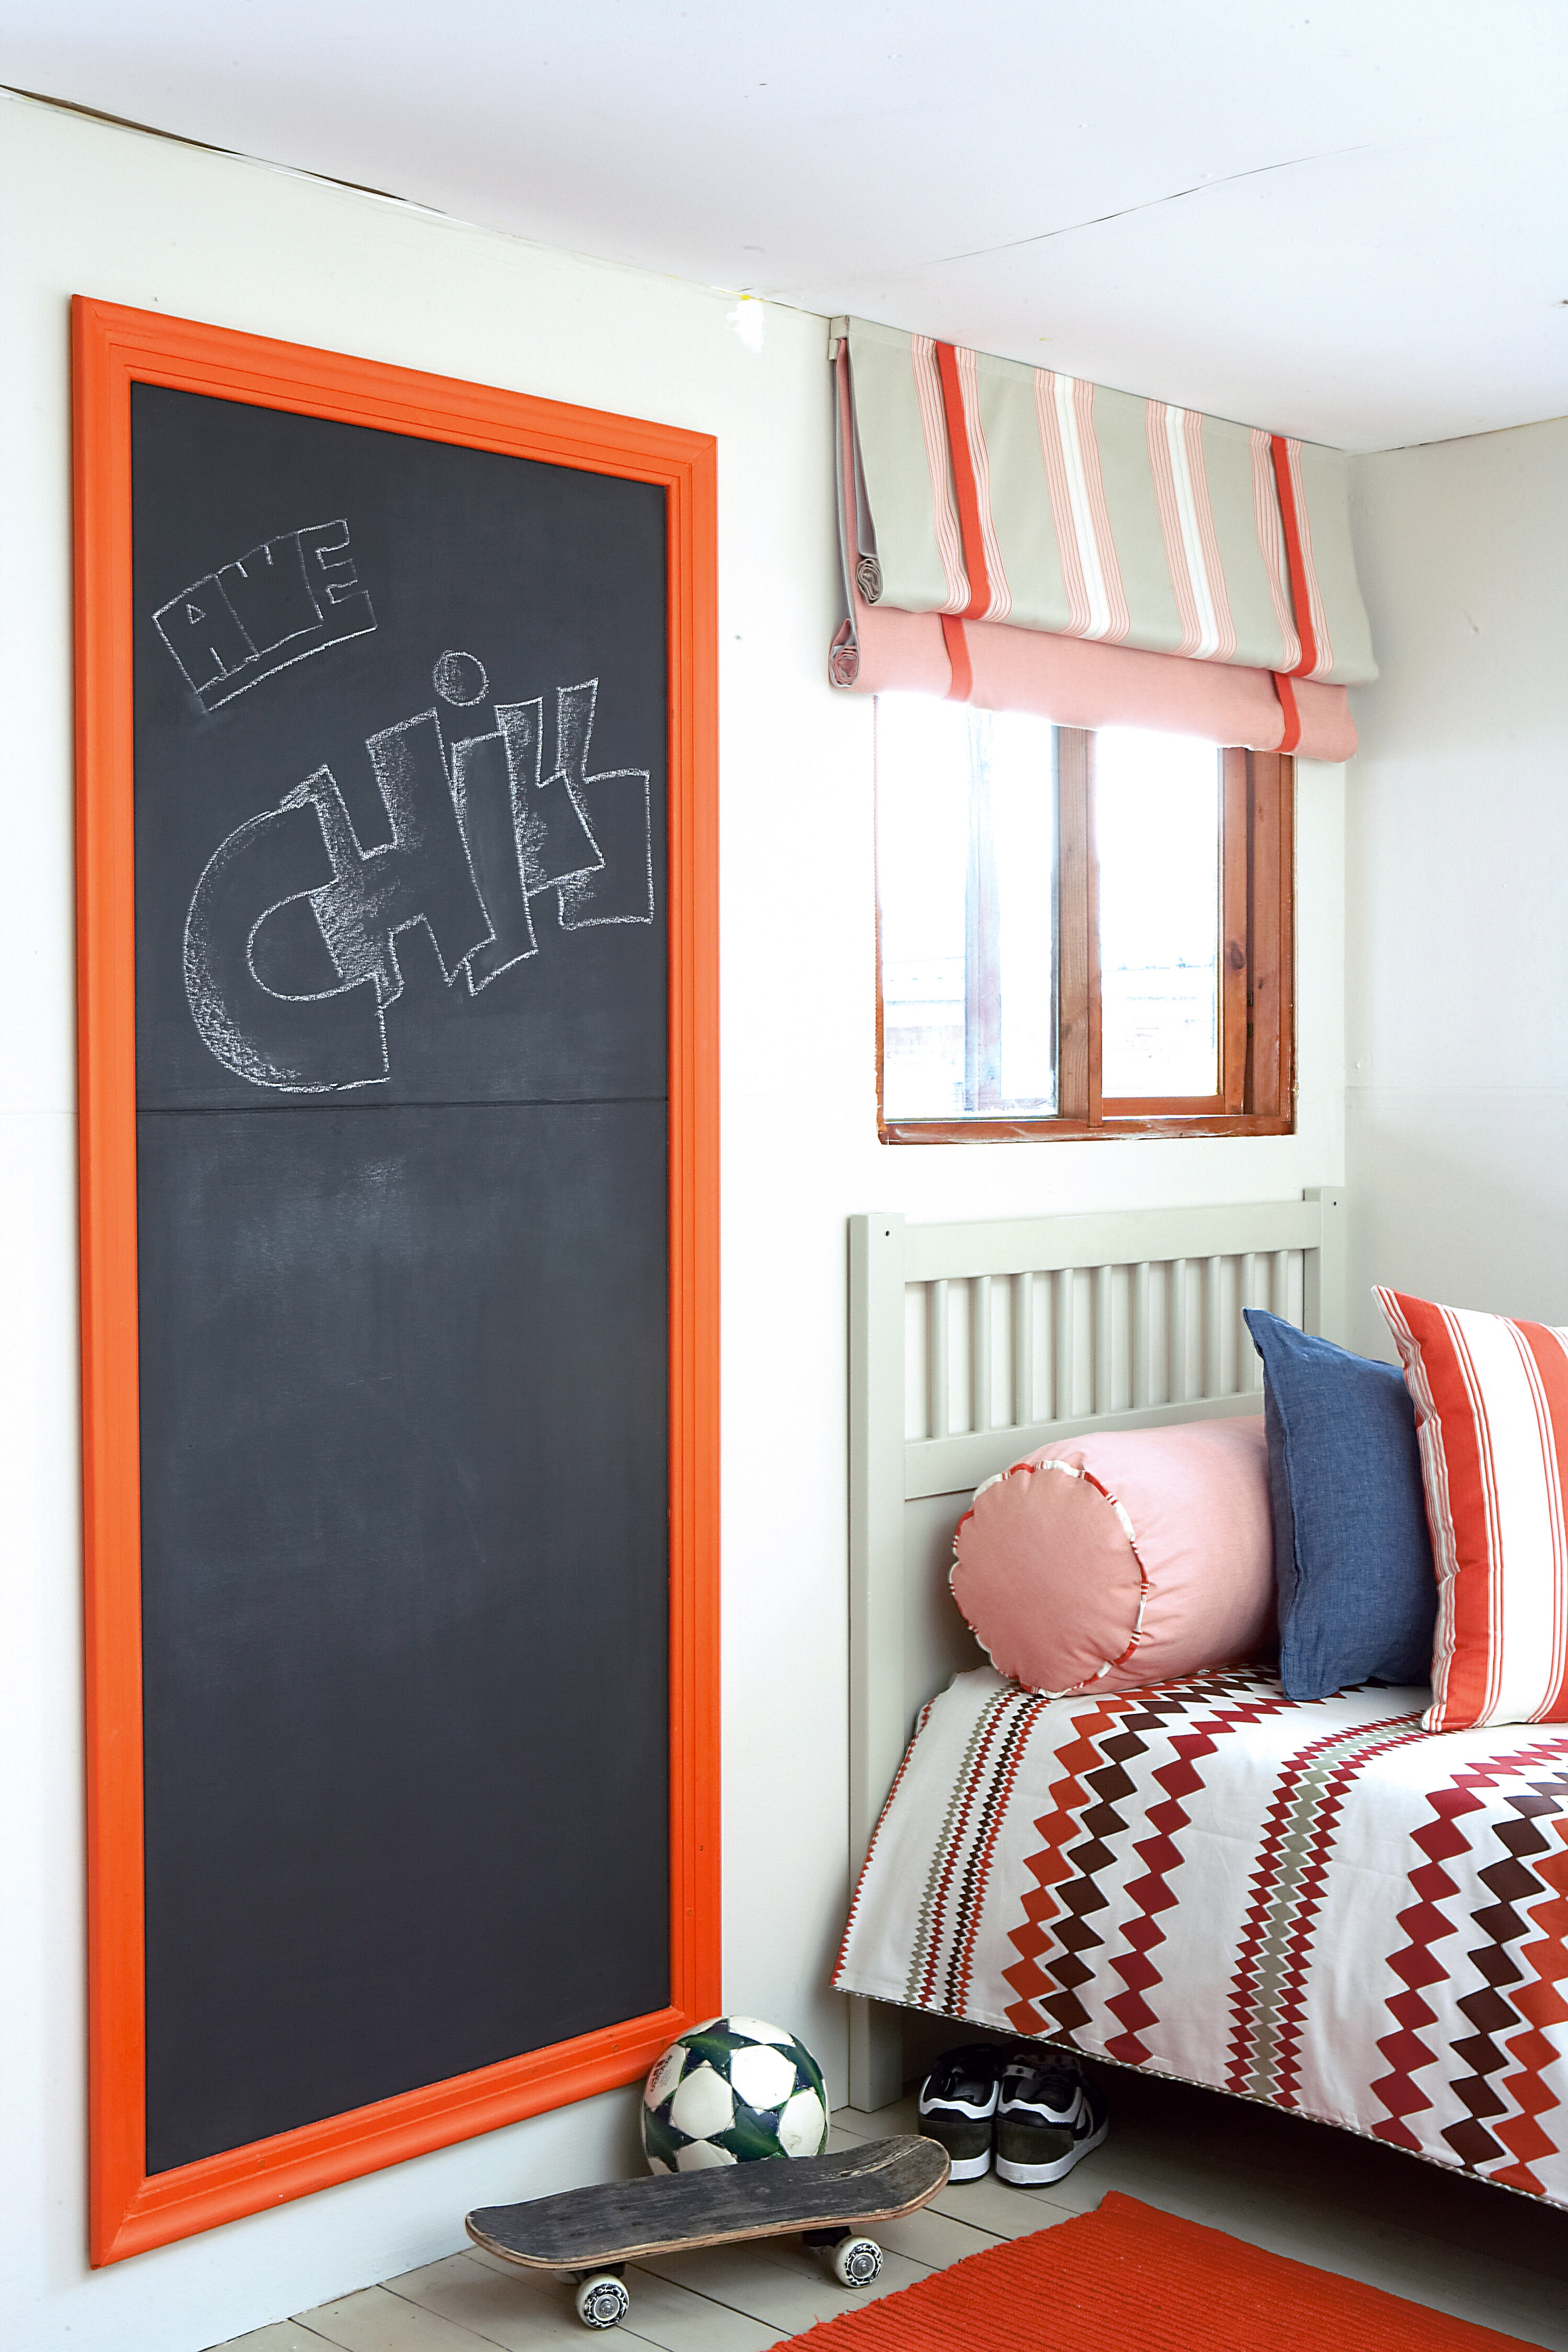
Blackboard
Materials you will need:
- skirting board
- two 1 800mm pieces
- two 800mm pieces
- water-based enamel in a colour of your choice
- blackboard paint
- paintbrushes, roller and tray
- ten 8 x 50mm screws with wall plugs
- drill with wood and masonry drill bits
- strong wood glue
- wood filler
- fine-grit sandpaper
- spirit level and pencil
To make:
- Have the skirting cut to size. ask the wood merchant to mitre the corners at 45° so that they will fit together neatly to form a frame.
- use a spirit level and a pencil to mark on the wall where you will paint the blackboard paint. Make the blackboard area 25mm smaller than the 1 800 x 800mm frame, right around.
- Paint two to three coats of blackboard paint inside the marked lines, painting each coat at a right angle to the previous one. Leave each coat to dry completely before painting the next.
- Paint the frame pieces with waterbased enamel in a colour of your choice. We used Plascon Clown Fish O1-a1-1. Paint two or three coats, leaving each to dry completely before painting the next.
- Drill three evenly spaced holes in each of the long frame pieces, and two holes in each of the shorter pieces. Position the top piece on the wall and use a spirit level to make sure that it is level. Mark the position of the screws on the wall. Repeat for the remaining pieces.
- Drill pilot holes in the wall and insert the plugs. apply wood glue to the back of the top section of the frame (we used Pattex No More Nails), press onto the wall and screw in place. Repeat with the remaining three sections.
- Fill the openings between the mitred corners with wood filler. Leave to dry, then sand and paint.
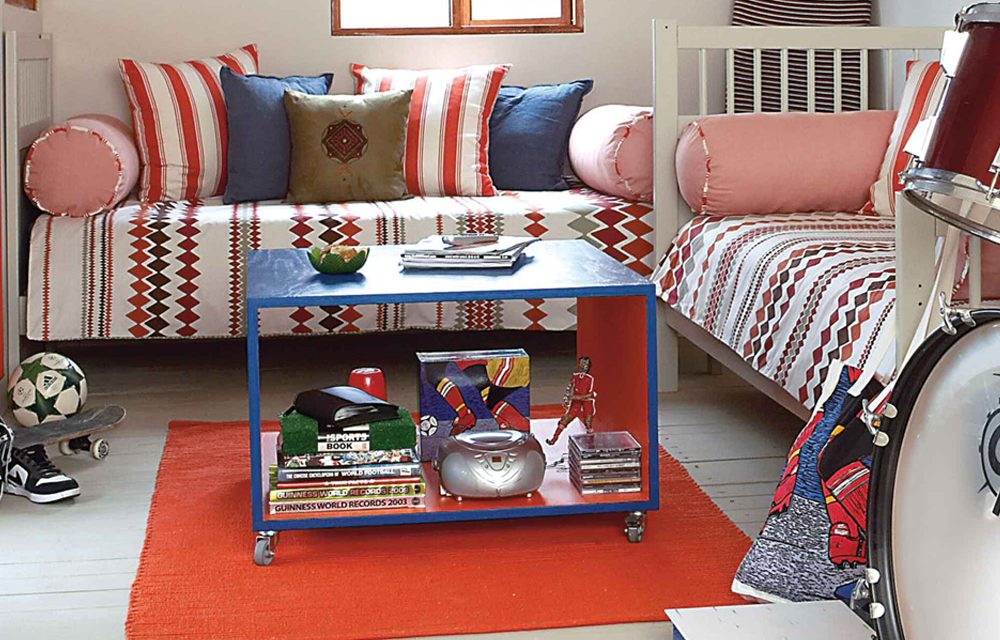
Paint
We painted the walls with two coats of Dulux Caramel Sand 5. The wooden floor was sanded and then painted with a darker shade of the same colour, Dulux Caramel Sand 2. We applied two coats, but if you want the grain of the wood to be visible, apply just one coat using mutton cloth. This will create a ‘whitewashed’ look. Apply a water-based sealant to ensure that the floor is sealed – we used clear Wooden Floor Lacquer by Harlequin Paints, which won’t yellow over time.
Drummer’s Platform
Build a special platform for jam sessions! Assemble and paint a 1 500 x 1 500mm pine frame, and top with a 1 500 x 1500mm Supawood panel. Affix white and grey vinyl floor tiles by working outwards from the centre spot. Place the tiles parallel to the edges of the platform, and at right angles to each other. Ensure the area is well ventilated, then attach the tiles with a strong adhesive – we used Alcolin Contact Adhesive. Leave to dry, then use a carpet knife to trim any tiles that protrude over the edges. Seal the platform with two to three coats of varnish.
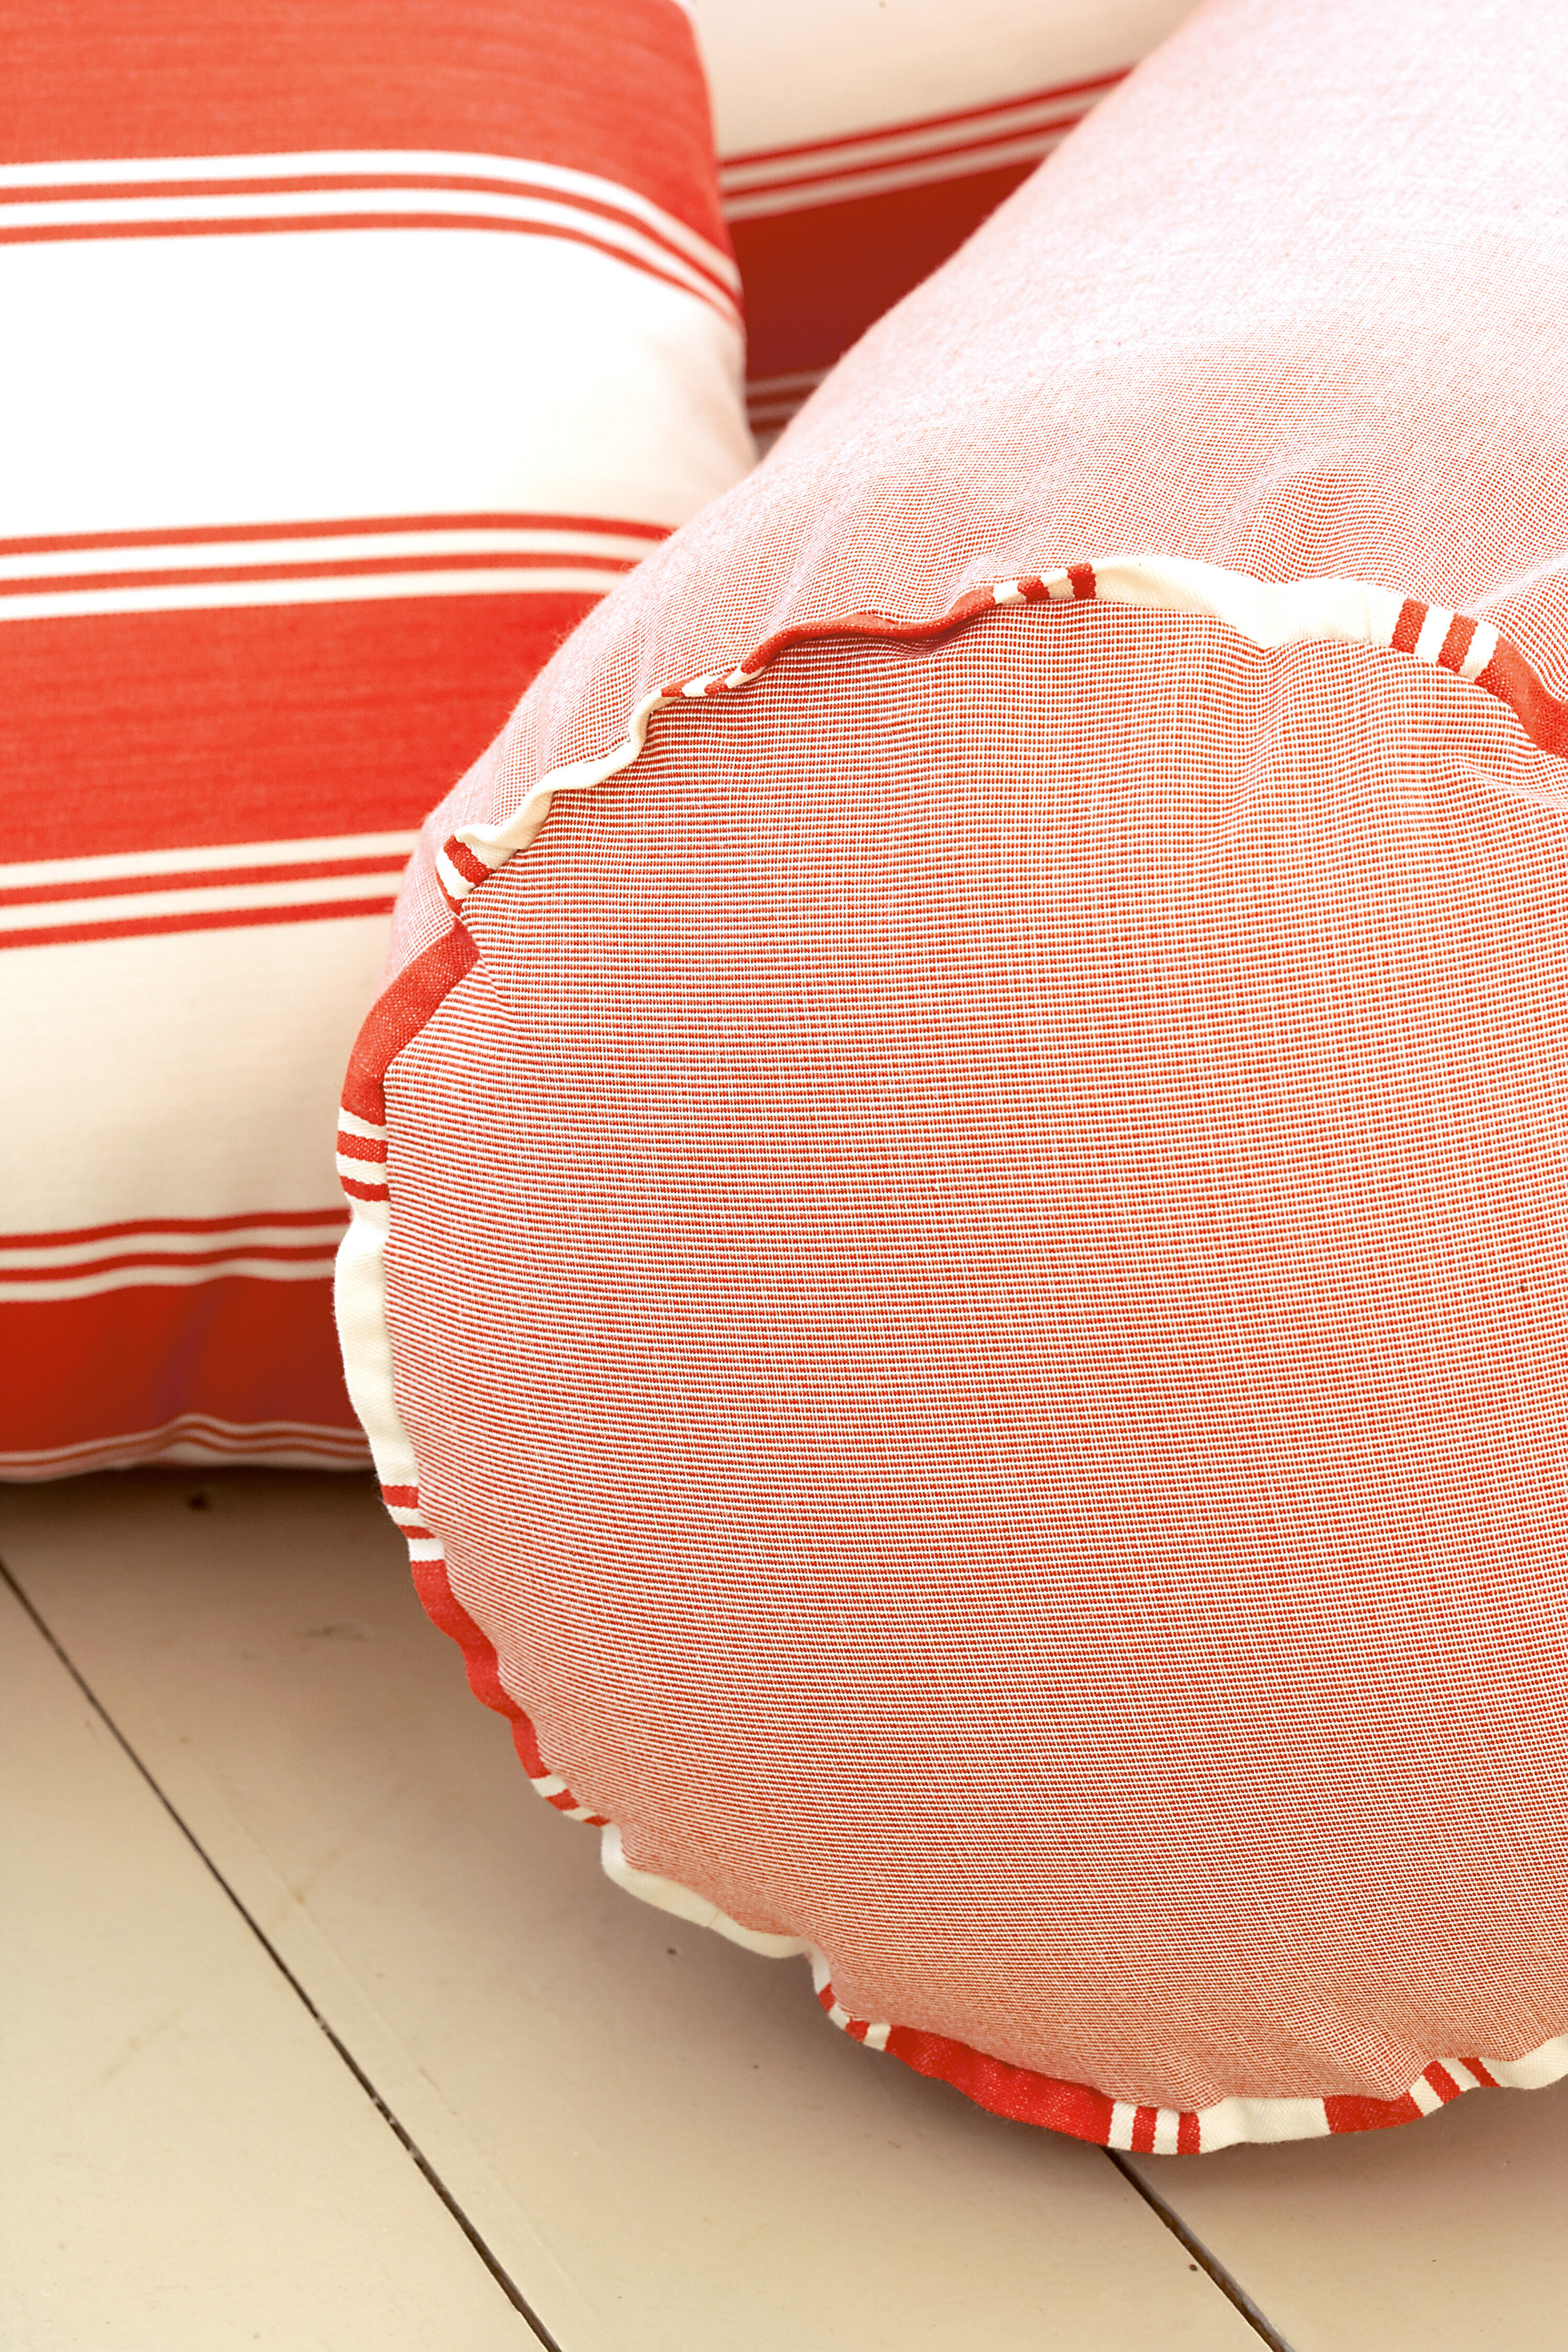
Bolster
Materials you will need:
- 100 x 115cm linen fabric
- 100 x 115cm white polycotton for lining
- 55cm zip
- 200cm piping in contrast colour (optional)
- polyester stuffing
- matching coloured thread
- set of compasses
To make:
- A 1cm seam allowance has been included in the measurements. Complete the raw edge of the seams with zigzag stitch or overlocking. From the main fabric, cut one rectangle 92 x 86cm and two circles each 28cm in diameter. Cut out the same sizes from the lining fabric.
- With the wrong side of the fabric uppermost, fold the rectangular piece of fabric lengthways to form a tube. Place the zip in the centre of the seam and tack in place. Using a zipper foot, sew the zip tape to the seam. Close the remaining seam at each side of the zip. Open the zip.
- Attach the circles to each end of the tube. For piping detail, place the piping cord between both layers of fabric. Tack in place. Machine stitch the circles to the tube. Sew the seam allowance of the piping as close to the cord as possible. Clip the seam around the circle often and turn through to the right side.
- Make the lining in the same way but omit the zip and leave an opening for stuffing. Fill with polyester stuffing and close the opening with neat hand stitches. Place the inner in the bolster cover and close the zip.
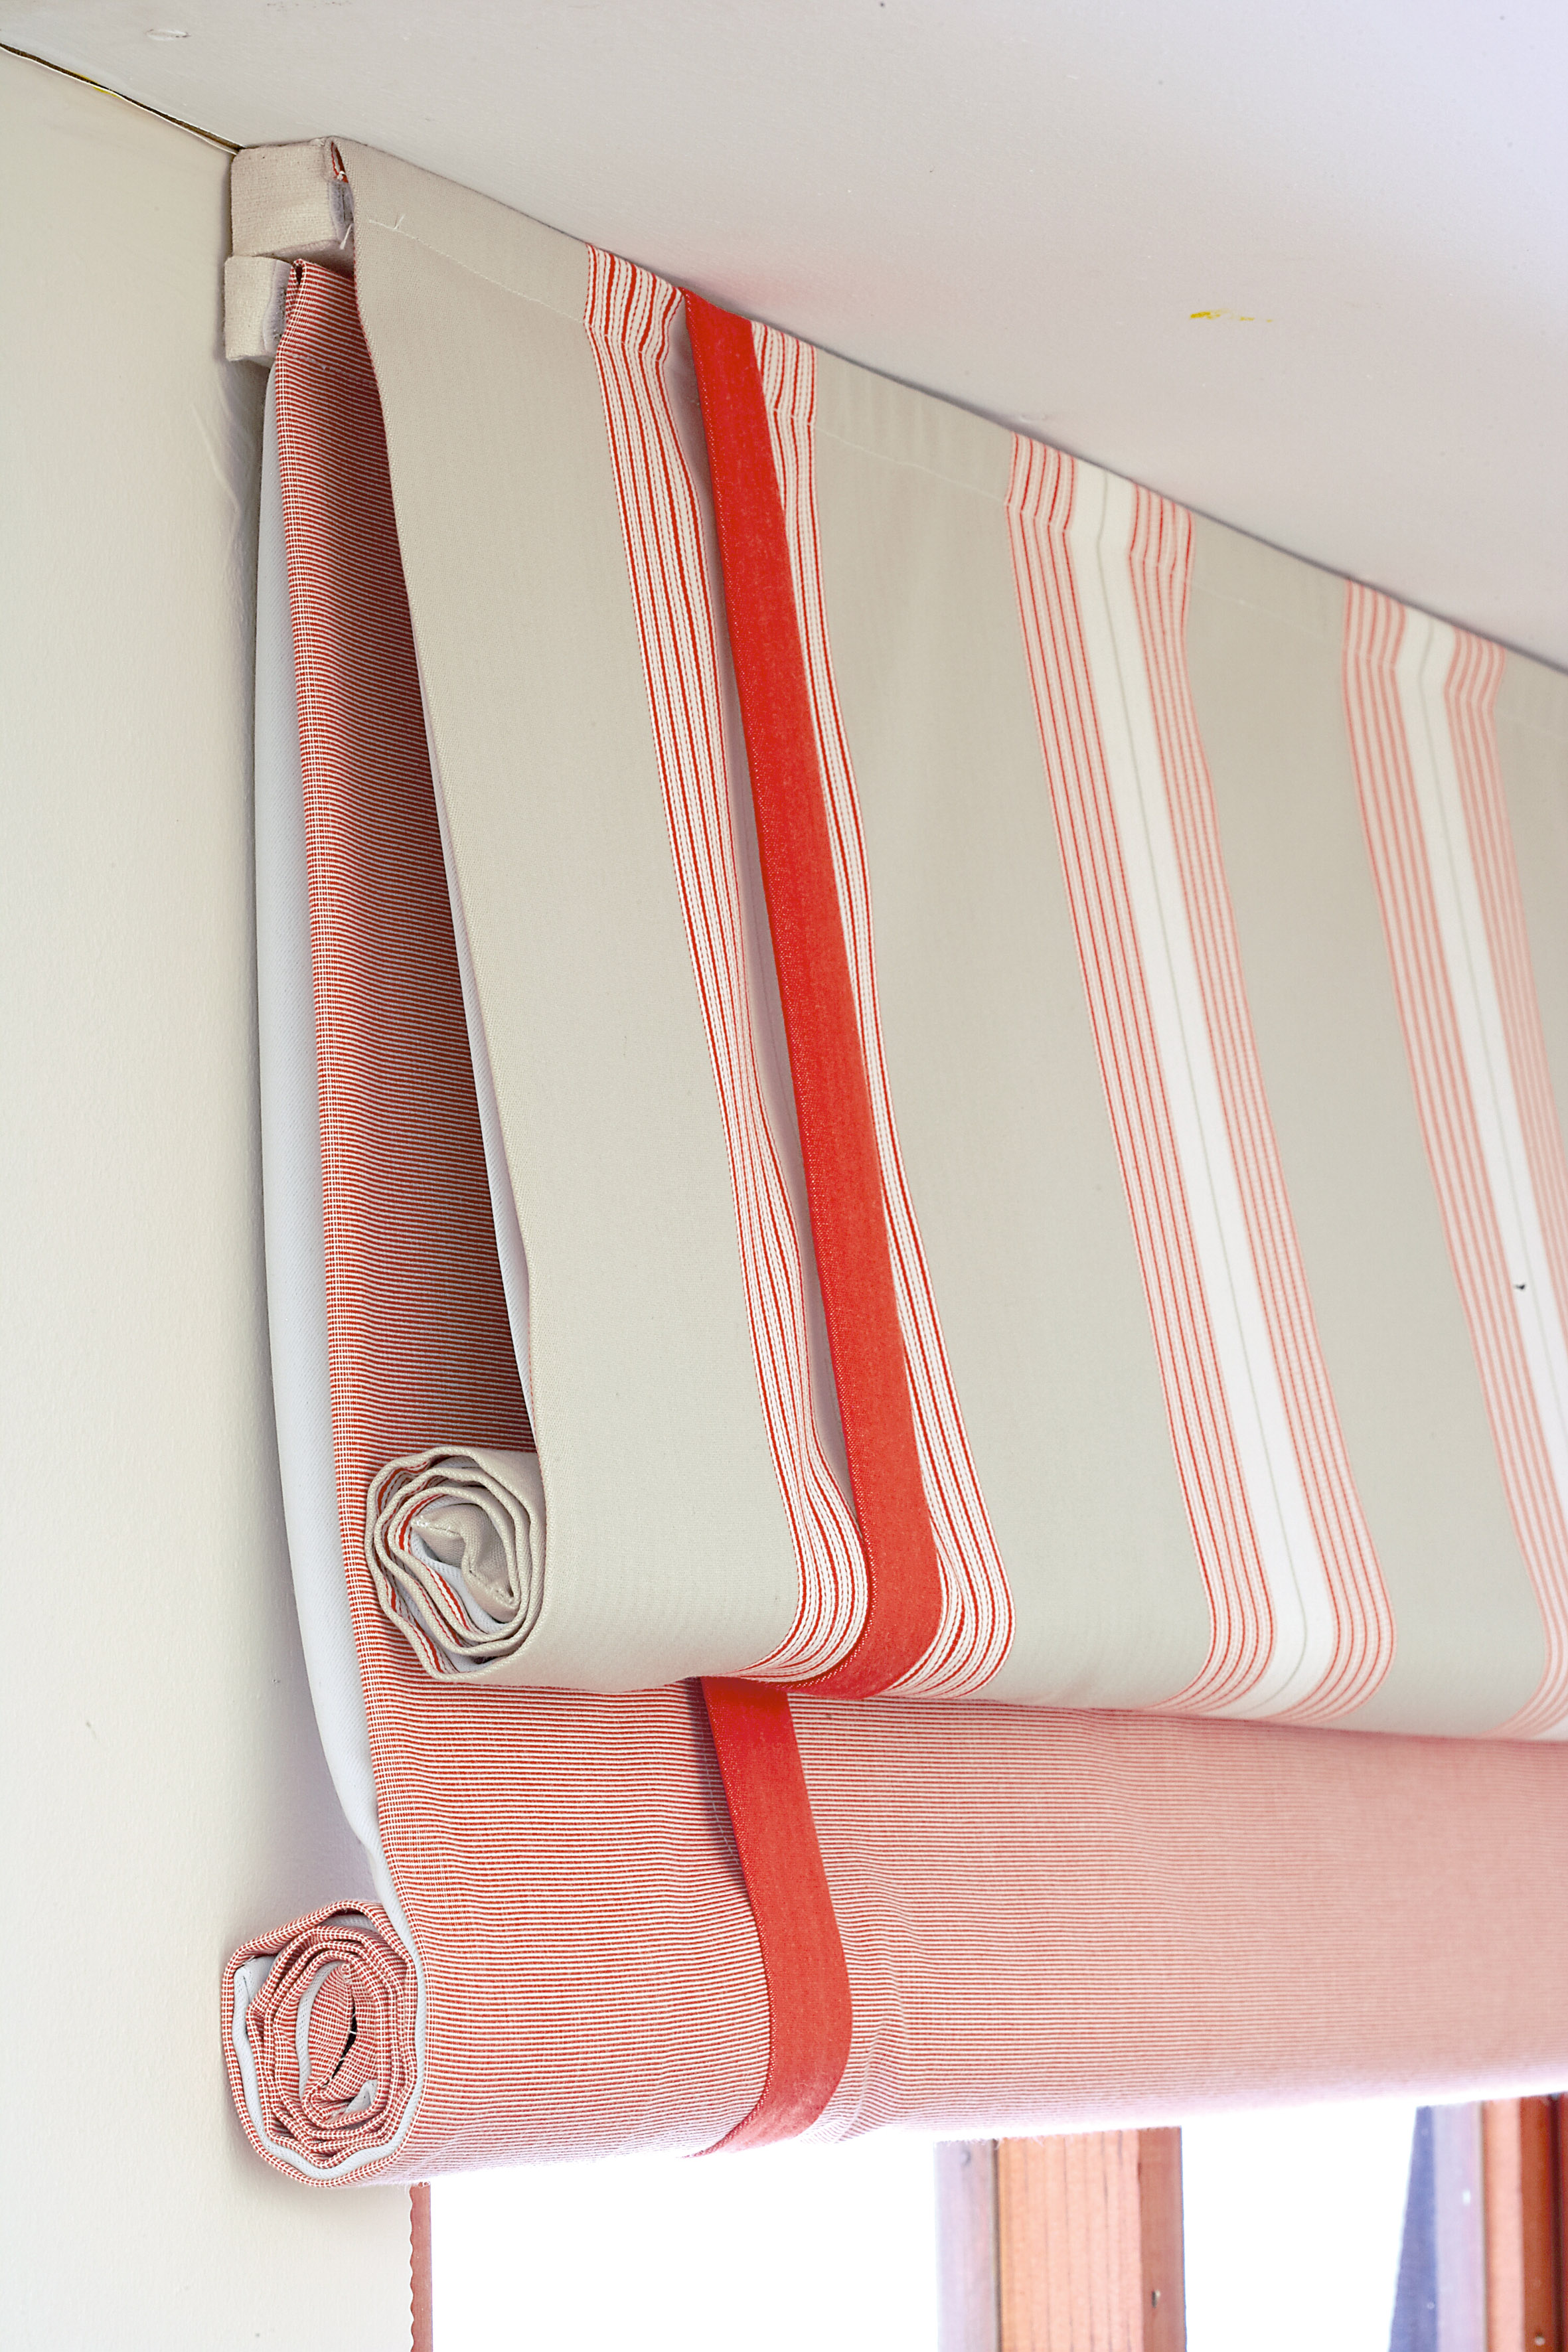
Roll-up blind
This Roman blind is designed with two layers using different fabrics and textures. It is only the back blind that rolls up – the front is for decoration.
Note: You can make this style of blind to fit any size window. If the window is very large it may be necessary to sew two or more blinds in separate panels.
To measure
Measure the width and depth of the window and add 32cm to the width and 37cm for the length. Jot down these measurements. A 1cm seam allowance and hems have been included in the calculations.
Materials you will need:
- sufficient soft-furnishing fabric to fit width of window for back blind
- sufficient soft furnishing fabric with stripe design to fit width of window for front blind
- sufficient lining or block-out fabric
- 2cm-wide woven matching ribbon tape – you will need two lengths per blind to fit the length of the finished blind plus the hems
- Velcro to fit front and back blind matching coloured thread
- tape measure
- plastic O-rings
- nylon cord
- plastic blind toggle
- 22 x 22cm wooden baton to fit width of back blind
- 40 x 40cm wooden baton to fit width of front blind
- drill and 6mm drill bit
- 8 screws
- wall fitting to wind cord
- staple gun
Back blind
- Cut the main fabric and the lining according to the measurements. Stitch the seams with a 1cm seam allowance. With the right sides of the fabric facing, stitch the two fabrics together along the edges, leaving an opening in one side for turning. Clip the corners diagonally and turn through to the right side. Fold the seam allowance in and close the opening with neat hand stitches.
- Press the fabric flat. Fold a 7cm single hem along the lower edge and top-stitch in place. Fold the top edge of the blind over by 7cm for the header and press. Cut the ribbon tape into two equal lengths. Starting at the hem edge at the top back of the blind, bring the ribbon tape to the front and down, then take it to the back and up the hem at the bottom, about 20cm from the side edge. Tack the tape in place at the header at the back of the blind and stitch in place at the back of the hem at the bottom.
- Place the female side of the Velcro on the back of the blind and machine stitch in place so it sandwiches the ribbon tape in the seams. Remove tacking stitches.
- Place the blind on a flat surface with the wrong side uppermost. Draw a line to indicate the position of the ribbon tapes. This is for a guideline for the O-rings.
- Hand sew an O-ring 3cm from the lower edge of the Velcro in line with the ribbon tape. Sew an O-ring to the ribbon tape at the lower hem. Now sew two or three more rings equally spaced apart between the top and bottom rings. Catch both layers of fabric when sewing the O-rings in position. Repeat for the other side. Sew another O-ring in the centre of the top edge.
- Cut the nylon cord into two equal lengths. Starting on the left-hand side at the lower edge, thread one piece of cord through the first O-ring and attach with a slip knot. Now thread the cord through the remaining rings along the same side. Pass the cord through all three rings at the top edge.
- Attach the second cord through the second set of rings, but at the top insert it only through the right-hand ring. Tie the two cords together at the ends. Place a toggle over the knot.
- Staple the male side of the Velcro to one side of the batten.
- Drill four holes evenly spaced along the wooden batten and screw to the wall above the window. Match the Velcro strip on the blind to the Velcro on the batten to fit. Mount the wall fitting for winding the cord on the same side as the toggle.
Front blind
Sew in the same way as the back blind but use the wider batten. Mount above the back blind using Velcro.
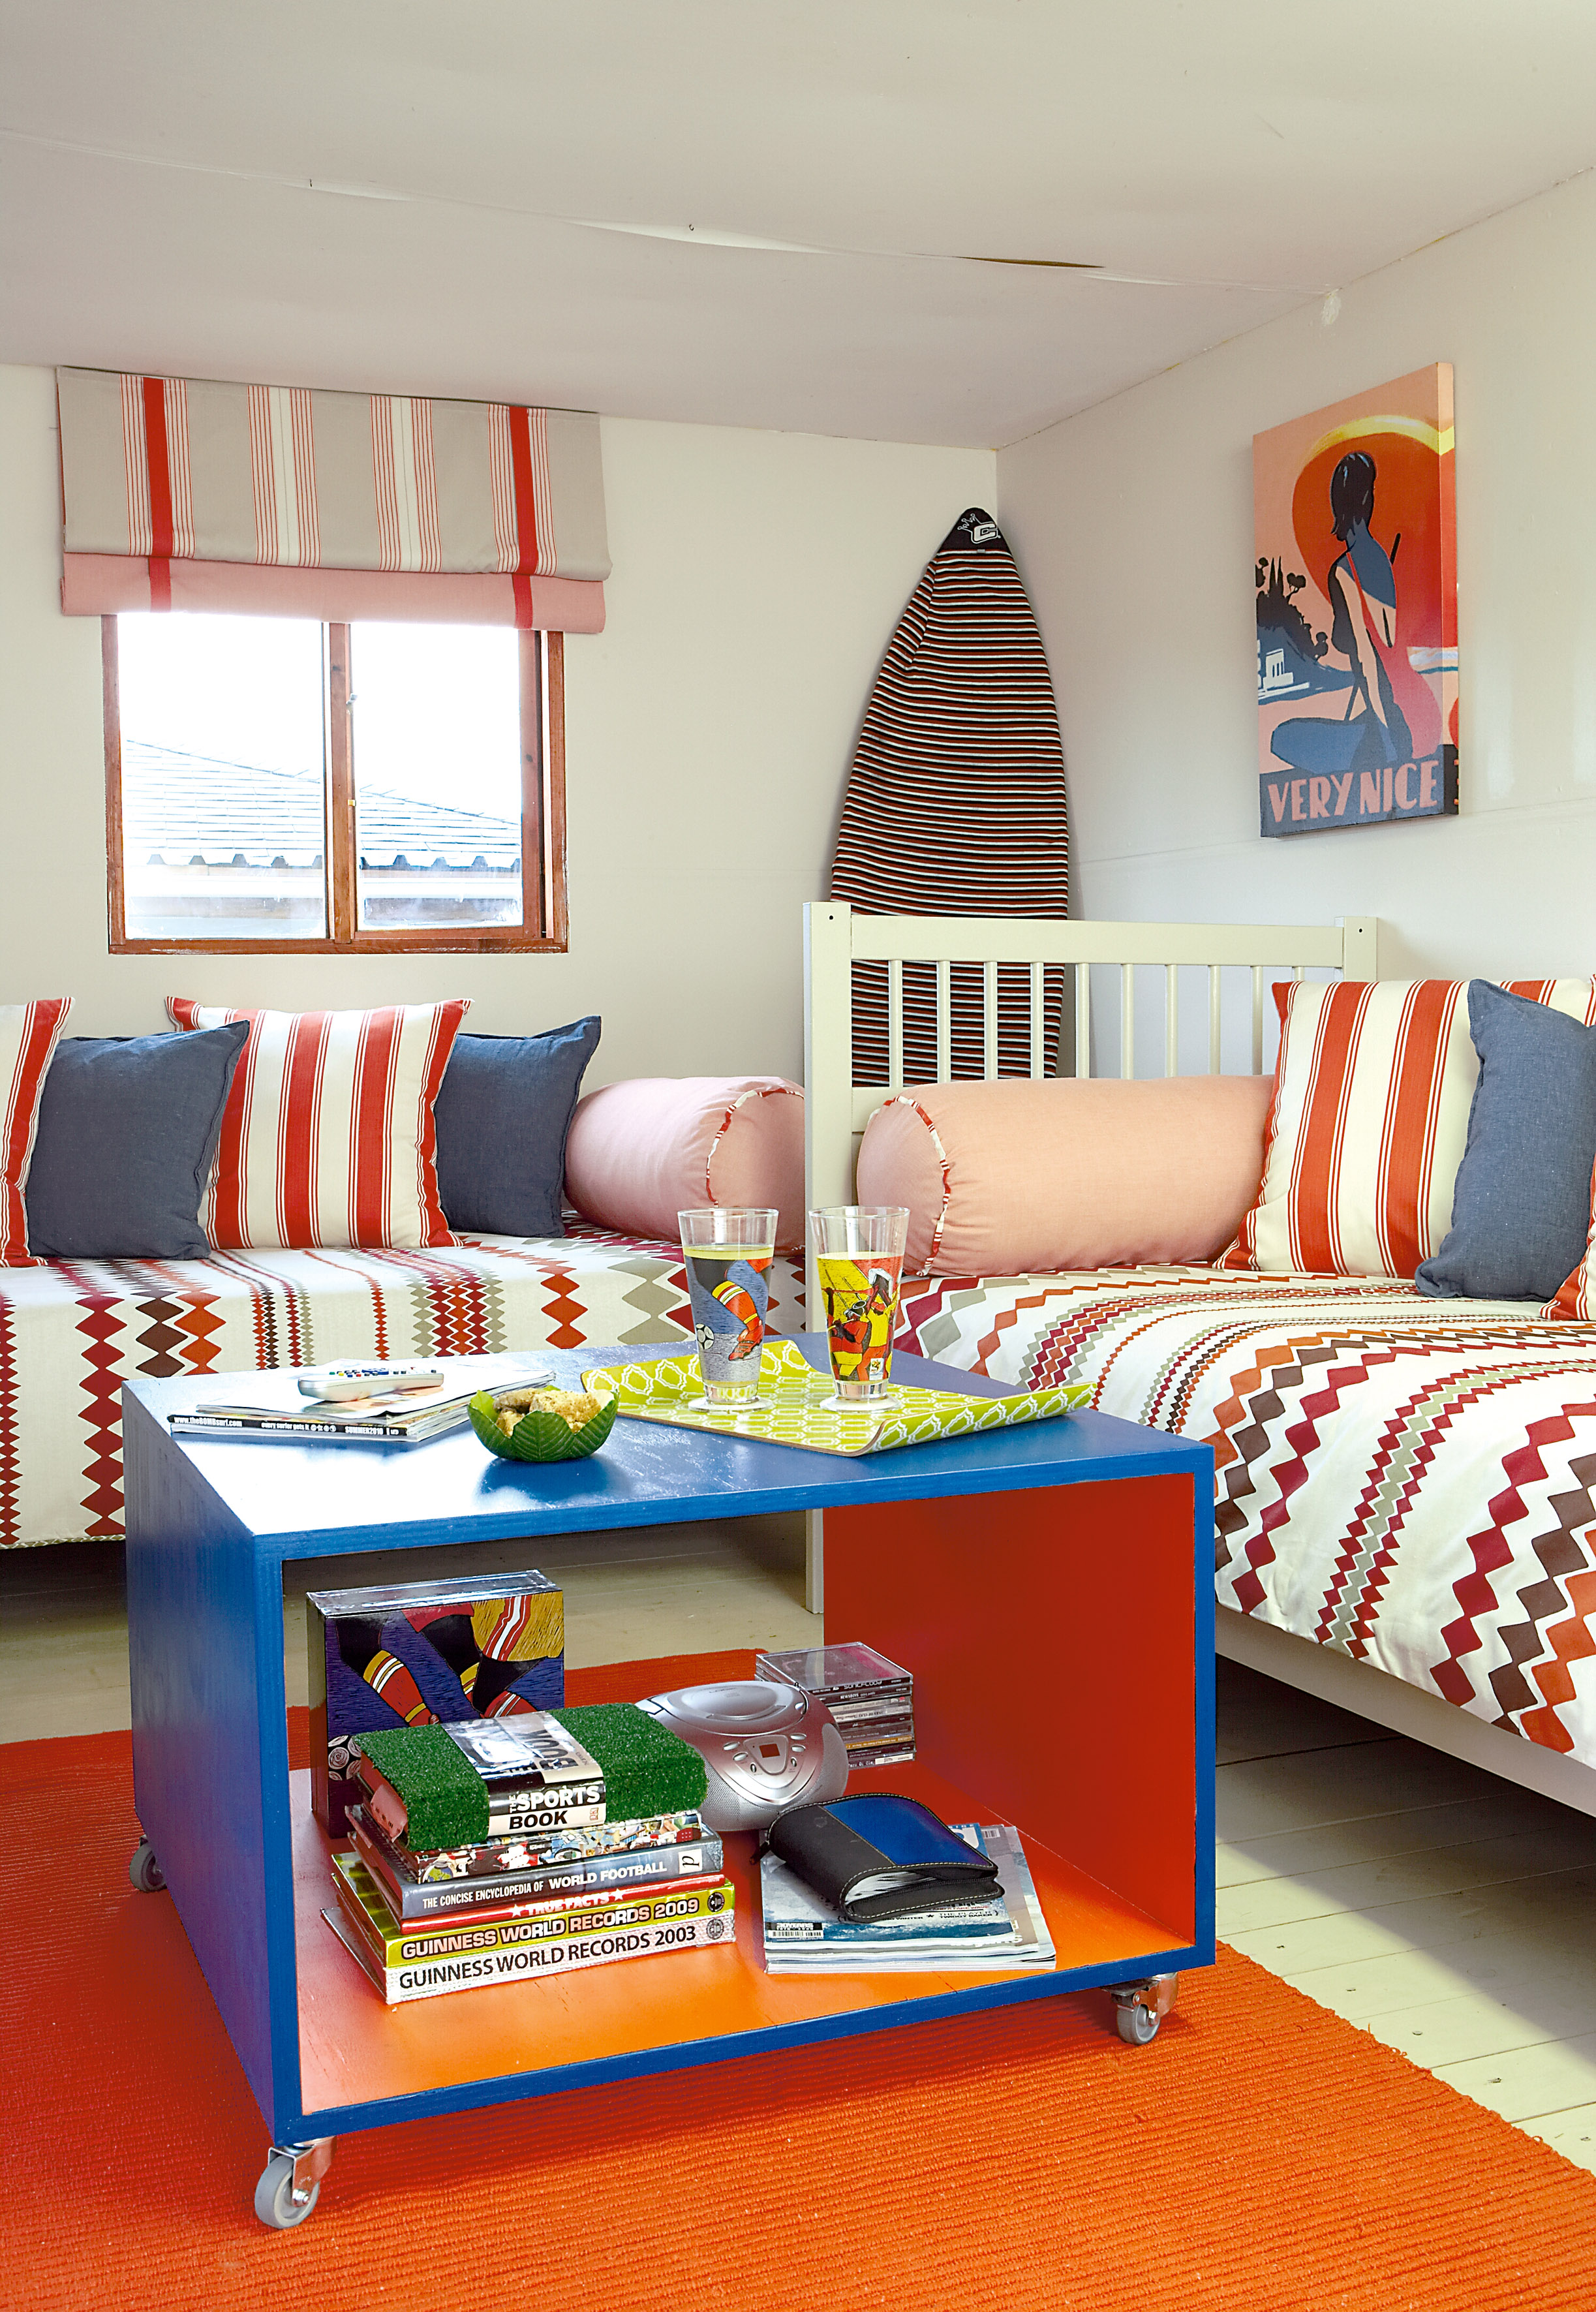
Table on Castors
This table is easy to move around and it also has plenty of storage space – twi big pluses.
- 21 mm shutter plywood
- two 800 x 800mm panels (top and bottom)
- two 408 x 800mm panels (sides)
- 4 castors (two with brakes and two without)
- 8 x 50mm chipboard screws (±50)
- 8 x 20mm chipboard screws (16)
- water-based enamel in two colours
- paintbrush, sponge roller and tray
- wood glue
- wood filler
- cordless drill or power drill
- electric sander
- 60 and 100-grit sandpaper
- try square
To make:
- Have the wood cut to size.
- Ask someone to help you and place the two side panels in position, on top of the bottom panel. Position the top panel on the two side panels and drill the 3mm guide holes for the 8 x 50mm chipboard screws. Glue and screw the top and side panels together – use a try square to ensure that all corners are at 90° angles.
- Turn over the structure and screw the bottom panel into place as before.
- Fill the screw holes and any other cavities with wood filler. Leave to dry overnight, then sand the whole structure with an electric sander.
- Attach the castors to the base with 8 x 20mm screws.
- Paint in colours of your choice. We used Dulux Venetian Crystal 2 on the outside and Plascon Clown Fish O1-A1-1 on the inside. Paint two or three coats, leaving each to dry before painting the next.
Credits
Referenced from Gallo images / IDEAS Magazine
Browse 1000’s of products available to you. Select your country to Shop Online.


