The pruning process doesn’t stop when you put away your secateurs – the treatment needs to continue for plants to flourish.
Pruning is vital for a healthy garden, but it needs to be done right for maximum effect. Here are some tips on pruning your plants and what to do once the cutting is done.
Firstly, when should you prune? Soft perennials don’t cope well with frost and this is an indication of when you are going to prune. In frost-prone areas, don’t prune them before winter as there’s a chance that the soft new growth will be killed and the plant might not survive. Rather prune soft perennials in high-autumn or mid-summer when they start to get leggy. In frost-free areas pruning can be done at any time of the year, depending on the look of the plant.
This brings us to our first rule: The power of observation: look at the plant –if it is starting to open up (by which we mean that the stems are getting long and heavy and leaning over exposing the centre of the plant), it needs a trim. At this stage, the base of the plant looks naked with very little foliage. Cutting it back will promote growth and achieve that lovely full, bushy growth that we all want from our plants.
When pruning soft perennials you can safely remove two-thirds of the plant. Always prune down to a bud or, if possible, a leaf. Also remove any spindly, weak growth to open up the plant to air and light. This will encourage strong and healthy growth.
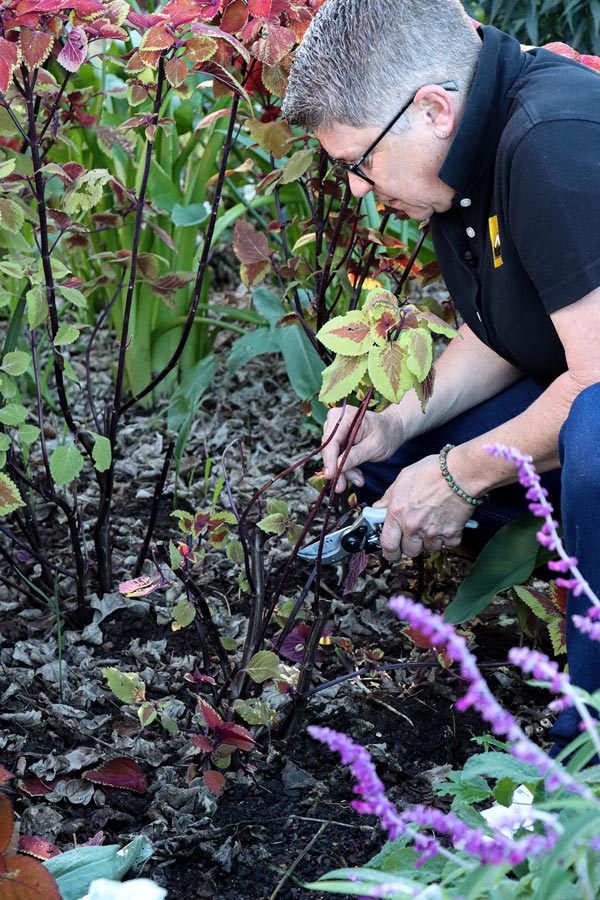
When you have finished pruning you will have loads of space to work with – you’ll be able to inspect the plant to check on its health, you’ll have the opportunity to look at and improve the soil, as well as supply the plants with nutrition.
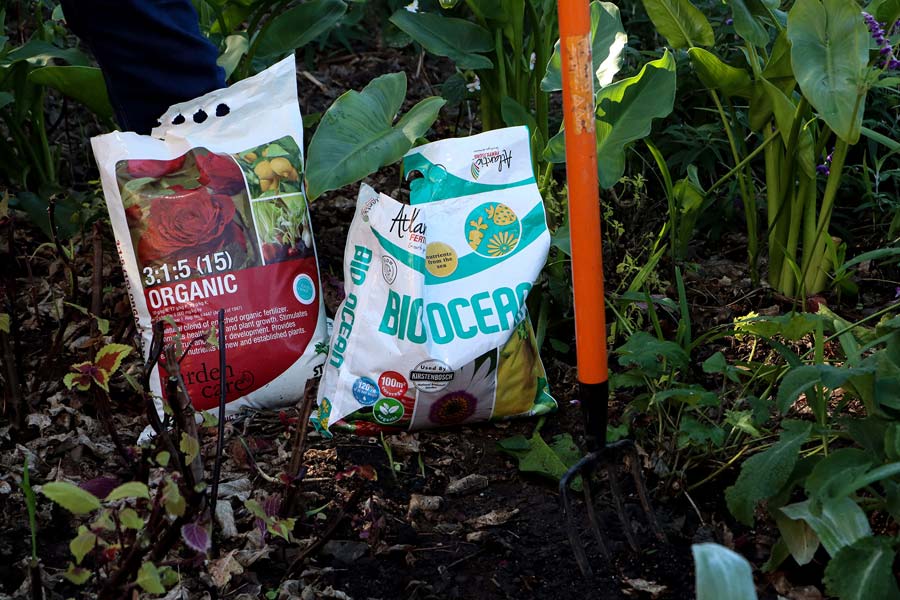
In terms of nutrition, this is a great time to apply fertiliser. We like to use an organic, slow-release pelletised fertiliser that contains everything the plant needs to do well. Atlantic Fertiliser Bio Ocean is a top-quality product. A soil and plant conditioner, it contains seaweed, fishmeal, humic acid and poultry manure. Starke Ayres Organic 3:1:5 is another excellent product, a natural blend of enriched organic fertiliser that promotes healthy root and plant growth.
There are also chemical fertilisers if that’s what you prefer, but whatever you use, make sure it is slow-release and has the ‘oomph’ to get plants on the road to looking resplendent. Make sure you follow the instructions on the bag to get the most out of it without wasting. Just a note: liquid fertilisers aren’t the right product for this particular application as they don’t contain enough nutrients for sustained growth.
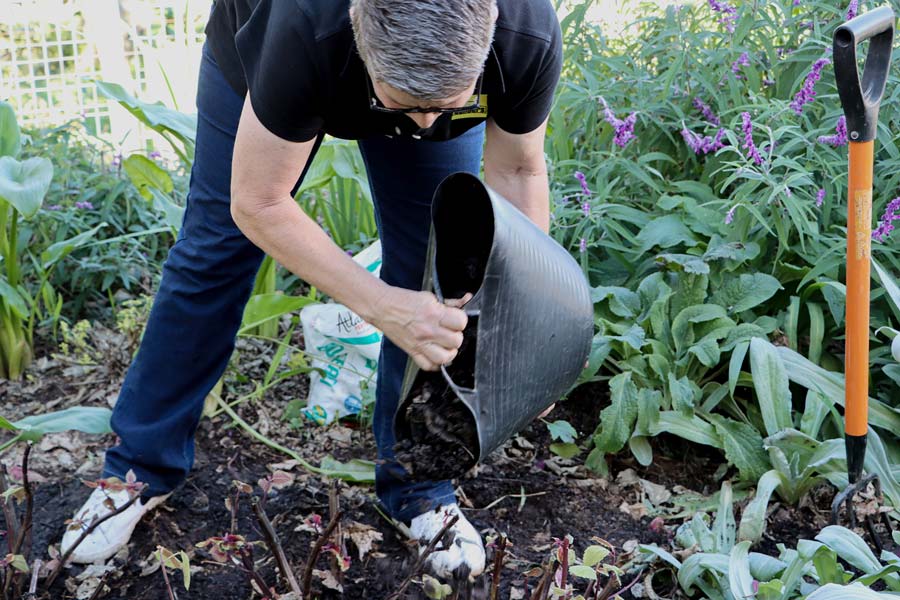
Fertiliser added, it’s time to get some good-quality compost (preferably made by yourself!) and layer it over the fertiliser. There is no such thing as too much compost so don’t be stingy – a layer of up to 5 cm thick is perfect! When you add compost to the soil, you are increasing the organic content of the soil and that means the soil has a readily available, higher nutritional content. The drainage becomes better and there is more beneficial microbial content.
Once the compost is added, take your garden fork and gently work the compost and fertiliser into the soil. Don’t go too deep – half the length of the fork’s prongs is fine. Also check that you haven’t piled too much compost up against the plant’s stems, as this could cause them to rot – just level it out with your hands.
And now for the penultimate step – mulching! Why do we mulch? Well, we’ve put all this beautiful nutrition into the soil and we want to make sure it stays right there. Mulching reduces water loss from the soil and protects bare soil from wind and water erosion so your fertiliser doesn’t end up in your neighbour’s garden. It also reduces weed growth and is a great insulator, regulating the soil’s temperature.
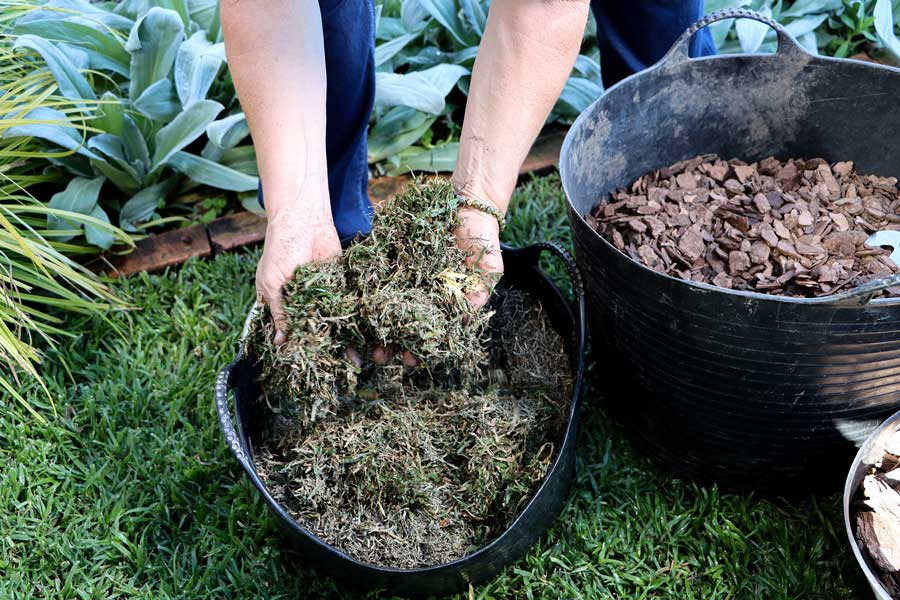
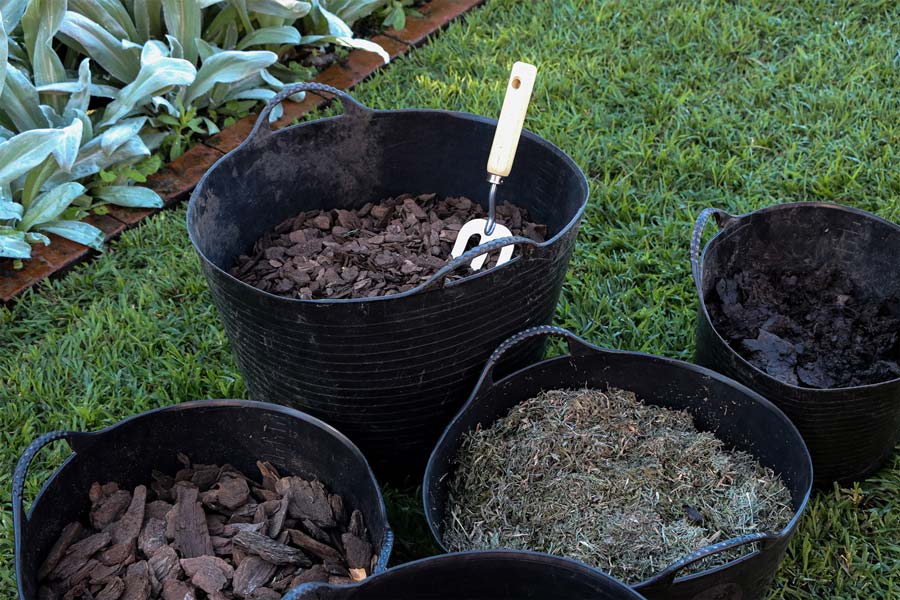
There are a few options for mulch, like grass clippings from your lawn (unless your lawn is full of weeds!), bark nuggets from Builders and leaf mould, which is gold in the garden. Leaf mould is made of leaves that are on their way to becoming compost (visit the link here to see how to make your own). Even whole or shredded dry leaves are a good mulch, although they will take longer to break down and feed the soil.
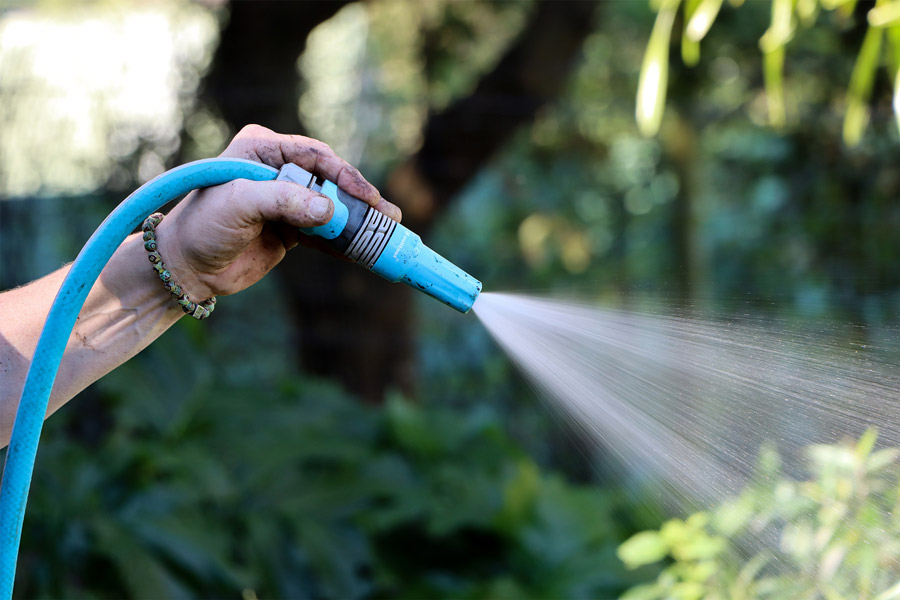
Finally, give the pruned and fed plants a good watering and that’s it.
Follow these tips in your garden and you will see a remarkable difference.
Remember, everything we’ve mentioned, including the fertilisers and tools, is available from Builders either in-store or online. Get to Builders. Get it done.
