This very small DIY job is a big safety upgrade.
These days you can’t be too safe: alarms, beams, motion-detecting lights, indoor passives, magnetic sensors on doors – most of us have it all! The problem is, the majority of these safety measures only work when your alarm is set.
If a door is fitted with a Bark Armed Strike Plate and wired onto a permanently armed zone, it will monitor that door whenever that door is locked. Should someone try to force the door open, the strike plate will notify the alarm system and give you an early warning.
The Bark Armed Strike Plates are very simple to install, too. They are available for a number of different door and door lock options and come in different sizes for regular doors as well as security gates. They can be fitted to aluminium or wooden doors, and they come with the necessary screws or rivets for fitment. When buying the strike plate, ask for assistance from your Builders’ staff to make sure you get the right one for your needs.
Bear in mind that if you have mortise locks, you need to know how your door opens: does it open in or out, and to the left or right. This determines which strike plate model you need. The Armed Strike Plates for cylindrical locks work for both opening configurations.
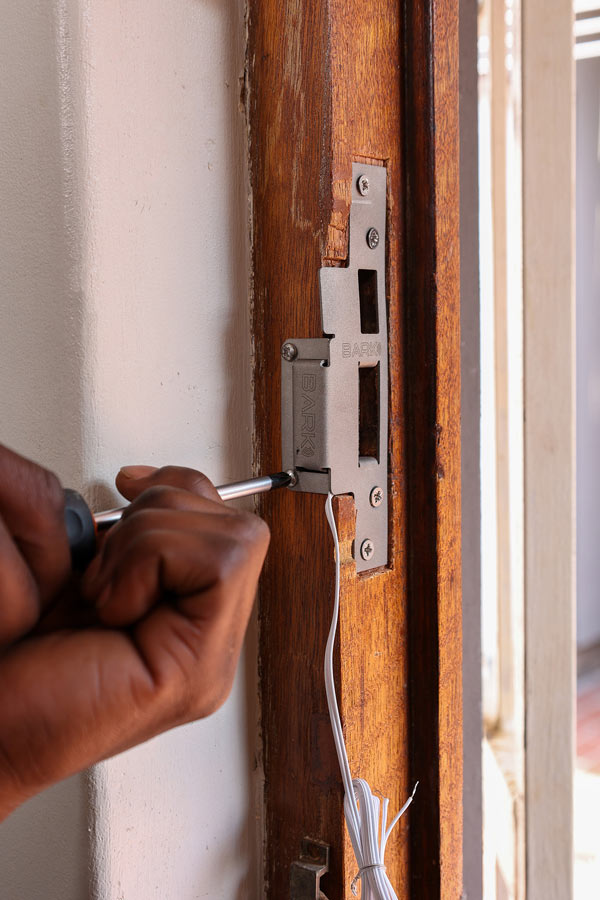
To install an Armed Strike Plate, you will need:
- A screwdriver
- Masking tape, pencil and ruler
- A drill-driver with a 16 mm spade-bit
- A narrow wood chisel and a hammer
- A small tube of cable glue
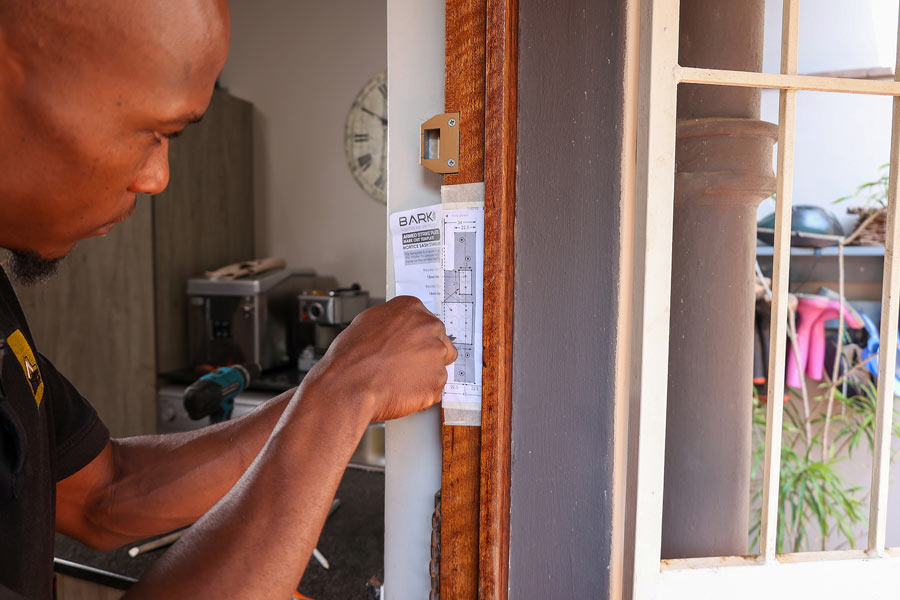
First remove the existing strike plate, then use masking tape to stick the supplied template over the existing cut outs. Ensure that the template lines up with the existing cut outs and lock mechanism.
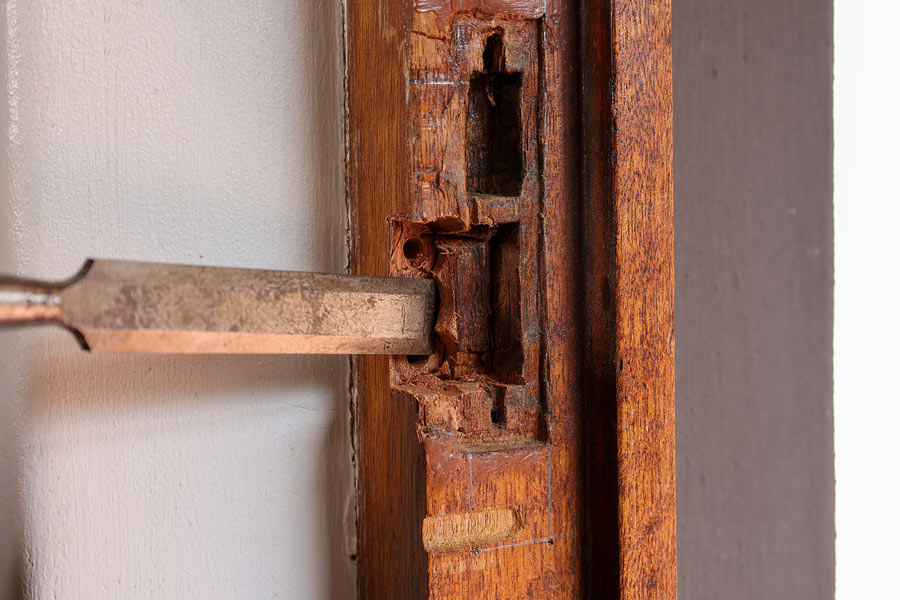
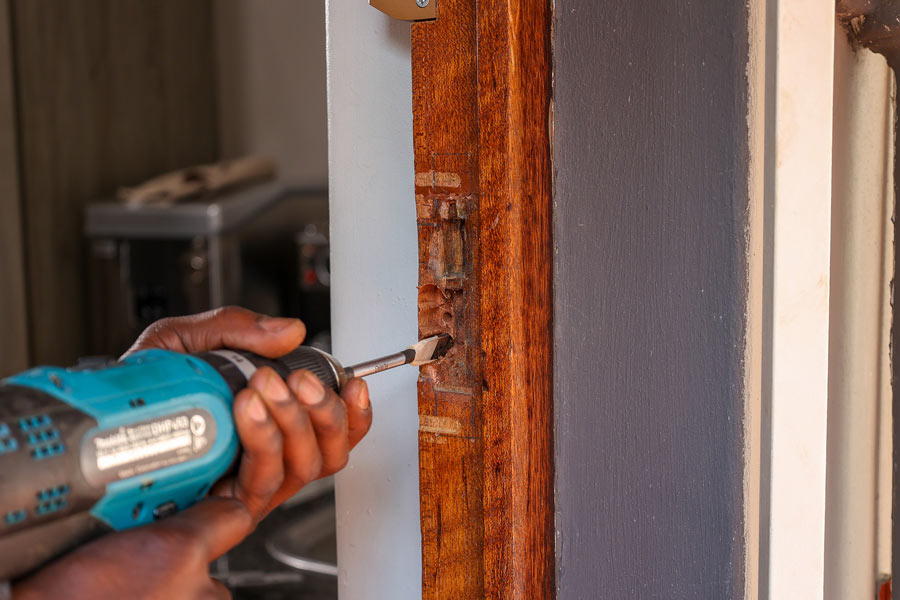
Chisel out to allow the actual mechanism to fit. Carefully mark the position of the drill holes. Make a mark on the 16 mm drill bit, 17 mm from the tip. Drill holes on the marks to 17 mm deep, and neaten up the area using a chisel. Also chisel out an area for the strike plate (also shown on the template), to a depth of 1.5 mm.
*If you are fitting the strike plate to a new door, you will also need a 13 mm drill bit to create the hole for the door bolt. This isn’t necessary when replacing an existing strike plate.
Check that the strike plate fits properly, then attach the strike plate to the doorframe using the supplied screws. Attach the cover plate to the inside, also indicated on the template.
Finally, use cable glue to attach the cable neatly along the inner corner of the door frame. If there is an existing magnetic switch, you can wire these in series – this way the Bark Armed Strike Plate will let you know if someone is trying to gain access BEFORE they get inside.
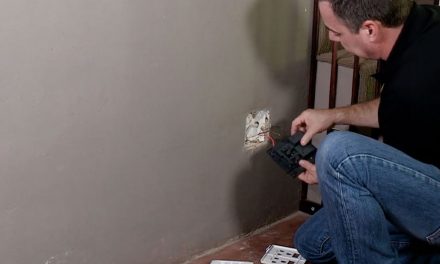
If you do not have a mag switch, or if you are unsure how to wire the strike plate in, call your alarm company to connect the wires to your alarm system and possibly reprogram your alarm settings. If you have an alarm monitoring system, we recommend using their alarm technician to connect the Armed Strike Plate to a 24/7 active zone on your alarm board.
This DIY project won’t take long, but it will add an extra layer of security to your home, along with added peace of mind.
