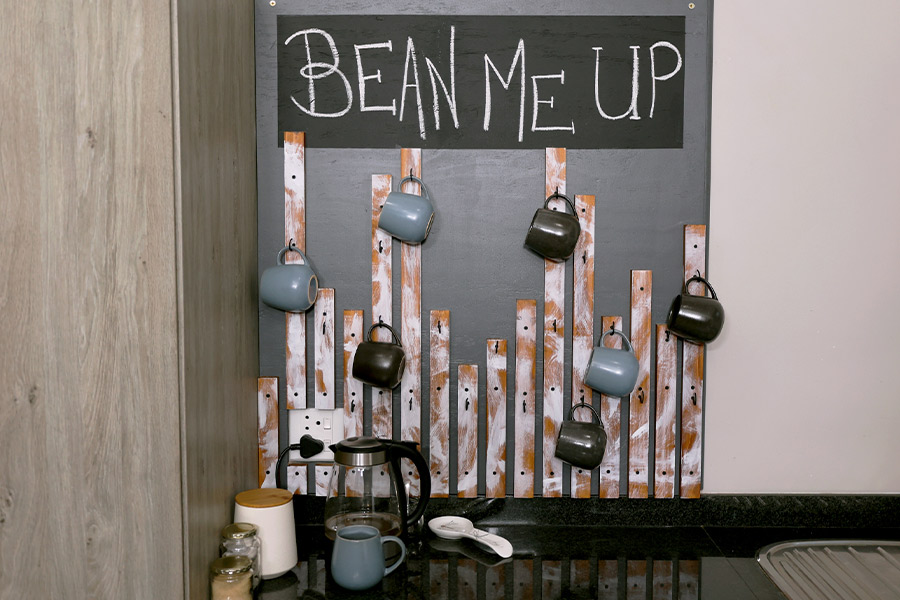
Create your very own coffee station with this simple and stylish DIY project that makes use of unused kitchen space and keeps your mugs within easy reach.
Cutting List:
- 1 m x 1 m x 1.2 m – 18 mm plywood
- 22 mm x 44 mm mm planed all-round timber, cut at random lengths
- 1 m x 1 m and 1 m x 1.2 m length of quarter round edging (for finishing the plywood edges)
Step 1:
Start by cutting the plywood sheet to 1 m by 1.2 m (or have the team at Builders do this for you). Sand down the edges of the plywood with a coarse 60 grit sandpaper to remove any rough spots, then follow up with 120 grit and 180 grit for a smooth finish. Measure and cut a hole for the plug-point using a jigsaw.
Step 2:
Cut the 22 mm x 44 mm timber pieces to random lengths, removing any unsightly finger joints. Sand each piece to smooth out the cut edges and remove any surface dirt. Stain the timbers with Fired Earth Woodworks in imbuia, applying it evenly and cleaning up any drips or runs.
Tip: For a clean, uniform look, stain and pre-paint the timbers before assembling.
Step 3.
Once dried, place the stained timbers side by side with one edge flush against a straight edge and clamp them together. Dilute some white paint with water for a runny consistency and technique the timbers with random bush swirls and strokes. Check for excess paint between the timbers and clean up as needed.
Step 4.
Apply a coat of Duram Primex to the sheet of plywood. Once dried completely, apply two coats of Fired Earth Non-Drip Enamel, which has been tinted to a medium-dark grey at Builders.
Step 5.
Apply two coats of Rust-Oleum 2X Ultra Cover® in matt black to brass cup hooks, to compliment the colour scheme of the coffee station. For this DIY project, we’ve used 20 cup hooks.
Step 6.
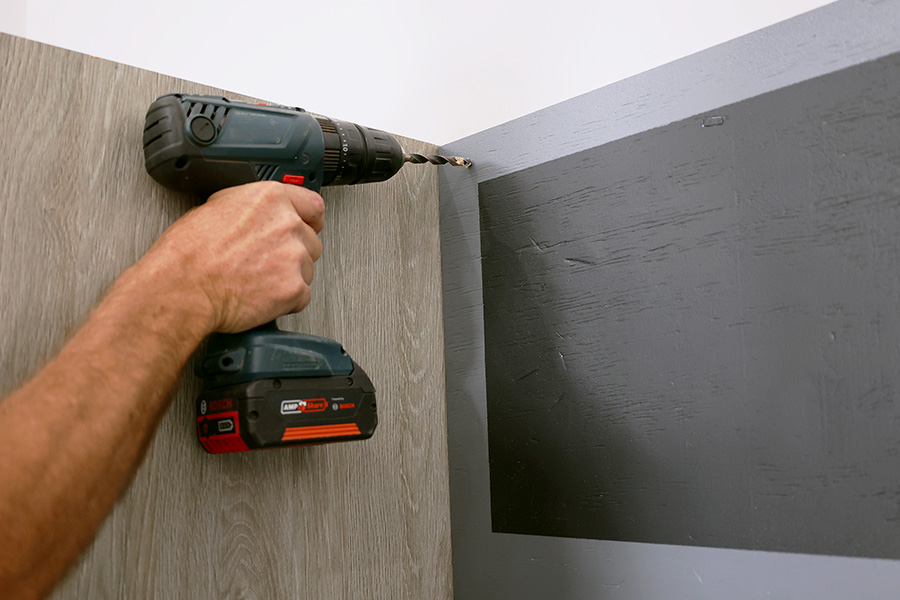
Mount the painted plywood sheet to the wall using 8 mm nail-in anchors, one in each top corner. Secure the first piece of timber at the base of the plywood by drilling a 3 mm pilot hole and securing it with 3.5 mm x 35 mm black drywall screws.
Step 7.
To space the next piece of timber, create a jig from an offcut of the same 22 mm x 44 mm timber, turned sideways. Continue to space and secure each piece of timber to the base of the plywood, as mentioned in step six, ensuring the timbers are evenly spaced. Repeat until all timbers are secured.
For a neat finish, try to align the screws horizontally and trim any timbers around the plug-point.
Step 8.
To protect your coffee station from steam and moisture, apply two coats of Fired Earth Glaze Coat. This clear, matt finish seals the wood, making it easier to clean.
Step 9.
Install your cup hooks by drilling pilot holes and screwing them in by hand. Once they’re in place, attach the quarter round edging to the edges of the plywood using panel pins to give it a neat and professional finish.
All that’s left to do is hang your mugs and enjoy a cup of your favourite brew. This DIY project not only keeps your mugs organized but also adds a stylish touch to your kitchen.
All the materials used in this DIY are available at Builders either in-store or online builders.co.za.


