Lasers may sound like science fiction, but they’re a reality in the tool world. We used the Bosch Laser Distance Measurer and the Bosch Cross-Line Laser to make this wallpapering job a cinch.
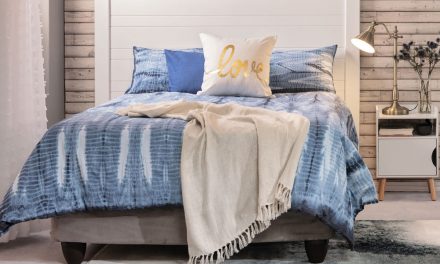
Sometimes there’s a room at home that just seems to be missing something and often, a pop of colour or texture on a wall is all that’s needed to turn bland into grand.

Step 1.
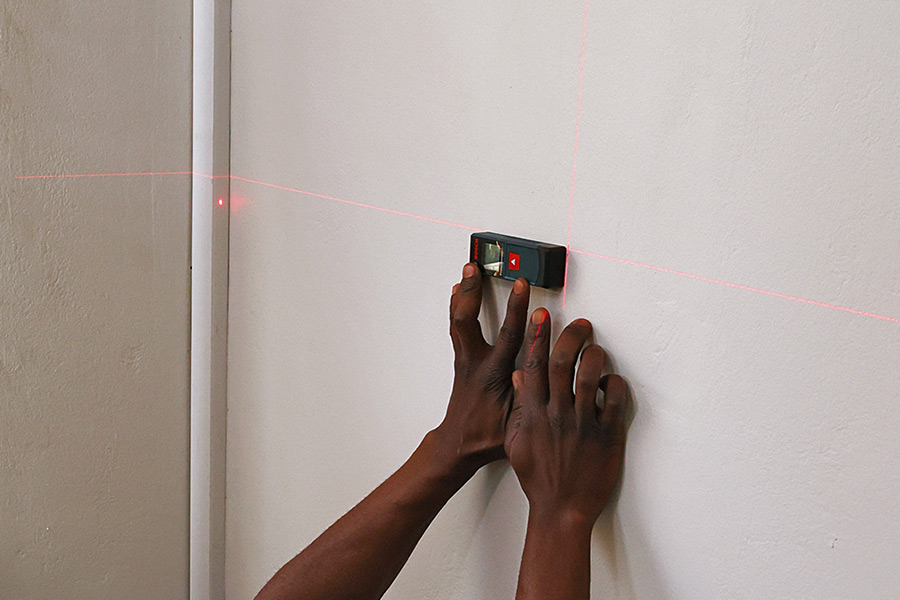
Using the right tools makes DIYs easy. For this project, a Bosch GLM 20 Laser Distance Measurer was used to measure the wall. Knowing the length and width of the wall is crucial for both the wallpapering and the wooden trim.
Measure the wall in question. The Bosch GLM 20 Laser Distance Measurer sends out a beam that reflects off the opposite wall and gives you back an accurate measurement. In the room we were working on, the wall was 2.250 m wide – this will be the length of the wood trim that was used to create a border between the wallpaper and the painted surface.

Step 2.
Cut the wood trim to length (2.250 m) and paint it. We used a dark grey finish – remember to use undercoat and then at least two topcoats. Wait for each coat to dry before applying the next one.

Step 3.
Back to the laser measurer – measure the height of the wall (2.6 m). We want to install the wood trim halfway up the wall, which would be 1.3 m. Use the laser measurer again, sliding it down the wall until it reads 1.3 m and make a mark.

Step 4.
We’re now going to use the Bosch Quigo Cross-Line Laser, which is a self-levelling spirit level and is so much easier to use than a traditional spirit level. It projects two lasers onto the wall, one horizontal and one vertical, providing an accurate guide with which to work. Use this and a pencil to make a line across the wall at the 1.3 m mark.

Step 5.
When applying wallpapers, wall preparation is key. The surface should be smooth with no cracks. If there are cracks, fill them with crack filler, let it dry and sand it. For rough finishes or glossy paint, a universal primer helps with better wallpaper adhesion. If your wall doesn’t need a primer, give it a light scrub with sugar soap and lukewarm water to remove dirt, dust and residue, then wipe down with clean water and a rag.

Step 6.
Calculate the amount of wallpaper you need. We know the size of the wall we’re doing – 2.250 m wide and 1.3 m high. To determine how many drops of wallpaper are required, the wall width (2.250 m) was divided by the wallpaper width (530 mm), resulting in five drops when rounded off. The number of drops (five) multiplied by the height of the area to be covered (1.3 m) gave a total of 6.50 m. That means one 10 m roll is enough for our wall.

Step 7.
Lie the wallpaper out on a clean, flat surface. We made sure the edge was up against the wall and then used the laser measurer to indicate 1.3 m before drawing a line with a pencil. Place a scrap piece of wood underneath the wallpaper and cut it with a utility knife. Repeat until all the drops are cut.

Step 8.
Time to install the wallpaper – this is where the Bosch Cross-Line Laser really was invaluable. The laser was set to the mark on the wall where the wallpaper would end and the wood trim would be installed. The vertical line was positioned 530 mm from the edge, guiding the edge of the first drop of wallpaper. Obviously this can be done with a normal spirit level and tape measure.

Step 9.
Mix the wallpaper adhesive as per the instructions. Using a paintbrush, apply the adhesive evenly to the wall. Start at the top left corner of the wall, making sure the edge of the wallpaper is aligned with the wall or laser line, gently press the wallpaper onto the wall, smoothing it out with a squeegee or soft sponge to remove bubbles and wrinkles. Clean up excess adhesive with a damp rag before it dries. Repeat for the rest of the drops. To ensure the wallpaper remains straight, move the cross-laser level 530 mm to the right as each drop is applied.

Step 10.
Once the wallpaper is installed and smoothed out, trim any overhanging edges on the sides, top and around any light switches with a utility knife.

Step 11.
Install the wood trim so that it just covers the bottom edge of the wallpaper. Apply No More Nails adhesive to the piece of wooden trim in a zig-zag pattern, press it into place and hold until the glue sets. This trim will not only add a decorative touch, but will also hide the cut ends of the wallpaper.
And that’s it – another impactful DIY project done in a few hours. While a traditional tape measure and spirit level will get the job done, we were amazed at how much easier it was using these incredible Bosch laser tools. They are available from Builders, both in-store and online at builders.co.za, as are a selection of wallpapers and all the tools and supplies you need for this project.

Browse 1000’s of products available to you. Select your country to Shop Online.


