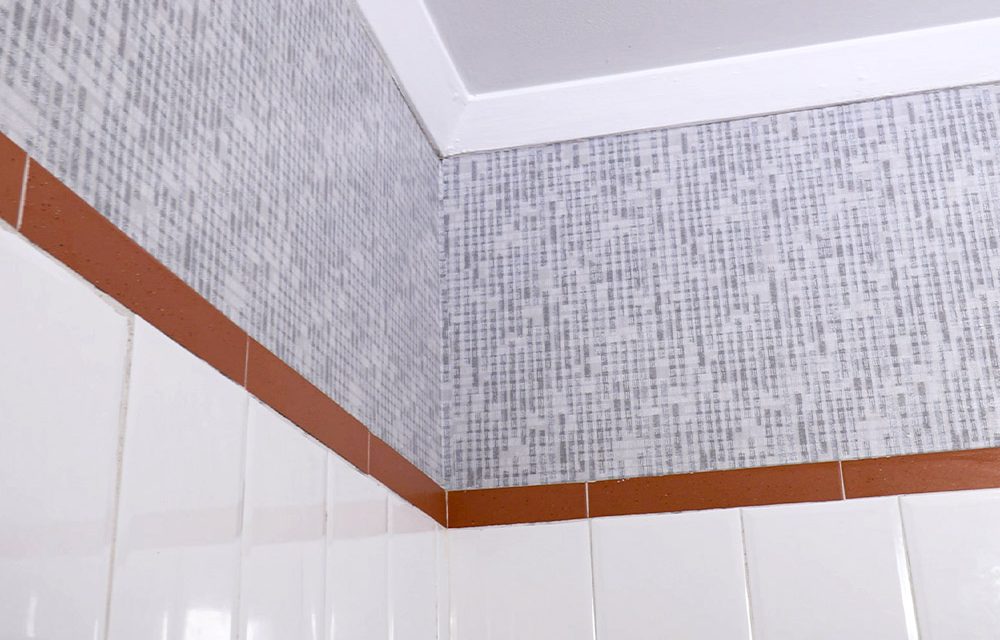
Wallpaper isn’t an option you would normally think of using in a bathroom, but if you do it correctly it can be done.
Wallpaper – since it’s paper-based and decorated with ink, it’s not a material that you normally associate with using in a humid or wet environment like a bathroom. But it can be done and here’s how:
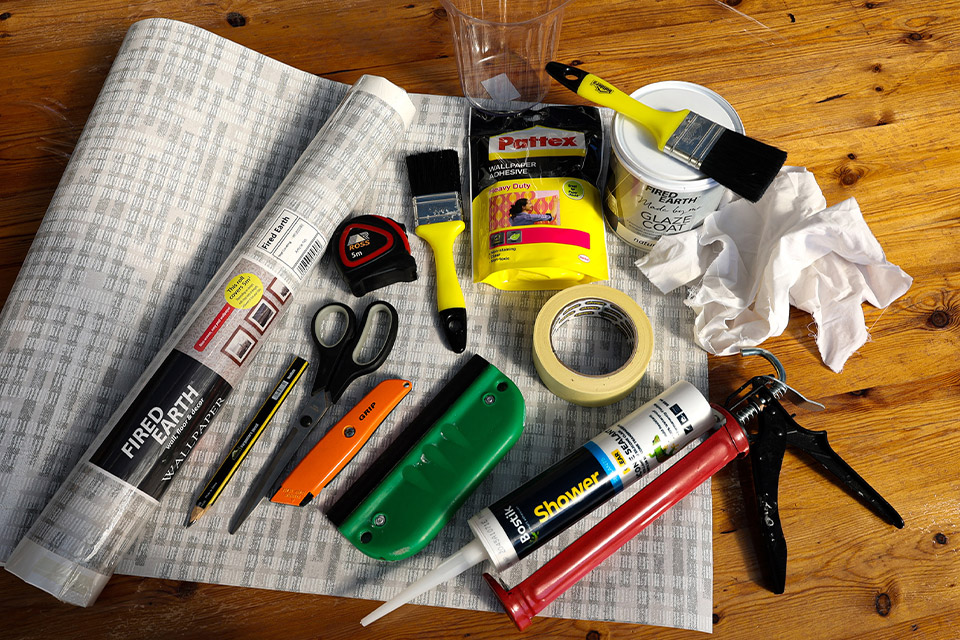
For this DIY you will need:
- Your choice of wallpaper.
- Wallpaper adhesive and a container n which to mix it.
- A tin of Fired Earth Glaze Coat Clear (Matt), masking tape and cloth for cleaning.
- A tube of clear shower silicone and a caulking gun.
- Tools: two paint brushes, a measuring tape, scissors, a utility knife, a pencil and a squeegee.
- Here’s our first tip: measure and cut the wallpaper the day before you want to install it, then leave it on a flat surface overnight. It will be flatter and will not curl back on itself when you install.
Step 01
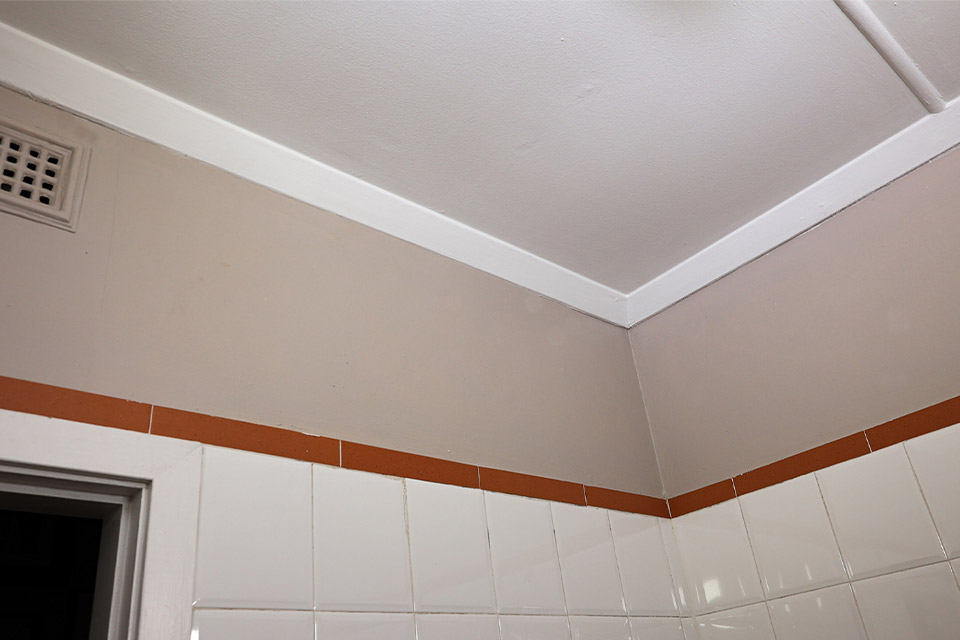
When you’re ready to install, first make sure the area about to be wallpapered is clean and dry. This is very important.
Step 02
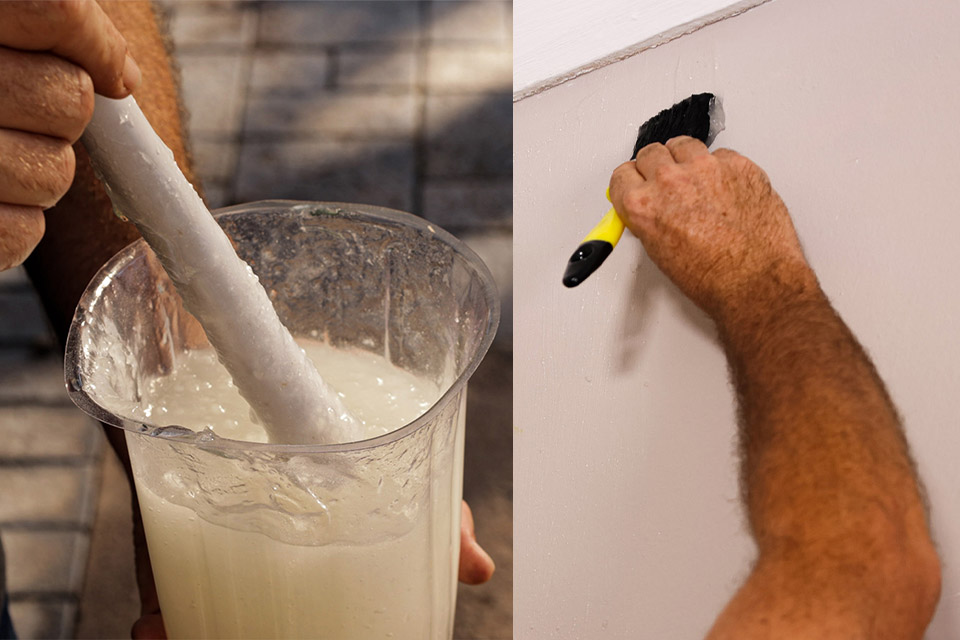
Mix the adhesive as per the instructions on the pack of the packaging. Paint a generous amount of adhesive to the entire wall you are going to cover, ensuring that there are no blobs. A paintbrush is much easier than a roller for this particular job.
Step 03
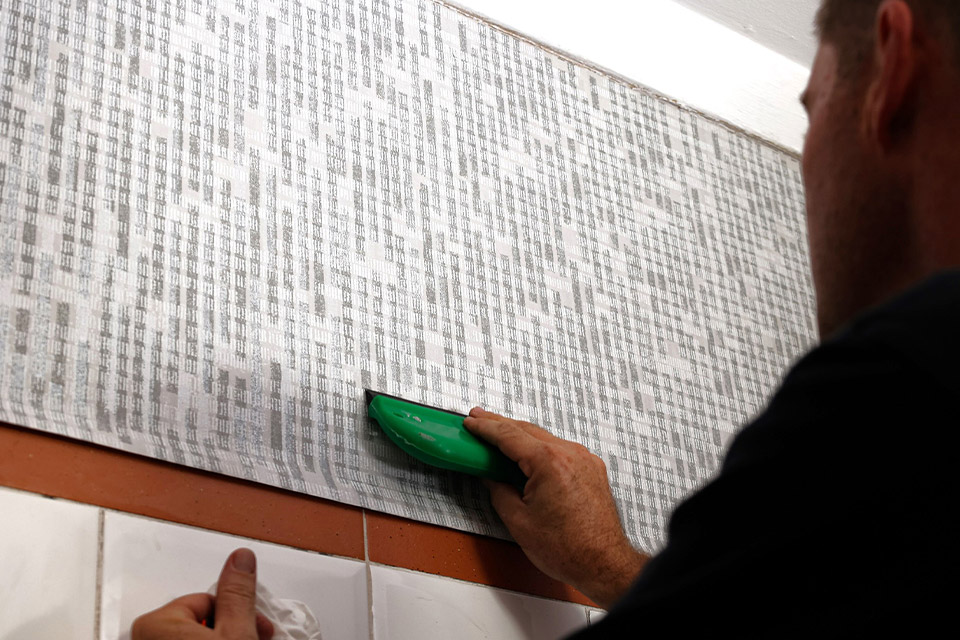
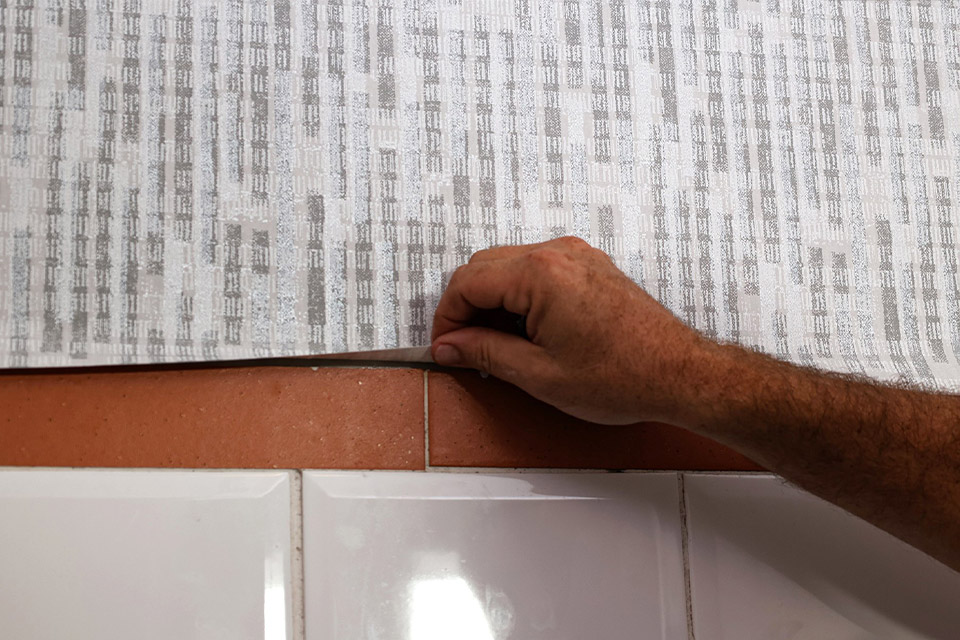
Before long, the glue will start to get tacky and this is when you should start to get the wallpaper in place. Put it in position and then carefully flatten it down onto the wall using your hand, moving from the top down. Once it is in position, use a squeegee to squeeze out any bubbles gently towards the edges. Remove any excess adhesive and then trim the wallpaper with a utility knife if it extends beyond where you want it.
Step 04
The adhesive is water-based, so it is easy to clean up any excess using a damp cloth. Leave overnight for the wallpaper adhesive to dry.
Step 05
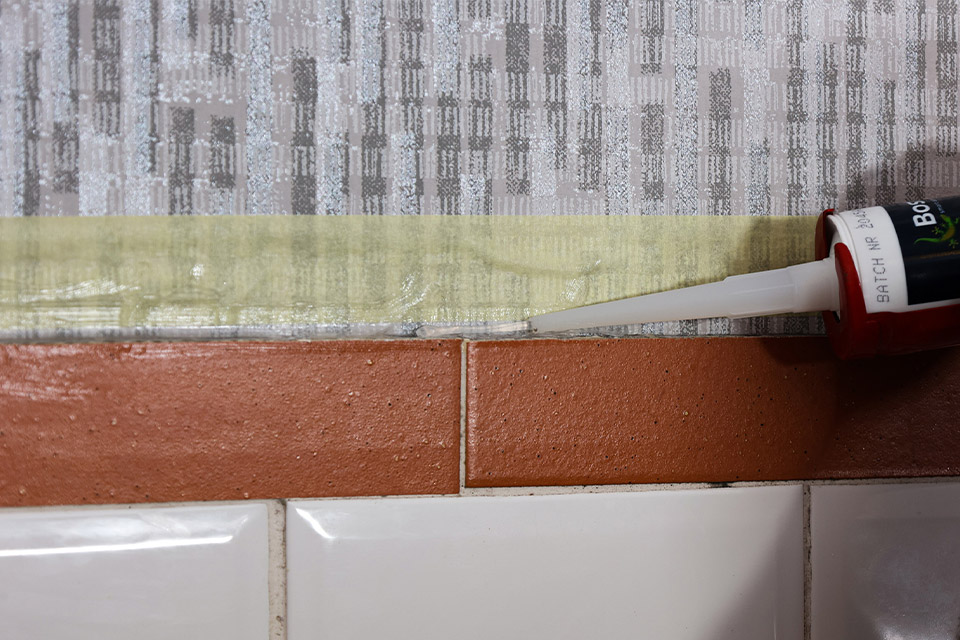
Once the wallpaper is completely dry, it is time to cover it with a coat of glaze. To get started, mask all the edges and apply a thick bead of clear bathroom silicone around the edge of the wallpaper. The silicone will prevent water from getting under the wallpaper, especially in areas that water may pool, such as where the wall meets the tiles. Bathroom silicone contains a mould inhibitor that prevents black mould from forming and is what you need in a humid environment. Simply smooth the silicone with your finger to neaten it. When you’ve finished applying the silicone, remove the masking tape before the silicone dries or you’ll have a battle on your hands.
Step 06
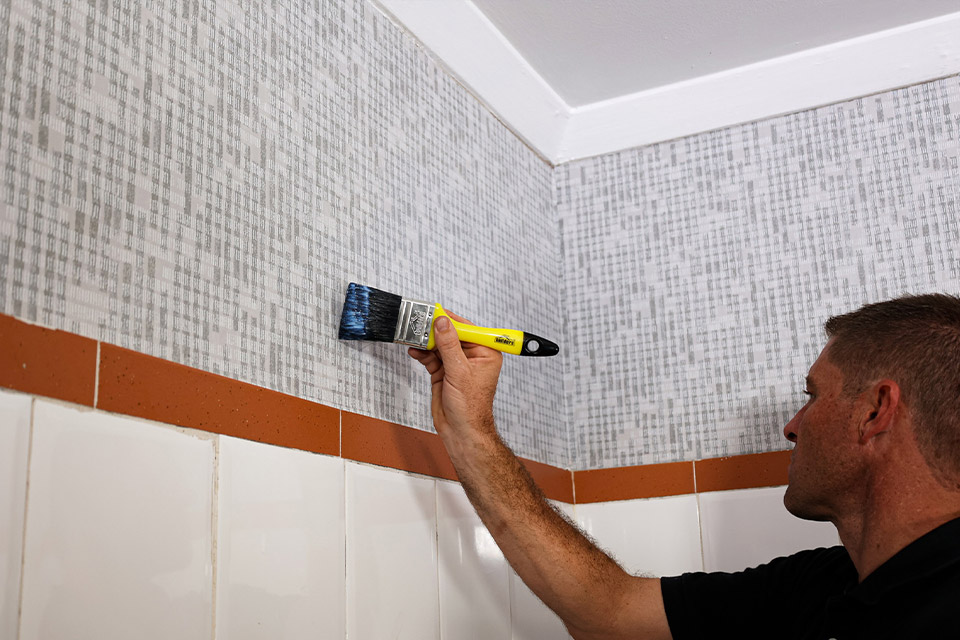
Fired Earth Glaze Coat Clear is a premium-quality, pure-acrylic glaze coat that is UV and stain resistant. It is available in a matt or gloss finish and can be used to seal a number of surfaces including wallpaper. Paint two coats of glaze coat over the wallpaper. We recommend using the matt finish to give the wallpaper as natural a look as possible. Fired Earth Glaze Coat Clear is water-based so cleaning up is easy, as long as you clean your brushes and tray as soon as you are done.
So there you have it – a simple, cost-effective way of giving your bathroom a facelift.
All of the products used are available at Builders, either instore or online.

