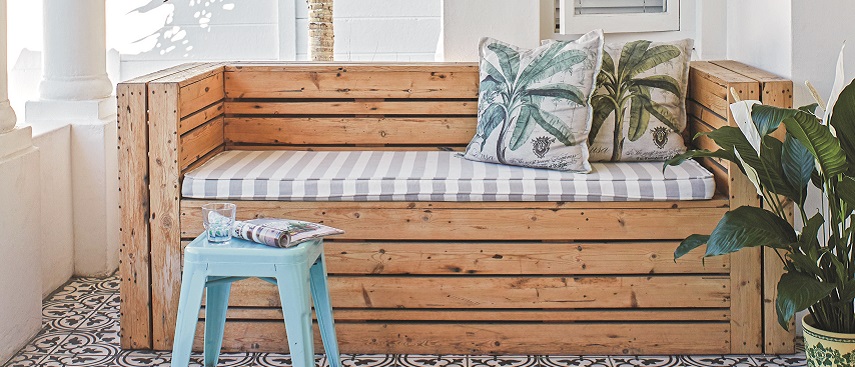
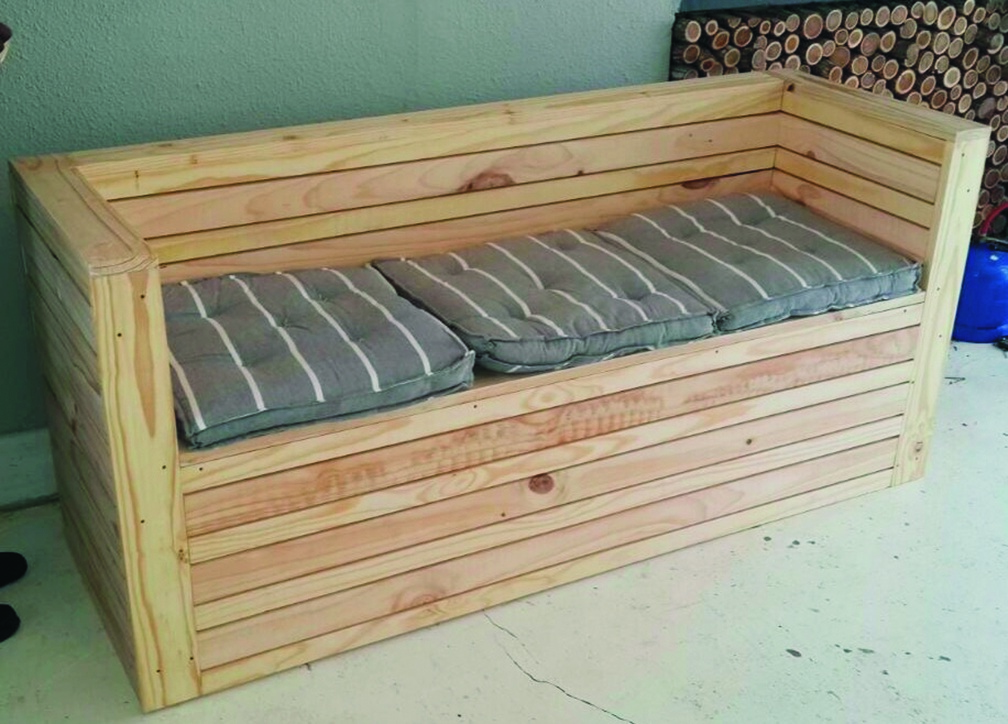
We show you how to build fun and quirky Mickey Mouse shelves for your living areas.
- 22 x 69mm planed pine, cut to:
- four 1 500mm lengths (seat)
- four 475mm lengths (seat supports)
- three 1 500mm lengths (front) four 400mm lengths (front supports) two 1 500mm lengths (backrest)
- four 745mm lengths (backrest supports/feet) six 500mm lengths (sides, inside)
- four 320mm lengths (side supports, inside) twelve 530mm lengths (sides, outside)
- four 745mm lengths (side supports, outside) one 1 500mm length (support for seat and backrest)
- 22 x 44mm planed pine, cut to:
- four 1 500mm lengths (seat) four 1 500mm lengths (front)
- three 1 500mm lengths (backrest)
- twelve 530mm lengths (sides, outside)
- four 500mm lengths (sides, inside)
- 22 x 95mm planed pine, cut to:
- four 745mm lengths (armrest, front and back)
- one 1 500mm length (backrest, top) two 570mm lengths (armrest, top)
- one 1600mm length (back, bottom)
- three packets 8mm x 30mm chipboard screws
- one packet 6mm x 40mm chipboard screws
- wood glue
- wood filler
- 120-grit sandpaper
- paint or varnish (optional)
- cordless drill and 3mm drill bit
- wood clamp
- square
- scraper
- 6mm spacers (wood offcuts)
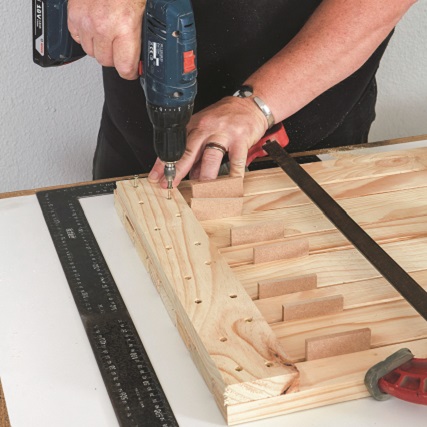
Step 1
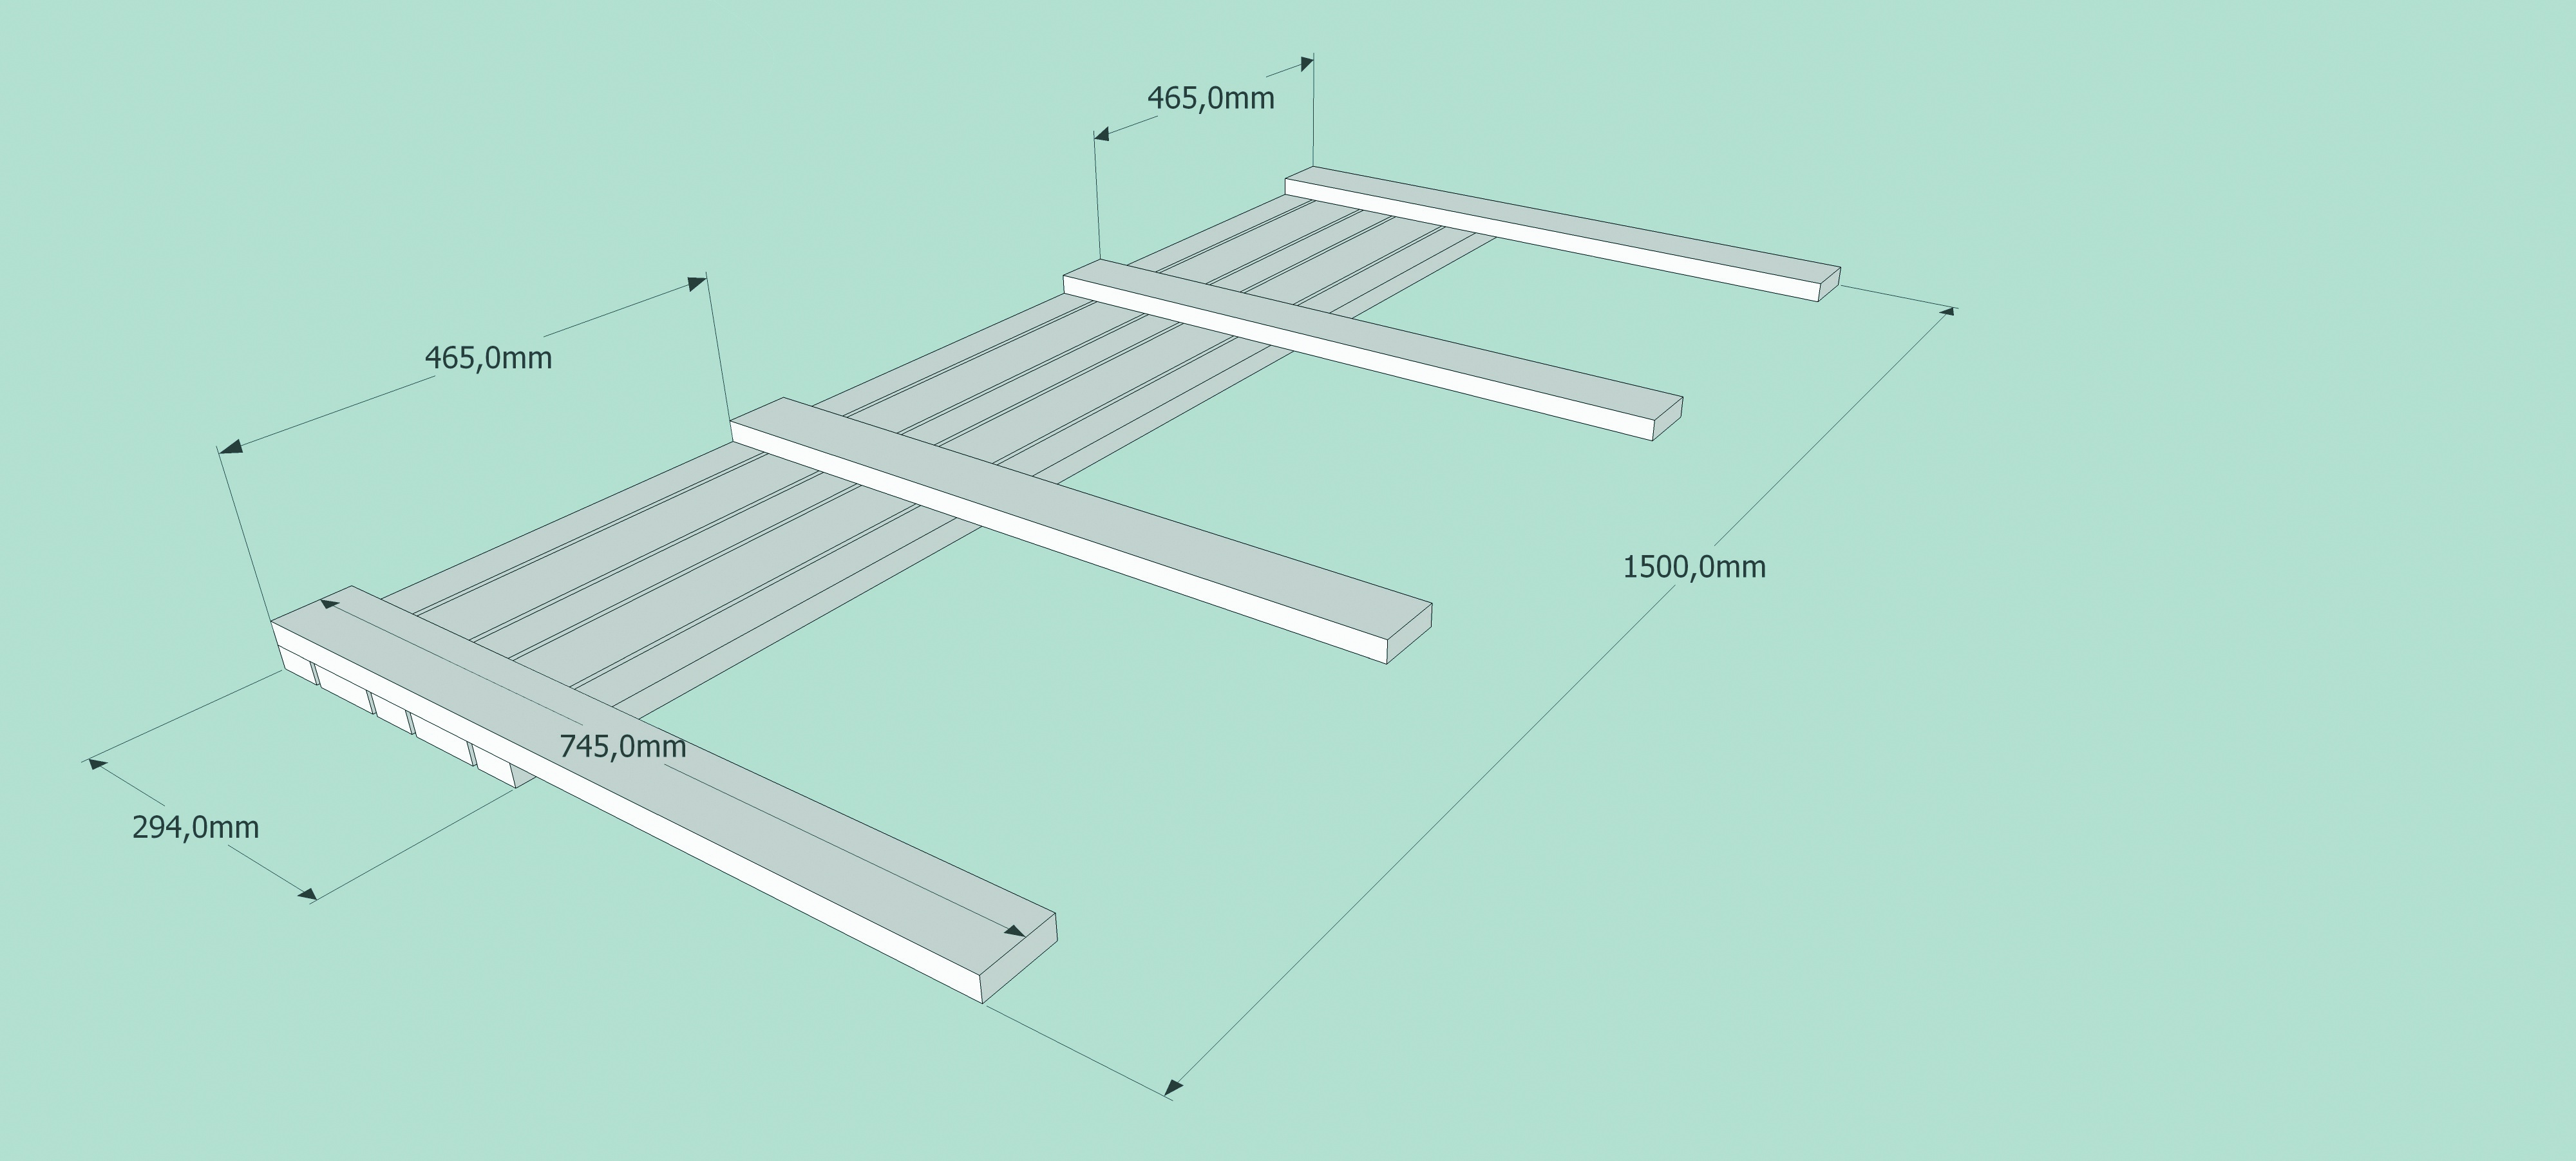
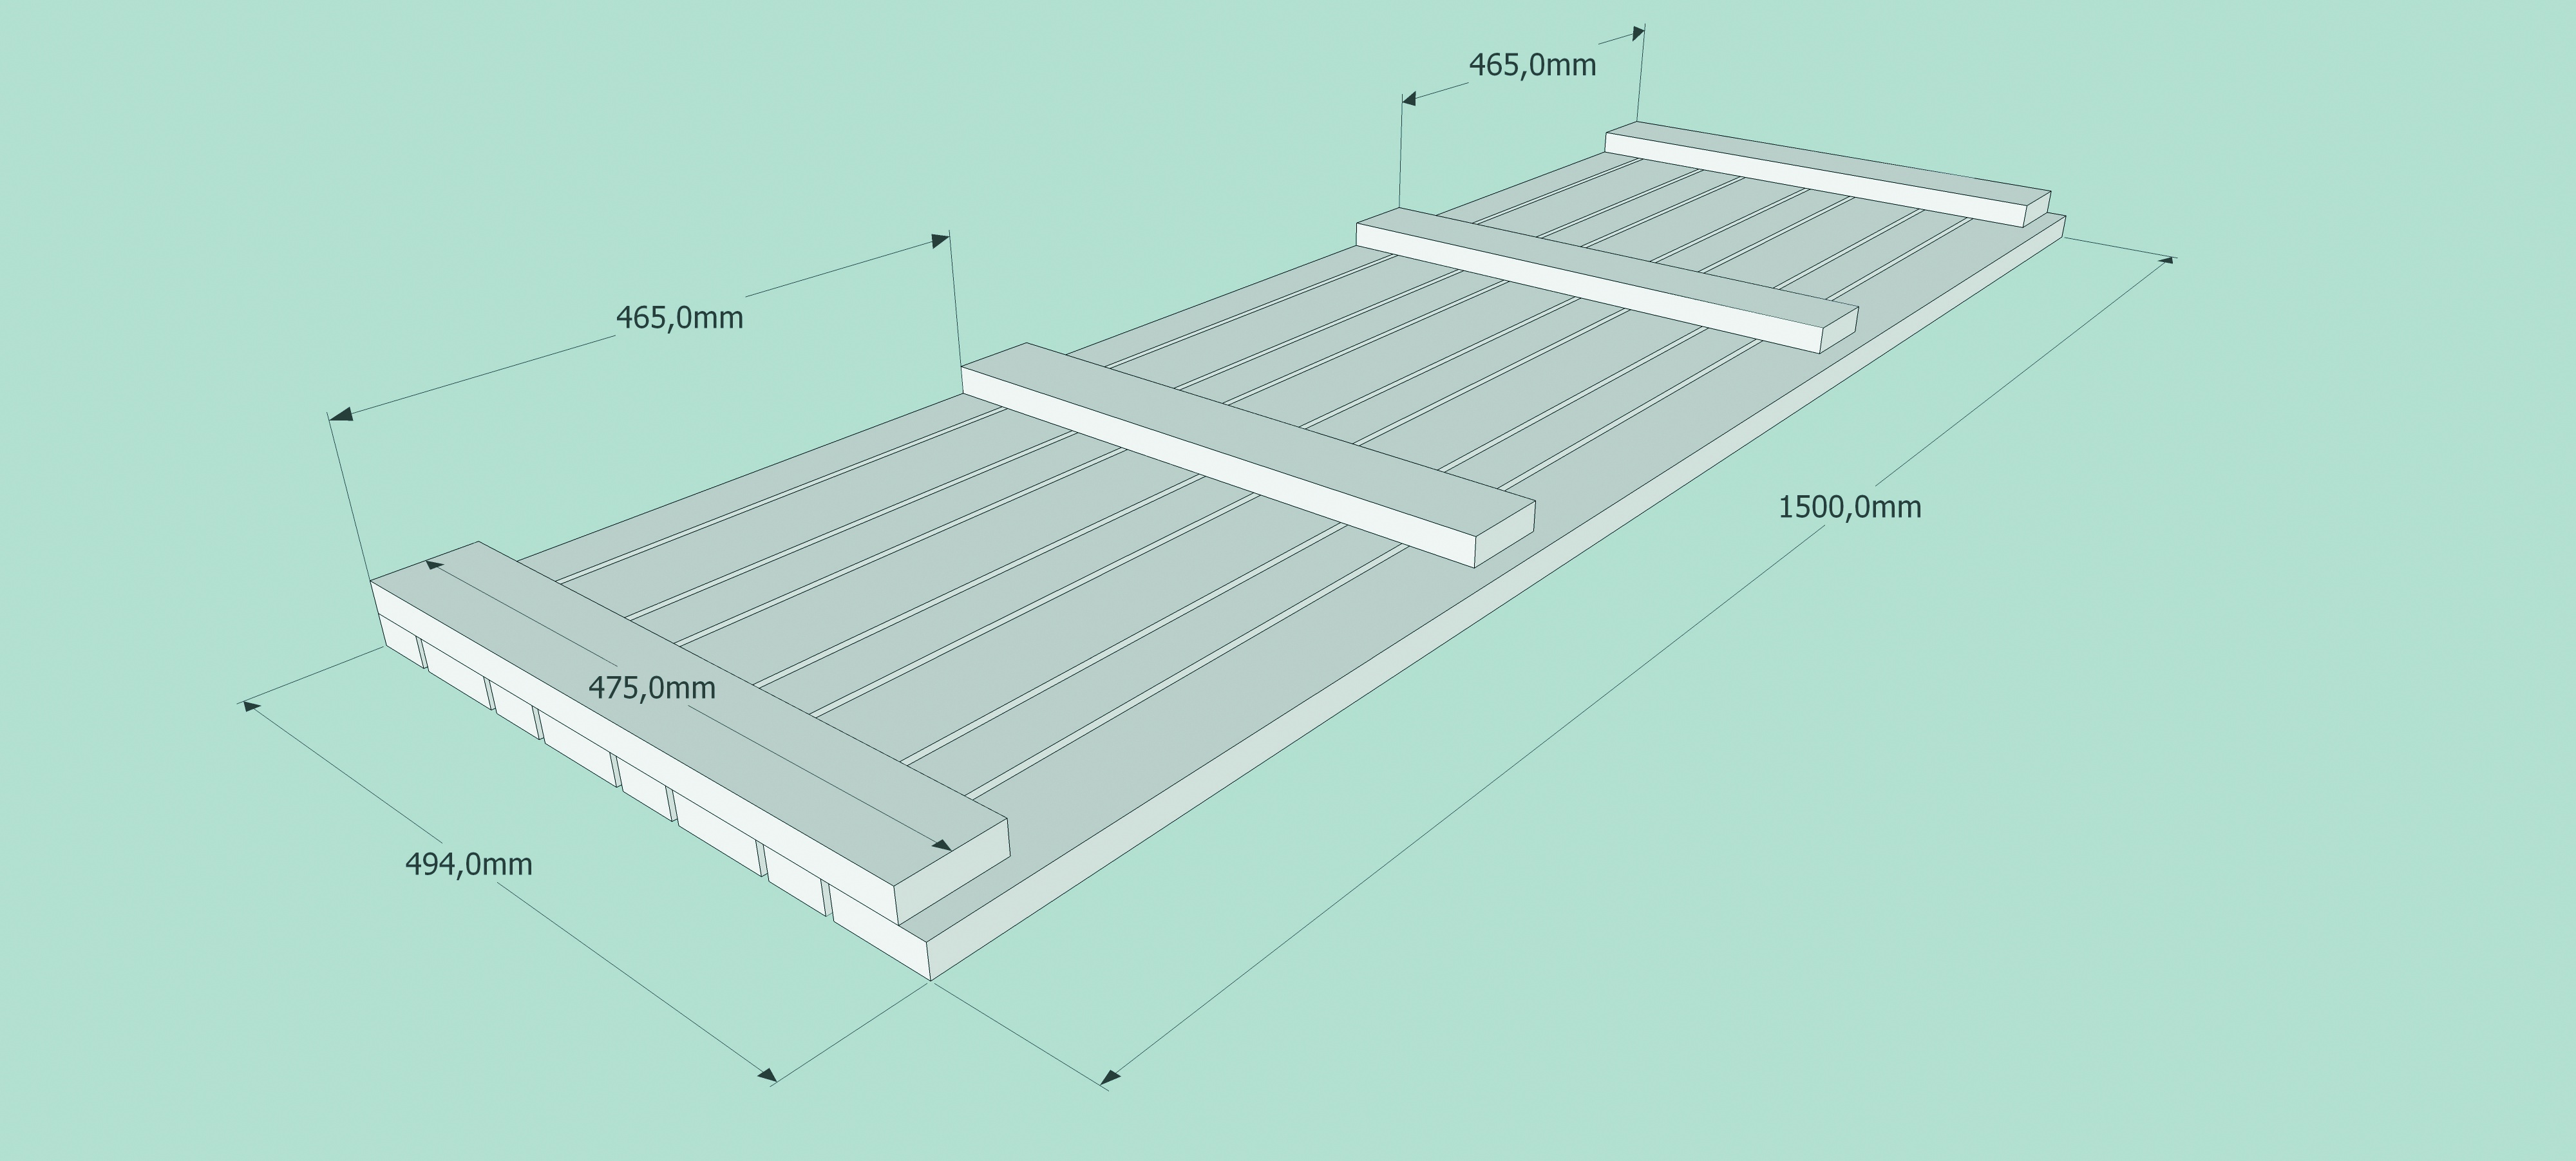
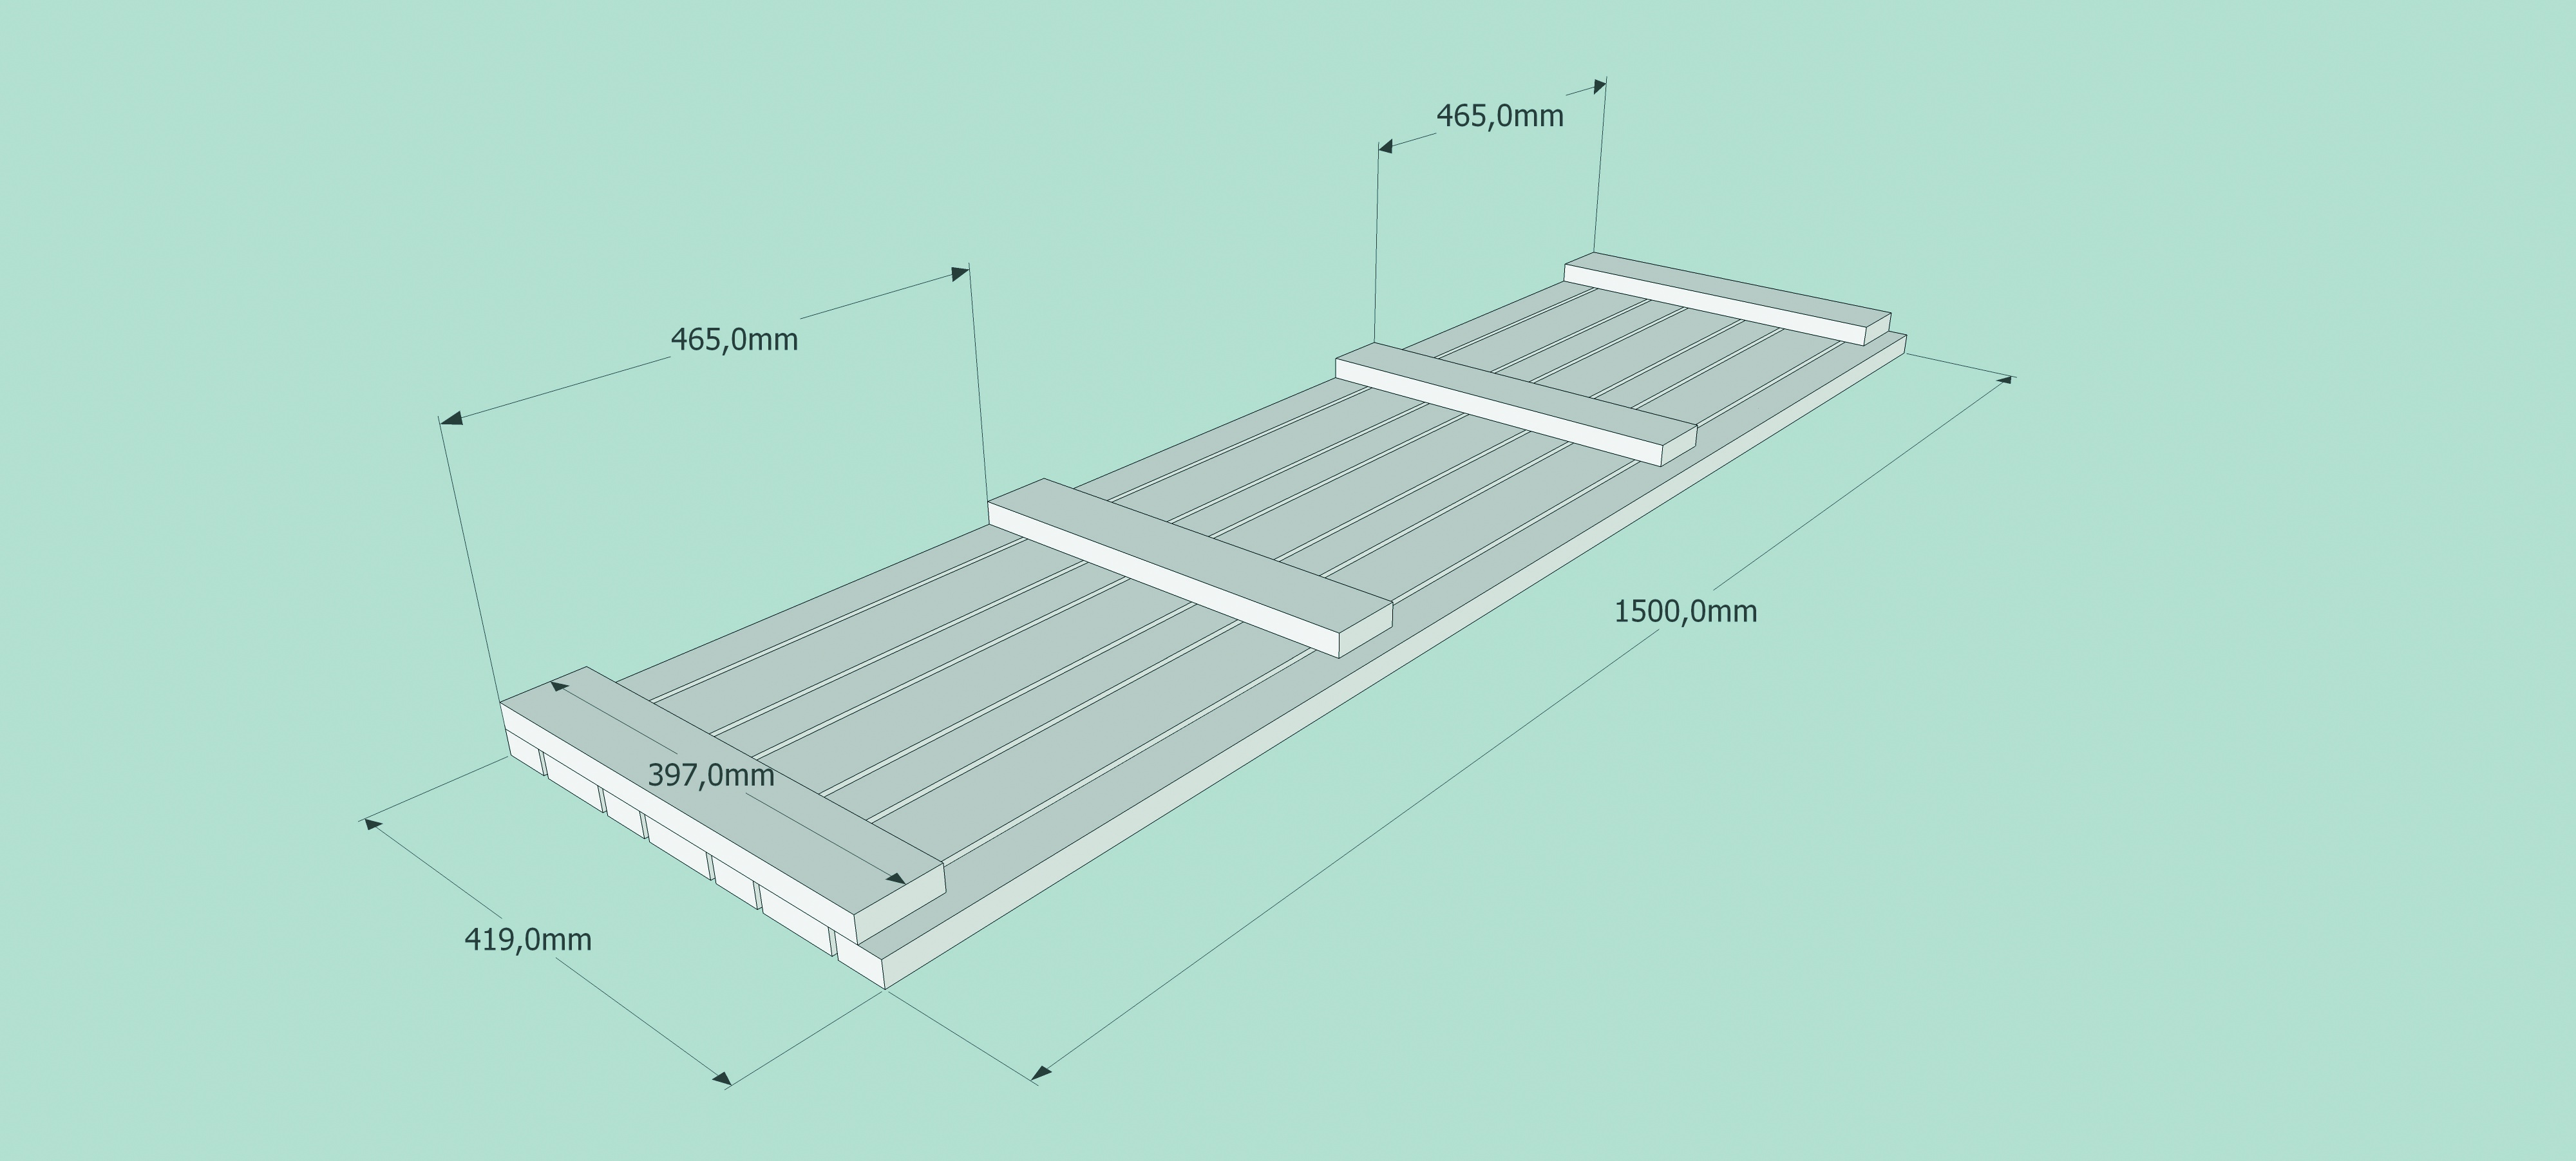
Make the seat by placing the four 22 x 69 x 1 500mm and the four 22 x 44 x 1 500mm planks next to each other, alternately.
Top Tip: Use a wood clamp to hold the planks in place and the 6mm spacers to make sure the gaps are even. Place the four 22 x 69 x 475mm supports at right angles across the seat planks and space them as indicated on the sketch (opposite).
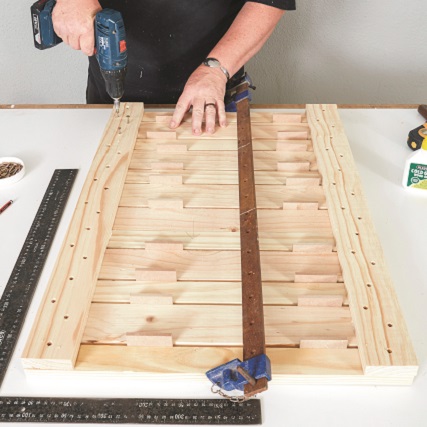
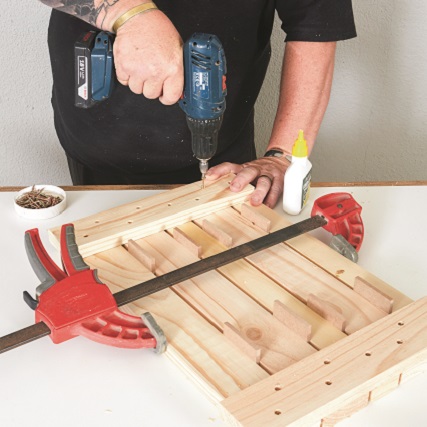
Using the 8mm x 30mm screws, glue and screw the supports in place in a zigzag pattern. Make the backrest, sides and front by repeating the above process
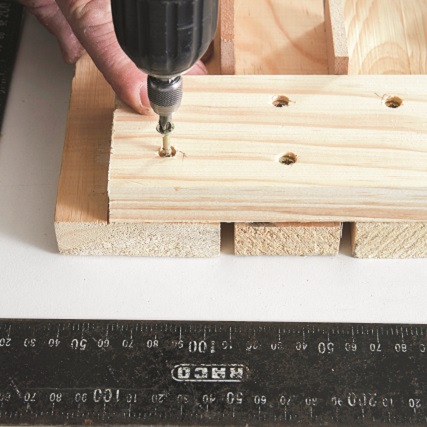
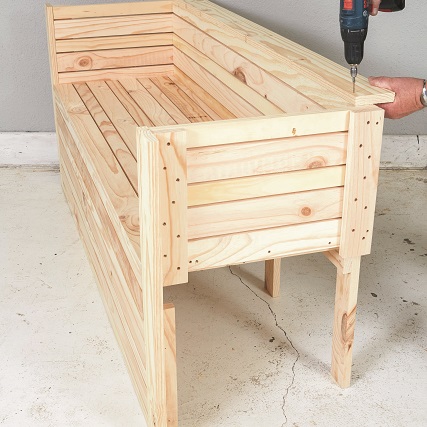
Step 2
Join the seat to the backrest with the 6mm x 40mm screws.

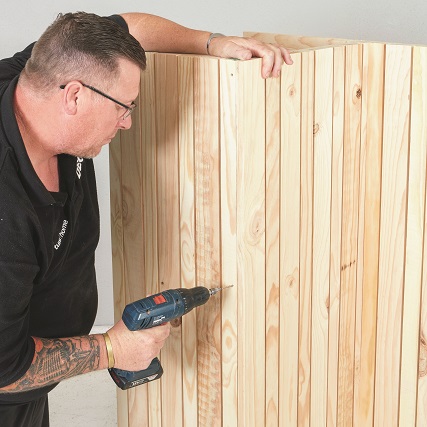
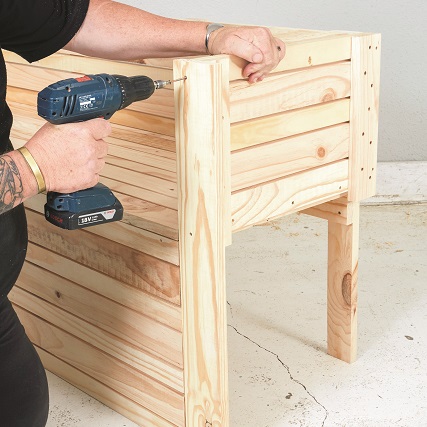
Step 3
Attach the inner panel for the sides to the backrest and seat. Attach two of the 22 x 95 x 745mm planks to the front of each side to finish off the front of the armrest.
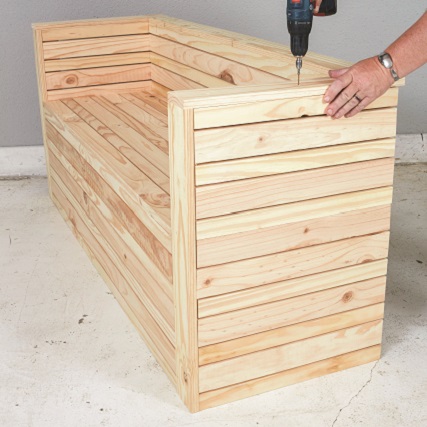
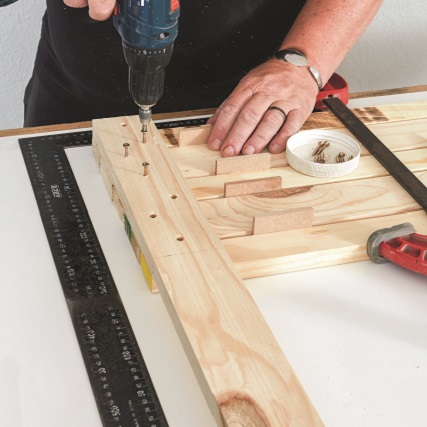
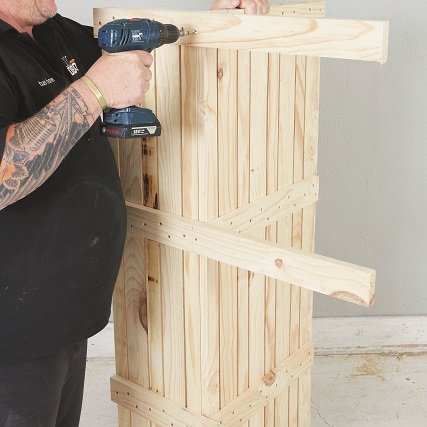
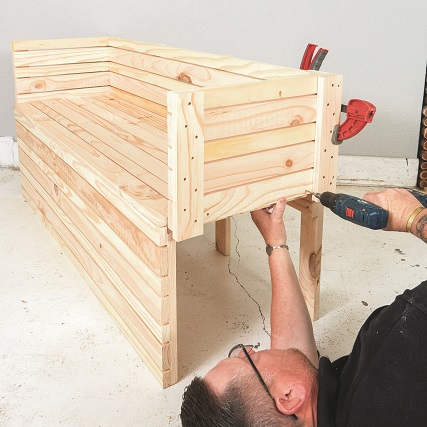
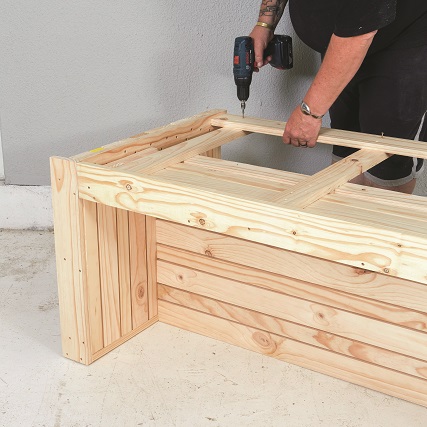
Step 4
Place the outer panel of each side in position and attach with the 6mm x 40mm screws. Complete the armrests by screwing the 22 x 95 x 570mm planks on top. Turn the bench over with the backrest facing upwards and screw the 22 x 95 x 1600mm plank to the bottom of the legs to reinforce the sides.
Backrest
- Ask your timber merchant to cut the wood to size.
- Sand the wood ahead of time and remember to drill pilot holes.
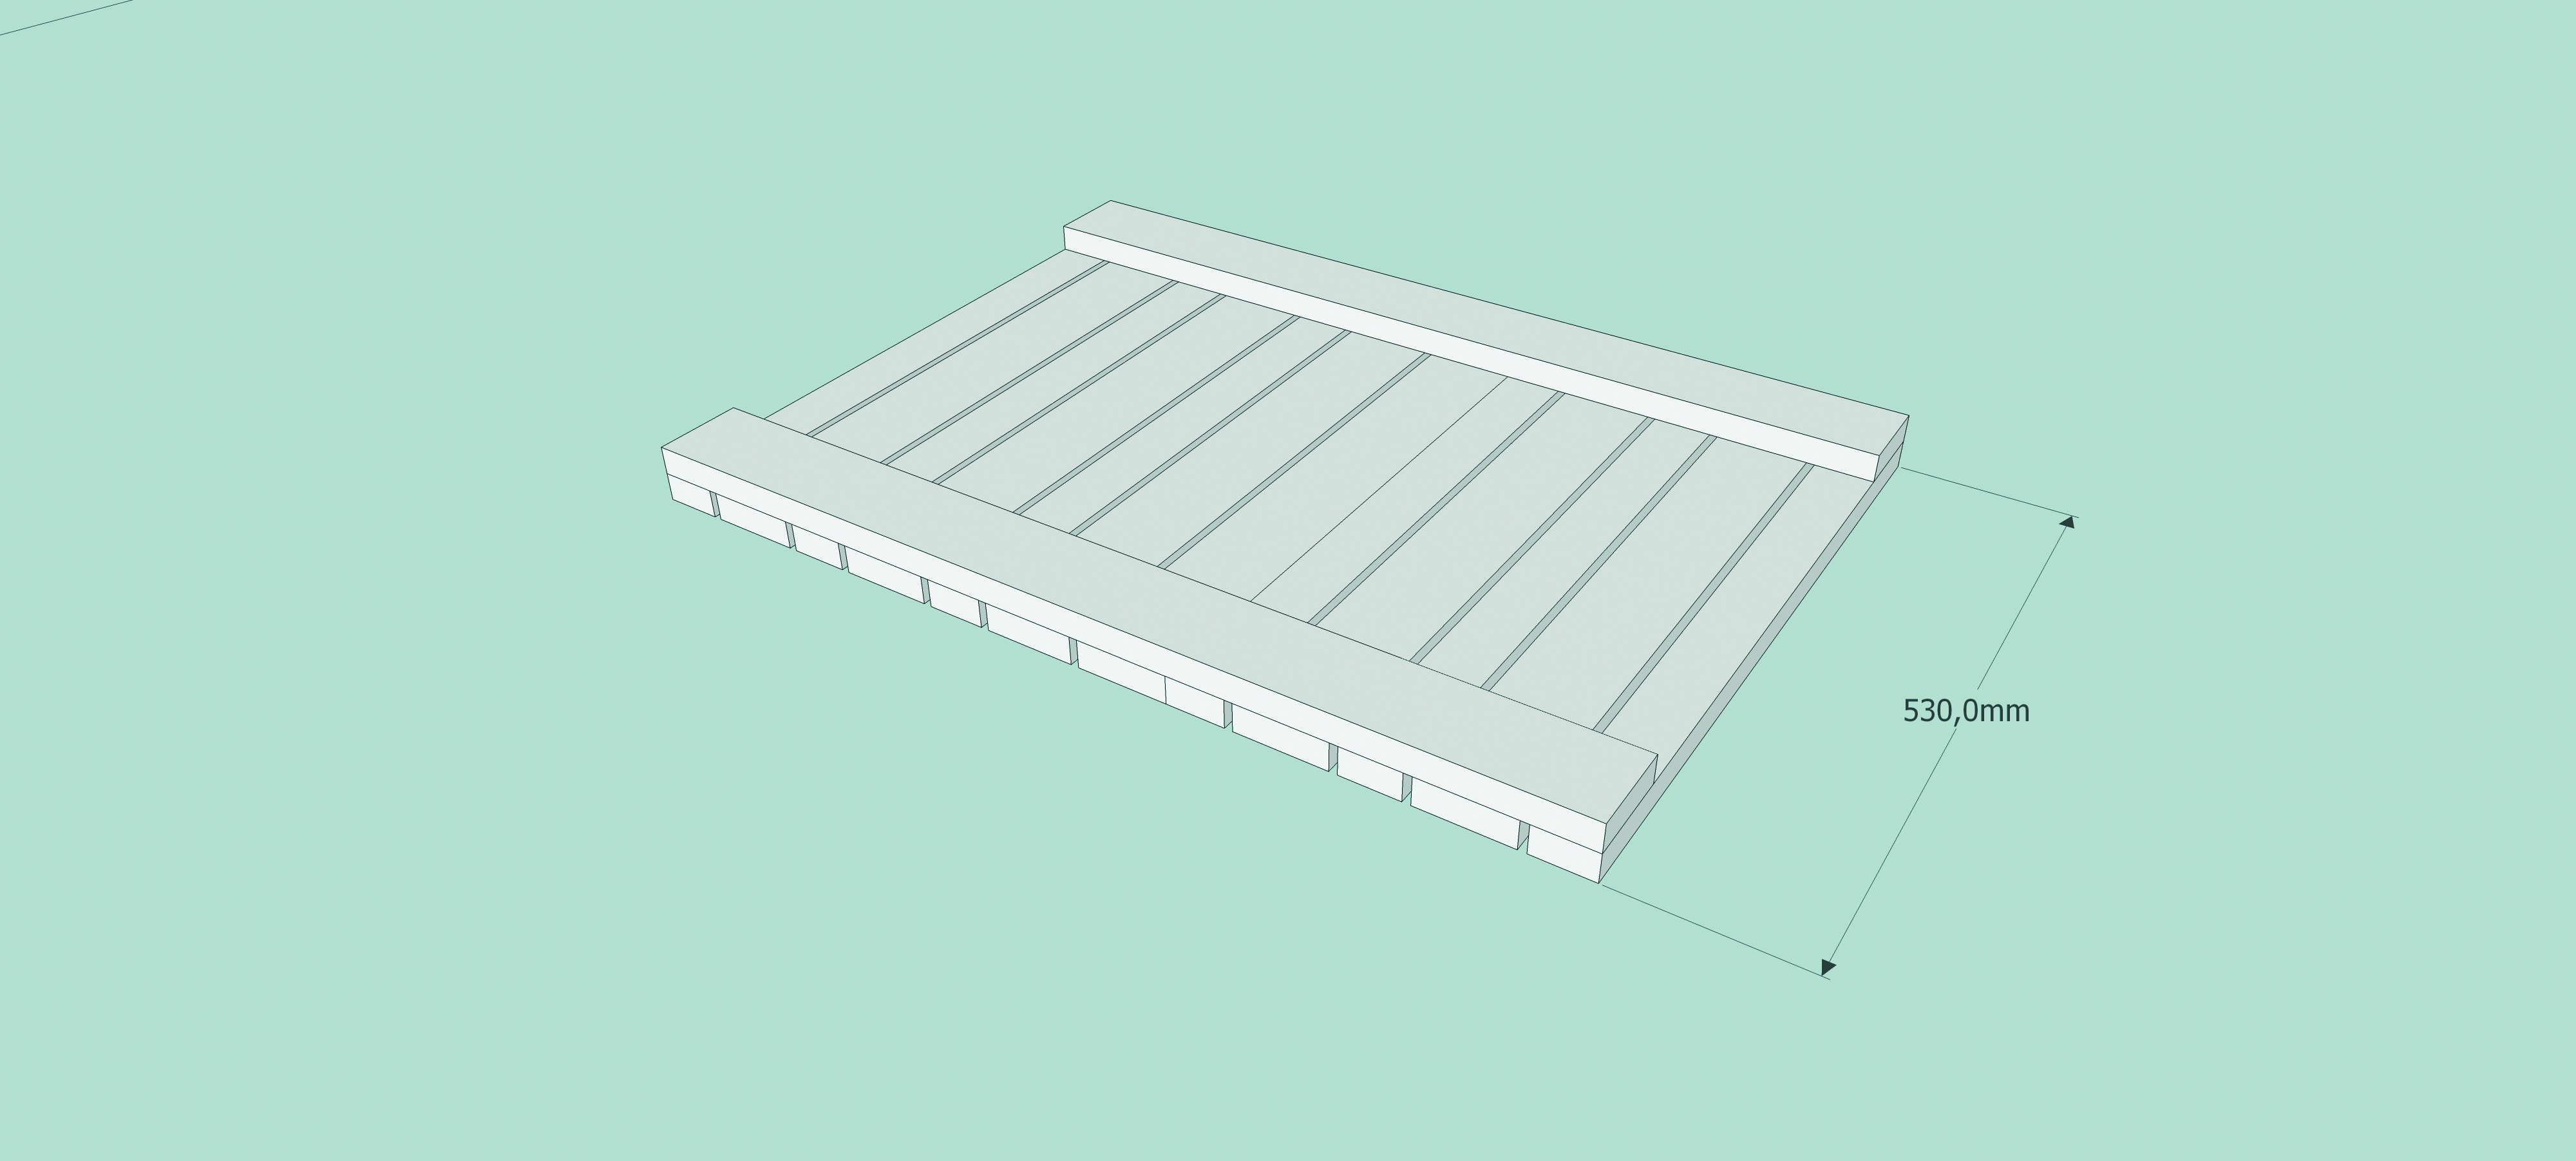
Side
Outside x 2
Seat

Side
Inside x 2
Front
Credits
Referenced from Gallo images / Home Magazine
Browse 1000’s of products available to you. Select your country to Shop Online.


