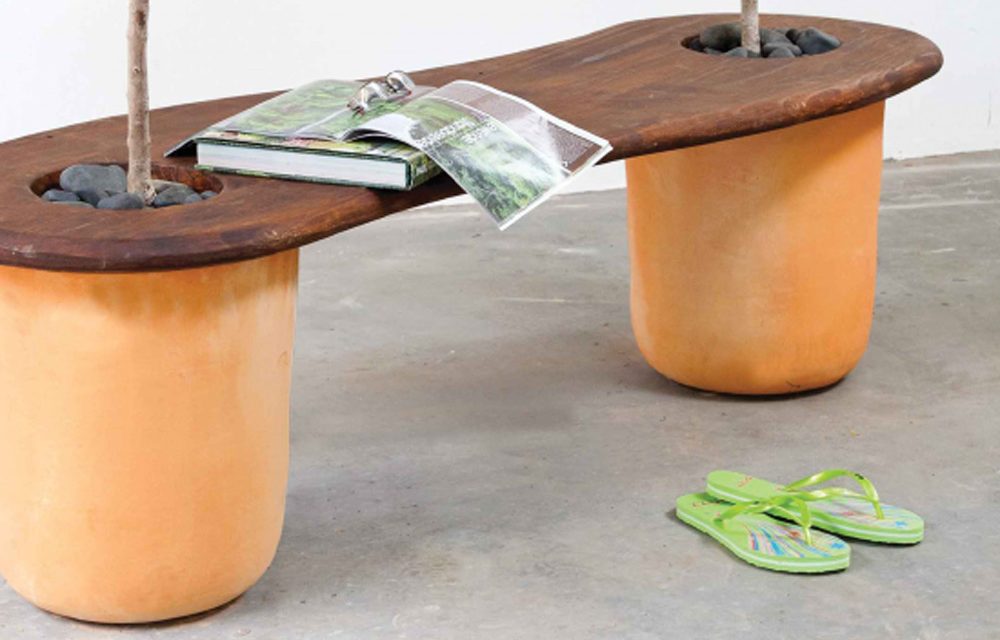
Picture yourself seated between two of your favourite shrubs – all cosy together on this unusual bench – while you admire the view of your garden. This project demands only a minimum level of skill using a jigsaw and belt sander and it’s easily done over a weekend.
- Carpenter’s sash clamps
- electric drill and 10 mm drill-bit
- jigsaw
- belt sander
- orbital sander
- paintbrush
- SA pine, CCA-treated, cut as follows:
- 3 x 1500 x 228 x 38 mm
- 1 x sheet of masonite (approximately 750 x 500 mm)
- Wood glue
- Woodoc wood sealer (deep brown)
Step 1
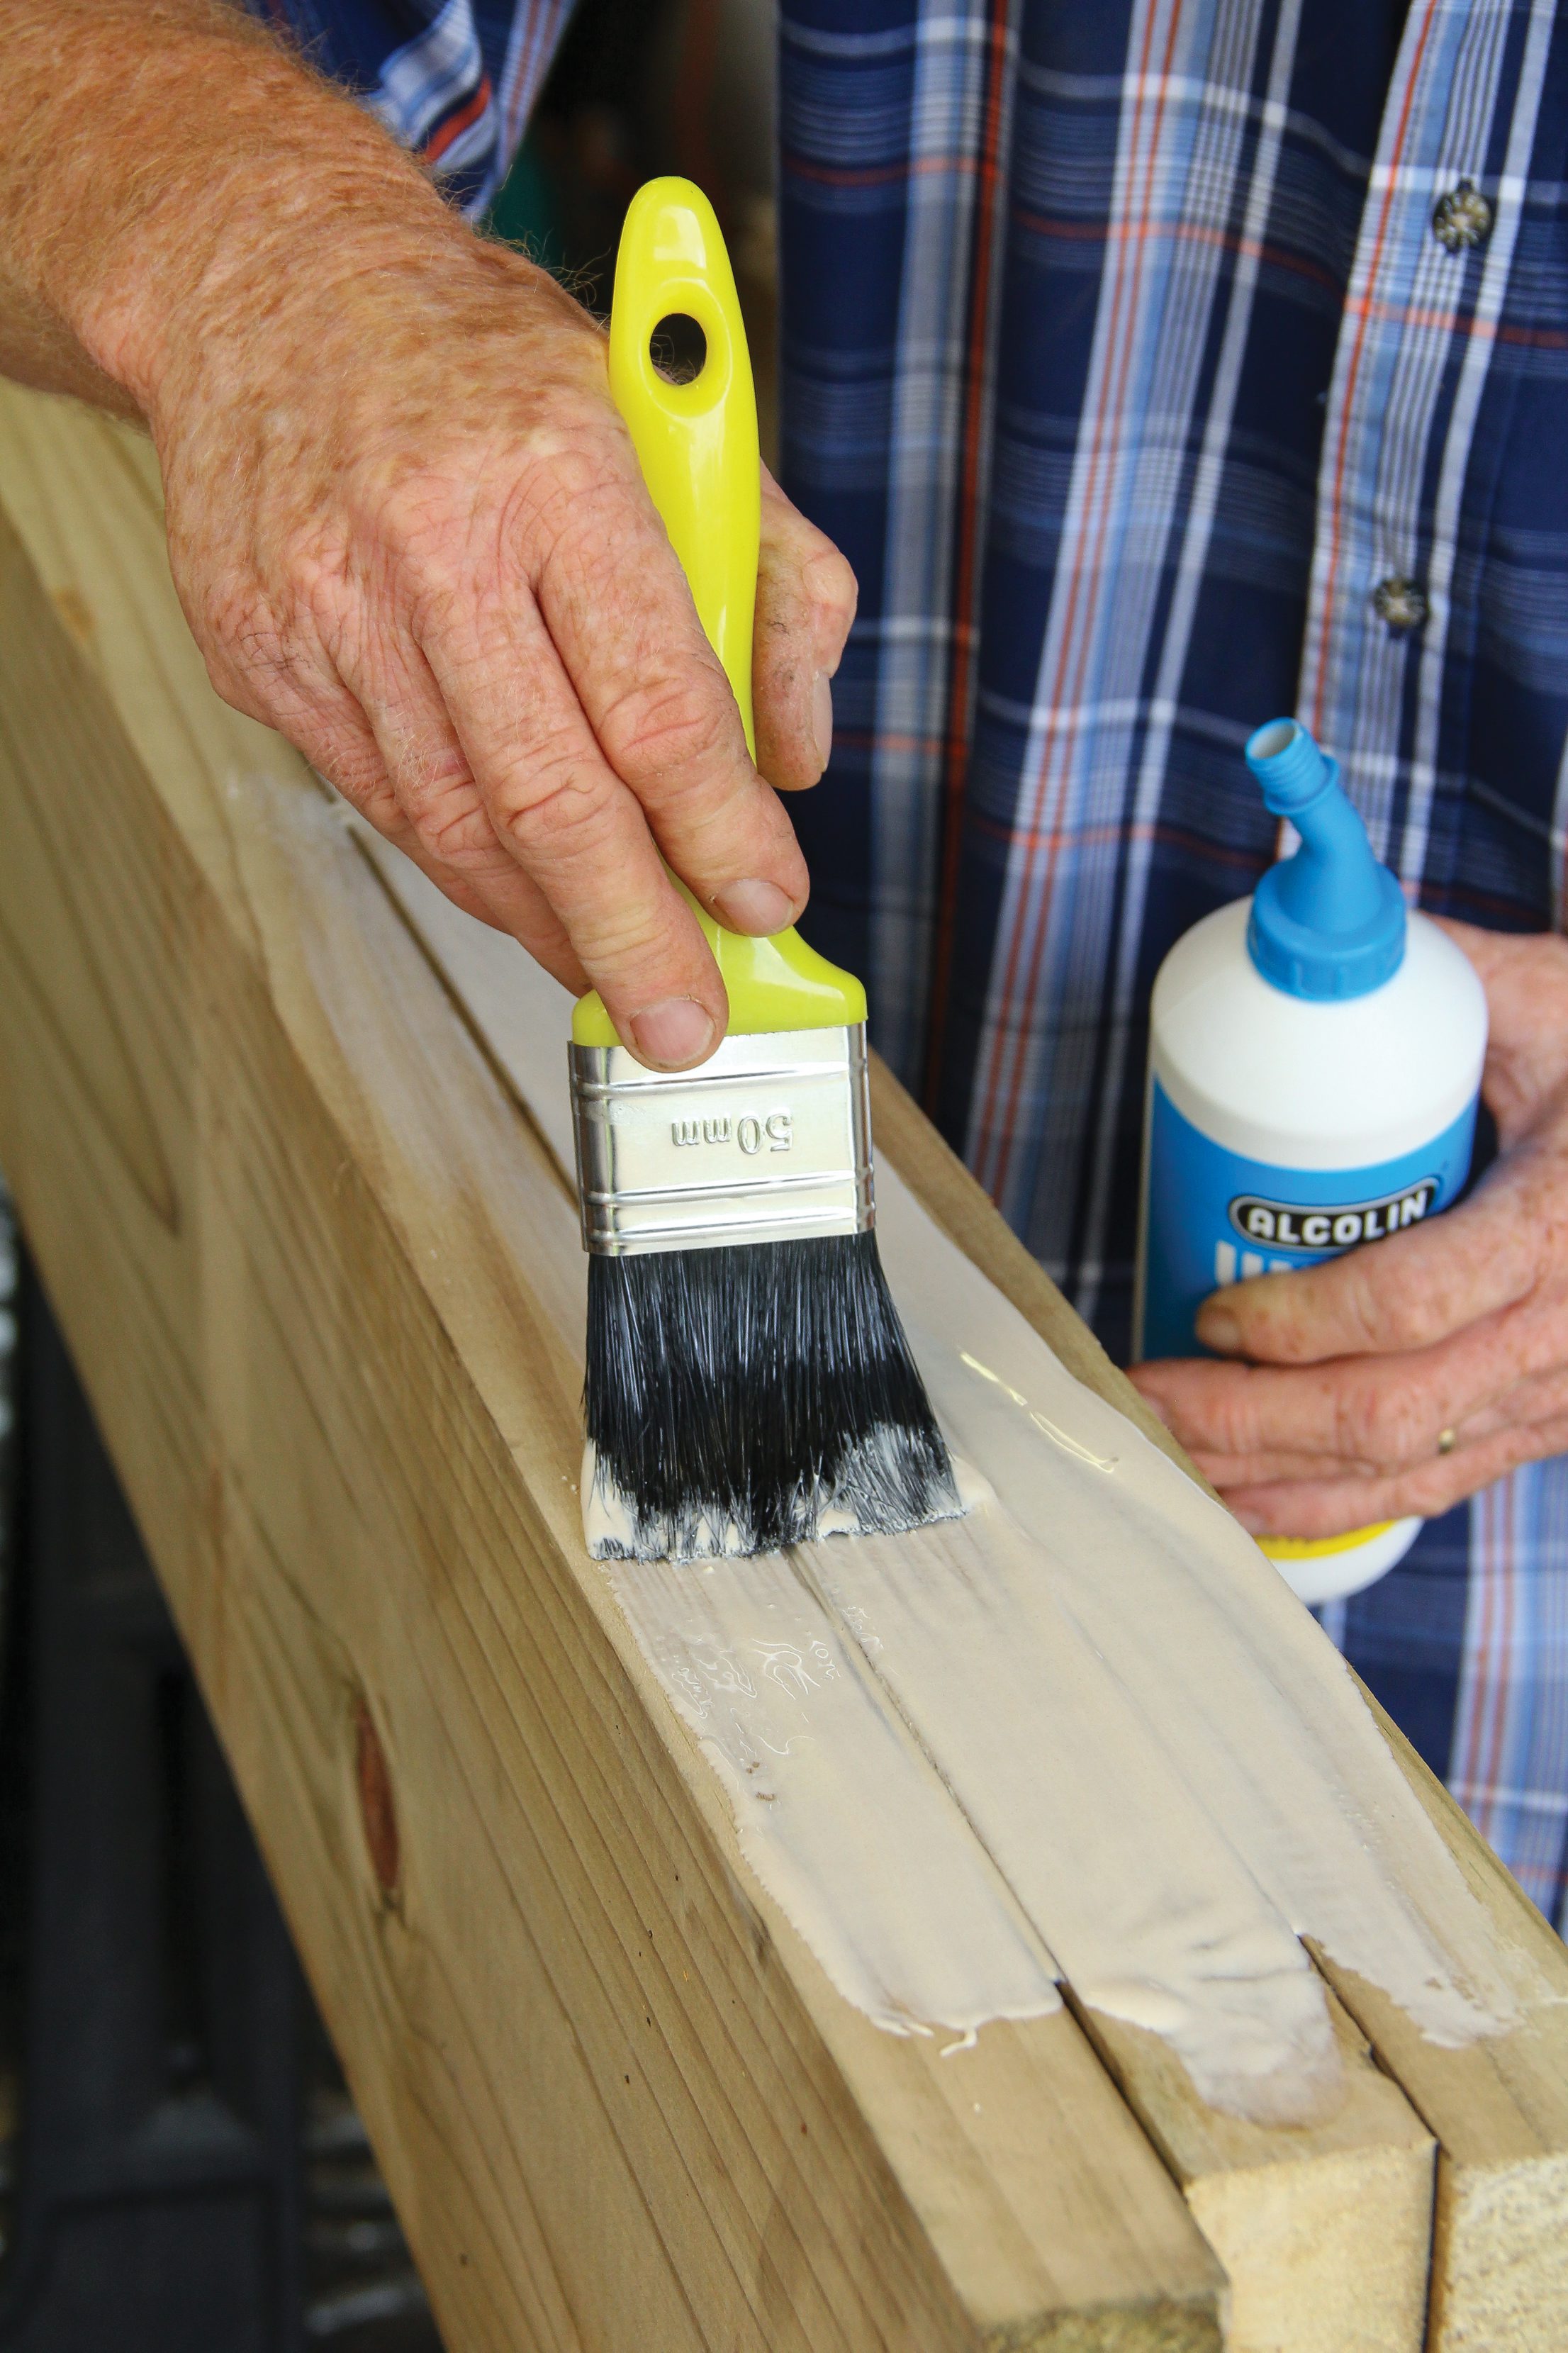
Apply wood glue to the edges of the 3 pieces of timber that will be bonded together to form the bench top, and then clamp them tightly together with the sash clamps. Remove any excess glue with a damp sponge.
Step 2
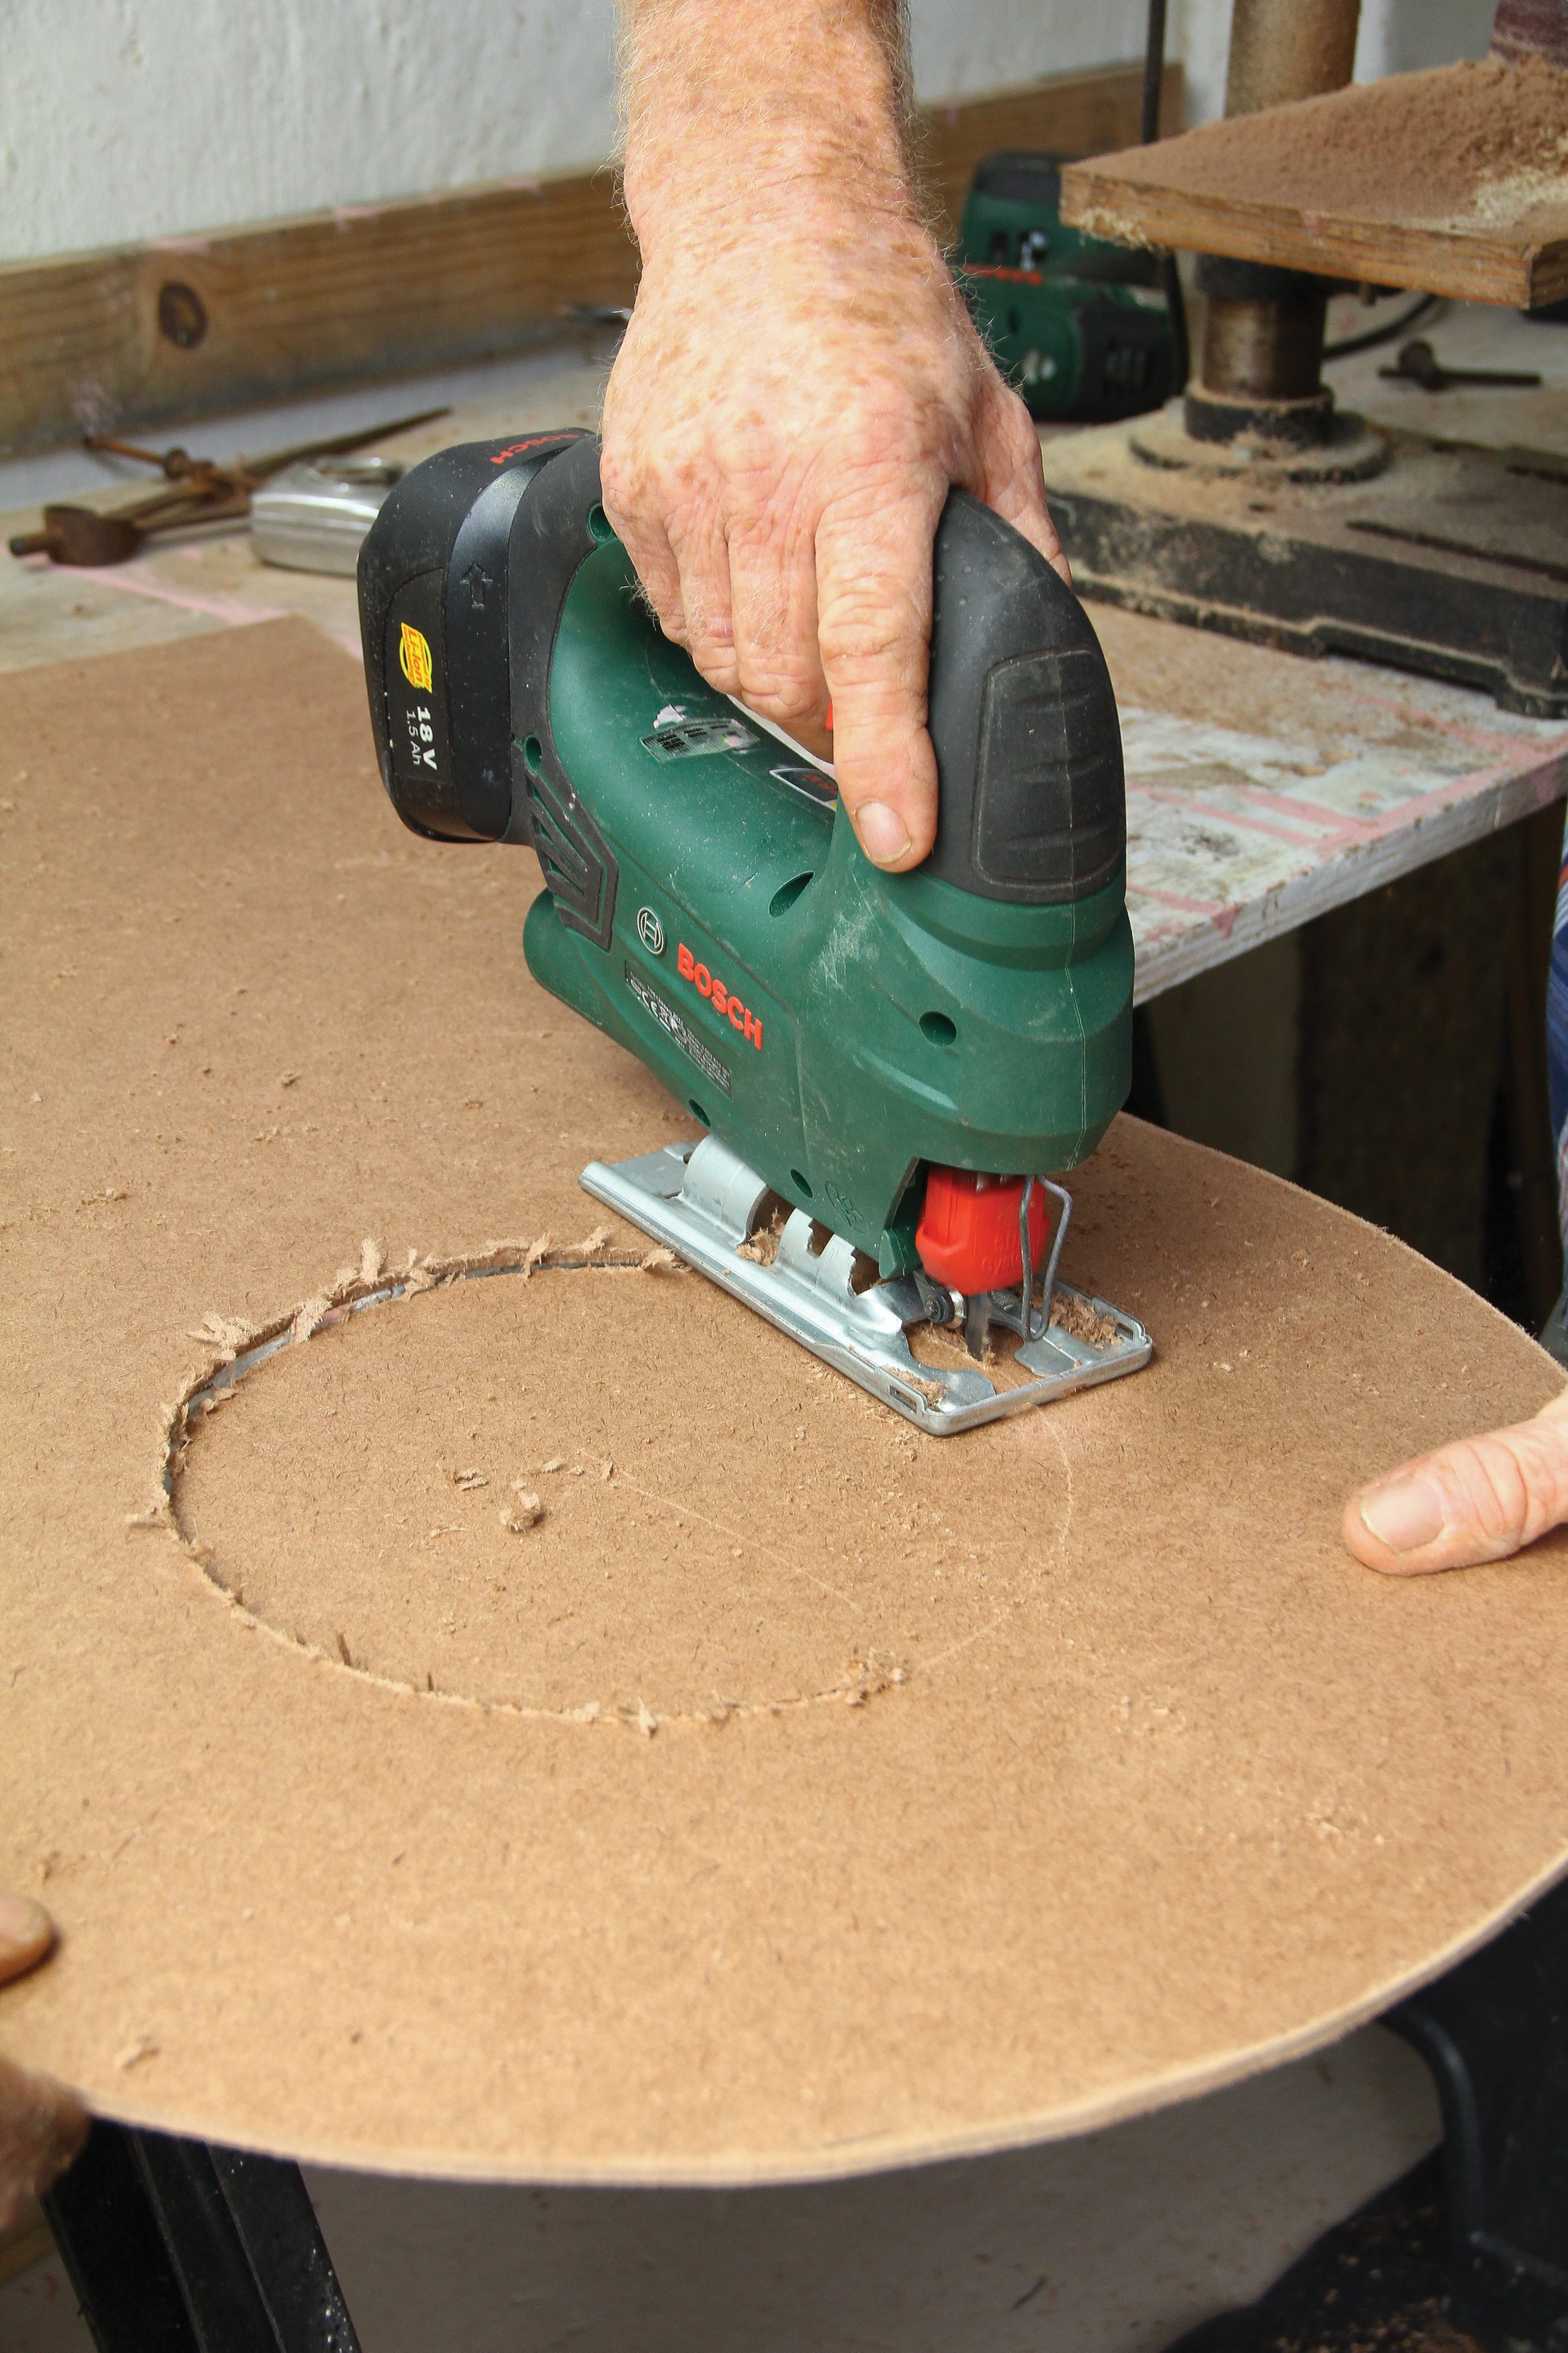
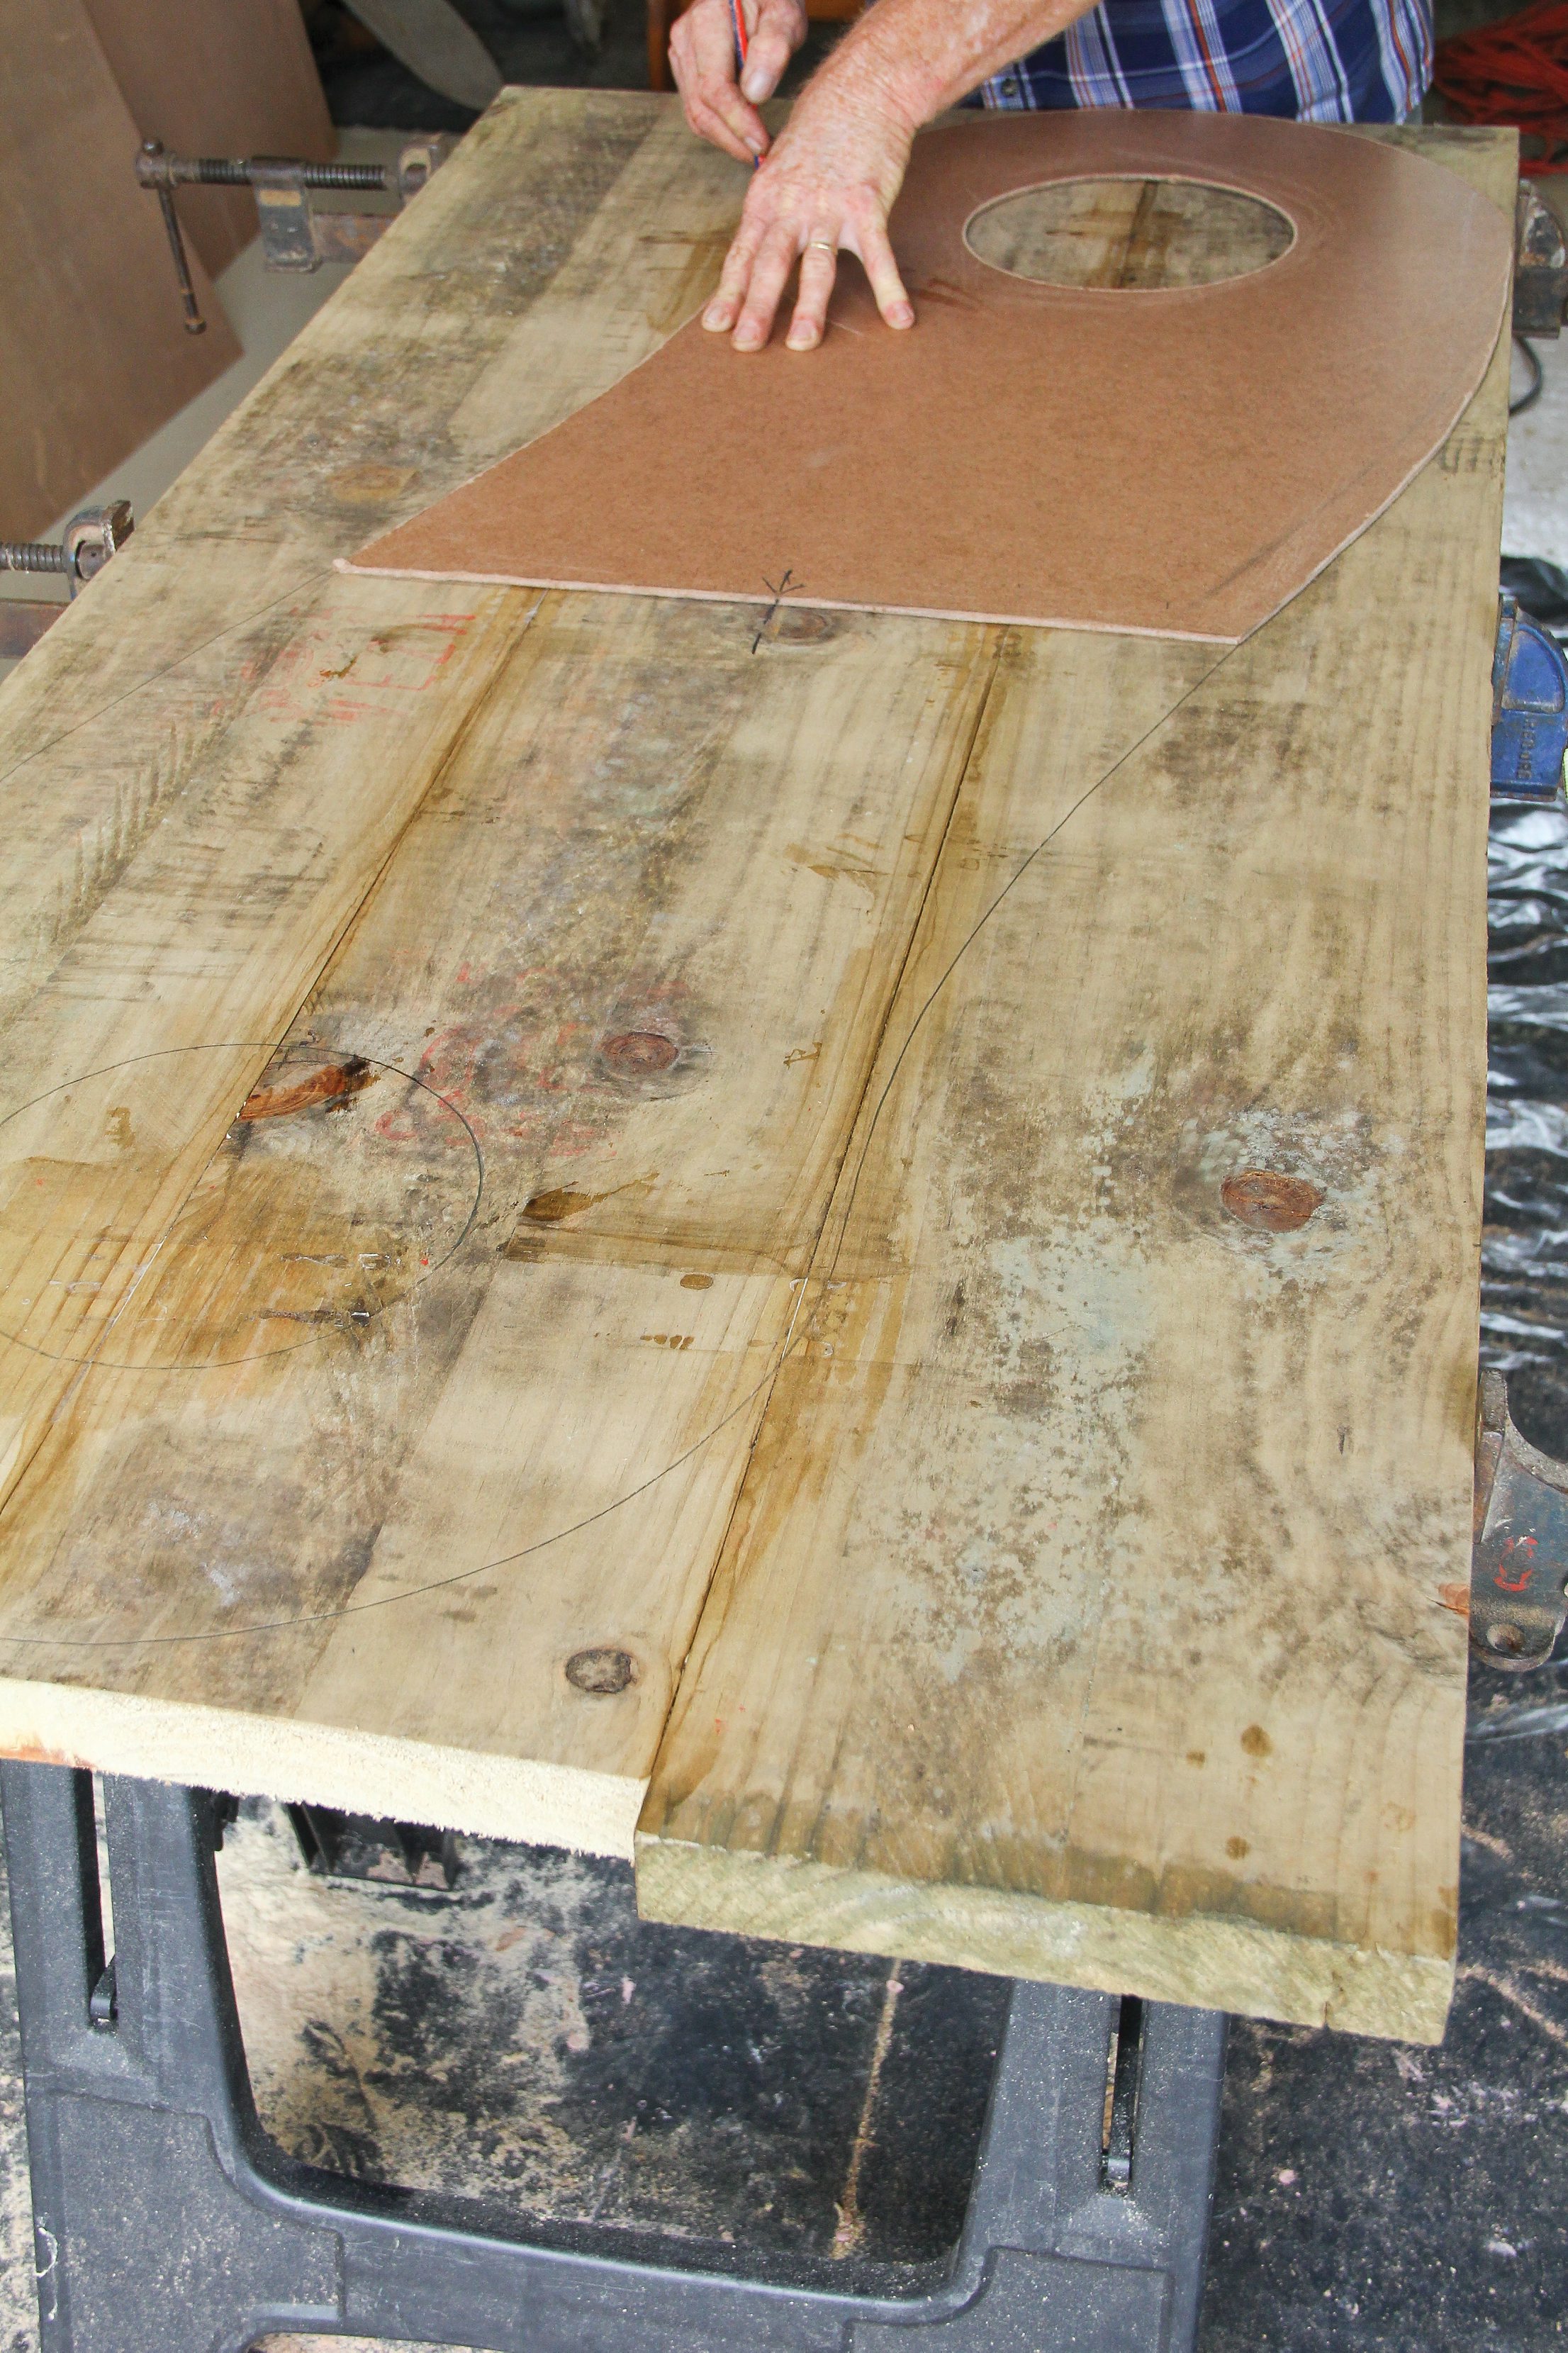
Take the piece of masonite and draw one-half of a curved pattern – including a traced, round hole for the pot plant – as shown. Then cut this pattern out using the jigsaw.
Step 3
Once the glued timber has dried, place your masonite template on it at one end, and then trace the pattern onto the wood. Then flip the template over, and trace the pattern on the other end – thus forming the outline of the bench top.
Step 4
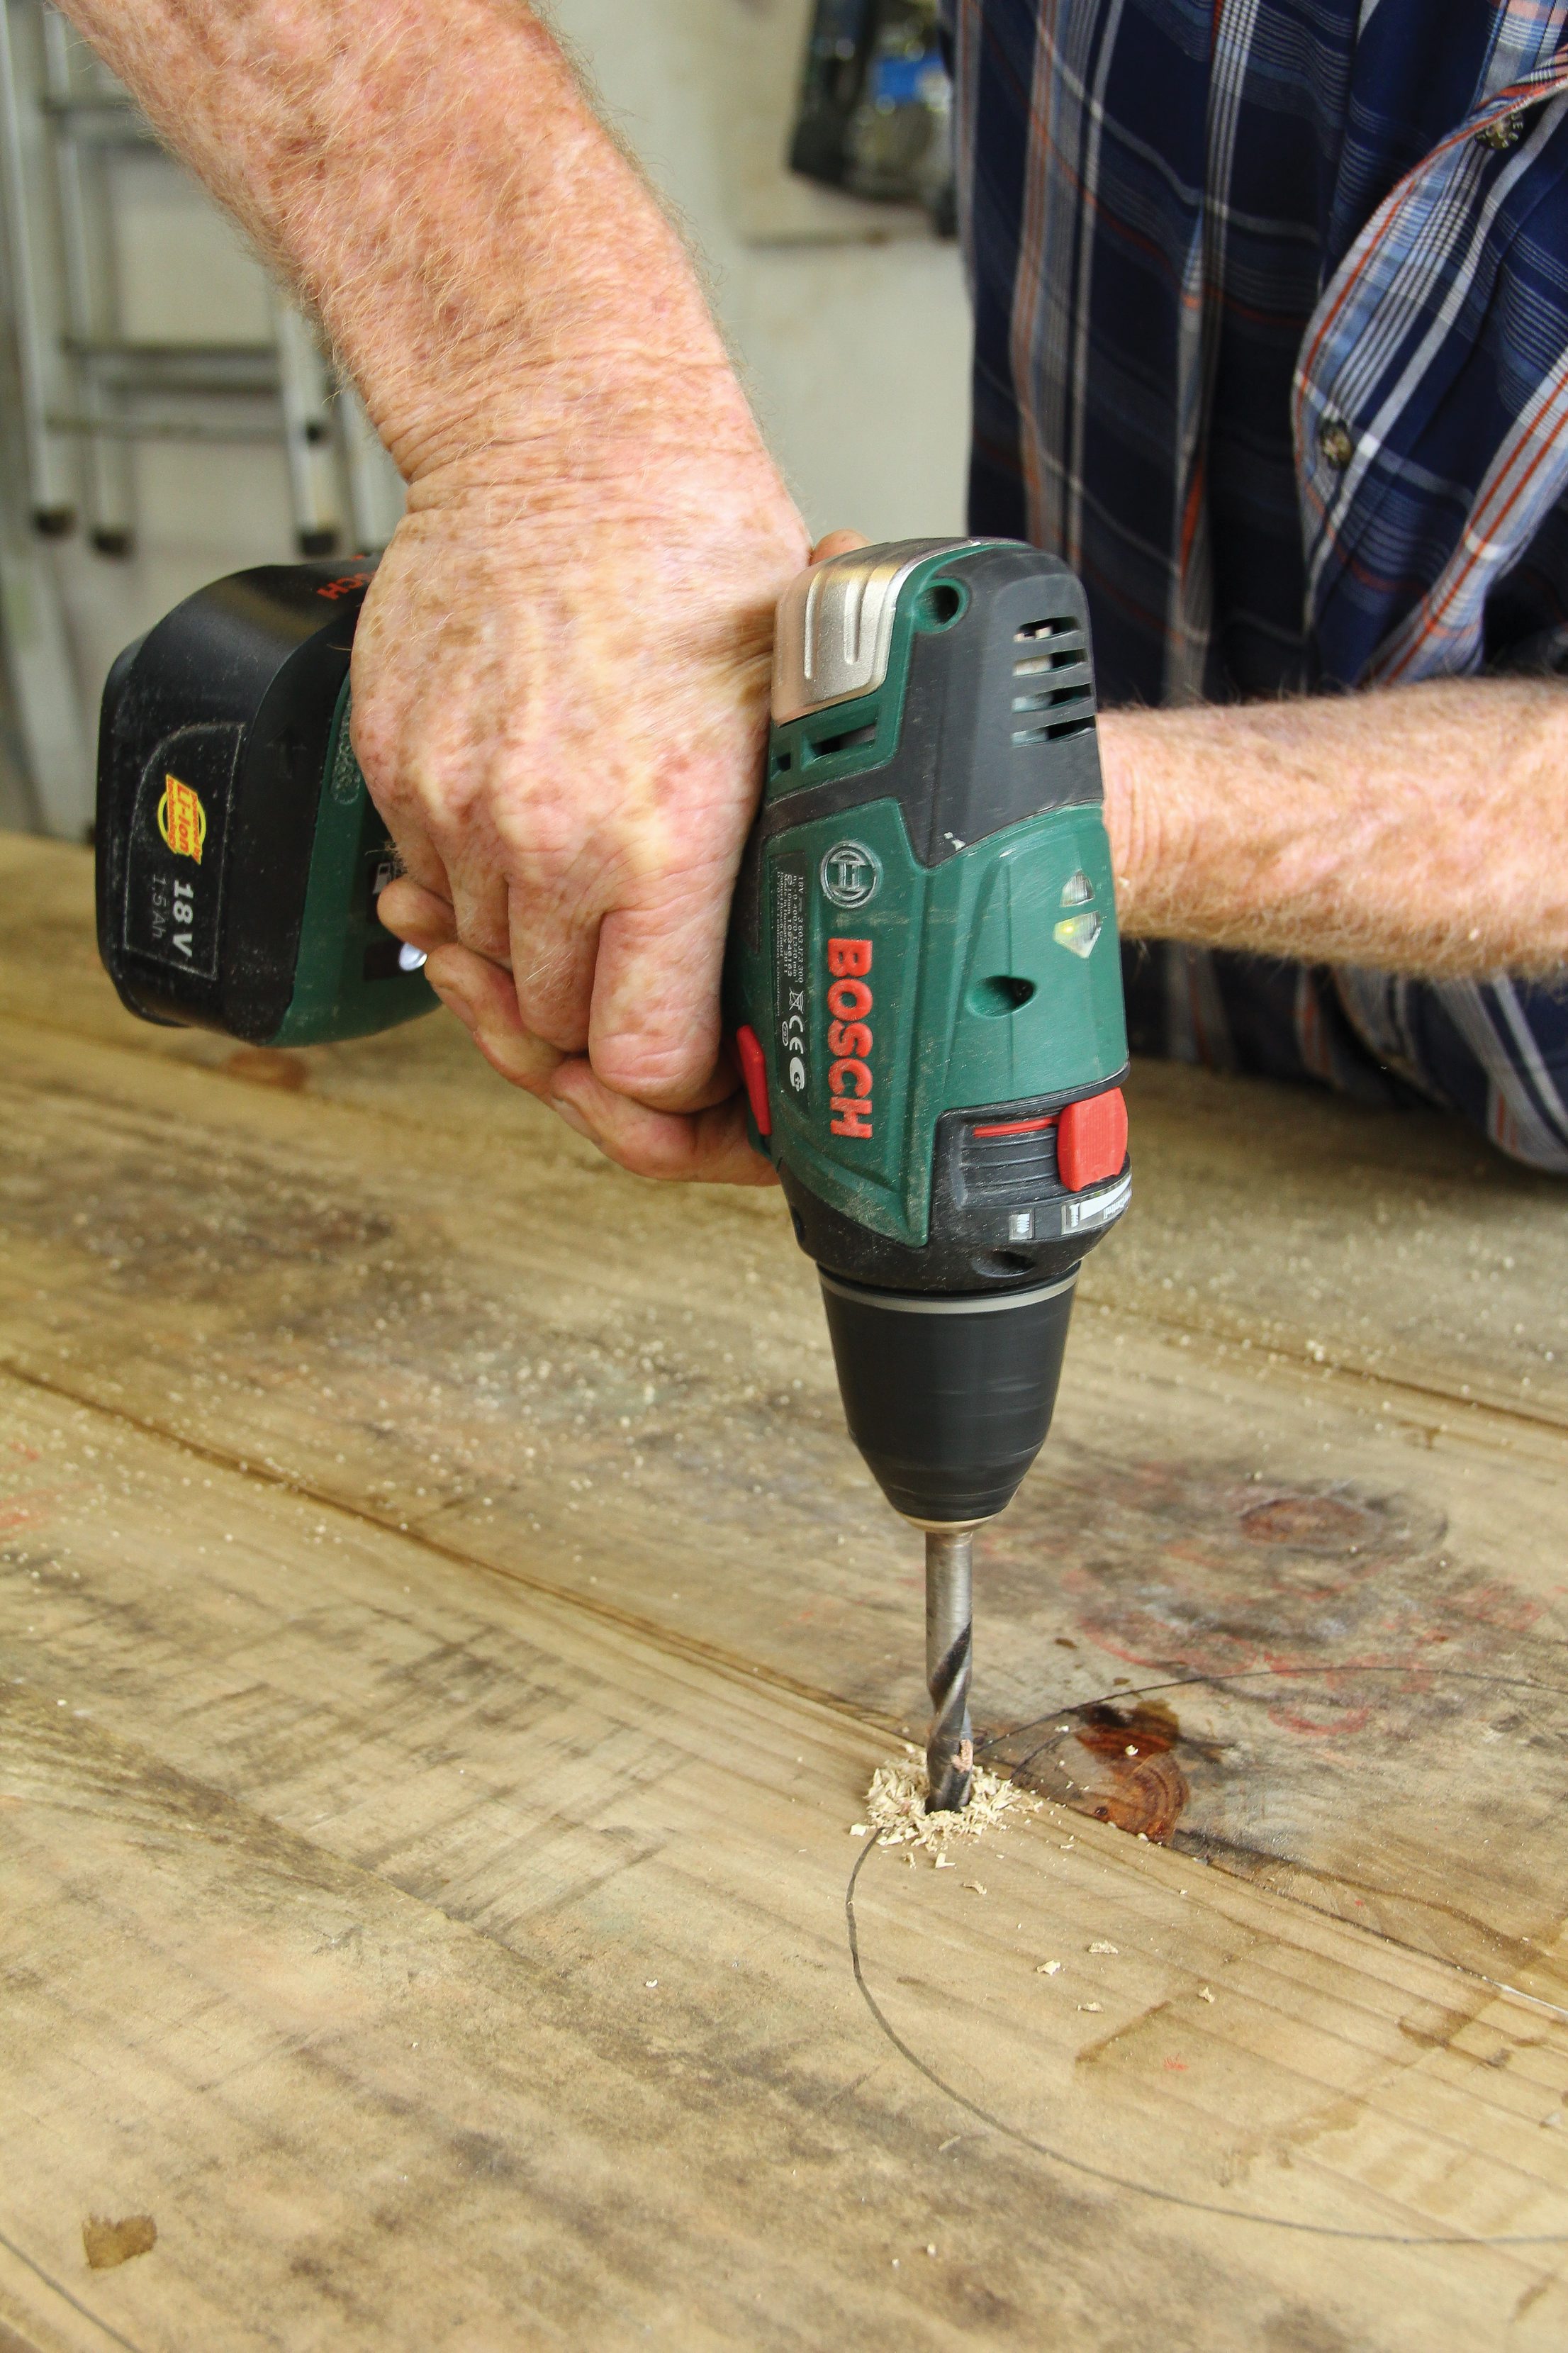
Drill a hole into the timber at a point on the marked outline.
Step 5
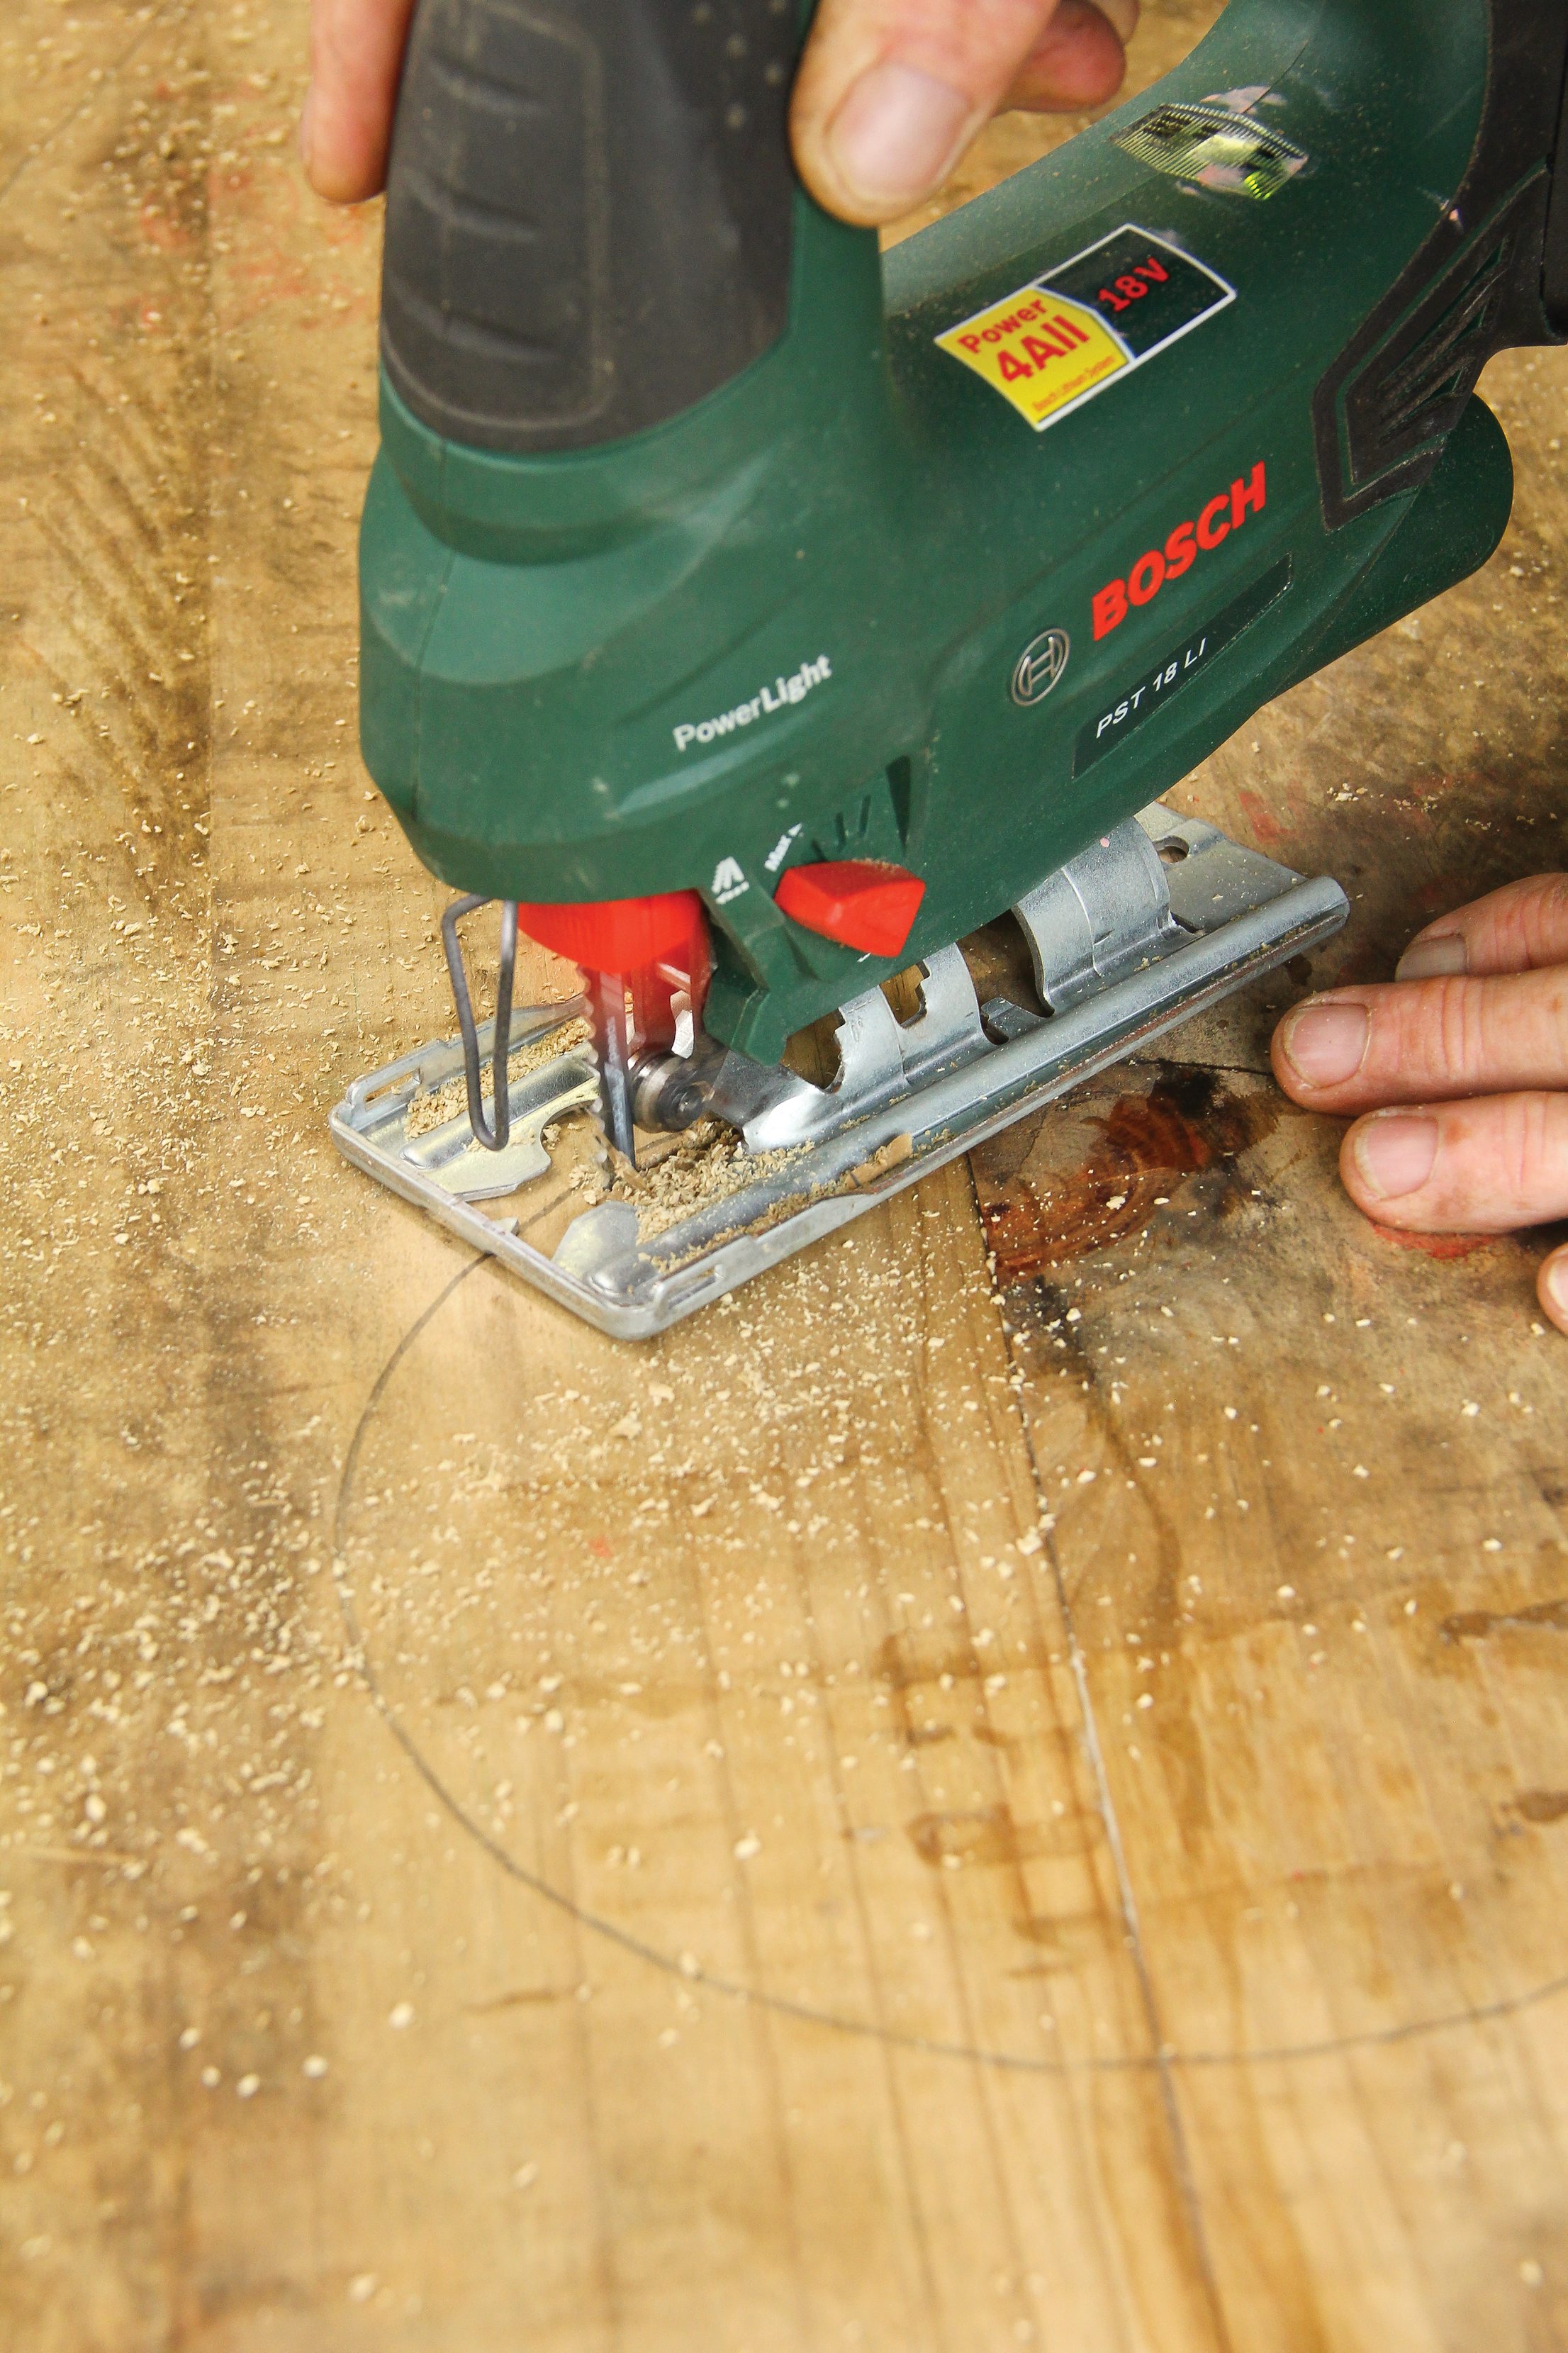
Use the jigsaw to cut out along the template.
Use the belt sander to sand the top smooth, and then round the outer edges evenly. To get a finer finish, sand again with the orbital sander. Apply 3 coats of Woodoc wood sealer – allowing each coat to dry before applying the next one.
Step 6
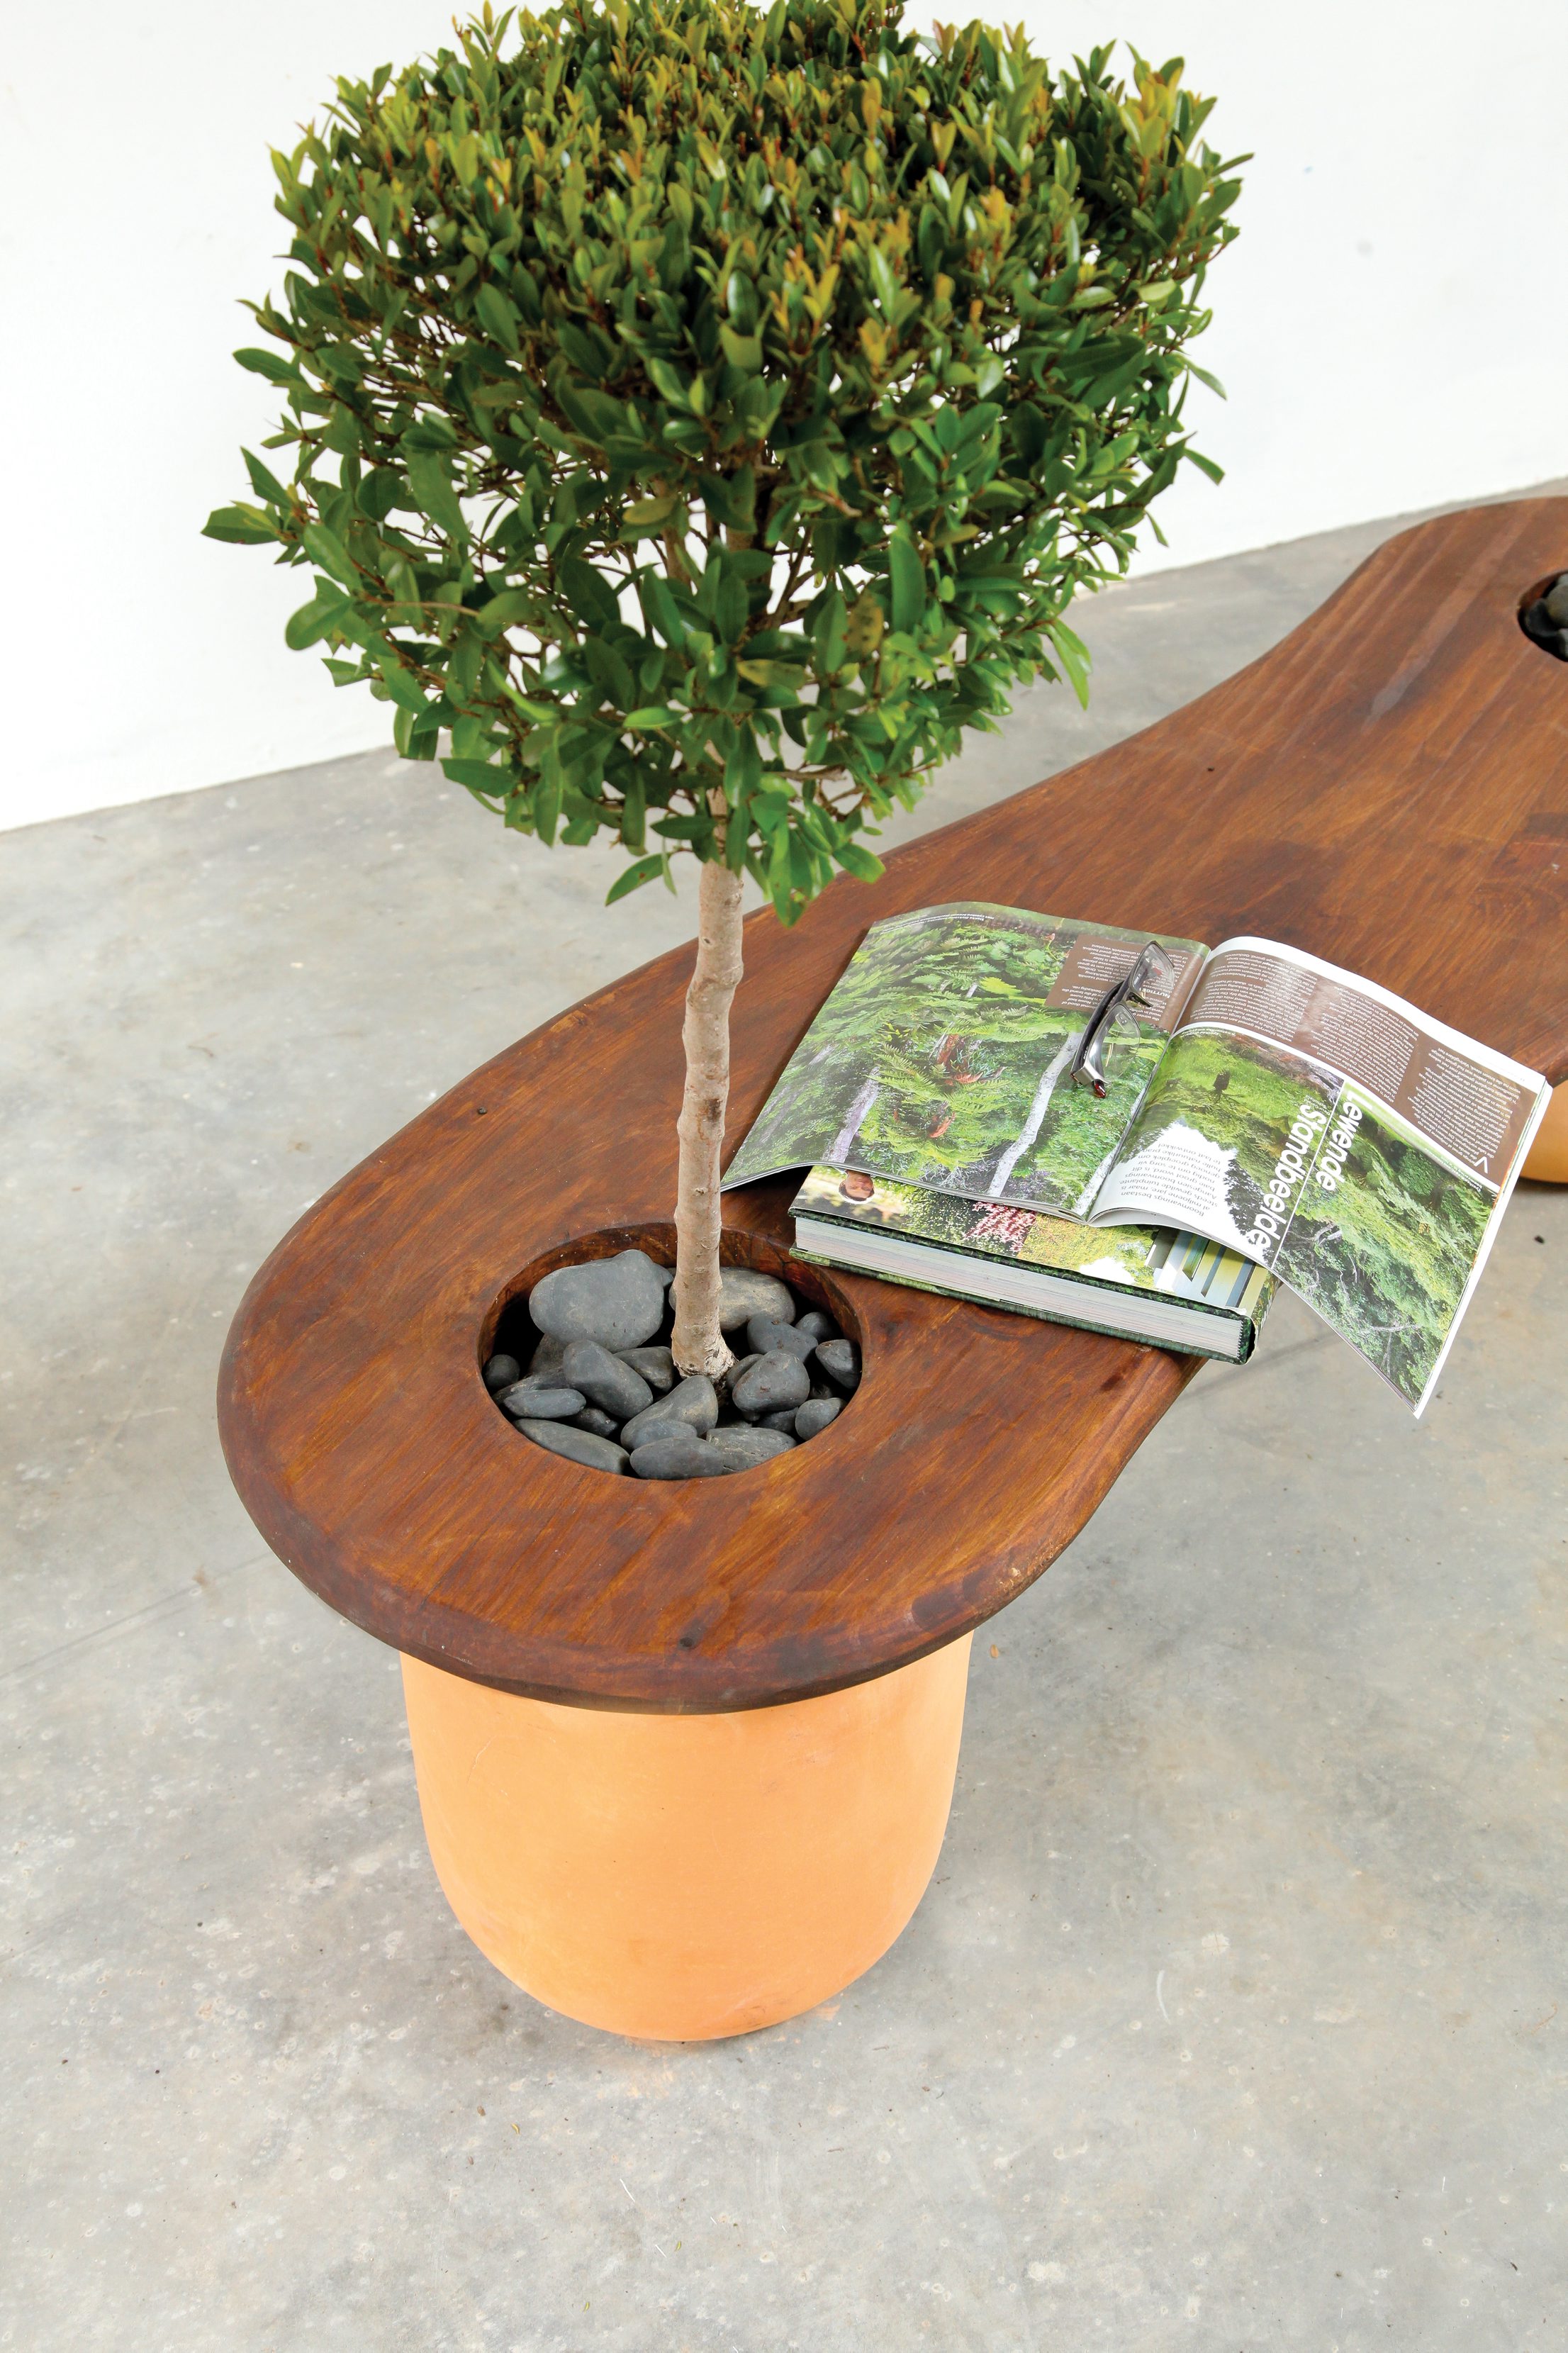
Choose 2 pot planters which have a diameter not exceeding that of the curved ends of the bench top. Half fill them with potting soil, and then position them directly underneath the 2 holes cut into your bench top. Then feed the roots of your chosen plant through the holes and into the pots – before filling them with a suitable planting medium.
Credits
Referenced from Gallo images / www.thegardener.co.za

