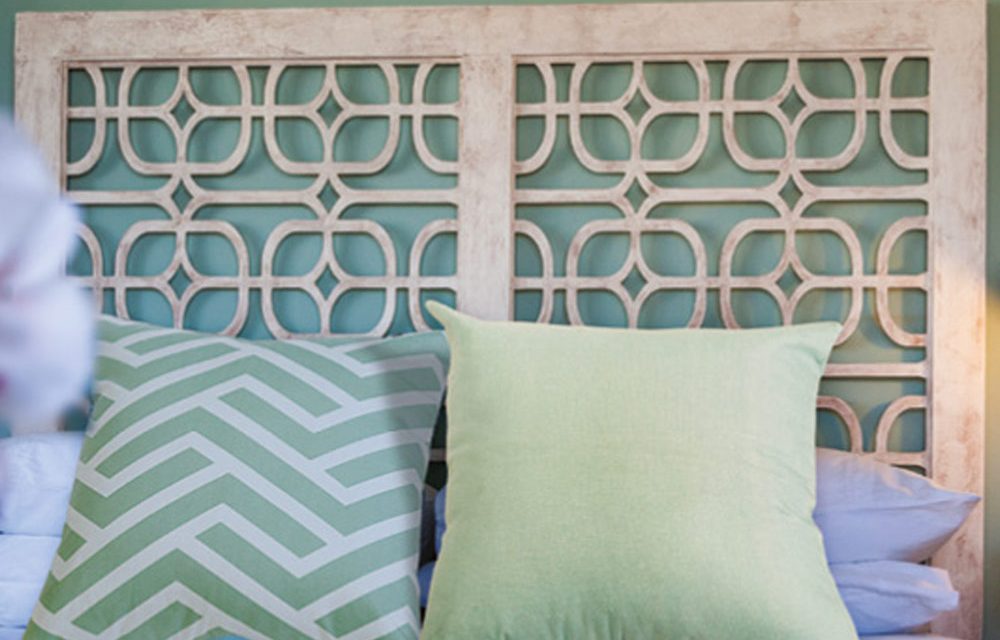
Give a laser-cut headboard a chalk paint job, a wax and some distressing and it will look like it’s been in the family for years.
- 1ℓ Fired Earth Chalk Paint – Arc Pure White
- 1 tin Fired Earth clear soft wax
- 1 tin Fired Earth dark soft wax
- Lint-free cloth
- 38mm paintbrush
- 100-grit sandpaper
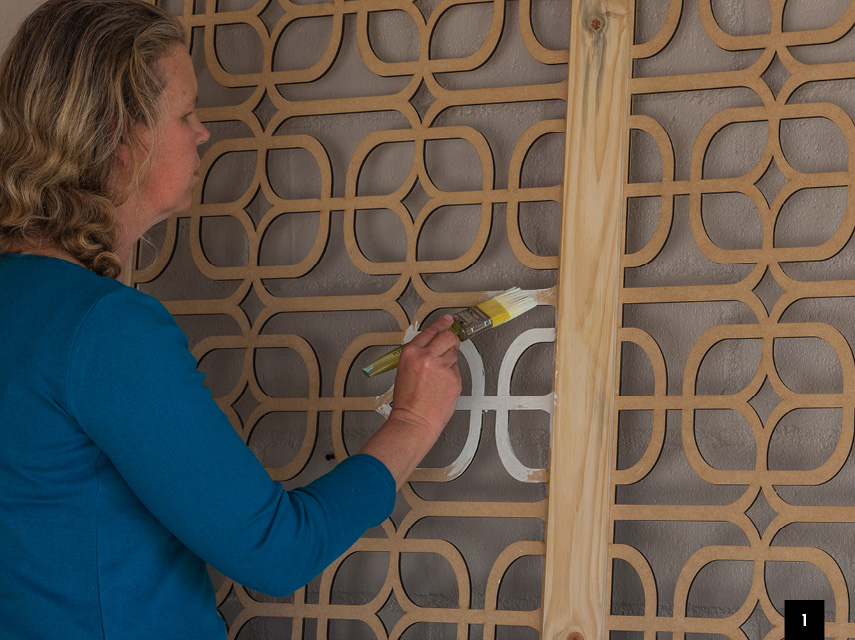
Step 1
The beauty of chalk paint is it seeps right into raw wood and no primer is necessary for indoor projects. So start immediately with your first coat working it into all the inner edges, top, bottom and sides.
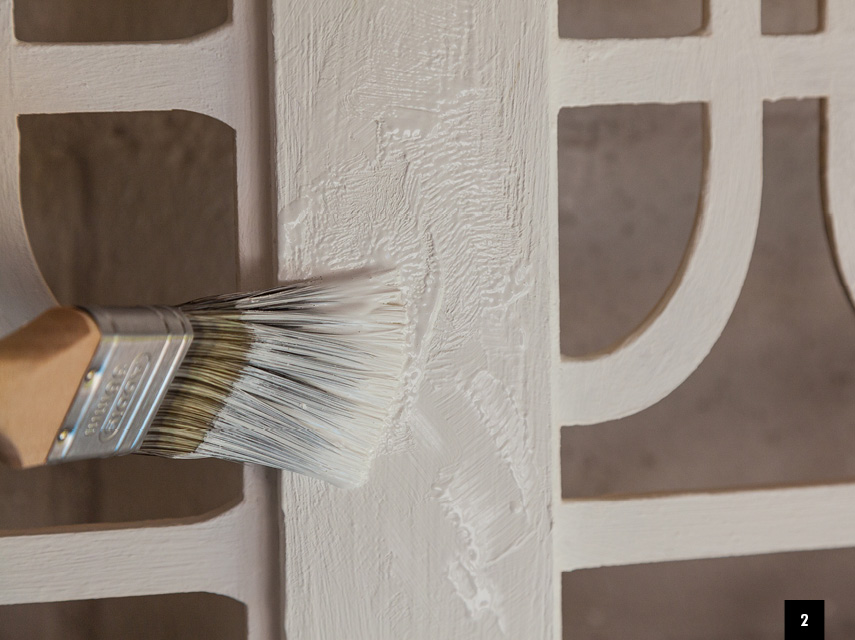
Step 2
Once the first coat is dry, apply the second coat. There is no need to try to get perfect brush strokes, just streak it on using criss-crossed strokes and daubing. Just don’t let the paint drip or run. Allow to dry overnight.
Step 3
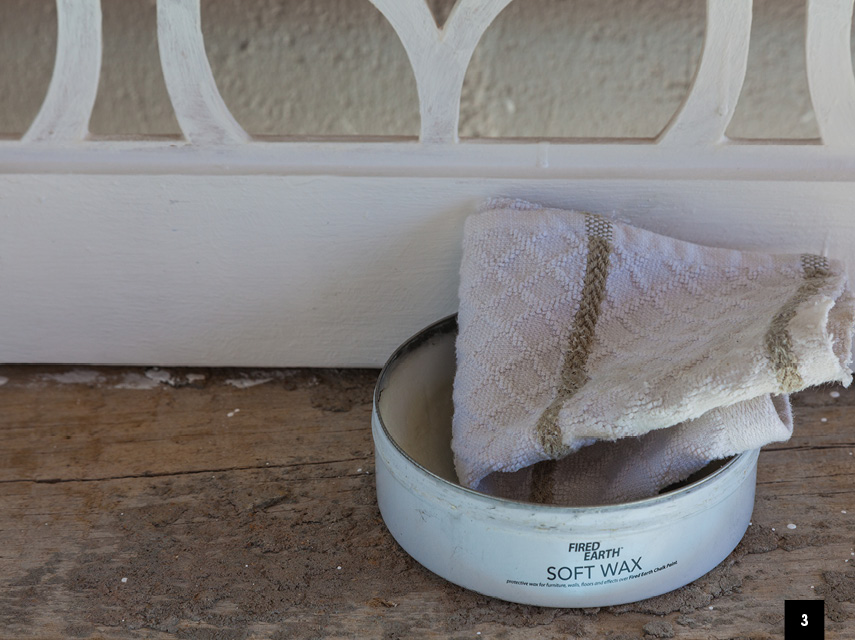
Working quickly, apply your clear wax using a lint-free cloth, working it into the different textures of the paint caused by your brush marks. Rub the wax over the frame and latticework, including top, bottom and sides.
Step 4
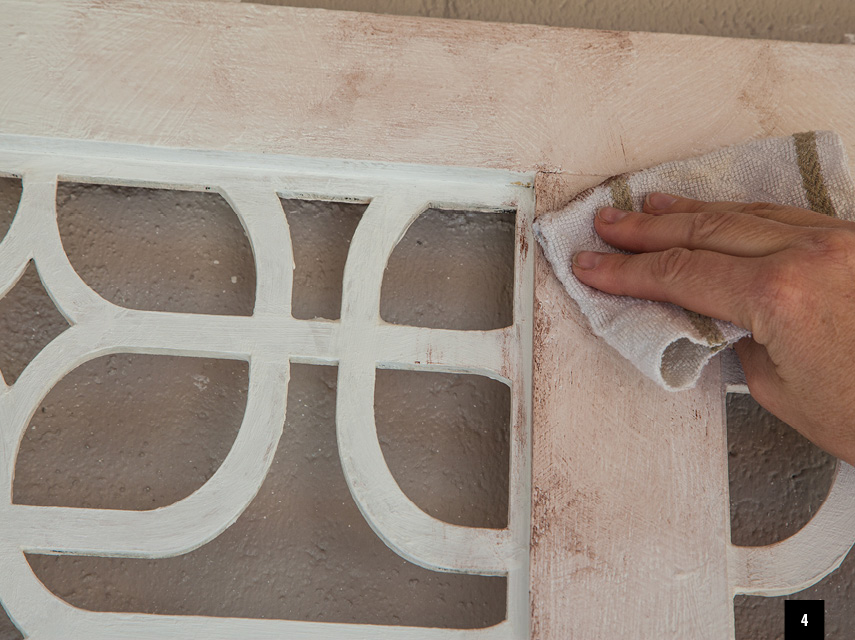
While the clear wax is wet, apply the dark wax rubbing it into the textures of the paint. Avoid lumps and if you make an area too dark, you can lighten it by adding a bit more clear wax and giving it a good rub.
Step 5
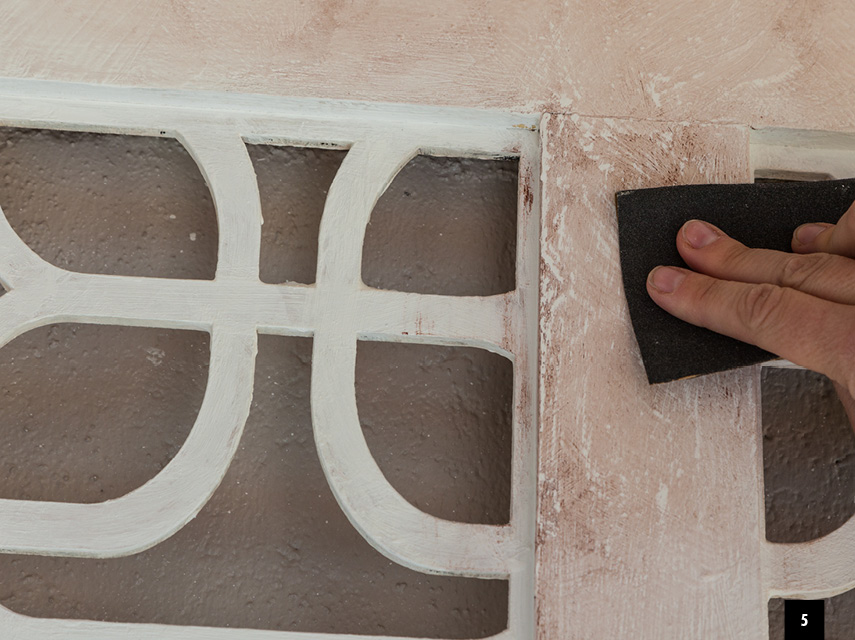
Take some fine-grit sandpaper and rub corners, edges and places where you’d like the white paint and natural wood to show through. Finish by lightly rubbing your clear wax over the project to give it a final seal. The wax takes a little time to reach its full potential. If you can avoid using it for a few days that’s best. After a month the wax is cured and presents a strong, durable surface, so much so that chalk paint and wax can be used on floors.
Top Tip: Wax changes the finish from raw paint to a sheen, which is smooth with clear wax or rough and distressed with dark wax.

