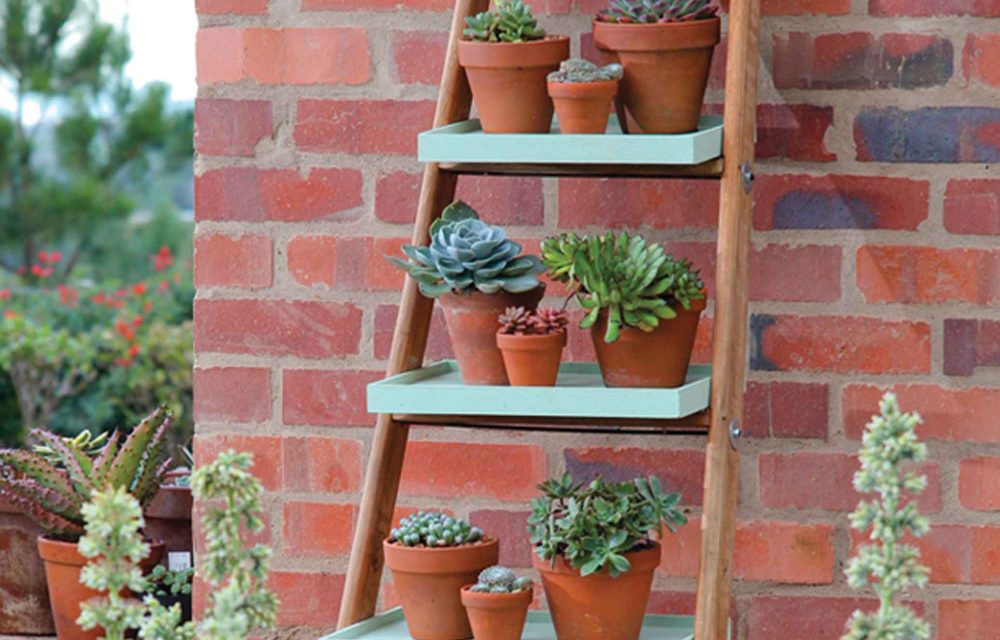
Turn a ladder into a striking display unit for your favourite potted plants.
- 7-step wooden ladder (2 100 mm)
- Wood filler
- Pink wood primer
- Acrylic PVA
- Panel pins
- 12 x 30 mm full thread screws
- Tape measure
- pencil
- crack-filler blade
- electric screw driver and 6 mm bit
- hammer drill and 4 mm wood drill bit
- small hammer
- level
- no. 11 spanner
- handsaw
Cutting List
- 12 mm shutterboard cut to the following measurements:
- 250 x 285 mm for the top shelf
- 250 x 320 mm for the 2nd shelf
- 250 x 360 mm for the 3rd shelf
- 250 x 395 mm for the 4th shelf
- 250 x 435 mm for the 5th shelf
- 250 x 475 mm for the bottom shelf
- 5 mm pine cover-strips cut to the following measurements:
- 12 x 250 mm for the shelf sides
- 2 x 295 mm for the top shelf
- 2 x 330 mm for the 2nd shelf
- 2 x 370 mm for the 3rd shelf
- 2 x 405 mm for the 4th shelf
- 2 x 445 mm for the 5th shelf
- 2 x 485 mm for the bottom shelf
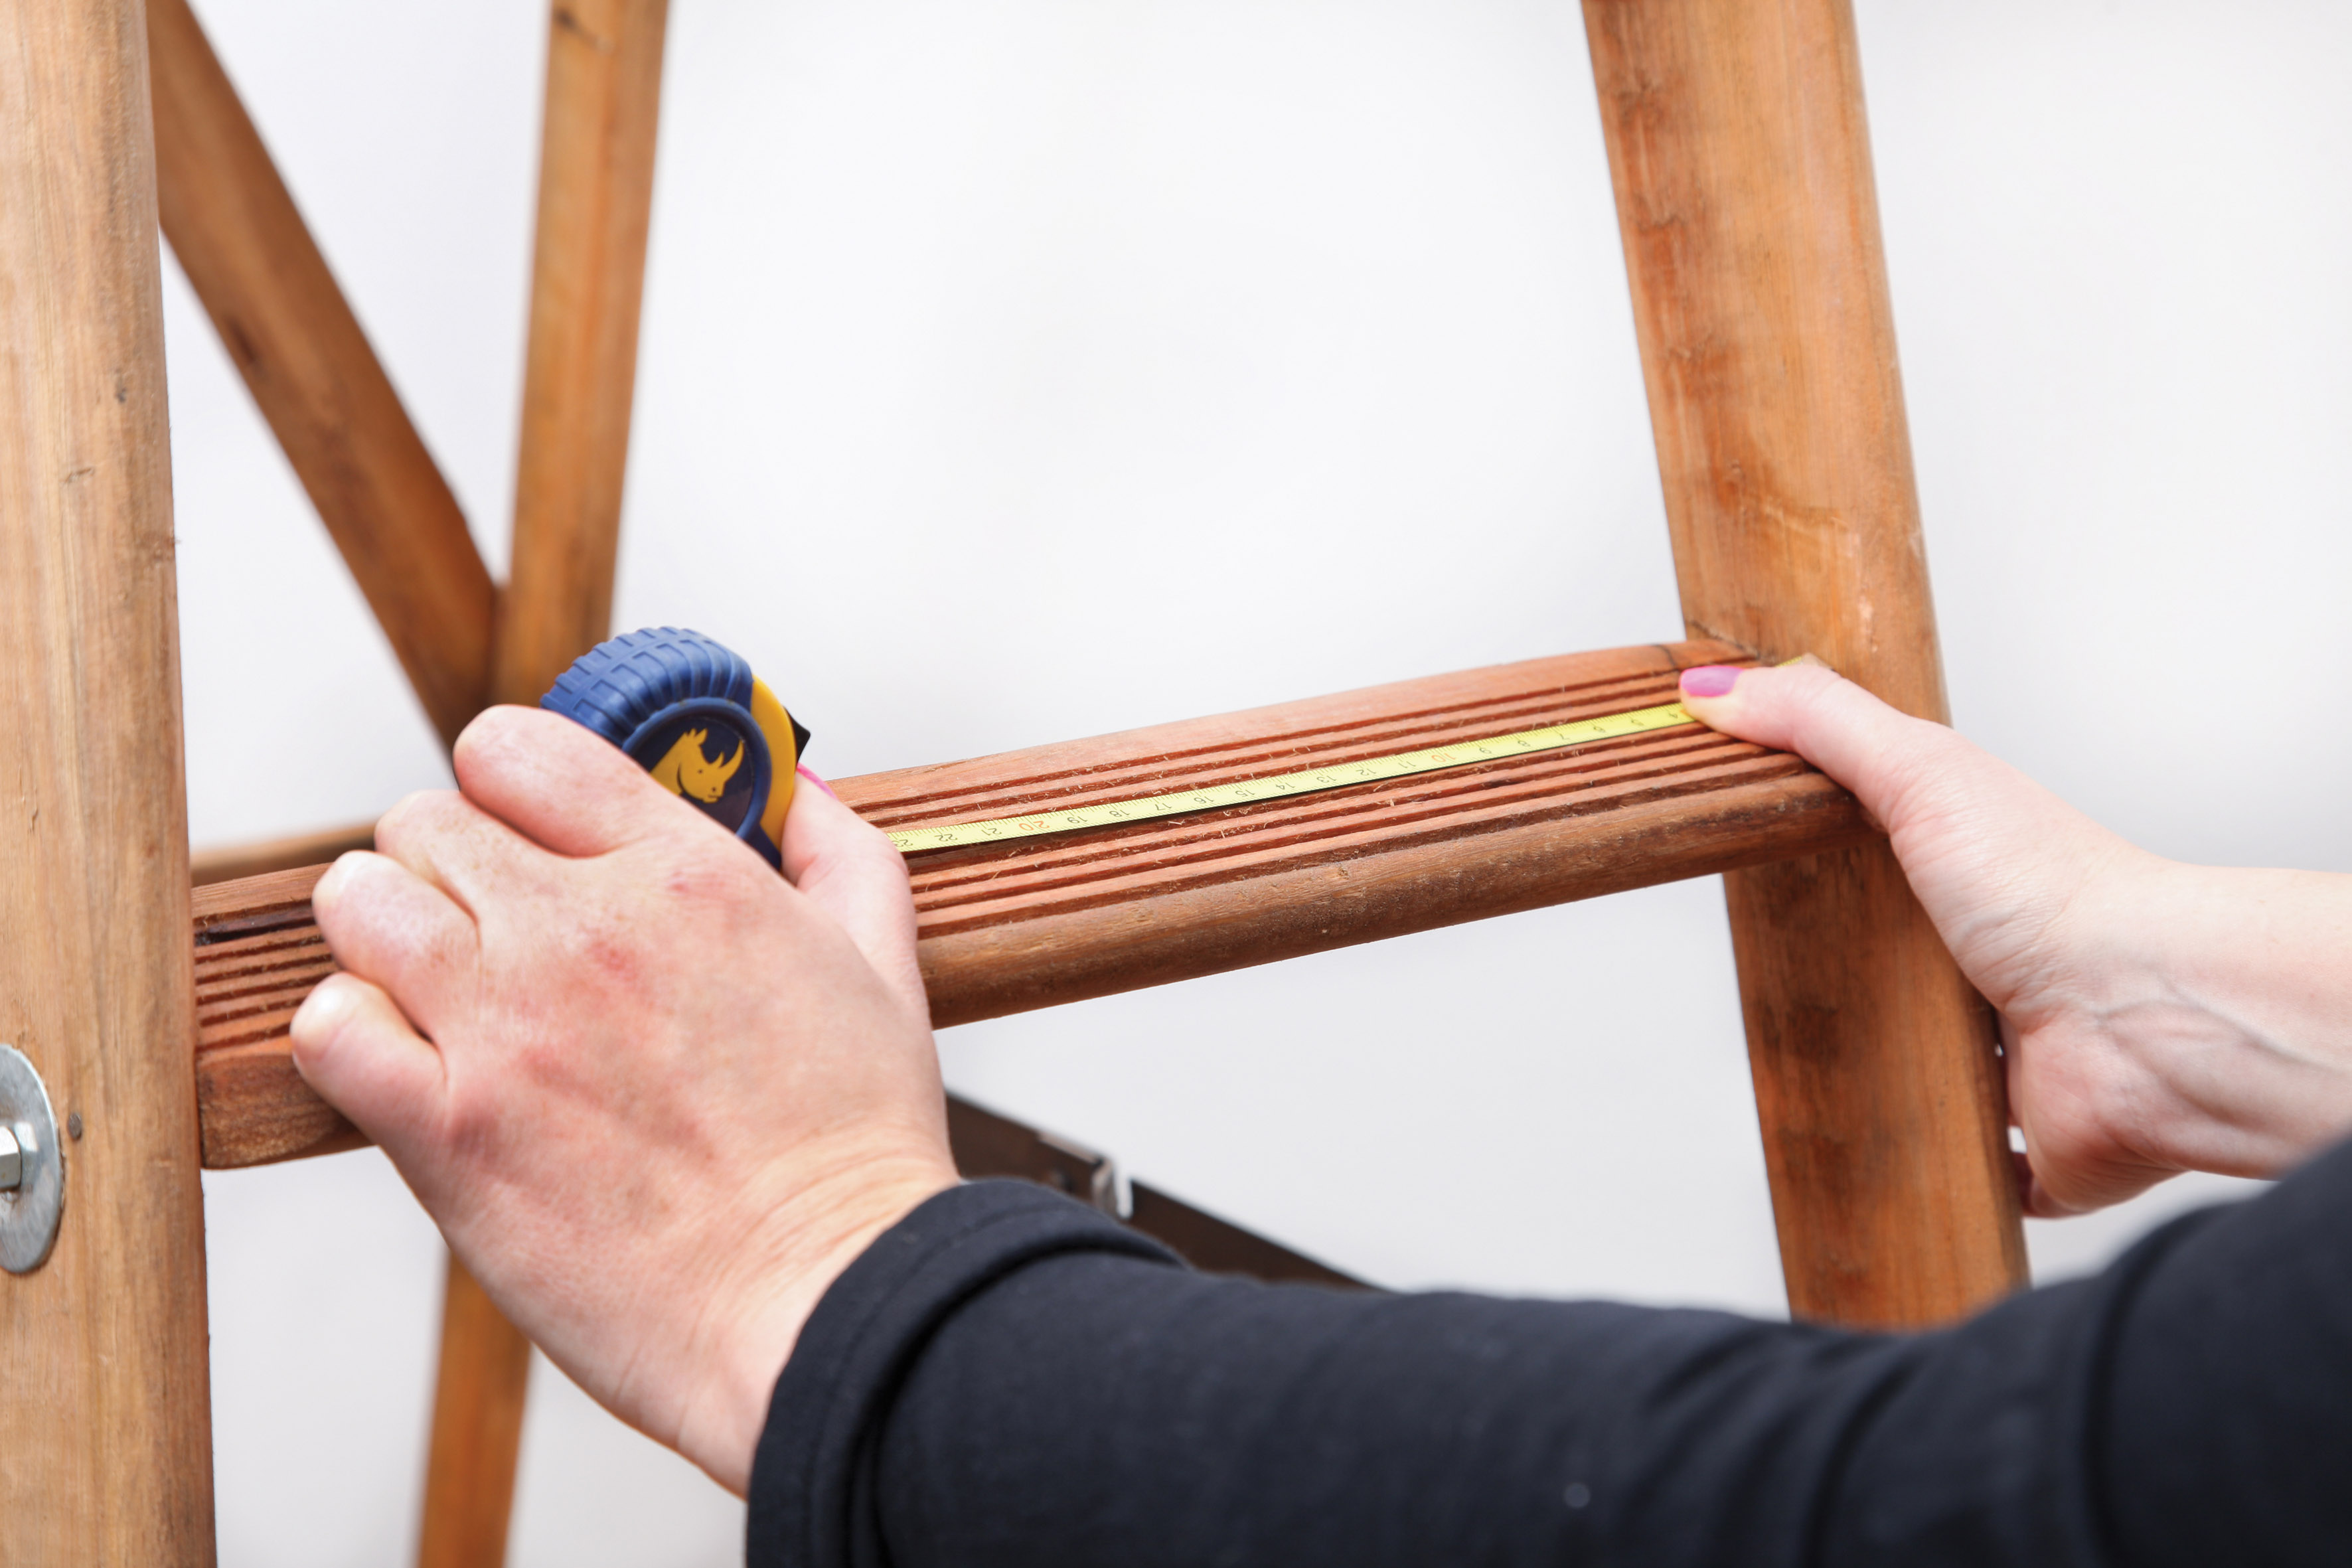
Step 1
Measure the width of each step of the ladder for the shelving. If you have a 2 100 mm 7-step wooden ladder like ours, use the measurements in the shopping list above. The depth of all 6 shelves is 250 mm.
Step 2
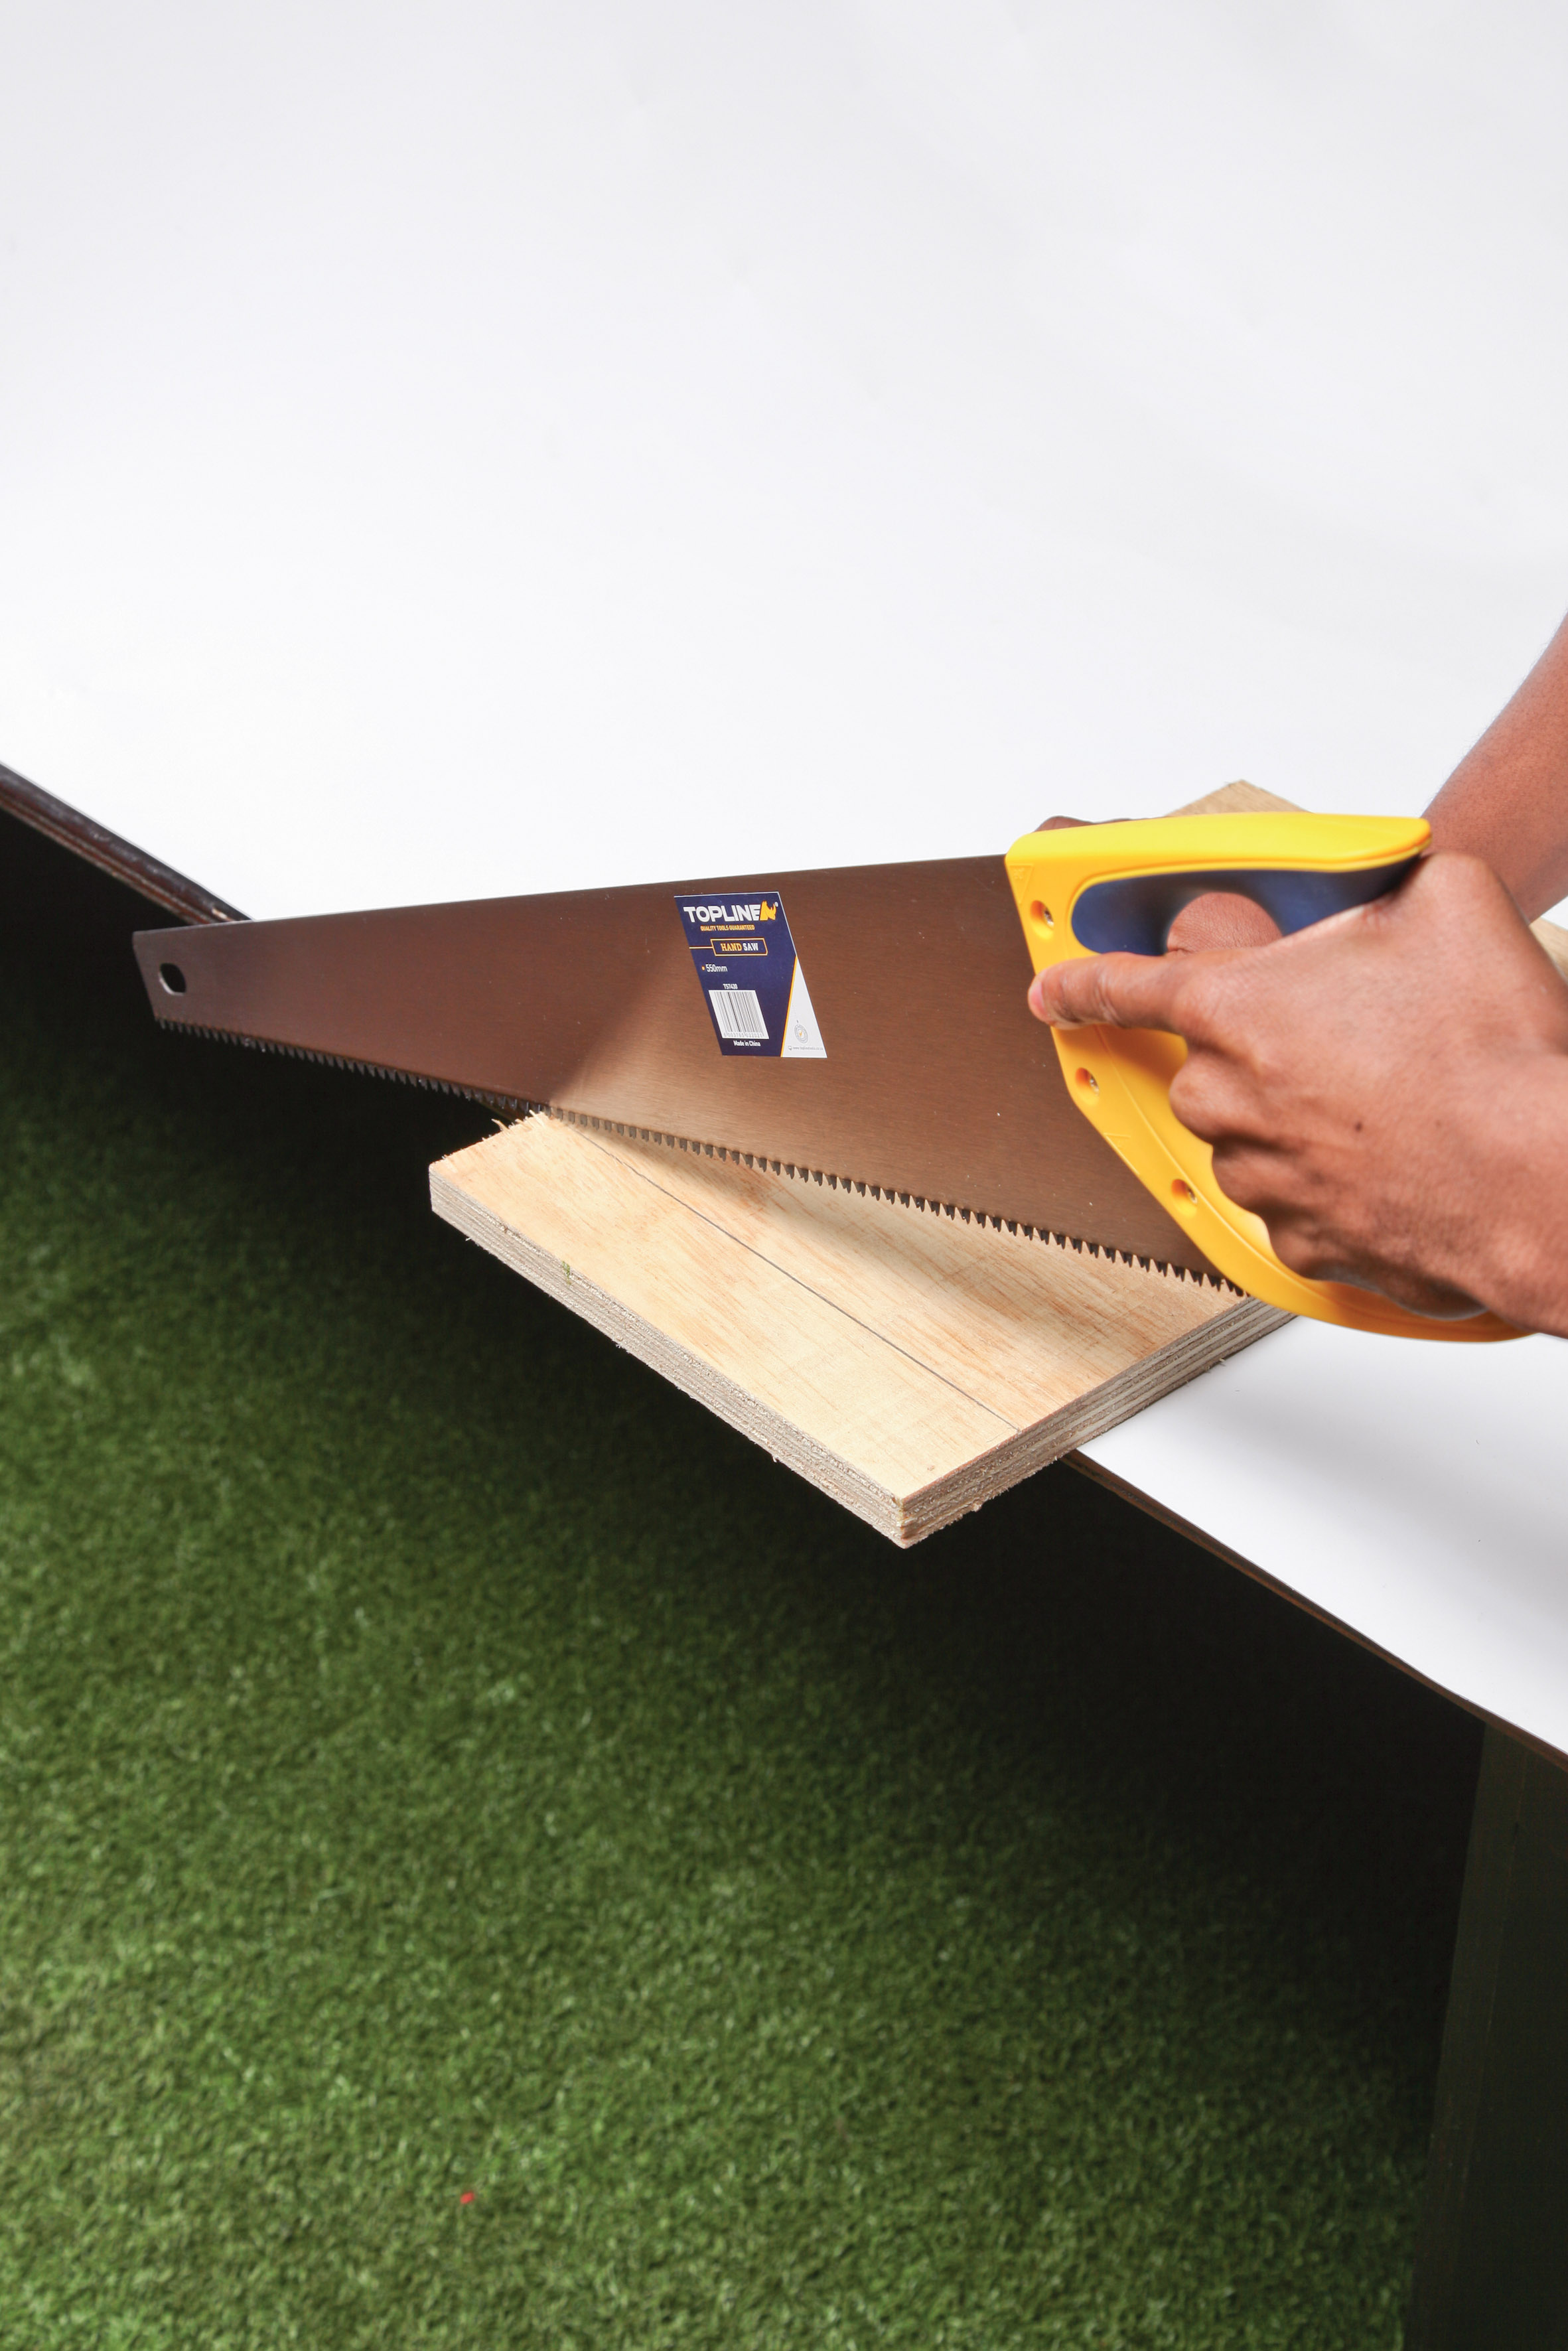
Using a handsaw cut the shutterboard and cover-strips for the shelves to fit each step. Holding the cover-strips in place on the short sides of each shelf, check that they fit snuggly on each step.
Step 3
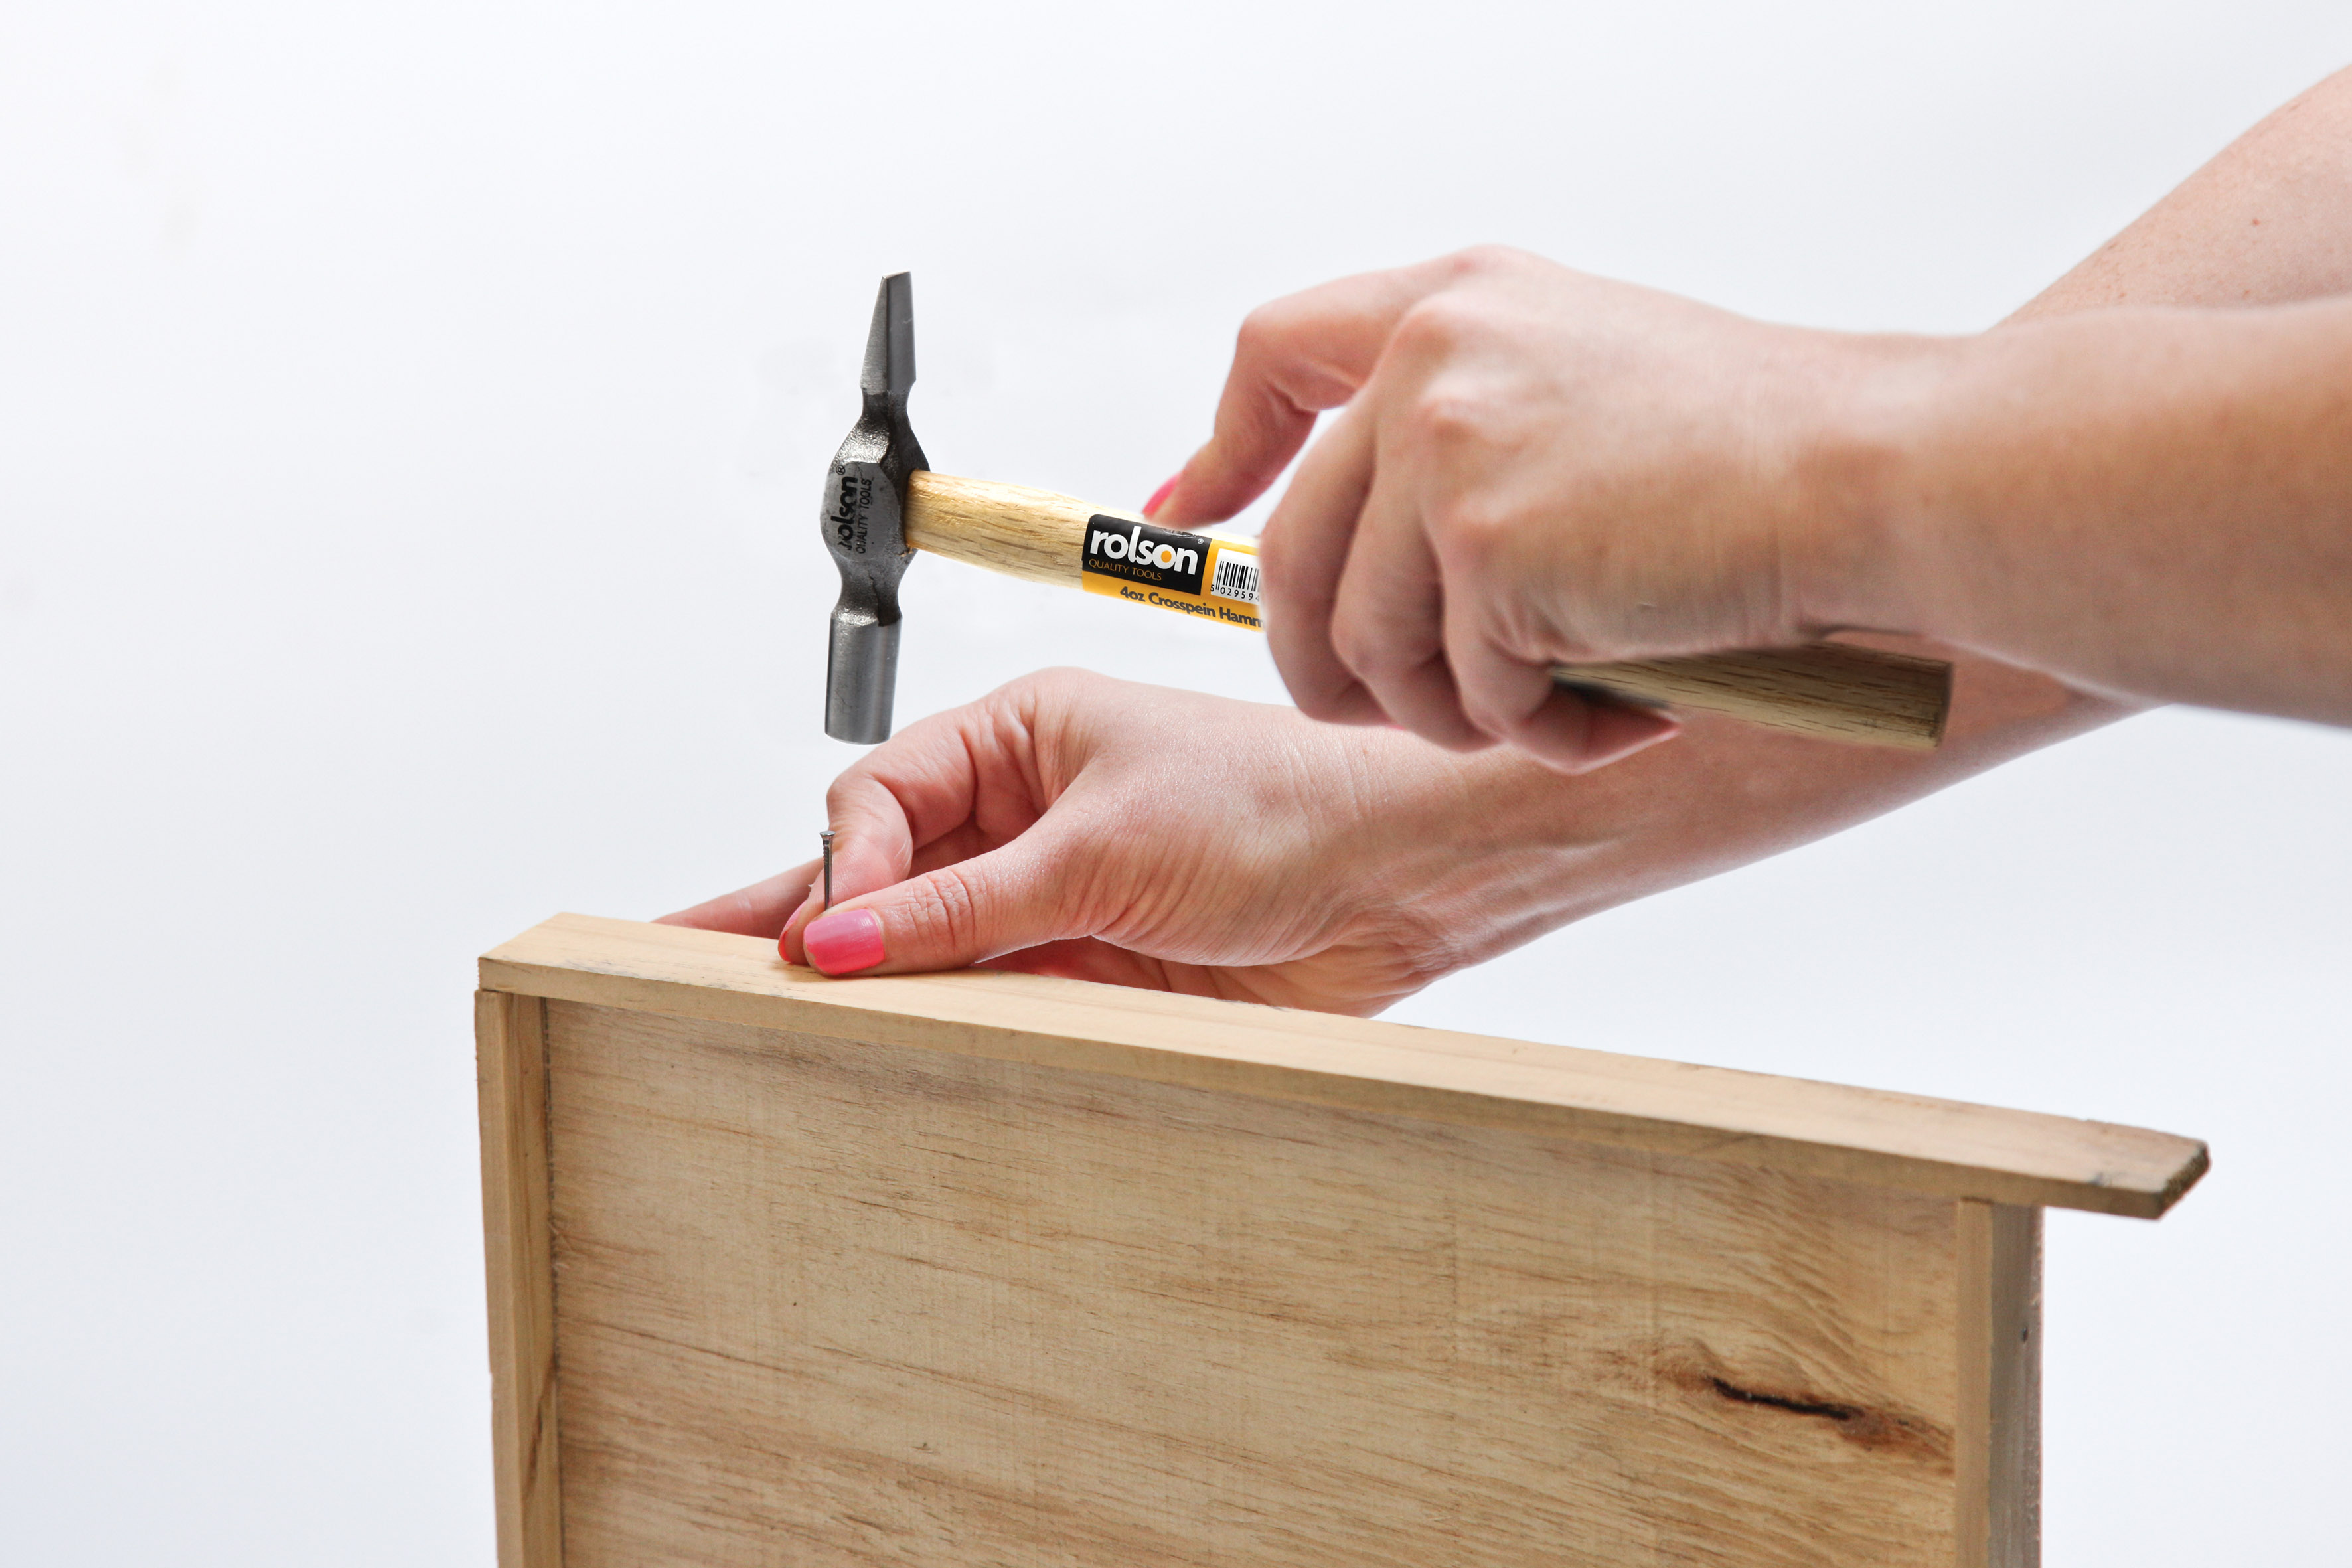
Using the hammer and panel pins, attach the cover-strips to each shelf. The fourteen 250 mm lengths will fit flush with the short sides of each shelf and the longer lengths will overlap by 5 mm on each end. All the panel strips fit flush against the bottom of the shelf creating a tray with raised edges on the top (fig a).
Step 4
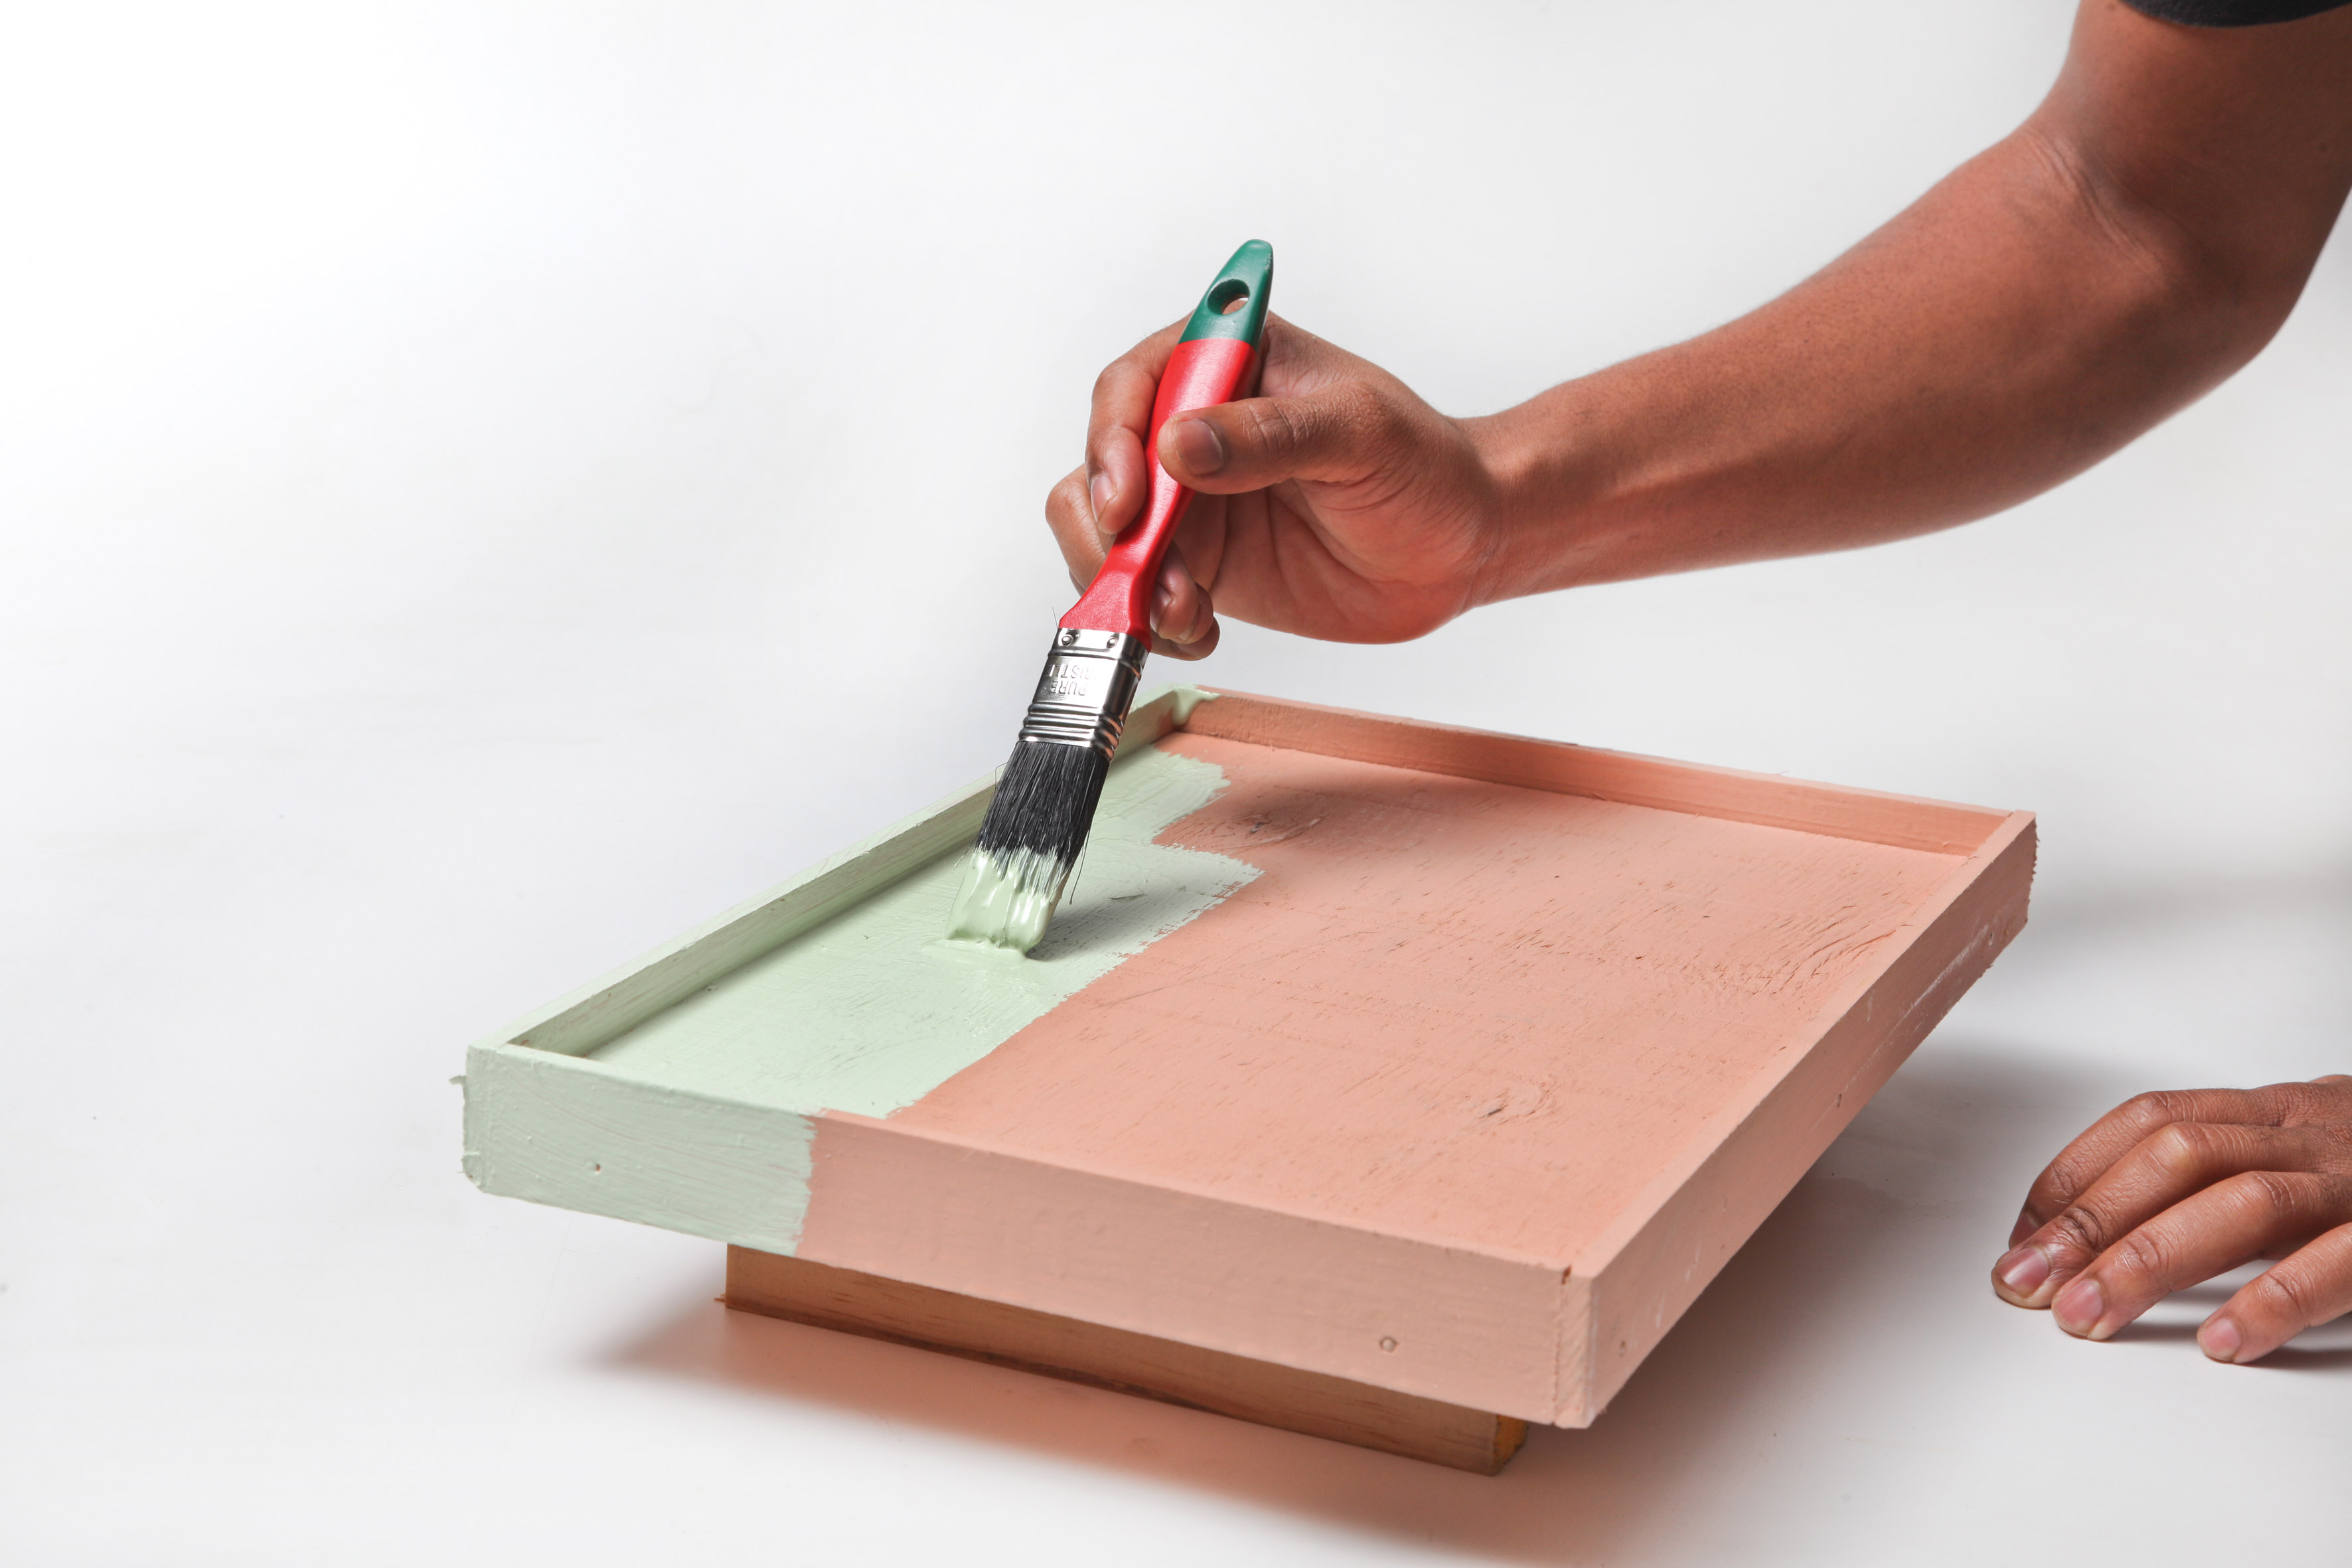
Paint each shelf with pink wood primer and leave to dry before applying two coats of your top colour. We used a soft green, Elysian Fields (colour 30GY62/159) from Dulux.
Step 5
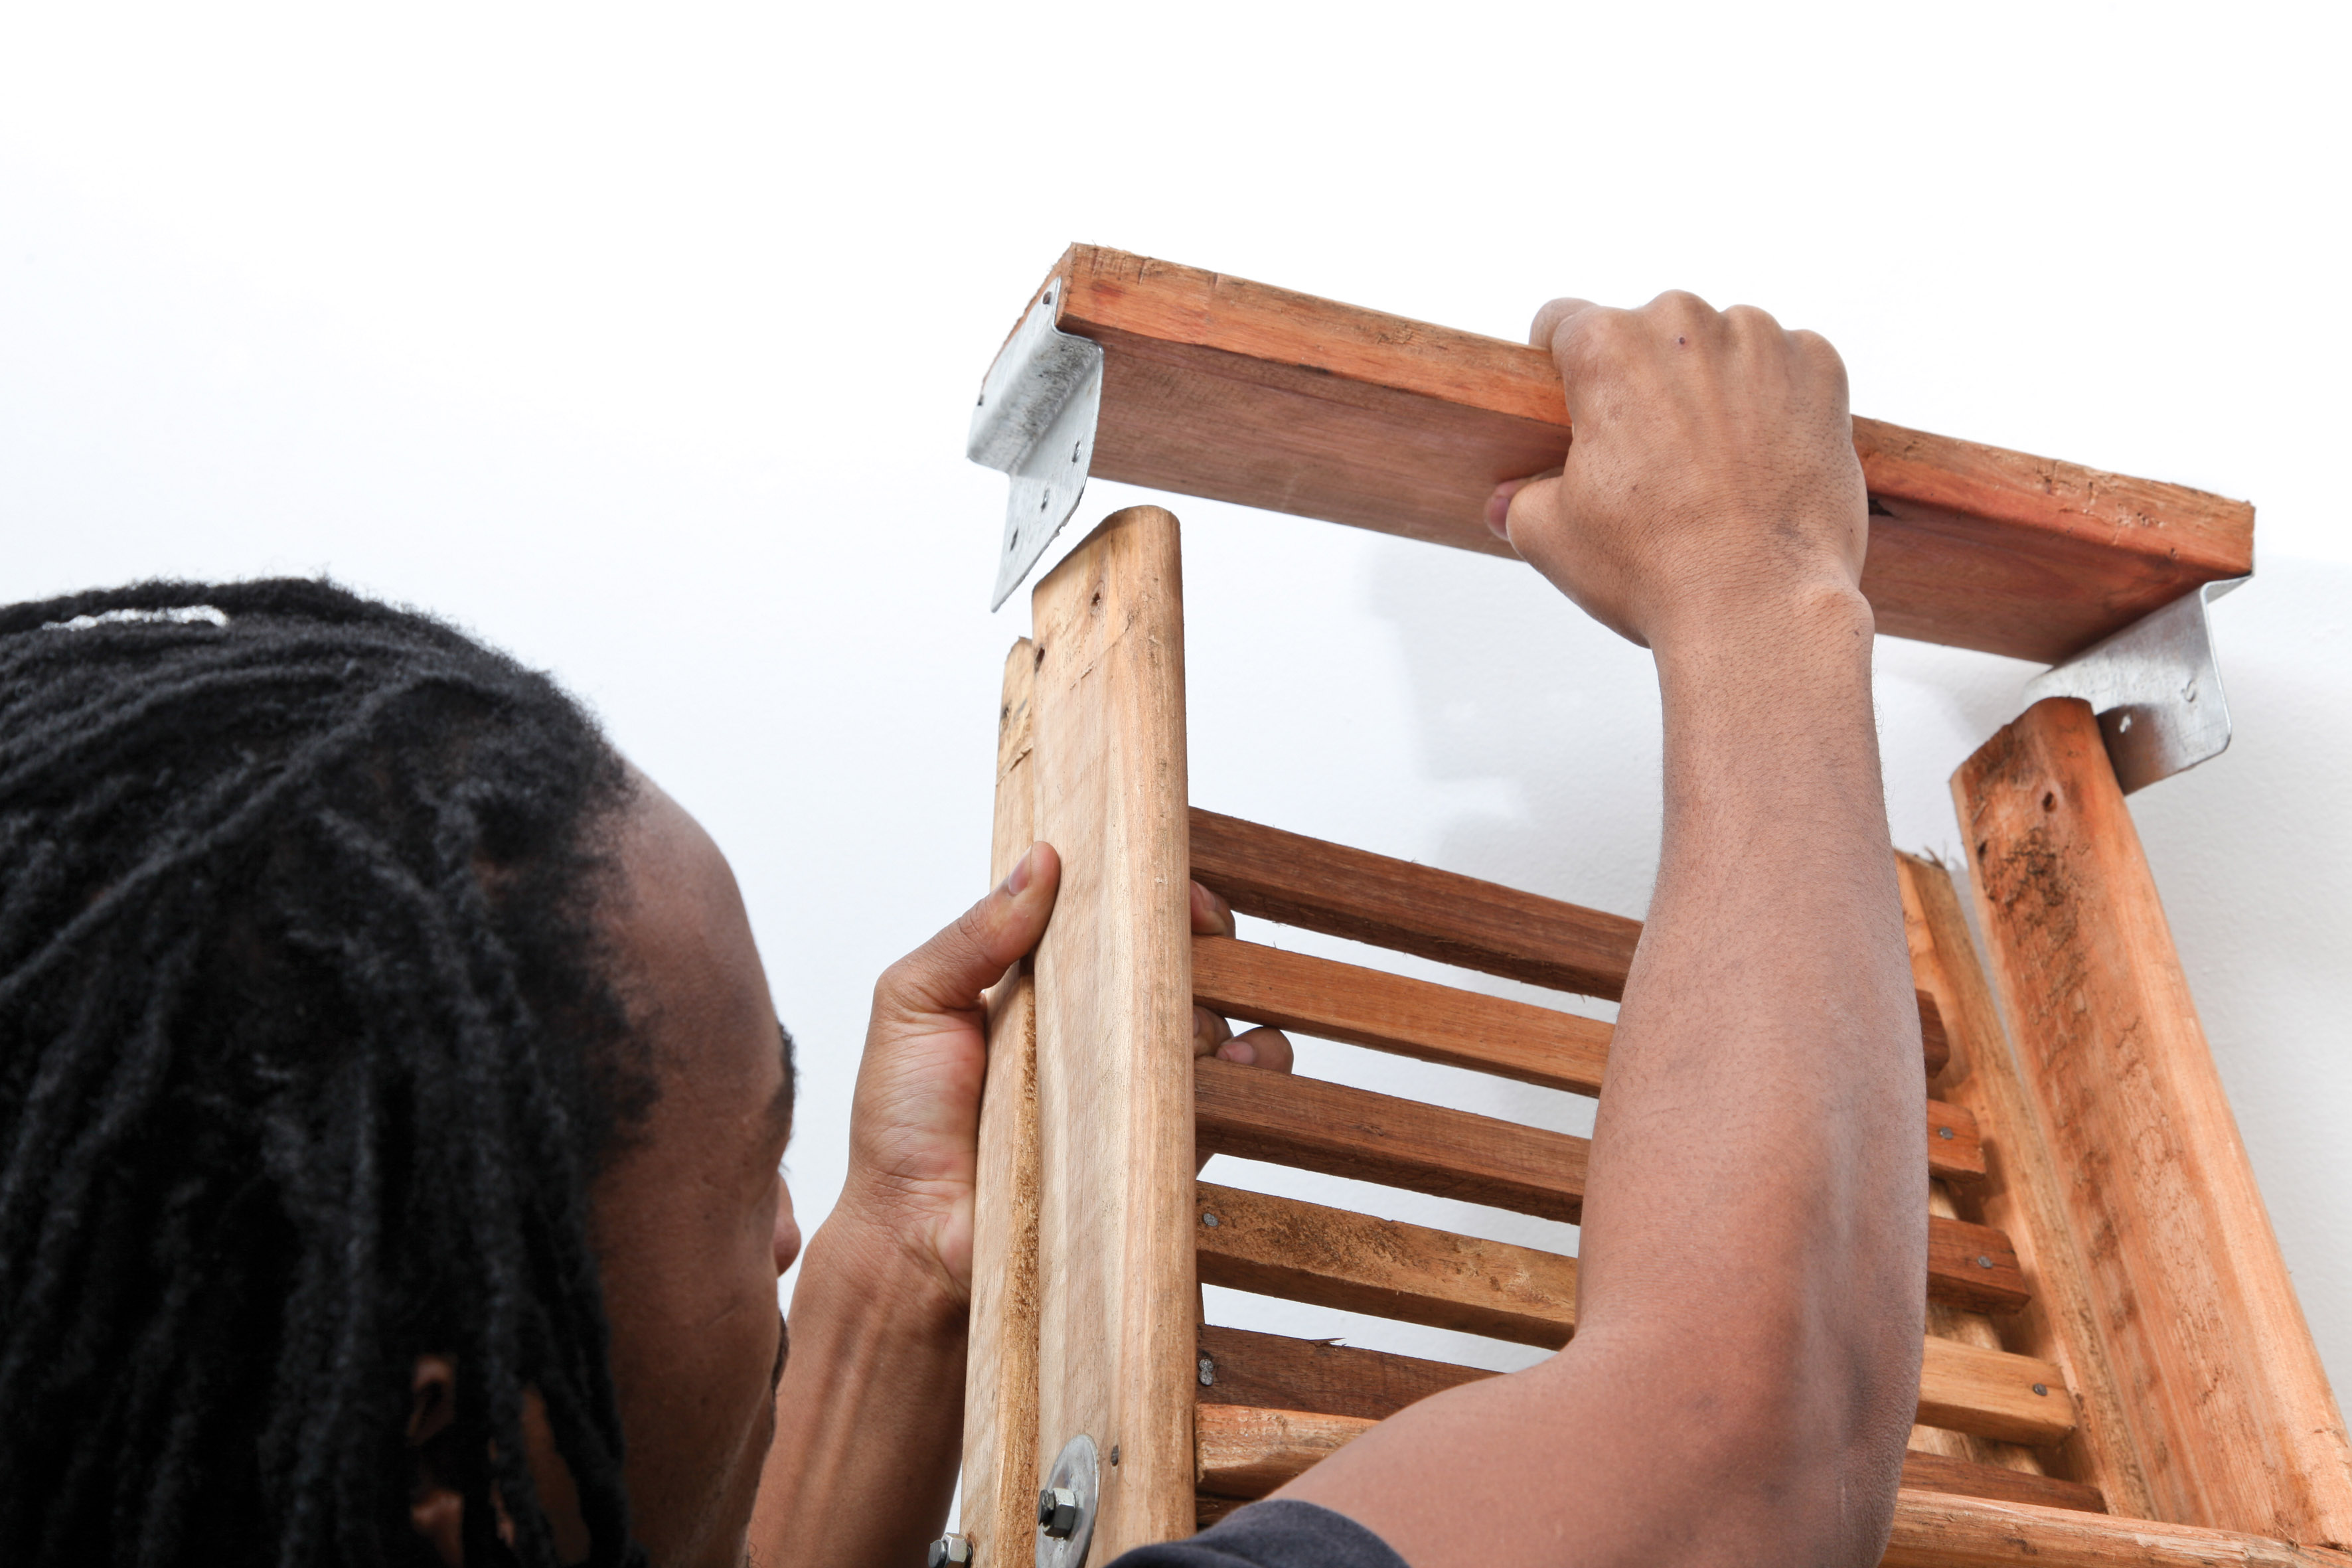
Dismantle the back legs from the front steps of your ladder using the spanner and flat screwdriver. Remove and discard the very top ‘7th step’.
Step 6
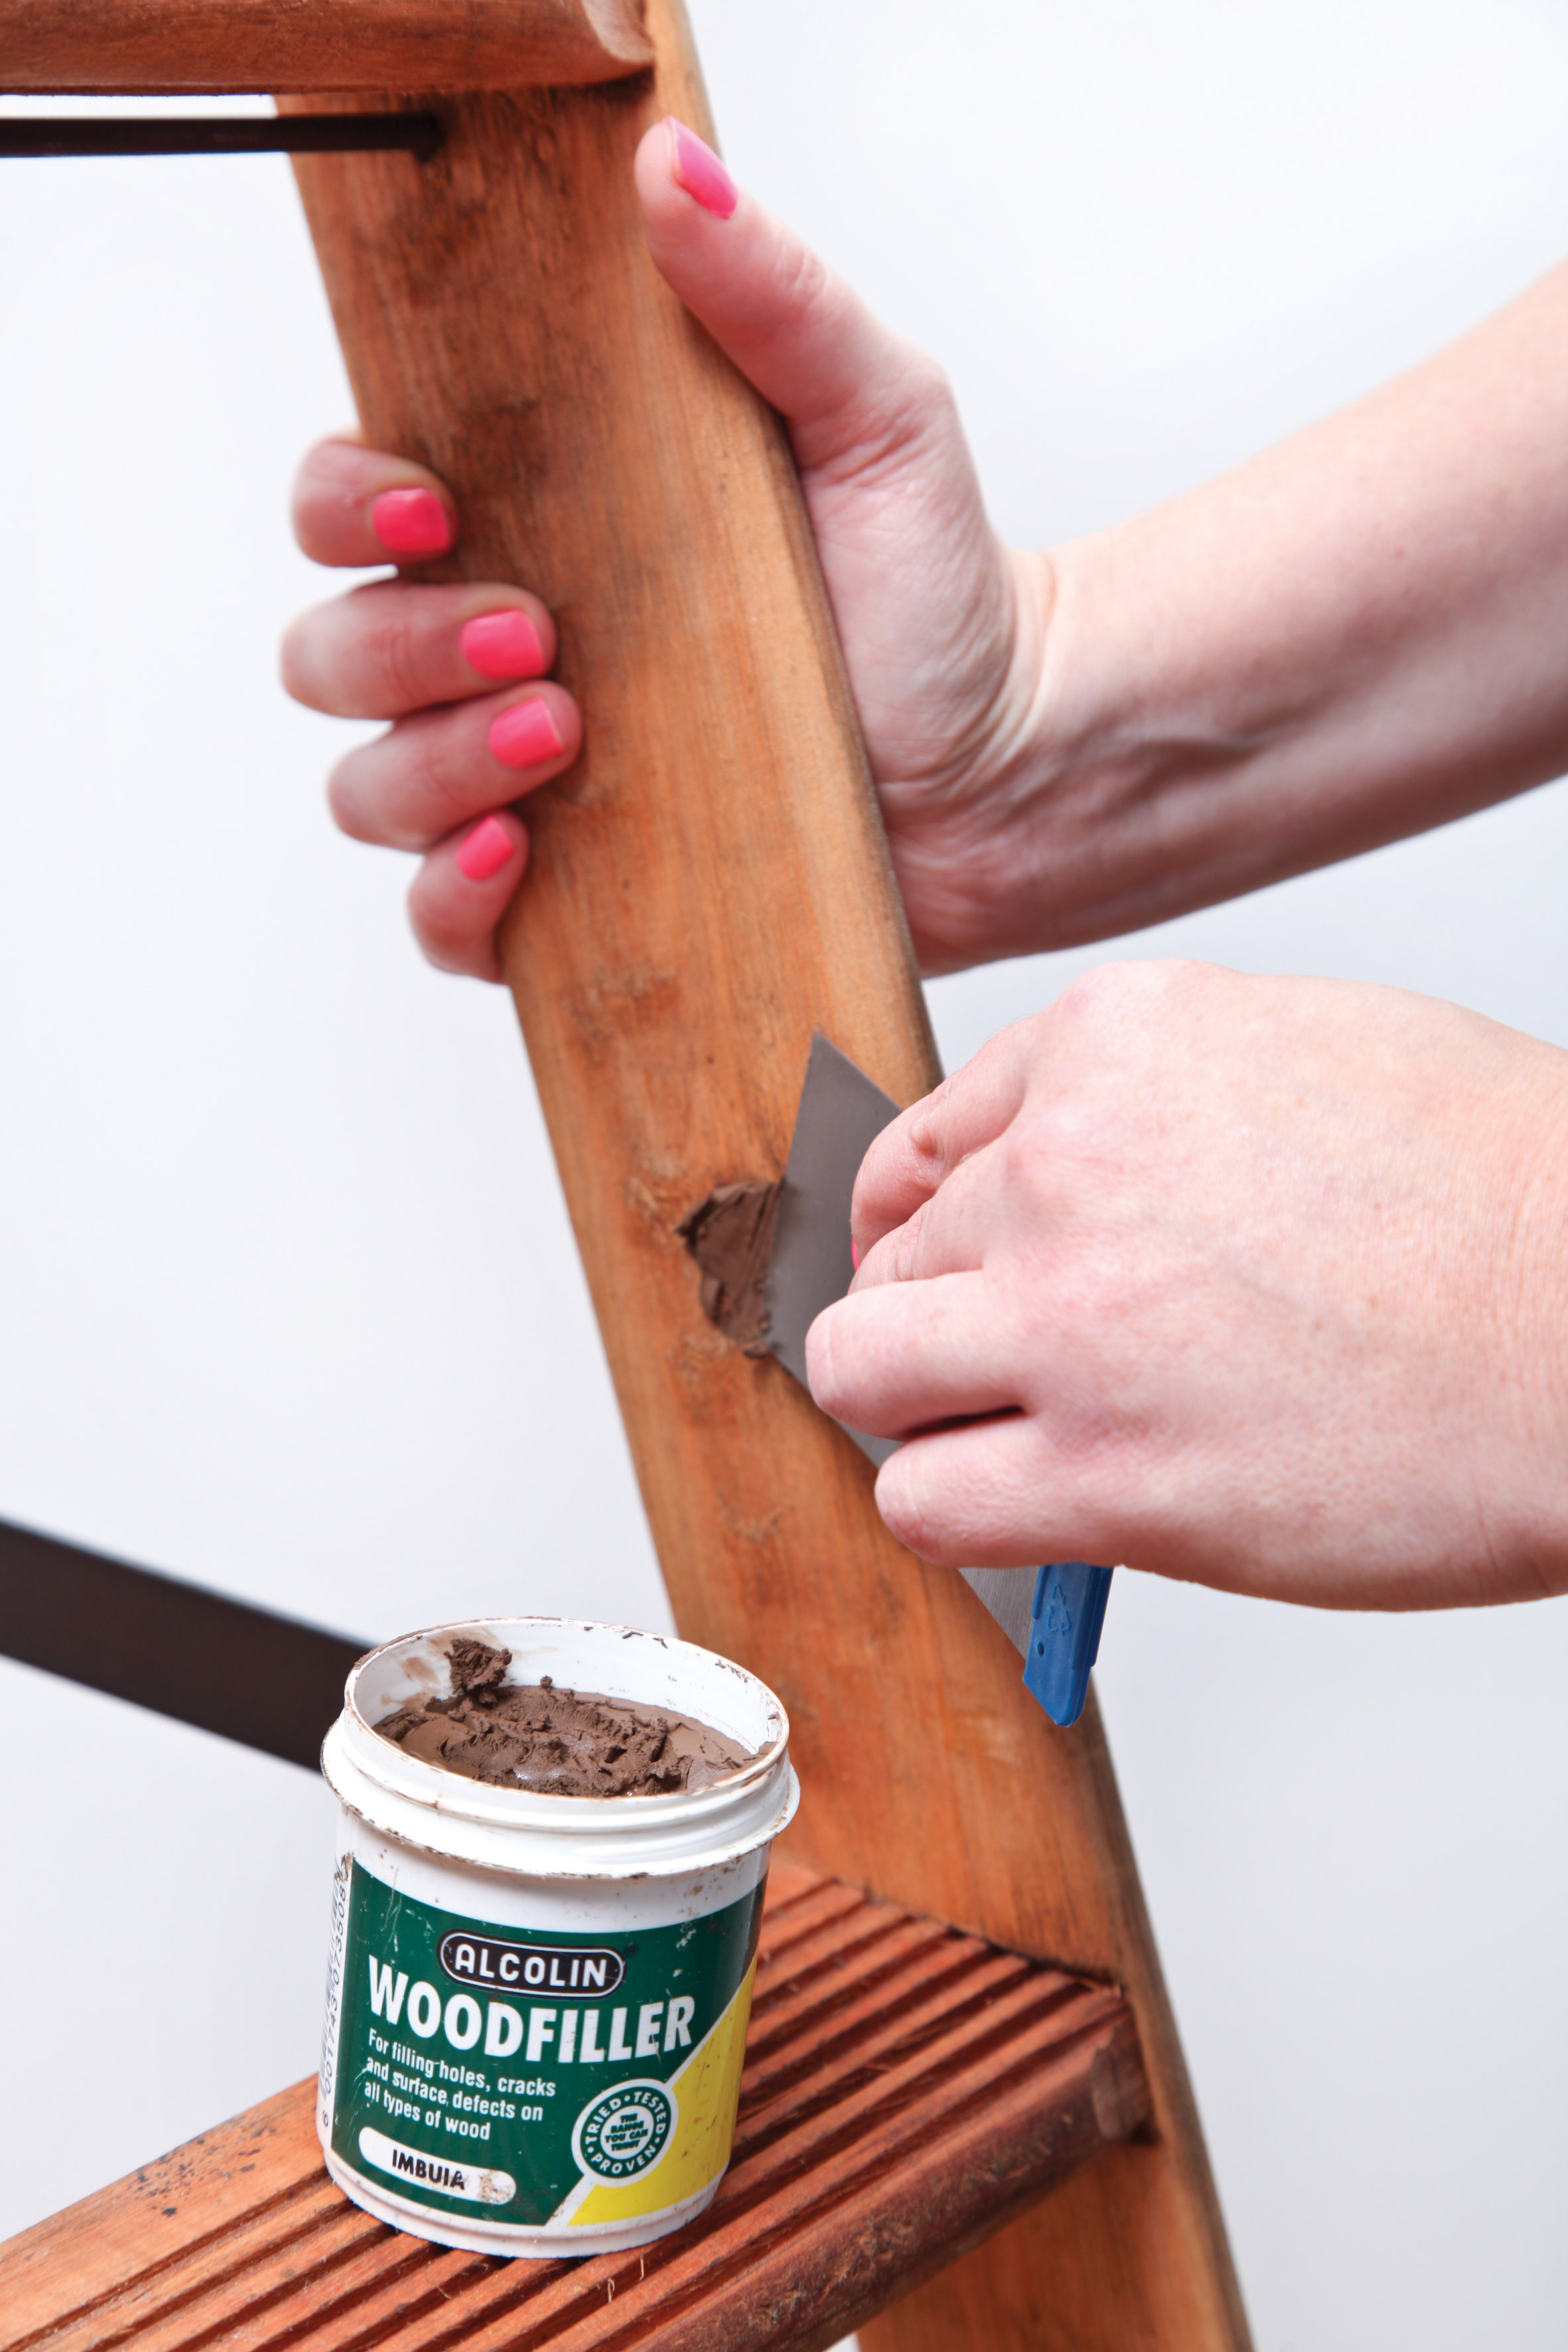
Apply wood filler, using crack-filler blades, to the holes left in the ladder.
Step 7
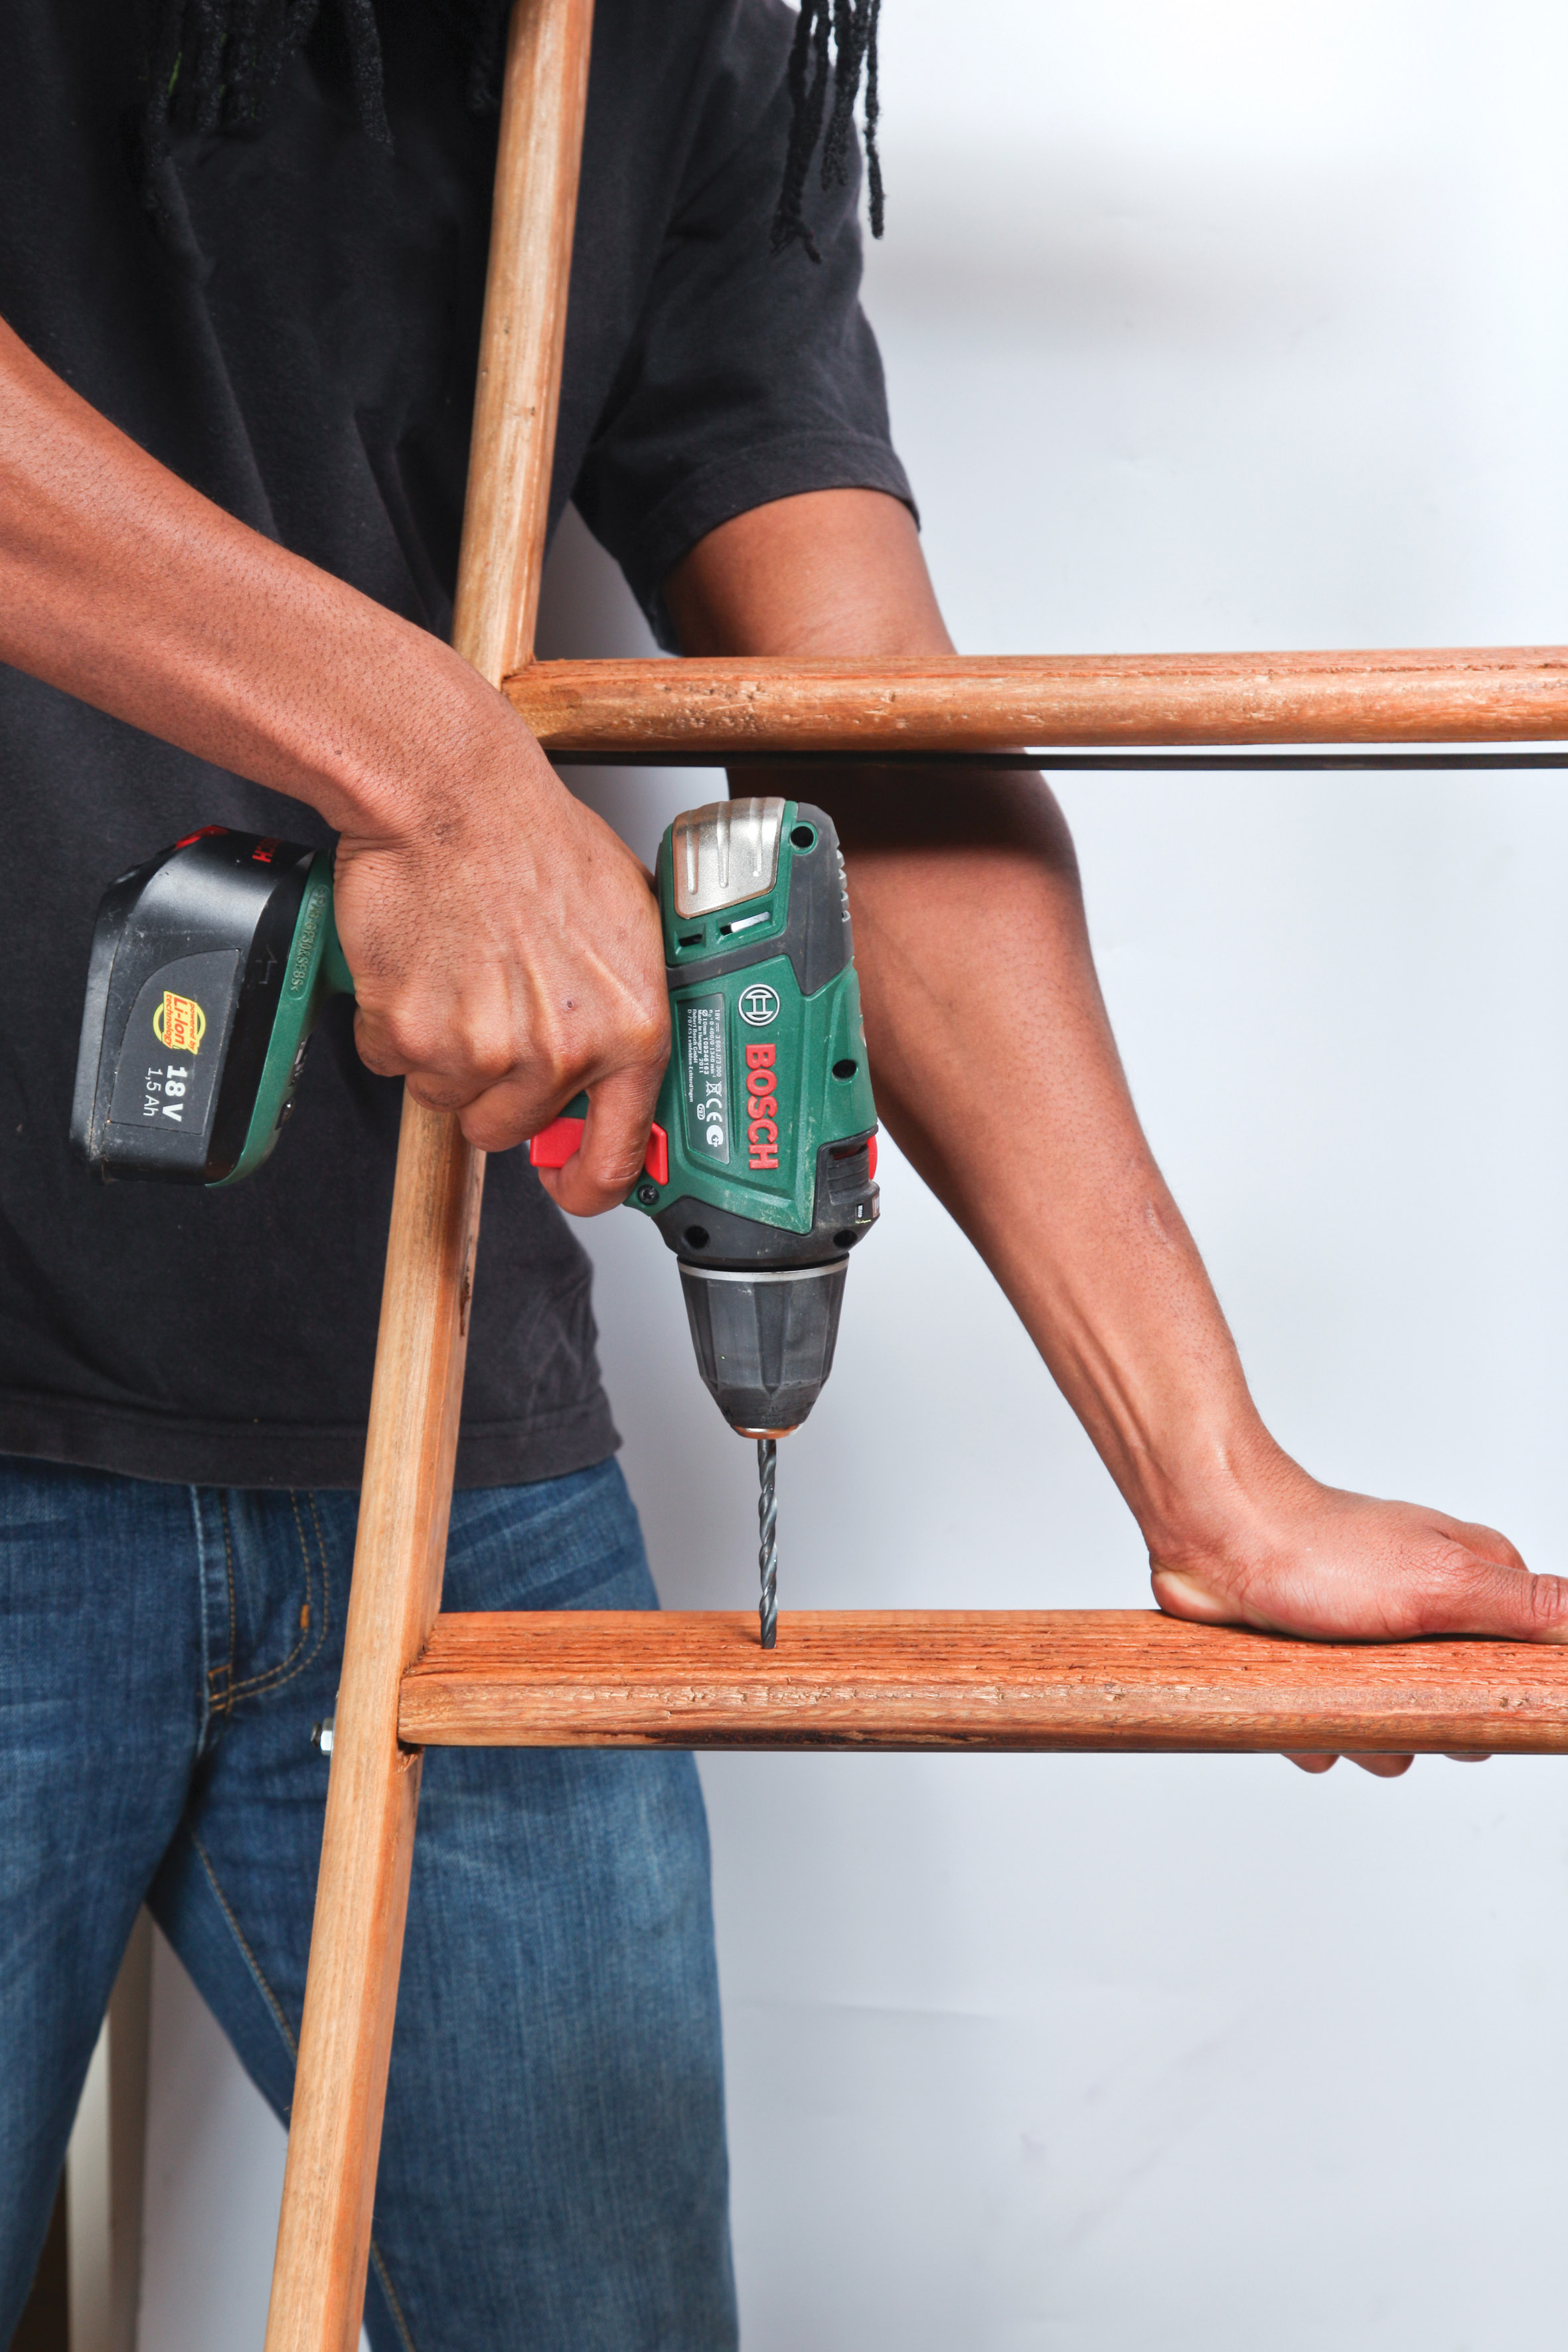
Pre-drill 2 holes per step, being careful to avoid the under step support.
Step 8
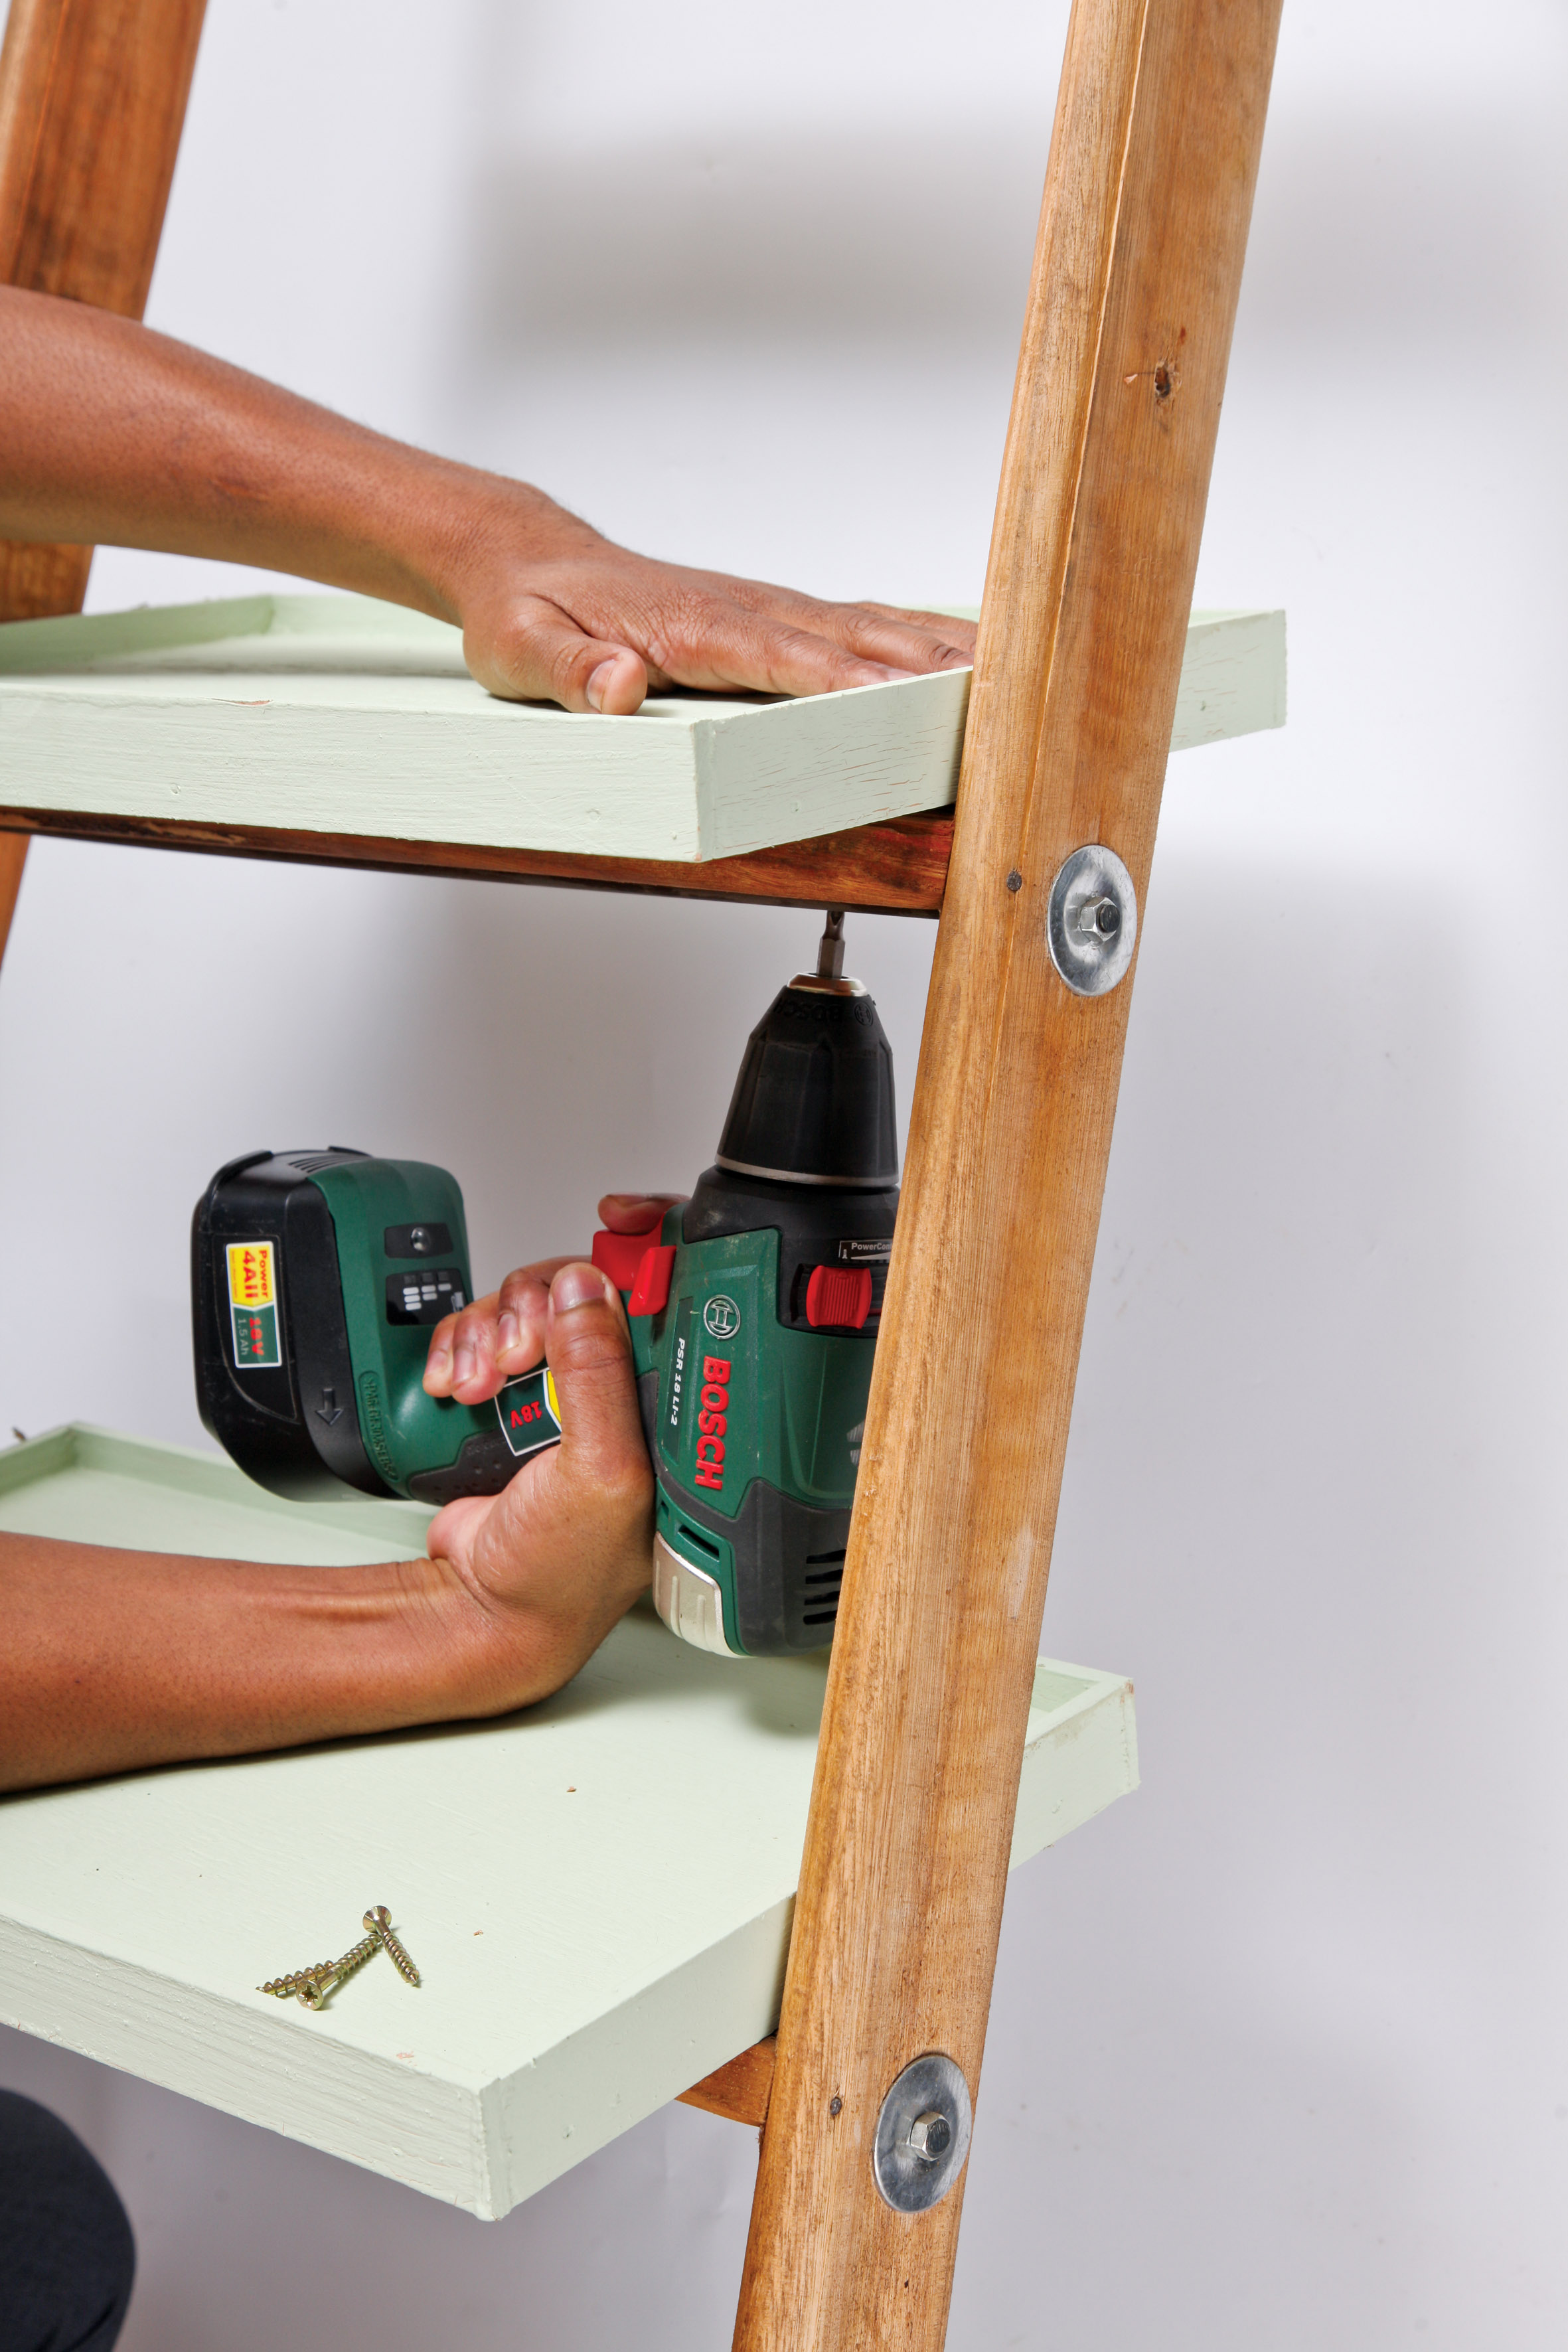
Place each shelf in position on the steps and attach using the electric screwdriver and full thread screws from underneath each step through the predrilled holes.
Step 9
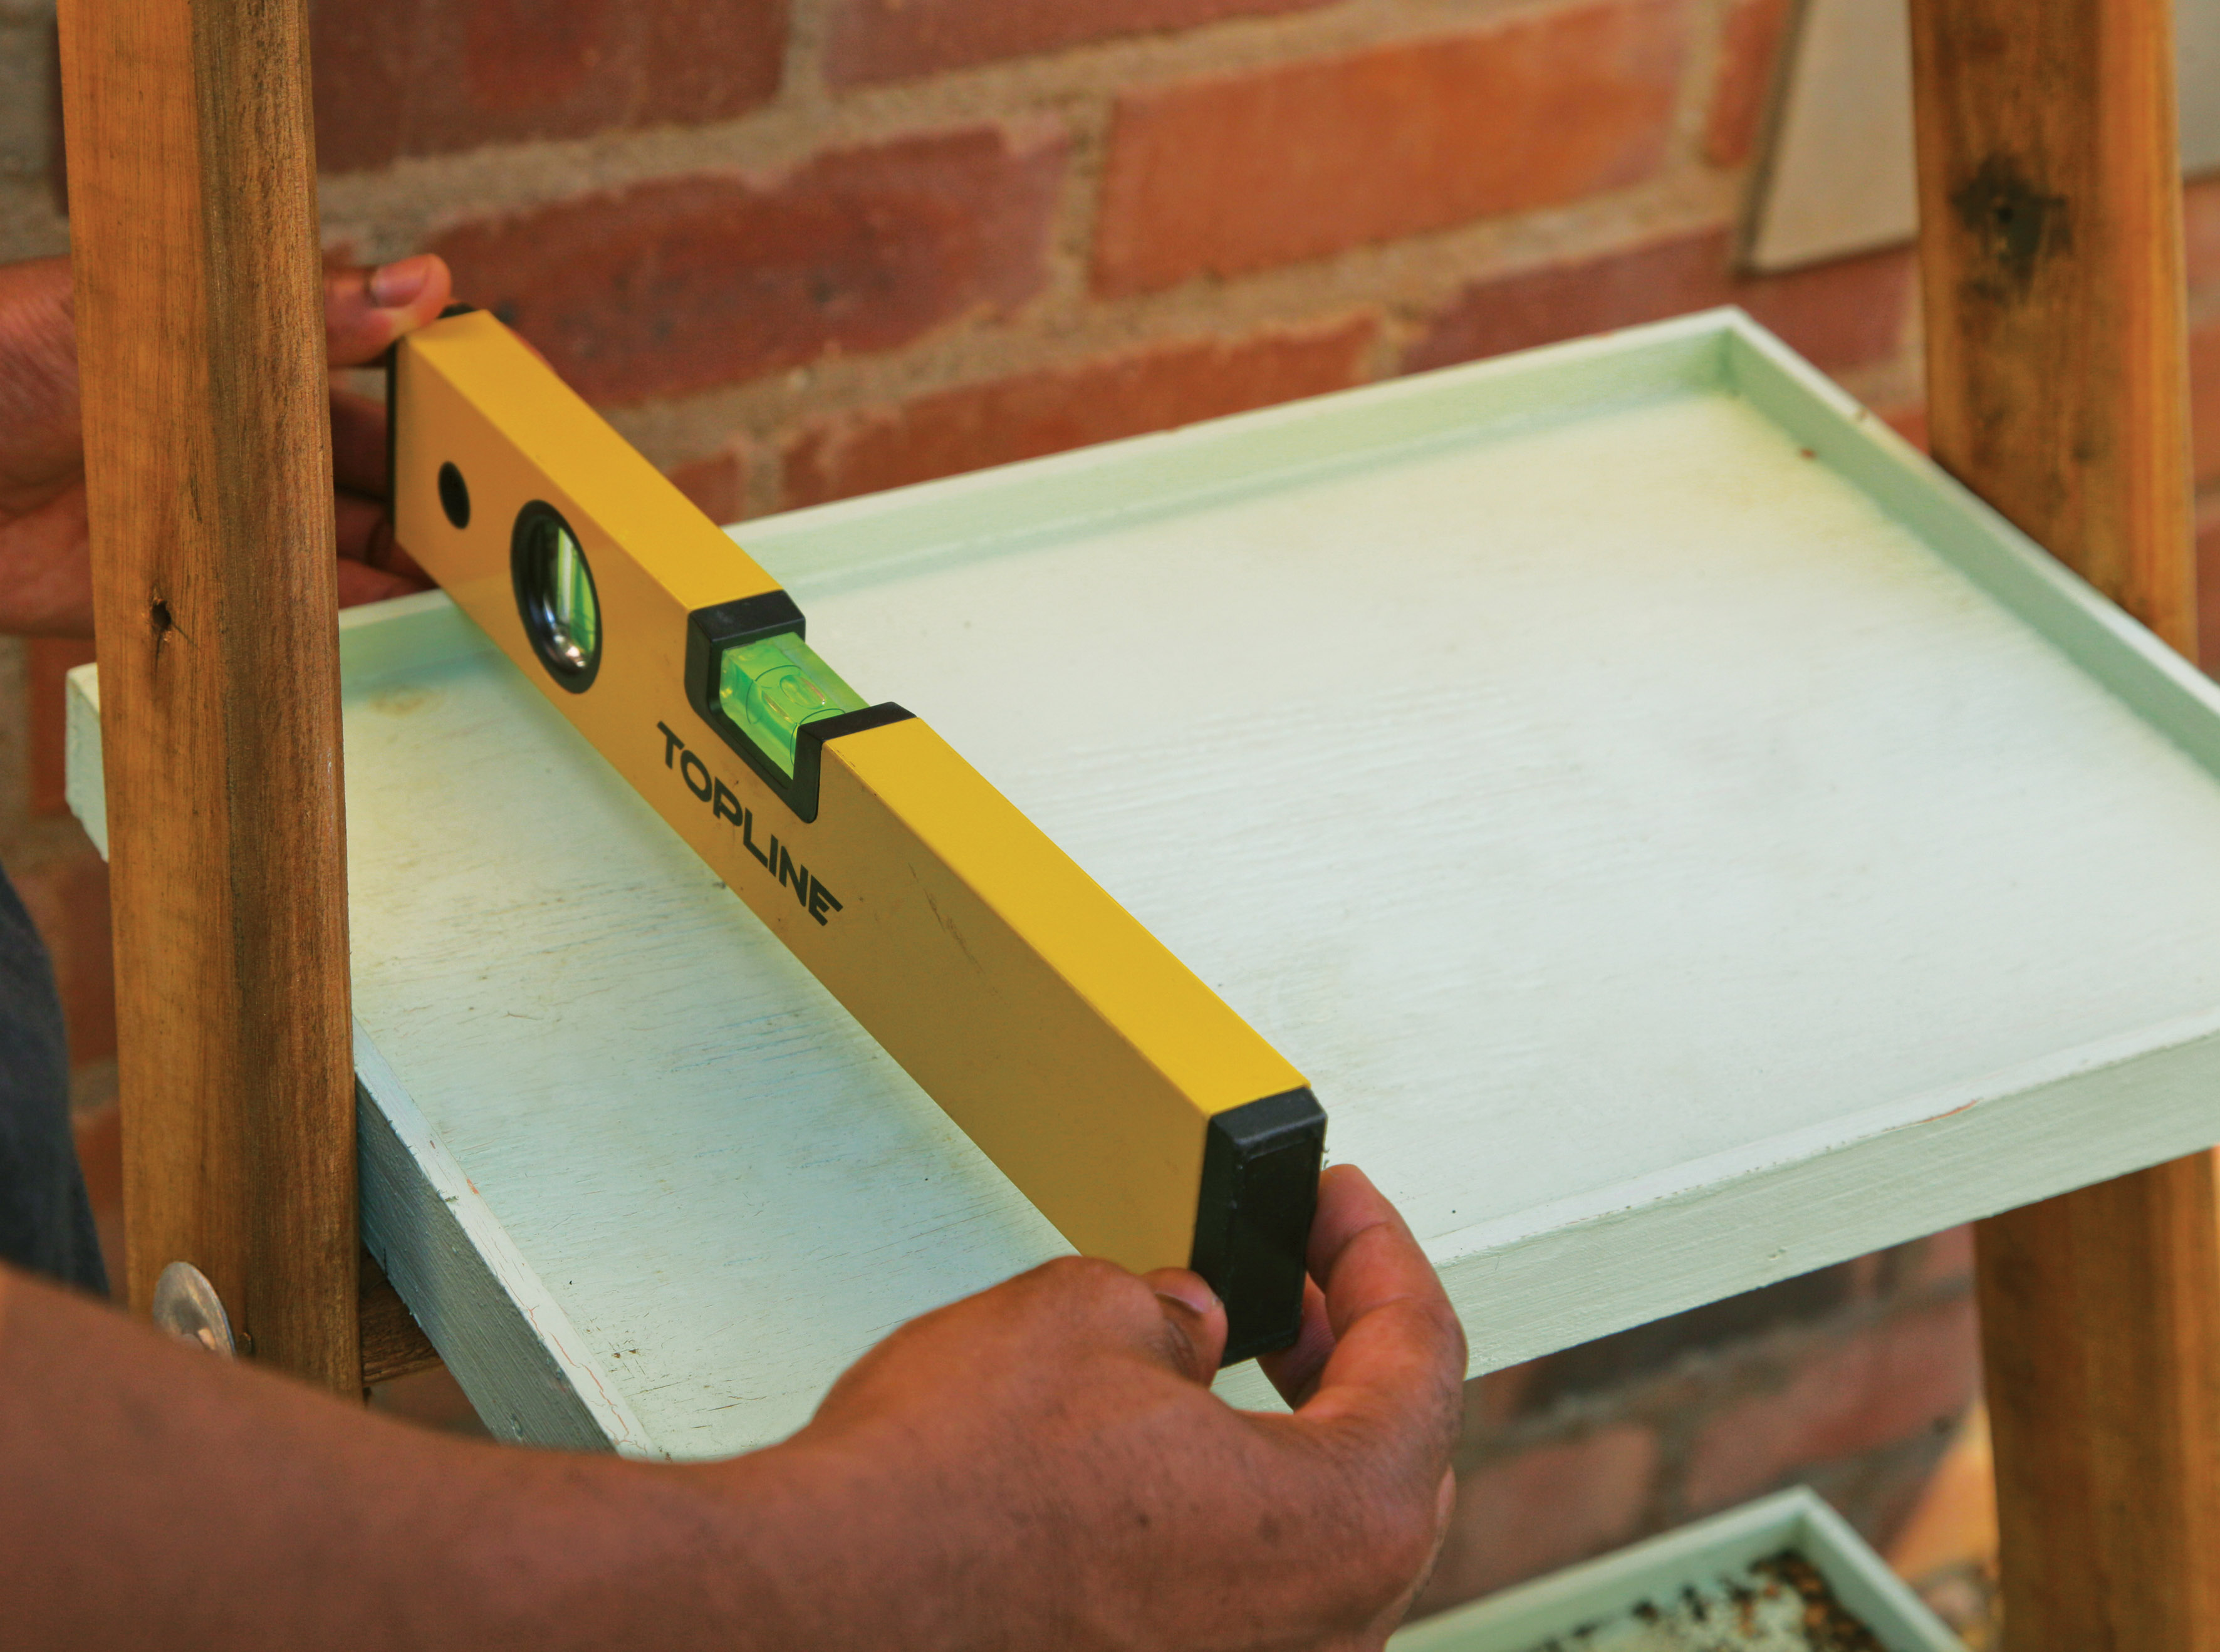
Place your ladder in position where you would like to display your potted plants. Check the position of the ladder when it’s resting against the wall by placing a level on the middle shelf. If it is level then the rest of the shelves should also be level, as the steps are parallel to each other.
Credits
Referenced from Gallo images / www.thegardener.co.za

