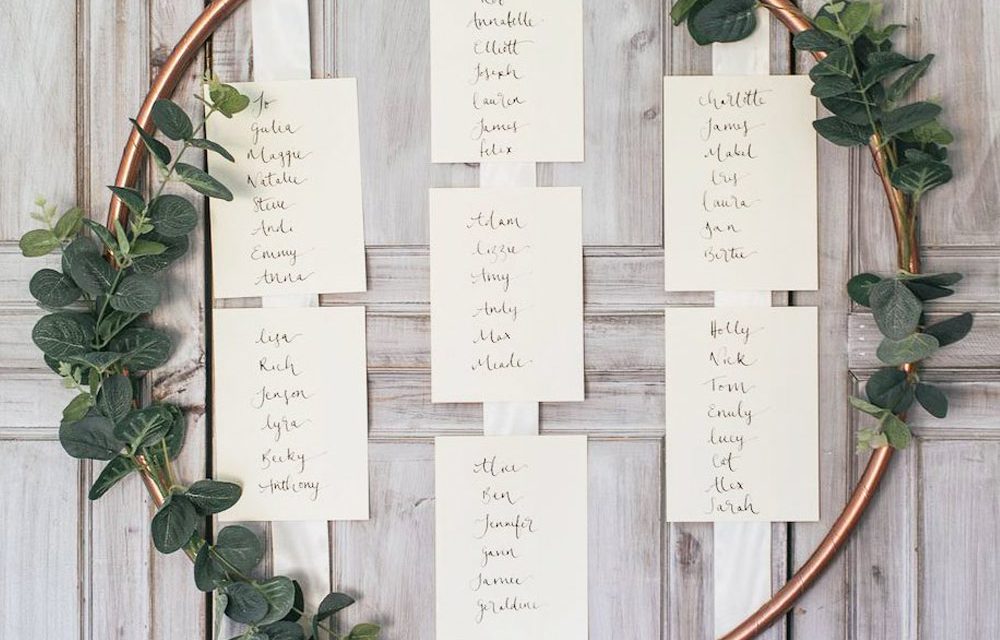
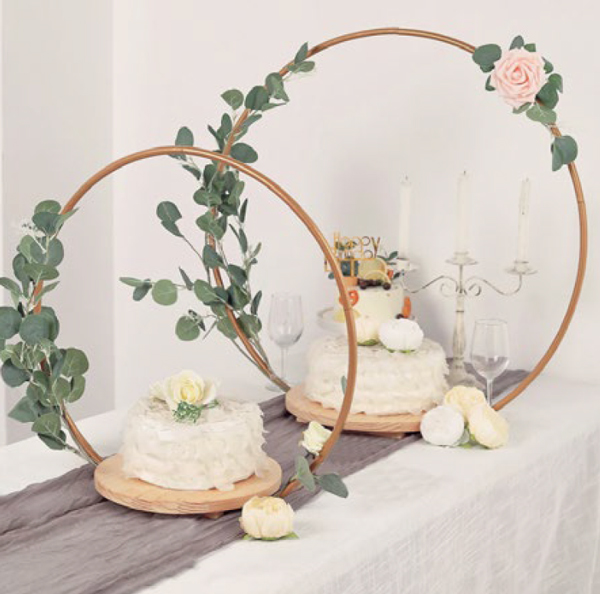
Brides on a budget – we’ve got you covered! Create a chic seating plan, insta frame, or cake display décor with a gold sprayed hula hoop. The options are endless. Just say I do to style and DIY wedding décor on a dime.
Create the look
What you’ll need:
- Lacquer thinners and soft cloth
- Drop sheet, glue gun, florist wire and tape
- Embellishments – ribbon, greenery faux flowers, fairy lights and photos
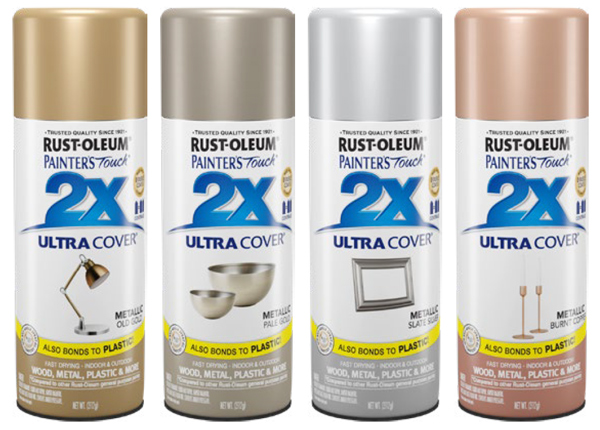
- Painters Touch 2X Metallic – Old Gold
Prepare
Before you start painting, wipe your hula hoop with Lacquer thinners and a soft cloth to clean it – remove any price tags. Install your drop cloth. Shake the Painter’s Touch 2X can for 1 minute after you hear the mixing ball begin to rattle. This will mix the paint evenly. If you can hang the hula hoop up to spray it you will be able to cover both sides simultaneously and avoid drips and runs. Alternatively raise off the table using blocks.
Top Tip
Before you paint – try a practice spray on scrap material before you start your project.
Paint
Hold the can upright, 30cm from the hoop and use slow steady hand motions, slightly overlapping each stroke. Apply the second coat within an hour or after 48 hours (once the first coat has completely cured). Make sure that both sides are evenly coated and that you haven’t missed any spots.
Finish
Leave overnight to fully cure before you start to put your hula décor together. Use floral tape to put small bunches and greenery together and attach to half the length of the hoop using hot glue. Wrap battery operated fairy lights around the entire hoop for some extra twinkle. Ribbon strips and seating cards can be tied or glued on. There’s no right or wrong way – your hula creation is in your hands!

