Our steady progress through this home makeover has featured hand mixed pastel paints and colour drenched rooms, wall paper and vinyl wrapping, as well as useful tips and tricks for lighting, decor and floors.
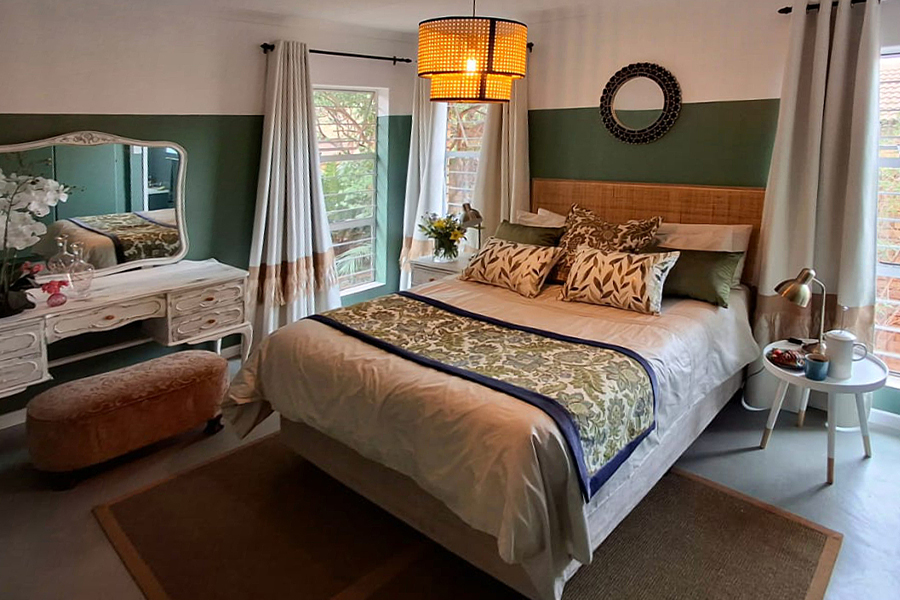
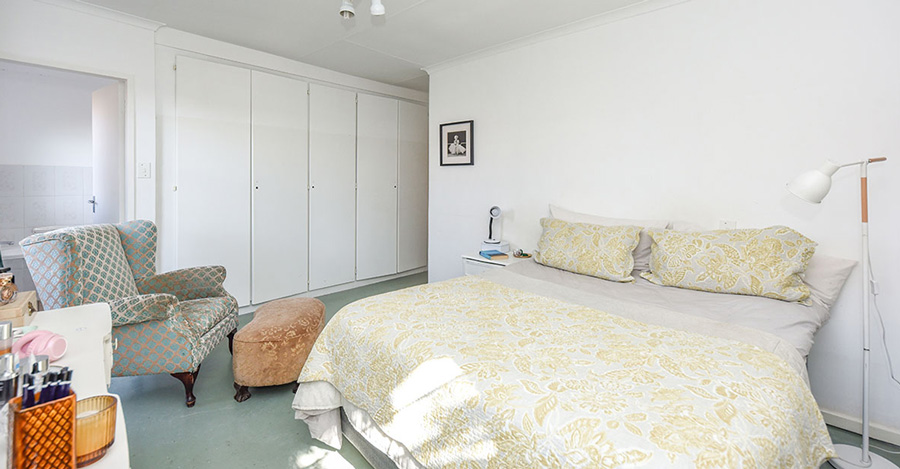
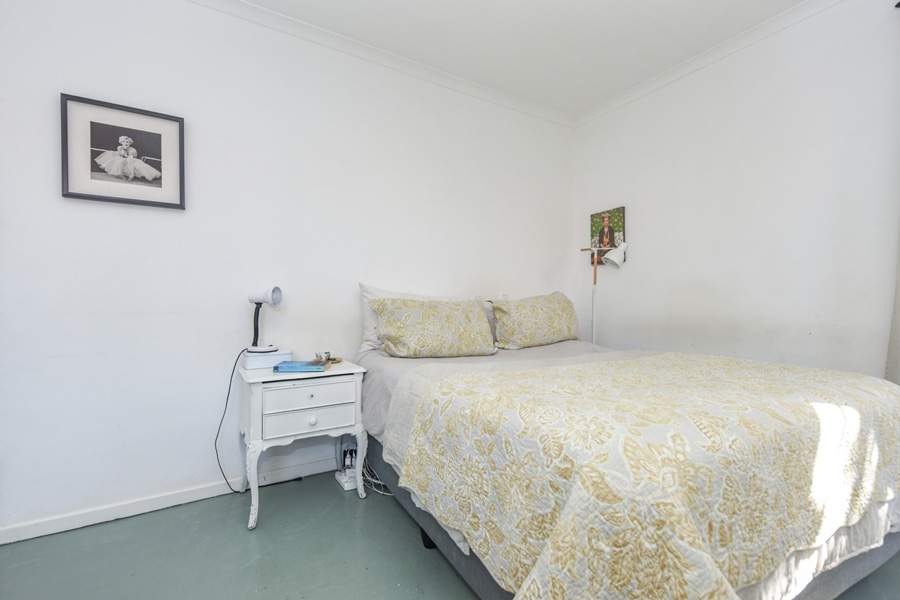
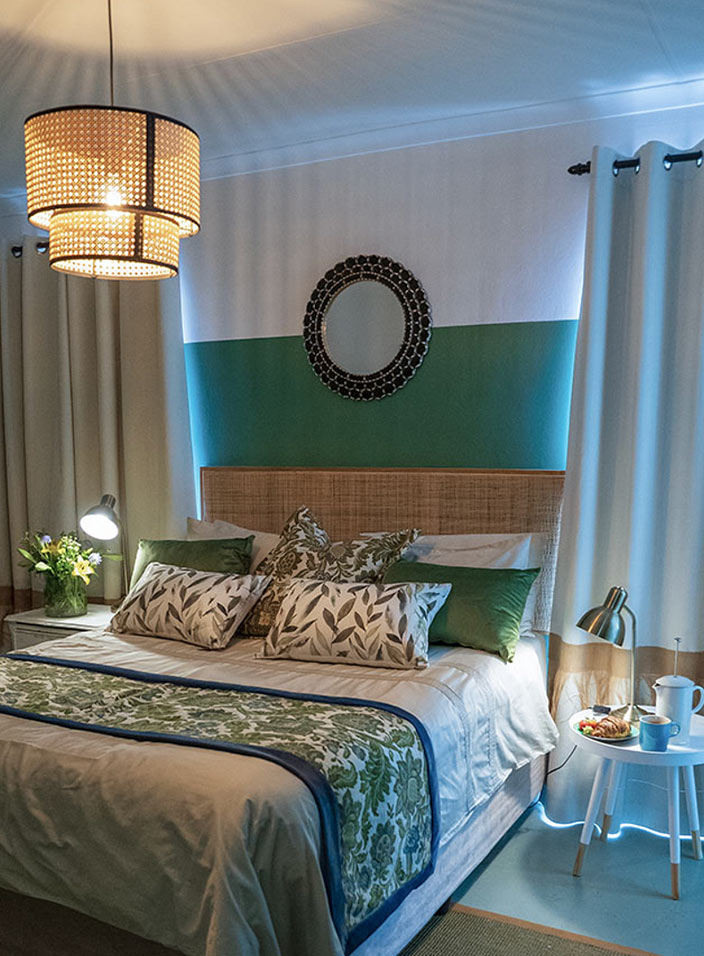
As always, our first step is to choose a wall colour that complements the floor, because colour is integral to the overall design. It’s not simply about choosing a colour that looks nice. For this room’s walls I selected a leafy green hue that sets off the flooring perfectly.
For me, a logical first step was wall colour continuity because, being at eye level, it is most noticeable. I decided to repeat the living area’s cornflower blue hues on the kitchen walls and ceiling, again contrasted with green.
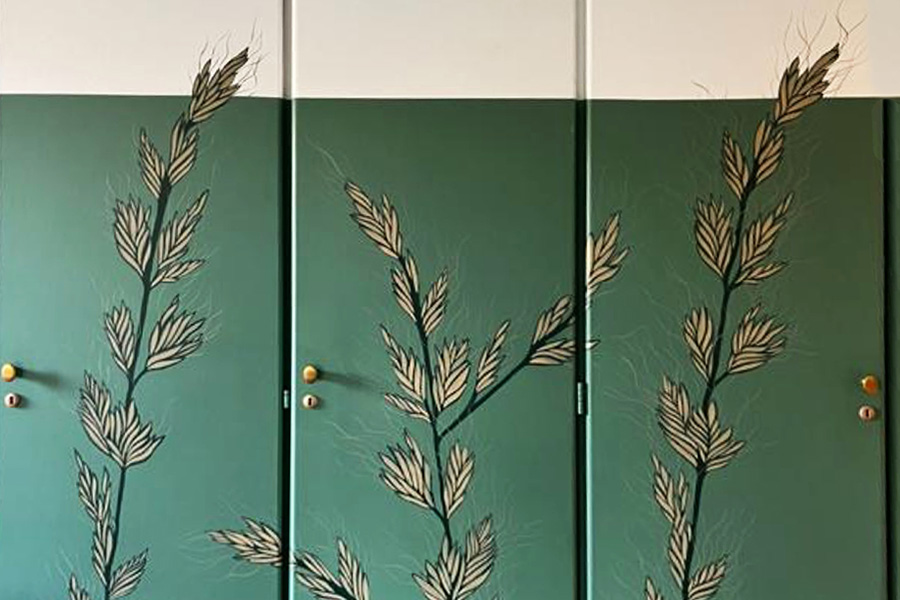
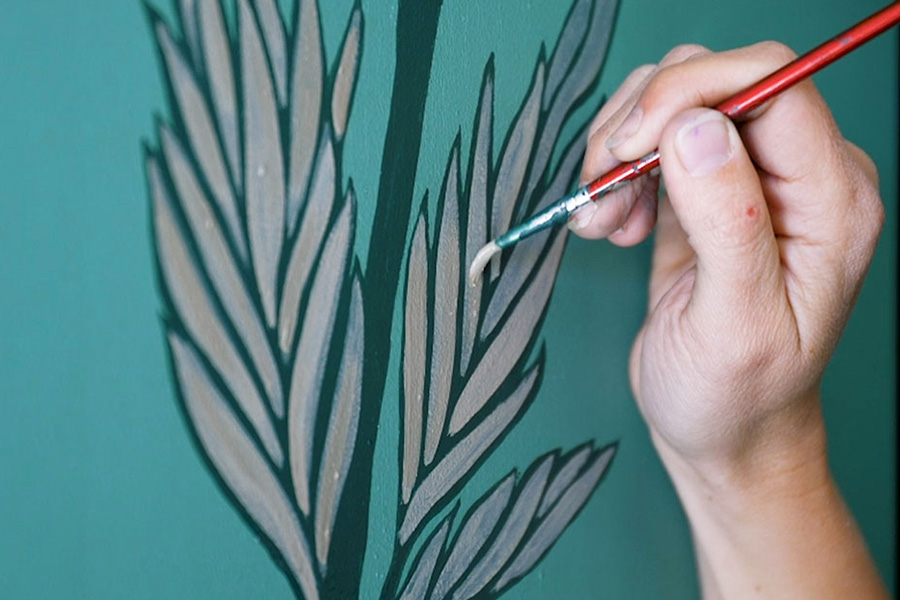
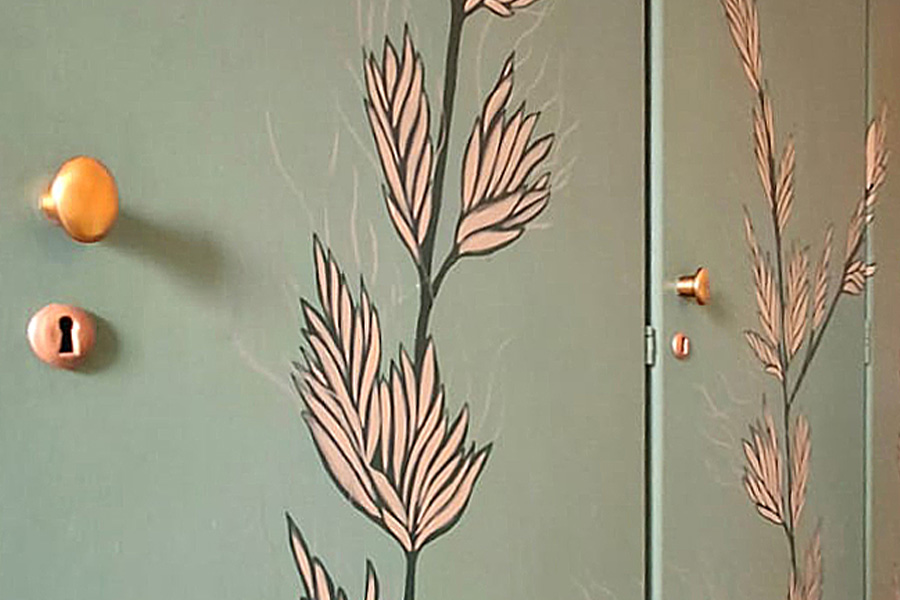
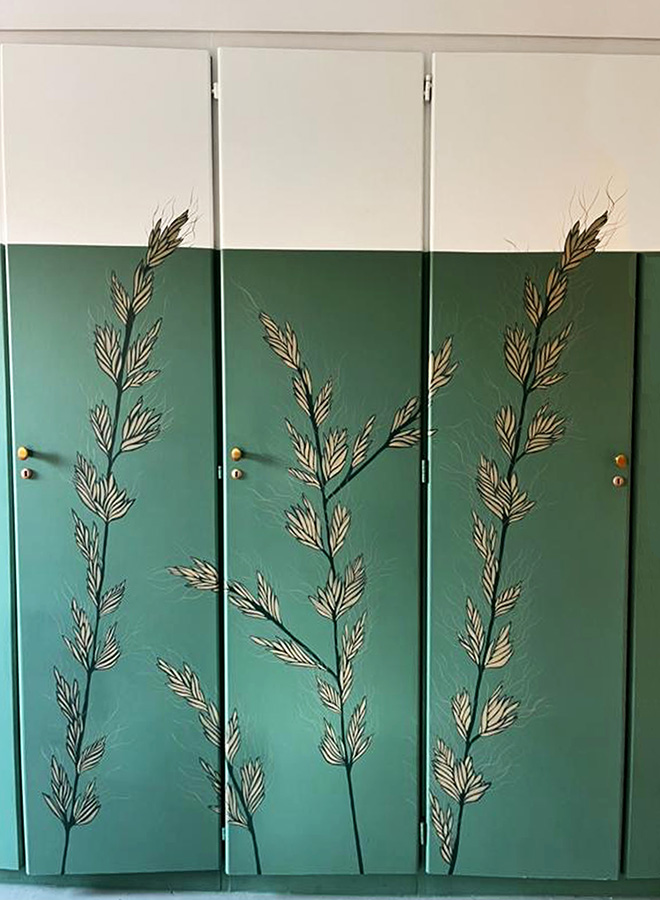
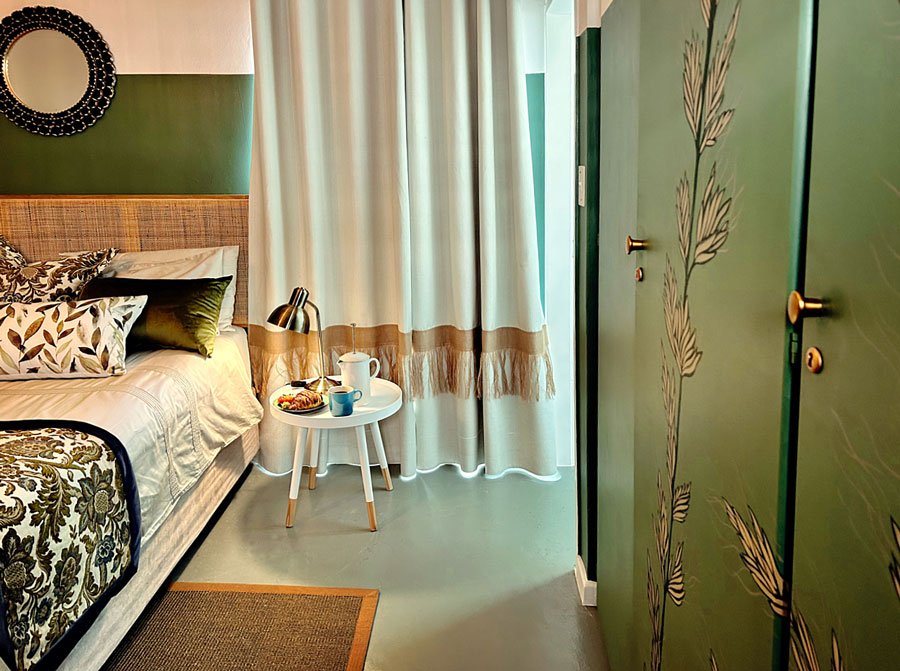
Rather than applying the green from the ceiling to the floor, I opted to paint only three-quarters of the wall. The green commands attention and, to soften its boldness, I added contrasting touches of pale honey in the décor, and into the stenciled patterns on the melamine wardrobe doors.
This palette was inspired by the golden sands and tall marram grasses that come to mind when we think of a serene beach. Since my client originally lived at the coast and has fond memories of the beach, I wanted to infuse those happy memories into this space for her.
TIP: Always ask a professional in the paint section of your local Builders for advice when dealing with damp. Blistering may affect deeper layers, which would require different products for proper repair. They can also provide extra preparation tips.
To prepare the rest of the walls for their top coat, we cleaned them and repaired a few cracks using interior crack filler.
The melamine wardrobe doors were also cleaned, using sugar soap, then primed with Fired Earth Multi Grip Primer and finally finished with two to three coats of Fired Earth Ultimate Coat. Once the top coat was green, we could move on to the fun part: styling the space.
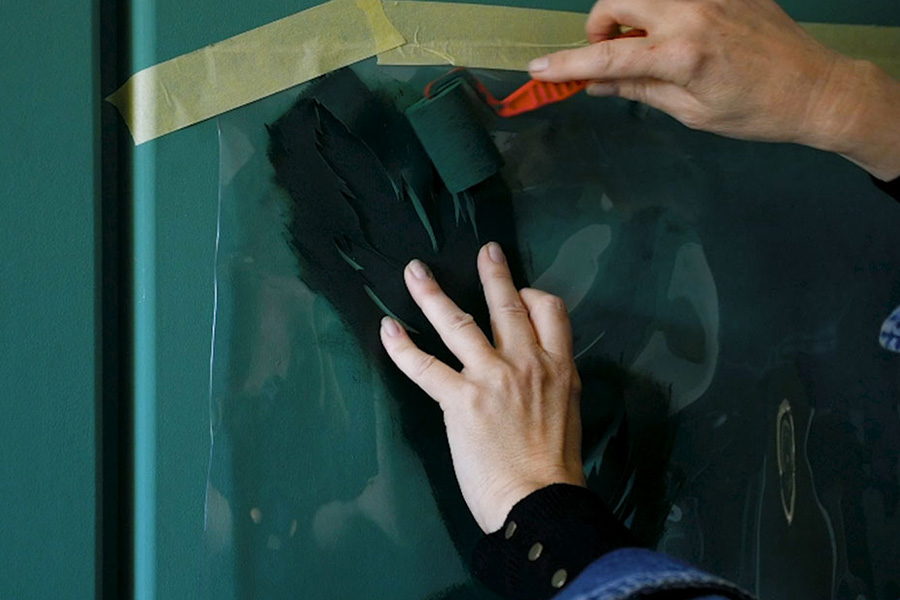
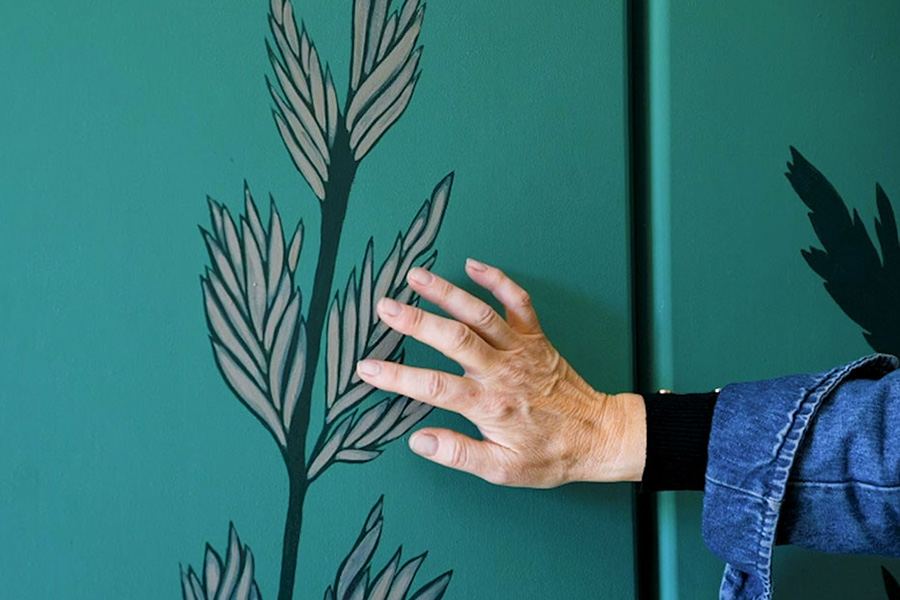
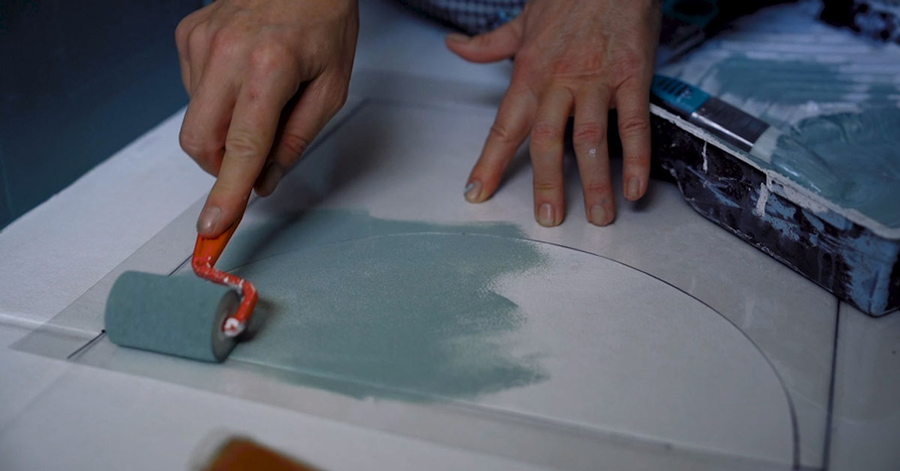
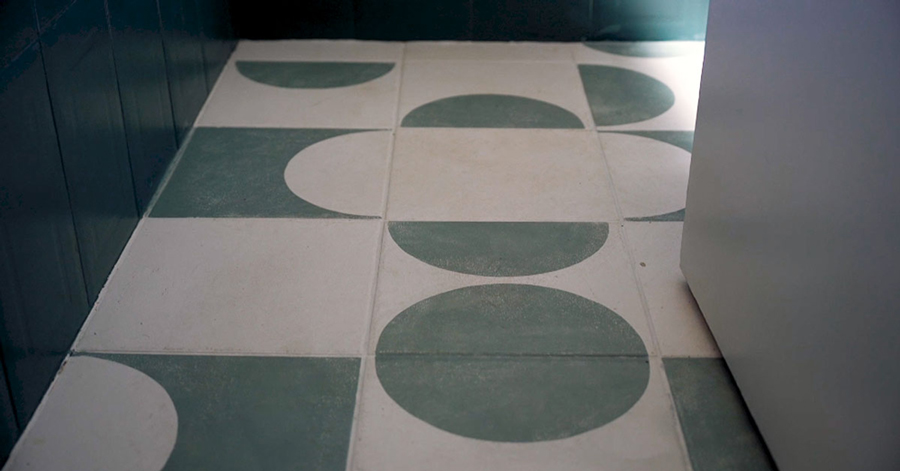
A wonderful way to give any space a facelift is through stencilling. I decided to stencil the wardrobe doors and the en suite bathroom floor, but there’s no limit to what you can do. Stencilled walls and even furniture can look spectacular.
TIP: How to paint your stencil
- If you have never used a stencil before, I recommend you practice on a smooth board or wall. This will help you fine tune your stencilling technique.
- You will need paint, a stencil, masking tape, a sponge roller and a roller paint tray.
- When you tape your stencil to a painted surface, first reduce the stickiness of the masking tape because it could lift off the paint base when you remove it afterwards. This can be done by sticking the masking tape to a clean cloth and pulling it off. Avoid fluffy cloth to keep the job clean.
- Once you have loaded your roller with paint, offload any excess by rolling it over your paint tray and then over a stack of paper towels. Make sure only a small amount of paint is left on the sponge roller.
- Apply light pressure when you roll over your stencil so that the paint does not bleed under the acetate. Do multiple rolls back and forth to ensure coverage.
- Important: Once the stencil is completed you cannot go back and place the stencil over the pattern again as it will leave an ugly mark.
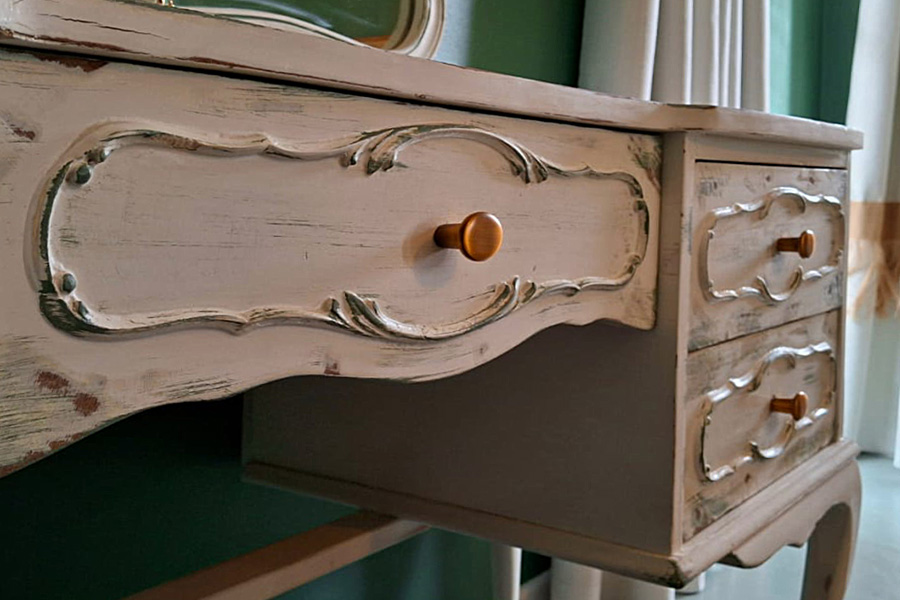
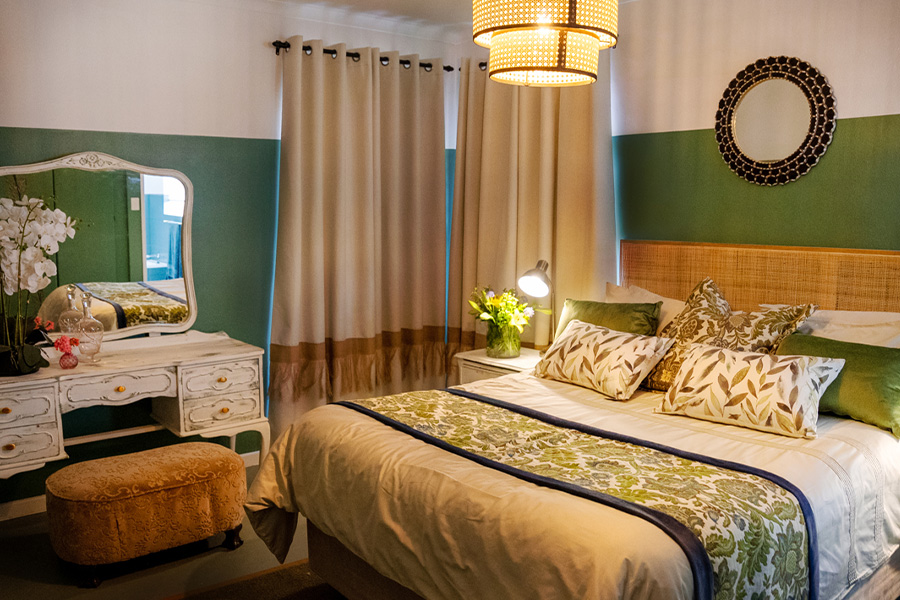
This heirloom vintage dressing table from “Grandma” needed some TLC. I decided to give it a weathered-look paint effect. To do this, I roughed up the surface carefully, using an electric sanding machine. By sheer luck, this revealed a previously painted layer of olive green, which added to the final effect I had in mind.
Next, I dry-brushed the dresser with a 50 mm brush to create marks that look like wood grain. Then, using a 100 grit sandpaper, I gently sanded the corners of the drawers and the edges of the table, to reveal the original wood colour under all the many years of painted layers. Finally, we adorned the drawers with new golden knobs and placed the owner’s ottoman, with its original fabric, as her dressing table seat. The little vintage pedestal received the same treatment.
TIP: The secret to successful dry-brush painting is to apply the paint with the very tip of your brush, using gentle hand pressure. The brush should be practically dry. Don’t load it with too much paint. The finish should be rough and weathered, not smooth and sleek.
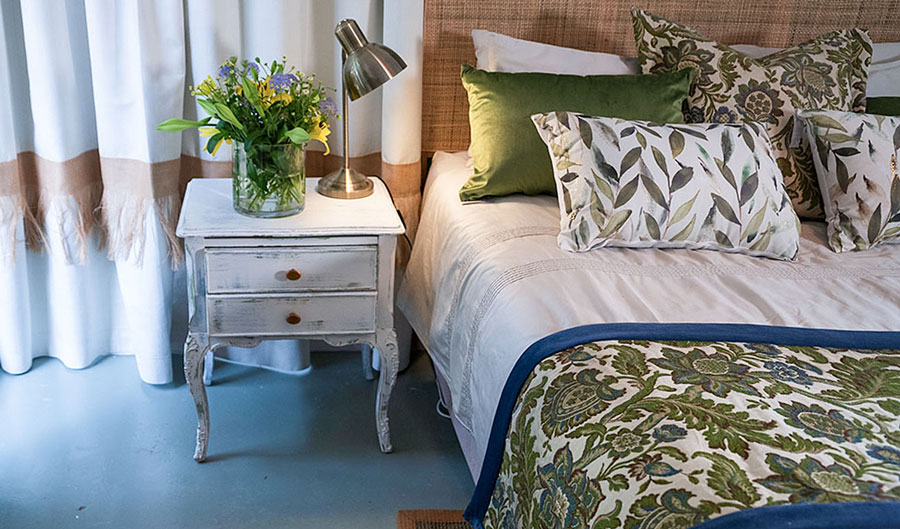
We coordinated the rest of the décor in much the same way as the other two bedrooms: richly textured, patterned and coloured to inject an atmosphere of informal elegance and, of course, many little sparks of joy.
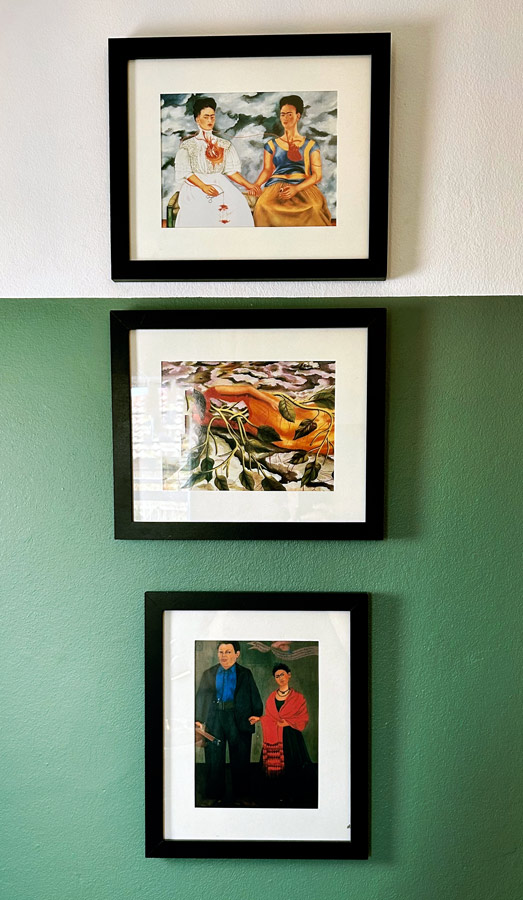
I made use of her much-loved Frida Kahlo postcards, had them framed and hung them above and below the wall paint line. A treasured ornate mirror decorates the wall space above the bed.
Builders shopping list for main bedroom:
- Sugar Soap
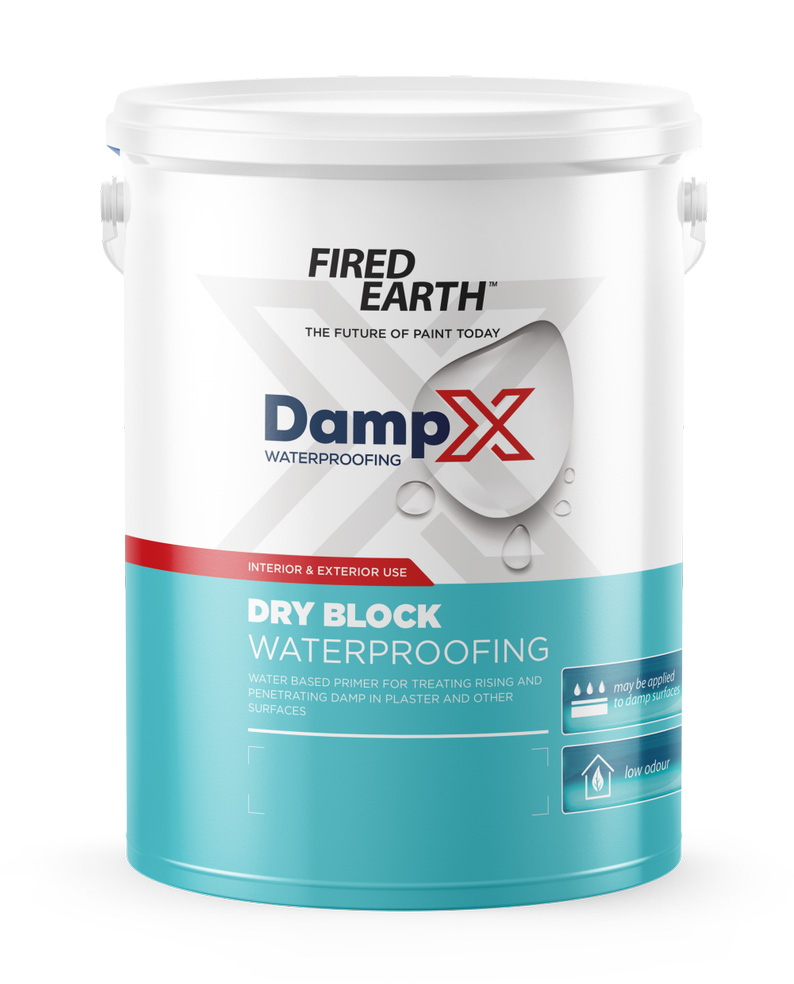
- Fired Earth Damp X Dry Block
- Fired Earth Multi Grip Primer
- Fired Earth Ultimate Coat top coat
- Fired Earth Walls & Ceilings
- Fired Earth Glaze Coat
- Interior crack filler
- Splash sheets, paint trays, paint brushes including 50mm for dry brushing, paint rollers and sponge rollers, masking tape
- Fine grit sandpaper
- Electric sander
- Sisal rug
- Rattan Trim Pendant light
- Golden wardrobe door knobs and keyholes
- Antique Gold Desk Lamp
- Round bedside table
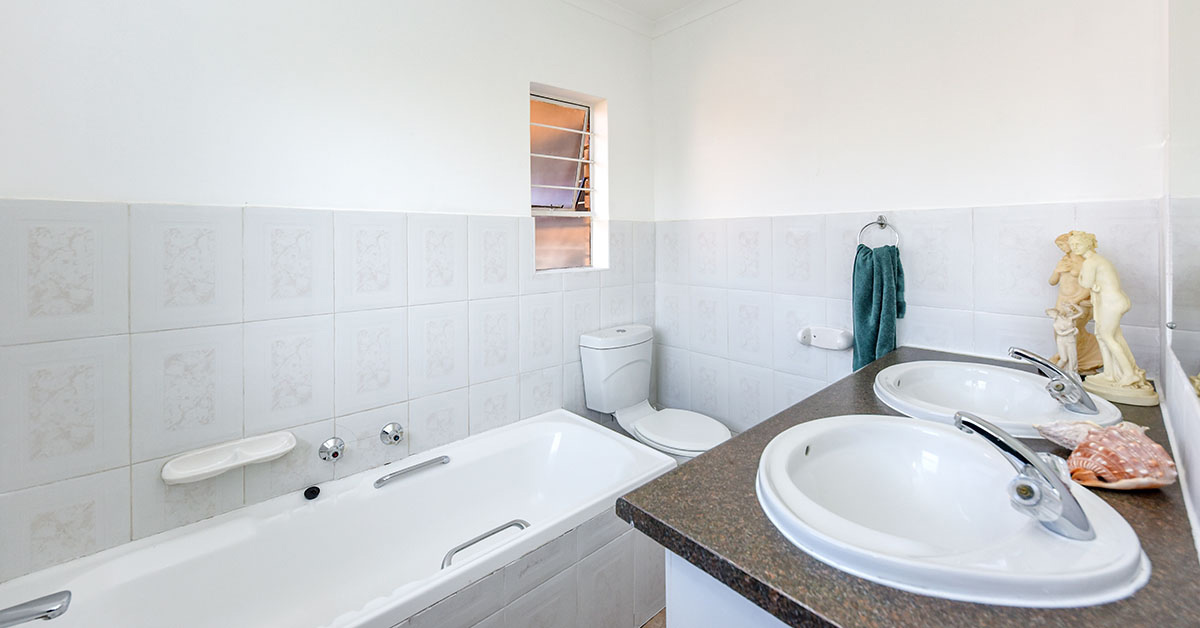
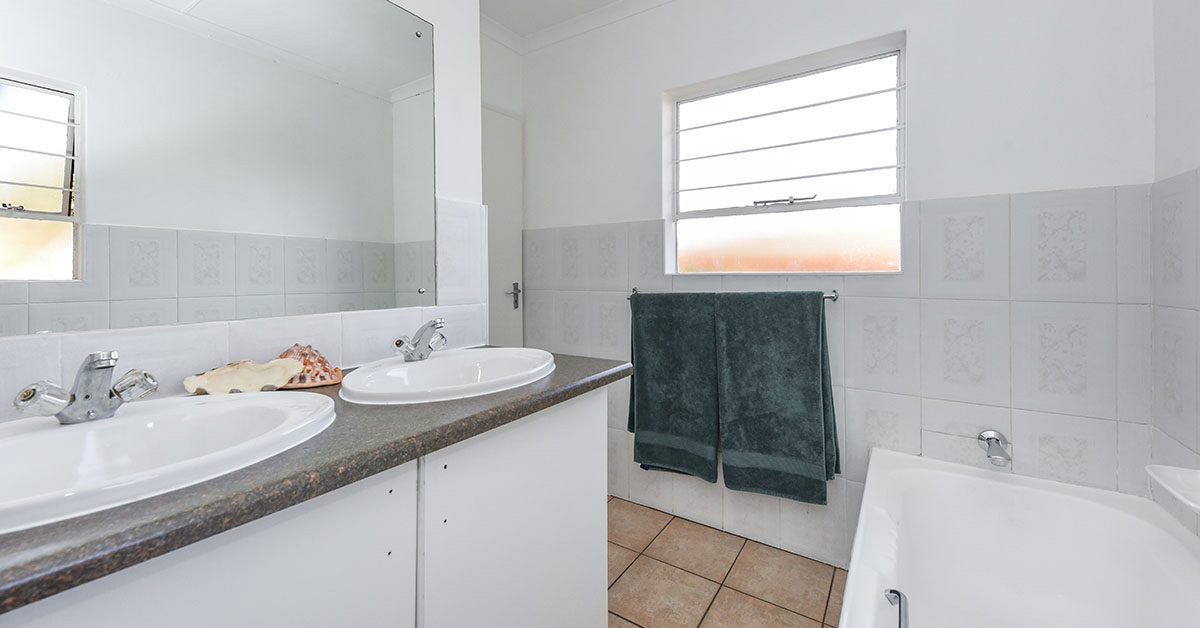
In the en suite bathroom, I had to deal with a challenge many people face with home improvement on a limited budget. Ideally, the homeowner would have preferred to gut this bathroom completely and start afresh.
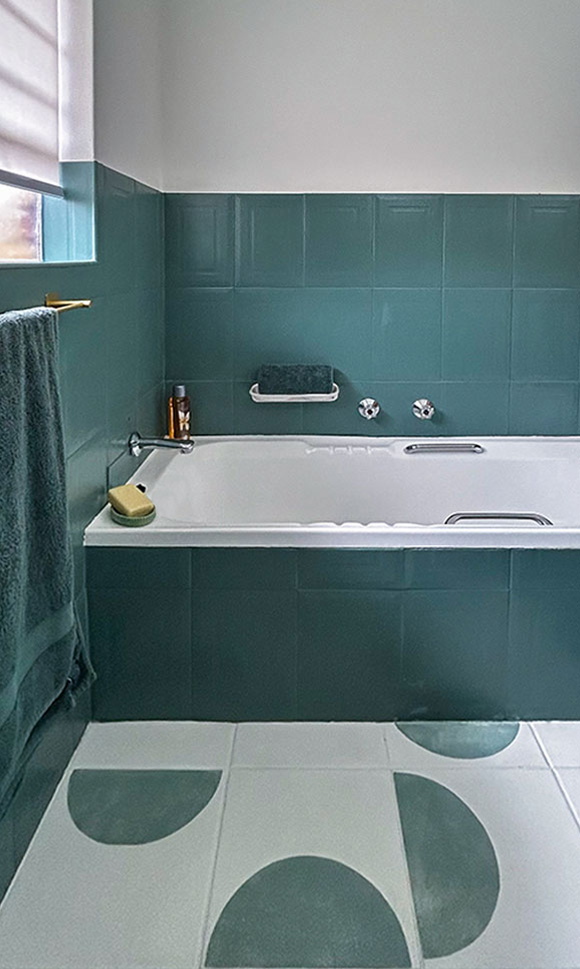
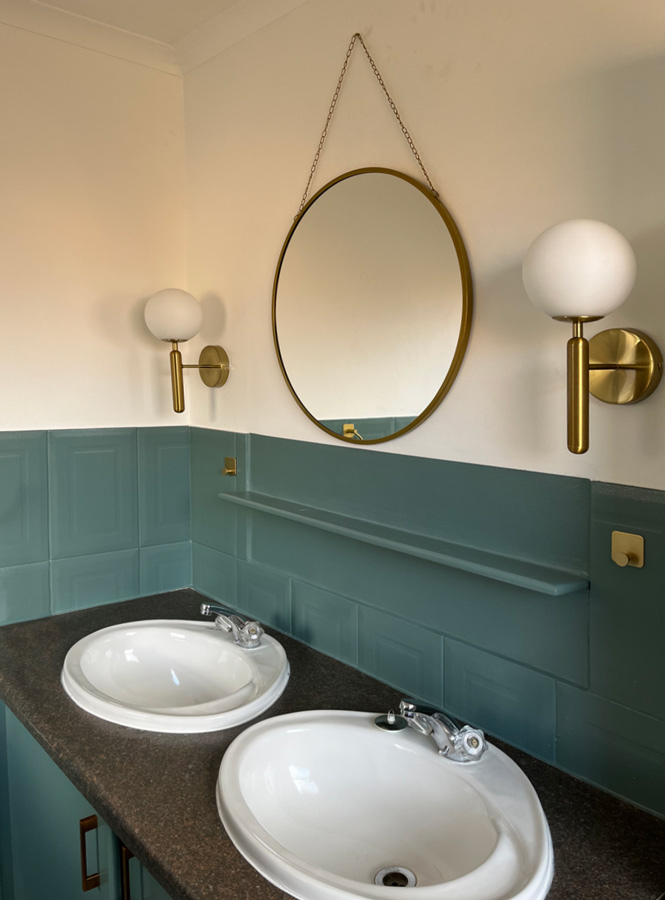
Fortunately, I knew from previous experience how I could change this boring white room into a soaking sanctuary until she can afford expensive new items like a bath, taps and accessories. My go-to solution for this type of scenario is to paint the tiles.
I have often been asked about my experience using paint to refresh tiles on walls and floors. I’d say it is well worth the effort for all, except shower tiles and high traffic floor tiles! The important point to understand is that, although it may not last decades, it will look great for a good five to six years. That usually gives people enough time to save up for the major change later.
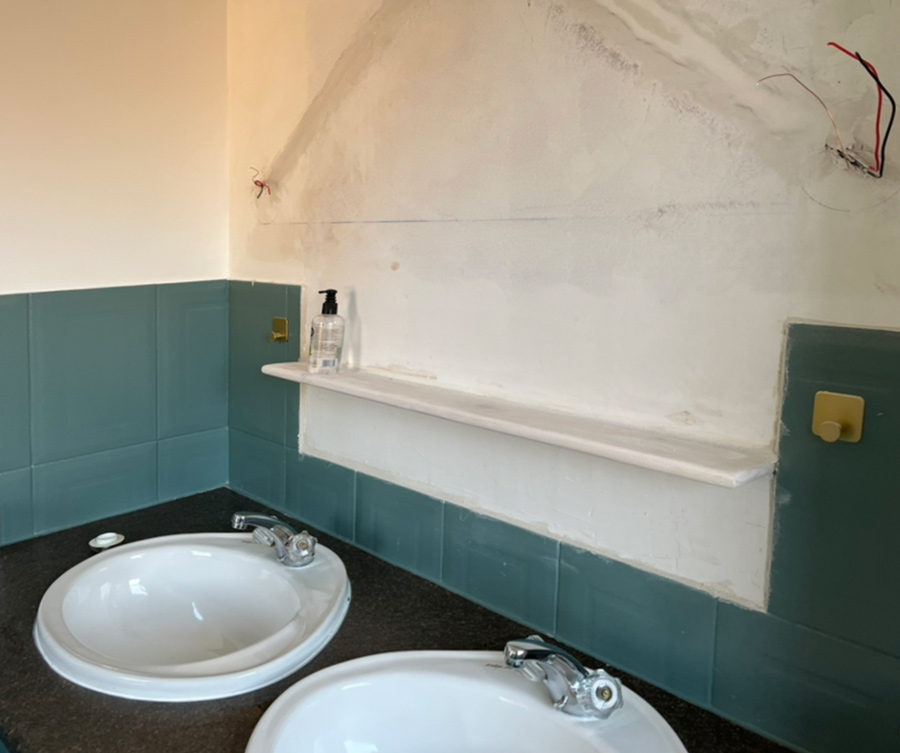
I decided to carry the bedroom’s green theme through to the bathroom tiles and vanity cabinet and to treat the upper walls and ceiling in the same white as the bedroom. The result showed a dramatic improvement. Surface preparation is critical to the success of a tile painting project.
Wall preparation and painting steps
- Scour the tiles using a steel wool scouring pad. The idea is to scratch the tiles just enough for the Multi Grip Primer to stick to the surface. Wipe the dust away with a cloth.
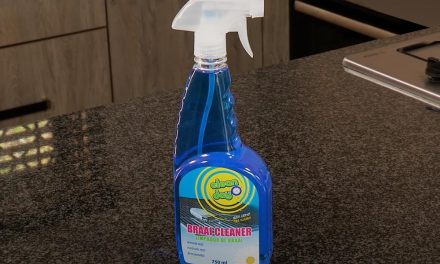
- Clean tiles thoroughly, first with a solution of sugar soap and, once dry, use clean water to rinse off the soap solution.
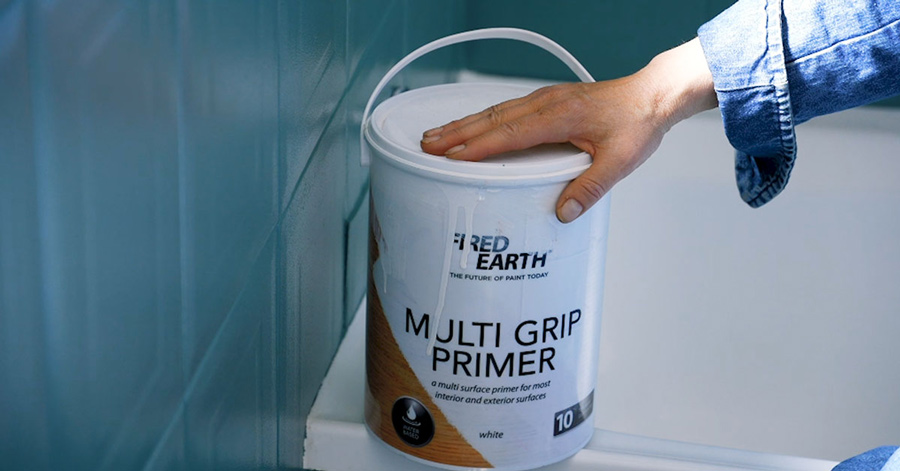
- Stir your Multi Grip Primer well before applying with an appropriate roller.
- Apply two coats of primer and make sure you adhere to the drying times mentioned on the container. On average, drying time is six to eight If you see any imperfections in the primer, wait for it to dry before you sand it smooth with a piece of fine grit sandpaper and then wipe the surface clean.
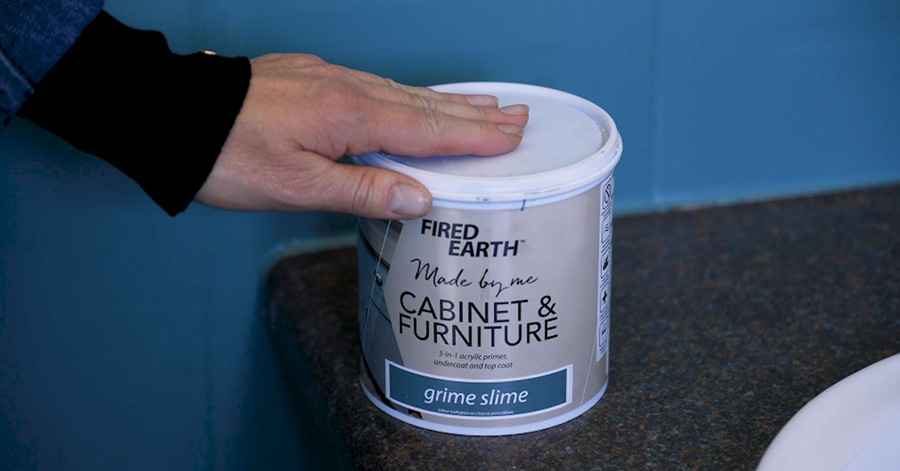
- Apply the top coat product. We used Fired Earth Cabinet & Furniture, which is a pure acrylic with a medium gloss finish. The colour we used is “Grime Slime”.
- Apply a second top coat after six hours, weather depending. Cold and wet conditions typically lengthen the drying time.
- Dark colours might require a third coat, however we only needed two coats of this gorgeous colour and the result is awesome!
We needed three coats of Fired Earth Non-drip Enamel for the white base colour. I then added blue and green universal stainers into the same base paint to mix the colour for the stencil pattern. Once the job was done, I added two coats of Fired Earth Glaze Coat to protect the stencil and seal the floor.
- Sugar Soap
- Steel wool scouring pad
- Fired Earth Multi Grip Primer (all tiles on walls and floor)
- Fired Earth Cabinet & Furniture “Grime Slime” (Wall tiles and cabinet top coat)
- Fired Earth Non-drip Enamel (Floor tile top coat and stencil)
- Fired Earth Colour Burst stainers (colours mixed into white top coat paint)
- Fired Earth Glaze Coat (to protect floor stencil artwork)
- Splash sheets, paint trays, paint brushes, paint rollers and sponge rollers, masking tape
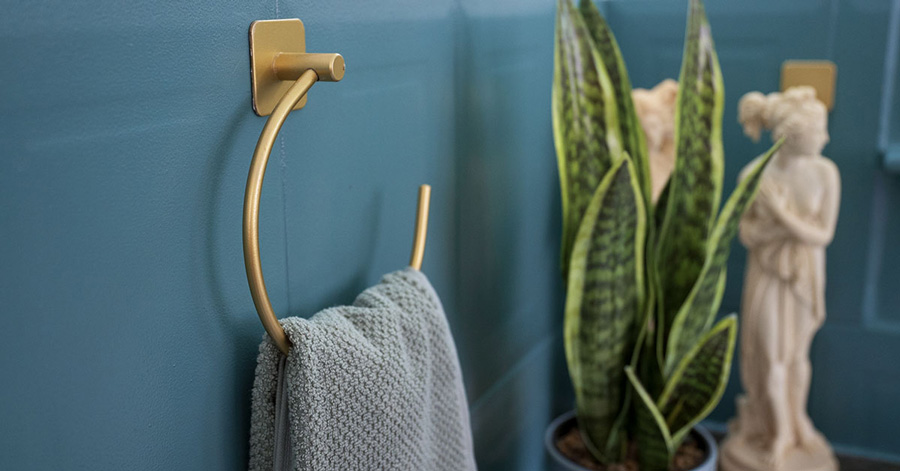
- Golden bathroom fittings
- Polished brass wall lamps
Goodbye for now from Claire.

