Build an oversized chalkboard to keep your little one entertained for hours.

- Rustoleum wood stain
- Wood sealer
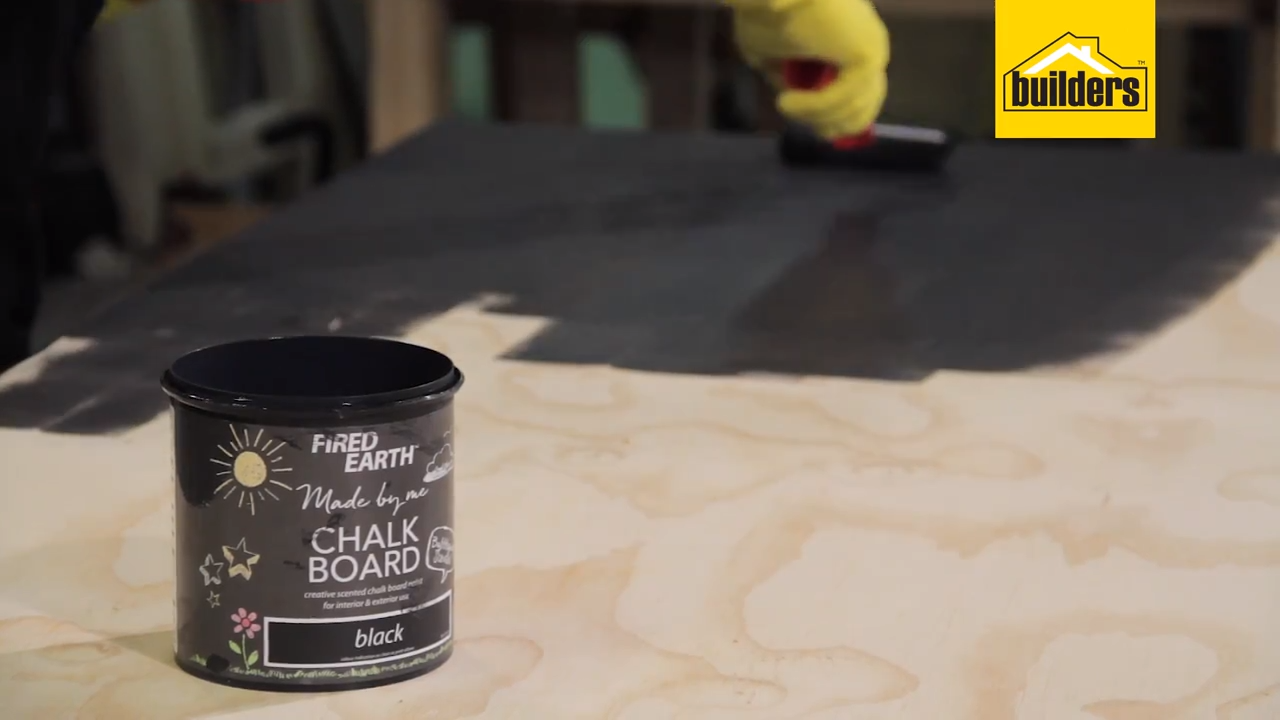
- Fired Earth Chalkboard paint
- Wood glue
- 20mm screws
- Paint tray and roller
- Sander and 150 grit pads
- Cordless drill
- Speed pilot
- Phillips driver
- Pencil
Cutting List:
- For this DIY we used a 2.4m x 1.2mm x 12mm sheet of shutterboard, cut to the following dimensions:
- Backboard: 2000mm x 1000mm
- Top and bottom sections: 2000mm x 100mm
- Side sections: 800mm x 100mm
You can customise the board to any desired size. For your convenience, get Builders to cut the timber to size.
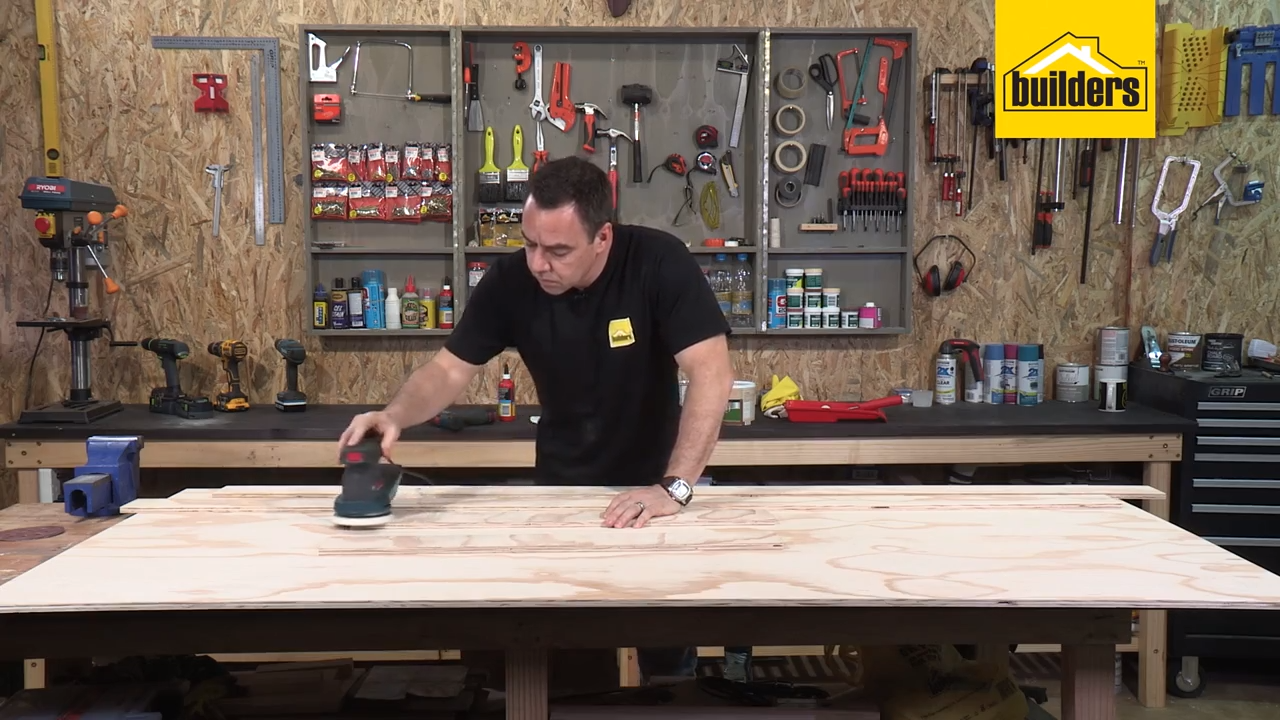
Step 1
Begin by sanding down your timber pieces to give them a smooth finish and remove any sharp edges or splinters.
Step 2
Stain the frame of your chalkboard to your desired colour.
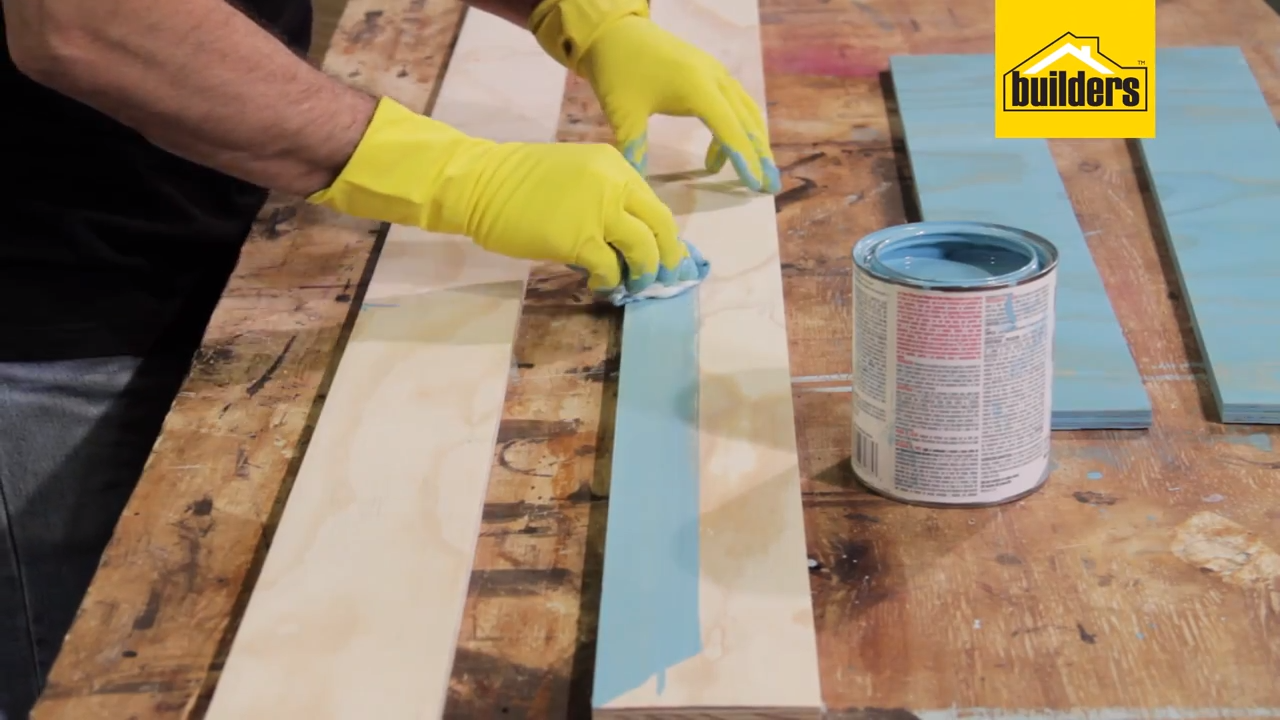
Step 3
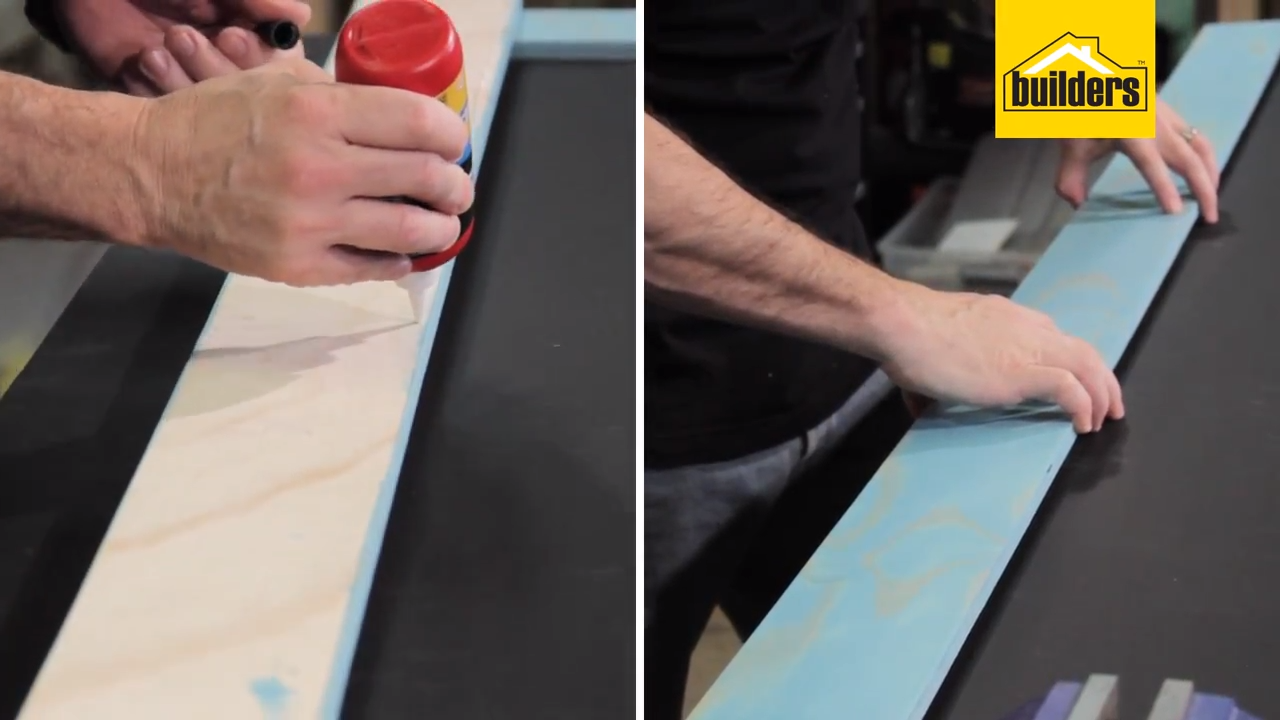
Once the frame is stained, seal the wood using a water-based wood sealer, remembering to seal the edges of the frame to avoid water damage.
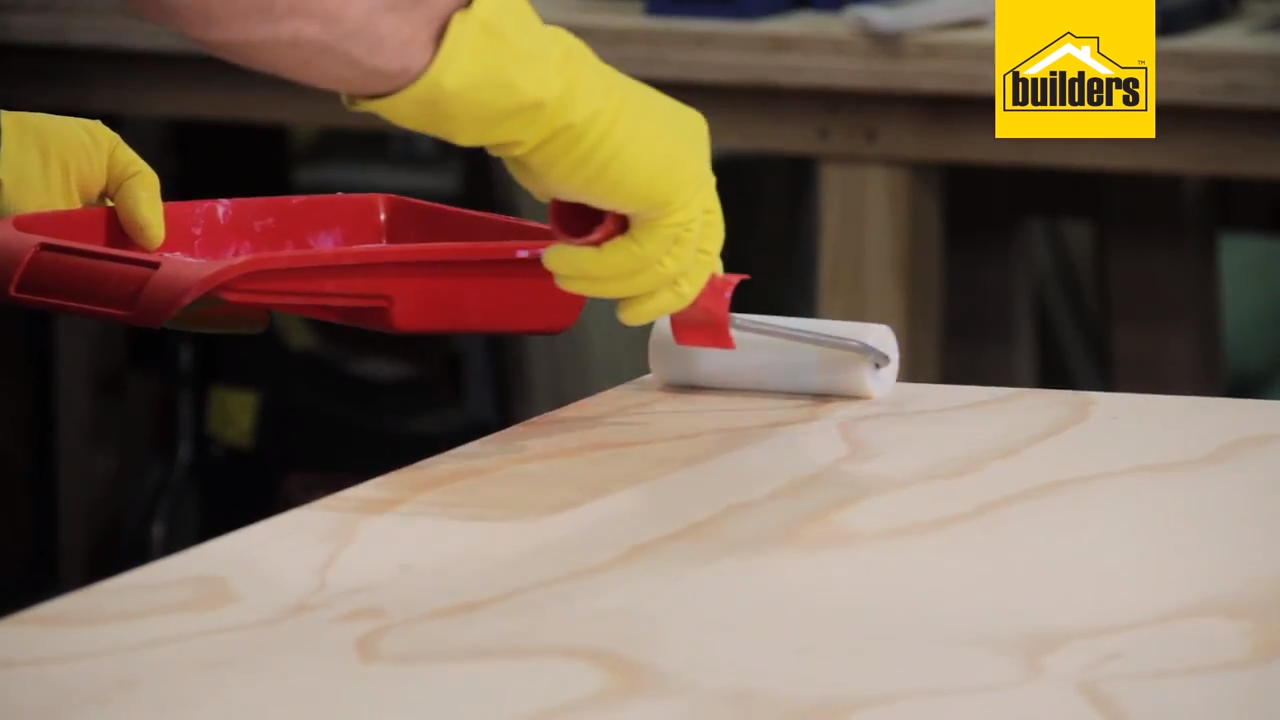
Step 4
Now seal the backboard with an exterior wood sealer before applying the chalkboard paint. Alternatively, you can use a wood primer to seal the timber.
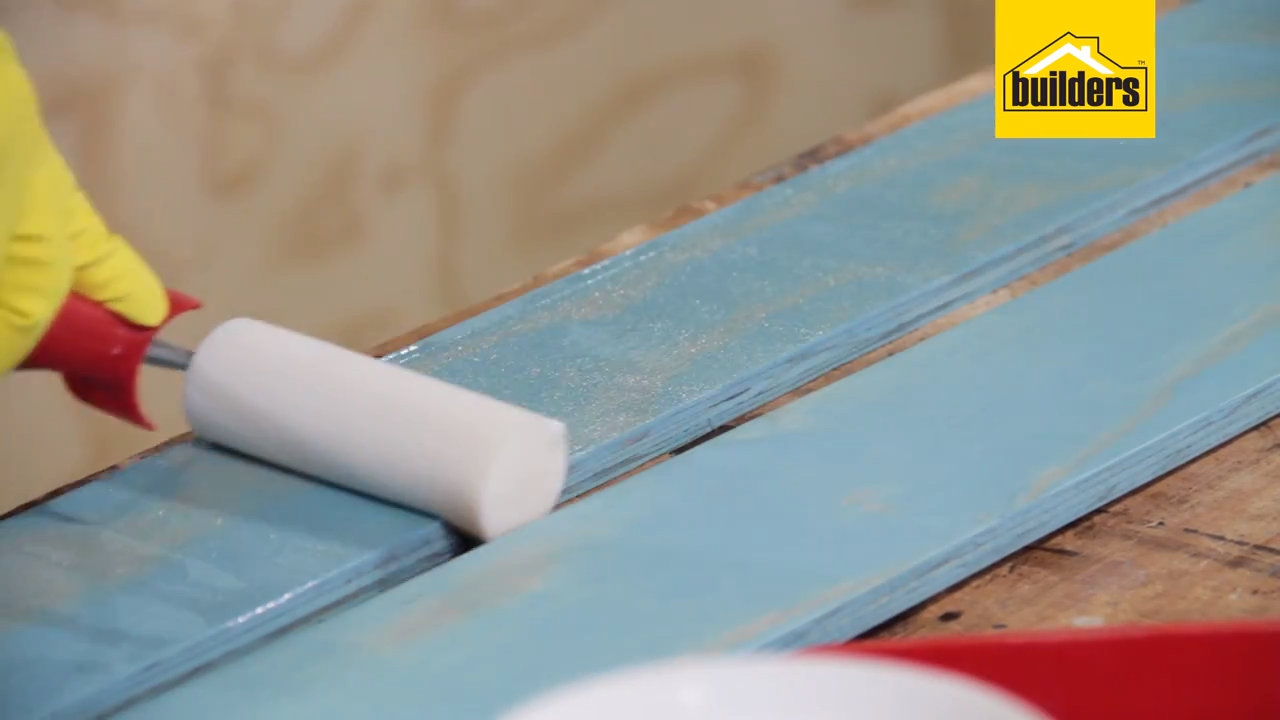
Step 5
Once the backboard is dry, apply the chalk paint. You will need to apply at least three thin coats to hide the grain structure of the wood.
Step 6
When the backboard is fully dried, attach the frame. Put wood glue between the mating surfaces and clamp the frame into place, then turn the board over.
Step 7
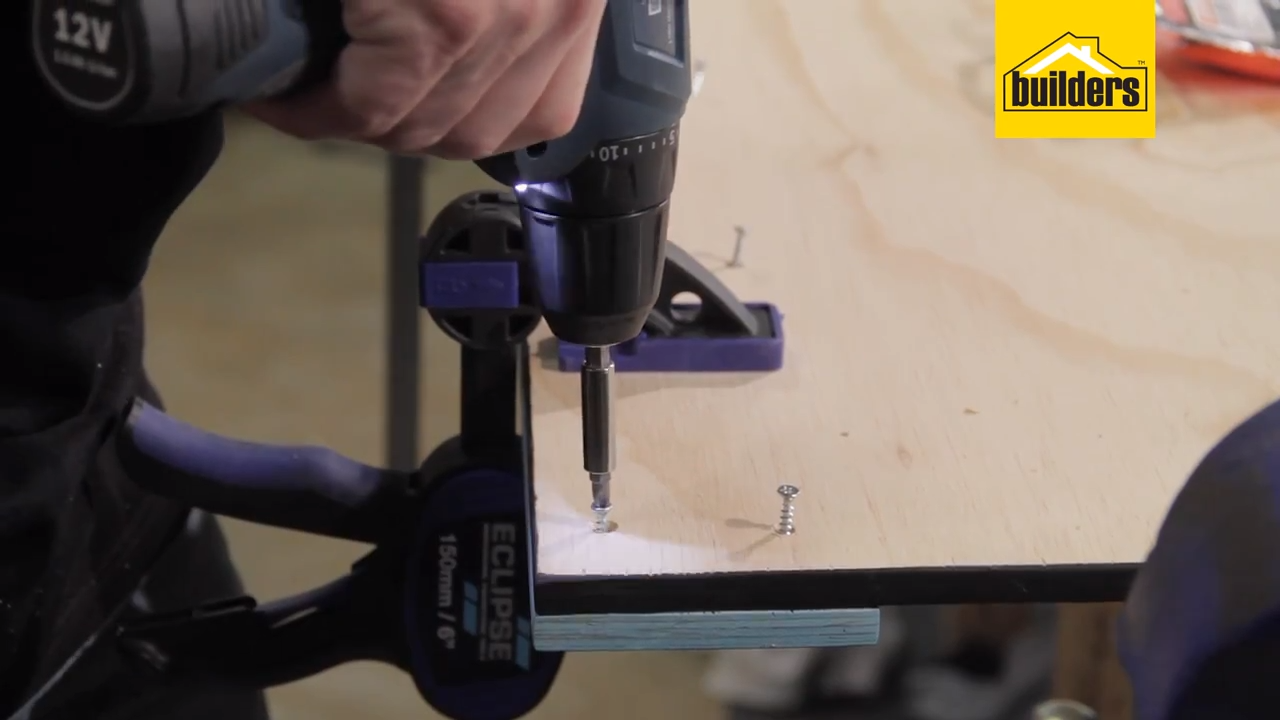
Use a speed pilot to drill pilot holes and countersinks, then screw the frame into place using 20mm screws. Repeat the process for all sides of the frame and the chalkboard is ready to use.
Browse 1000’s of products available to you. Select your country to Shop Online.


