Need outdoor seating for your patio? Follow our guide on how to make a double seater chair.
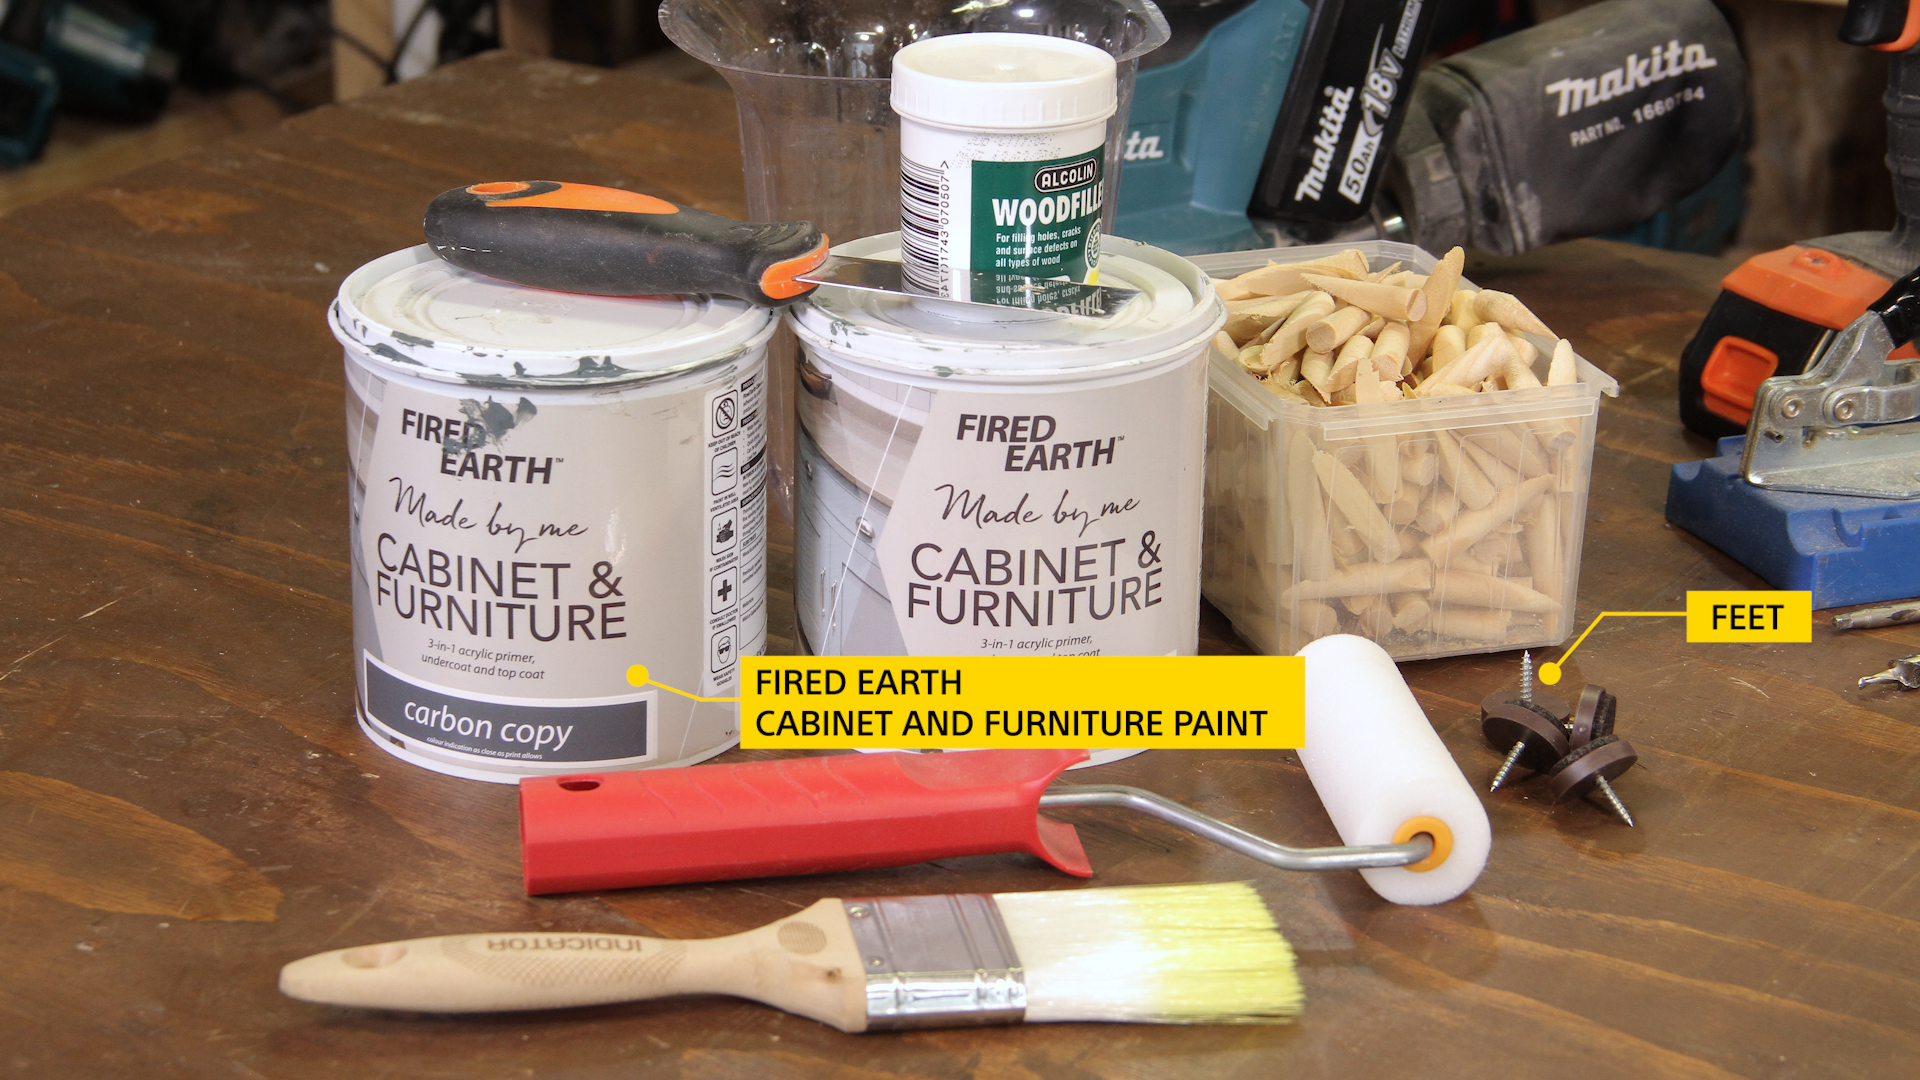
- 32mm Kreg Screws
- Wood Glue
- Rubber Feet (Optional Extra)
- Wood Filler
- Kreg Pocket Hole Plugs (Optional)
- Fired Earth Cabinet and Furniture Paint
Tools you will need:
- A pencil
- tape measure
- clamp
- Kreg Pocket Hole Jig
- cordless drill
- sander & sandpaper
- paintbrush
- foam roller with a paint tray and a scraper.
21 mm plywood sheet cut to:
- 1 @ 651mm x 94mm
- 2 @ 650mm x 94mm
- 4 @ 630mm x 94mm
- 1 @ 629mm x 94mm
- 5 @ 608mm x 94mm
- 2 @ 608mm x 60mm
- 1 @ 608mm x 134mm
- 20 @ 600mm x 94mm
- 1 @ 229mm x 94mm
For your convenience, have Builders cut your timber to size.
One piece of 21mm Ply makes 1 double seater chair
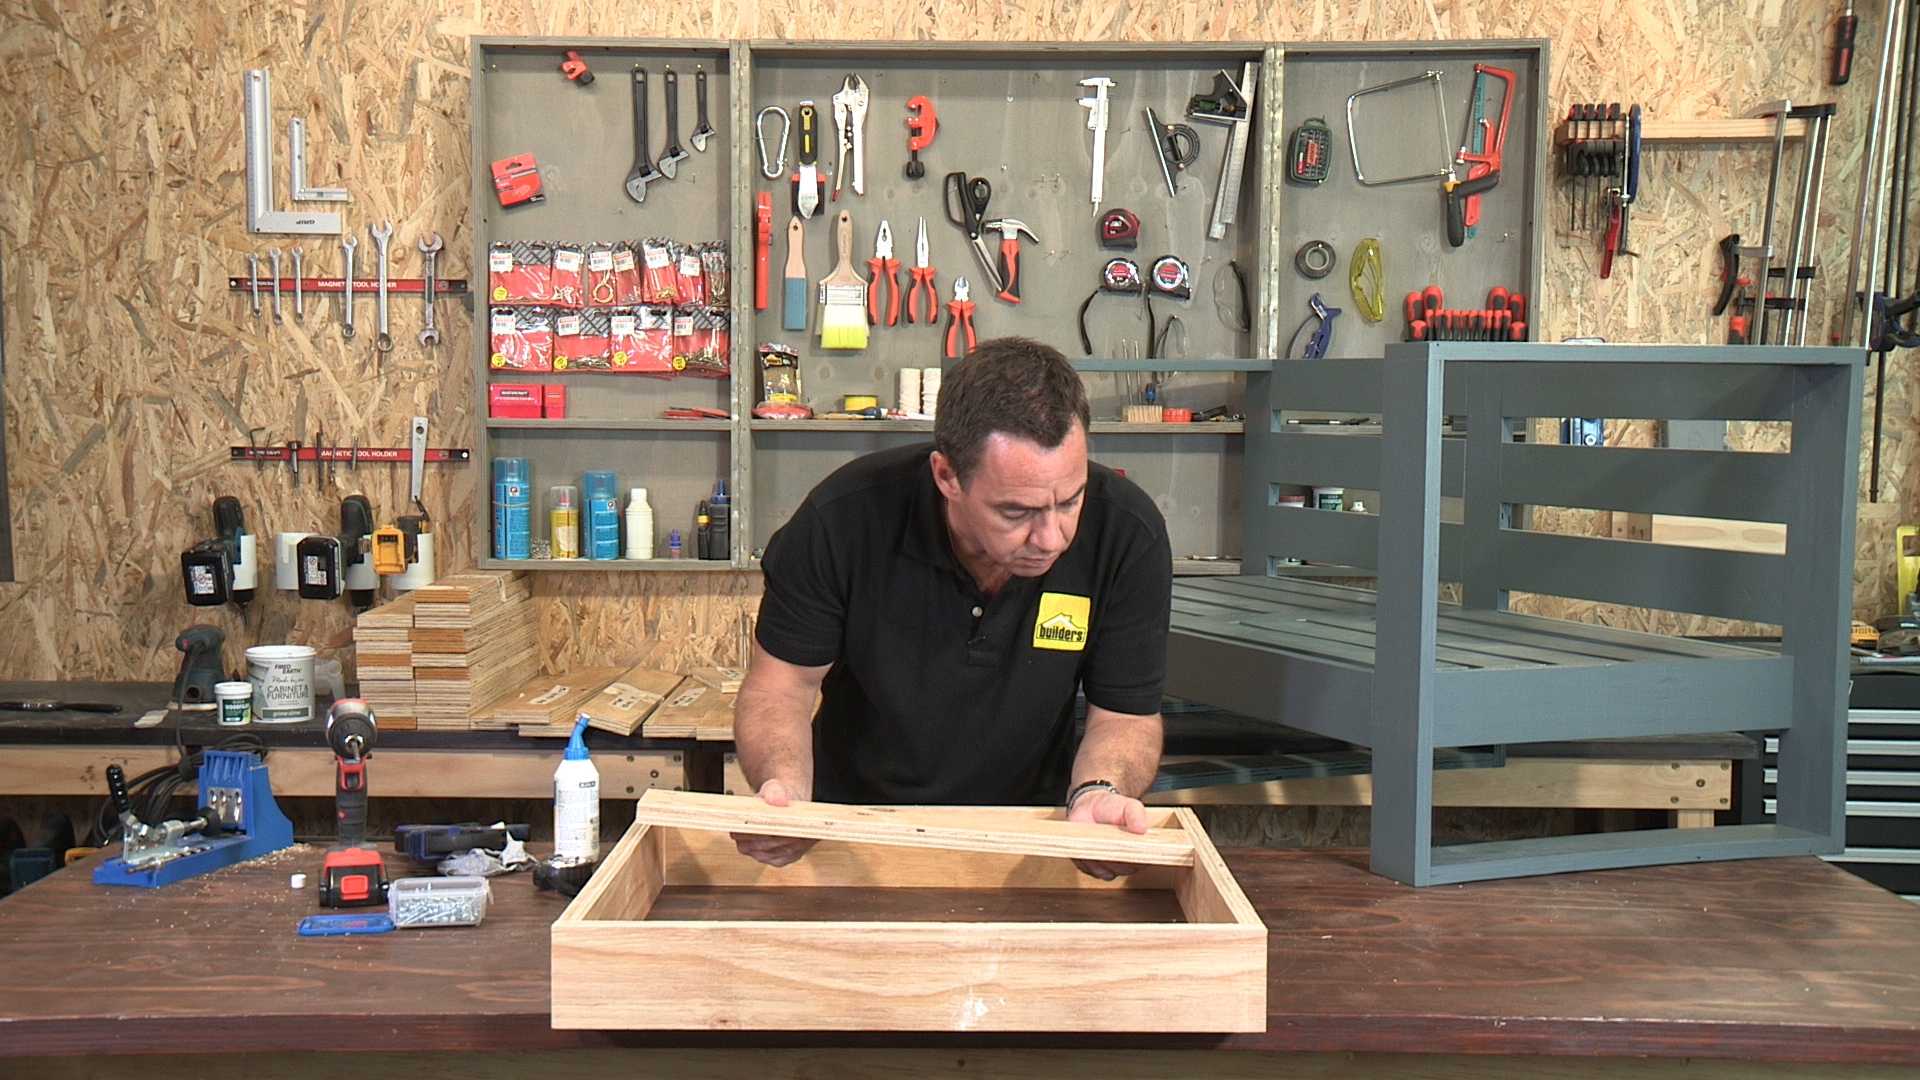
Preparation
Start by making the two box sides of the chair structure: You will need 2 x 608mm x 94mm, 2 x 630mm x 94mm, 1 x 650mm x 94mm and 1 x 610mm x 50mm slat for each side box structure.

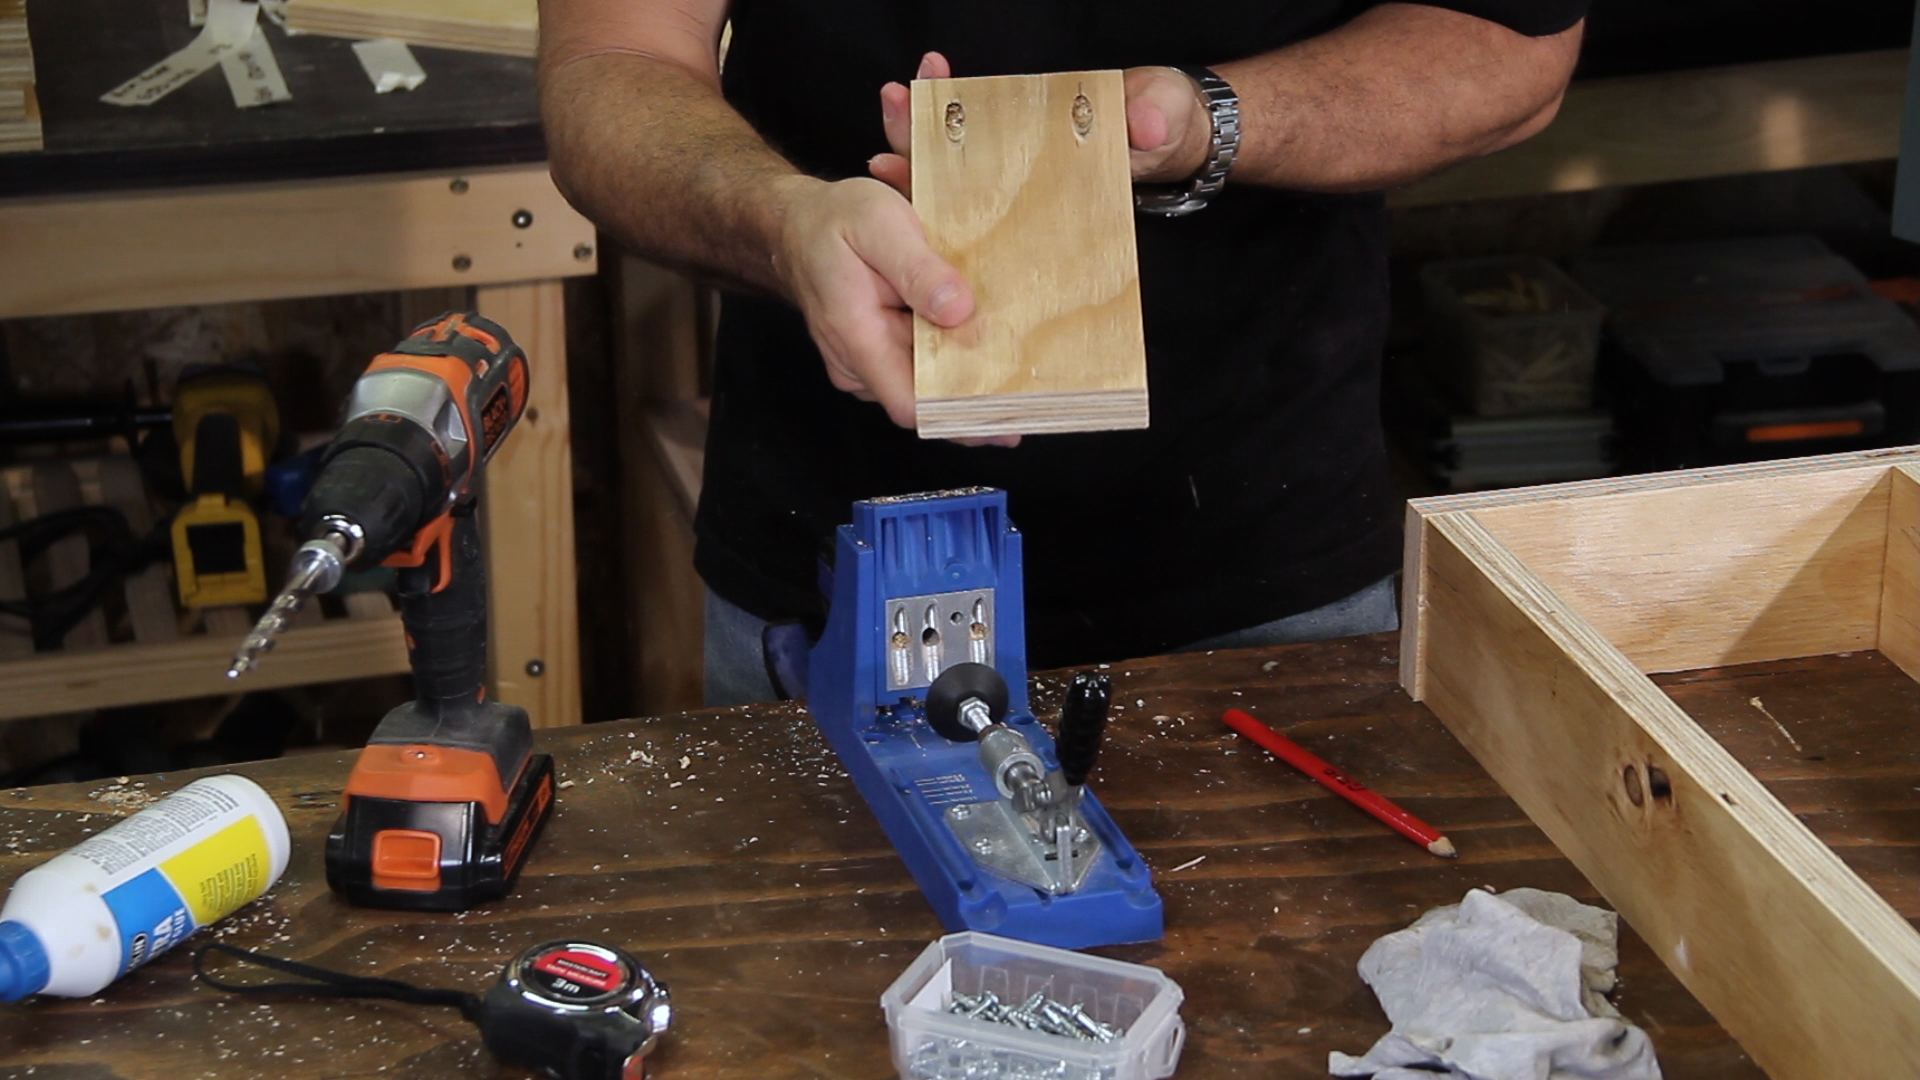
Step 1
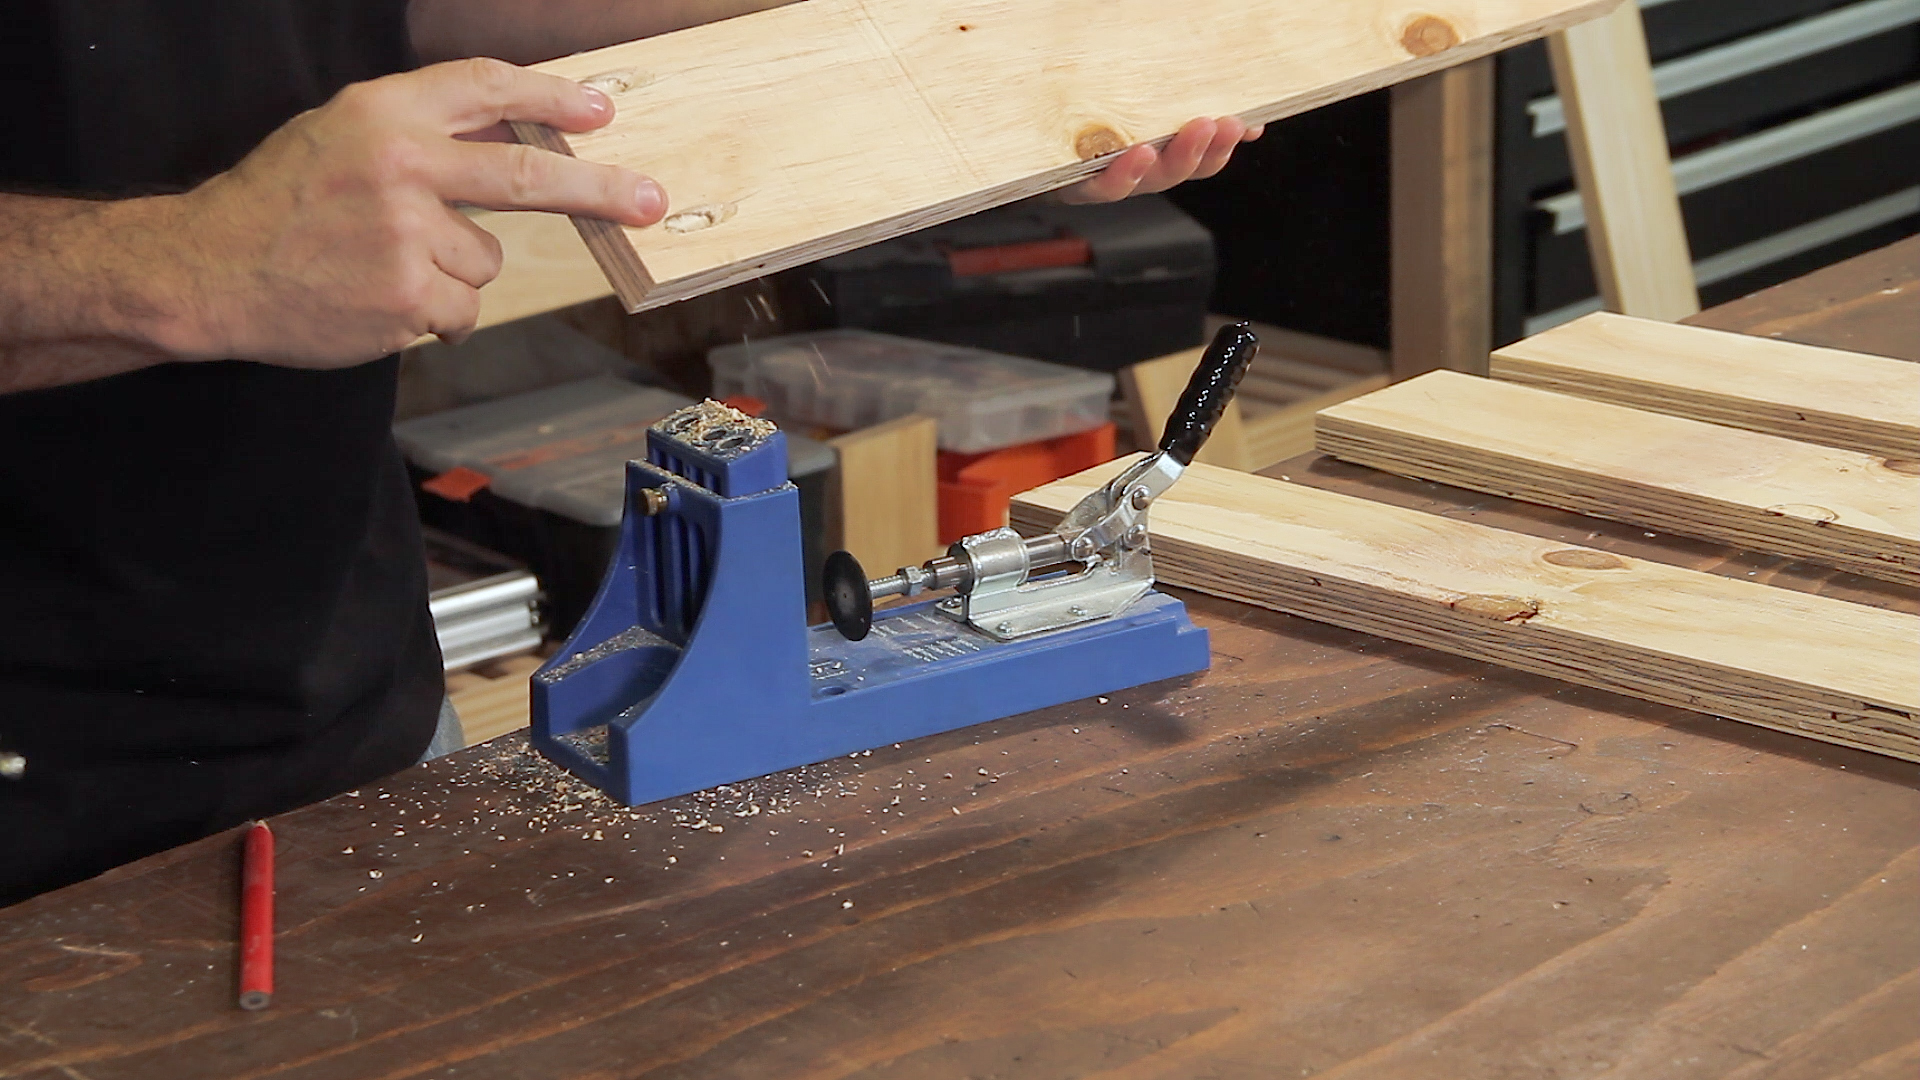
Begin by drilling pocket holes on both sides of the 608mm x 94mm slats.
Step 2
Now drill pocket holes on only one side of the two 630mm x 94mm slats.
Step 3
Using wood glue between the mating surfaces and Kreg Screws, fasten one of the 608mm x 94mm slats to the two 630mm x 94mm slats on the side without Kreg Pocket Holes. Make sure the un-used Kreg pocket Holes are on the outside of the box.
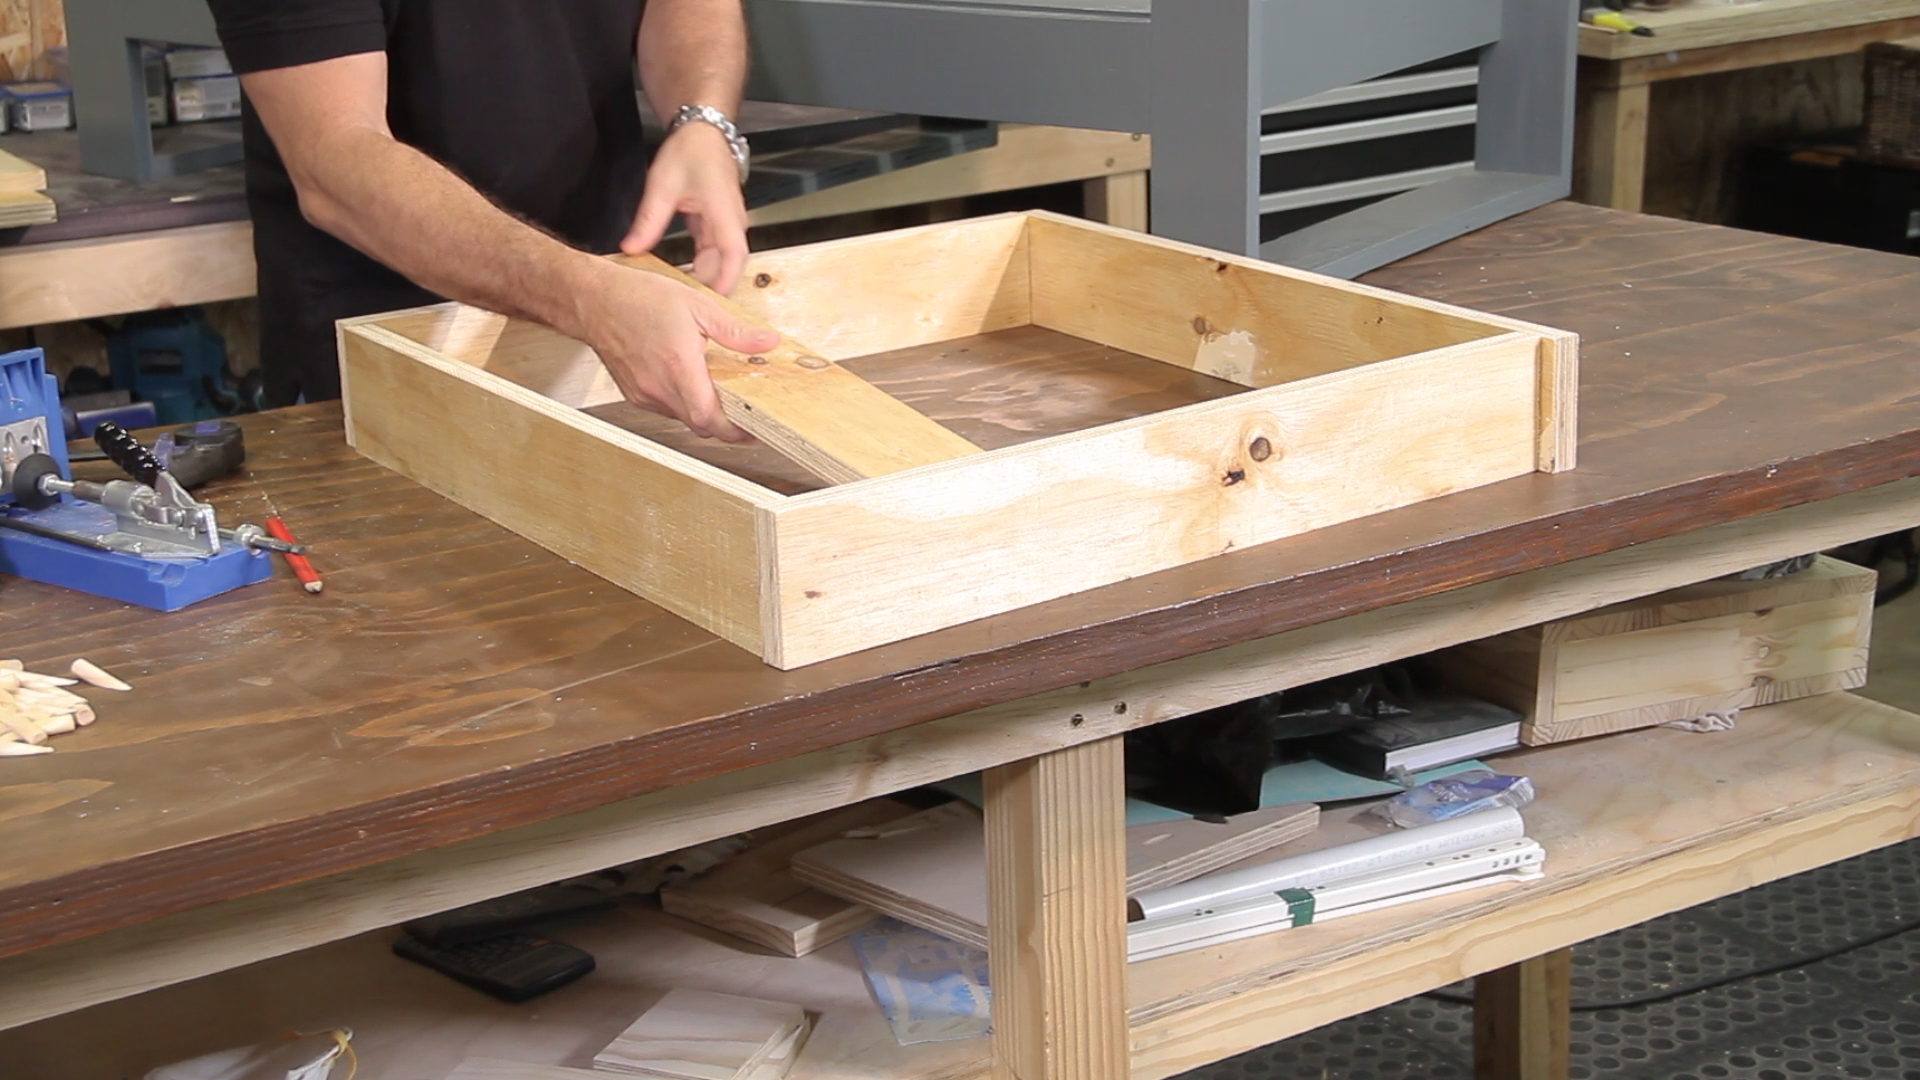
Step 4
Again using wood glue between the mating surfaces, fasten the 650mm x 94mm piece to the two 630mm x 94mm pieces with Kreg Screws.
Step 5
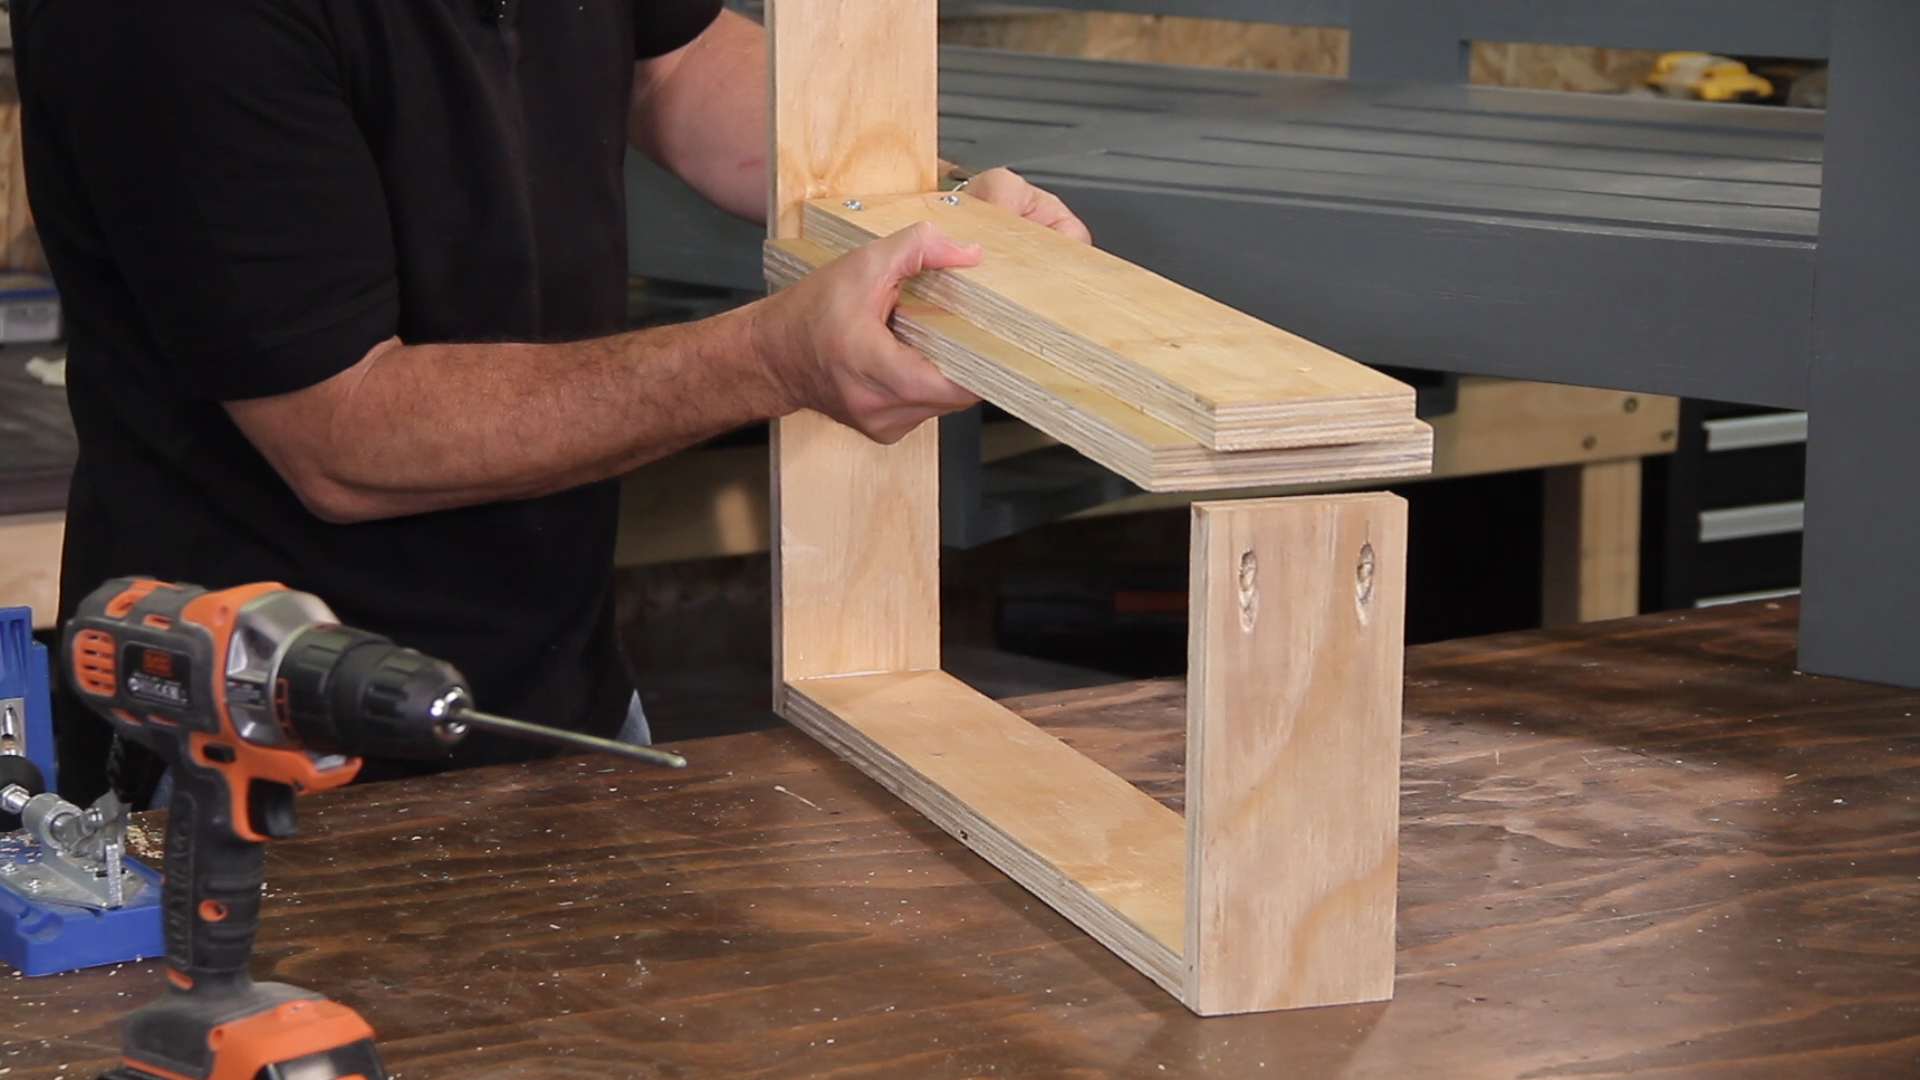
The last 608mm x 94mm piece will help form the seat brace and needs to be fastened perpendicular to the two 630mm x 94mm slats with an offset of 250mm from the bottom, again using wood glue and Kreg Screws.
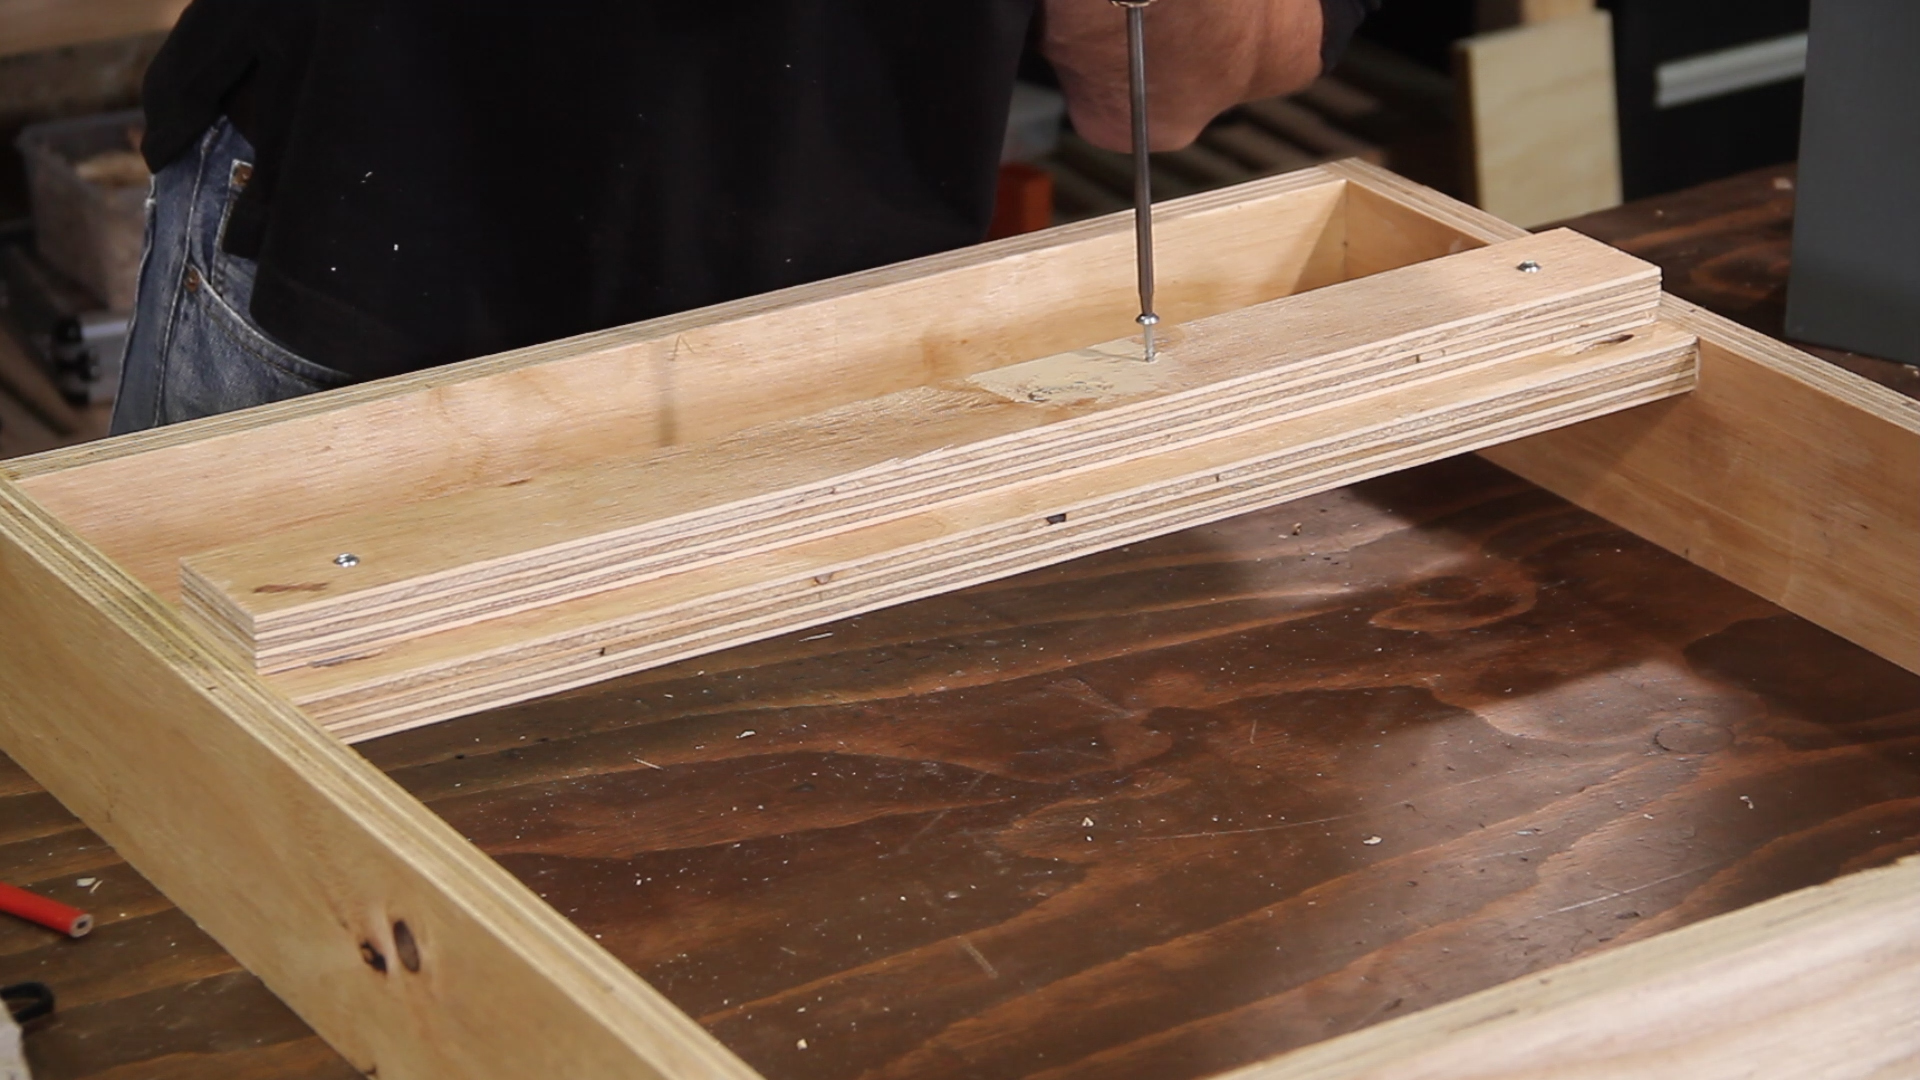
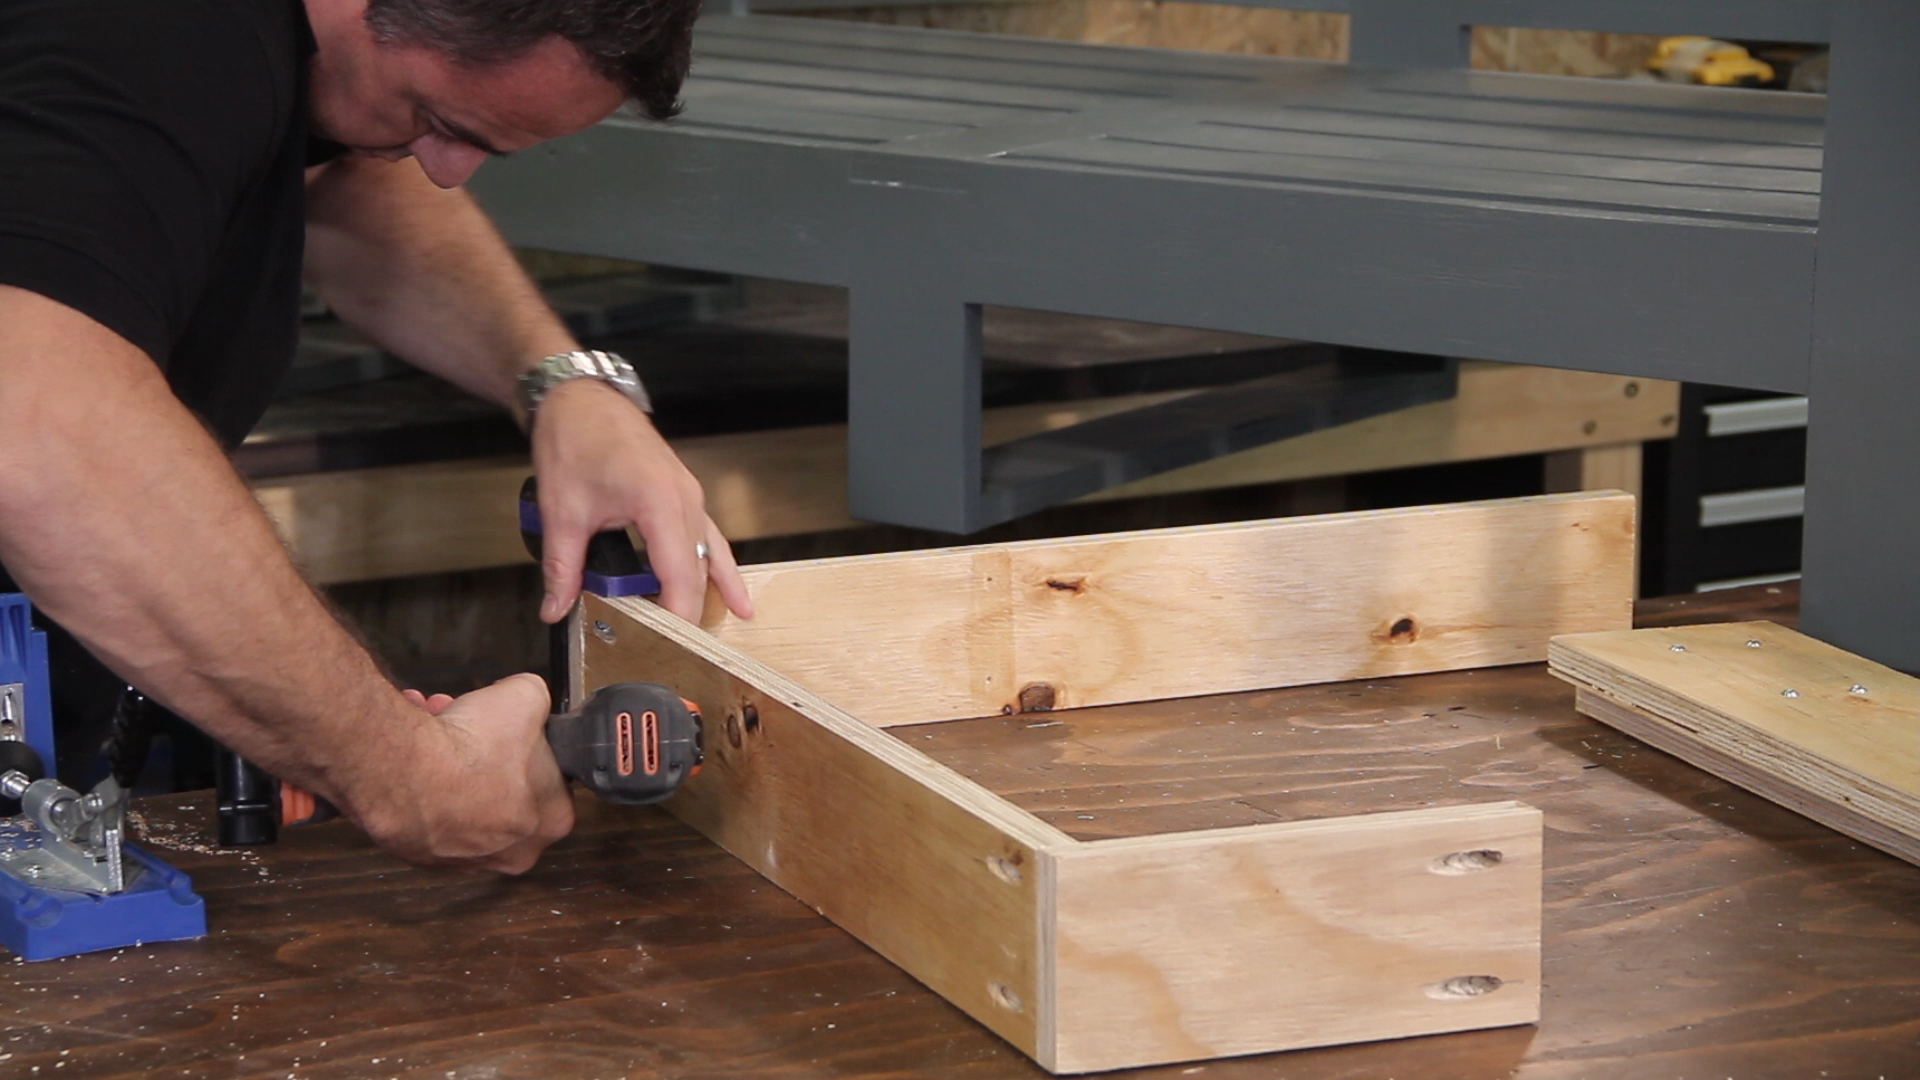
Step 6
Now to complete the seat brace, fasten the 610mm x 50mm piece to the slat installed in step 5. This needs to be offset by 21mm (thickness of timber) from the top edge of the slat installed in step 5, again using wood glue and Kreg screws.
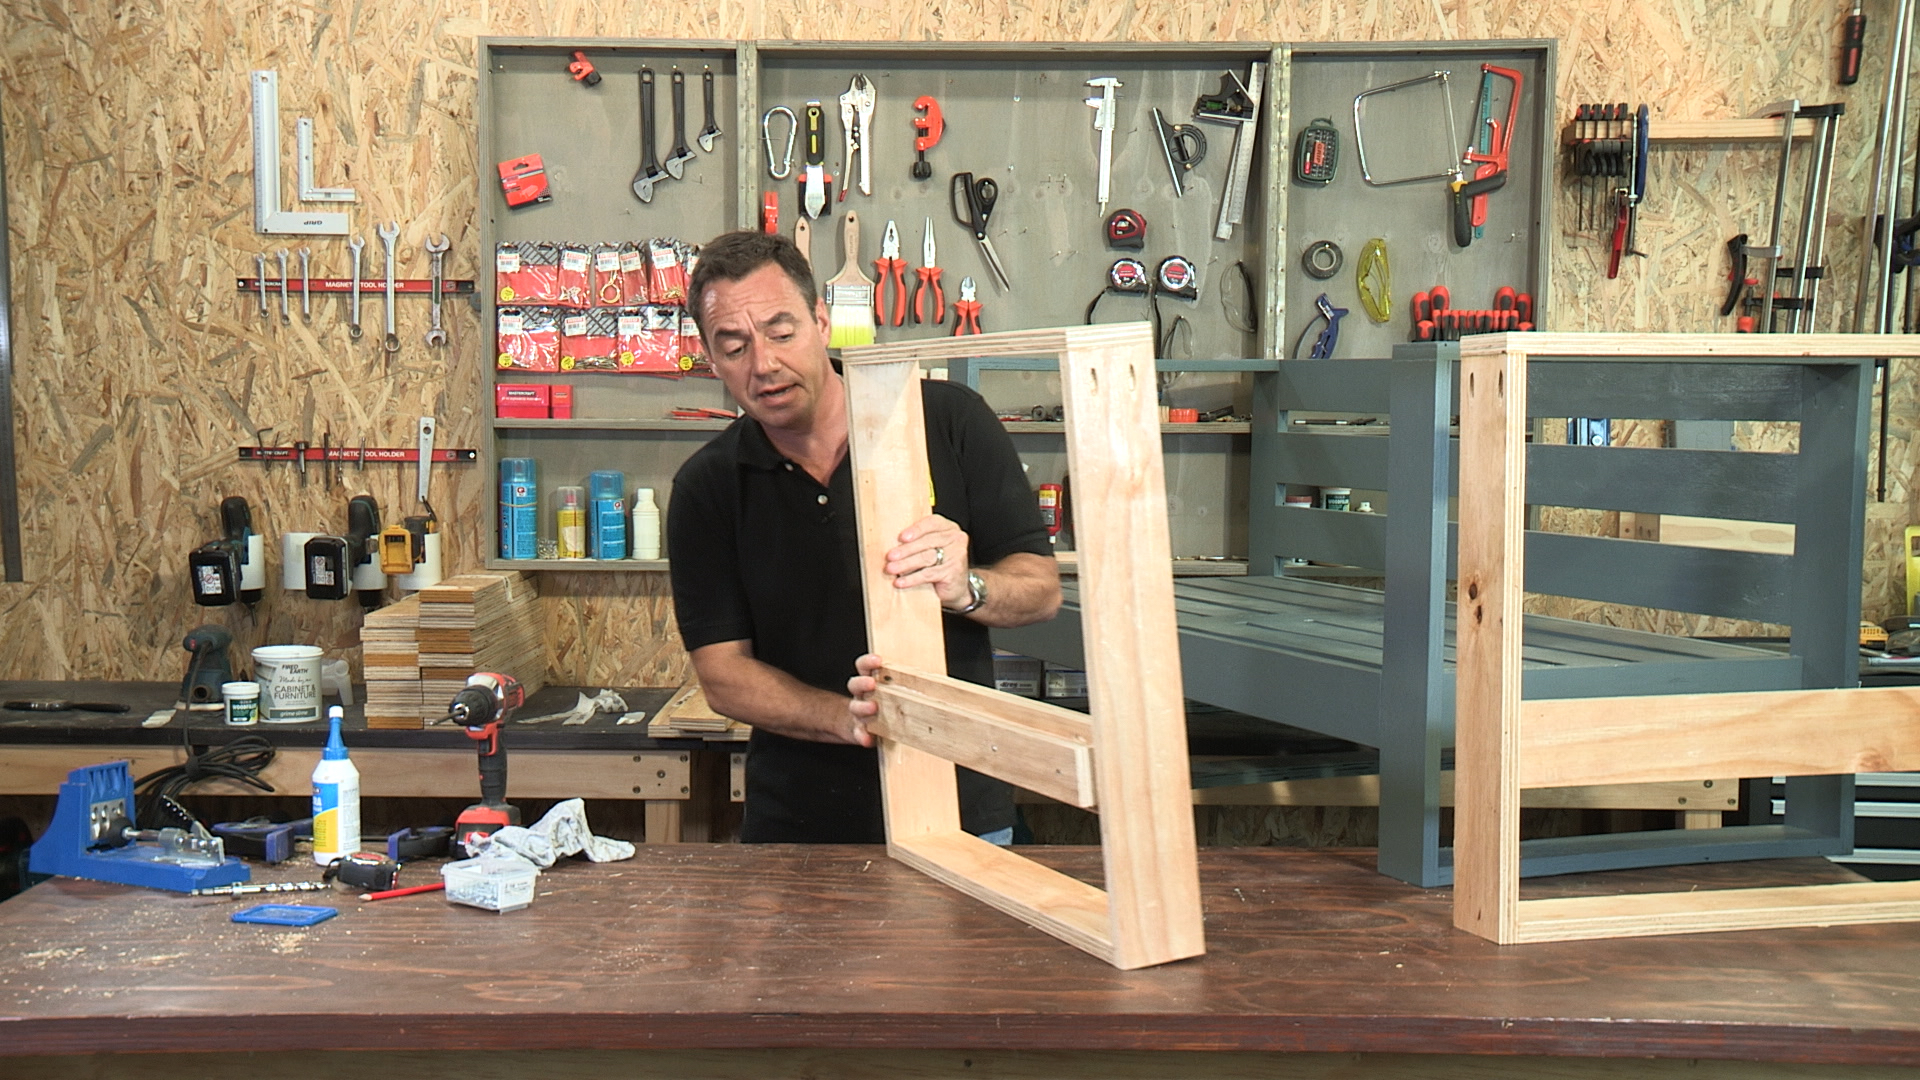
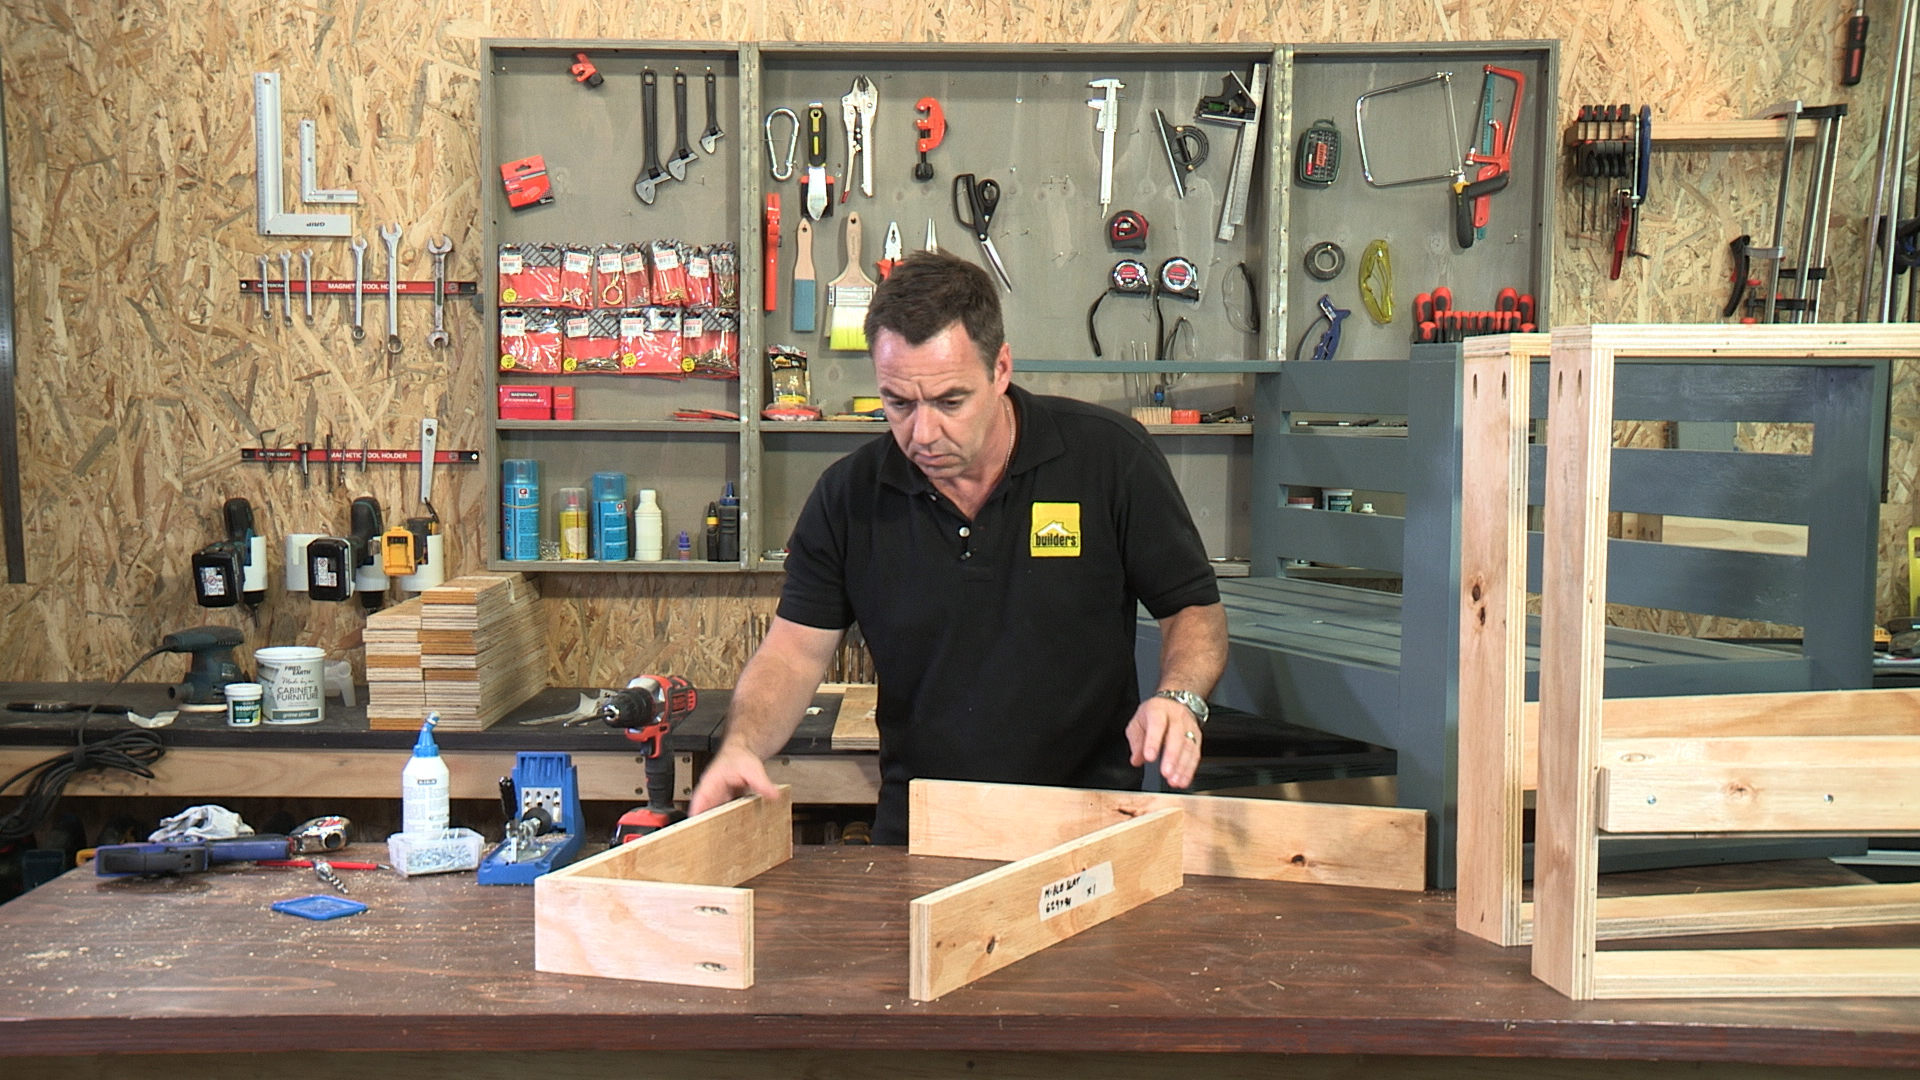
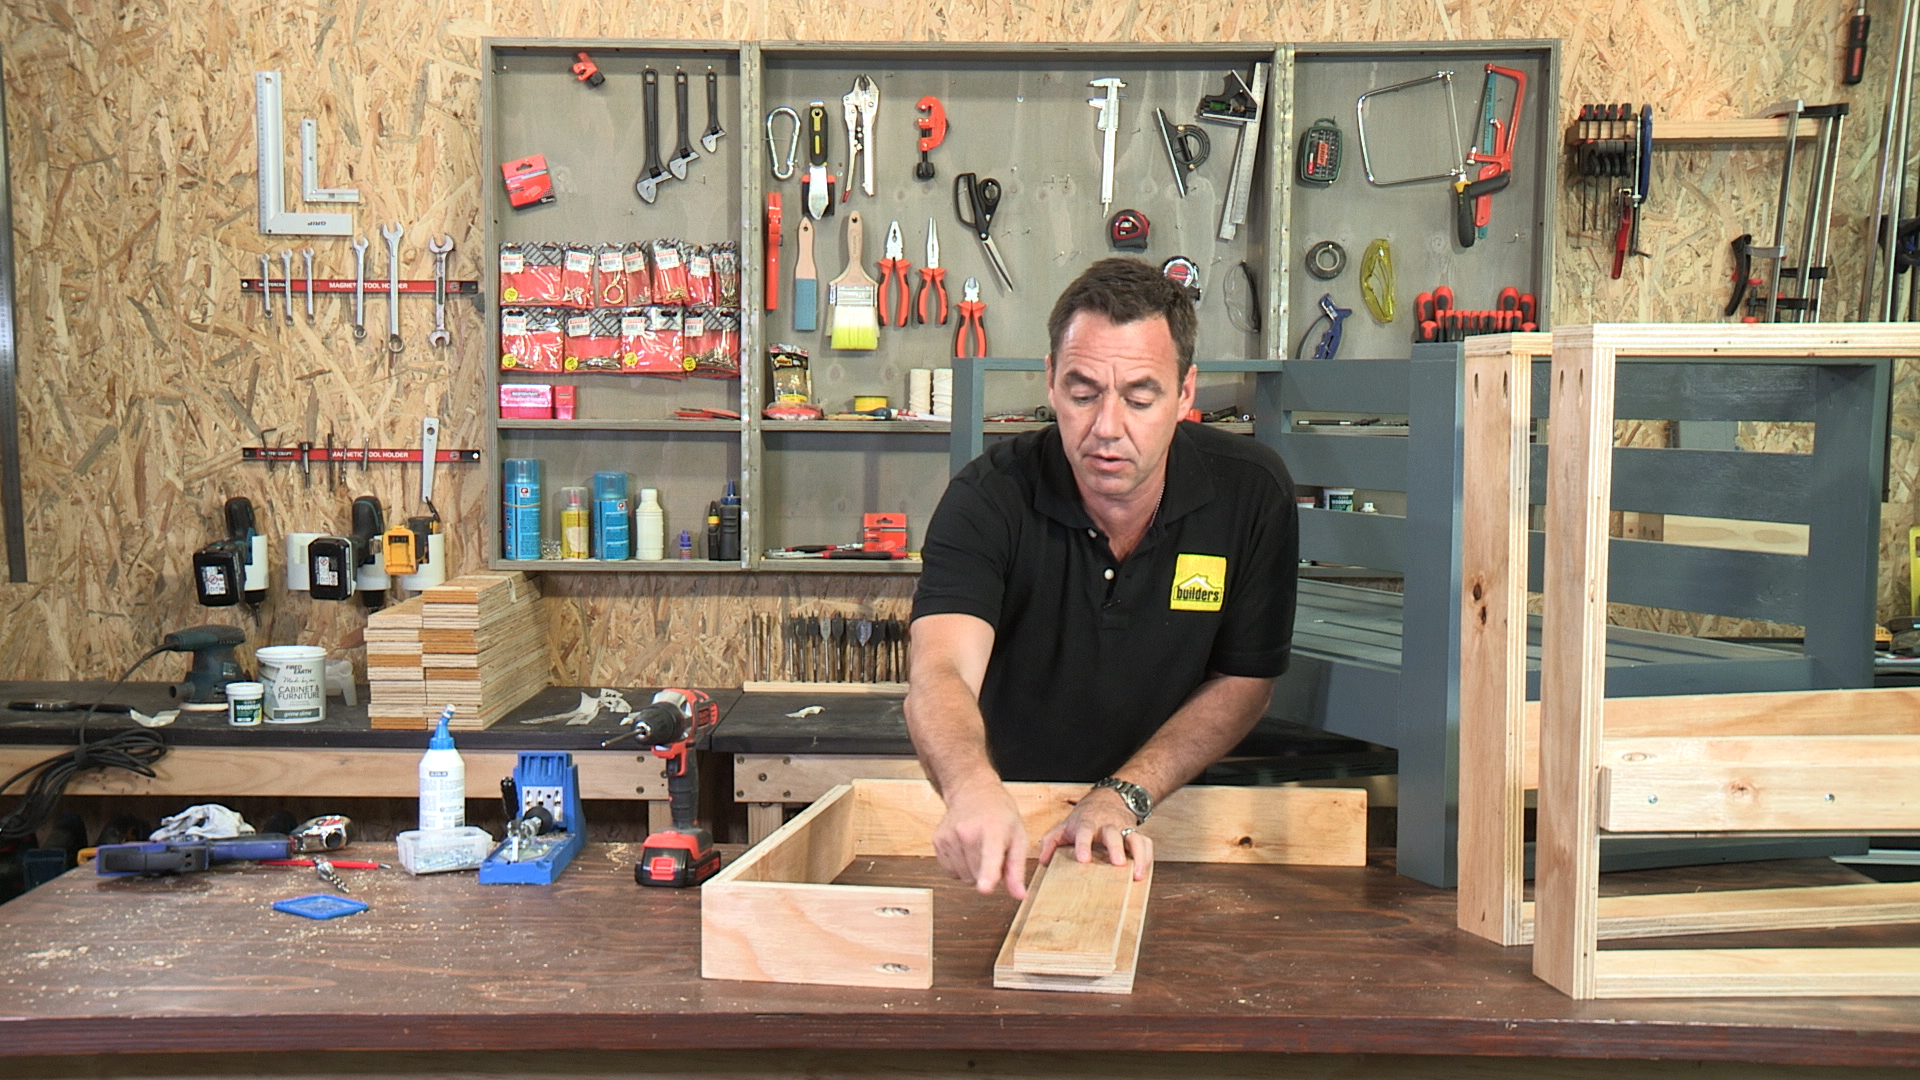
The box sections are complete
Repeat these steps to create a total of 2 side box structures.
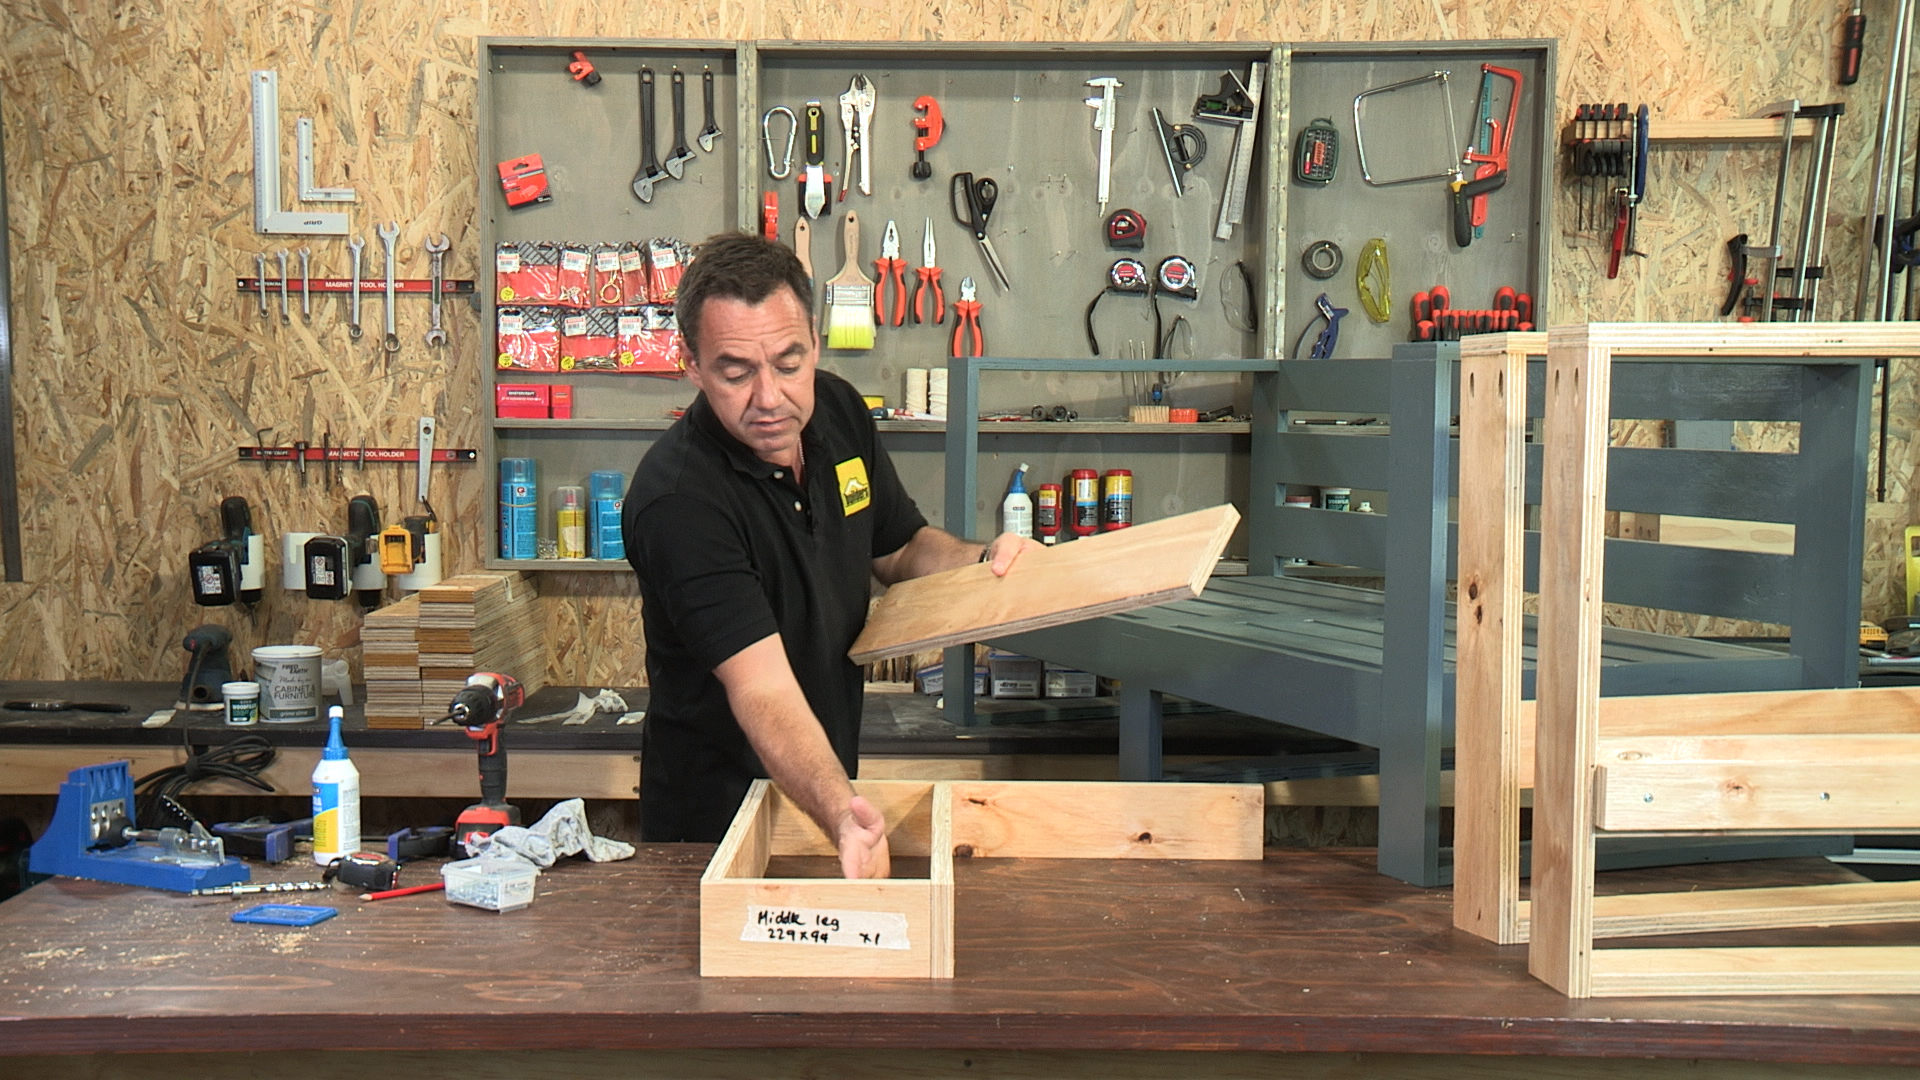
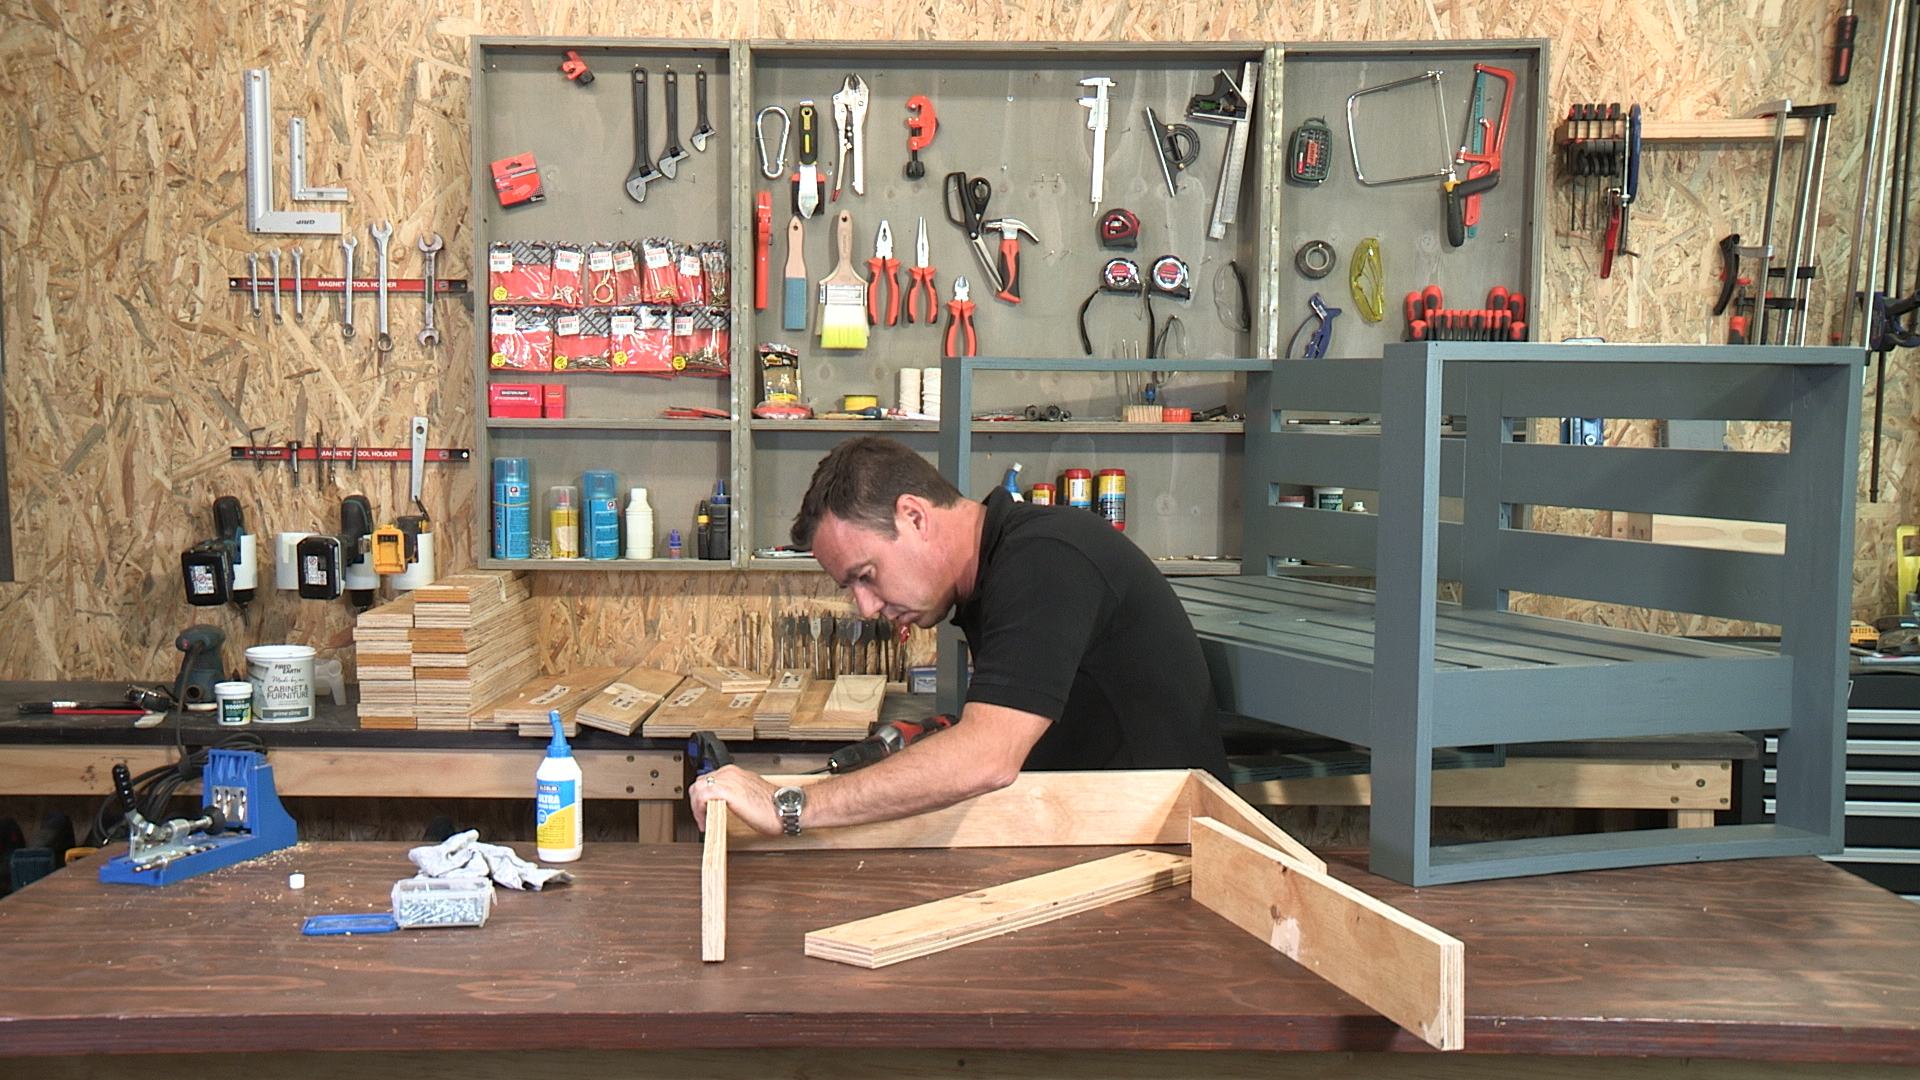
Prepare materials for the middle leg
It is now time to assemble the middle leg. You will need 1 x 229mm x 94mm, 1 x 608mm x 94mm, 1 x 629mm x 94mm 1 x 651mm x 94mm slat and 1 x 608mm x 134mm slat.
Step 7
Begin by drilling pocket holes on one side of the 229mm x 94mm, 608mm x 94mm, 629mm x 94mm, and 651mm x 94mm slats.
Step 8
Using wood glue between the mating surfaces and Kreg Screws, fasten the 608mm x 94mm slat to the 229mm x 94mm slat using the pocket holes on the 608mm x 94mm slat.
Step 9
Now fasten 651mm x 94mm slat to the 608mm x 94mm using the pocket holes on the 651mm x 94mm slat. Don’t forget wood glue between the mating surfaces.
Step 10
Now sub-assemble the seat brace before fixing it to the middle leg structure. Place the 608mm x 134mm slat centrally aligned on top the 651mm x 94mm slat with the pocket holes on the opposite side. The 608mm x 134mm slat must align flush on the side with pocket holes leaving a 21mm overhang on the side without pocket holes. Apply wood glue and fix into place with screws.
Step 11
Now fix this seat slat brace to the middle leg structure with the remaining pocket holes. Don’t forget wood glue between the mating surfaces.
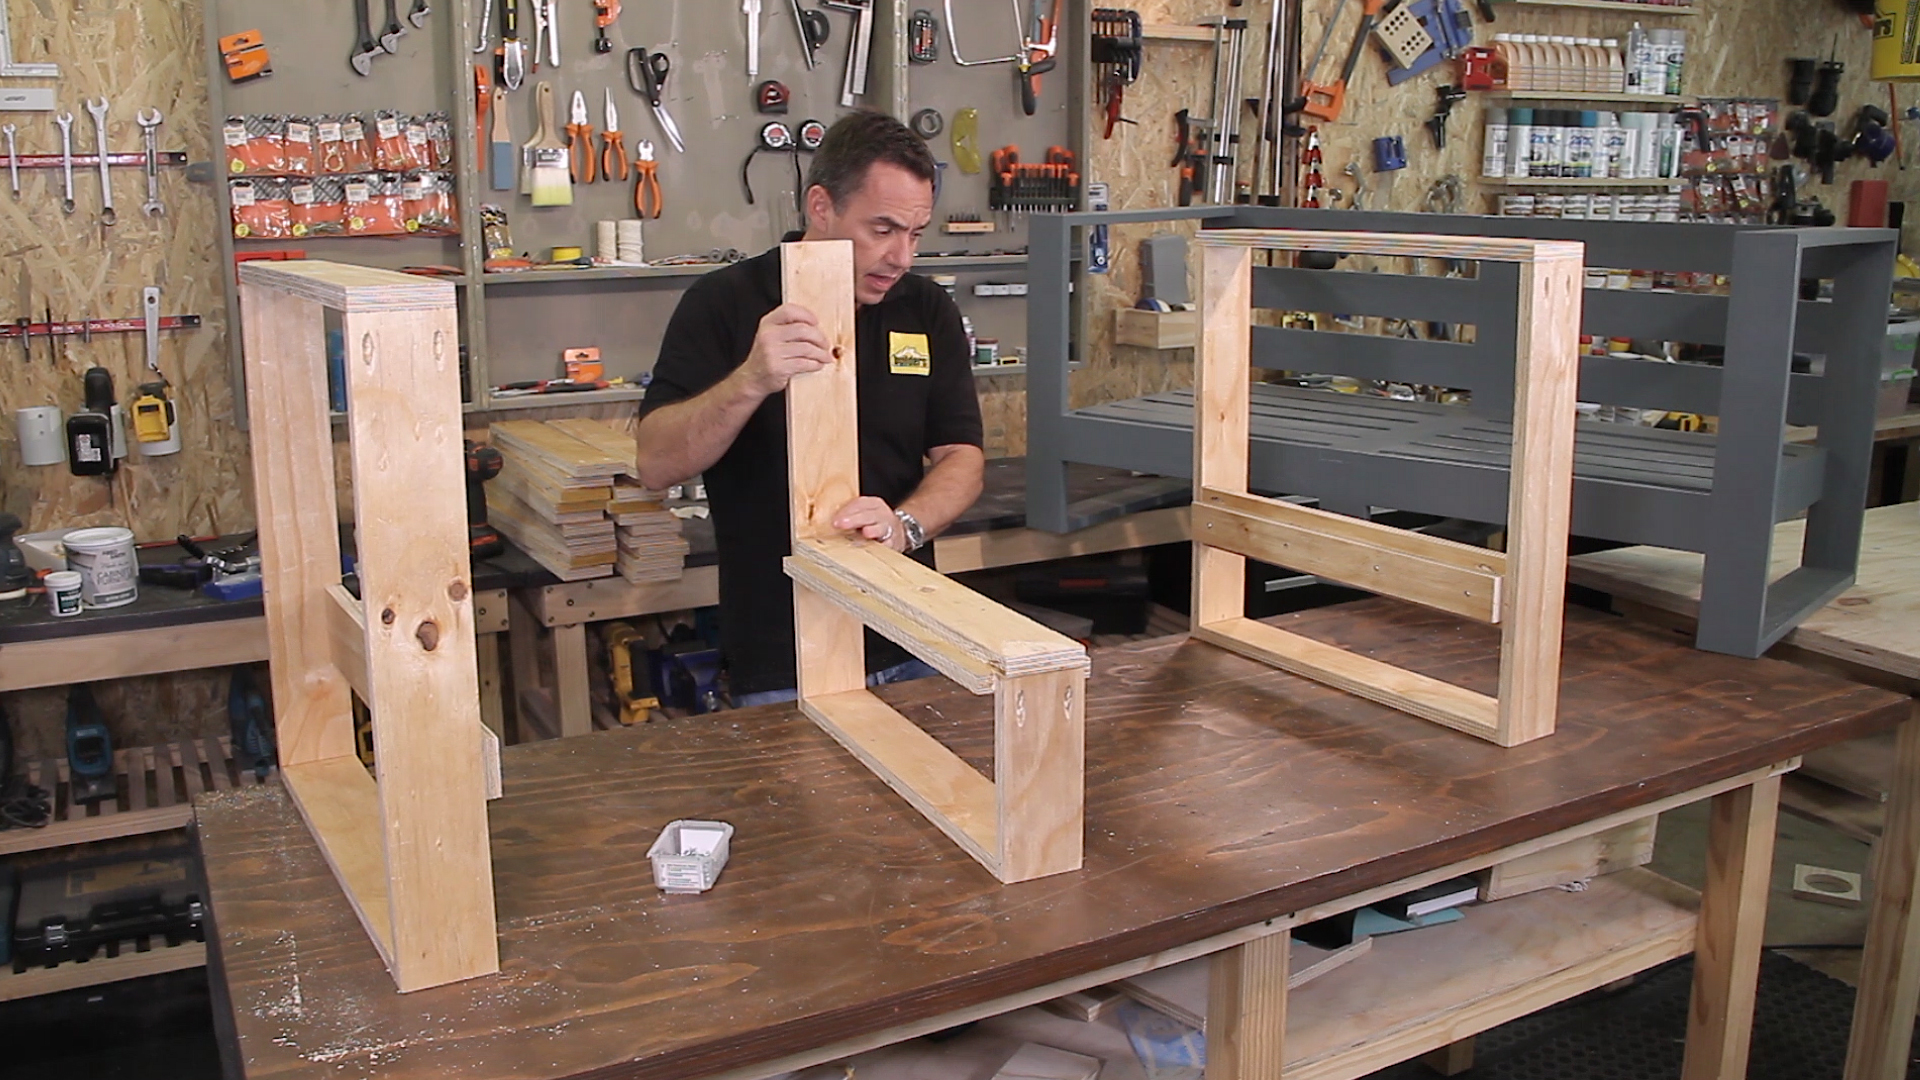
Structure is complete
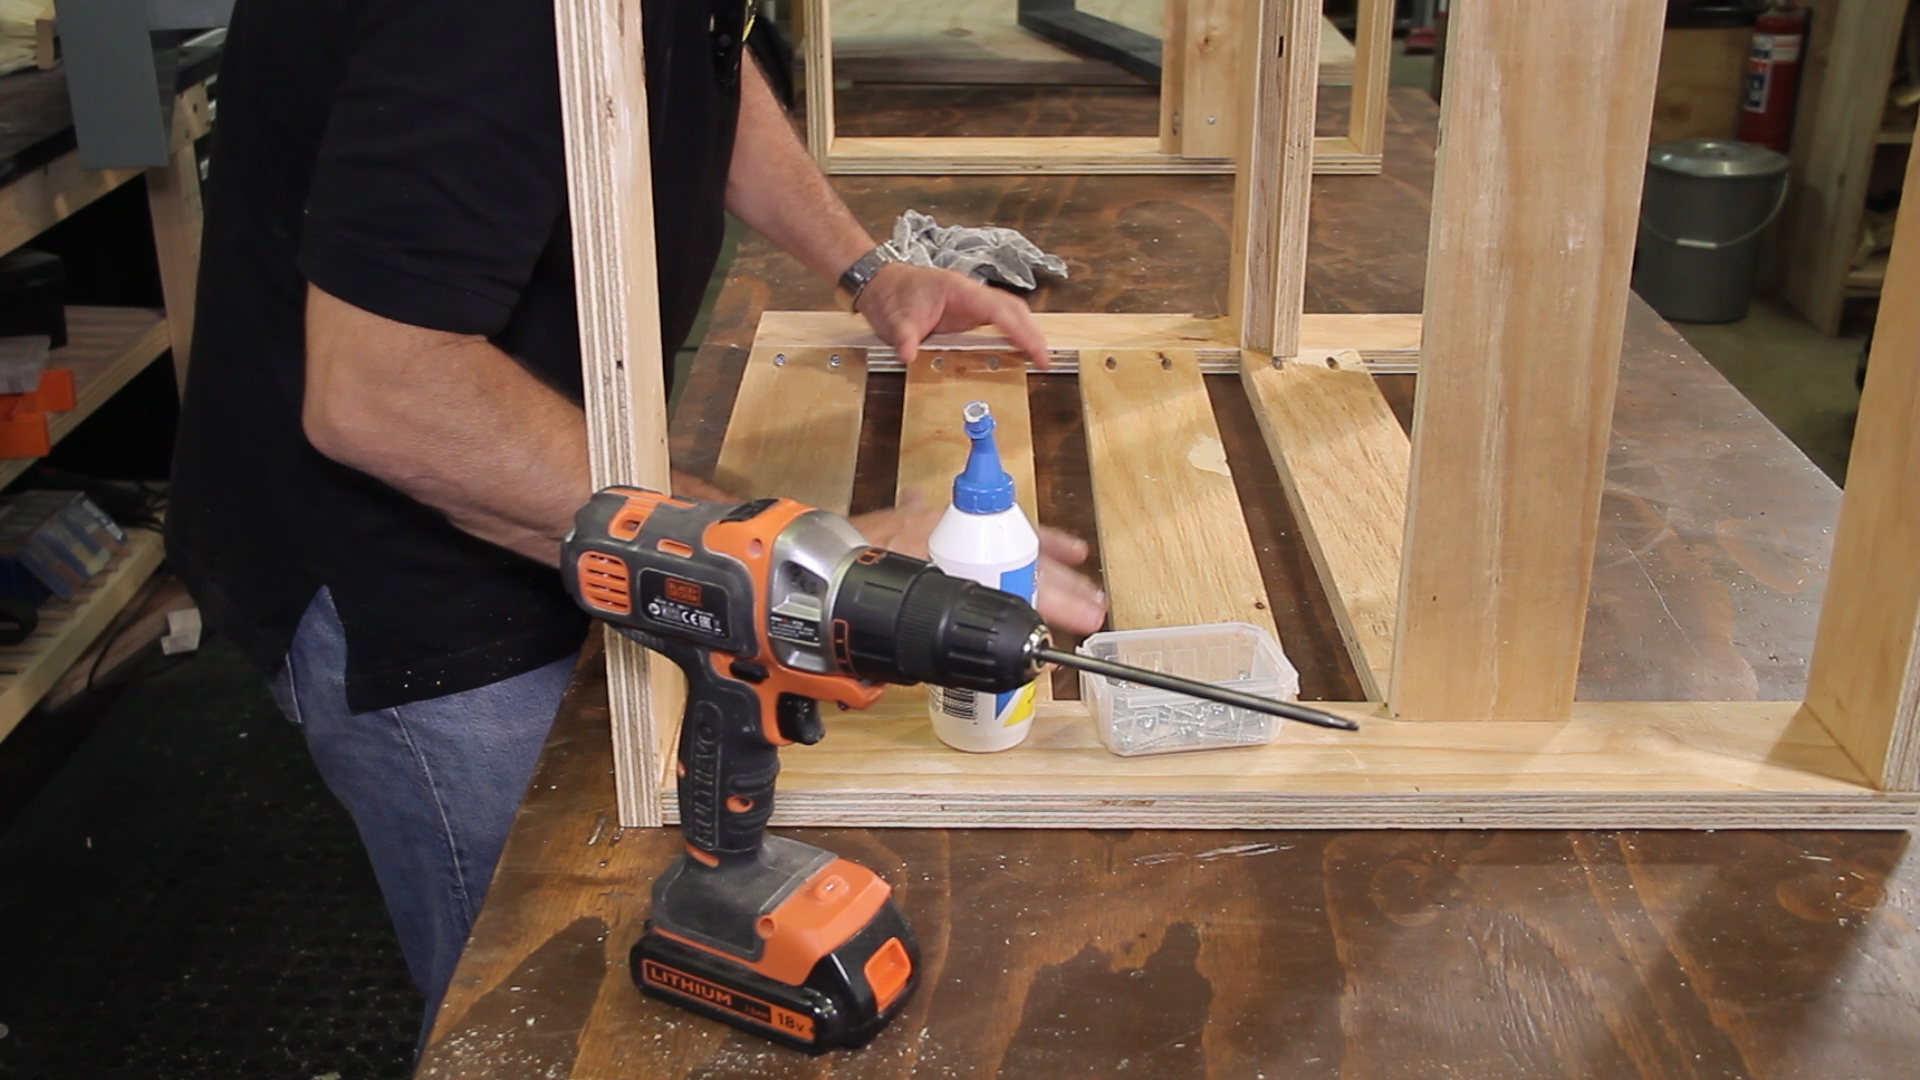
With all the support sections complete, it is now time to join them together with the 600mm x 94mm seat slats.
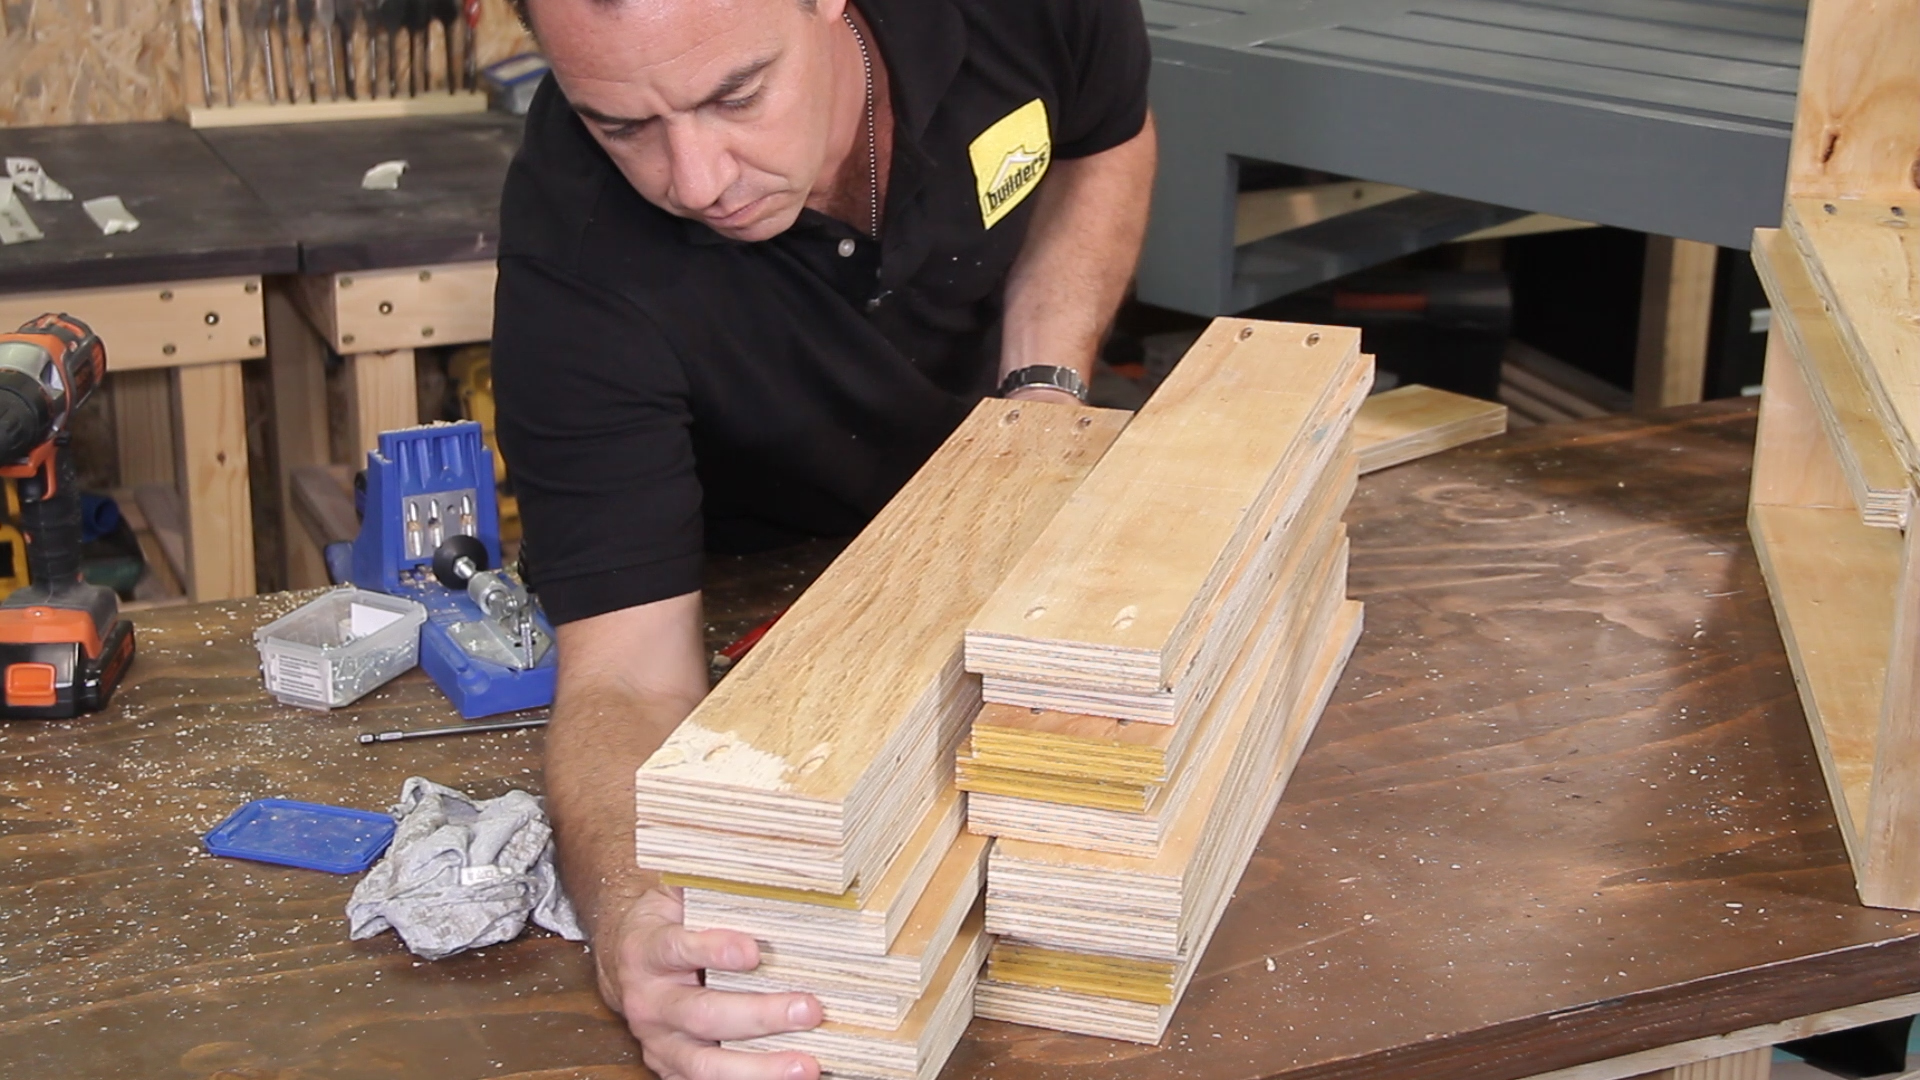
Step 12
Start by drilling pocket holes on both sides of all twenty 600mm x 94mm slats.
Step 13
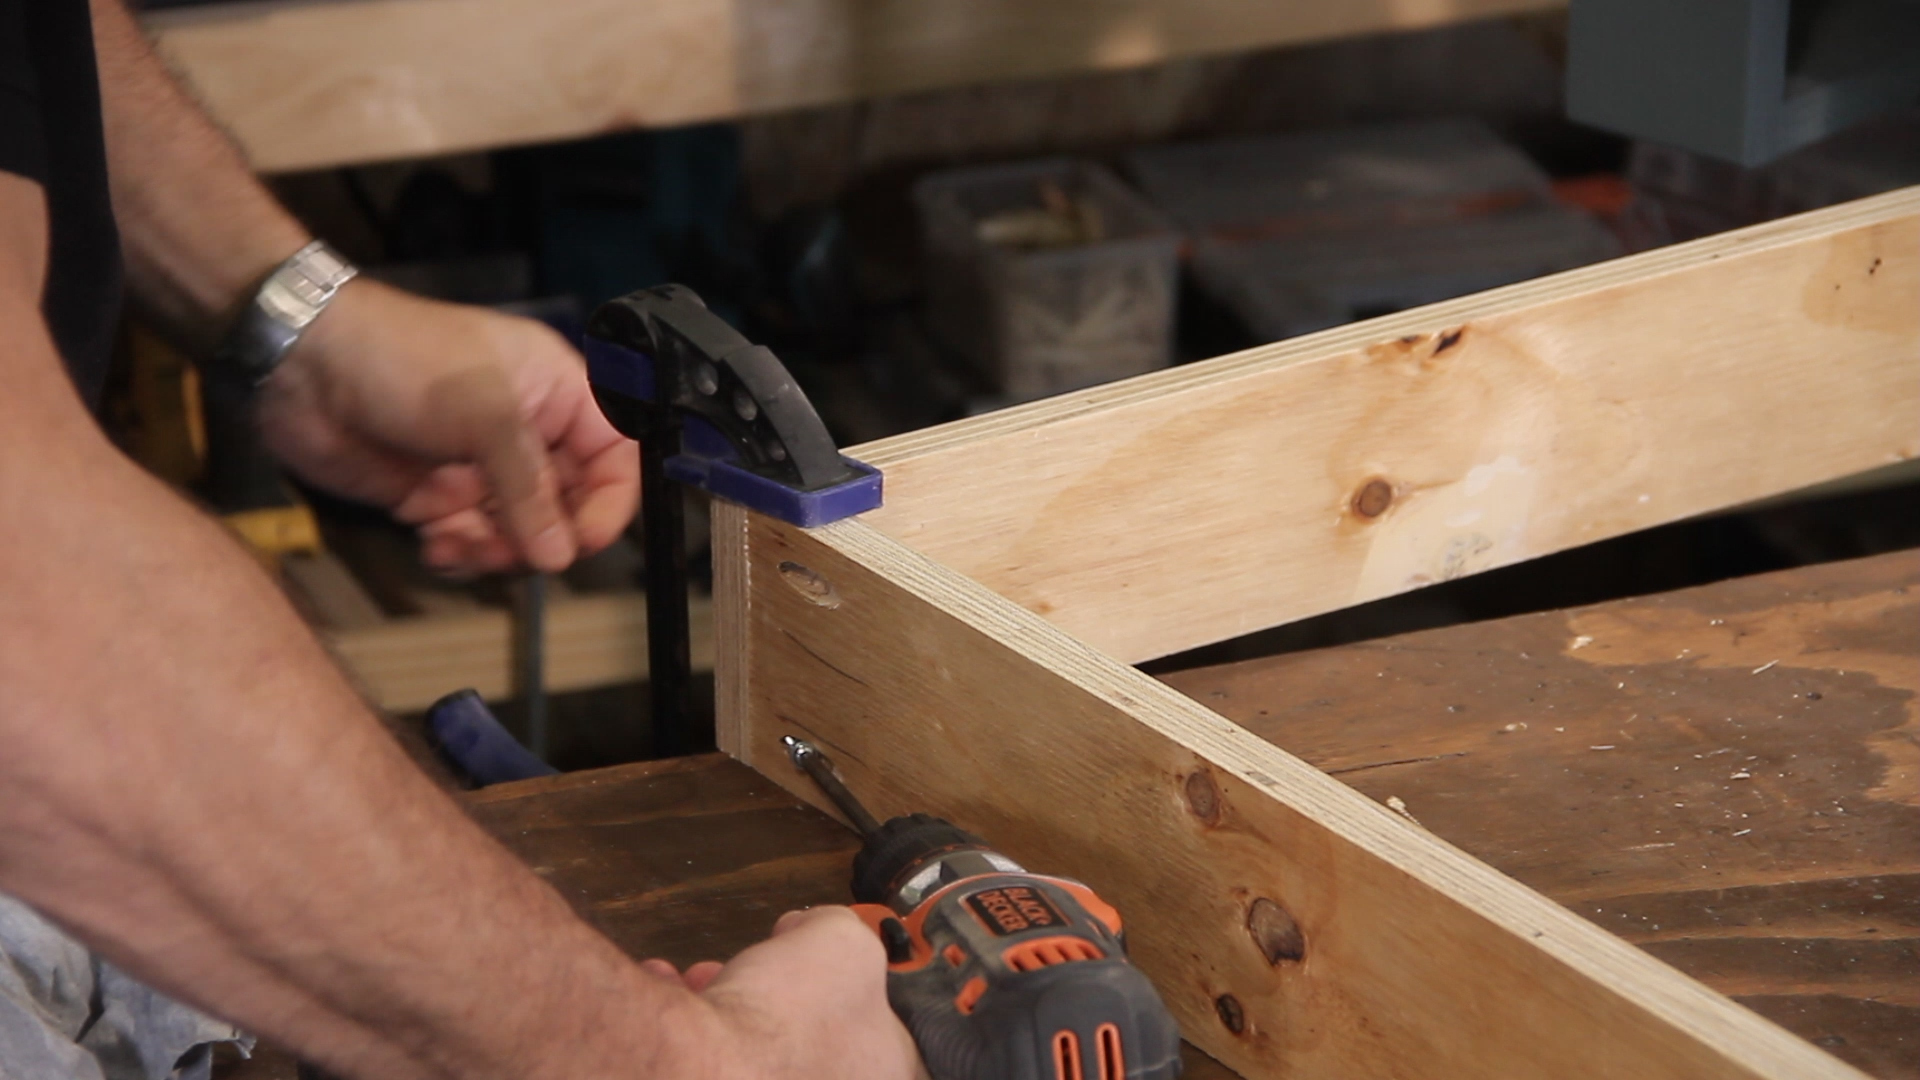
Place one side box structure and the middle leg structure face down. Take one 600mm x 94mm slat and align with the seat slat braces before fastening with wood glue and Kreg Screws. Repeat this for the other side.
Step 14
With both front sides secure, carefully flip the structure so the back edge is face down. Take four 600mm x 94mm slats and align the first with the top edge, the second with the seat slat brace and the others evenly spaced in-between. Fasten those in position with wood glue and Kreg screws to both the side and middle leg structures. Repeat this for the other side.
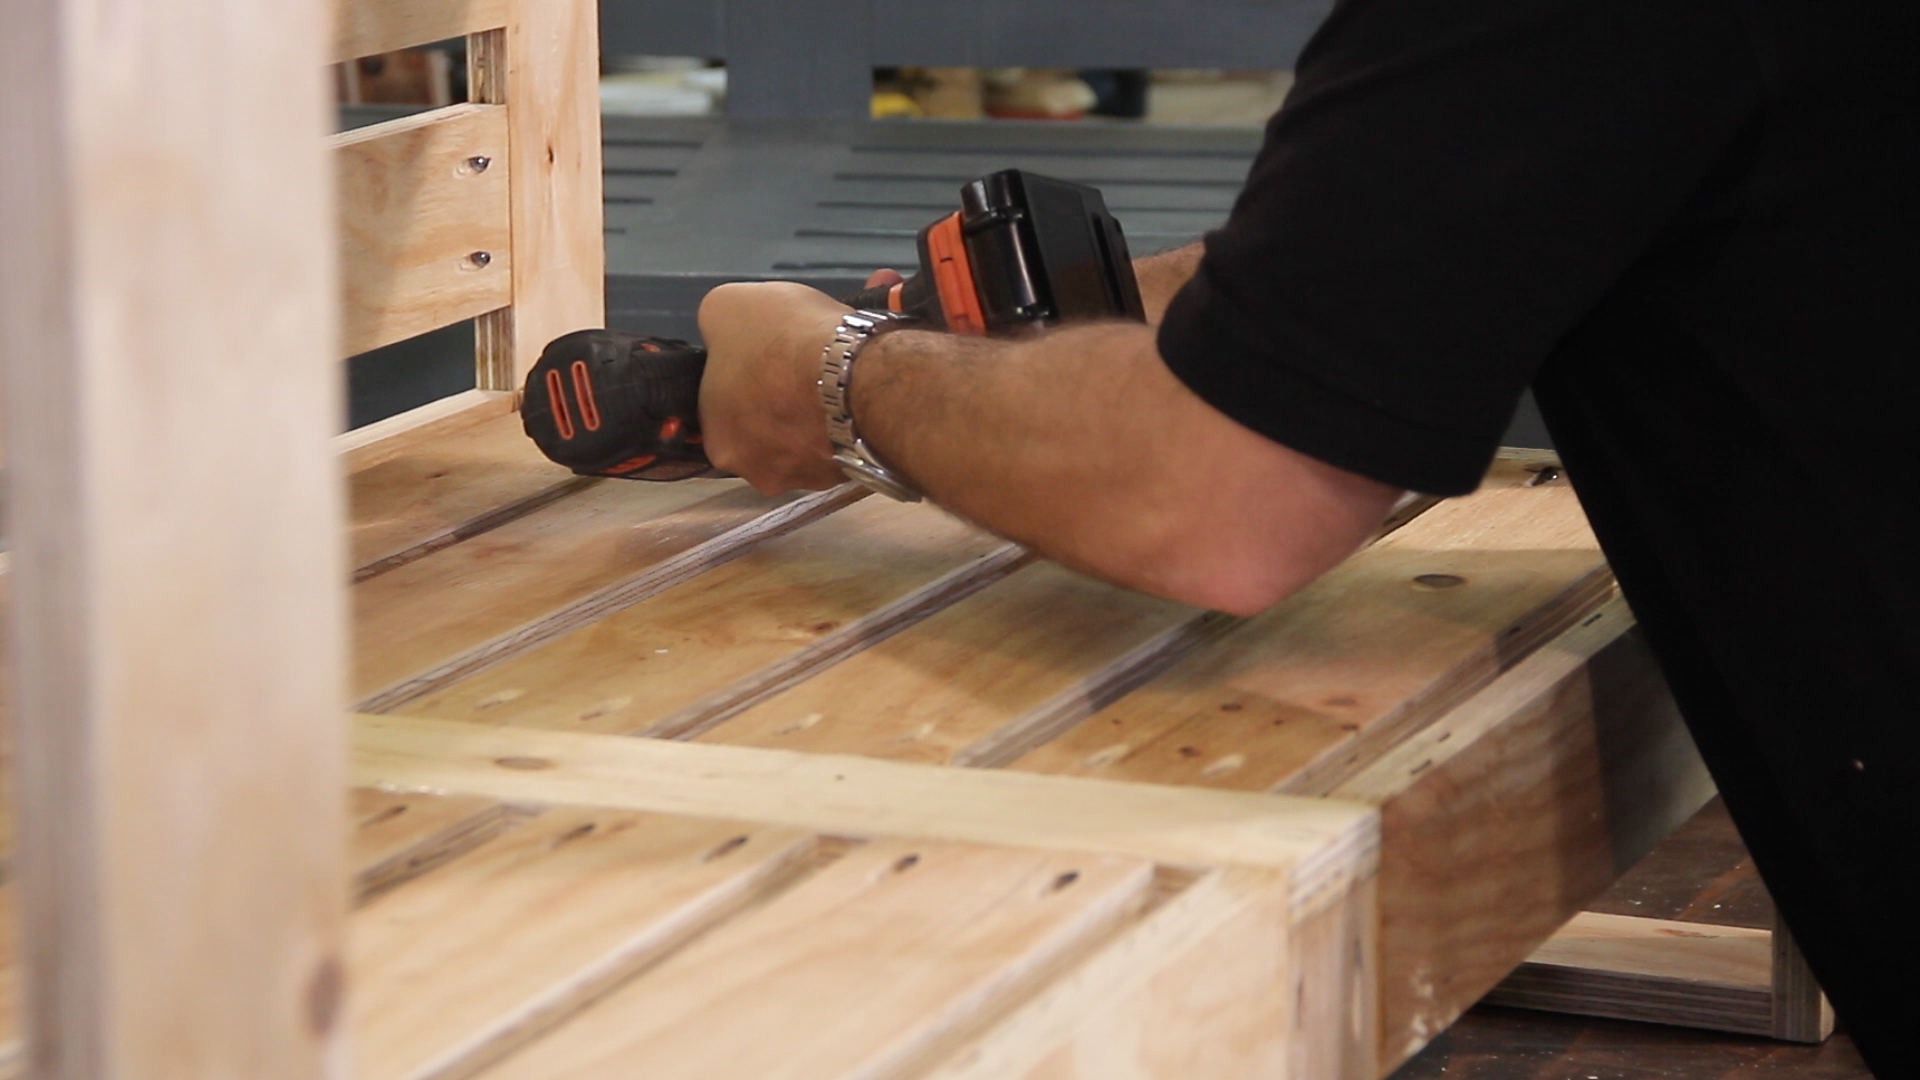
Step 15
With all the back slats secure, flip your chair the right way up and align one 600mm x 94mm slat in the centre of the seating area, and then evenly space another four 600mm x 94mm slats before fastening with wood glue and Kreg screws. Repeat this on the other side.
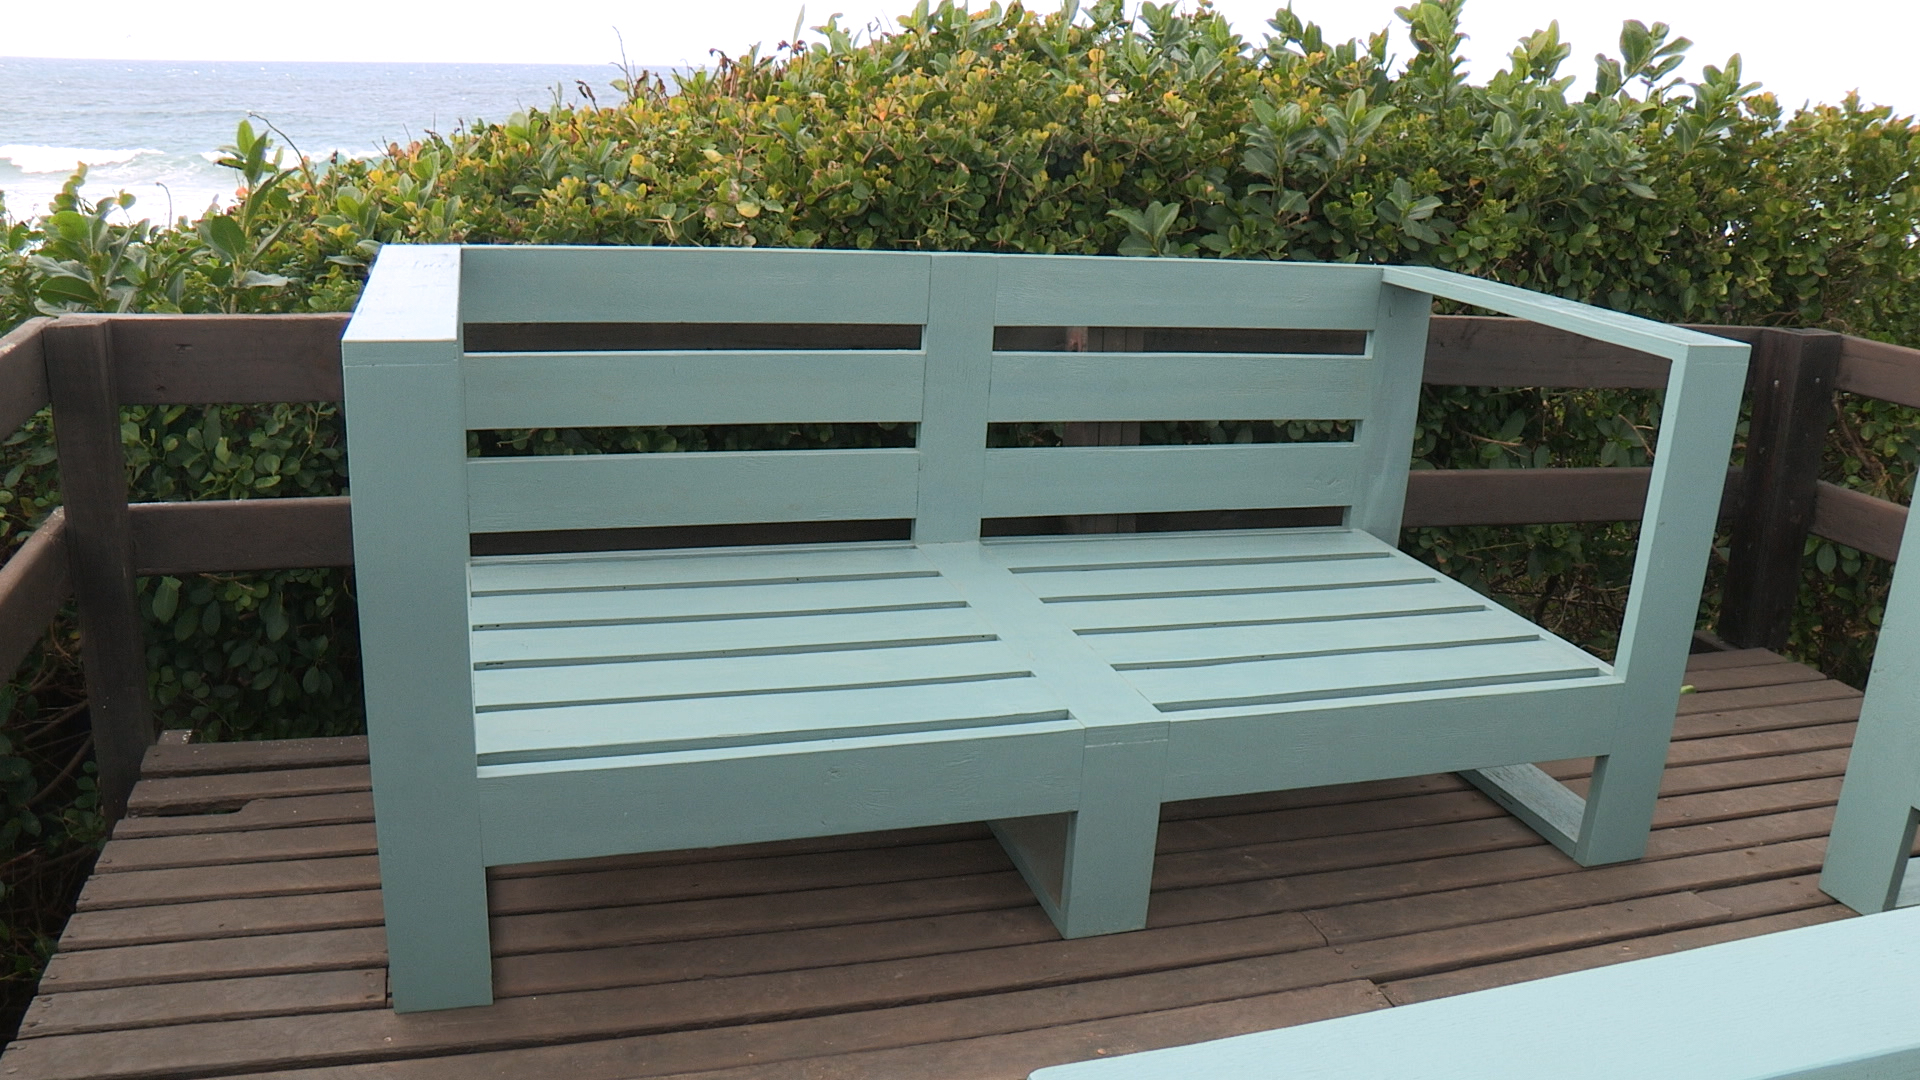
Your structure is now complete and you can now customise the look to suit your style and home.
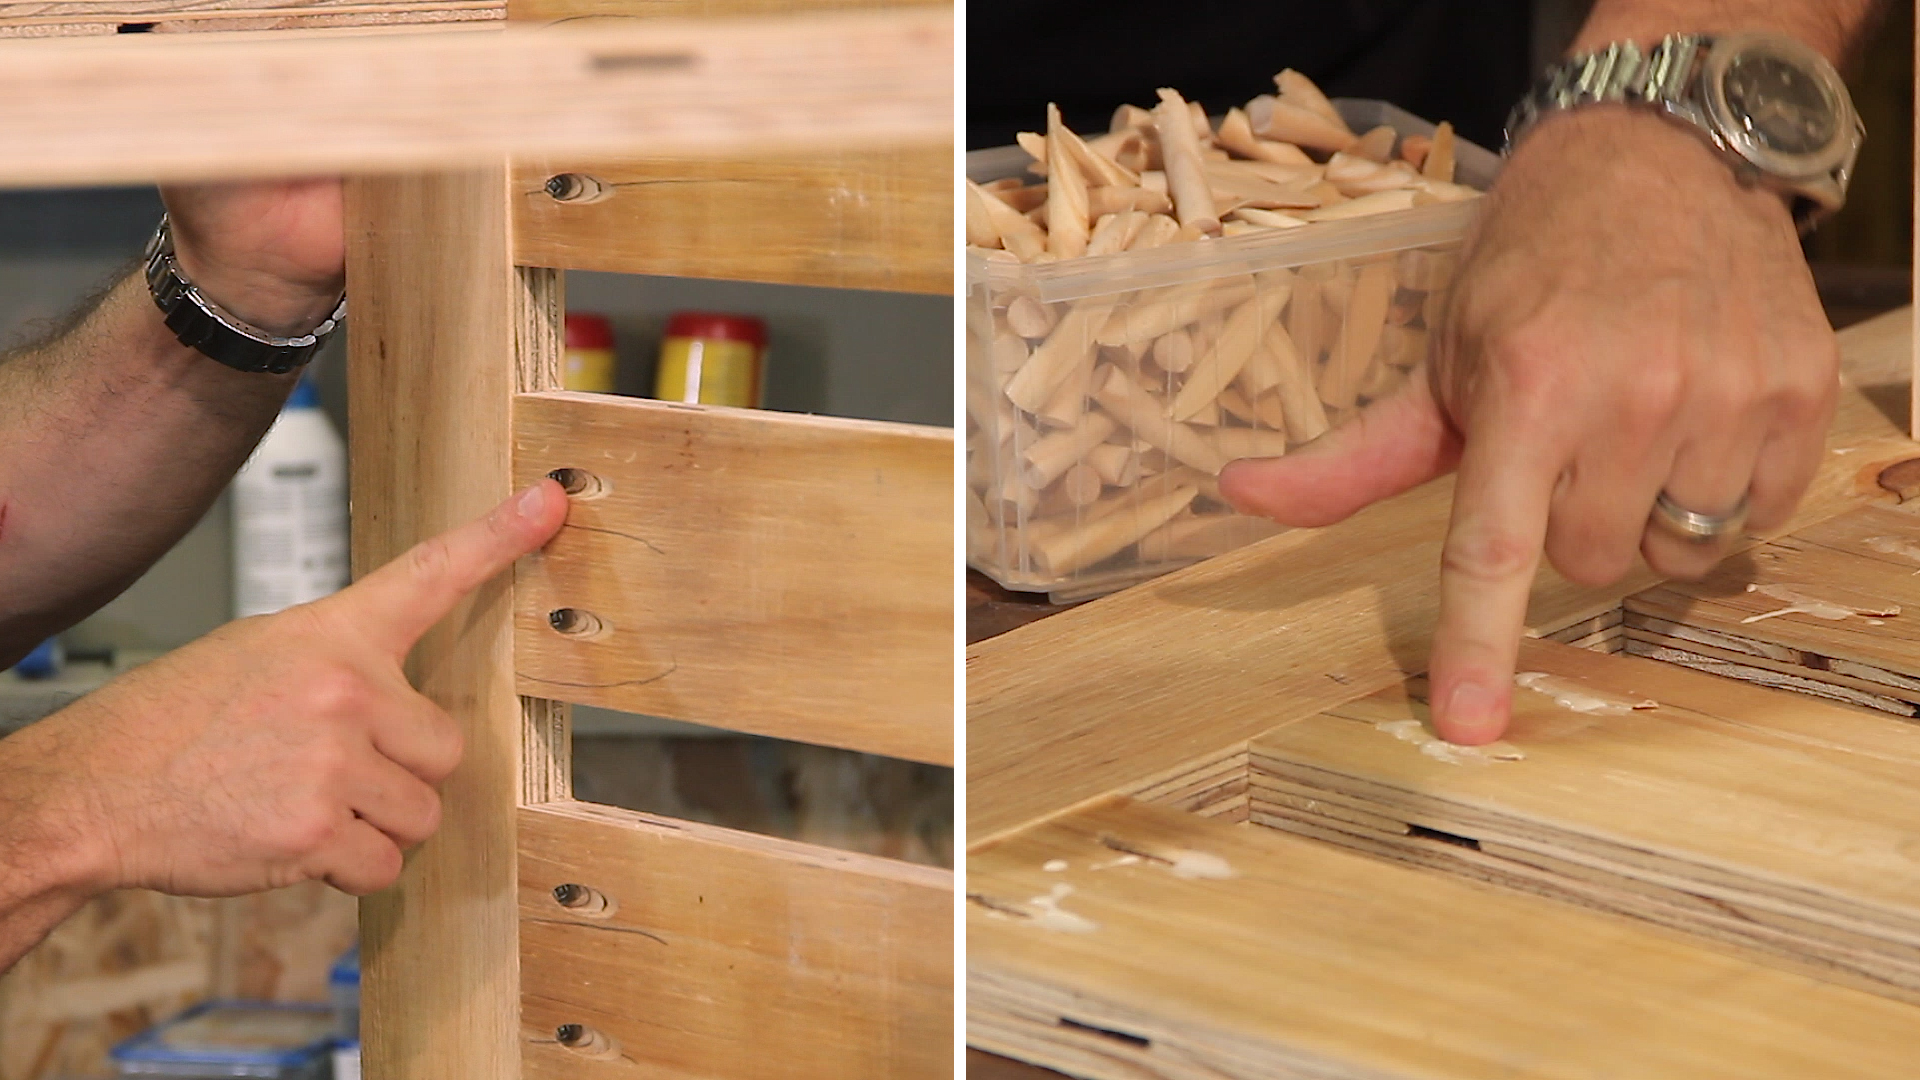
Step 16
Start by filling all the Kreg pocket holes. You can use Kreg Pocket Hole Plugs or wood filler.
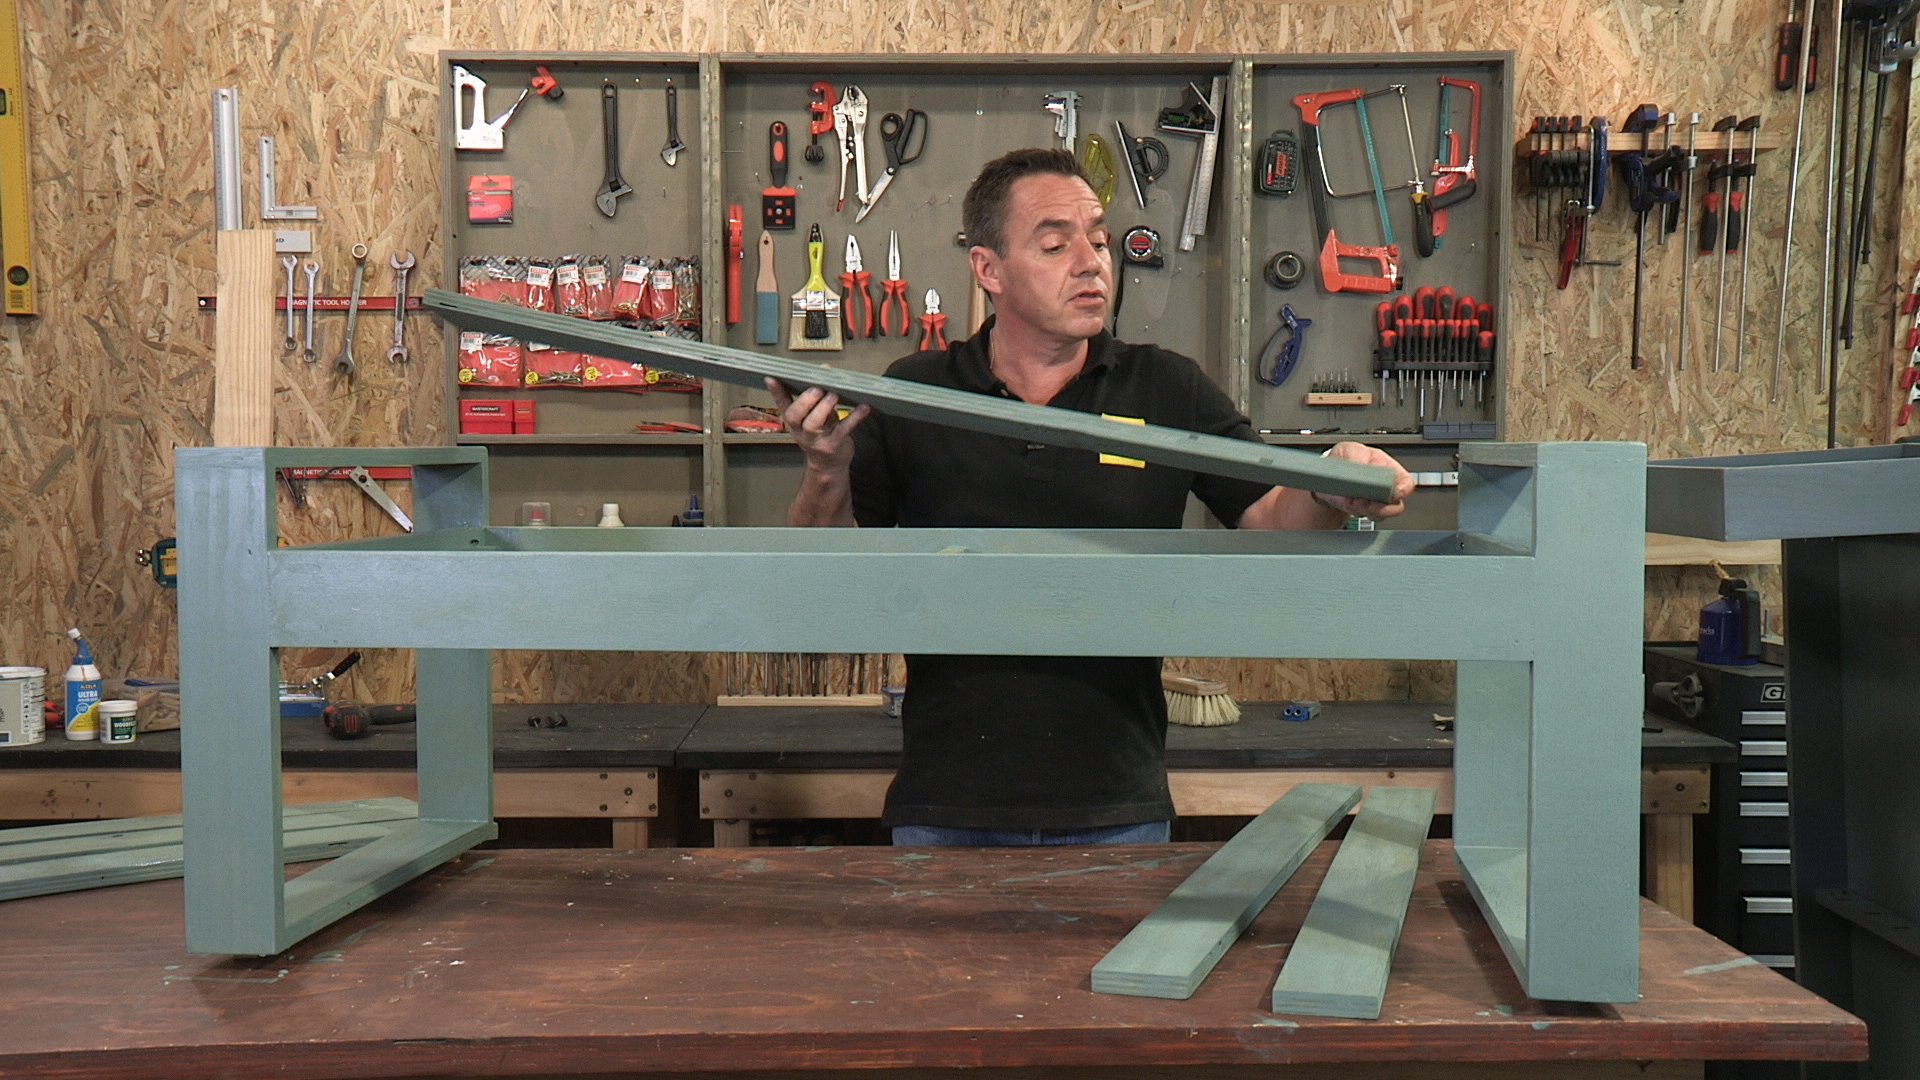
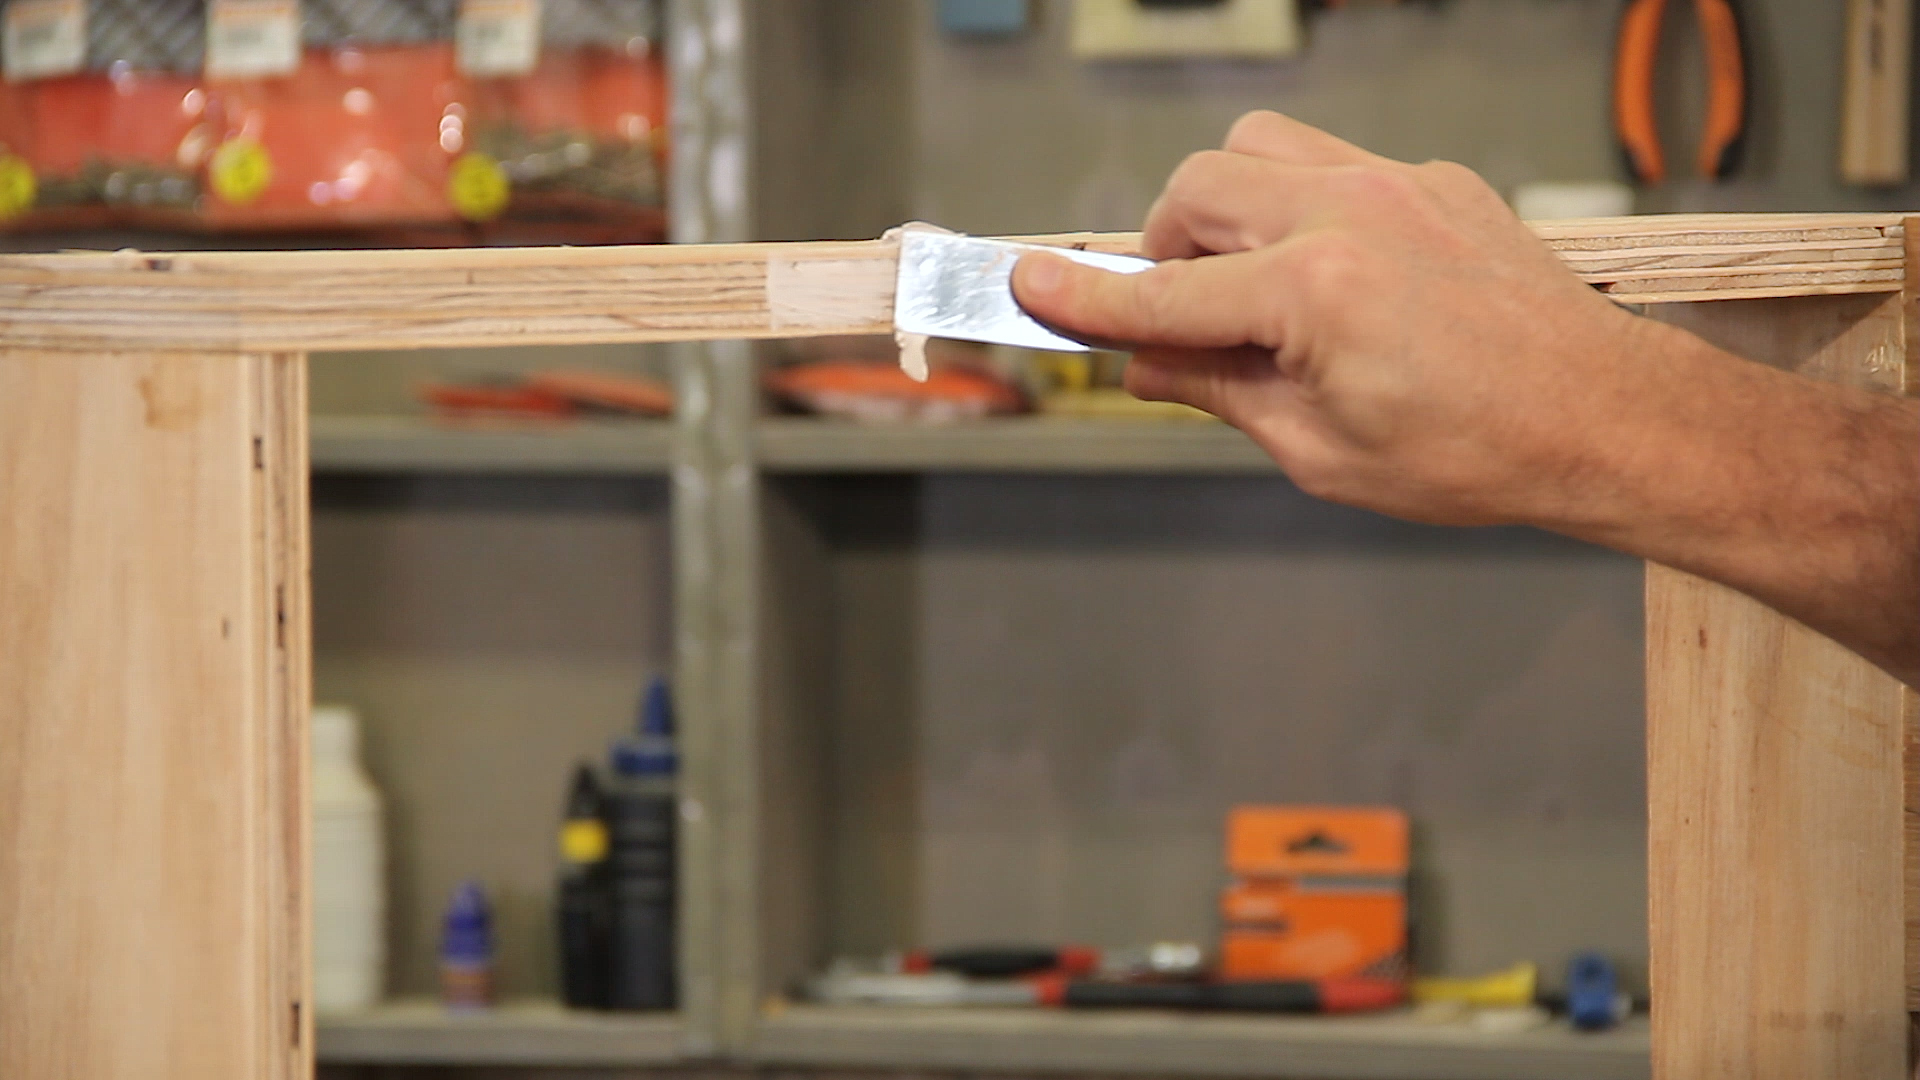
Step 17
Disguise any other imperfections in the timber with wood filler.
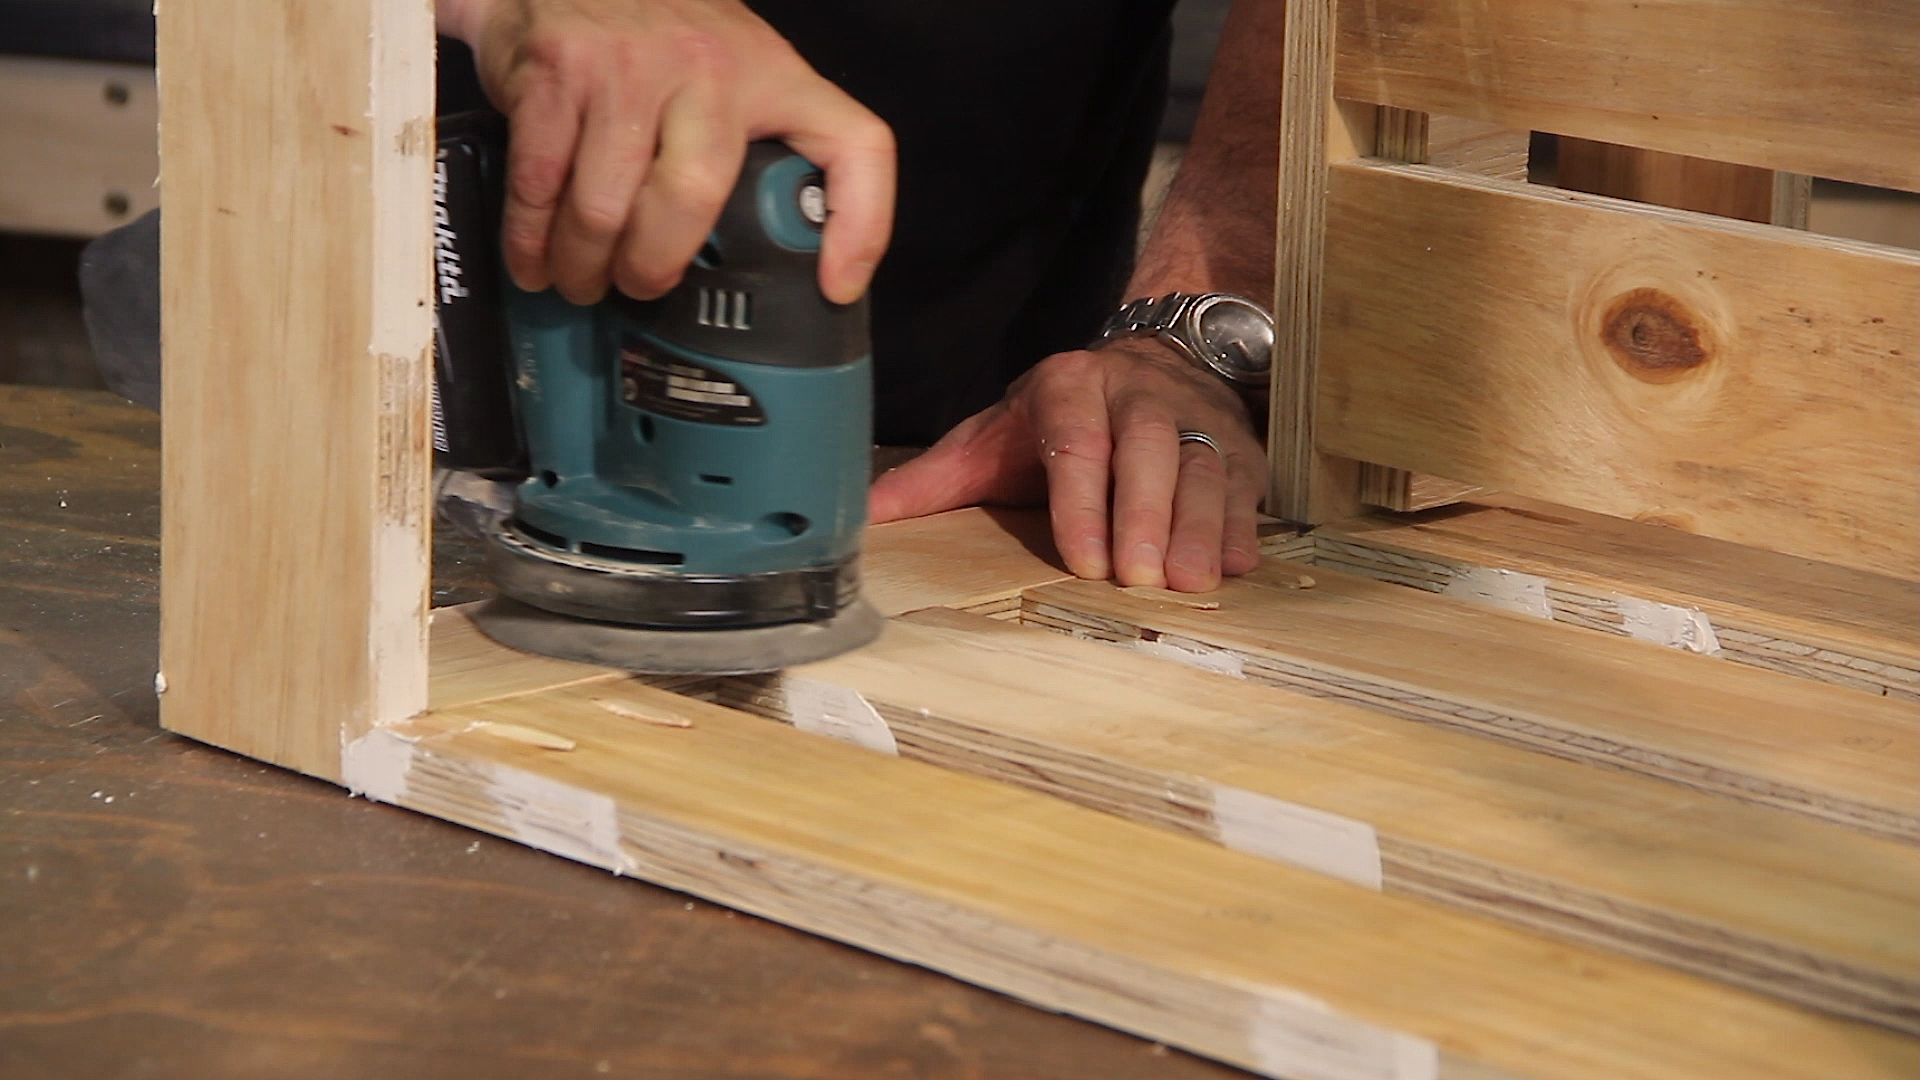
Step 18
Once the wood filler has dried, give your chair structure a good sanding before dressing the timber to suit your home.
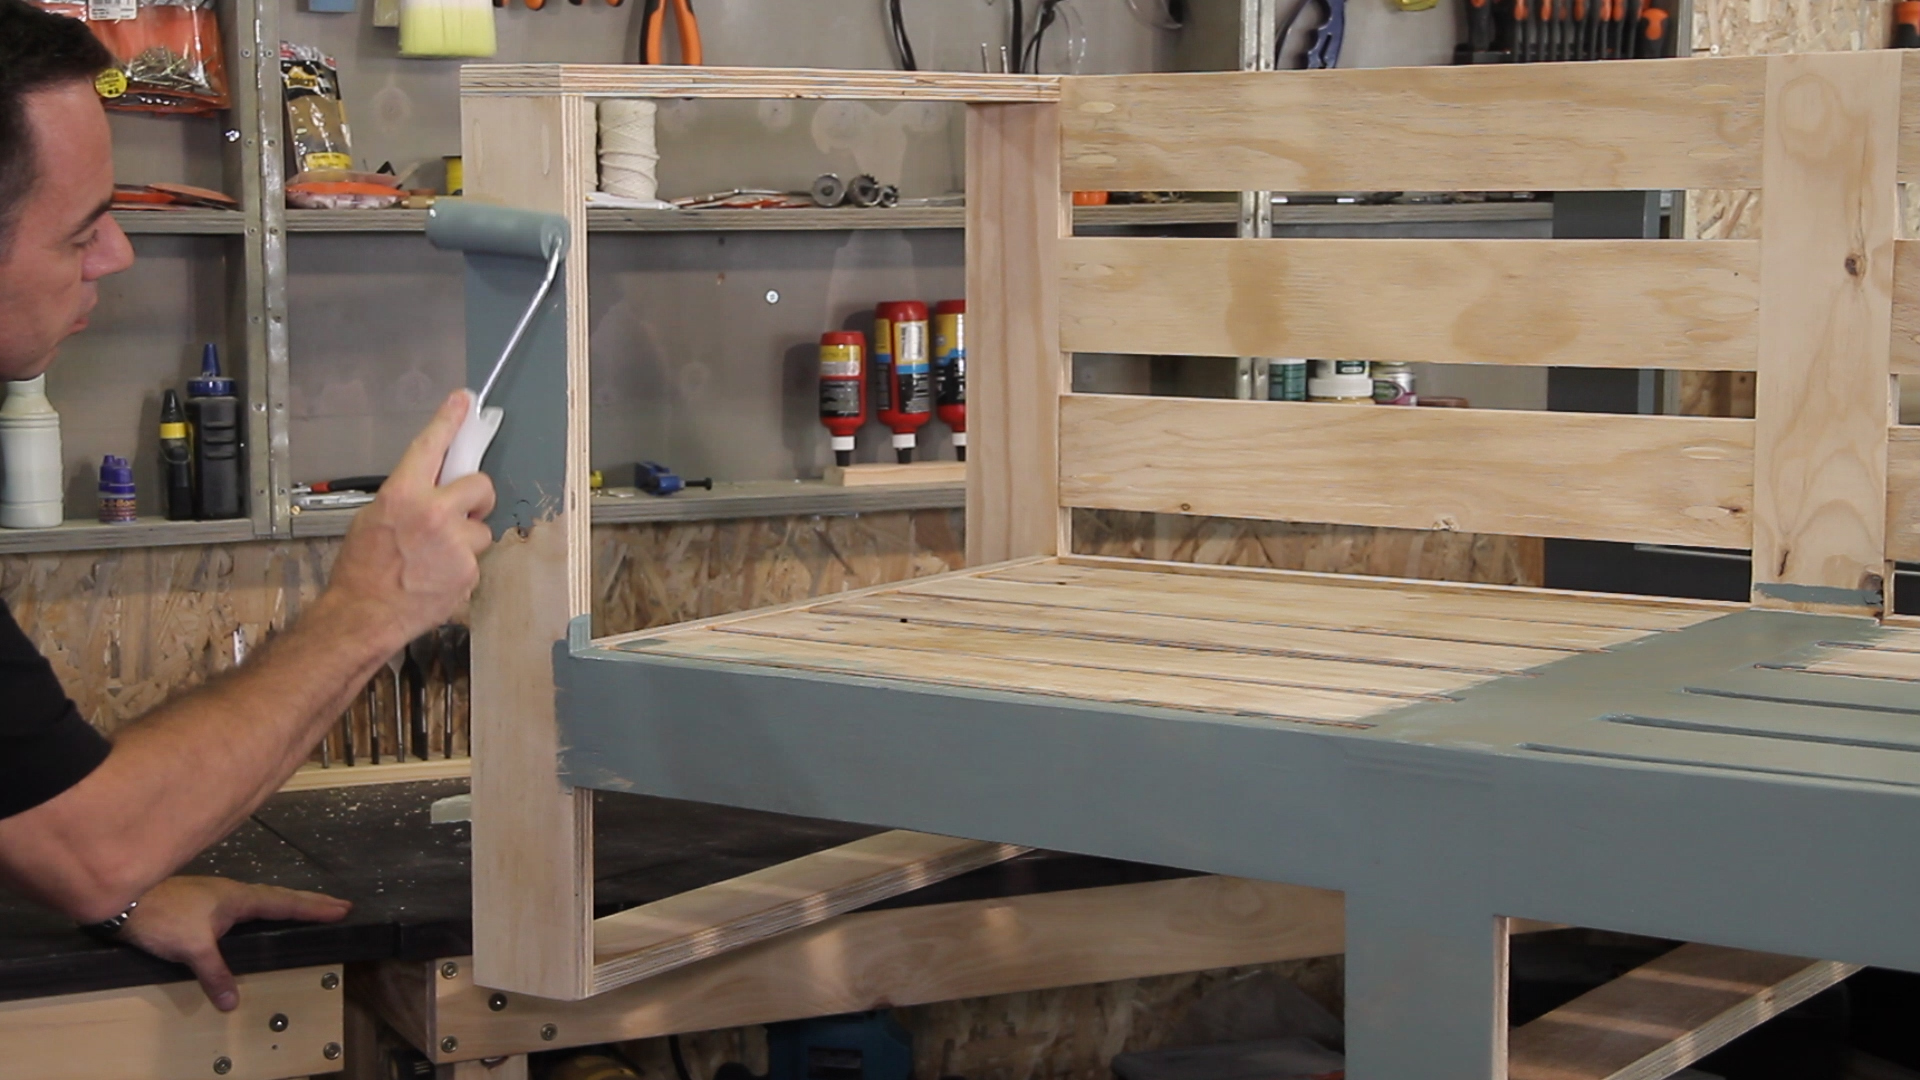
Step 19
We used the Fired Earth Cabinet and Furniture Paint as it is so easy to use and is hard-wearing.
Step 20
As an optional extra, you can now add some rubber feet to the bottom of your chairs which will help protect both your chairs and floor surfaces.
Complete
A modern home made piece of furniture made from just one sheet of plywood. Be sure to see the table and single seater designs to complete the set.
Browse 1000’s of products available to you. Select your country to Shop Online.


