Many gardeners worry about frost damage—especially to delicate plants, seedlings, or overwintering crops. Compost can play a surprisingly effective role in protecting your garden from harsh cold.
1. Compost Acts Like a Blanket for the Soil
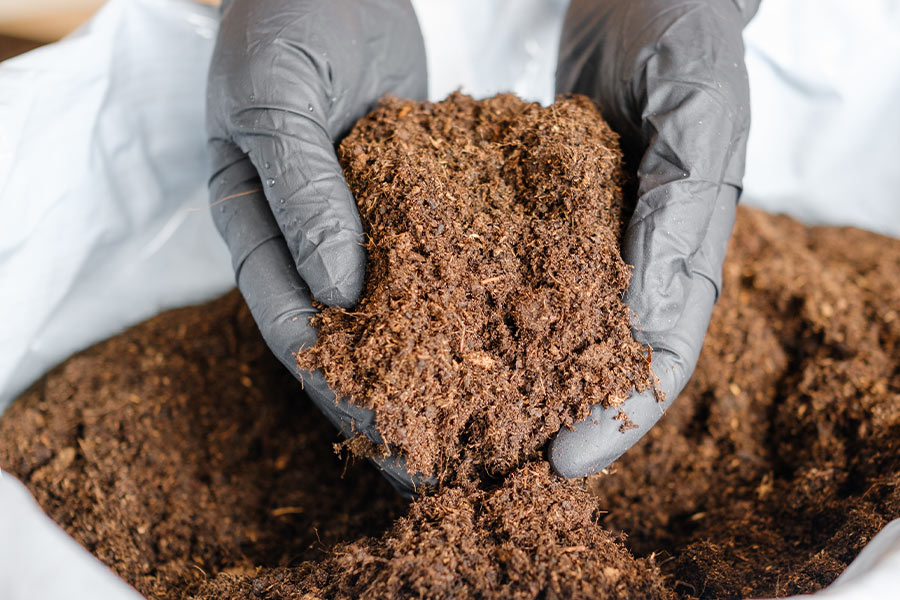
When applied as a mulch (a layer spread over the soil surface), compost forms a protective barrier that insulates the ground beneath it. This layer helps to regulate soil temperature by keeping warmth in and reducing temperature fluctuations. Just like how a blanket keeps you warm, a composted mulch helps retain the residual heat in the soil from daytime sun exposure, slowing down the freezing process at night.
2. Reduces the Depth of Ground Freezing
Without protection, frost can penetrate deeply into the soil, damaging plant roots and beneficial microorganisms. A layer of compost can significantly reduce how far the cold reaches below the surface and helps maintain more consistent soil moisture levels.
3. Springtime Benefits
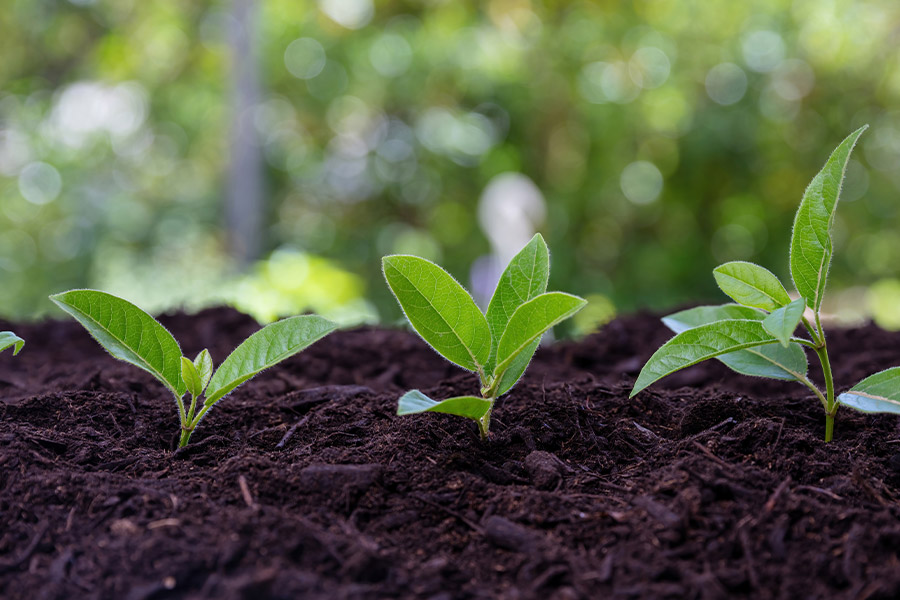
The protective qualities of compost extend into early spring as well. A compost layer will continue to buffer the soil from late frosts, helping seeds germinate safely and giving early-flushes of growth a head-start before temperatures fully stabilise.
Getting Started with Composting
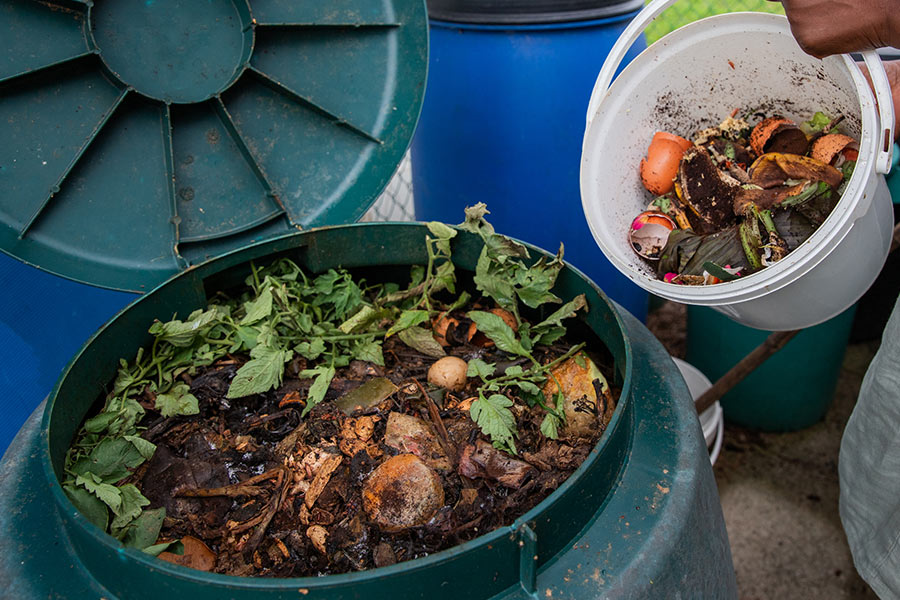
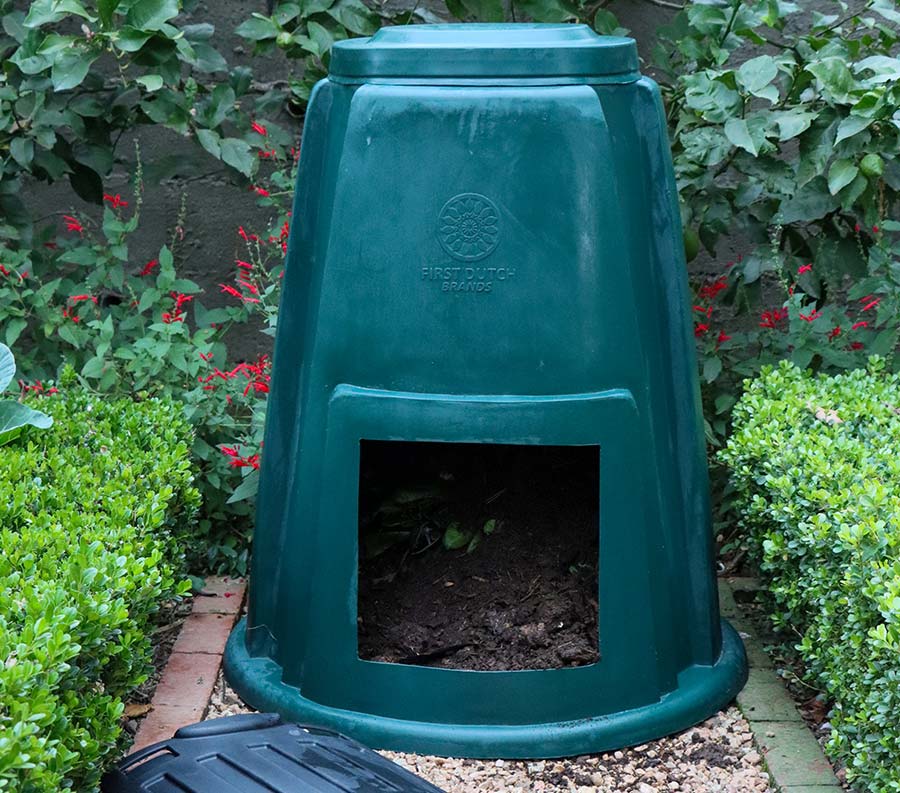
You don’t need a large garden or complex equipment to start composting. A simple lightweight compost converter will do the job just fine. Use a mix of “greens” (fruit and vegetable scraps, coffee grounds, grass clippings) and “browns” (dry leaves, cardboard, paper) for a balanced compost pile. With regular turning and the right moisture levels, you’ll have usable compost in a matter of weeks or months. Ensure that the compost bin is placed on a level surface of soil or lawn which can drain freely.
If space is not an issue – DIY Compost Bin
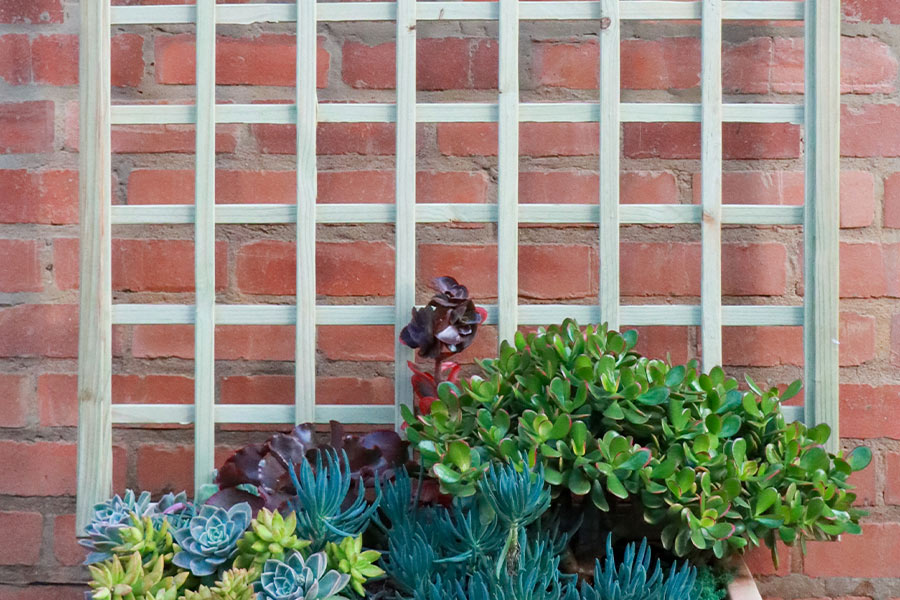
Creating your own compost bin doesn’t have to be expensive or complicated. With just a few materials—garden trellis, cable ties, and a roll of Weed Gard fabric—you can build a sturdy, breathable compost bin in less than an hour. It’s a perfect weekend project!
Materials You’ll Need:
Step-by-Step Instructions
Arrange the four trellis panels in a square or rectangular shape and secure each corner with the cable ties. Leave one side slightly looser so that you can access to turn or remove compost at a later stage.
Line the inside of the panels with the weed guard, attach the weed guard with cable ties or a staple gun.
For extra stability anchor the trellis with steel supports on each panel, driven into the ground and secured with the cable ties.
No Space, No Excuses
Now that you have all the information at hand to make your own compost, what about all the other left overs?
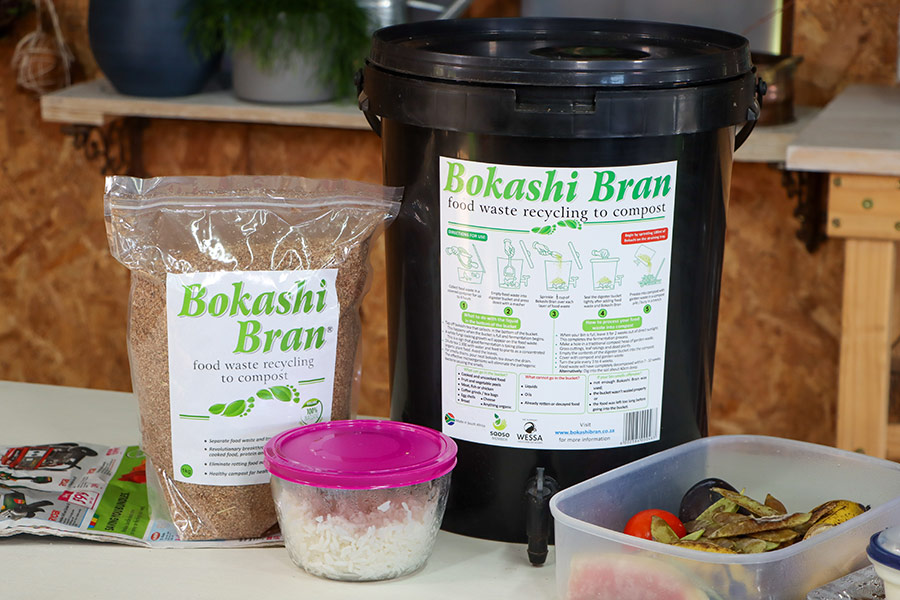
A Bokashi composting bin is the answer, it’s a super easy, mess-free way to deal with food scraps—even the tricky stuff like meat, dairy, and leftovers. Unlike traditional composting, which needs air and space, Bokashi is a fermentation process that happens in a sealed bin right in your kitchen.
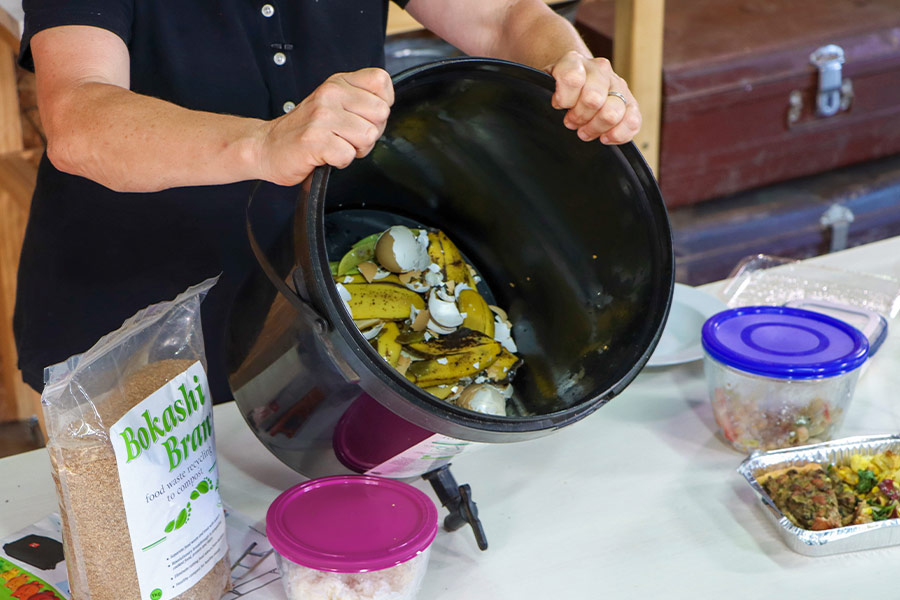
Here’s how it works: you add your food waste in layers, sprinkle on some Bokashi bran (which is full of helpful microbes), and seal the lid. That’s it! Over about two weeks, the food ferments instead of rotting, so there’s no nasty smell. You’ll also collect a bit of liquid along the way—called Bokashi tea—which makes a great fertilizer when diluted, and it’s even good for clearing smelly drains.
Once the bin is full and everything’s fermented, just bury it in your garden or add it to a compost pile. The soil microbes will finish the job, and in no time, you’ll have nutrient-rich soil.
It’s perfect for small spaces, quick to use, and a great way to cut down on kitchen waste. Plus, your garden and outdoor compost bin will love you for it!

