Repurpose old drawers to make an ingenious compartmentalized shelf to store your power tools on.
- Cordless drill
- Tape measure
- Hammer
- 3mm wood drill bit for pilot holes
- Drawers 22 x 94mm pine plank
- 12mm offcut planks (one per drawer)
- Brackets (one to go under each drawer)
- 3,5 x 40mm cut screws
- 3 x 12mm wood screws
- 3 x 16mm cut screws
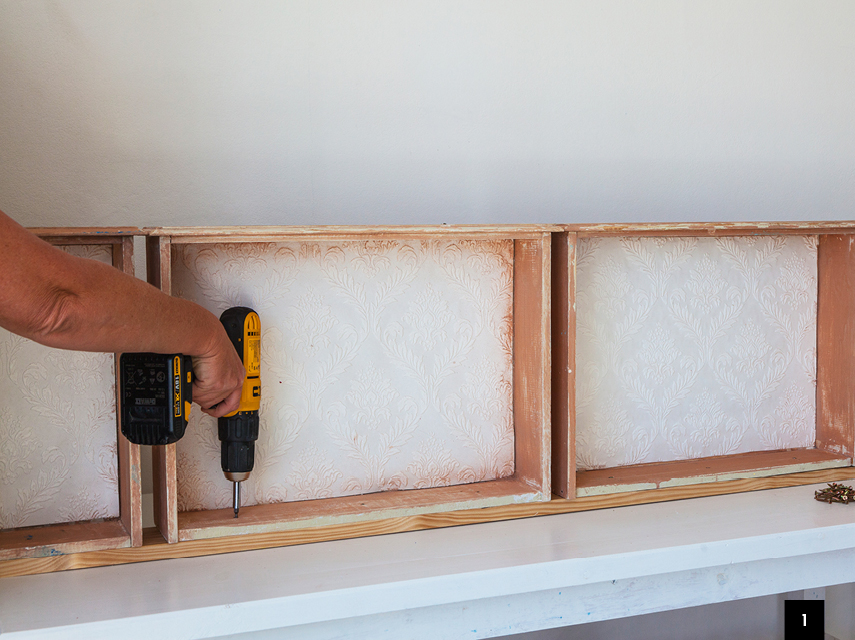
Step 1
Stand the drawers upright along the plank, and attach their back ends to the plank using 3,5 x 40mm screws. Four screws per drawer is sufficient.
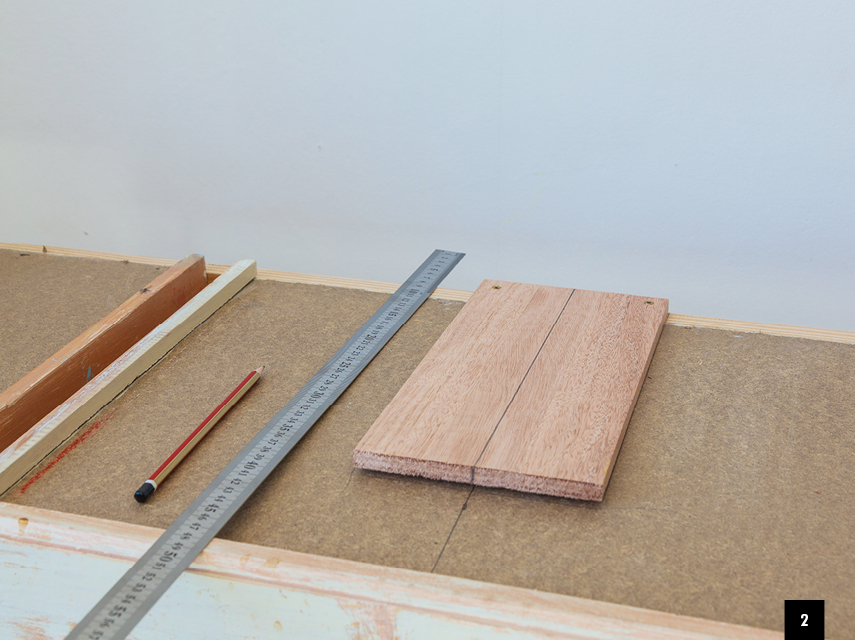
Step 2
Flip the project so the drawers face down. Measure the middle of each drawer and the middle of each offcut plank and mark with a line.
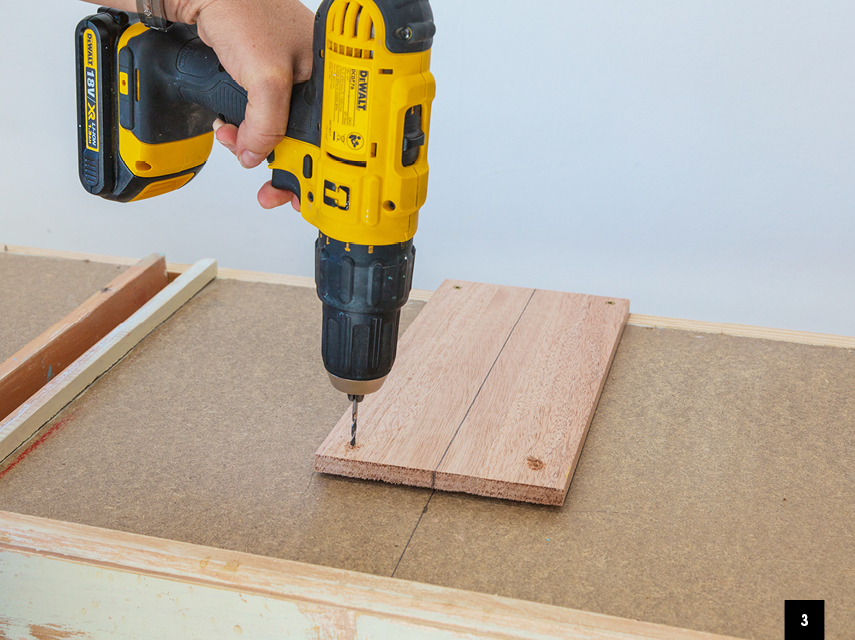
Step 3
Drill pilot holes through the offcut planks into the base of the drawers.
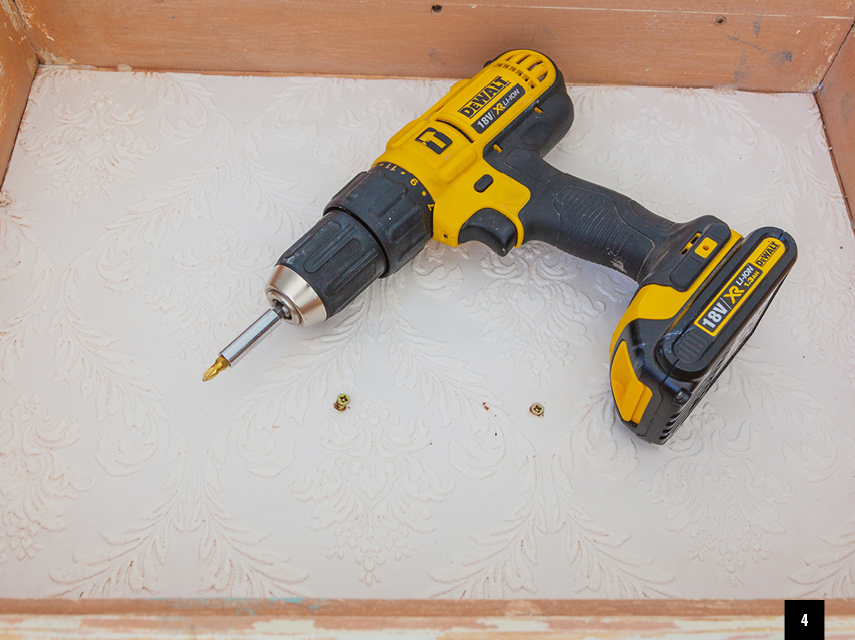
Step 4
Using your pilot holes as a guide, attach the offcut planks to the masonite base of the drawers using 3 x 12mm screws.
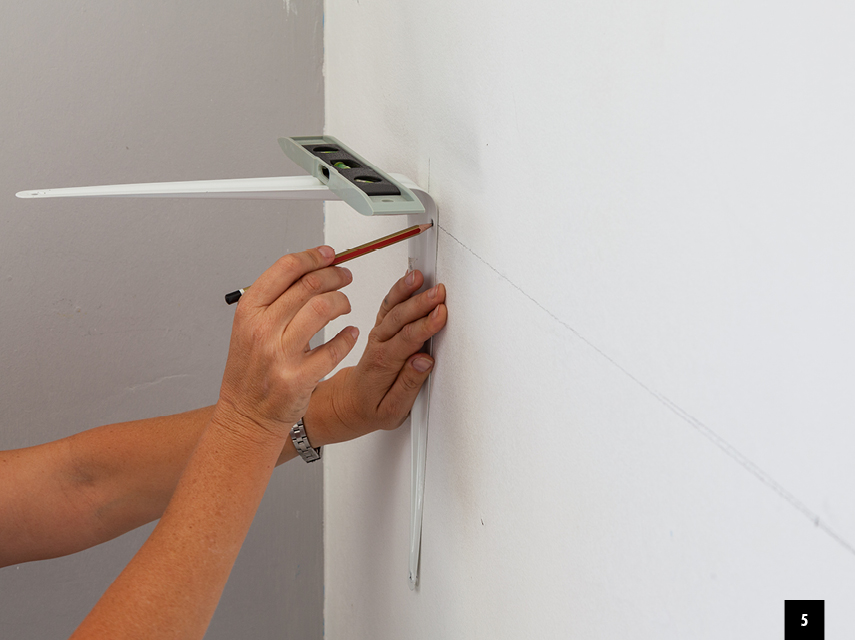
Step 5
Measure and mark a plumb line along the wall for your shelf. Measure the distance between the middle of each drawer to determine exactly where to place the brackets. Use a spirit level and mark the wall through the bracket holes.
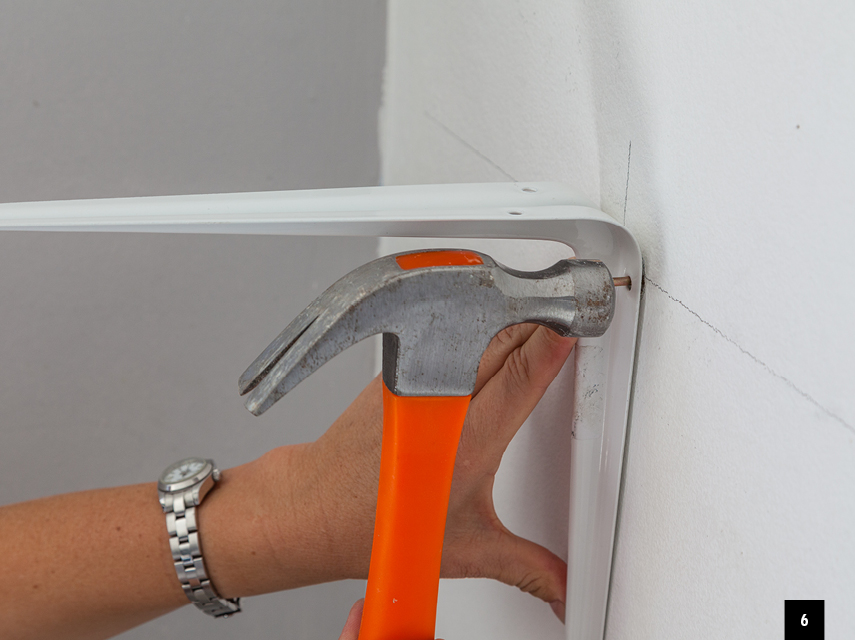
Step 6
Drill your holes and use nail-in anchors to attach the brackets to the wall.
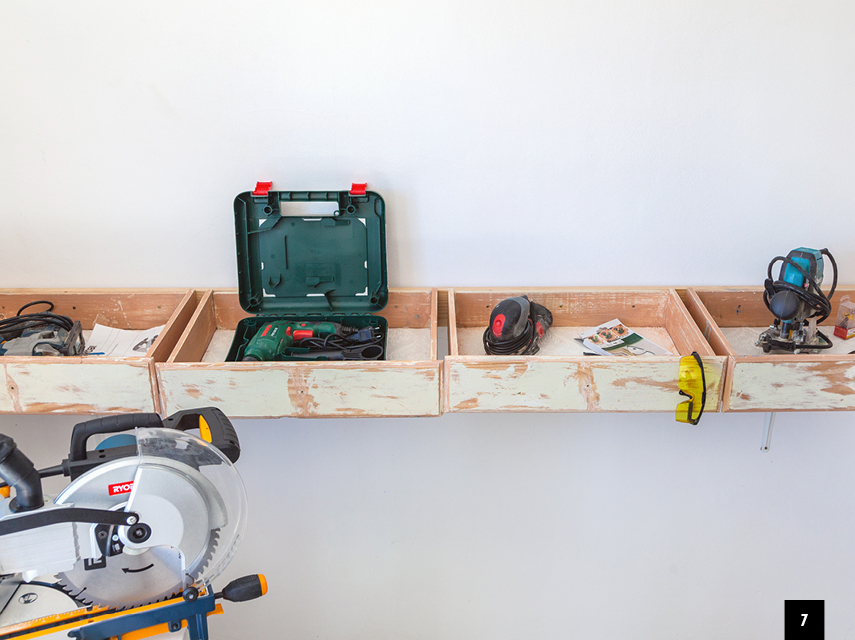
Step 7
Once all the brackets are in place on the wall, position the shelf of drawers on top and fasten from the underside using 3 x 16mm cut screws.
Browse 1000’s of products available to you. Select your country to Shop Online.


