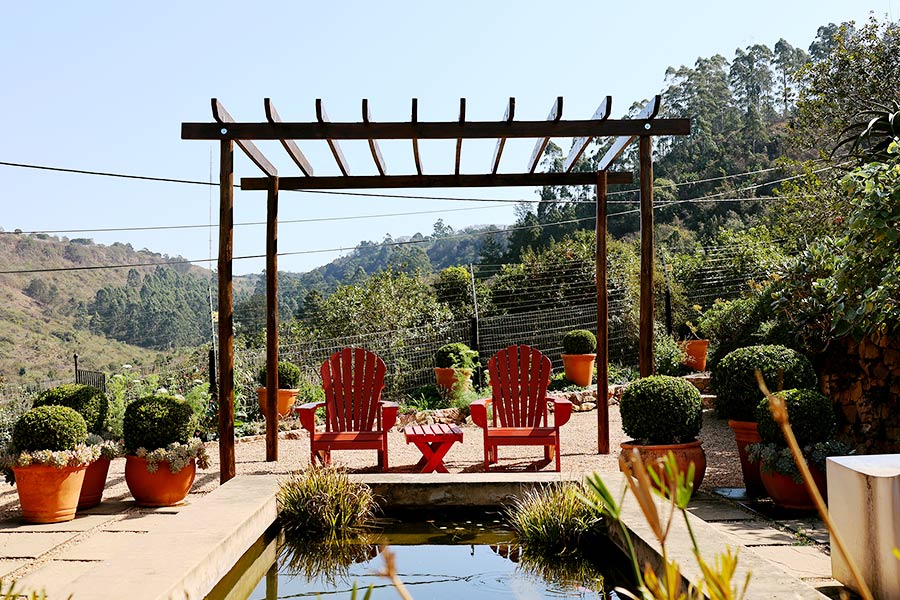
Create a stylish and functional outdoor space with this easy DIY guide to building the perfect pergola.
Cutting List:
- 4 x 75 – 100 mm gum poles (pergola posts)
- 2 @ 38 mm x 115 mm @ 3.5 m CCA-treated pine (front and back beams)
- 10 @ 38 mm x 115 mm @ 2.5 m CCA- (rafters – these will be cut in Step four)

Step One
Start by staking out your pergola site using pegs and fishing line, placing the gum poles three metres by two metres apart. Ensure the corners are at 90° angles, adjusting the pegs as needed. Once you’re happy with the placement, clear the area around the corner pegs of any grass or gravel. Apply two coats of Fired Earth Varnish in Burnt Brown to the gum poles. It’s best to paint the poles while they’re flat on the ground to avoid any run marks. Set them aside to dry completely.

Step Two
Using an auger (available for rent at selected Builders branches), dig four 600 mm deep holes where you’ve placed the corner pegs. If your soil is soft, you can dig the holes manually with a spade or garden pick. Ensure the holes are of similar depth and add a handful of stones to the base of each.

Step Three
Mix 42.5N black cement in a ratio of one part cement, three parts river sand and two parts stone. Add water to the mix until it reaches a yoghurt-like consistency. Stand each gum pole in the centre of its hole, add the cement and compress it with a timber offcut to remove any air pockets. This strengthens the cement bond. Check that the poles are vertical, then leave them overnight for the cement to set.

Step Four
While the cement sets, prepare the rest of the timber. To create a slanted profile for the beams and rafters, measure 40 mm down from the top and 75 mm inward from the end of each piece. Connect these marks with a line to form a triangle and cut along this line with a circular saw.

Step Five
Sand the timbers to remove dirt, factory stamps and rough edges. Apply three coats of Fired Earth Gloss Varnish and allow to dry.

Step Six
Once the gum poles are firmly set, it’s time to assemble the pergola roof. You’ll need an extra set of hands for this step. Run a fishing line 2.5 m above the ground to mark the top of the two outer beams. Once all four sides are level, mark the beams and remove the fishing line. Trim any excess gum pole with a chainsaw.

Step Seven
Take the 3.5-meter timbers and mark 250 mm from each end, allowing for an overhang. Align these marks with the outer sides of the gum poles and clamp the timbers in place. Use an impact wrench to attach the timbers to the poles with 90 mm coach screws and large fender washers.

Step Eight
Place a 2.5 m timber across the top of the front and back beams, again allowing for a 250 mm overhang. Secure it with a 90° steel bracket on either side using two screws per side of each bracket. Measure 290 mm for spacing and attach the next cross beam. Continue this process until all ten beams are in place, then touch up the cut ends of the gum poles with varnish.
And there you have it – a pergola that’s both beautiful and functional. With a few simple tools and materials from Builders, you can transform your garden with a practical area, perfect for relaxation or entertaining. Visit Builders in-store or online at builders.co.za for everything you need to get started.
Browse 1000’s of products available to you. Select your country to Shop Online.


