This is a great way to transform a neglected or boring corner of the garden into something that catches the eye.
In our example we have made a square frame of bricks and then used pebbles for the design inside the frame, but obviously these steps can be replicated to make any shape and design to work in your situation.
- Bricks
- Cement
- River sand
- Decorative pebbles
- Water
- Tools: Spade, fishing line, pegs, concrete float, spirit level,

Step One
First, prepare the spot you’re going to use for your art . Clear the area and mark out the space where you will be working. If you’re going to be making a square or rectangle, here’s a tip: once you’ve marked it out, check that the diagonal lengths from corner to corner are equal.
Step Two
Once the area is marked out, dig out the area where the bricks will be placed, to twice the depth of the the bricks. This gives you space to make a firm concrete base for them while ensuring the final level will match the surroundings. The area where pebbles will be going doesn’t need to be as deep. When digging out the soil, do it carefully and shave the soil away to keep it level, rather than digging a bunch of holes.

Step Three
Once everything is level and clear, use fishing line between four corner pegs to guarantee straight lines for the perimeter of your design.

Step Four
Time to mix some concrete! Use a ratio of three parts sand to one part cement and mix dry until well combined. Then add a little water at a time and mix, aiming for a thick yoghurt consistency.

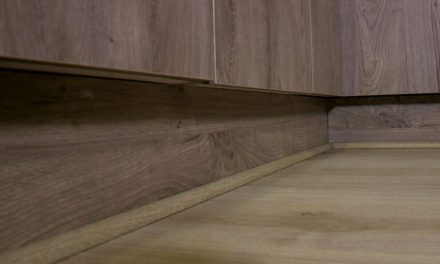
Step Five
Lay two bricks at one corner and make sure they are at the level you need. If you are going to fill around them with gravel later, make sure the bricks are higher than the ground to accommodate this. Now lay two bricks at the opposite corner and check the level with a spirit level. Adjust the fishing line to the correct level and use it as a guide to finish laying the bricks. Leave the concrete to dry overnight.

Step Six
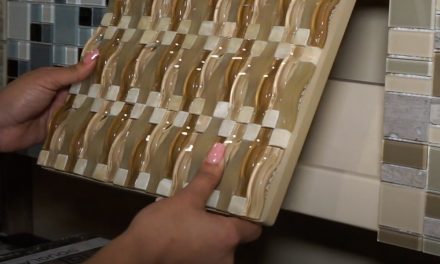
Let’s get creative with our pebbles! Mix sand and cement in the same three to one ratio but don’t add water yet. Put this dry mix into the square as a base for the pebbles. Try a few pebbles and adjust the depth of the dry concrete mix to get the top of the pebbles level with the brickwork. When you’re happy, move on to laying the pebbles…

Step Seven
Create your pattern. We worked in a circular pattern from the inside out, but there’s no limit to what you can create in this way. Make sure the pebbles are firmly set into the dry mix – once you’re finished, use a fine spray to give the pebbles and concrete a light watering to activate the concrete.

Step Eight
To fill the gaps between the pebbles and ensure everything is held firmly, make a slurry mix. To do this, add cement to water until you have a fluid consistency that will flow between the pebbles, filling every crevice. After allowing the slurry to set slightly, clean the pebbles with a gentle spray of water and a sponge, revealing the beauty of your inlaid pebble artwork.

Browse 1000’s of products available to you. Select your country to Shop Online.


