
Transform old tin cans with this easy DIY project and give your herbs a colourful home.
Give yourself a weekend to complete this easy DIY project, purely because you’ll need time for each coat of paint to dry.
Preparing the tin cans
Materials you will need:
- 14 tin cans (110mm deep x 75mm wide)
- 28 key rings (32mm)
- Snub-nose pliers
- Ruler or measuring tape
- Sharp drill bits (3mm and 5mm) for metal
- Screwdriver with thin tip
- Rust-Oleum Rust Stop spray primer
- Rust-Oleum Painter’s Touch – assorted colours
- Permanent marker
- Safety goggles
- Protective face mask
- Gloves
- Power drill (The Bosch GSR 1440, 14.4 Volt Li-ion cordless drill works brilliantly.)
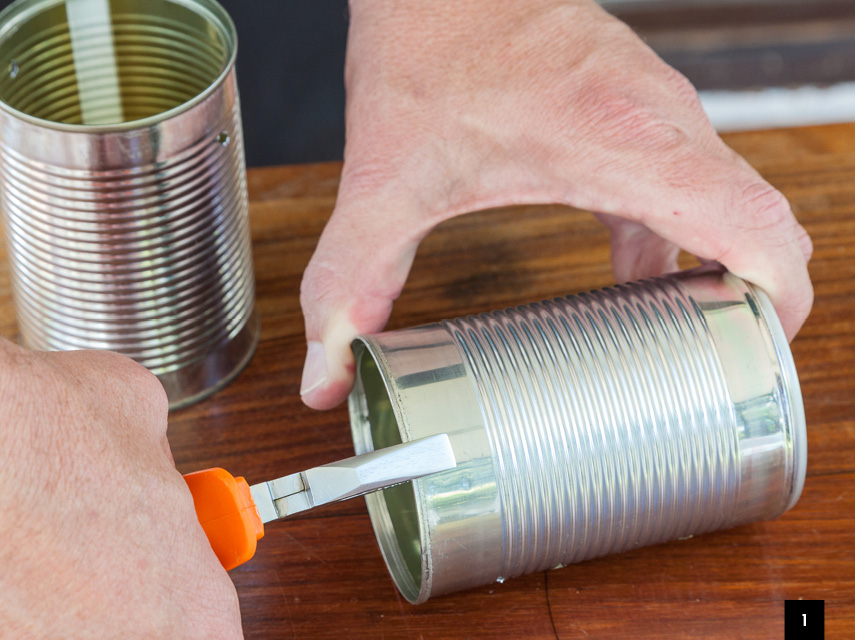
Step 1
To prepare the tins, wash and rinse them well and allow to dry. Remove any excess glue with turpentine (it may need to be scrubbed off). To prevent cutting yourself while working, flatten sharp edges inside the rim of each can with snub-nose pliers.
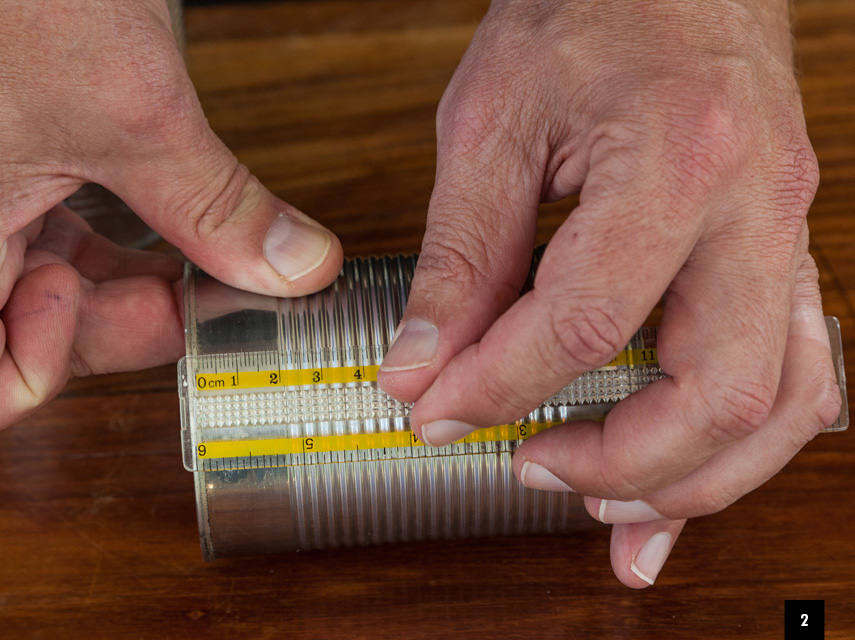
Step 2
To mark the holes, measure 2cm from the top of the can and mark with permanent marker.

Step 3
To mark the second hole take a piece of masking tape and measure off 118mm. Stick the tape on top of your first mark, and tape it around to the other side of the can. Make a mark at the end of the tape. This is the position for the second hole and should be exactly opposite the first.
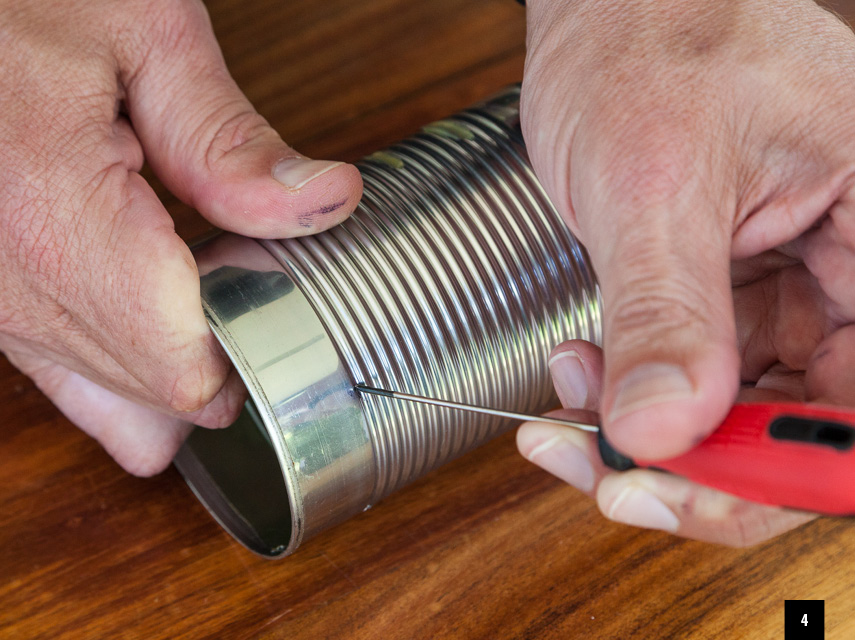
Step 4
Using a thin-tipped screwdriver, make a dent/small hole where you marked the tin with the permanent marker. All that is required is for the tin to be rough where you want to drill the hole so that the drill bit finds traction and doesn’t slip off.
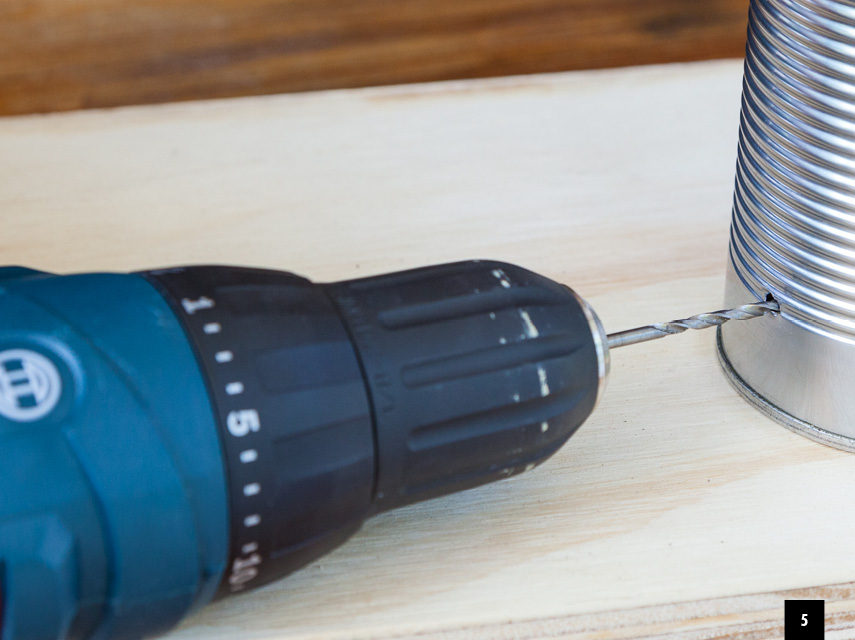
Step 5
Ensure the tin is held firmly in place, then position the drill bit in the pilot hole and drill, using a sharp 3mm bit. Make sure that you don’t press too hard in order not to dent the tin. Use gentle circular movements to make the hole a little larger to fit the key rings more easily.
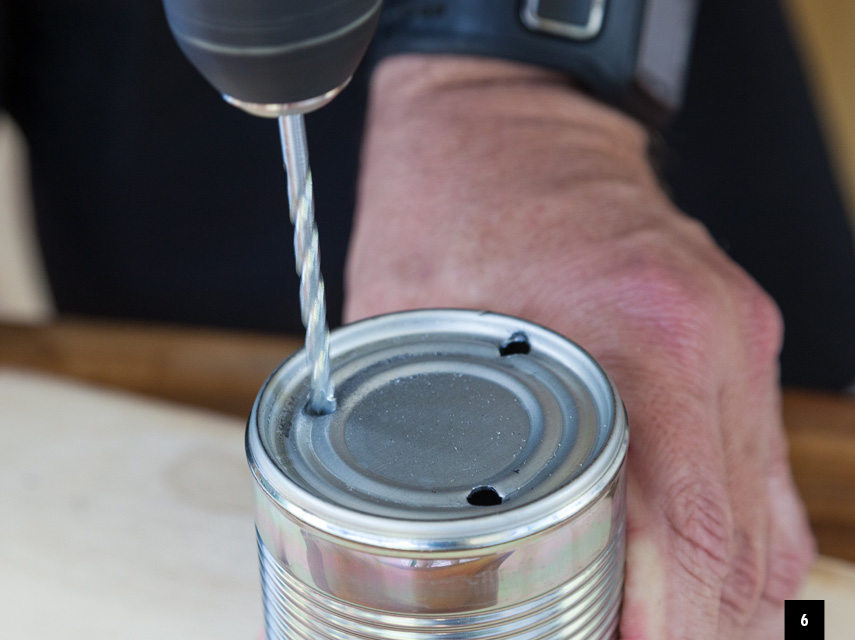
Step 6
With the tin still upside down, make three or four well-spaced pilot holes with your screwdriver or sharp-tipped tool in the bottom of the can for drainage. Using a 5mm bit, carefully drill the holes.
Top Tip: If you have a workbench, clamp the tin on it, making sure that it doesn’t bend. If you don’t have a clamp, turn the can upside down and put pressure on it with your one hand. Keep your fingers clear of the drill.
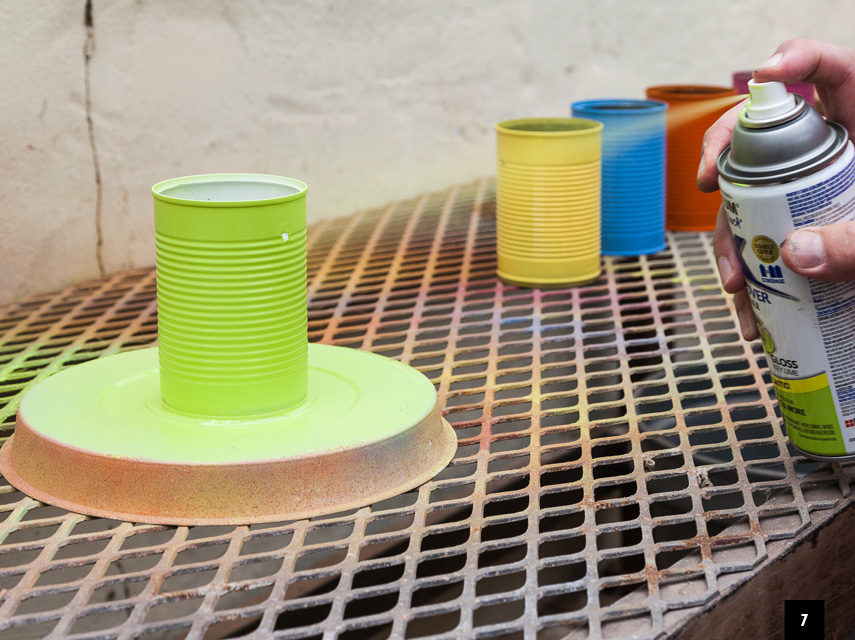
Step 7
For the spray painting, choose a well-ventilated area to work in and wear a face mask. Shake the Rust-Oleum Rust Stop can very well and spray on the primer from a distance of 20 to 30cm. Remember to prime inside and outside to give the maximum rust protection. Leave to dry completely.
Shake your topcoat spray paint can very well and apply two coats, allowing each to dry thoroughly.

Step 8
Before inserting the key rings, stick a piece of insulation or masking tape between the top of the can and the holes to protect the newly painted tin against scratches. Place the key ring flush with the surface of the can and prise it open using a coin or blunt knife, then thread it through the hole until it’s in place.
Preparing and attaching the mounting board and tins
Materials you will need:
- A mounting board. We used 94 x 1 120mm shelving uprights as it had nicely bevelled edges and predrilled holes. You’ll find it in the shelving section at Builders.
- Universal wood primer
- Interior/exterior PVA in the colour of your choice – we used Dulux Pearlglo Forest Lake 3
- 50mm paintbrush
- 10 electro galvanised chains (3mm x 1m)
- 10 galvanised nuts (M5) which fit the screws
- 30 flat washers (M6) which fit the screws
- 10 machine screws (M5 x 3mm)
- Two coach screws (10 x 60R) with wall plugs
- Wooden drill bit (10mm)
- Concrete drill bit (10mm)
- Screwdriver with thin tip (or other sharp-pointed tool)
- Sandpaper (fine)
- Power drill
- Hammer
- Socket which fits the screws that come with the wall plugs
- Permanent marker
- Safety goggles
- Gloves
Step 9
Recess the nuts so that the mounting board will sit flush against your wall. In order to do this, you need to widen the pre-drilled holes somewhat. Put the beam on a flat surface, underside facing up. Use a 10mm wood drill bit to enlarge each of the holes to 4mm which is just enough for the nuts and washers to be recessed.
Top Tip: To make sure you drill a hole to the correct depth, measure from the top of your drill bit and mark with a piece of tape.

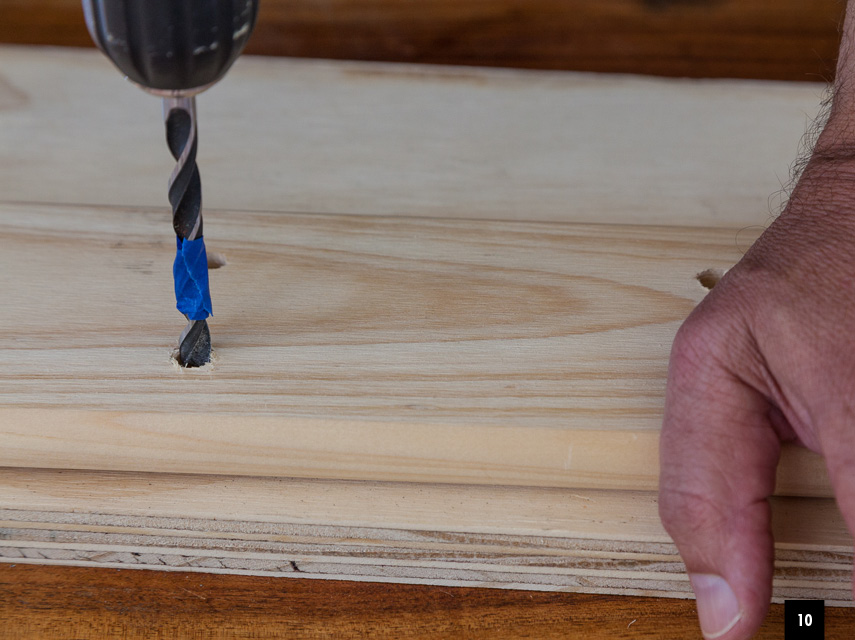
Step 10
Use 220-grit fine sandpaper to smooth both sides of the wood surface, then brush away the dust. Prime liberally with one coat of wood primer and allow it to dry completely.
Apply one coat of universal undercoat and allow to dry thoroughly (at least 16 hours).
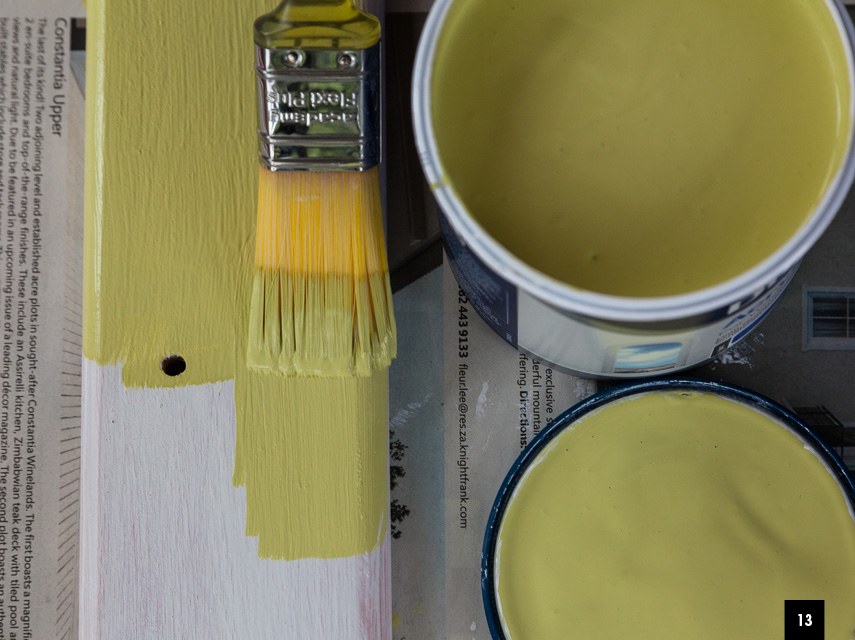
Step 11
Apply two coats of colour topcoat, allowing the first to dry completely before applying the second. We used Dulux Pearlglo interior/exterior PVA. The colour Forest Lake 3 is from the Dulux 2015 trends collection.
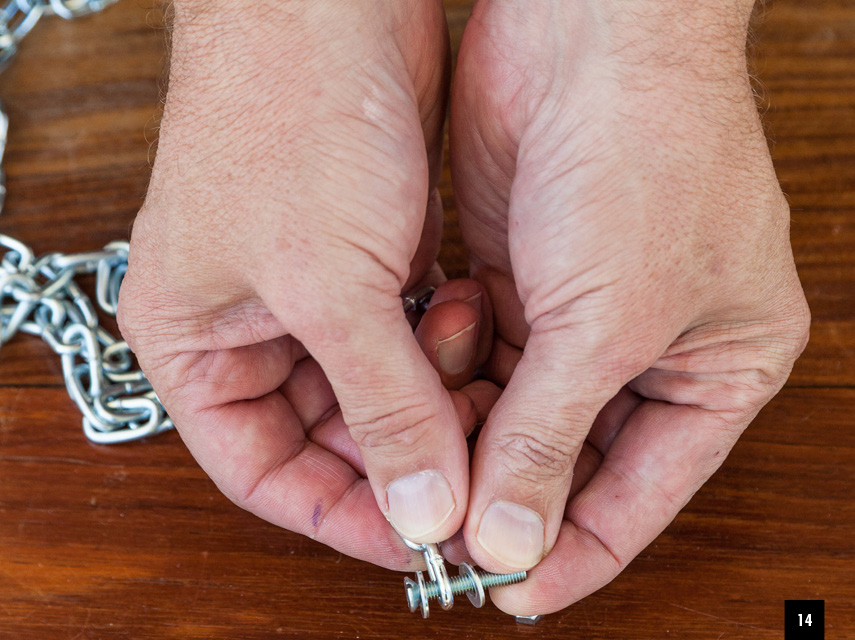
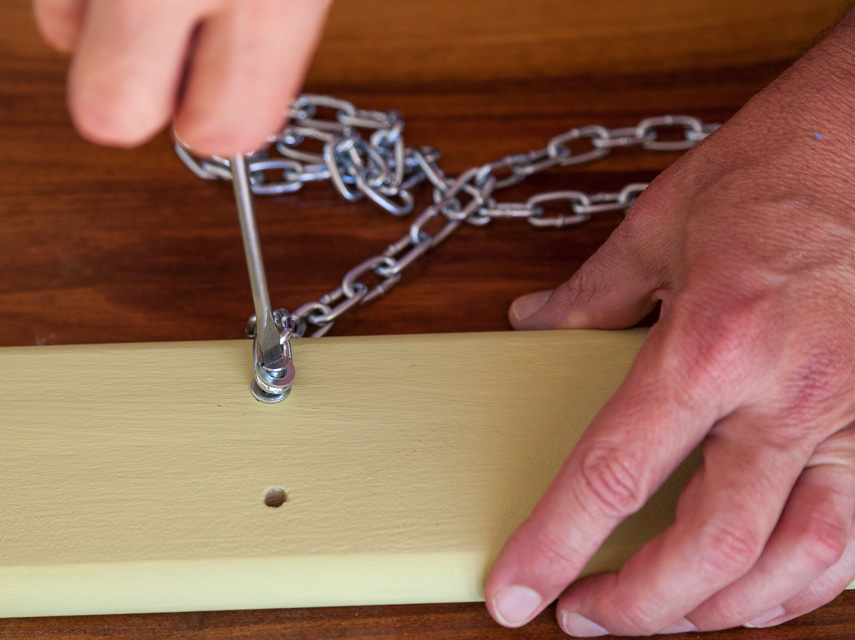
Step 12
Put a washer on a screw and guide it through the first link on your chain and then insert a second washer. This will ensure that the first chain link is properly positioned on the beam.
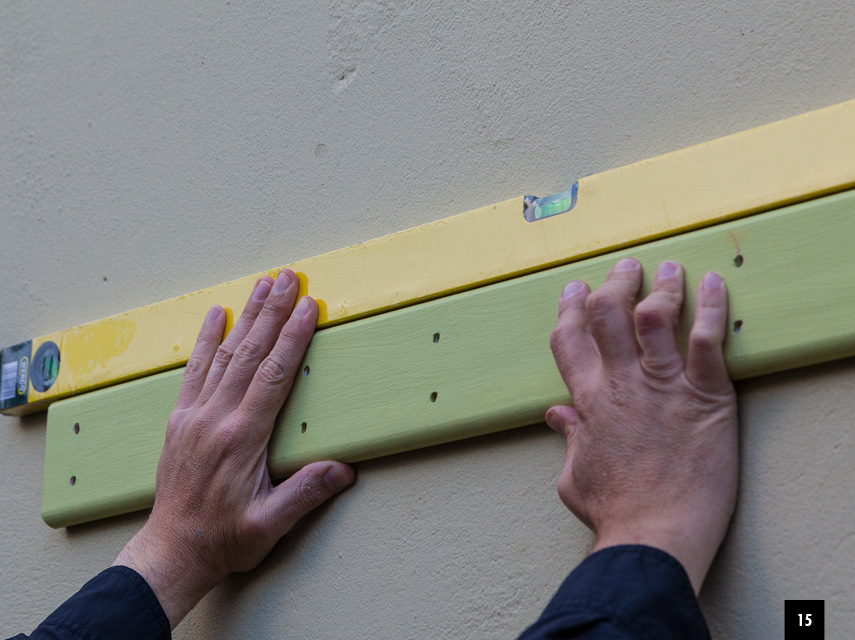
Step 13
To ensure the beam will be mounted level on the wall, measure the distance from the floor to the beam and make two marks where you want to drill the holes. Check with a spirit level. Use the second pre-drilled hole on either side of the beam (top level) to establish the correct position for the mounting holes. Stick a screwdriver through the holes that you want to use for mounting and tap gently with a hammer to make a dent in the wall at the height that you measured. (The holes that you don’t use can be filled with wood filler and touched up with paint.)
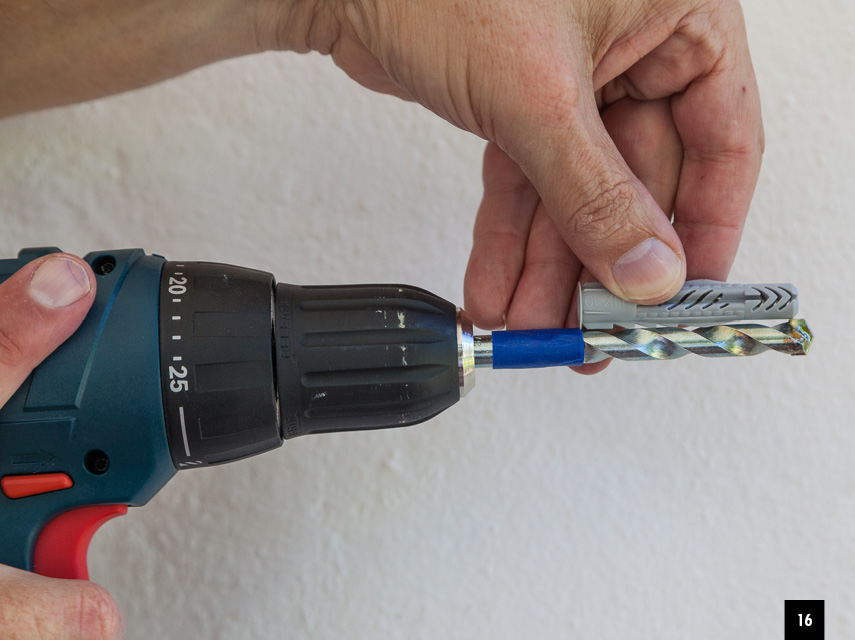
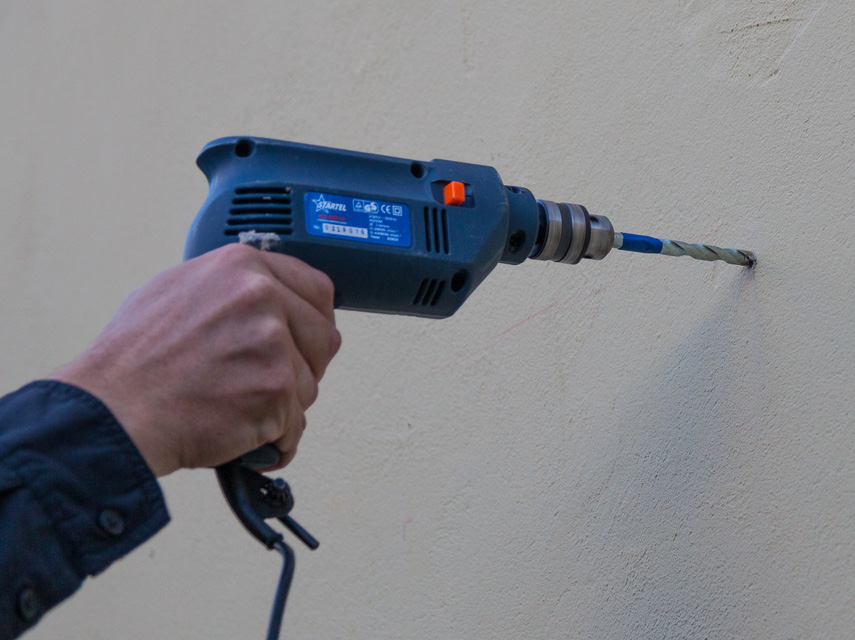
Step 14
Using a 10mm masonry bit, drill a hole deep enough for the wall plugs to fit flush. Use tape to guide you on depth.
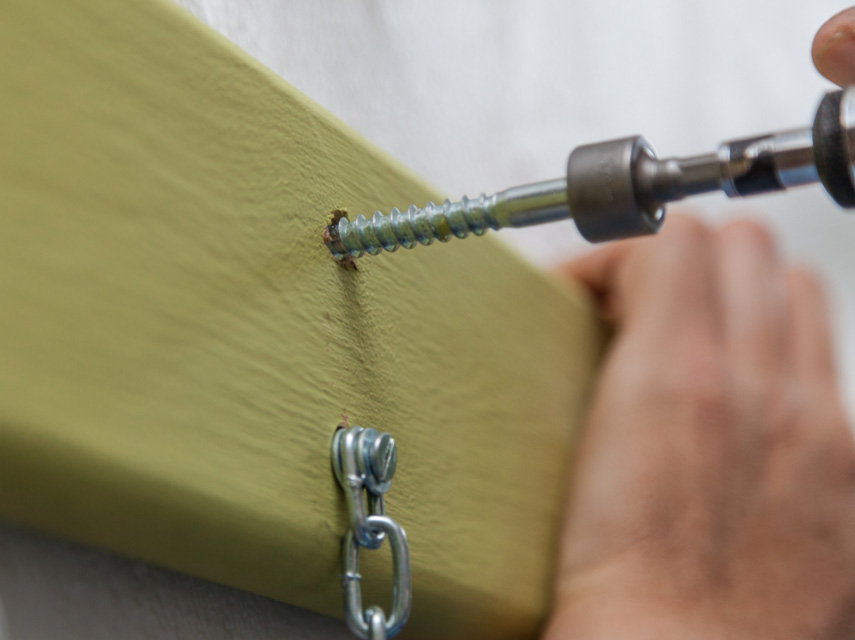
Step 15
Seat a washer and nut in the enlarged hole on the back of the beam. Guide the screw with the chain attached to it through the hole from the front and into the nut. Use a screwdriver to tighten.
Step 16
Top Tip: Don’t try to get the tins perfectly straight – you will only frustrate yourself. Embrace the shabby-chic look, it’s very trendy.
Now you’re ready to hang your tins on the chains and pot up your herbs. Seedlings are the correct size. Use well-composted potting soil and remember to water well after planting.
Browse 1000’s of products available to you. Select your country to Shop Online.


