Seeds are a cheap and rewarding way of filling your garden and pots with plants. Here are some tips on how to germinate and grow seeds successfully.
Most gardeners want instant gratification: we want to buy plants, put them in the garden and have them burst into flower straight away. Unfortunately, you can’t force Mother Nature to bend to your will and some things take time, like growing plants from seed. Growing plants from seed is a great way of getting a load of plants very cheaply, but we fall flat when trying to get seeds to germinate because we don’t do it correctly.
Here’s how the experts get it done:
First up, it is way easier and much less frustrating to sow seeds in trays and then transplant the little seedlings into the garden or into their final container. This is especially true of the many plants that are susceptible to frost when they are young, which is why we grow them in a controlled environment.
When choosing the container into which we will sow the seed, there are a number of options. There are the small, biodegradable fibre pots which come in two sizes and then there are the coir six-pack trays, which are recyclable and reusable. Next, there is the 12-cell fibre propagator tray which comes with a small plastic container that operates as a mini greenhouse, regulating temperatures and increasing germination success rates. Another option is the deep seedling tray with no cavities, which is great for larger quantities of plants and microgreens, and there is also the smaller, plastic, no-cavity sowing tray. The methodology of sowing is the same in all the different containers, but which container you choose depends on the seeds you are sowing.
For medium-sized seeds when you only need a few plants, like tomatoes, you would use a 6- or 12-cavity tray. For bigger seeds like pumpkins and squashes, you would use individual coir pots. For tiny seeds where you want loads of plants, you could sow a whole lot more of the seed in a seedling tray with no cavities. (We always suggest planting twice as many seeds as you want plants.)
No matter what container you use, here is the way to sow successfully:
The first thing you need is a compressed block of palm peat, a high-quality horticultural growing medium that ensures good germination of seeds. To use it, place it in a container with three litres of water and leave it to soak up all the water and expand. Palm peat is the perfect medium because in addition to holding water, it is very light and so the seedlings can easily push it out of the way and peep their heads through.
Once the palm peat is ready, pop some into your container and smooth it out but don’t squish it – you want to retain the little pockets of air. You could use seedling mix, also available at Builders.
For medium and large seeds, press the seeds gently into the palm peat, two per cell or pot and then cover them with a thin payer of palm peat. Softly tamp it down so that the seeds are in contact with the growing medium. When the seeds have germinated and are growing, you will snip off the weaker plant to give the stronger one the best chance of growing healthily and strongly.
When sowing very fine seed, like alyssum, we have a trick for you. Put a small handful of expanded palm peat in a bowl and then add half the packet of seeds. Mix together thoroughly so that the seeds are evenly dispersed through the peat. Now spread the peat/seed mix onto the top of the peat in the container, starting at one end and working across the container. This will ensure even germination. When finished, sprinkle a fine layer of palm peat over the seeds and tamp it down.
After sowing, write the name of the seeds you have sown and the date on a label and push it into the growing medium, then water.
When watering seeds after sowing, we advise making a solution of EcoBuz StartGro and EcoBuz Root Pro. Using a very fine spray, water the seeds until water starts to run out of the bottom of the container. Use this solution to water until the seeds have germinated and the first centimetre of growth has taken place.
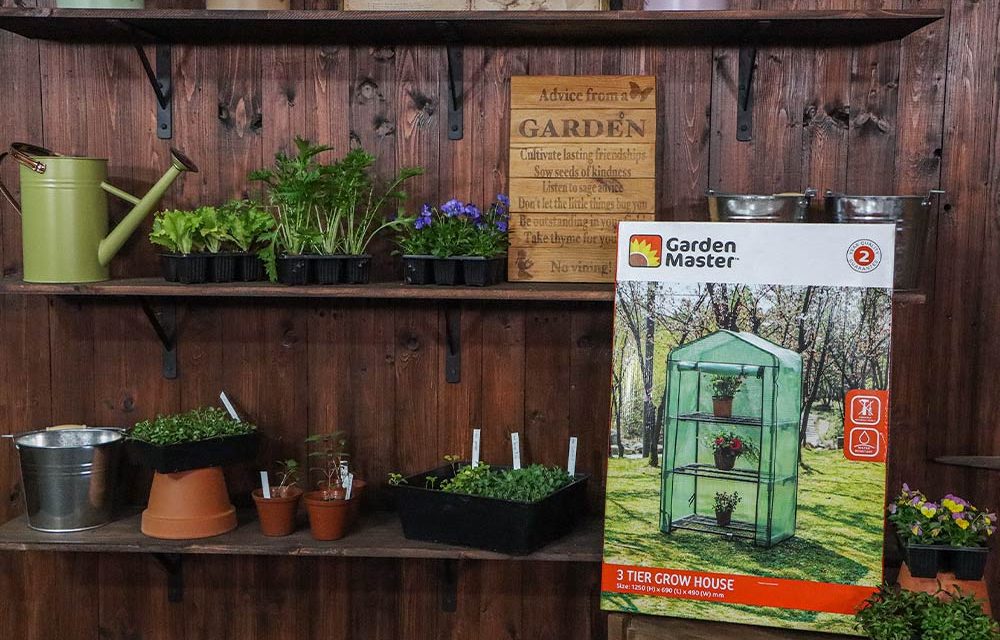
If you’re using a propagator with a lid, fit the tray after watering. The lid helps to retain heat and moisture so you should only have to water the seeds again in about a week. If using individual pots or trays and you are germinating quite a few seeds, it might be time to look at getting a Garden Master Unheated Propagator or a Garden Master three-tier grow house. These permit a good amount of light and create a nice warm climate where the plants will germinate and grow quickly – just the thing for germinating seeds or seedlings that you want to grow quickly or for getting tender plants through winter.
The three-tier grow house is 1250 mm (H) x 690 mm (W) x 490 mm (D) in size and has a load capacity of 10 kg per shelf. It is really easy to assemble and no tools are required. It has a zipped, roll-up door with a polythene cover and powder-coasted steel frame. A grow house like this allows you to extend the growing season. We recommend closing the door on cold nights but leaving it open during the day to prevent heat build-up inside the grow house, which could cause the plants to wilt.
Storing seed:
There are often seeds left over after sowing the number you need, but if you store them correctly, they will still be viable when you need to sow some more. Fold over the top of the open seed packet and store it in the vegetable drawer of your fridge, or in a plastic container in the fridge, or even on a shelf in the door of the fridge.
Everything mentioned in this article is available from Builders.
Browse 1000’s of products available to you. Select your country to Shop Online.


