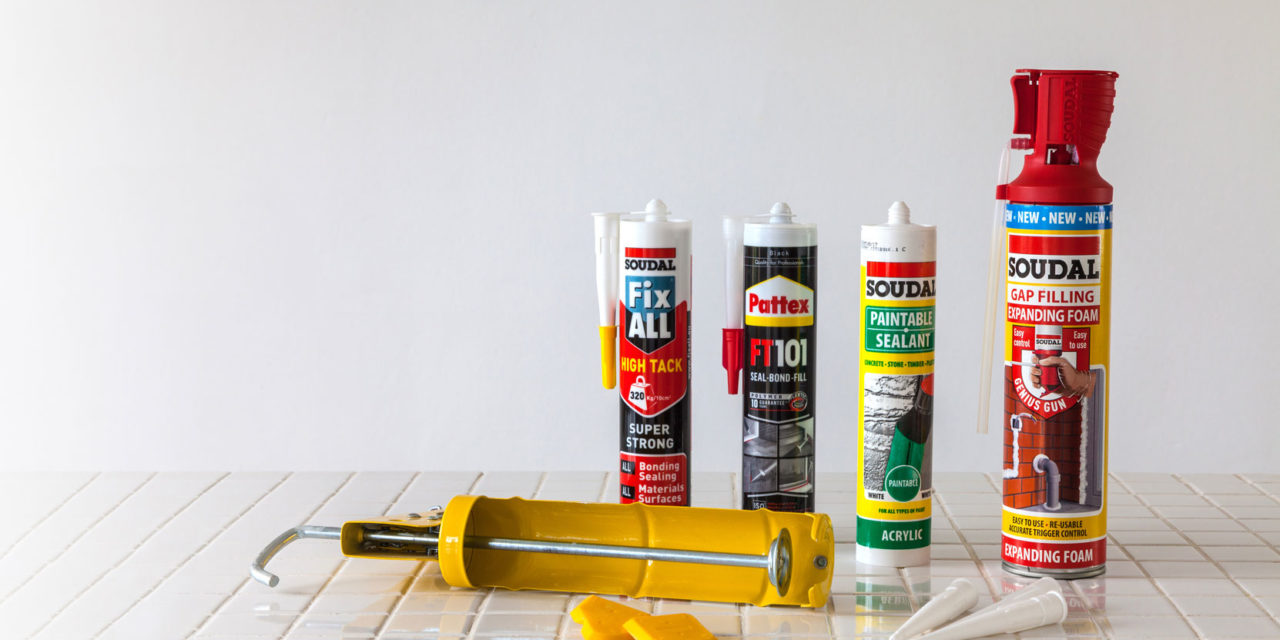
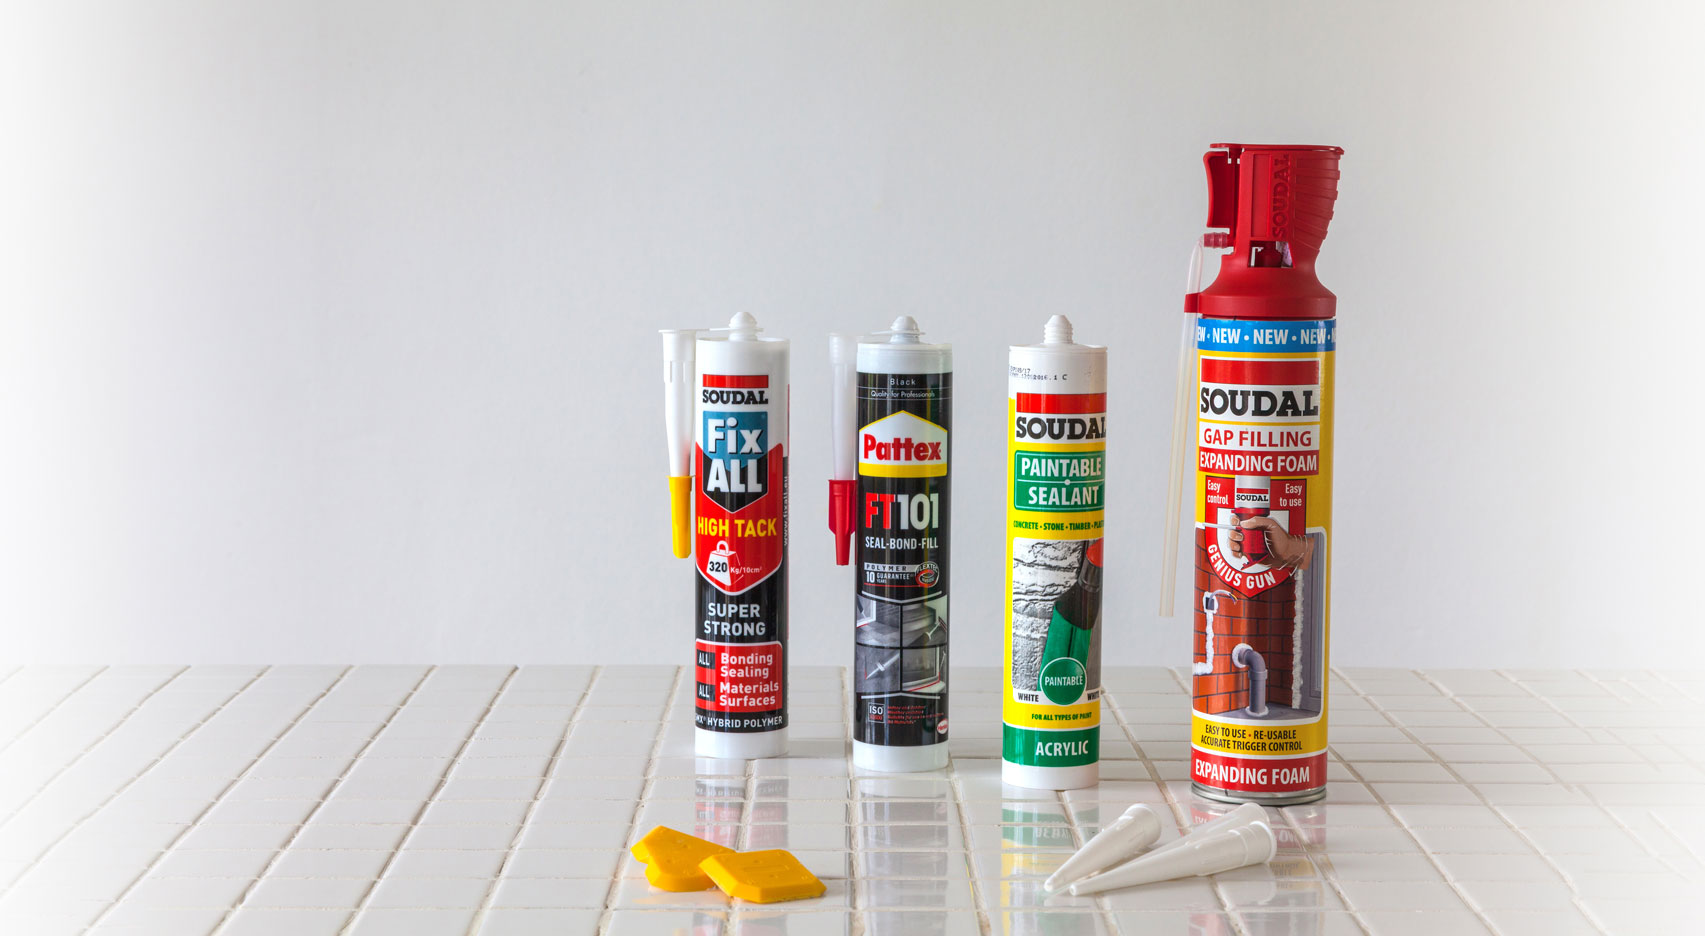
Caulks – or sealants – come in many different formulations. Here are the options to help you choose the right one for the job.
It’s a quick, easy task that will end up saving you money. The hard part is deciding which caulk to use and then applying it in accordance with the instructions.
What are the options?
The difference between the wide range of products available is that some sealants are acrylic, while others are silicone, polyurethane or hybrid based.
Sealants are ready-mixed and have the advantage of being flexible. Generally, acrylic sealants are relatively cheap but do not adhere to paint. Silicones are much more flexible but more expensive if you want something you can paint over. Sealants are sold in cartridges, which fit into a caulking gun.
How it Works
Most sealants work on the principle of acrylic dispersion, which is a fancy way of saying that as they dry, they cure into a soft, plastic/elastic rubber. Generally, these only really work if they’re applied to a clean, dry surface – but a handful of products are designed to be applied to wet surfaces.
There are acetoxy-cure silicones and neutral-cure silicones. Acetoxy silicones tend to cure faster which makes them ideal for indoor jobs while neutral-cure silicones have better weatherproofing properties. Acetoxy silicones can cause discolouration on natural stone and corrosion on some metals. When in doubt, opt for a neutral-cure product.
How to caulk like a Pro
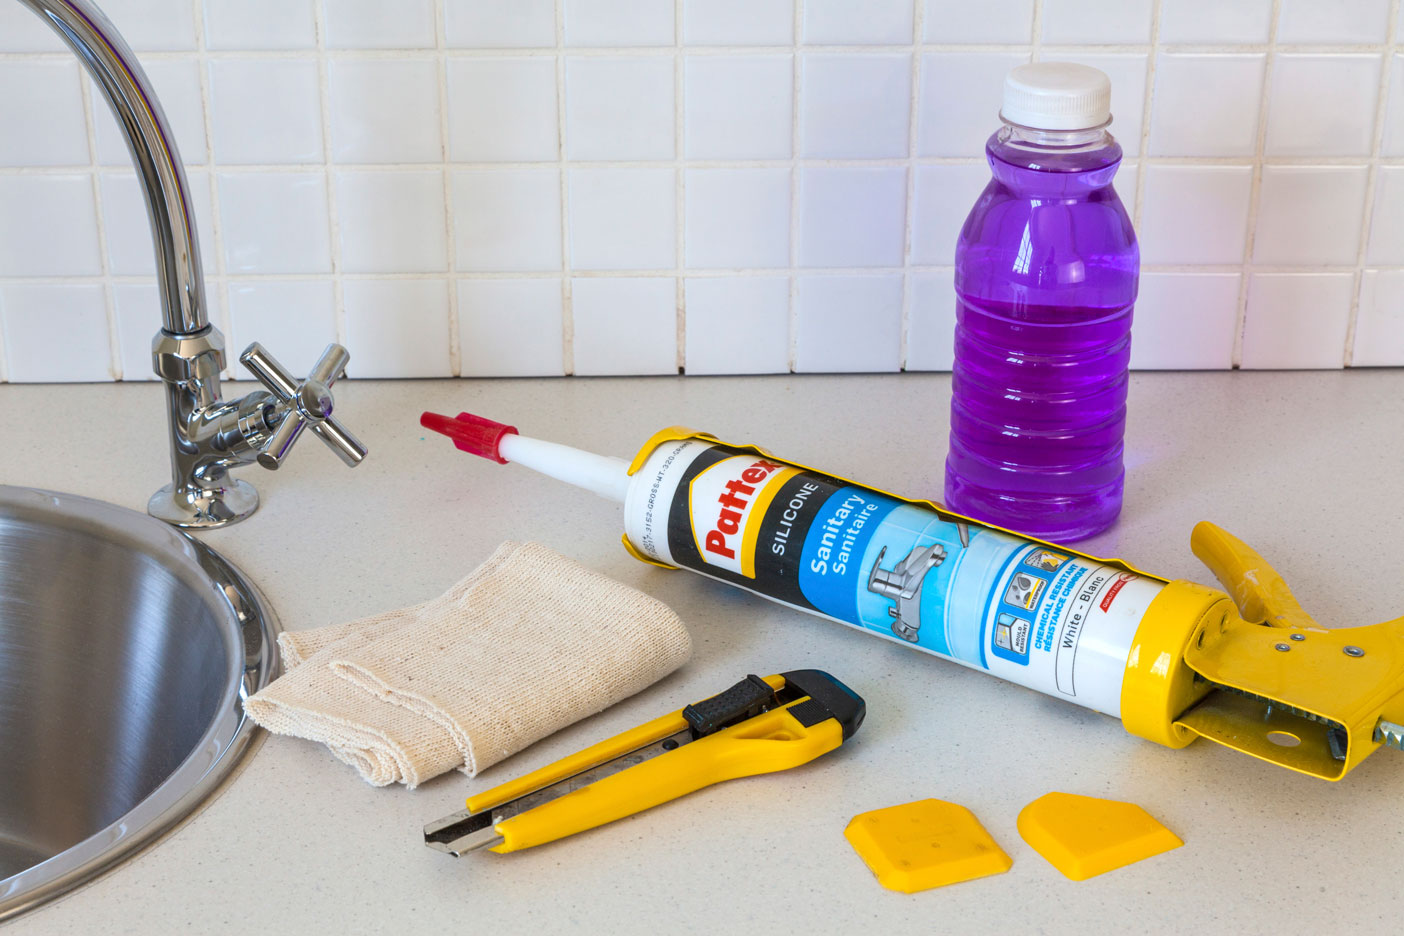
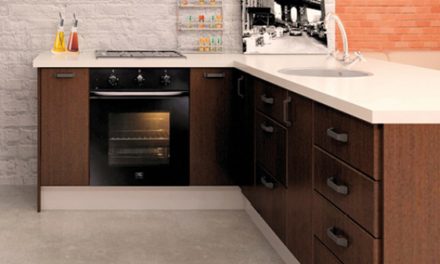
Caulking or sealing your bathroom or kitchen sink, or anywhere else for that matter, is simple if you use this easy technique.
Step 1
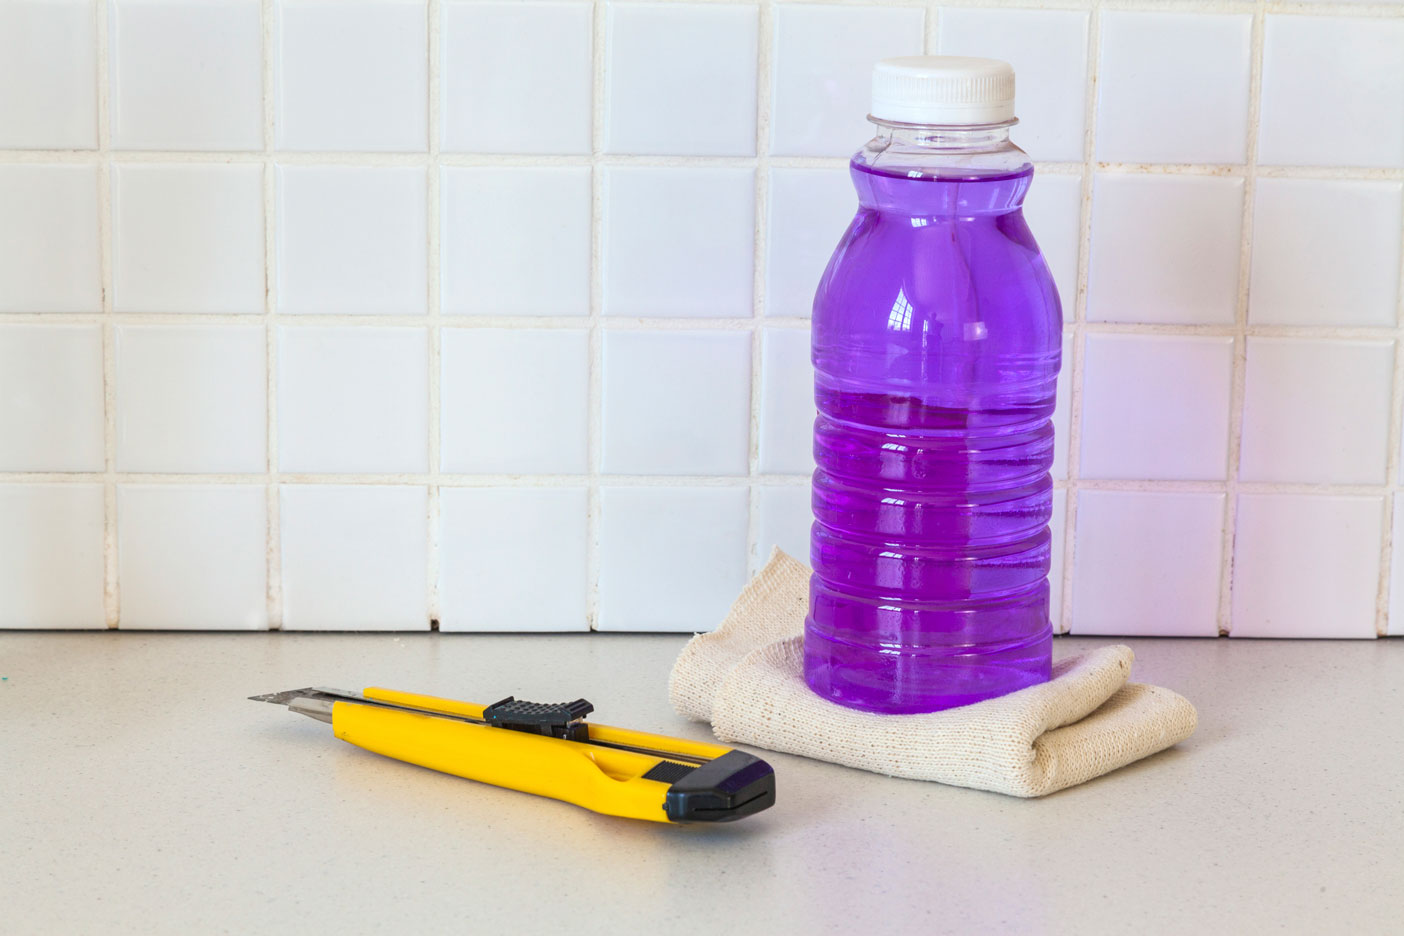
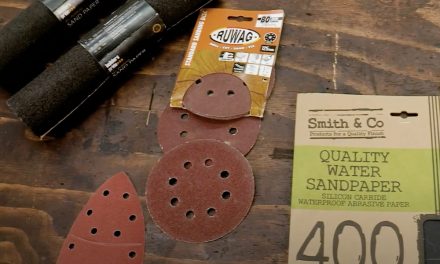
As with most DIY jobs, preparation is key. It is important to remove the existing caulk using
a utility knife to ensure that the new sealant adheres to the surface. Wipe away all residue,
dust and oil with a cloth dipped in an alcohol-based cleaner such as methylated spirits.
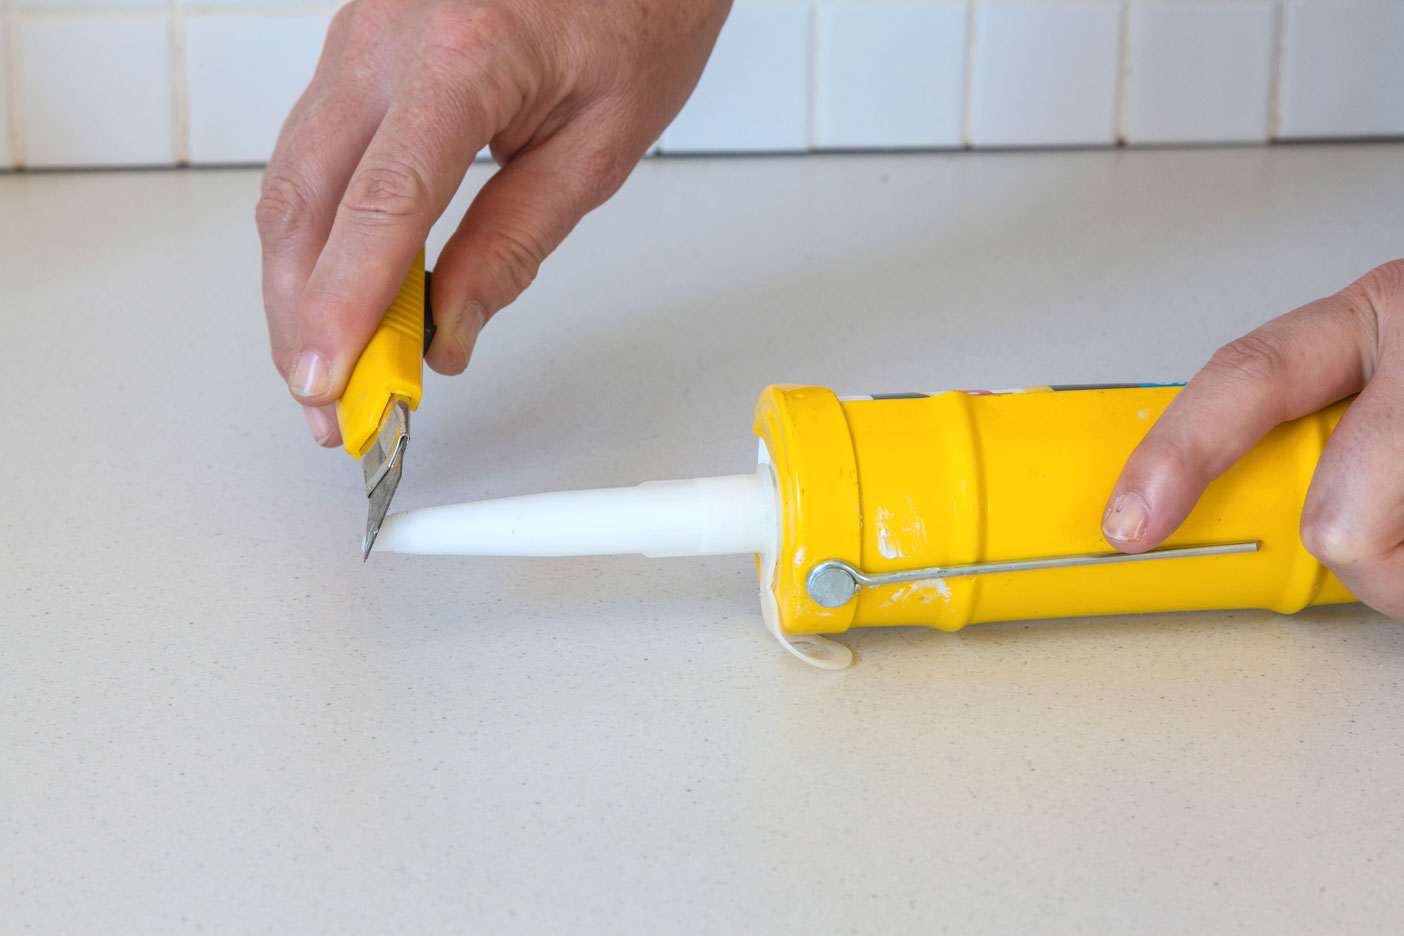
Step 2
The biggest trick to getting the job done without having to do excessive smoothing out is to cut the nozzle at approximately 45°. Be careful not to cut the hole too big – as a rule of thumb cut the nozzle at half the diameter of the bead you would like to lay down.
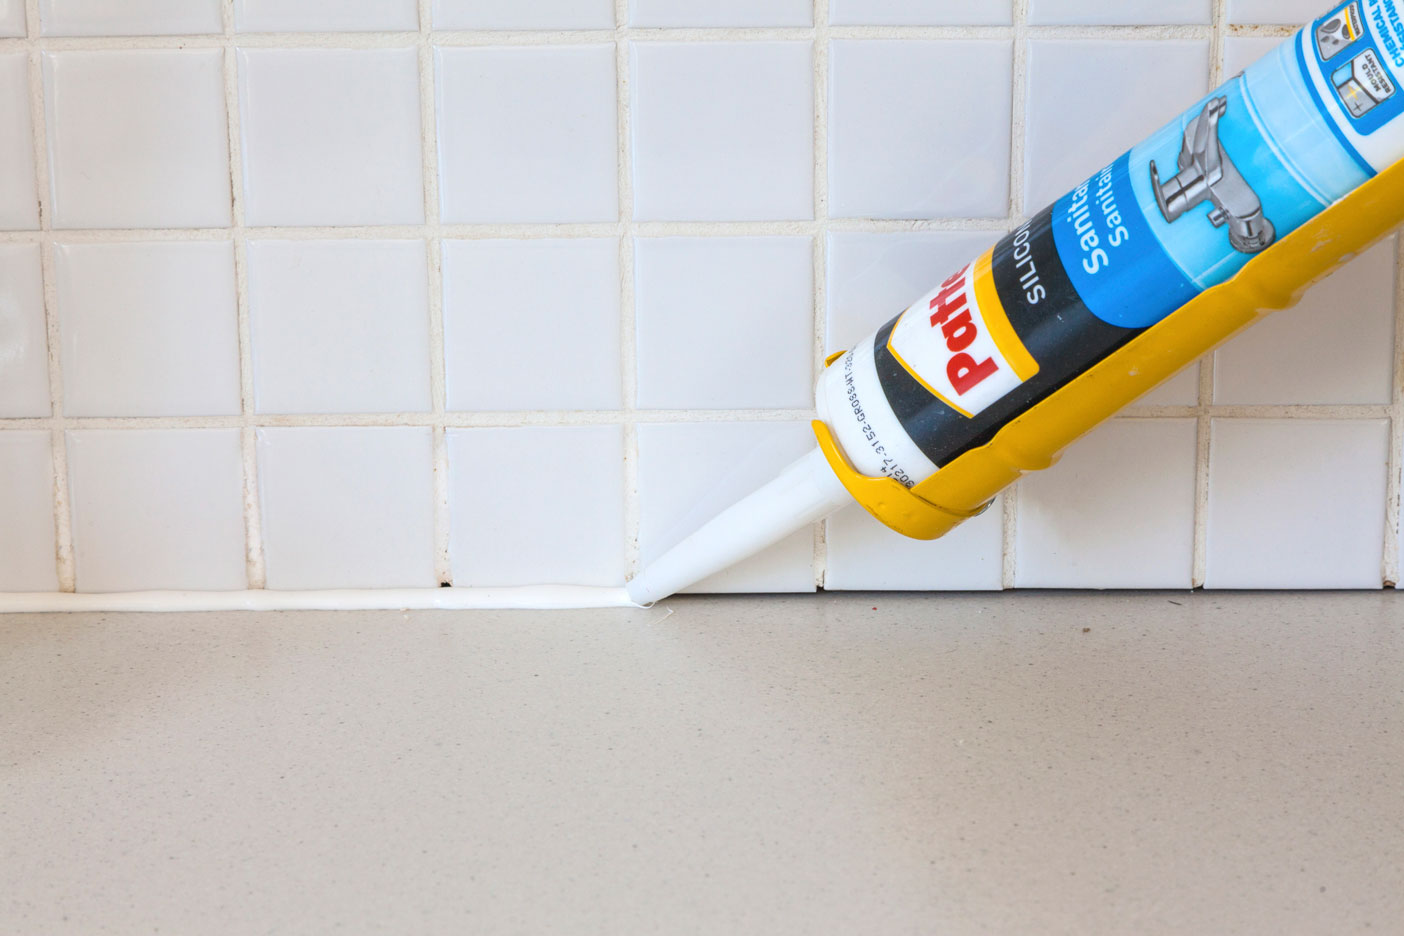
Step 3
If you’re using a caulking gun, swivel the ‘hook’ at the back of your caulking gun so that it points upwards, press the release tag in, pull the rod towards you and insert your silicone canister. Turn the rod back to the downward position and pull the handle a few times to prime the gun being careful not to mess silicone out the front while you do this. A good quality caulking gun is vital – it will enable you to keep consistent pressure on the handle resulting in an equal bead of silicone all the way round. Squeeze the trigger and move slowly trying not to stop until the circumference of the basin or bath has been sealed.
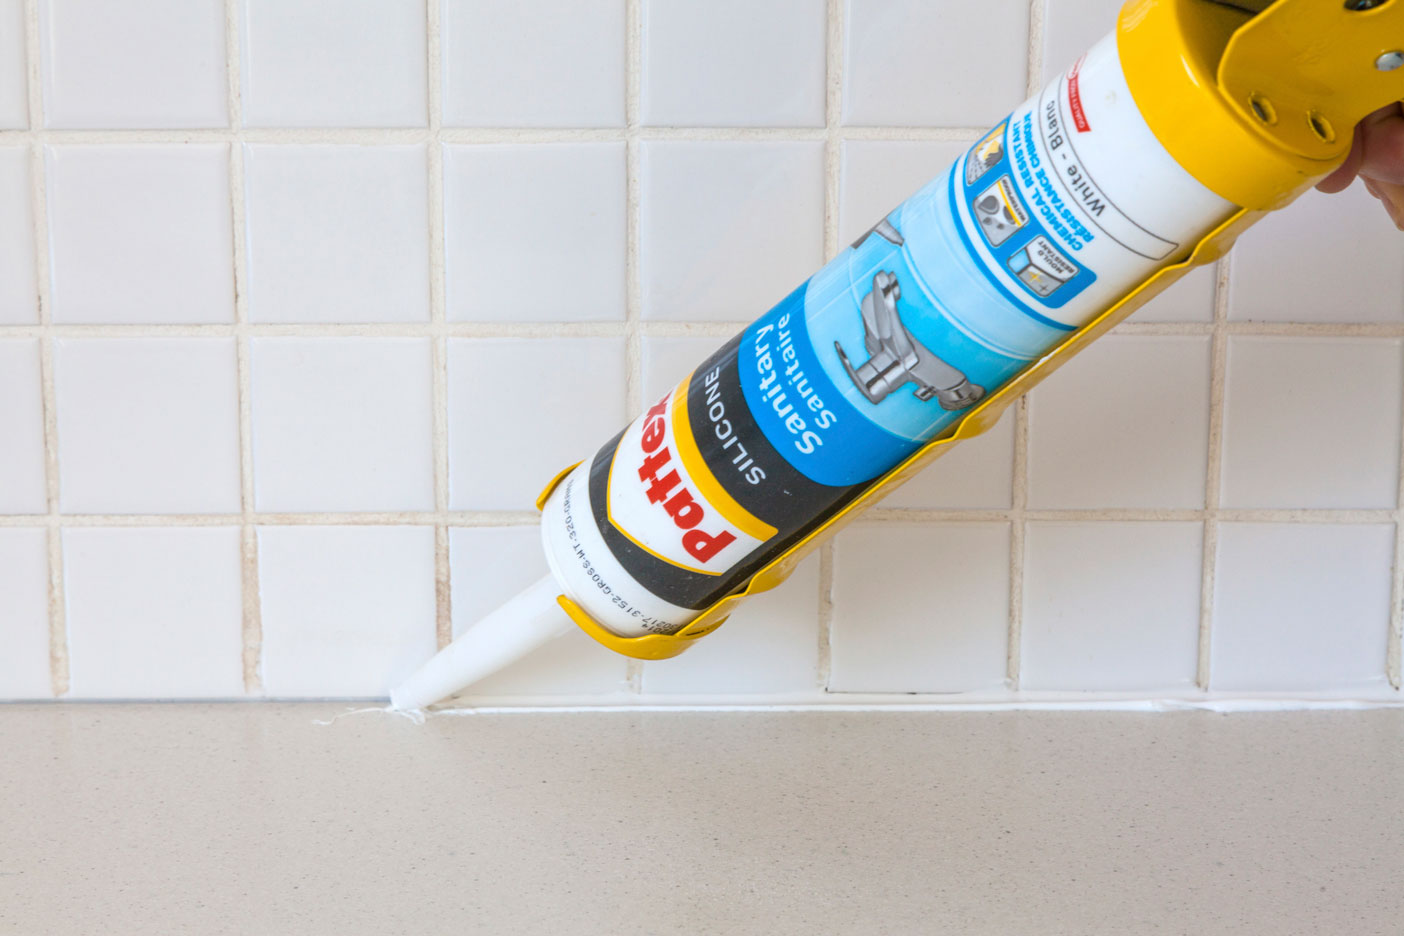
Step 4
If you have already looked at tutorials available you would have noticed that most people apply the caulk while pushing away from the joint. By pushing forwards with the opening of the nozzle facing into the gap you will penetrate it more deeply and create a smoother profile at the same time.
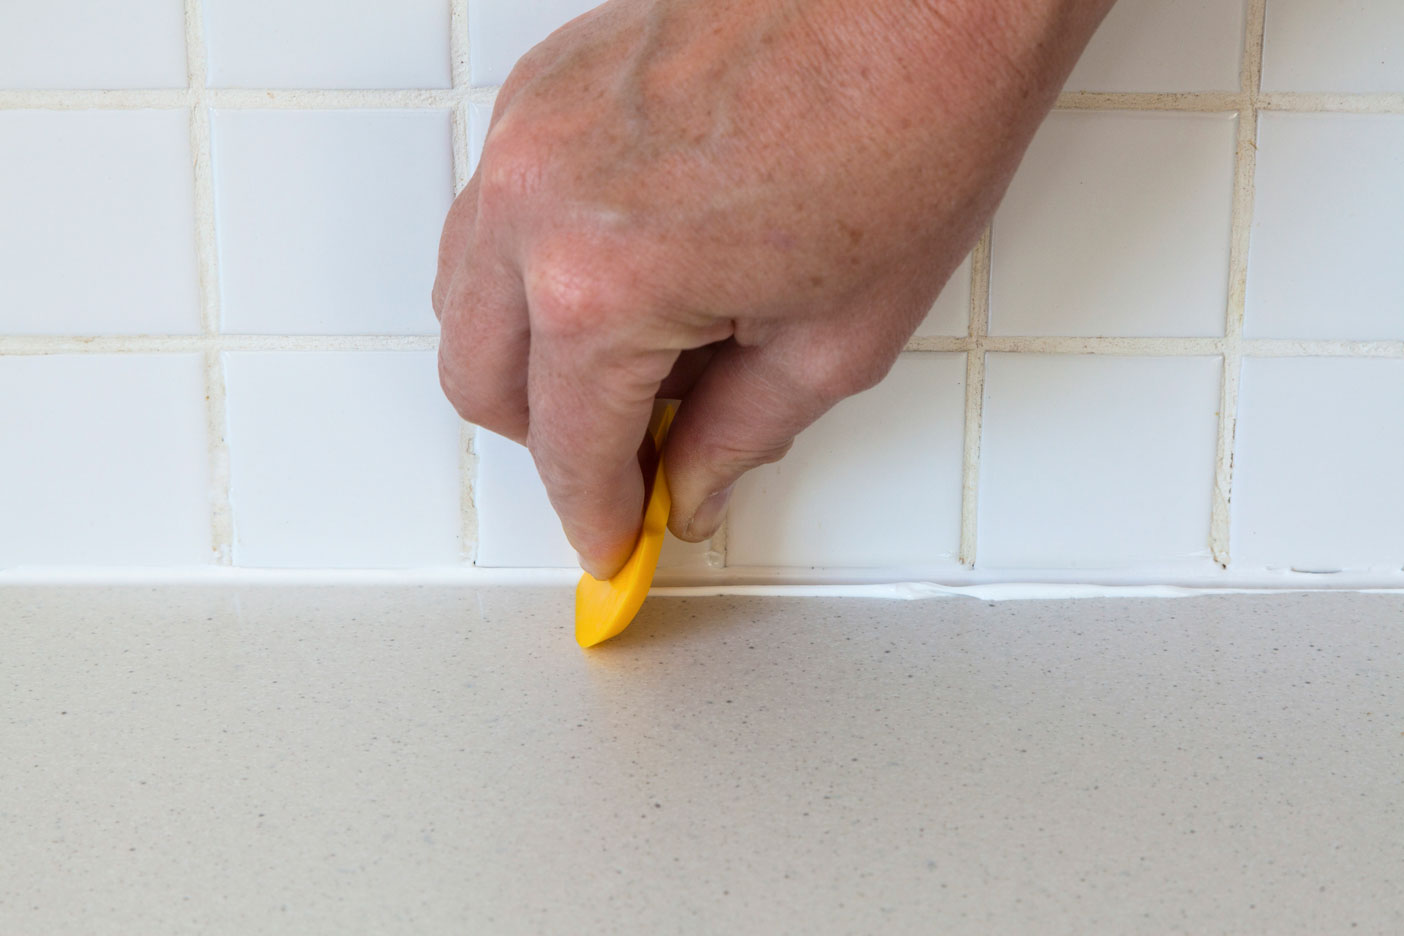
Step 5
Use a squeegee to remove the excess silicone. Don’t worry if there are some unequal spots. You can dip your finger in the soapy water and level these areas out. Any excess silicone can be rubbed away with a sponge dipped in soapy water.
Products to Buy
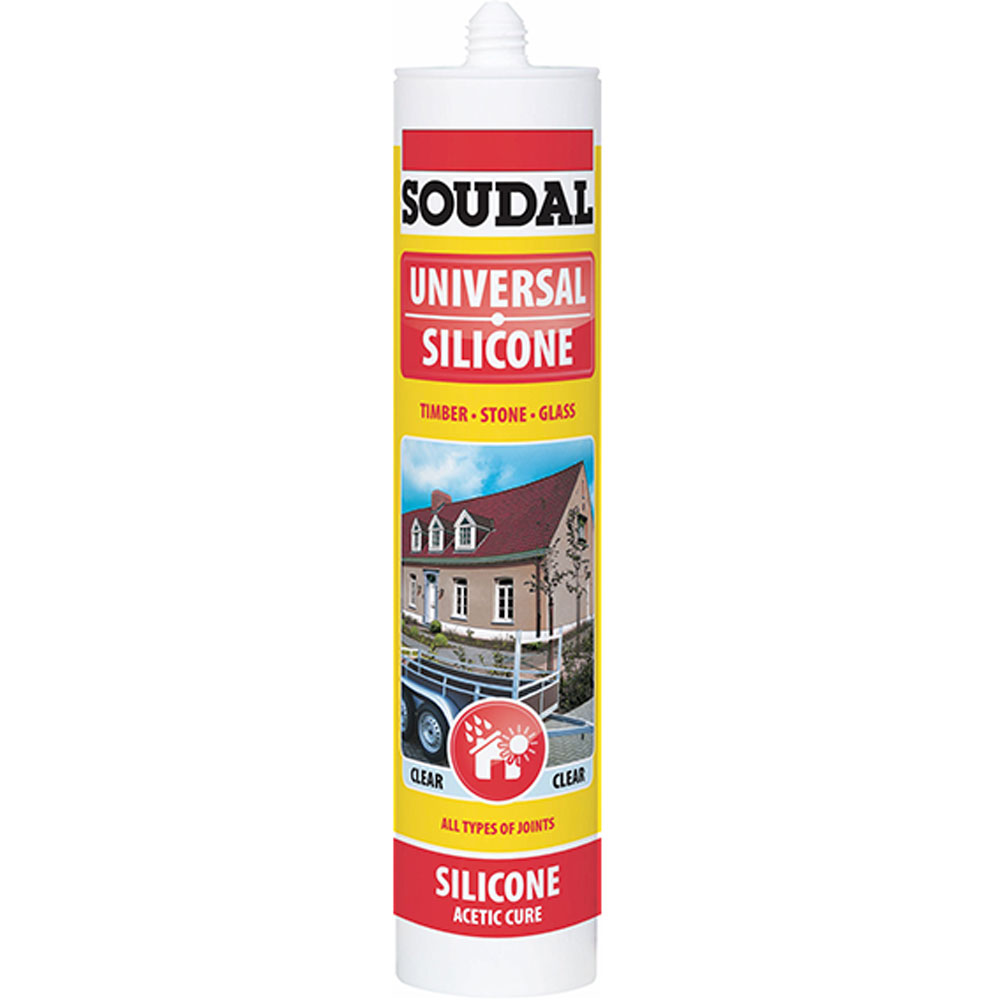
Universal Silicone
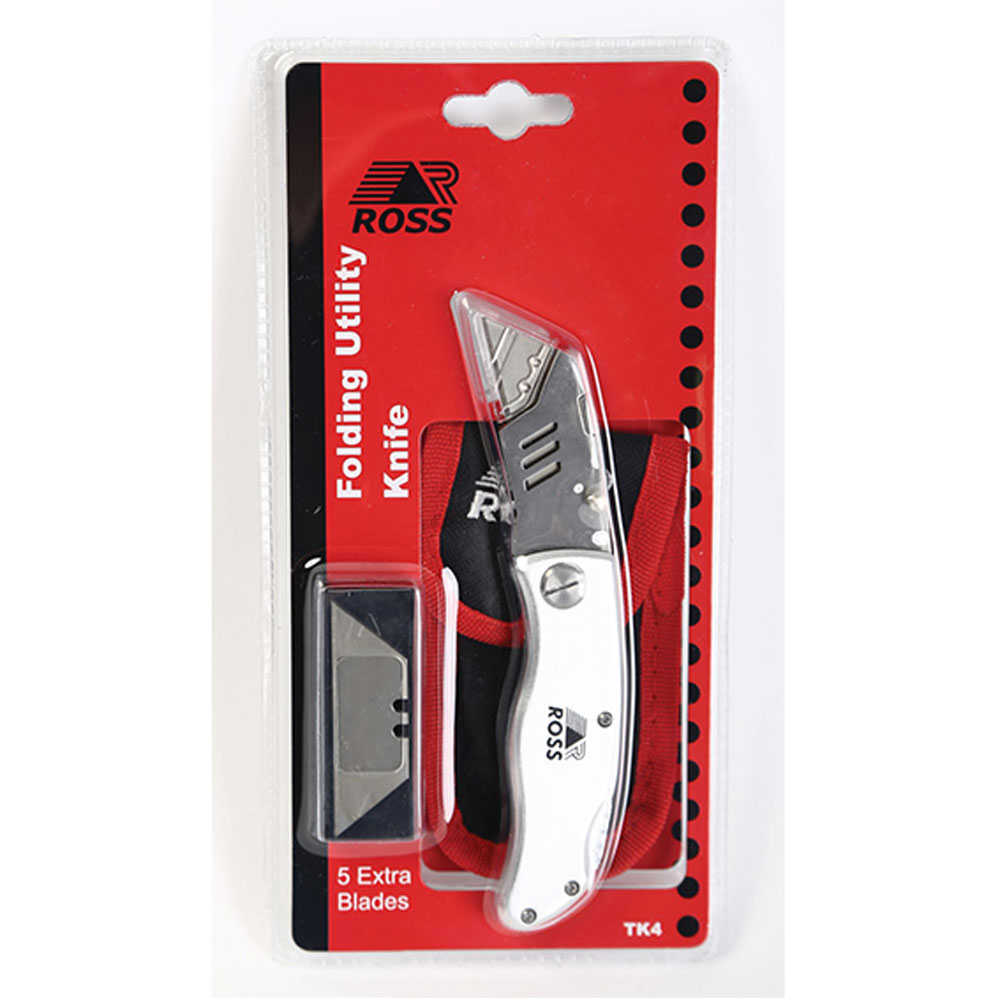
Industrial Scissors
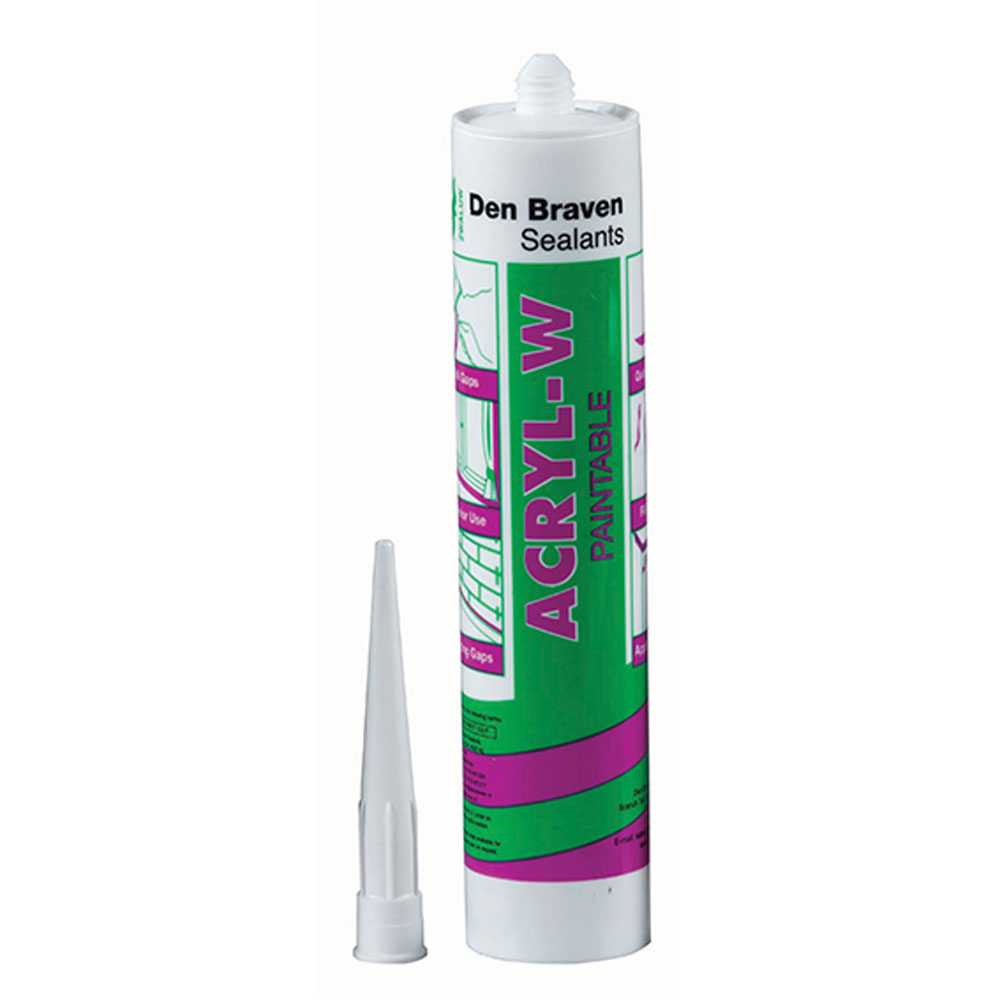
Sealant
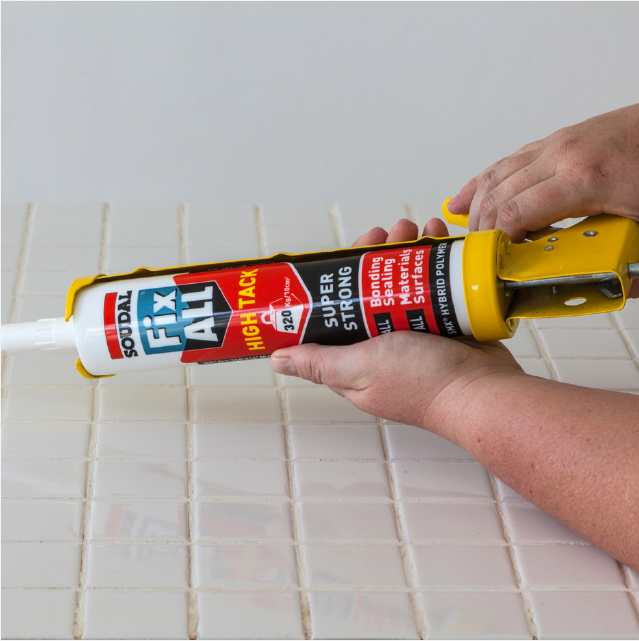
Caulking Gun
Browse 1000’s of products available to you. Select your country to Shop Online.


