
Add a little bling to your lounge in this year’s hottest metallic – copper. This table is very easy to make, and lots of fun.
- Three x 2m 15mm class one copper pipes
- Four 15mm copper elbows
- Two 15mm copper T-connectors
- Six 15mm copper pipe saddles
- Pipe cutter
- Power drill
- Try square
- Laminated wood (1 050mm x 530mm x 18mm) for the table top
- 12 wood screws (4 x 20mm)
- Fine sandpaper for wood and metal
- Harlequin water-based wood primer
- Fired Earth Liquid Metal paint – Penny Bronze
- Two packs Pattex Power Epoxy Liquid Steel
- Mutton cloth
- Screwdriver
- Pencil
- Foam paint roller
- Measuring tape
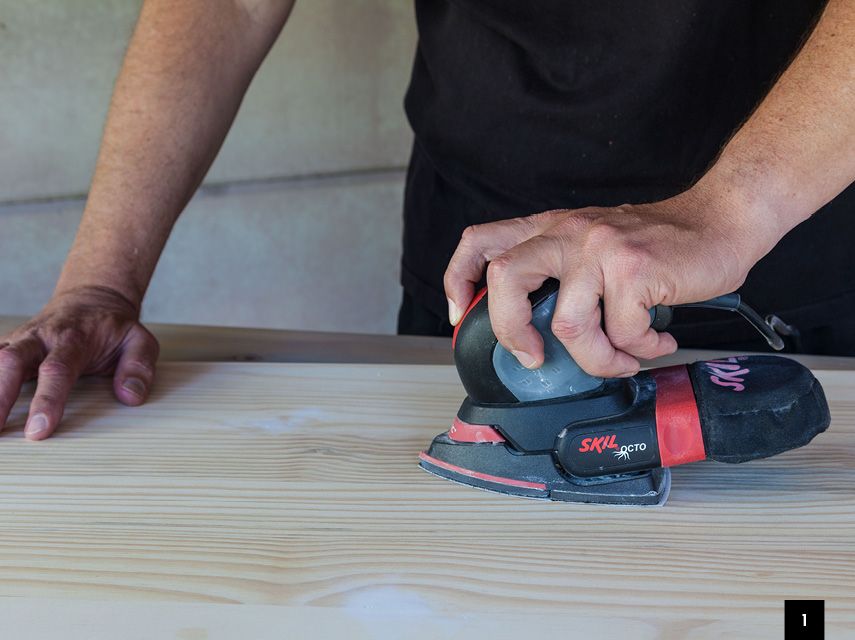
Step 1
Sand the wood well (top, bottom and edges) and brush off the dust.
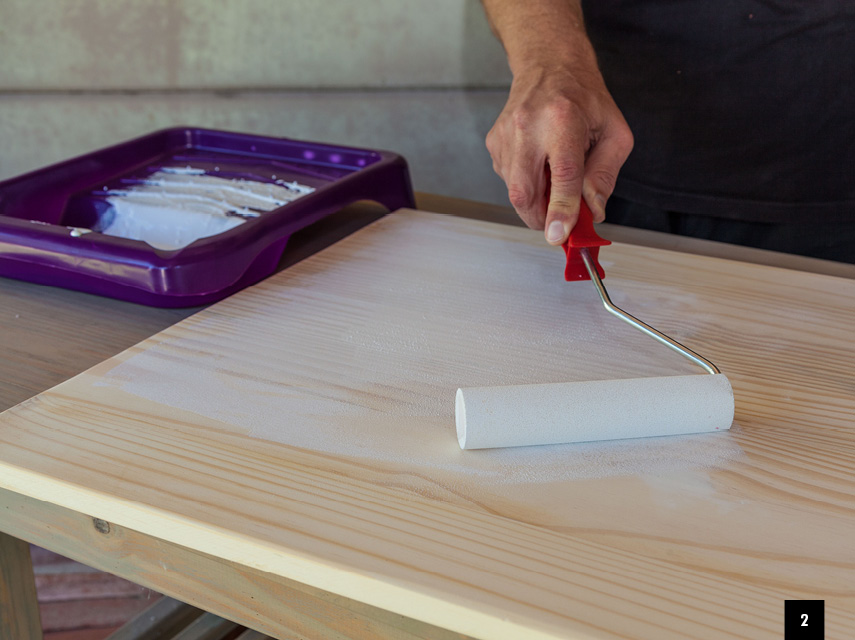
Step 2
Prime the table top with wood primer. We used Harlequin’s water-based wood primer, which is less messy than an oil-based primer and quick to apply with a foam roller.
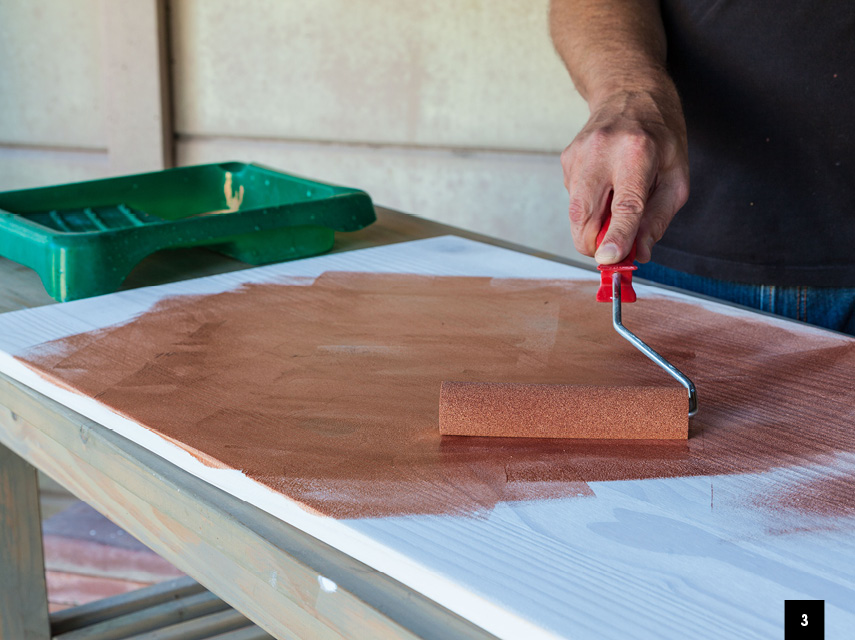
Step 3
Once the primer is completely dry, give the surface a light sand with 220-grit sandpaper, then wipe off the dust. Using the roller, apply two to three coats of paint, sanding very lightly after the first coat.
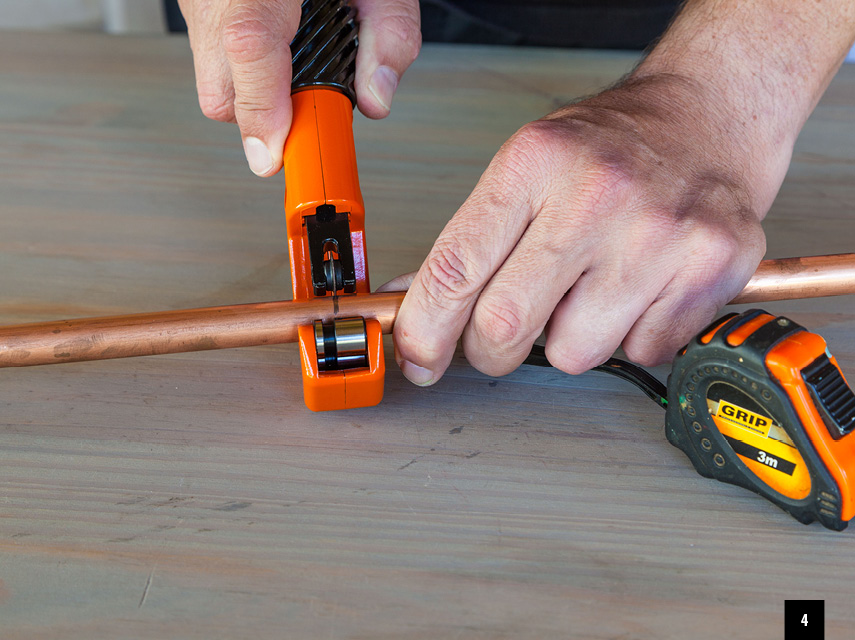
Step 4
Cut nine pieces of pipe to exactly 400mm for the legs. For the base, cut two pieces of pipe to a length of 535mm and two pieces to the length of 500mm.
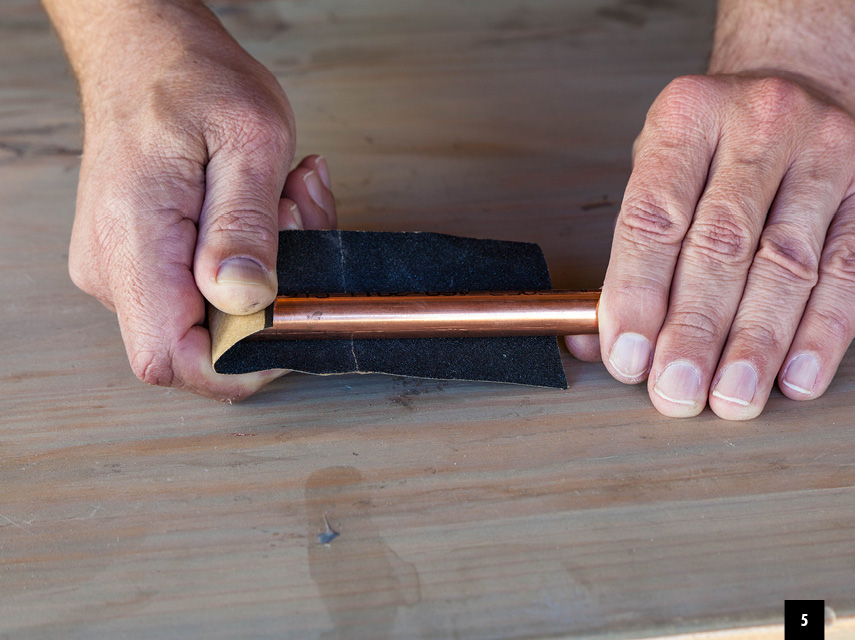
Step 5
Roughen the ends of all the pipes with fine sandpaper and wipe with wet cloth. This will help to ensure a solid bond with the epoxy.
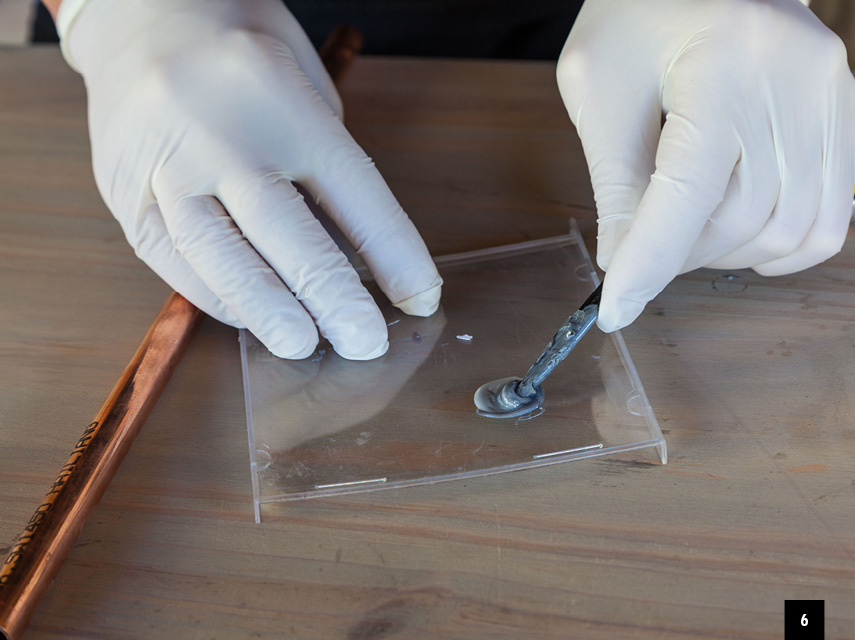
Step 6
Use latex gloves when working with epoxy. This is very messy stuff, so have a damp cloth handy. Prepare small quantities of the epoxy as per manufacturer’s instructions.
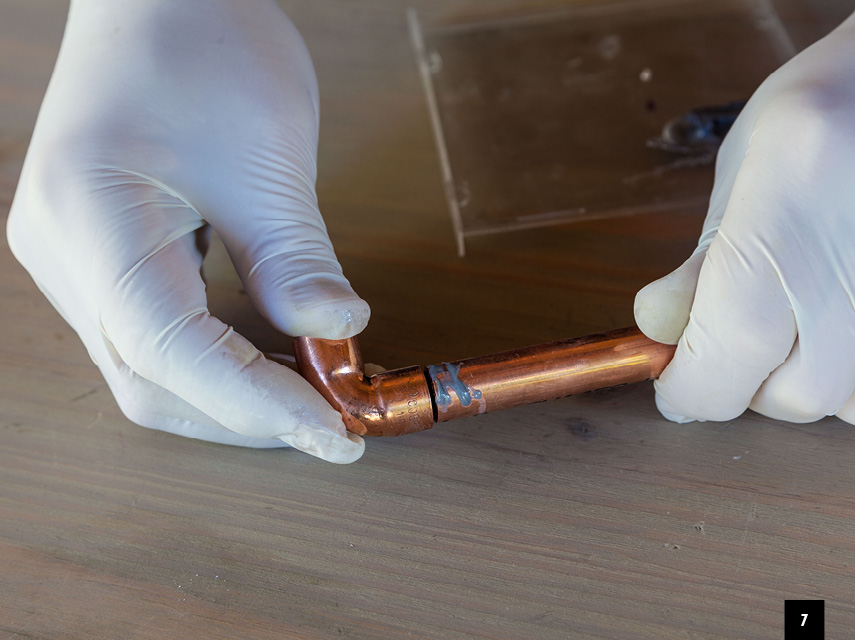
Step 7
Apply glue to the end of the 400mm copper pipes and press the copper elbows firmly in place. Wipe off excess glue immediately with a damp cloth. Place the pipes on a flat surface and ensure everything is at right angles using a try square. Glue one set of legs at a time. Let the glue set as per the instructions.
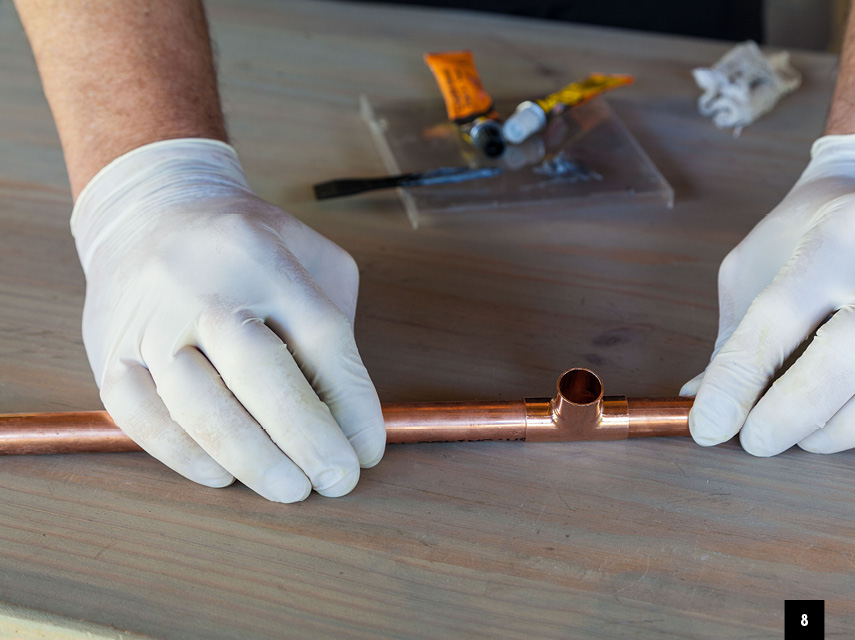
Step 8
Connect one 535mm and 500mm pipe using a T-connector and your epoxy. Repeat this with the two remaining pipes.
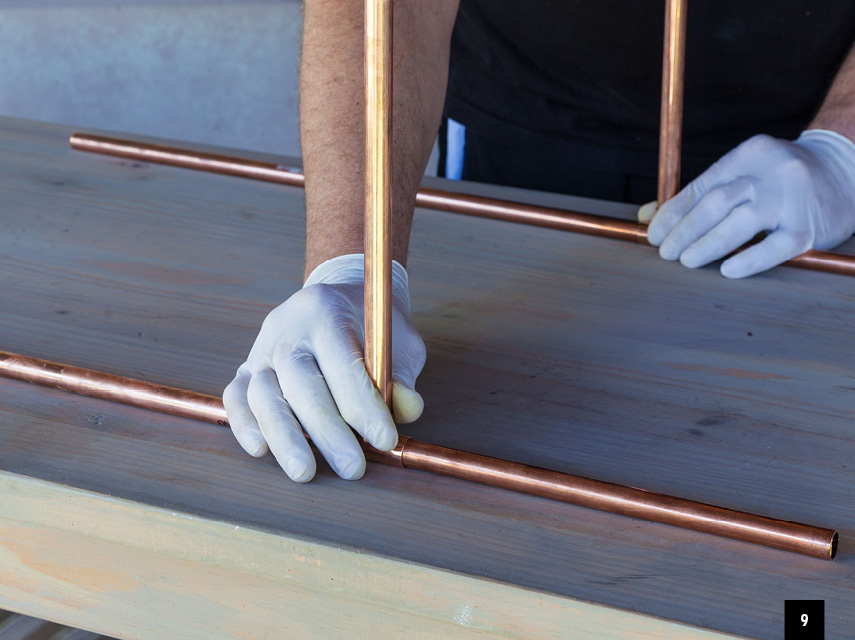
Step 9
Glue the three sets of legs into the two base pipes. The outer legs are connected with the copper elbows and the middle support legs glue into the T-connectors. Allow the glue to dry well.
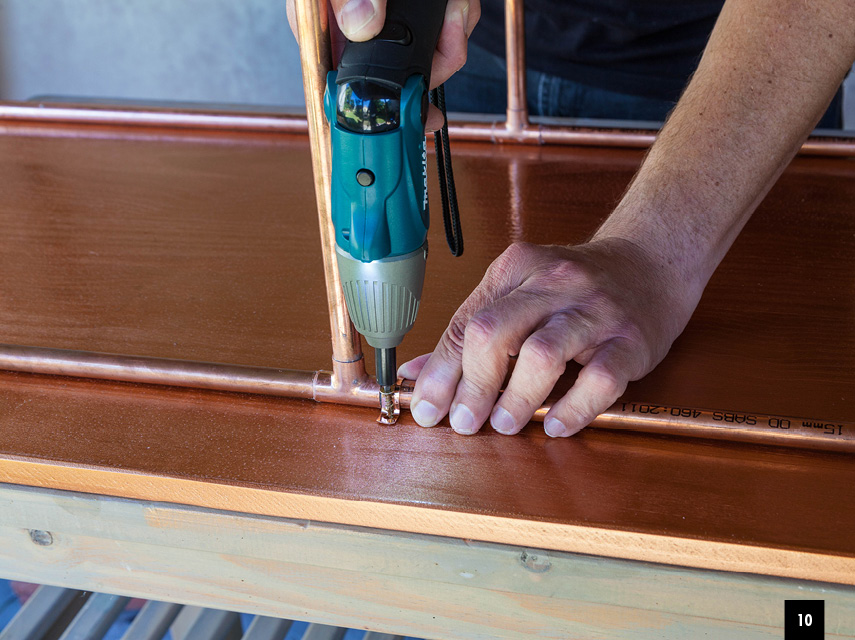
Step 10
Attach the copper frame to the underside of the table top. Set the base pipe at 5,5cm from the long edges and your copper saddles behind the elbows and T-connectors. Make sure to also attach the base pipes in the middle, by the T-connectors. Six saddles should be sufficient but you can add more for stability.
Now flip the table onto its legs and you have a unique and trendy piece of furniture.
Browse 1000’s of products available to you. Select your country to Shop Online.


