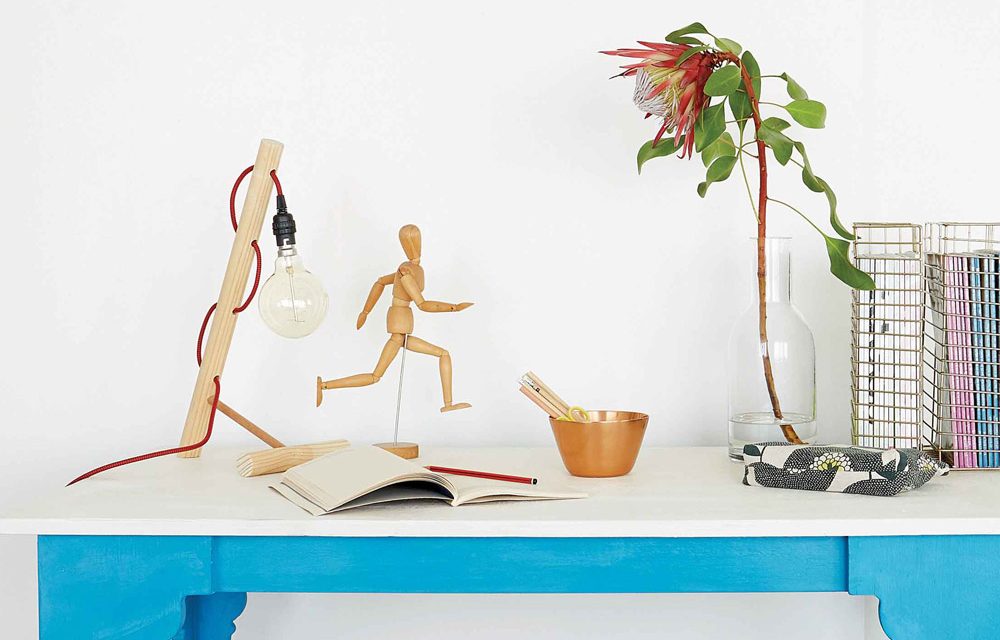
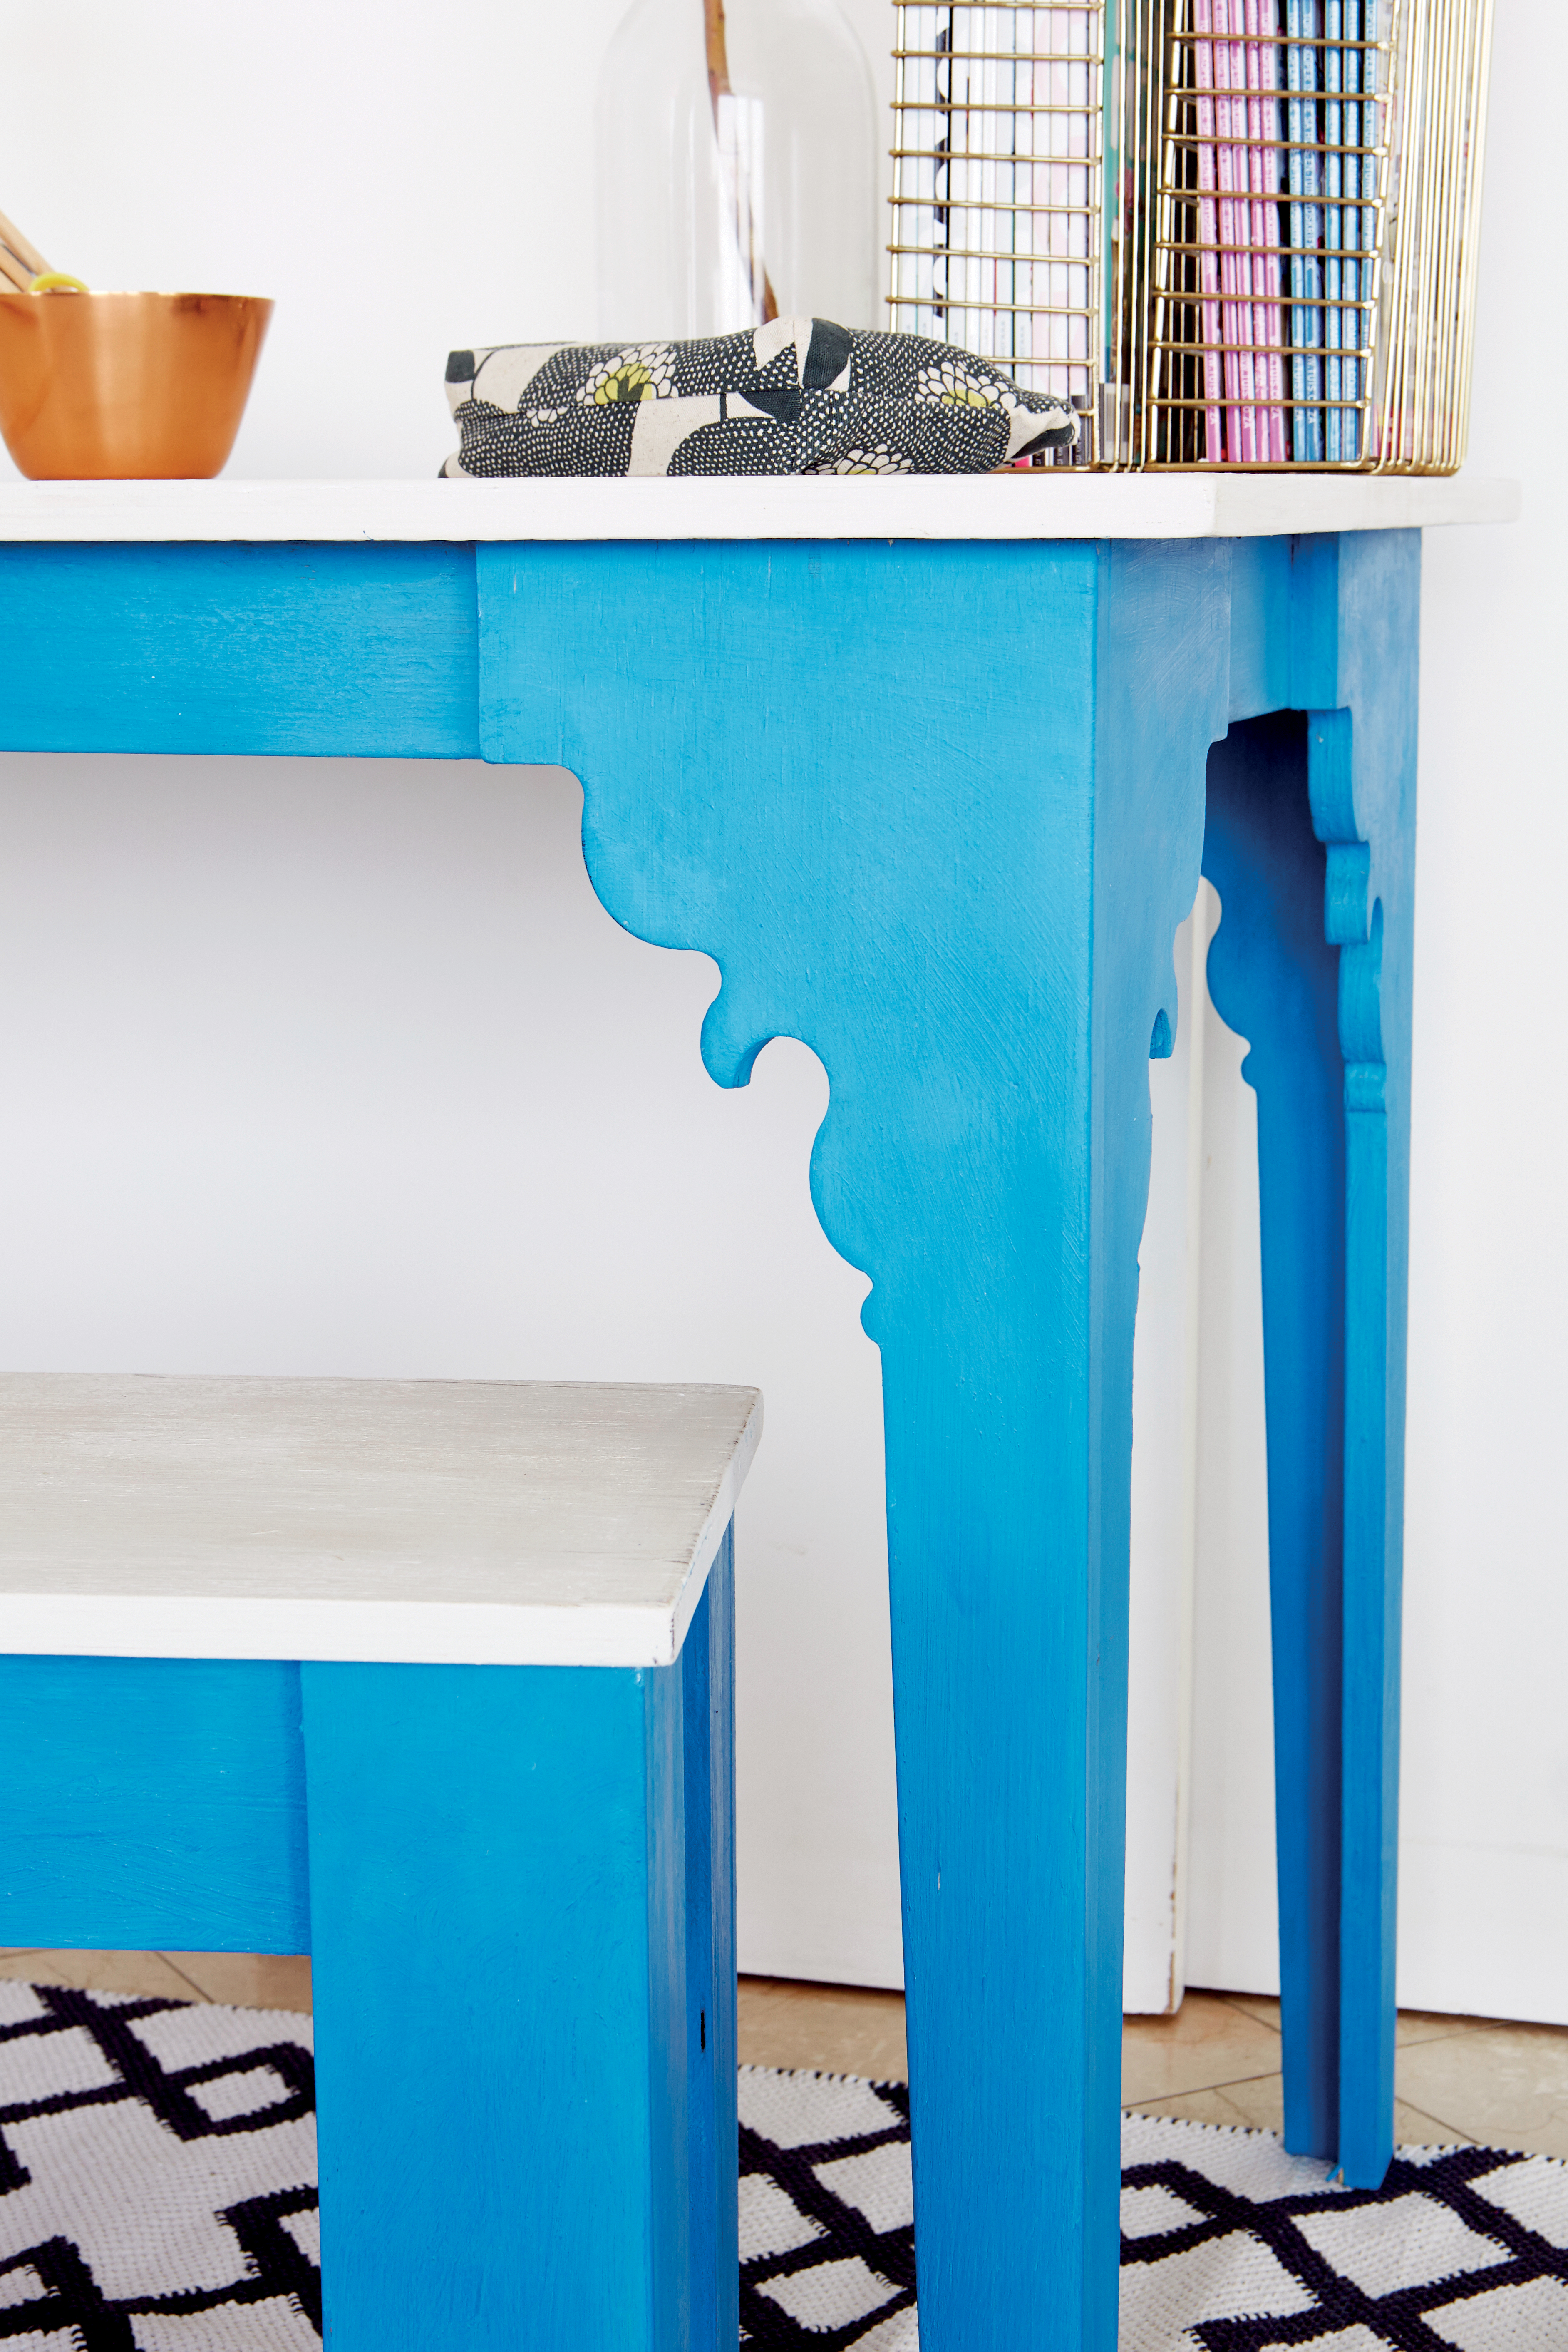
Create a space-saving working space! This table and matching bench takes up less than a square metre.
- cordless drill and 3mm drill bit
- pencil
- tape measure
- jigsaw
- clamp
- sander
- brush
- one packet of 6mm x 40mm chipboard screws
- one piece of hardboard
- wood filler
- 150-grit sandpaper
- varnish or paint
Cutting list
- one sheet of 18mm plywood, cut to:
- five 530 x 70mm (table frame and supports)
- two 1 080 x 70mm (table frame)
- four 750 x 200mm (table legs)
- four 750 x 180mm (table legs)
- one 1 200 x 650mm (table top)
- five 200 x 100 mm (bench frame and supports)
- two 910 x 100 mm (bench frame)
- four 430 x 100mm (bench legs)
- four 430 x 80mm (bench legs)
- one 970 x 300 mm (bench seat)
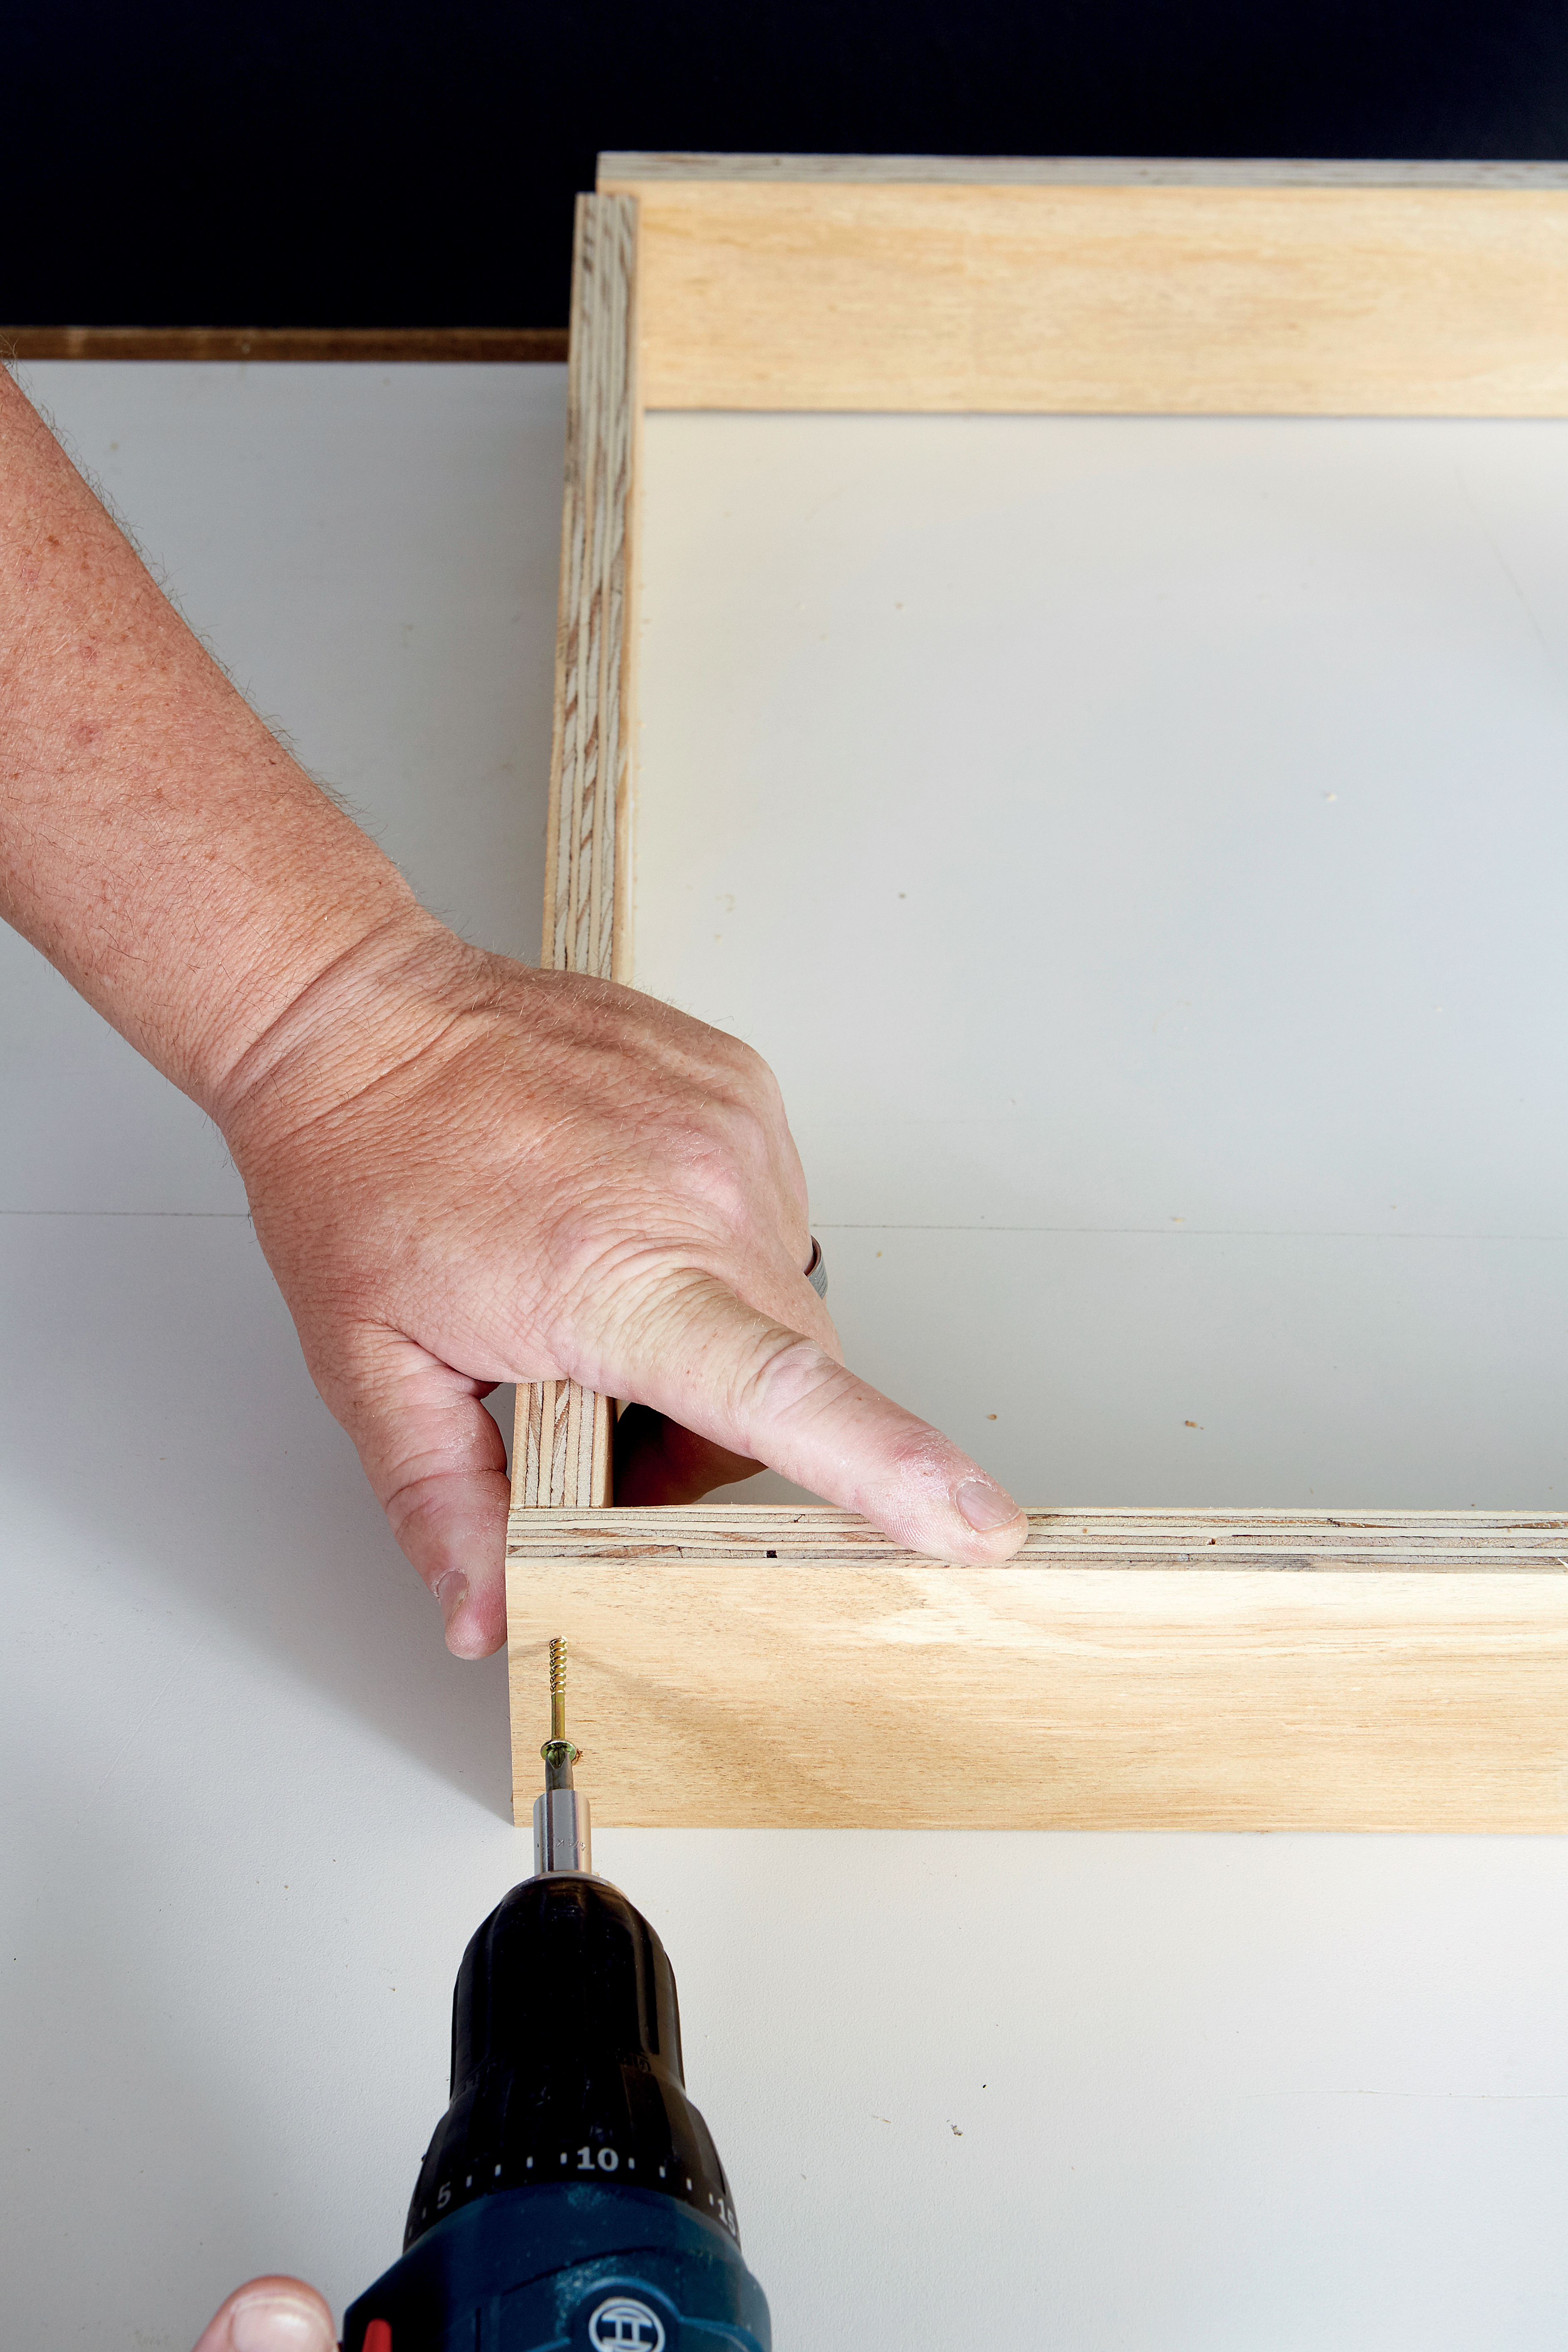
Step 1
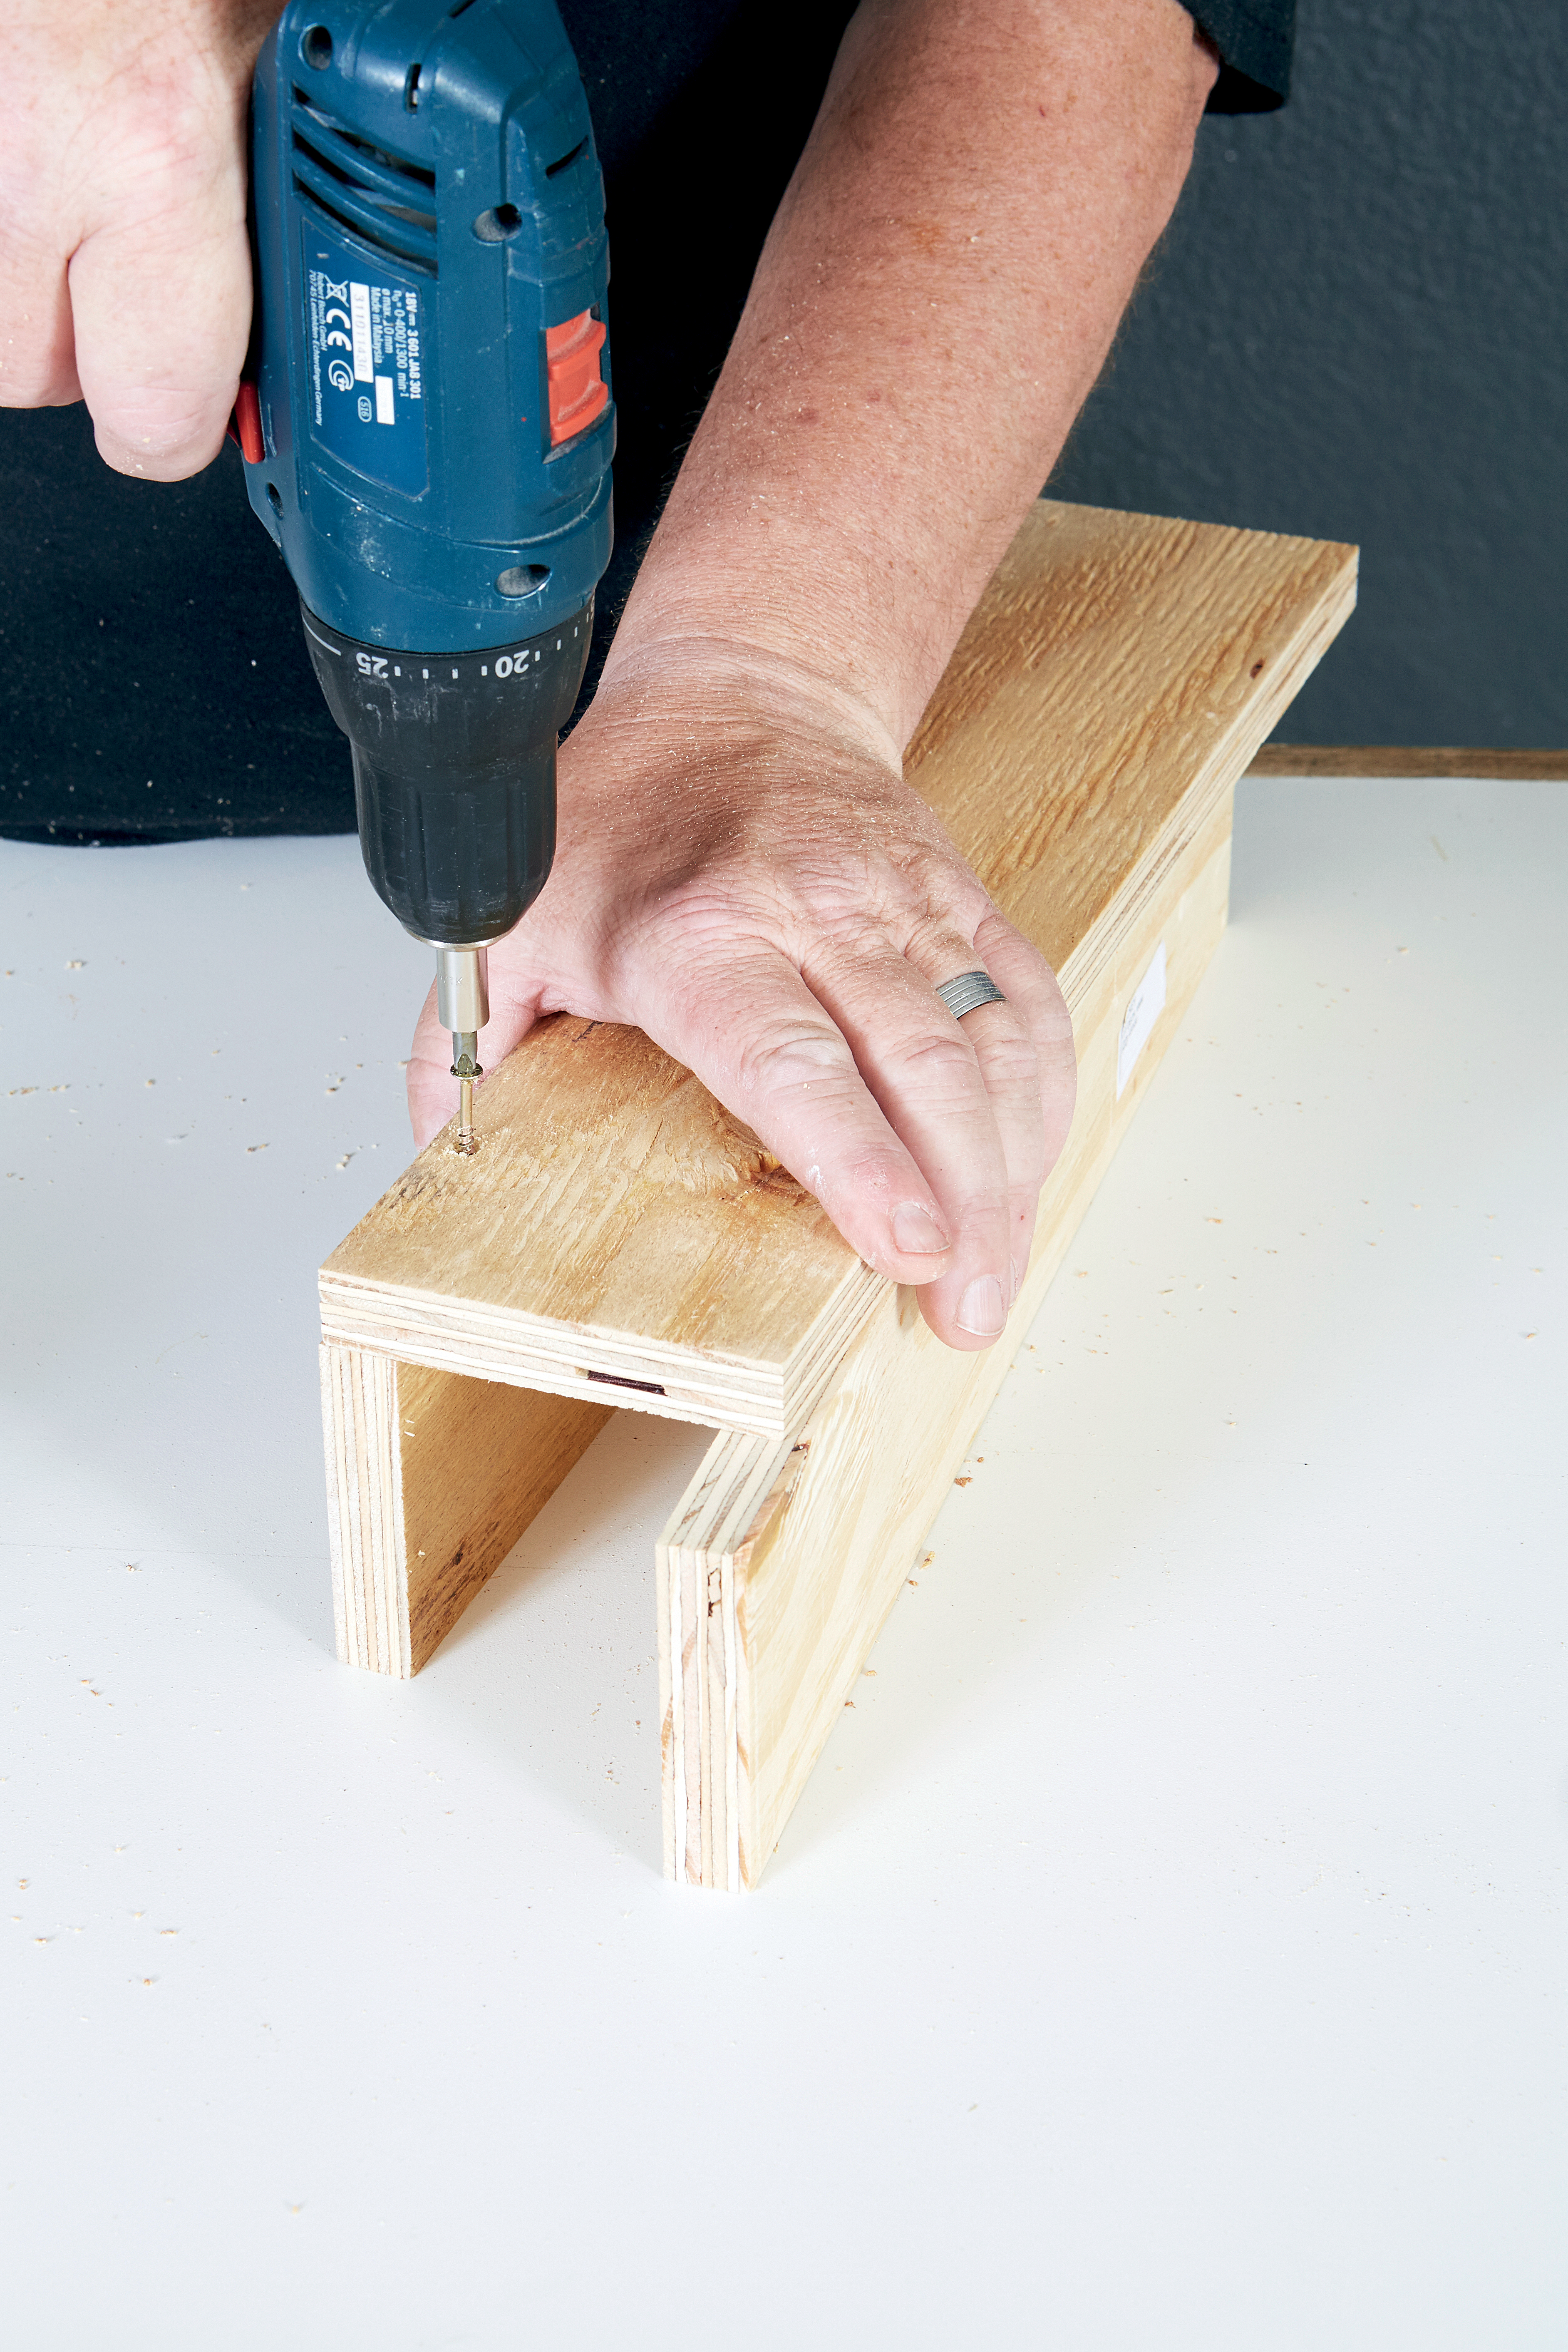
Screw two of the 530 x 70mm planks between the ends of the 1 080 x 70mm planks to form the frame. Place two of the remaining three 530mm planks on the corners and one in the middle of the frame and screw together. You will attach the table top to these supports later.
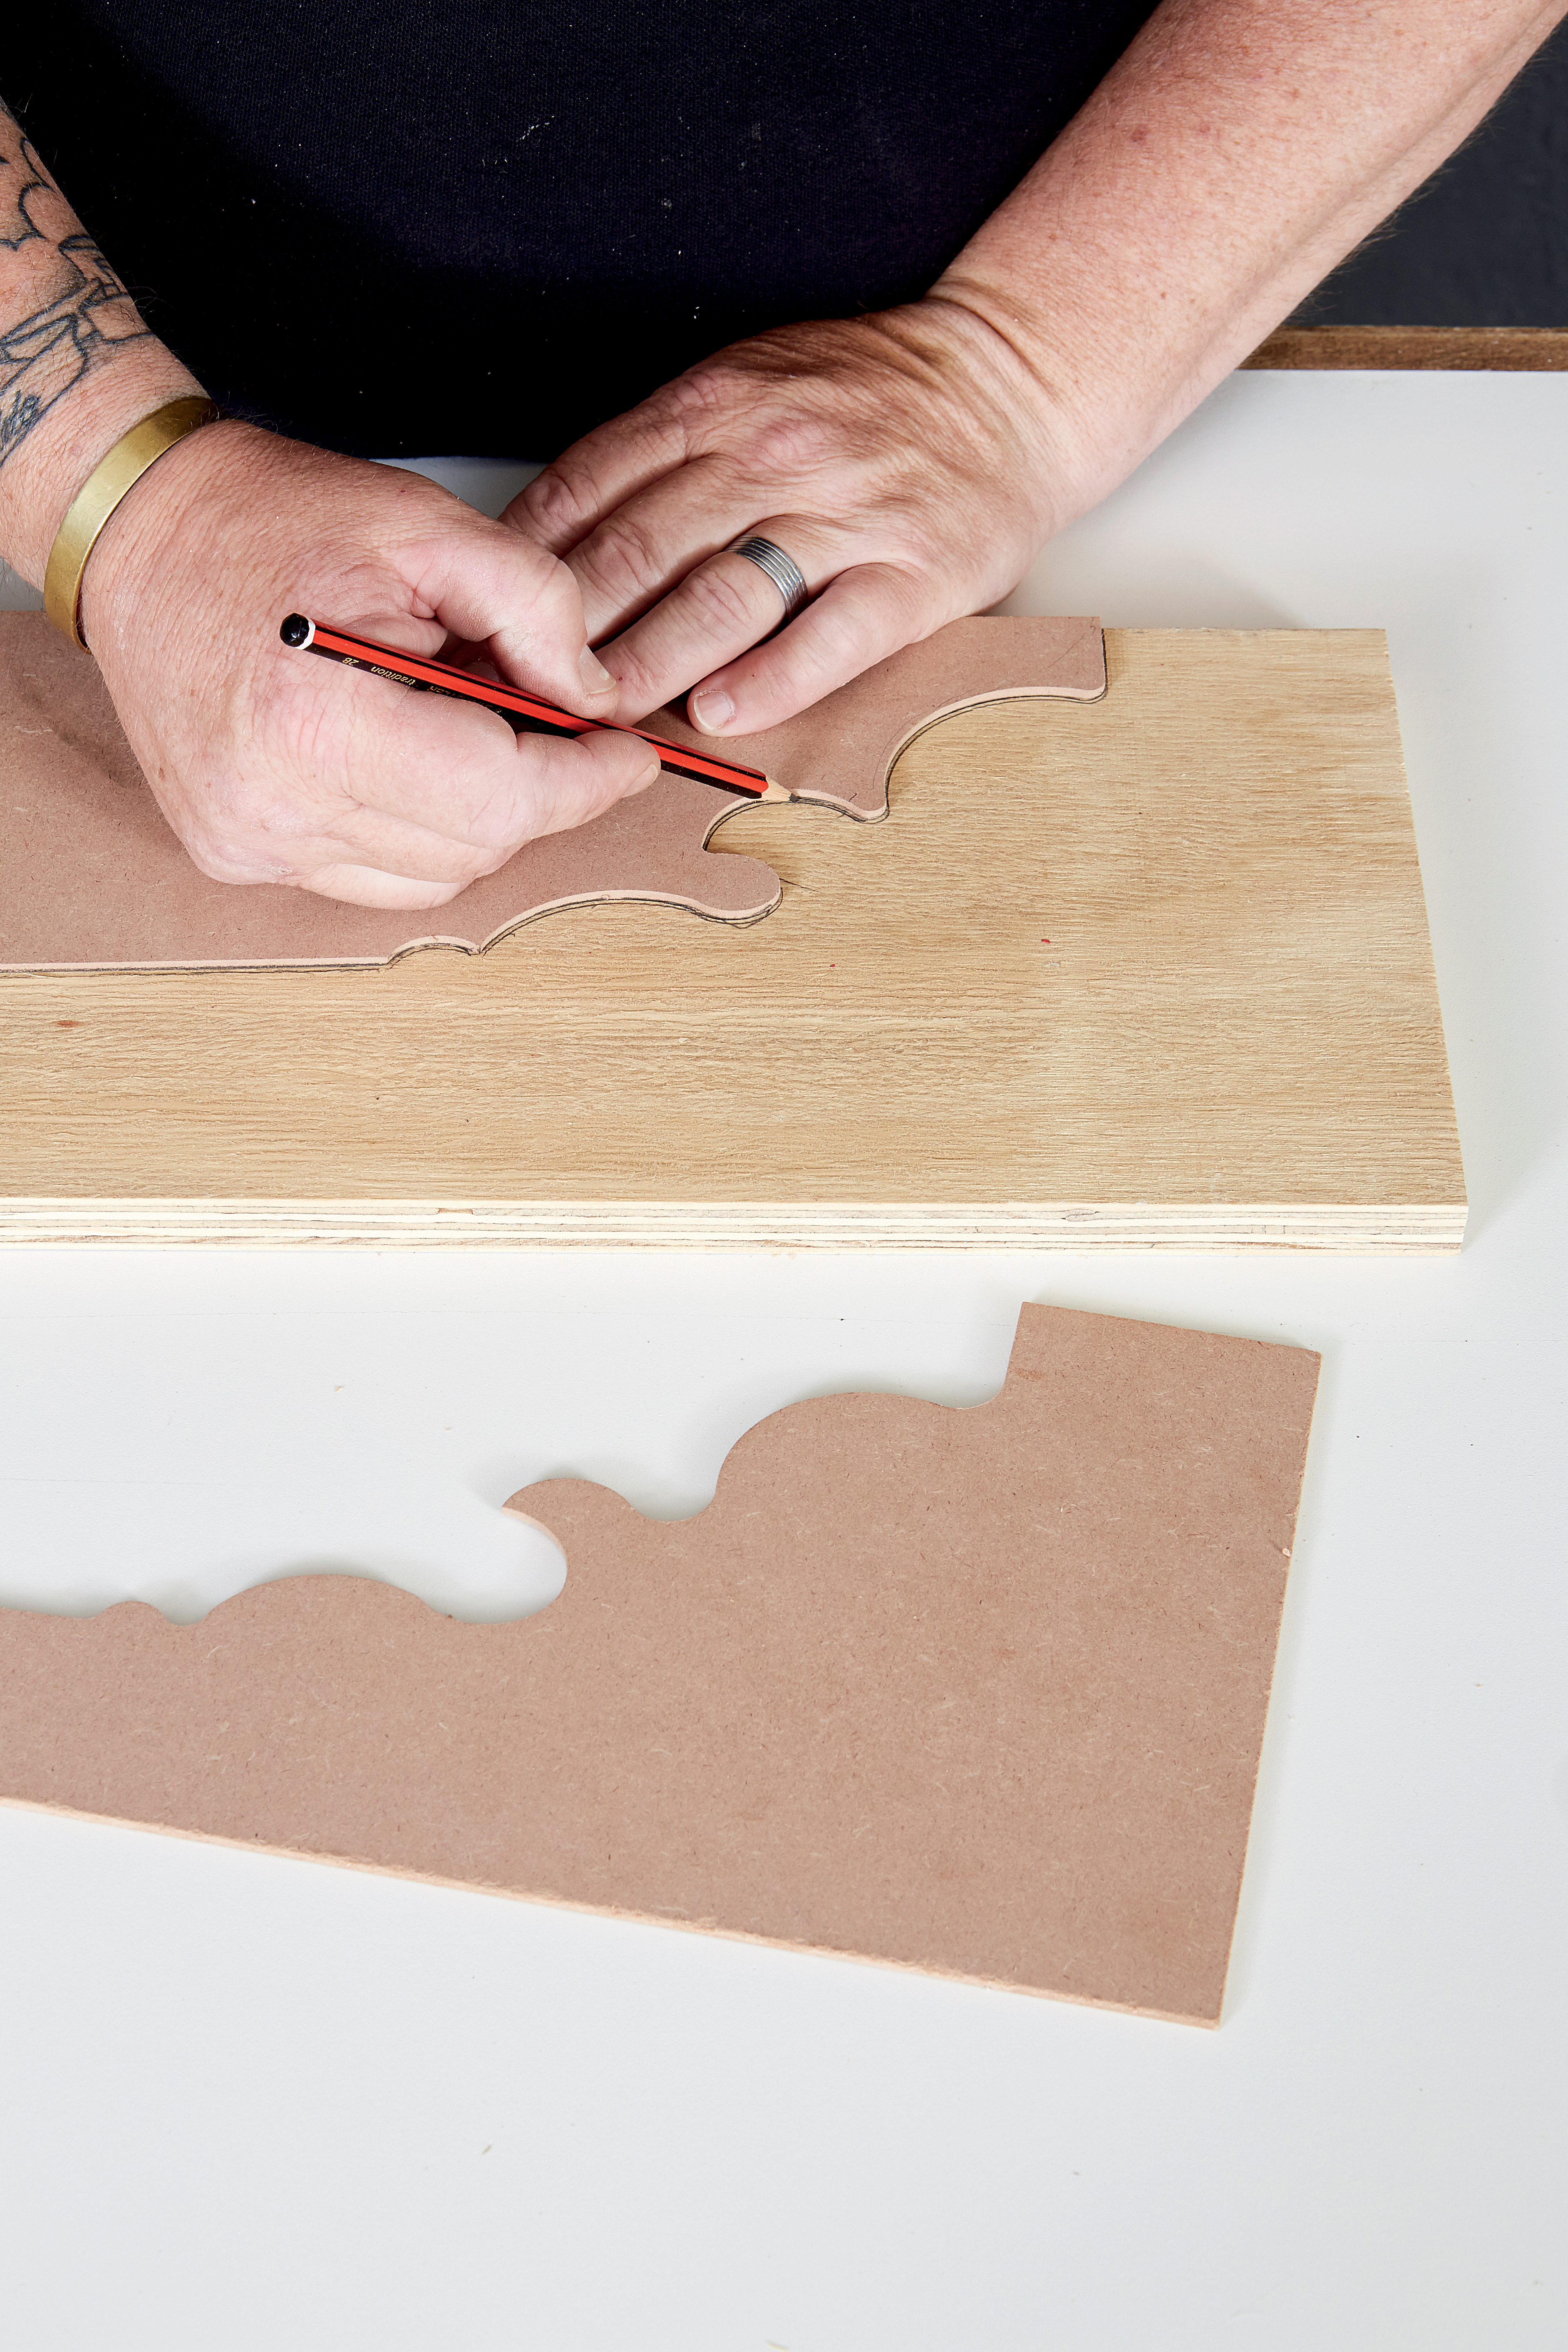
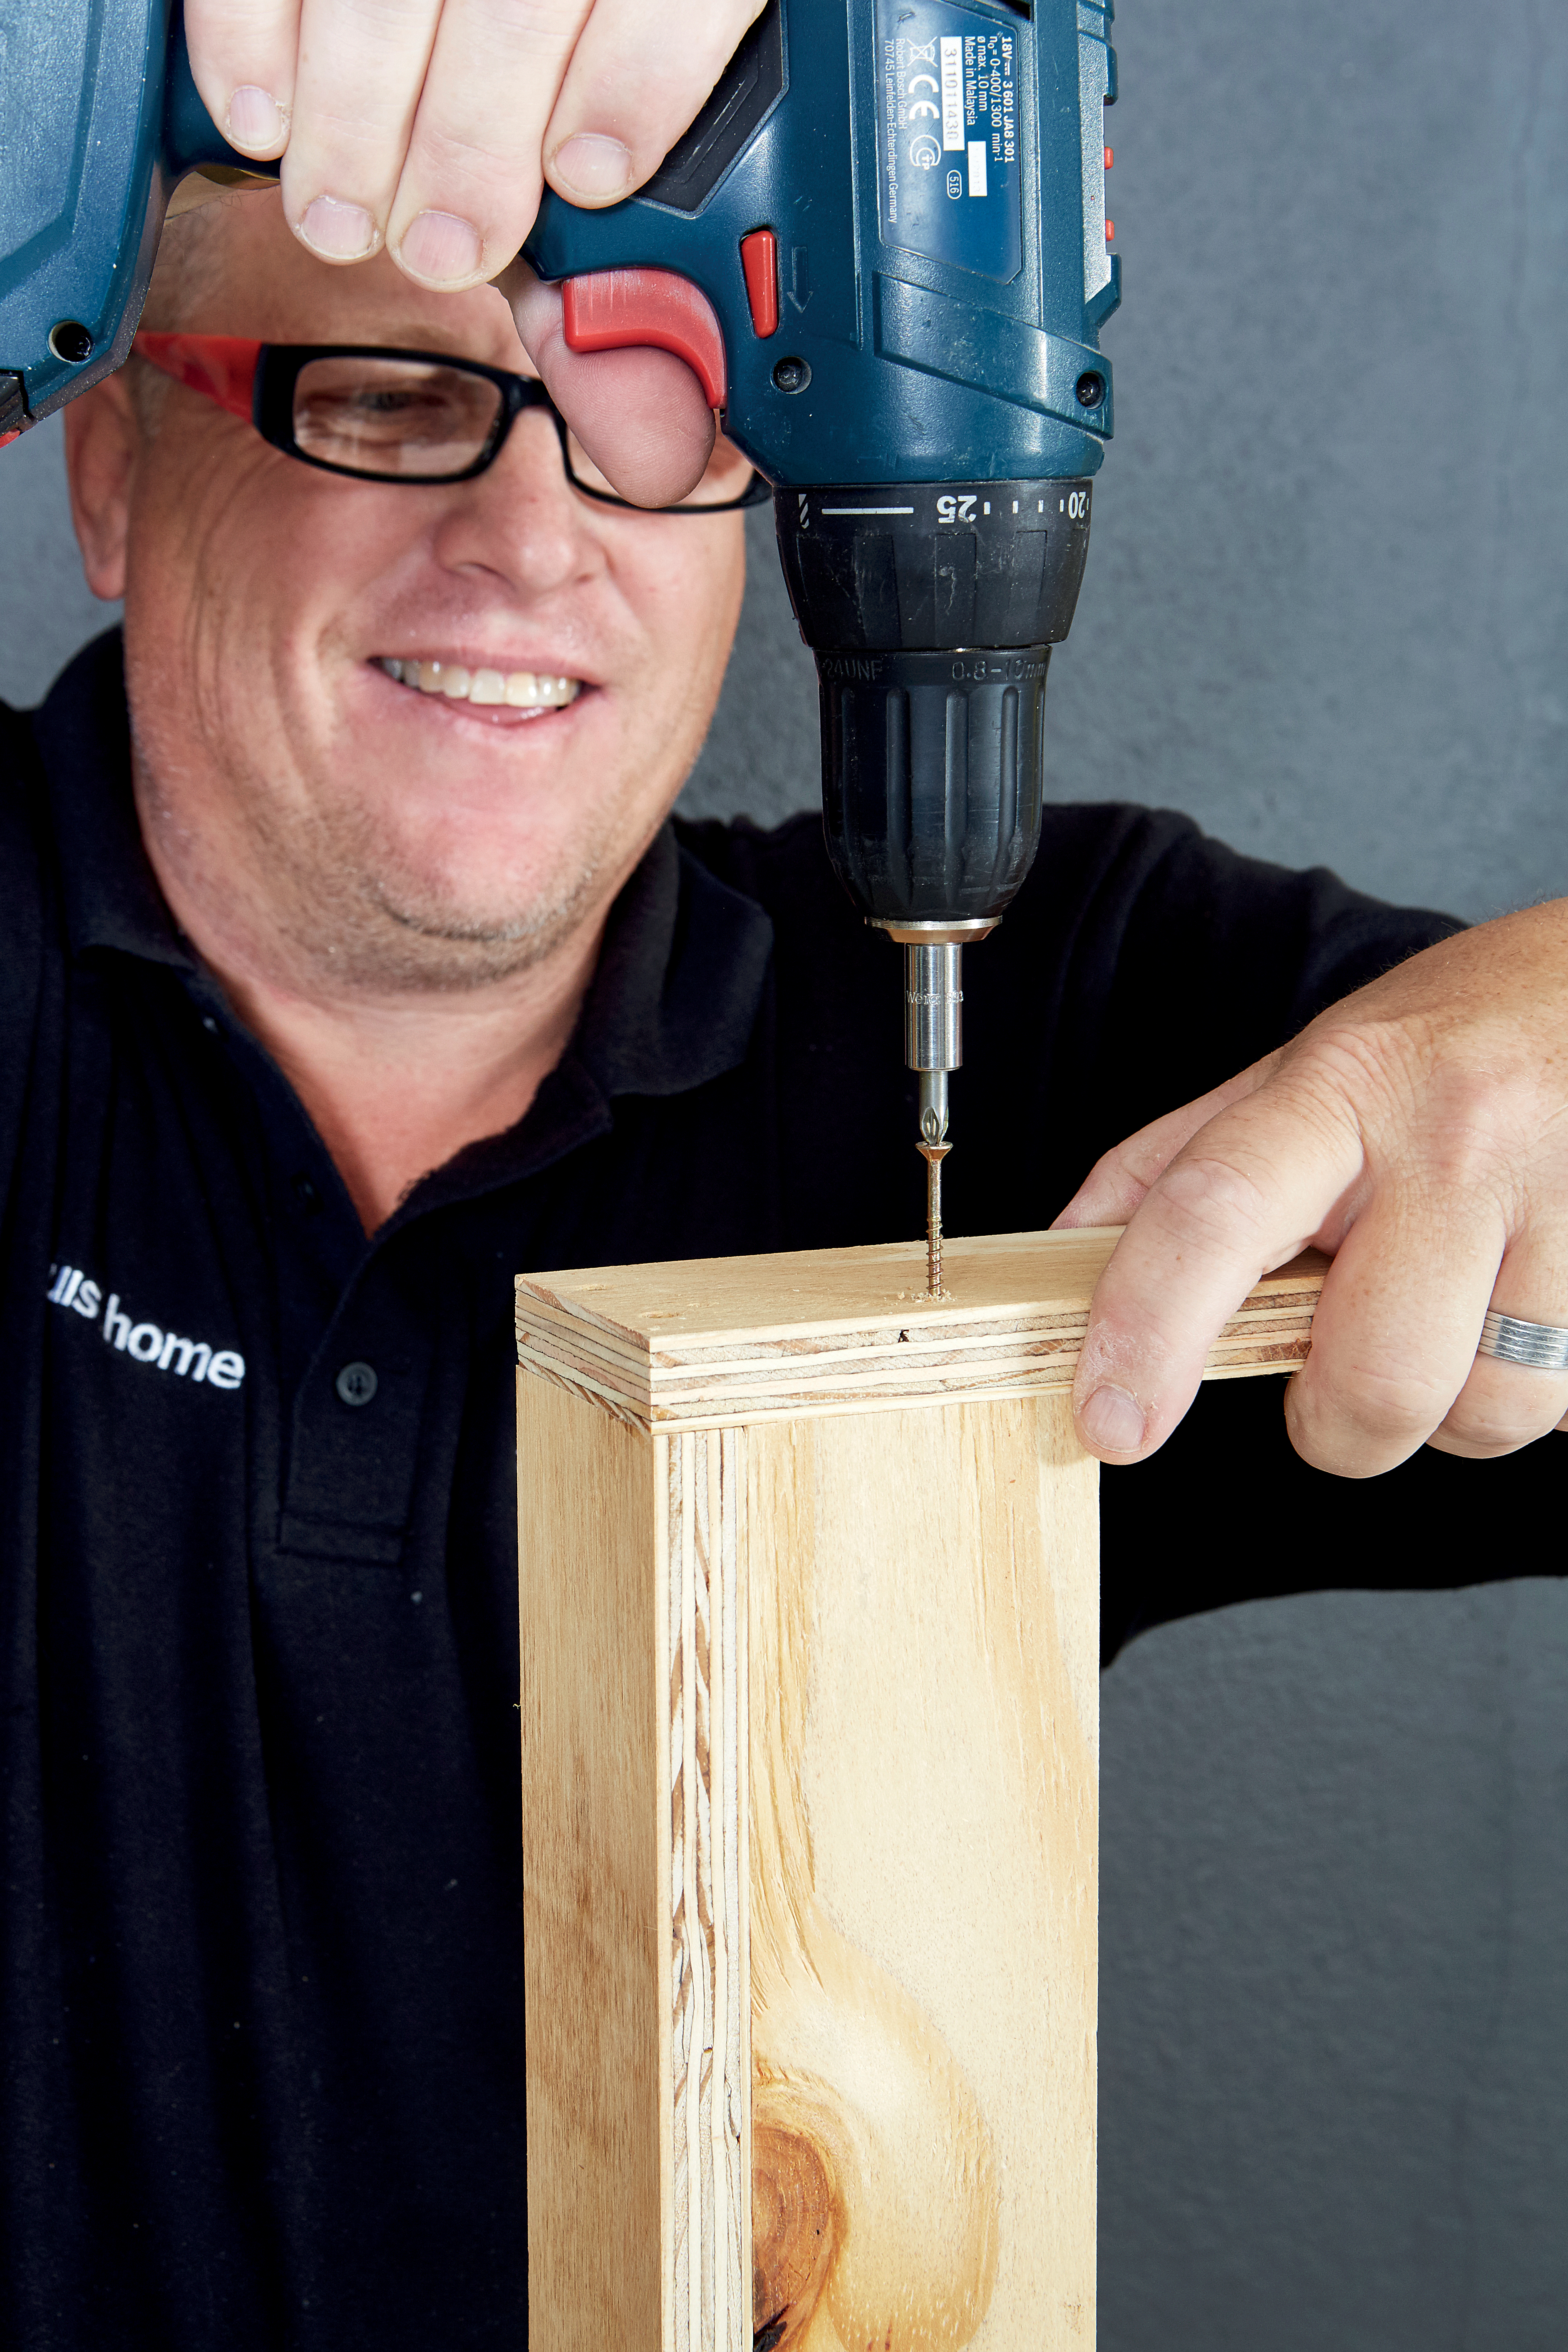
Step 2
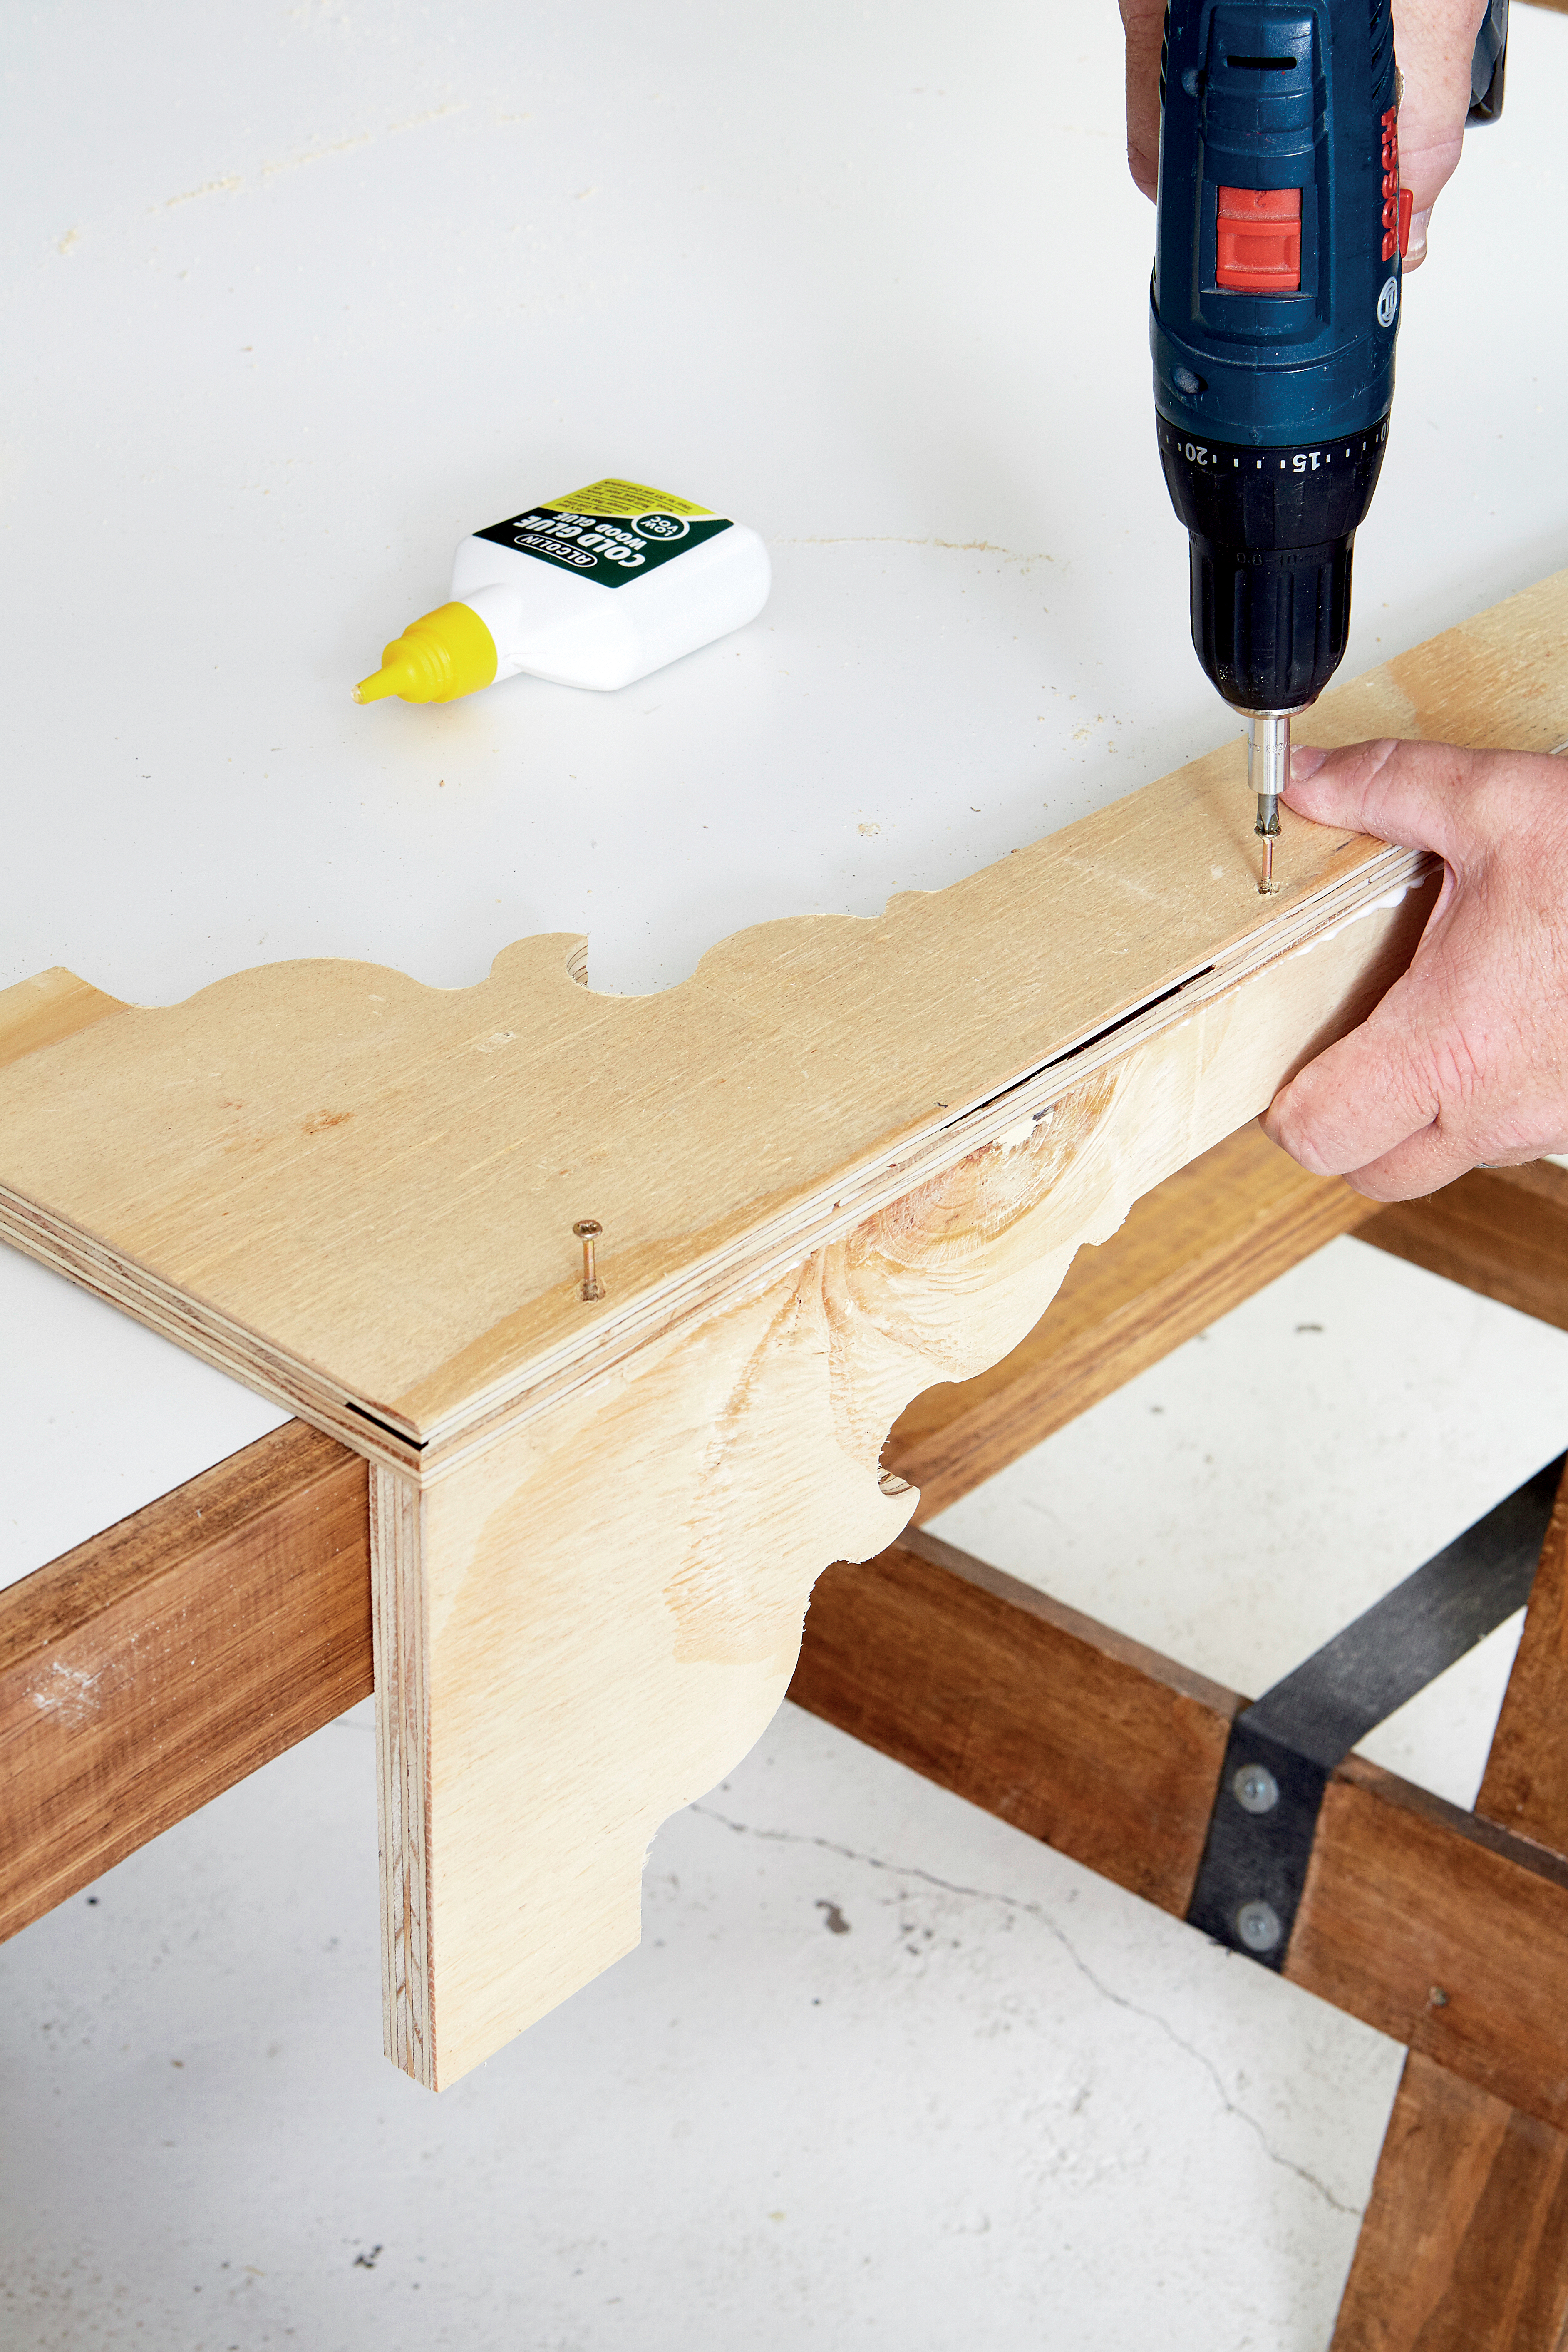
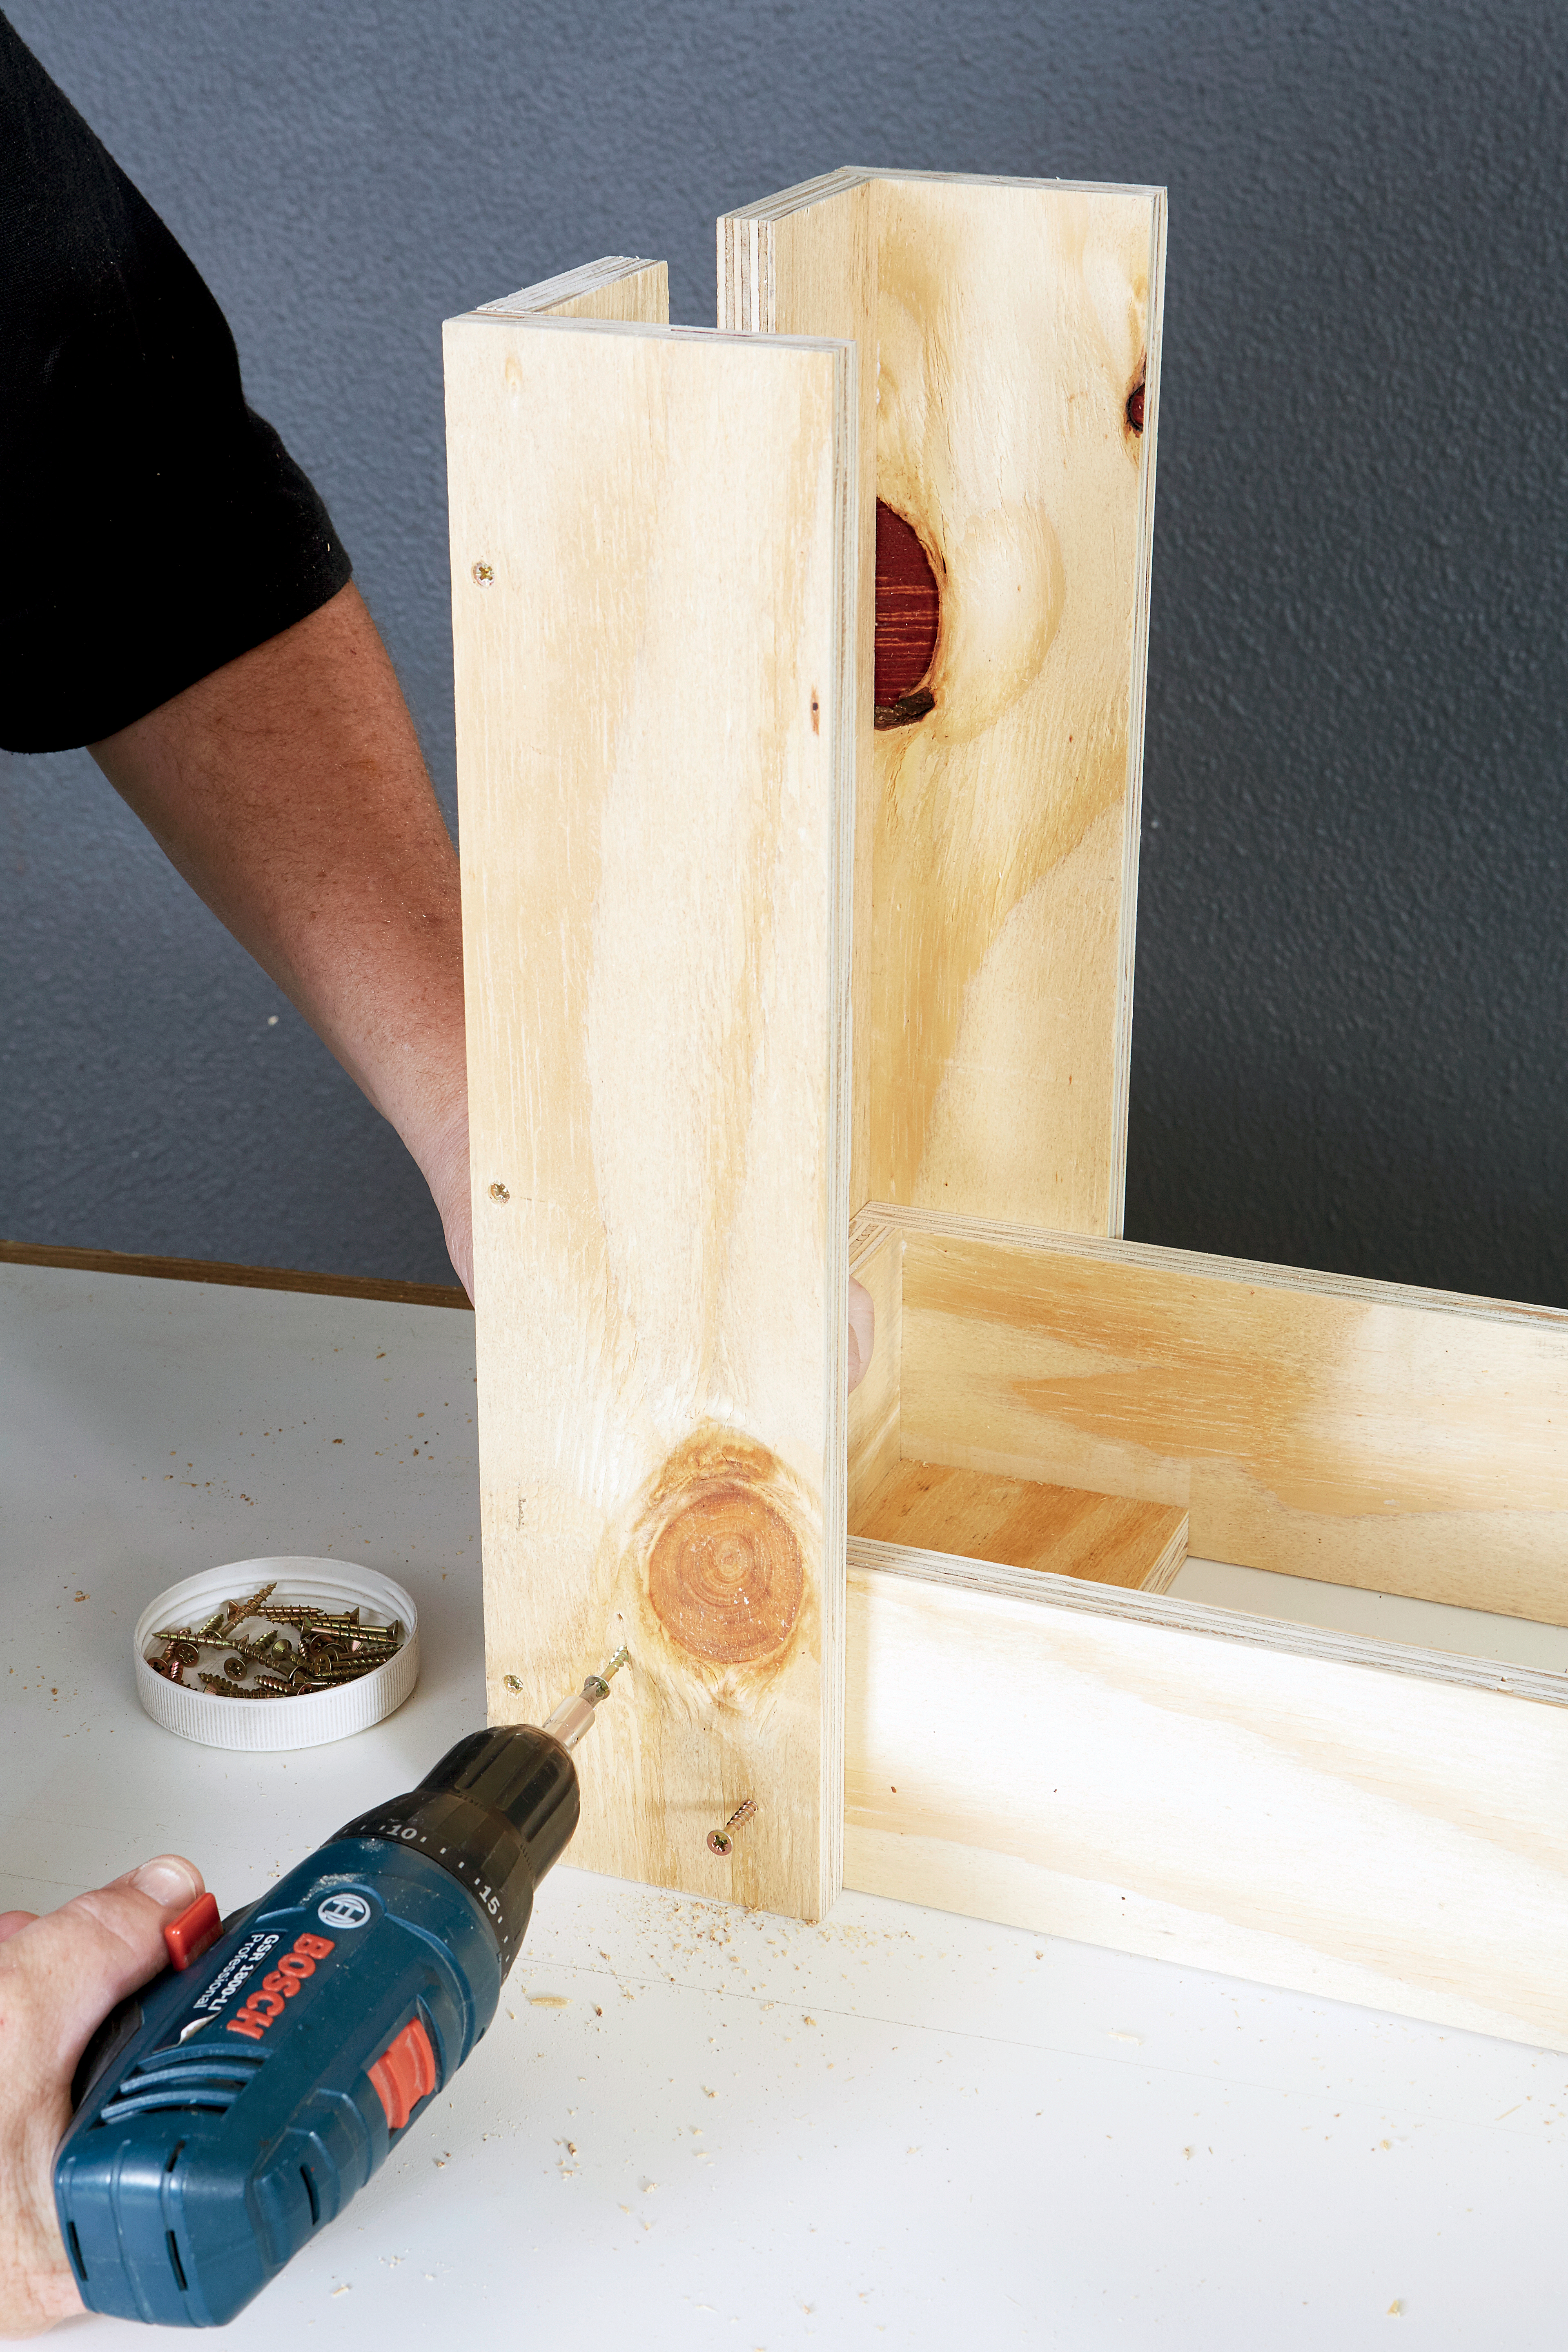
Make a template for the top of the legs on hardboard and trace it onto the 750 x 200mm and 750 x 180mm planks for the table legs. Cut out the pattern with the jigsaw. Screw the 180mm planks at a right angle to the 200mm planks to form the legs.

Step 3
Fill all screw holes neatly with wood filler and allow to dry thoroughly. Sand the table to a smooth finish and paint or varnish in the colour of your choice.
Make the bench
Step 1
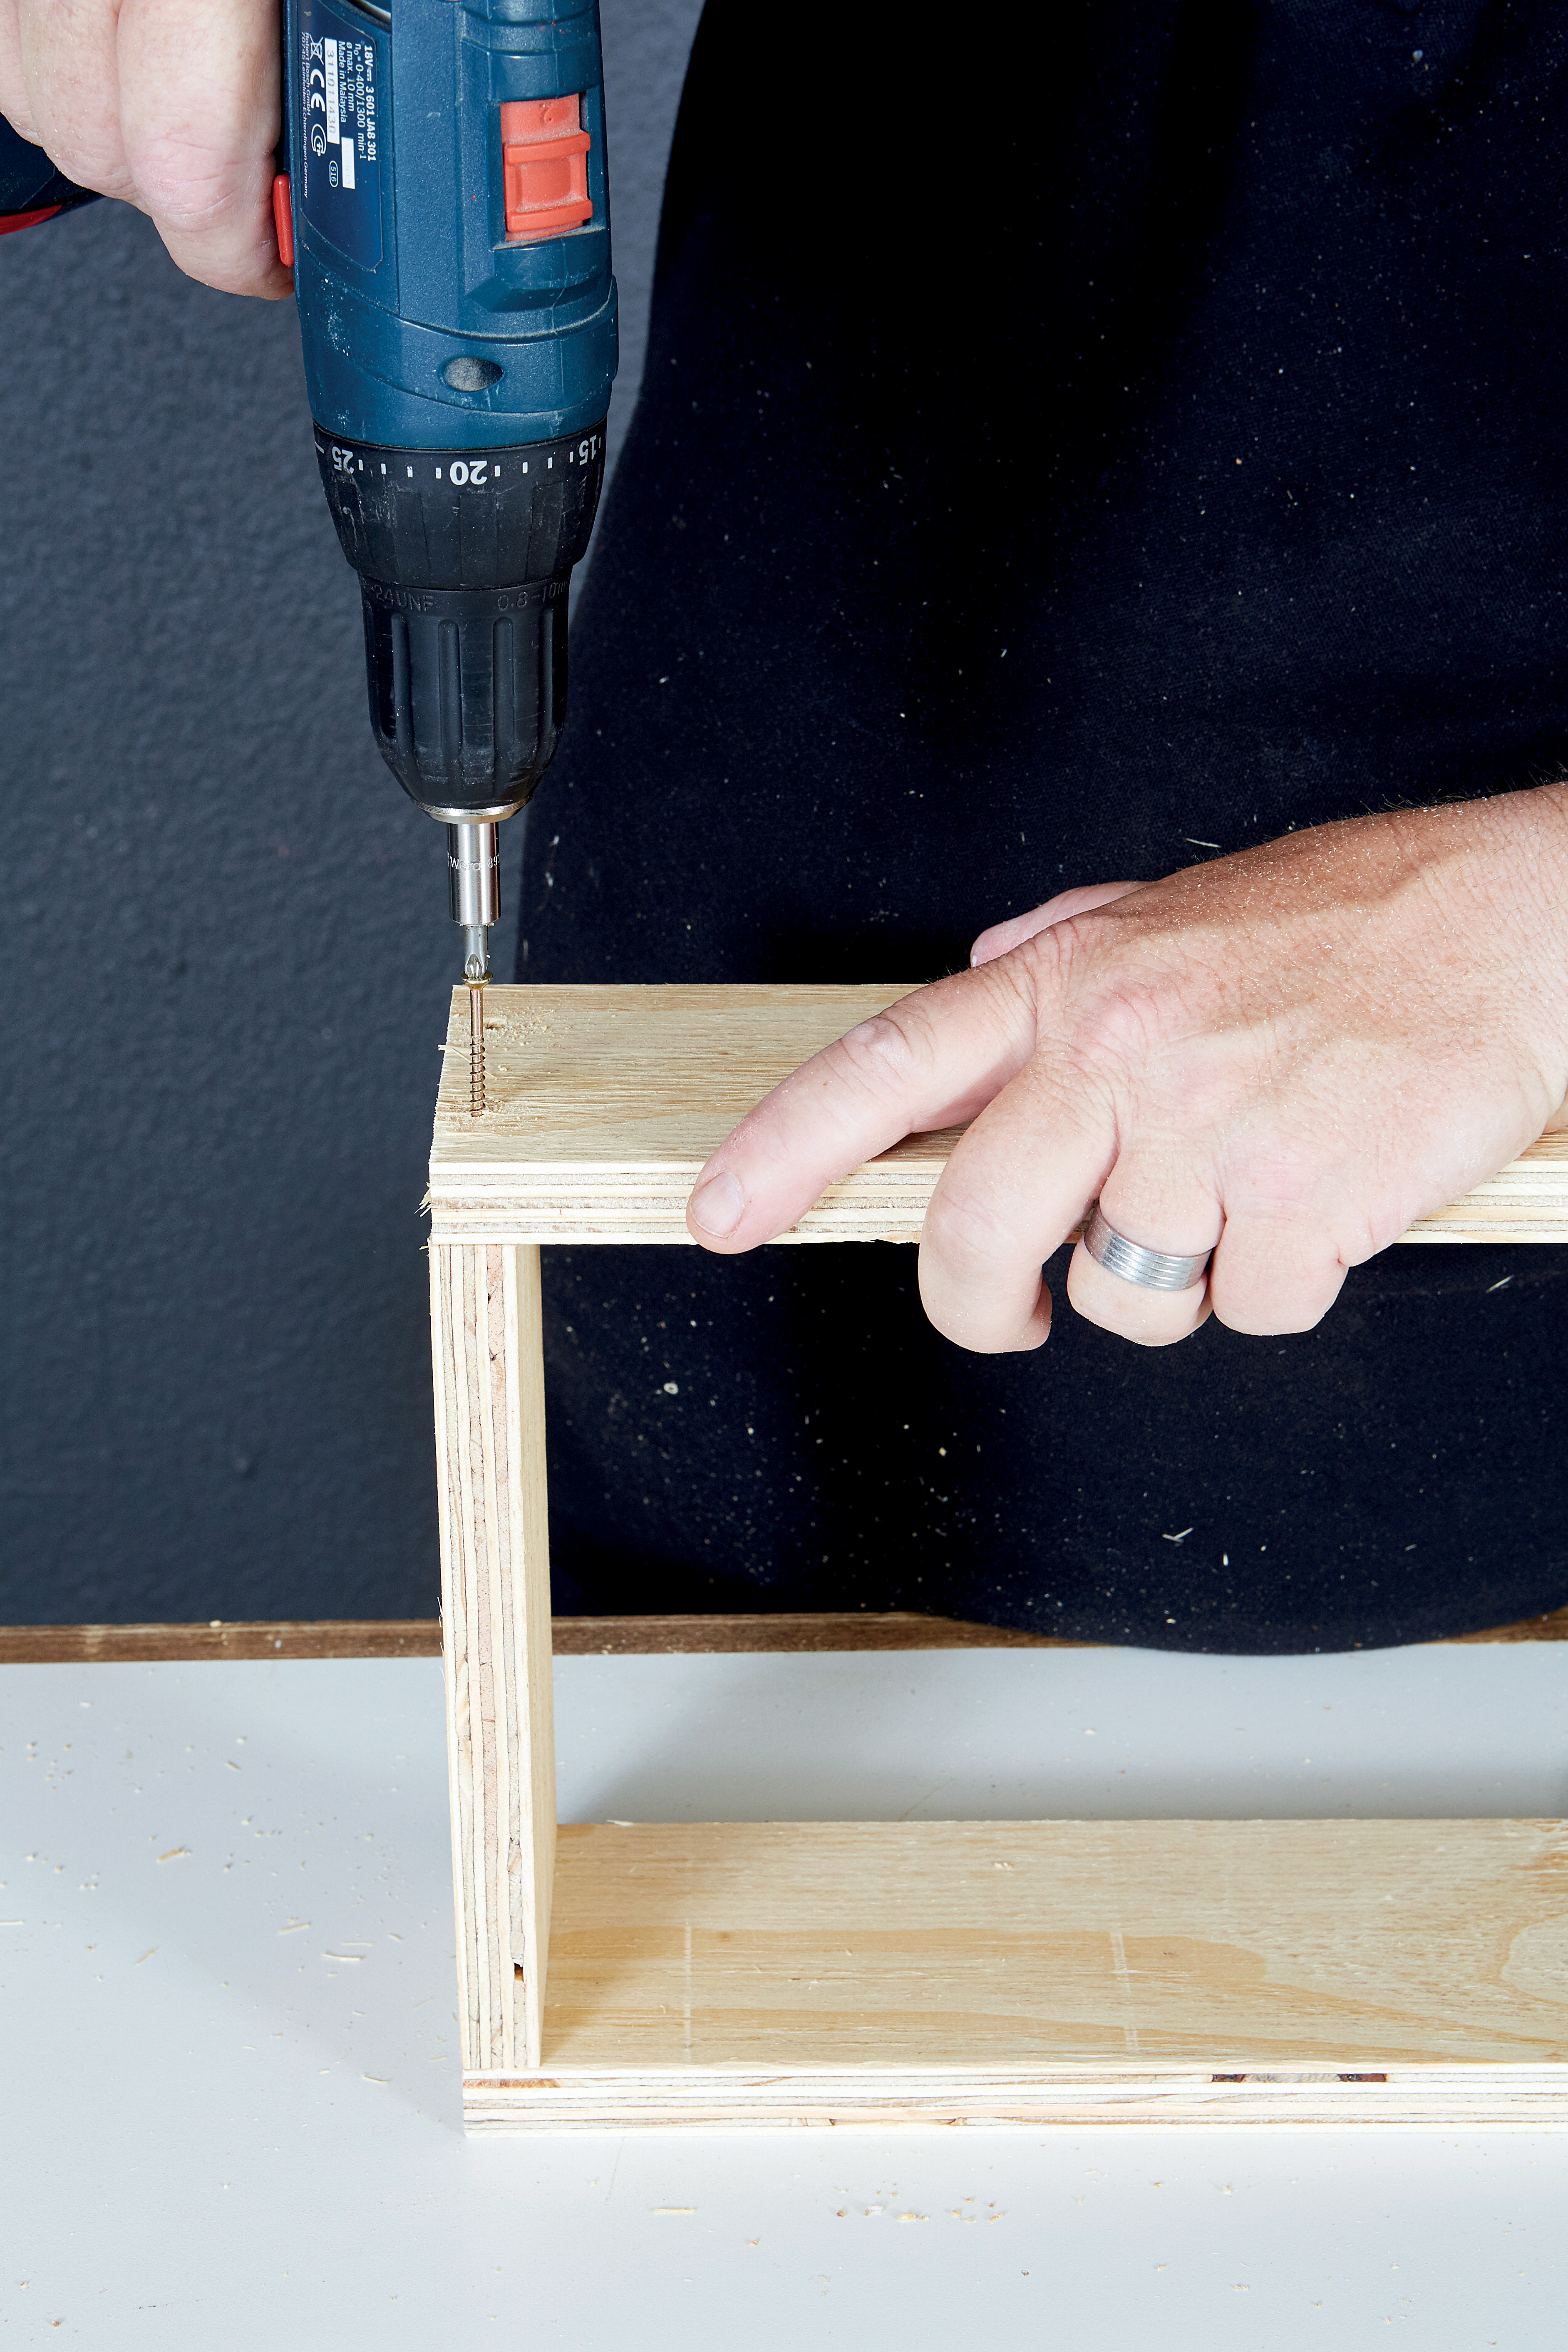
Place two of the 200 x 100mm planks between the ends of the 910 x 100mm planks and screw together to form the frame. Place two of the remaining three 200 x 100mm planks in the corners and one in the middle of the frame and screw together.
Step 2
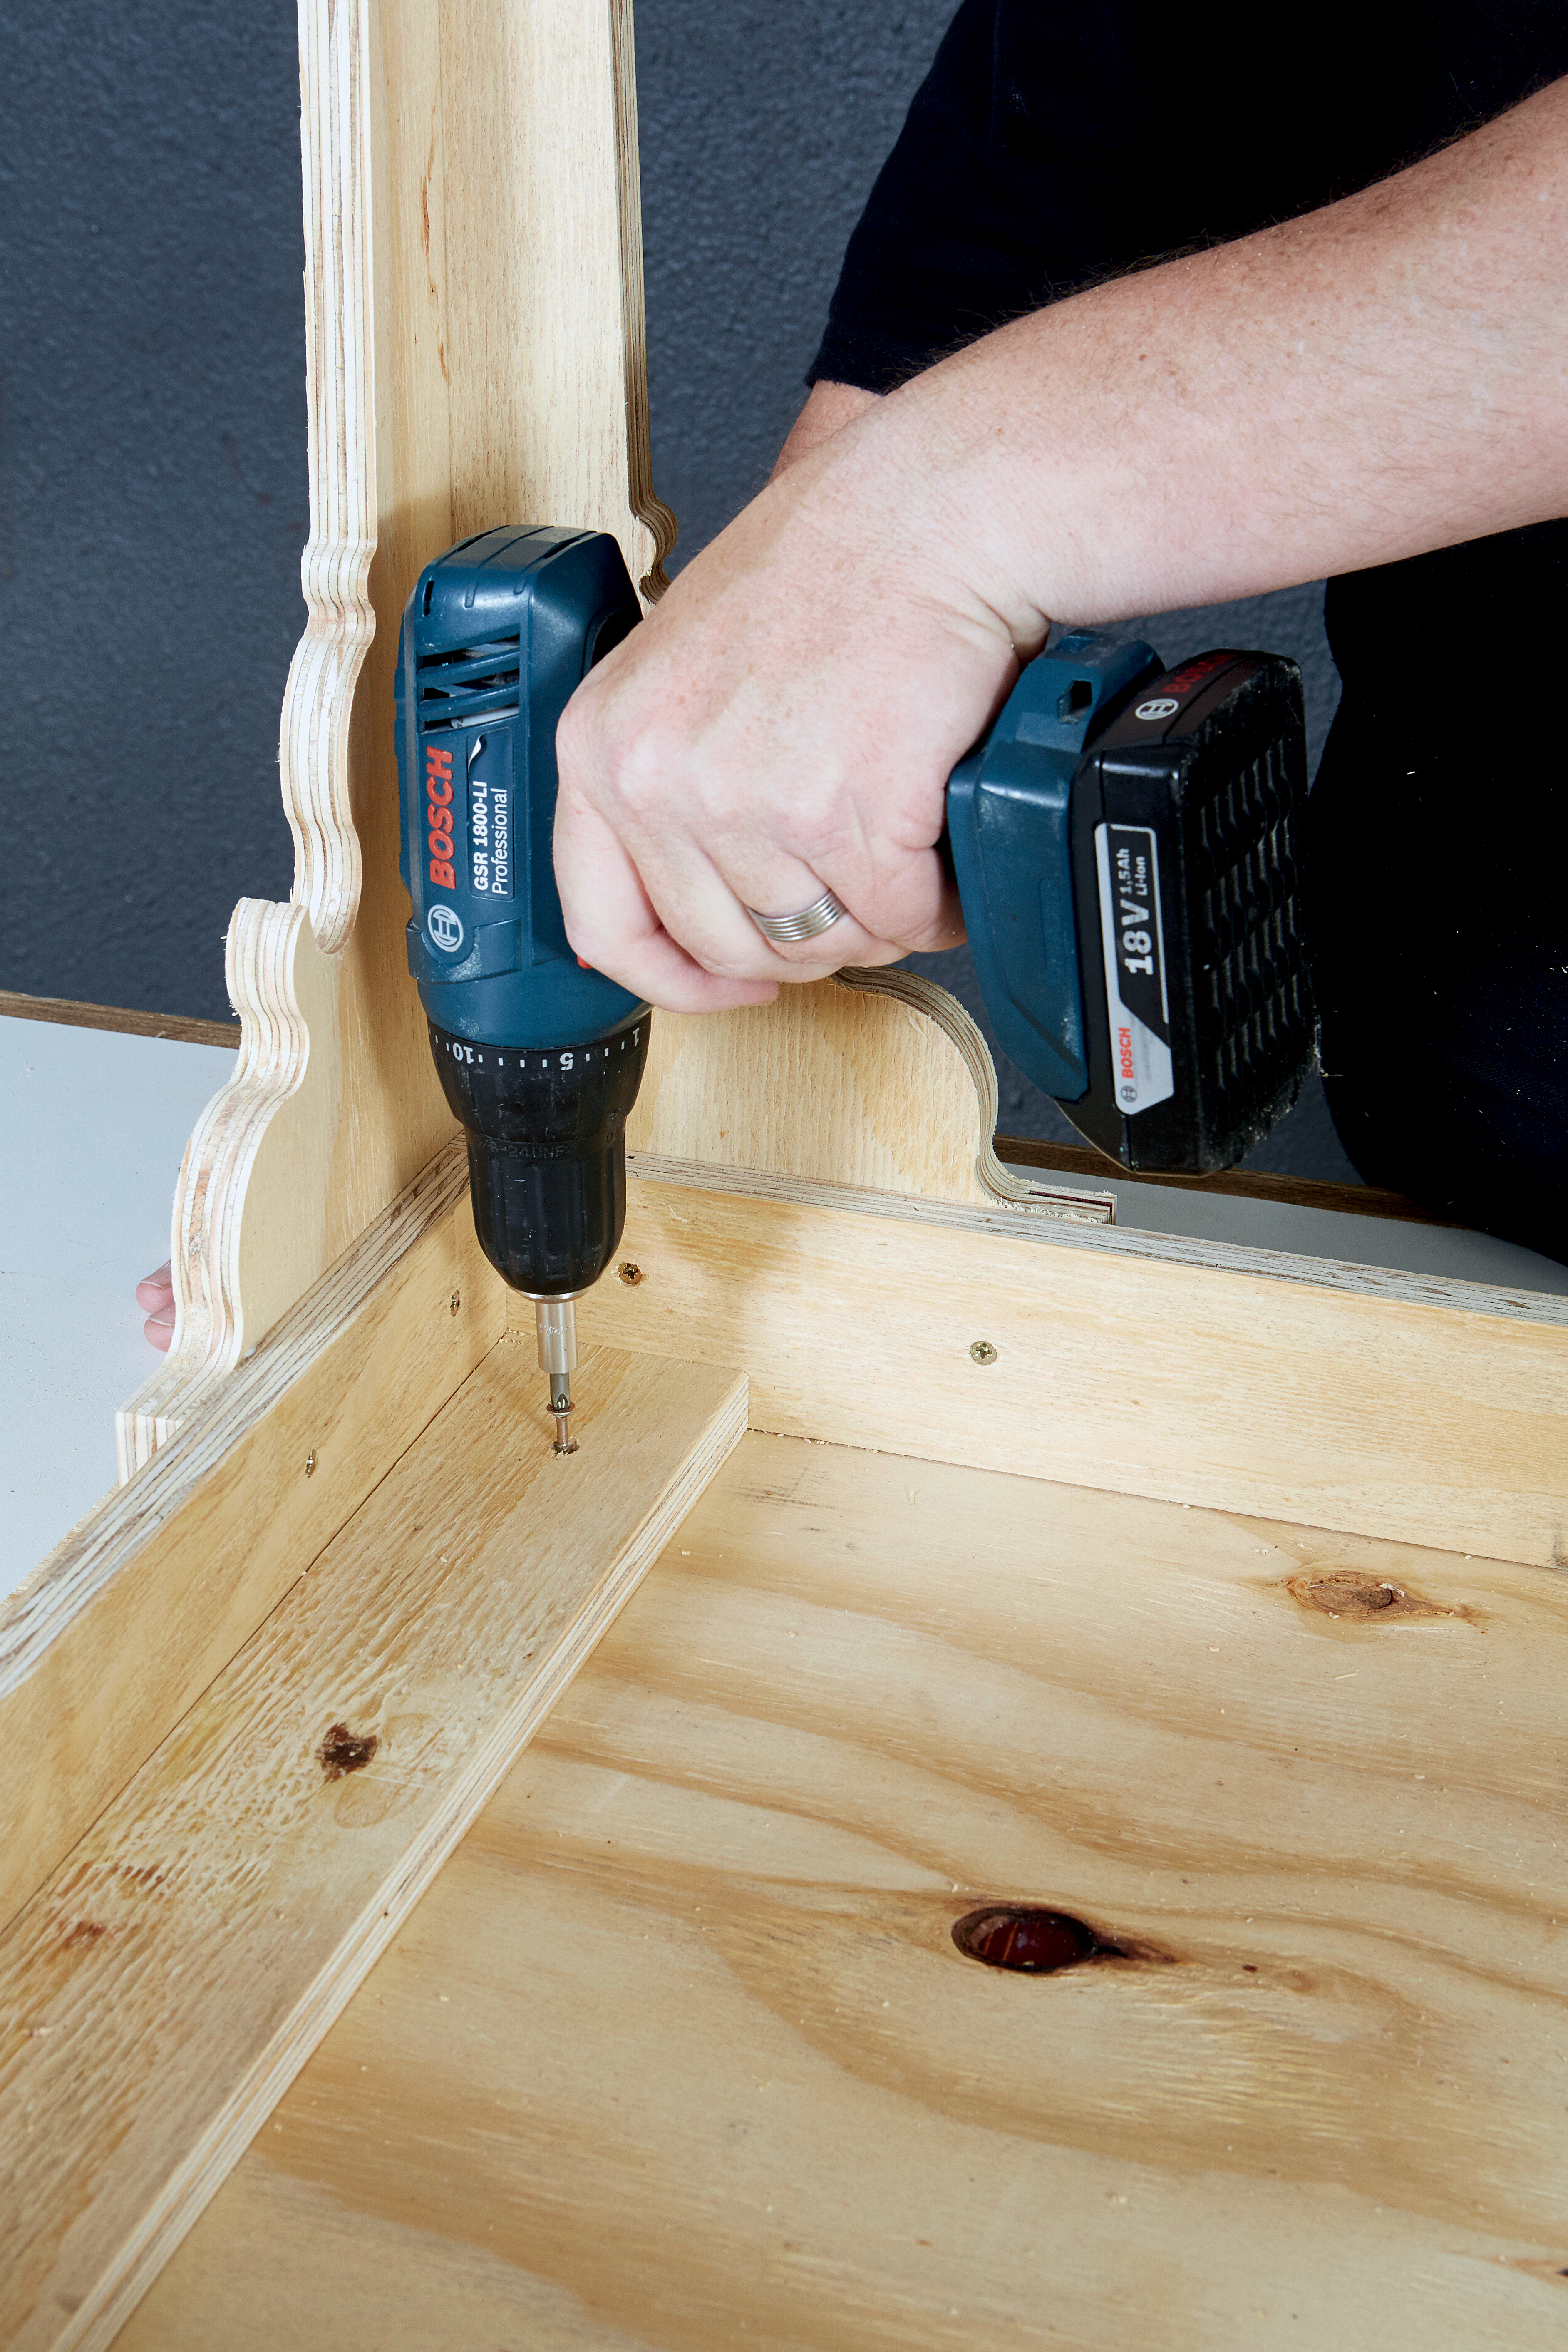
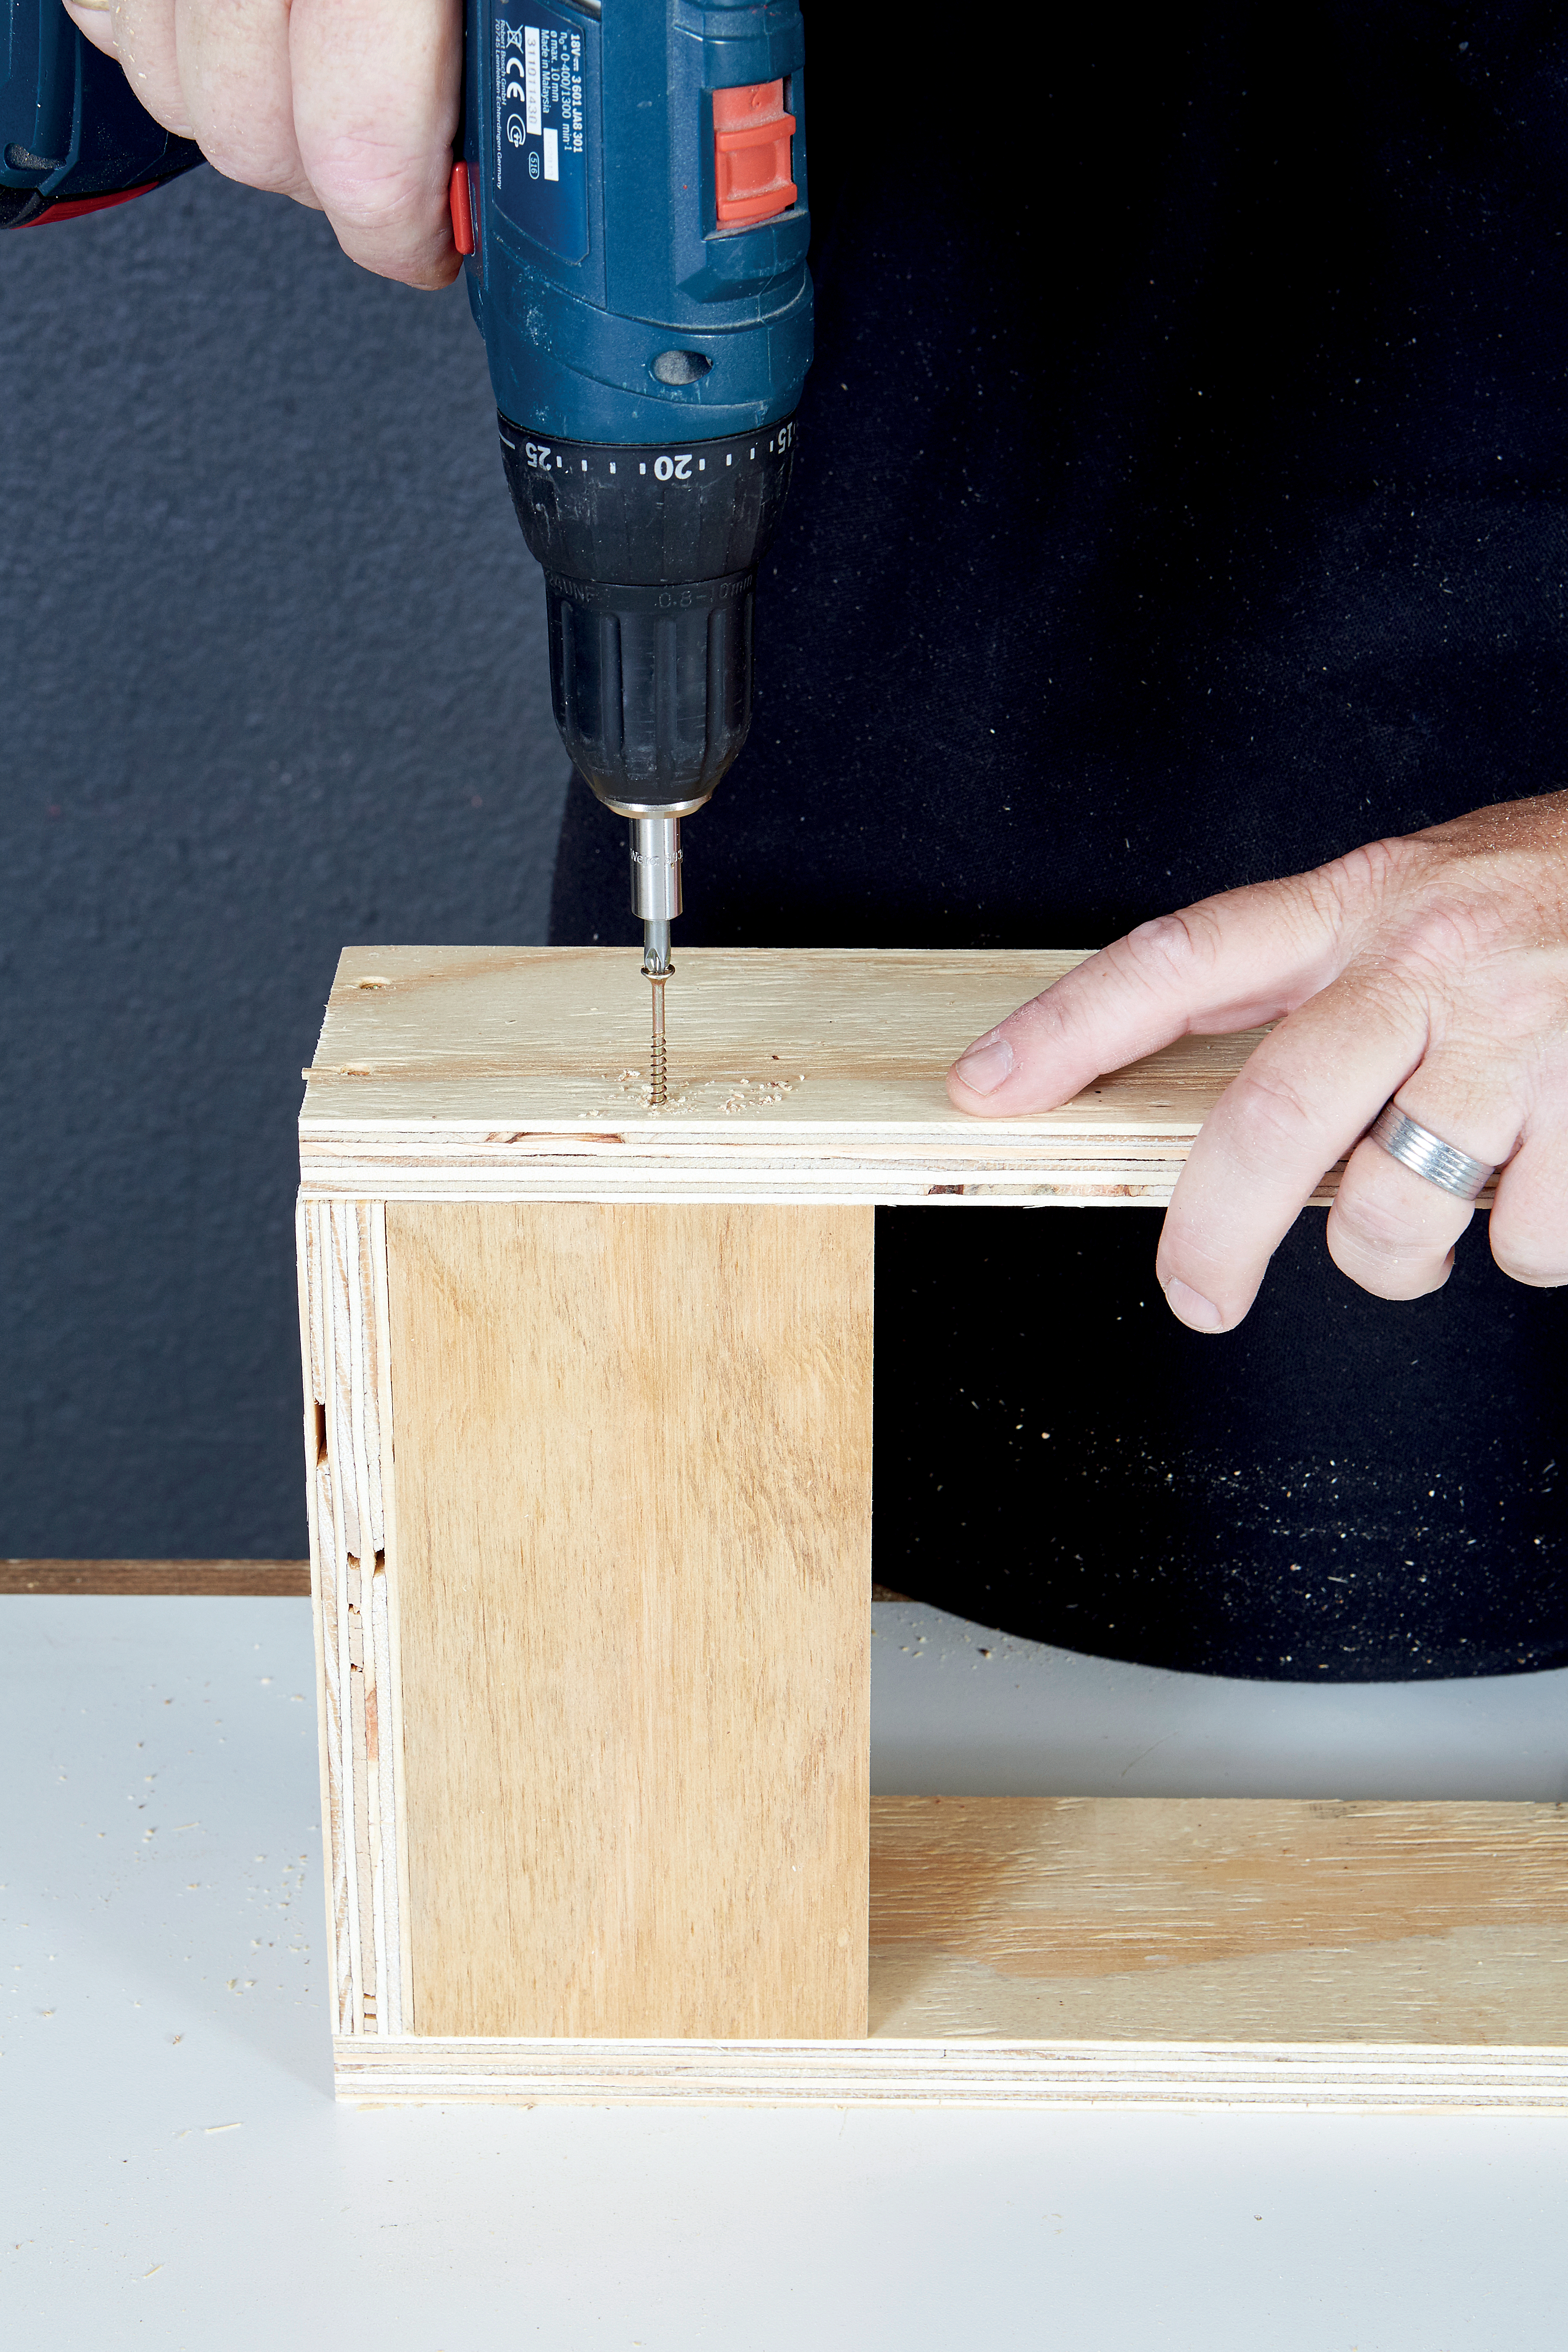
Attach the 430 x 80mm planks at a right angle to the 430 x 100mm planks to form the legs. Place a leg on each corner of the frame and attach them to the frame from the inside.
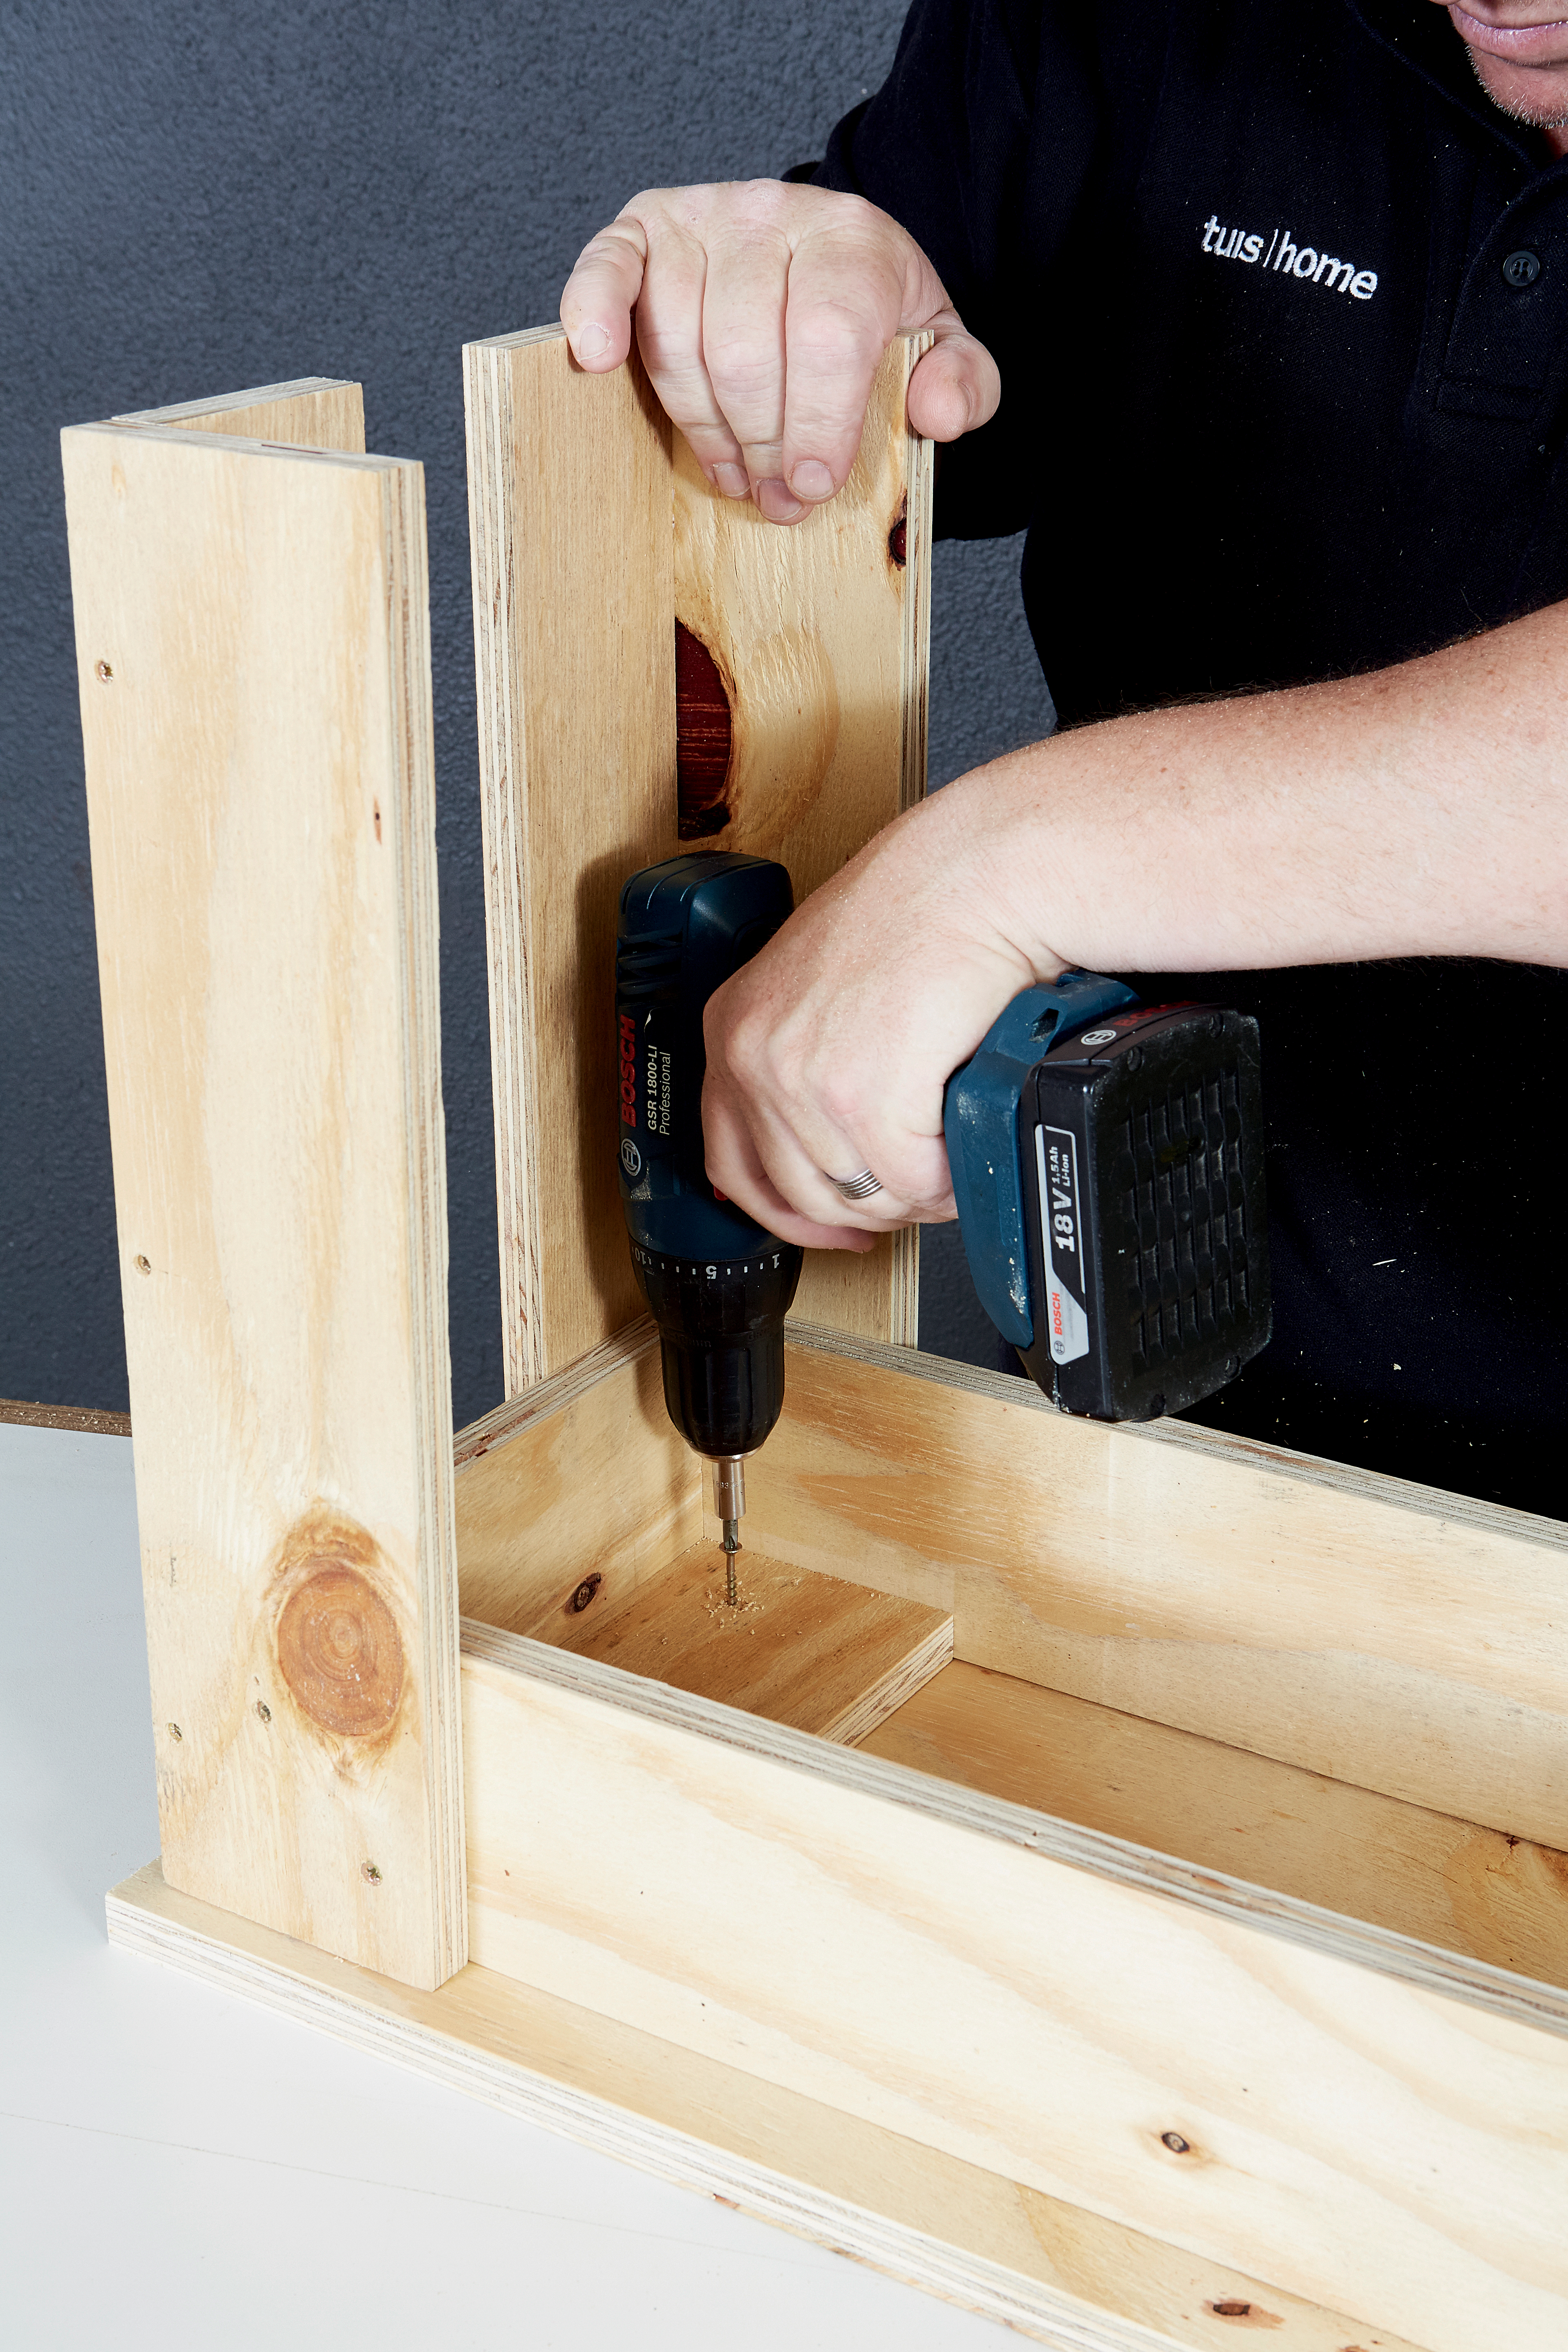
Step 3
Place the frame with legs upside down on the seat and attach it to the supports.
To finish
Fill in the screw holes with wood filler and allow to dry; sand the bench to a smooth finish and paint or varnish in the colour of your choice.
Credits
Referenced from Gallo images / Home Magazine
Browse 1000’s of products available to you. Select your country to Shop Online.


