
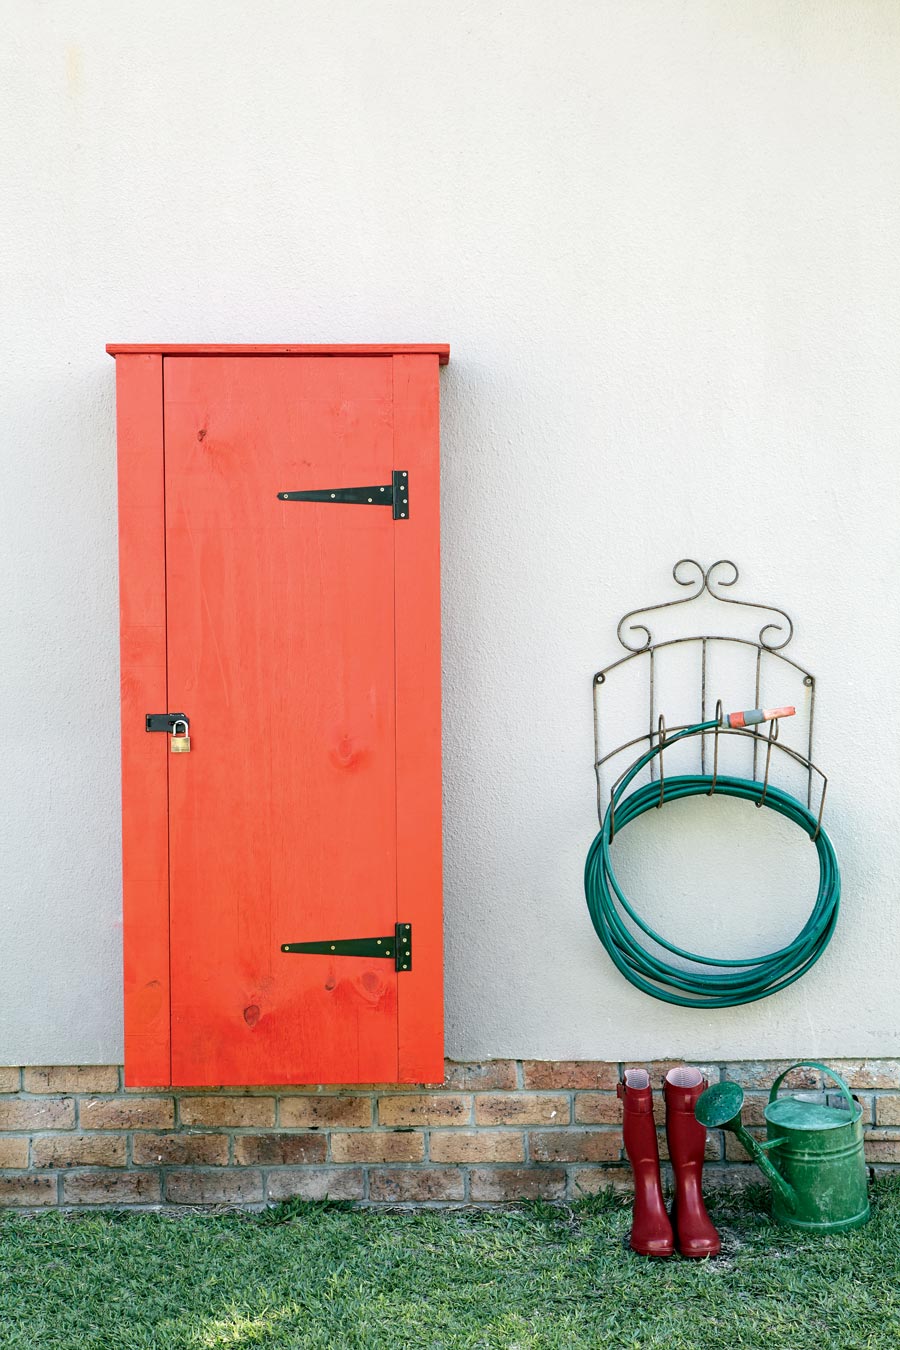
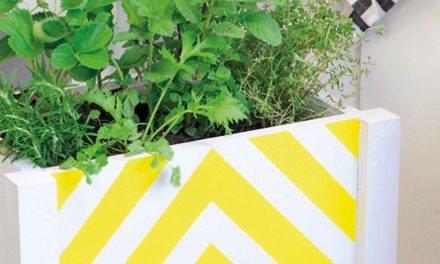
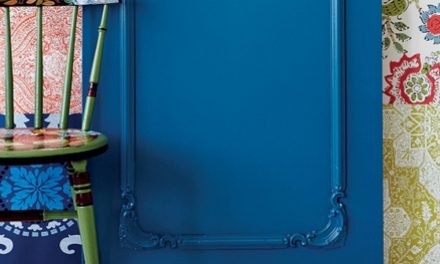
This handy cupboard is perfect for storing gardening or workshop equipment.
- jigsaw
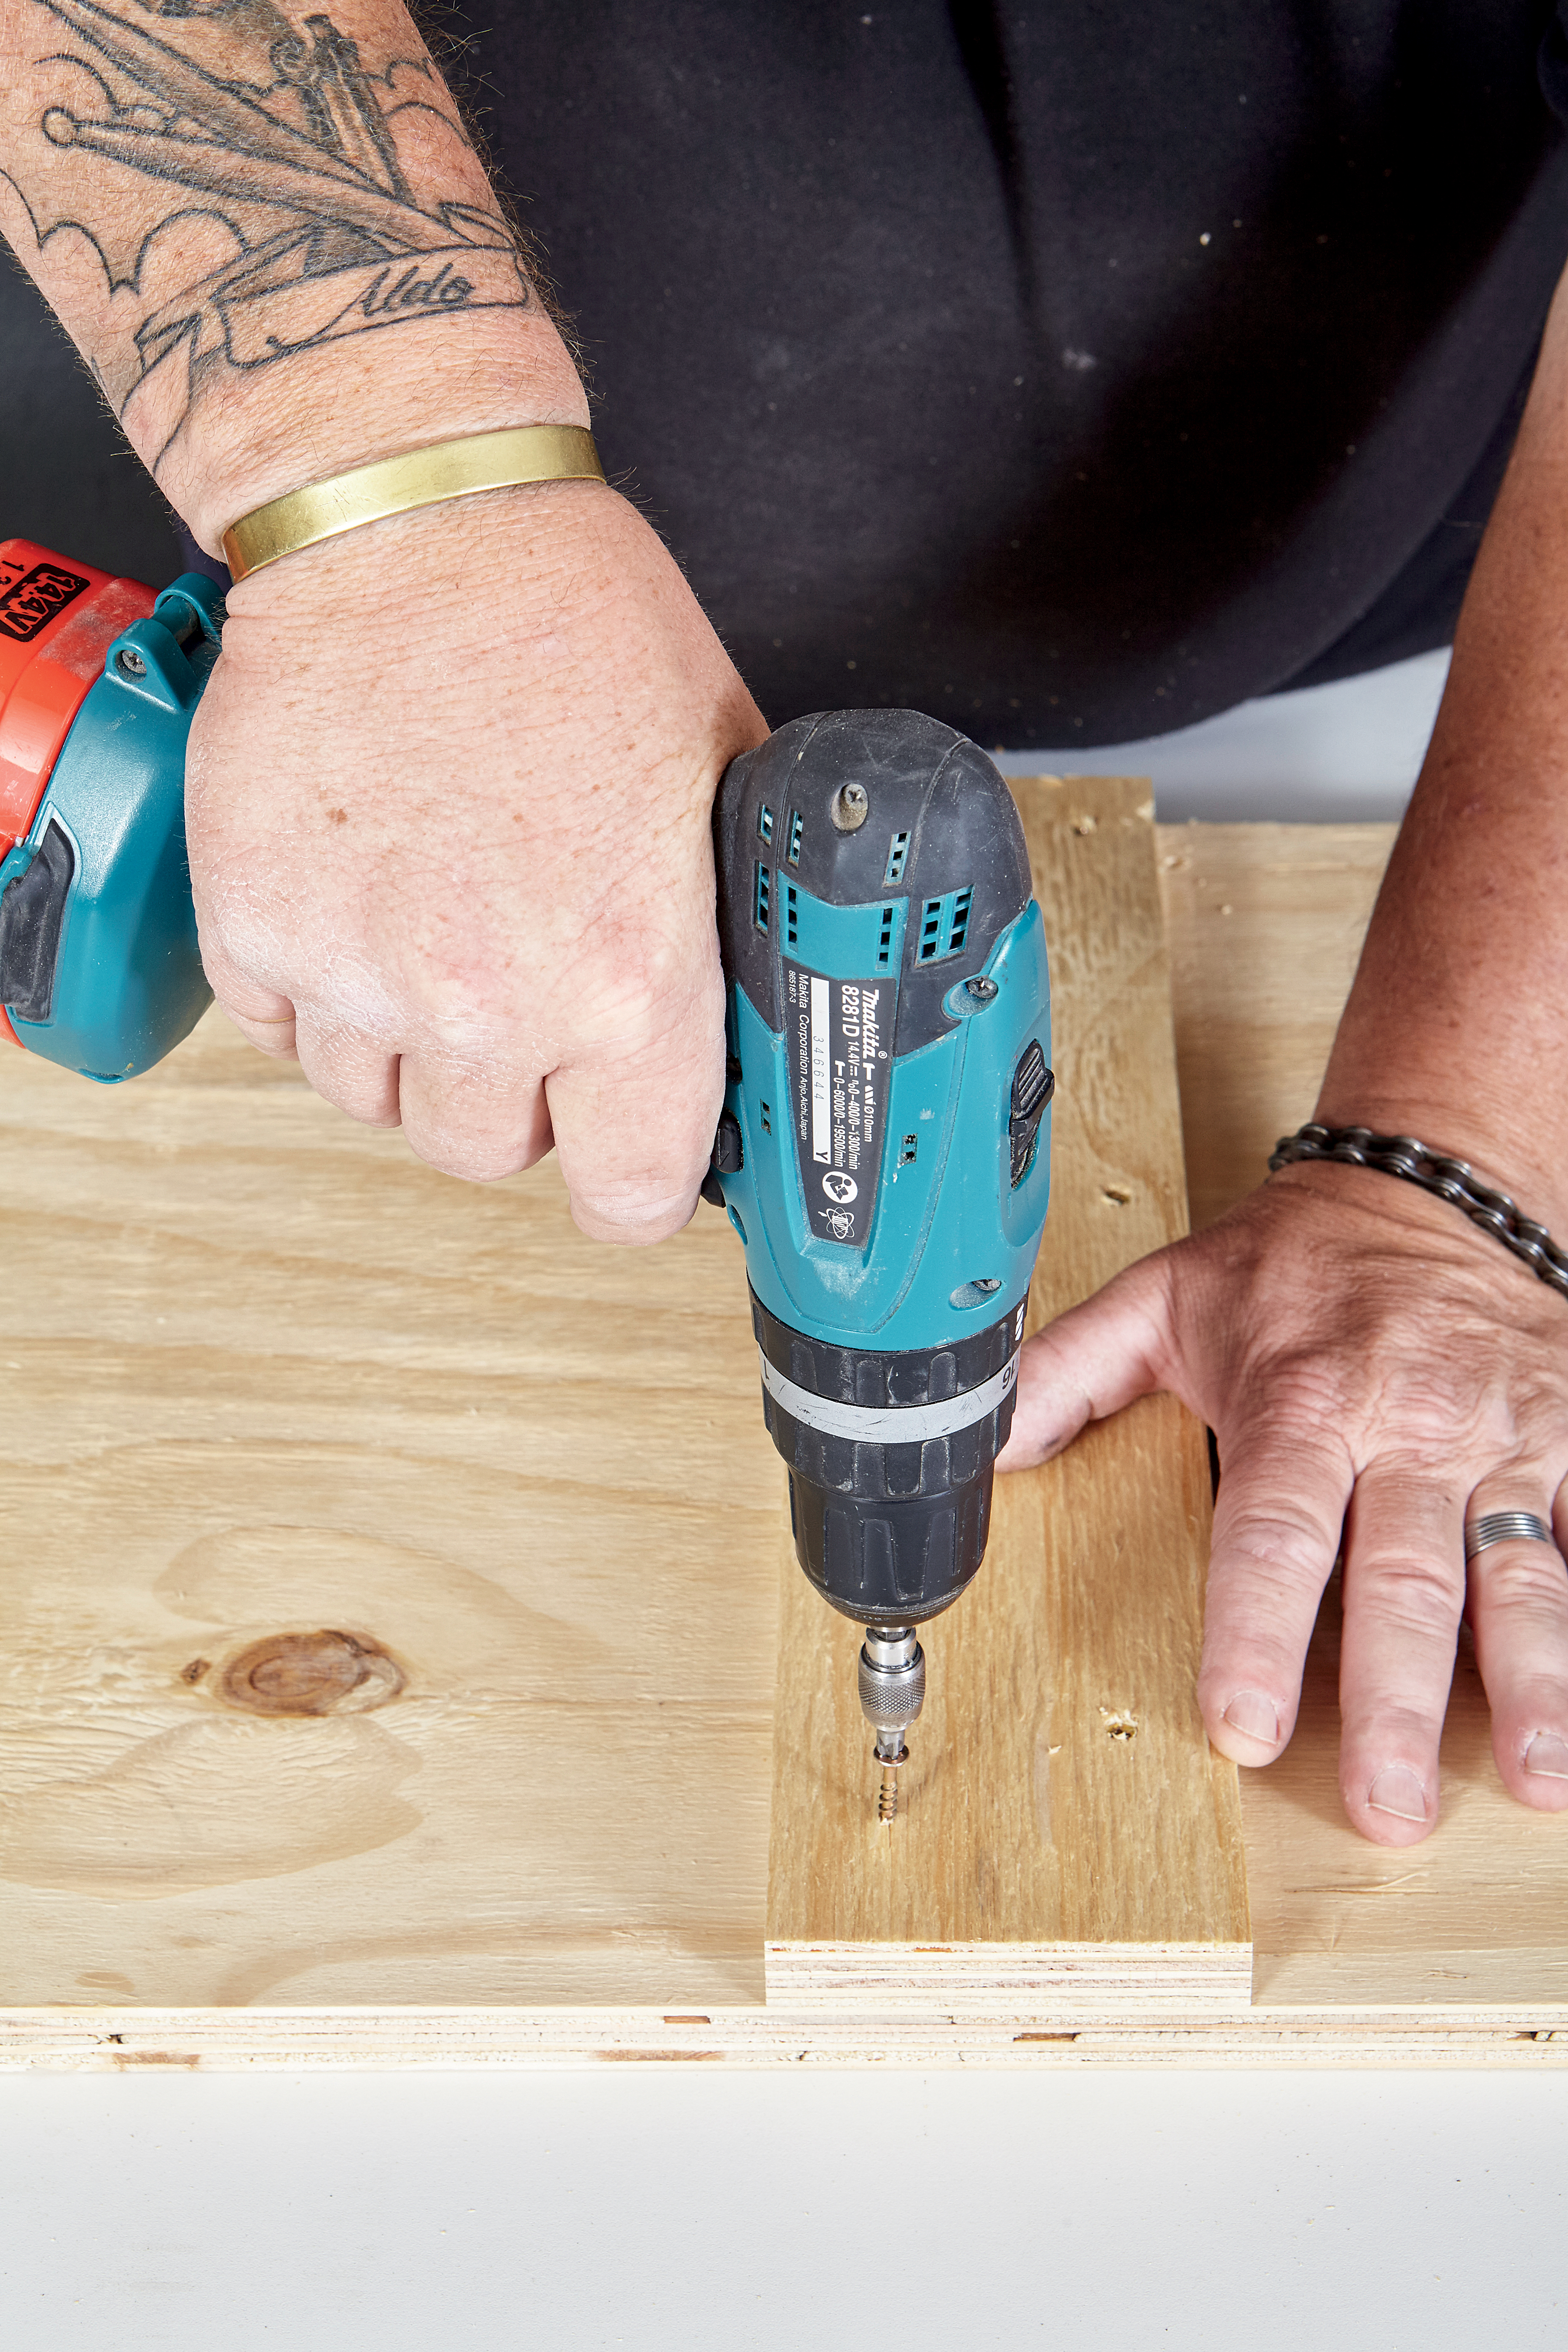
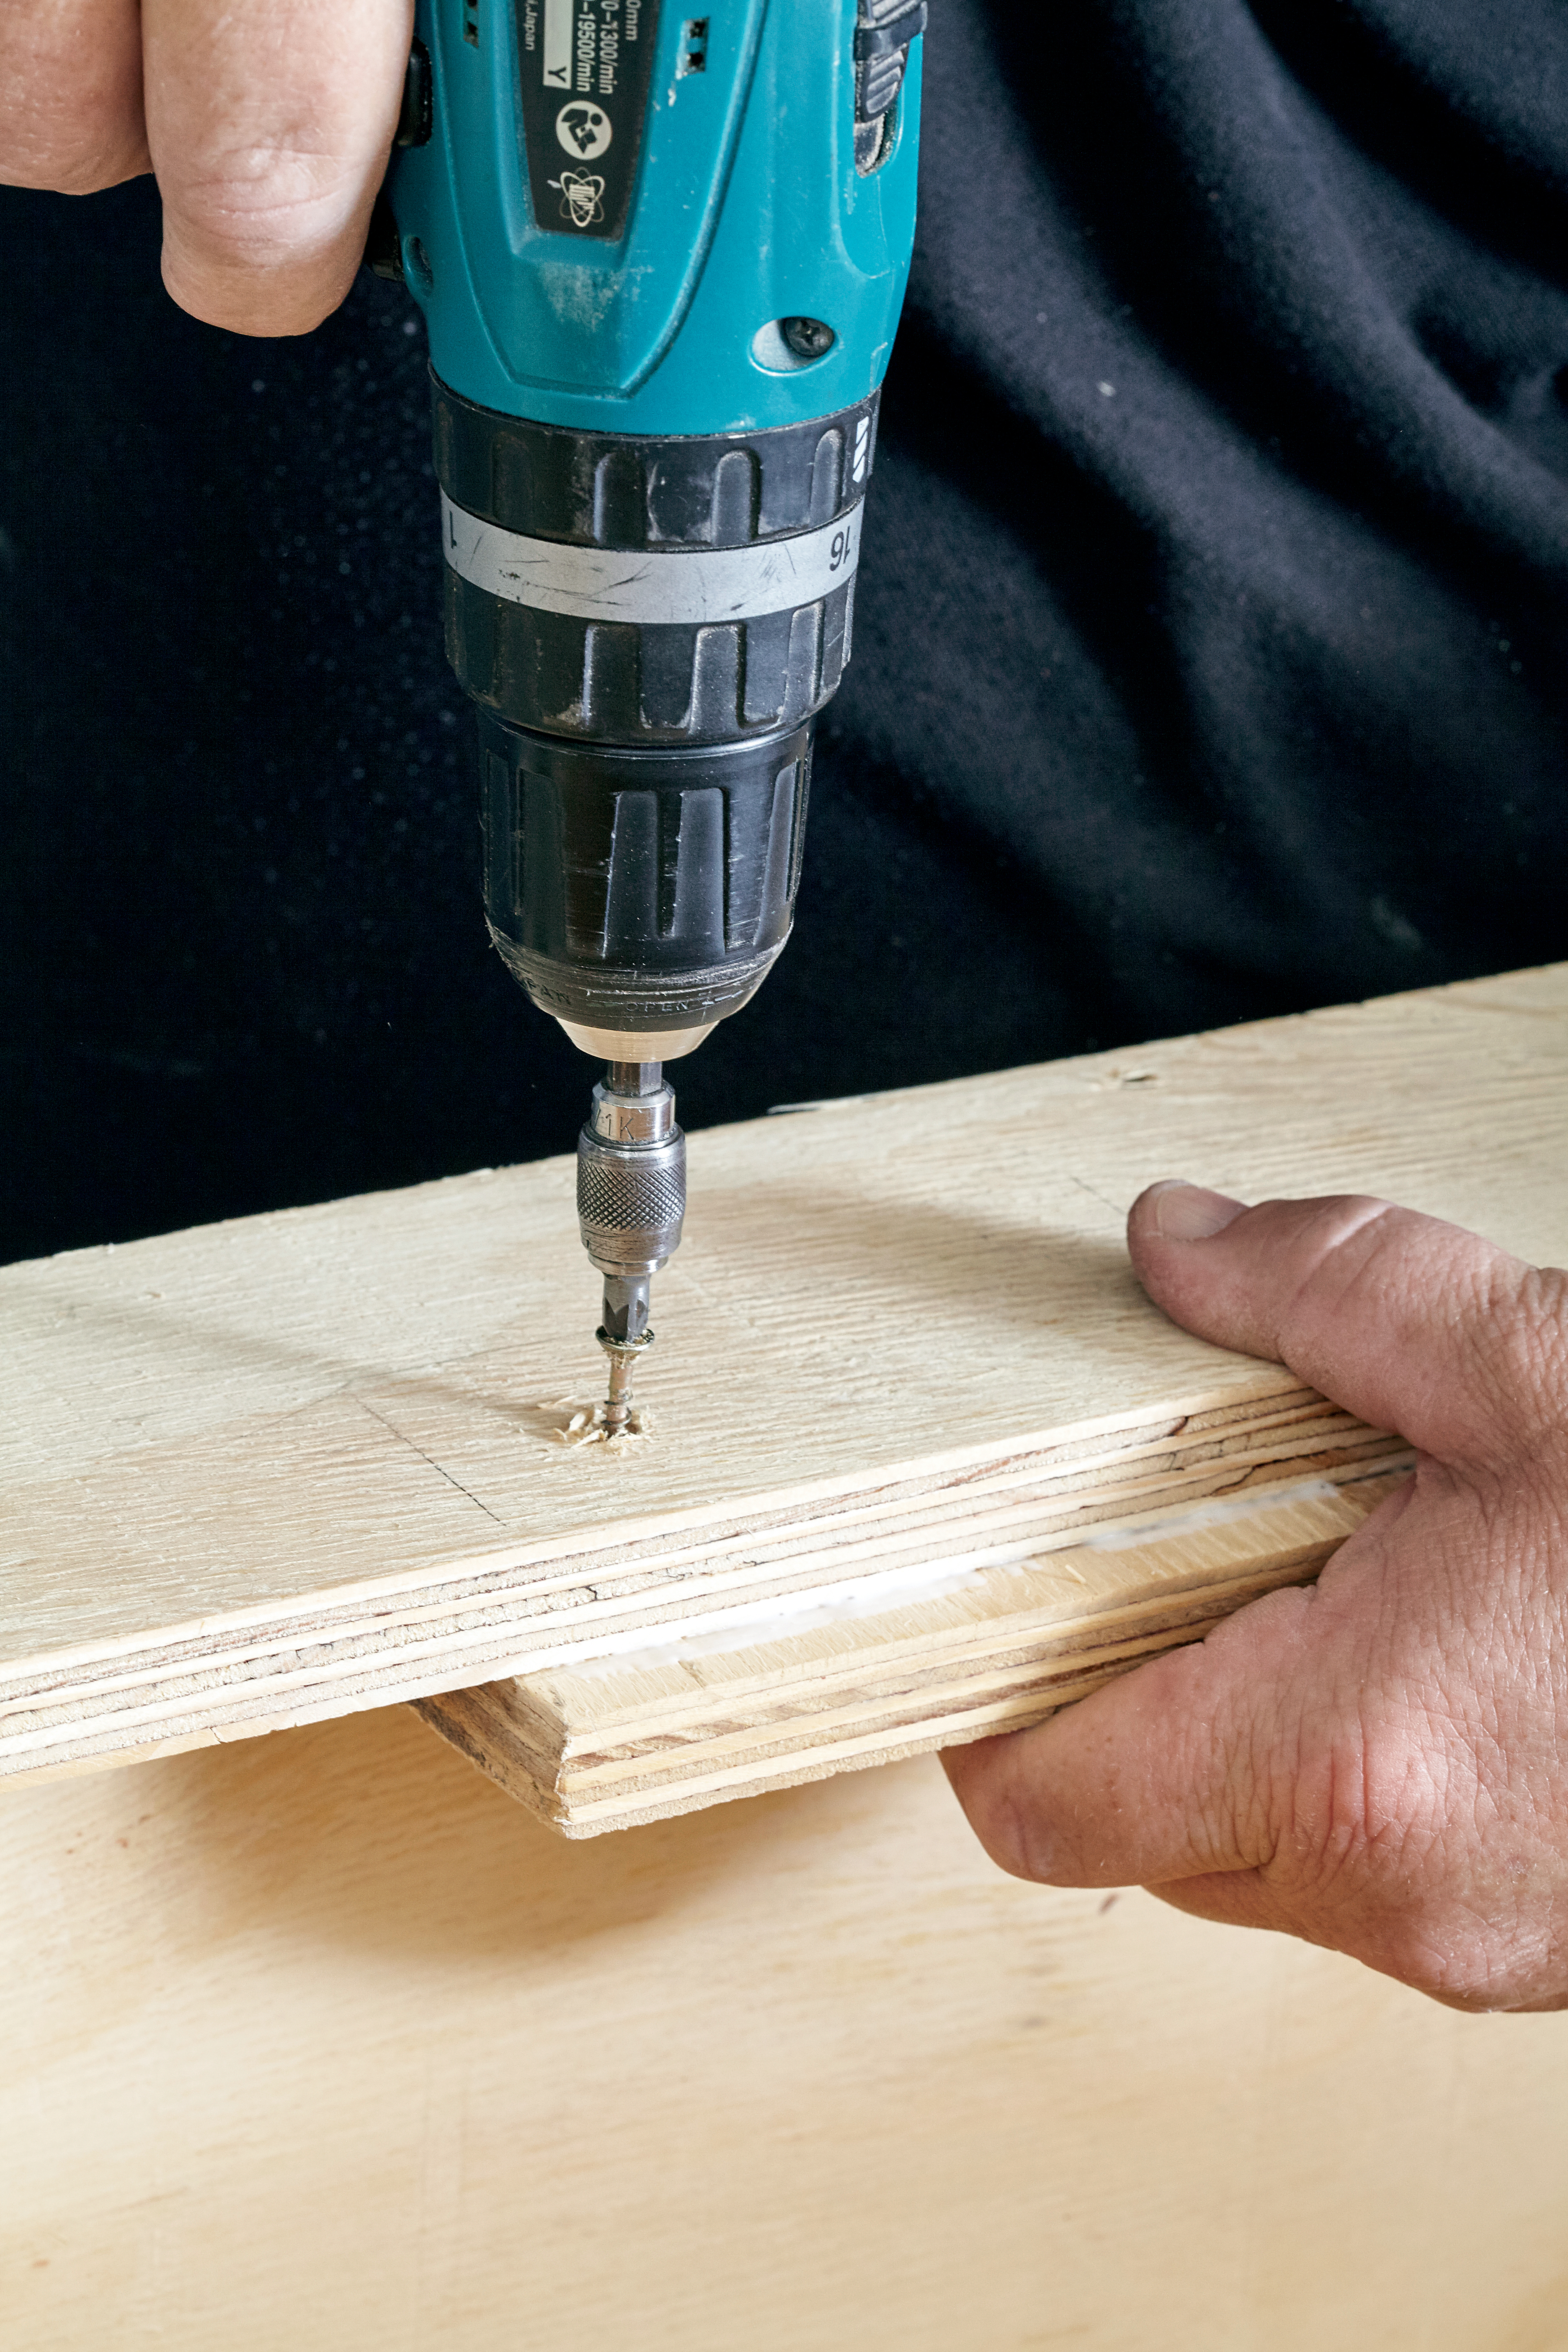
- cordless driver and 3mm drill bit
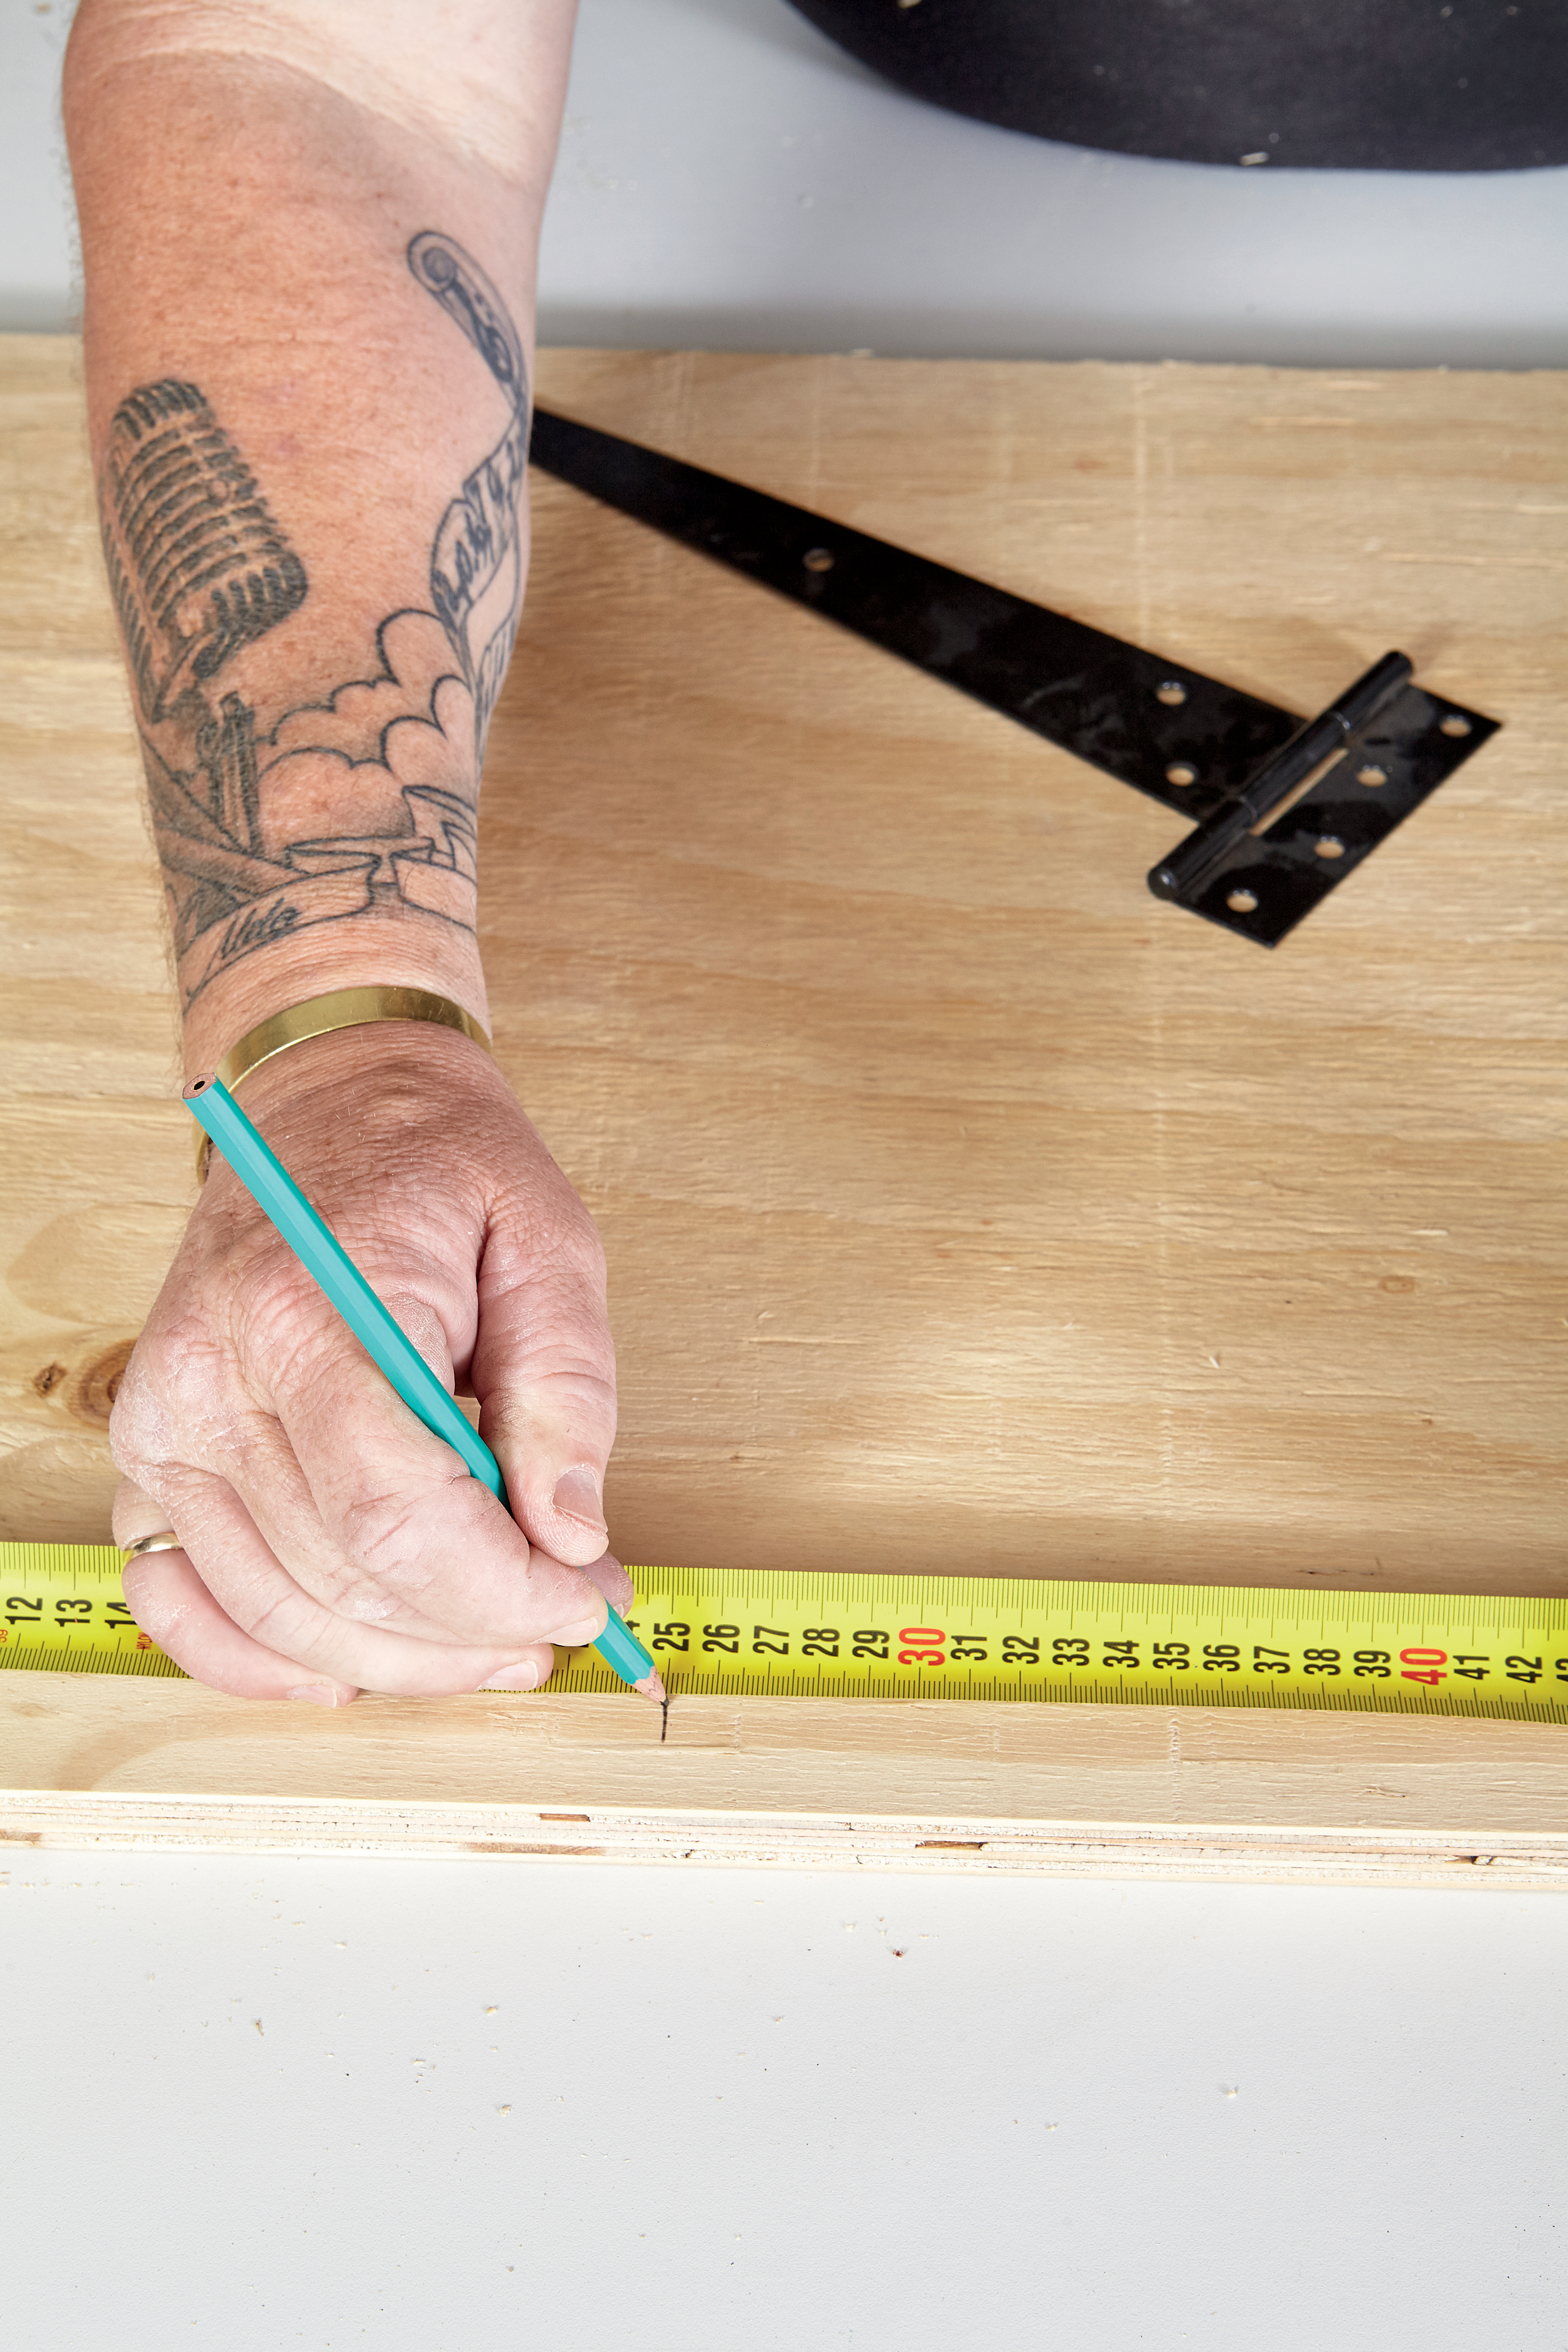
- tape measure
- pencil
- brush
- multi-square
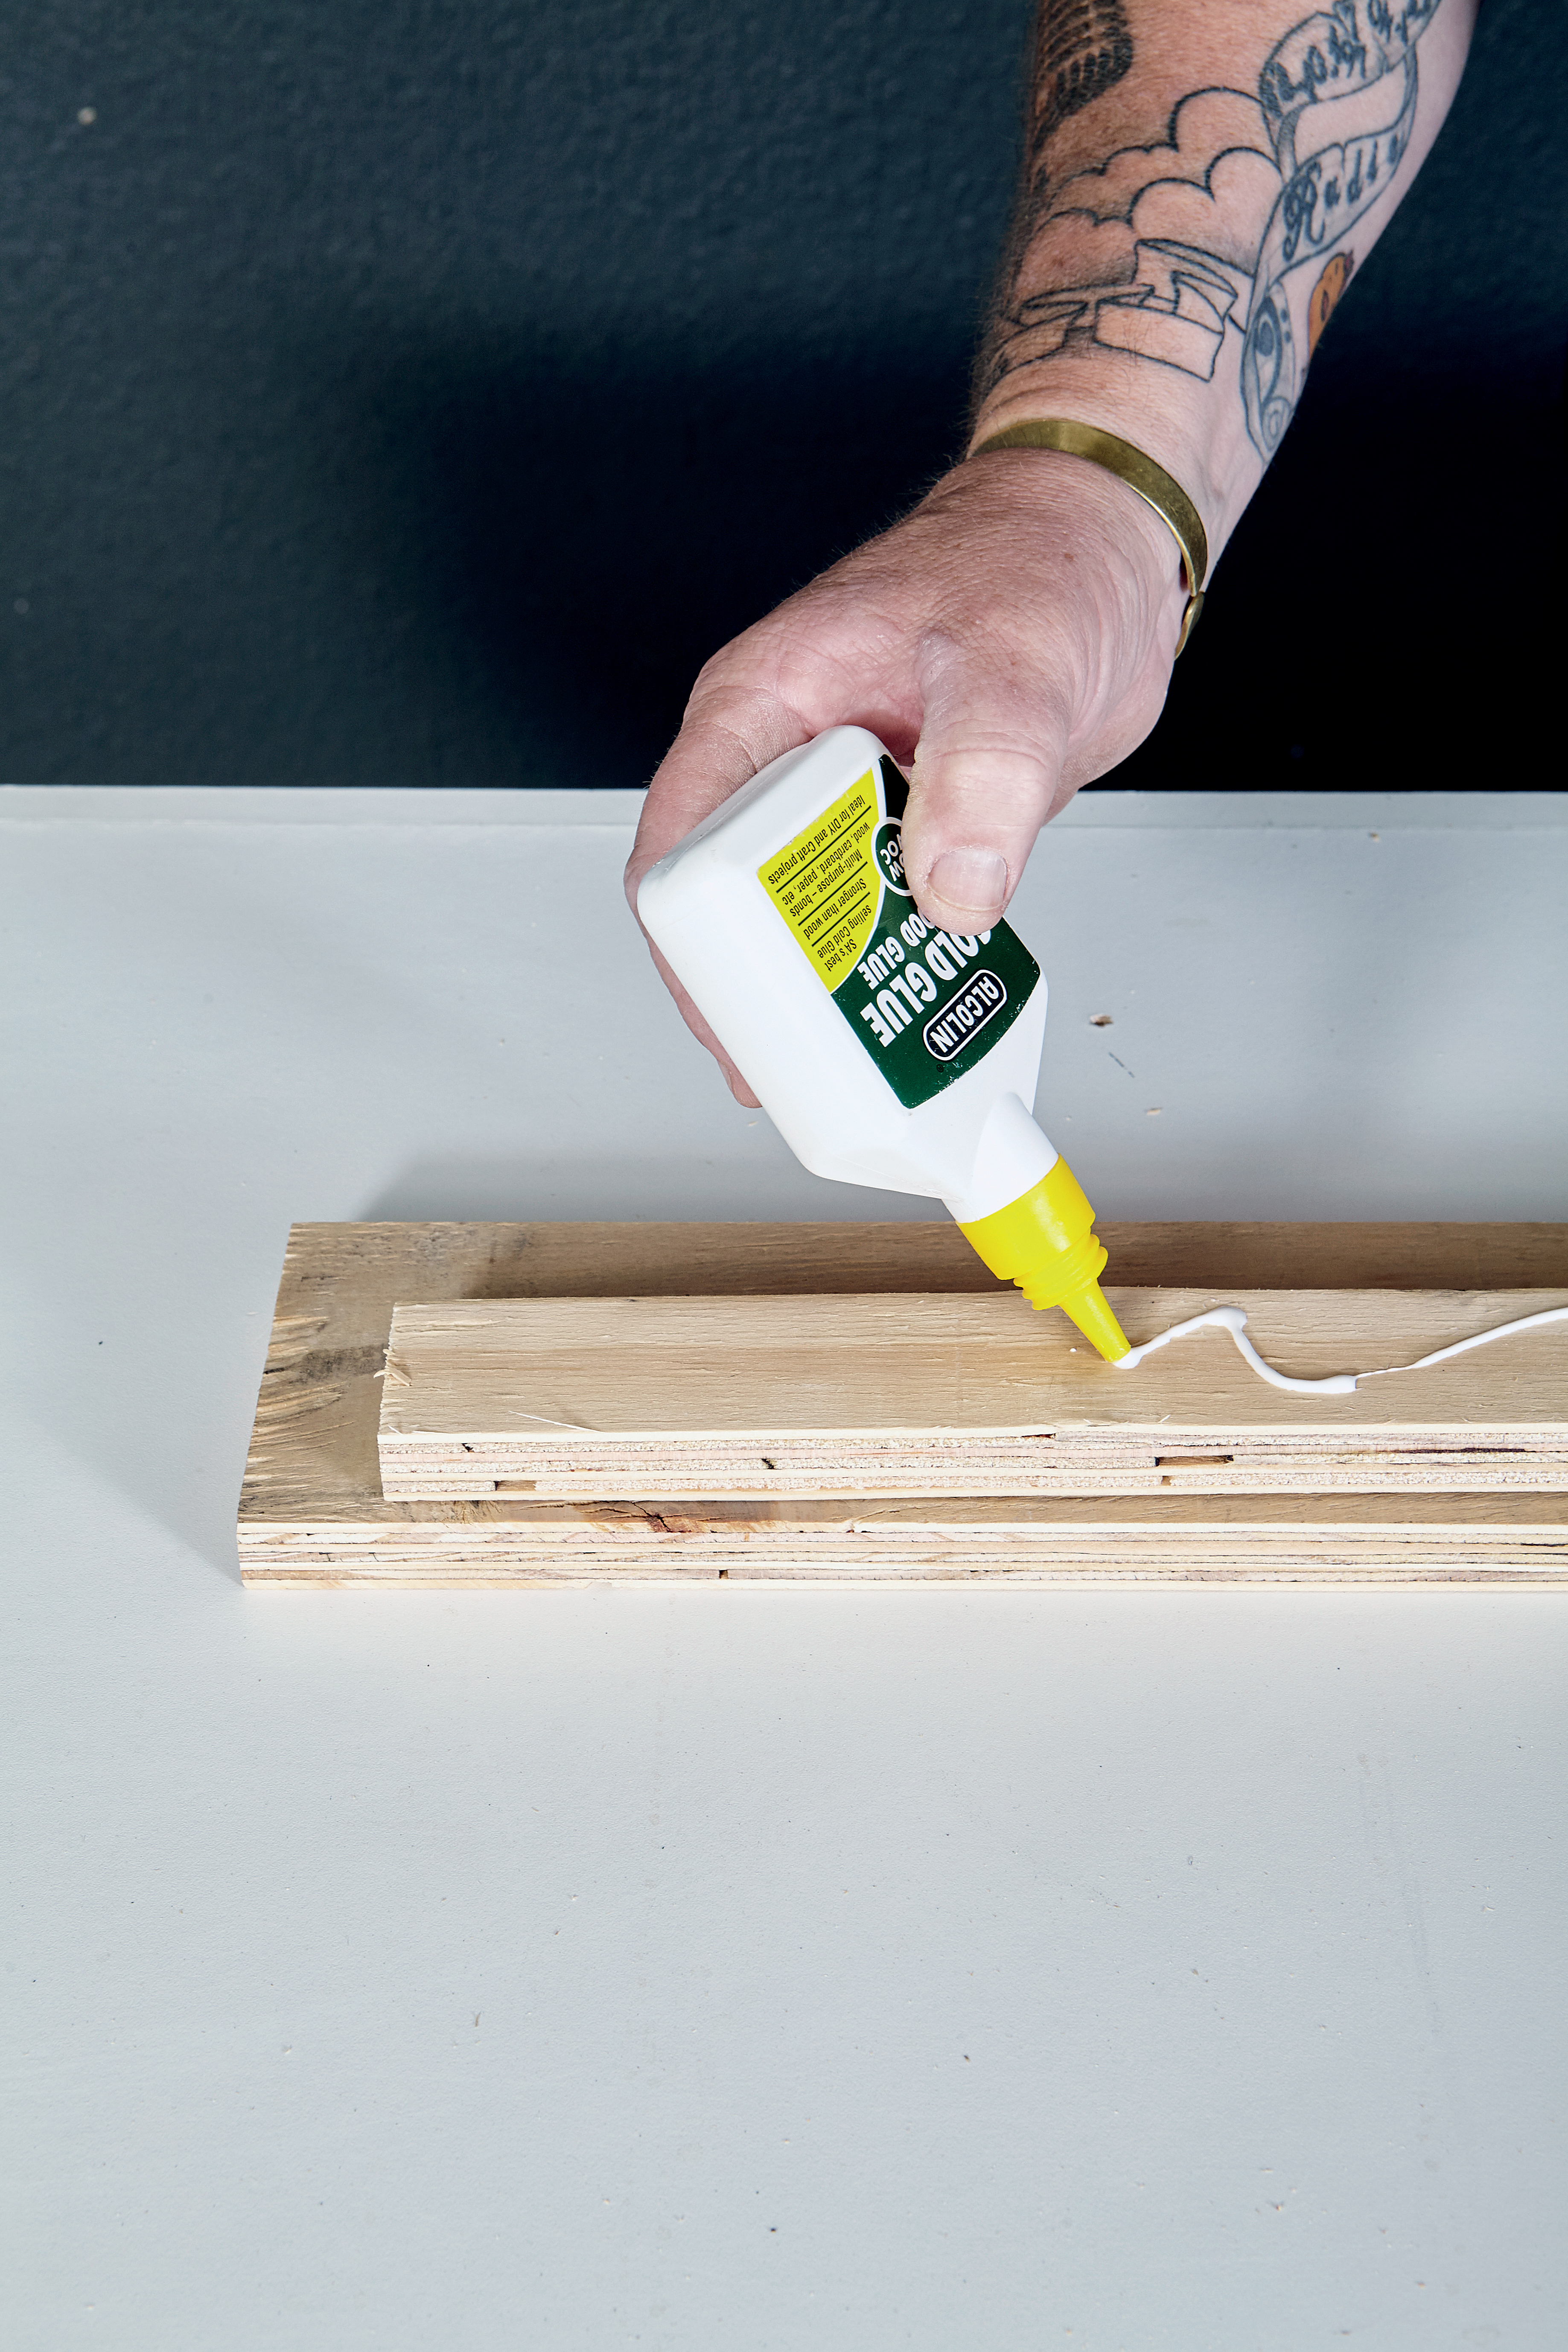
- wood glue
- 120-grit sandpaper
- one packet 8mm x 30mm chipboard screws
- one packet 6mm x 40mm chipboard screws
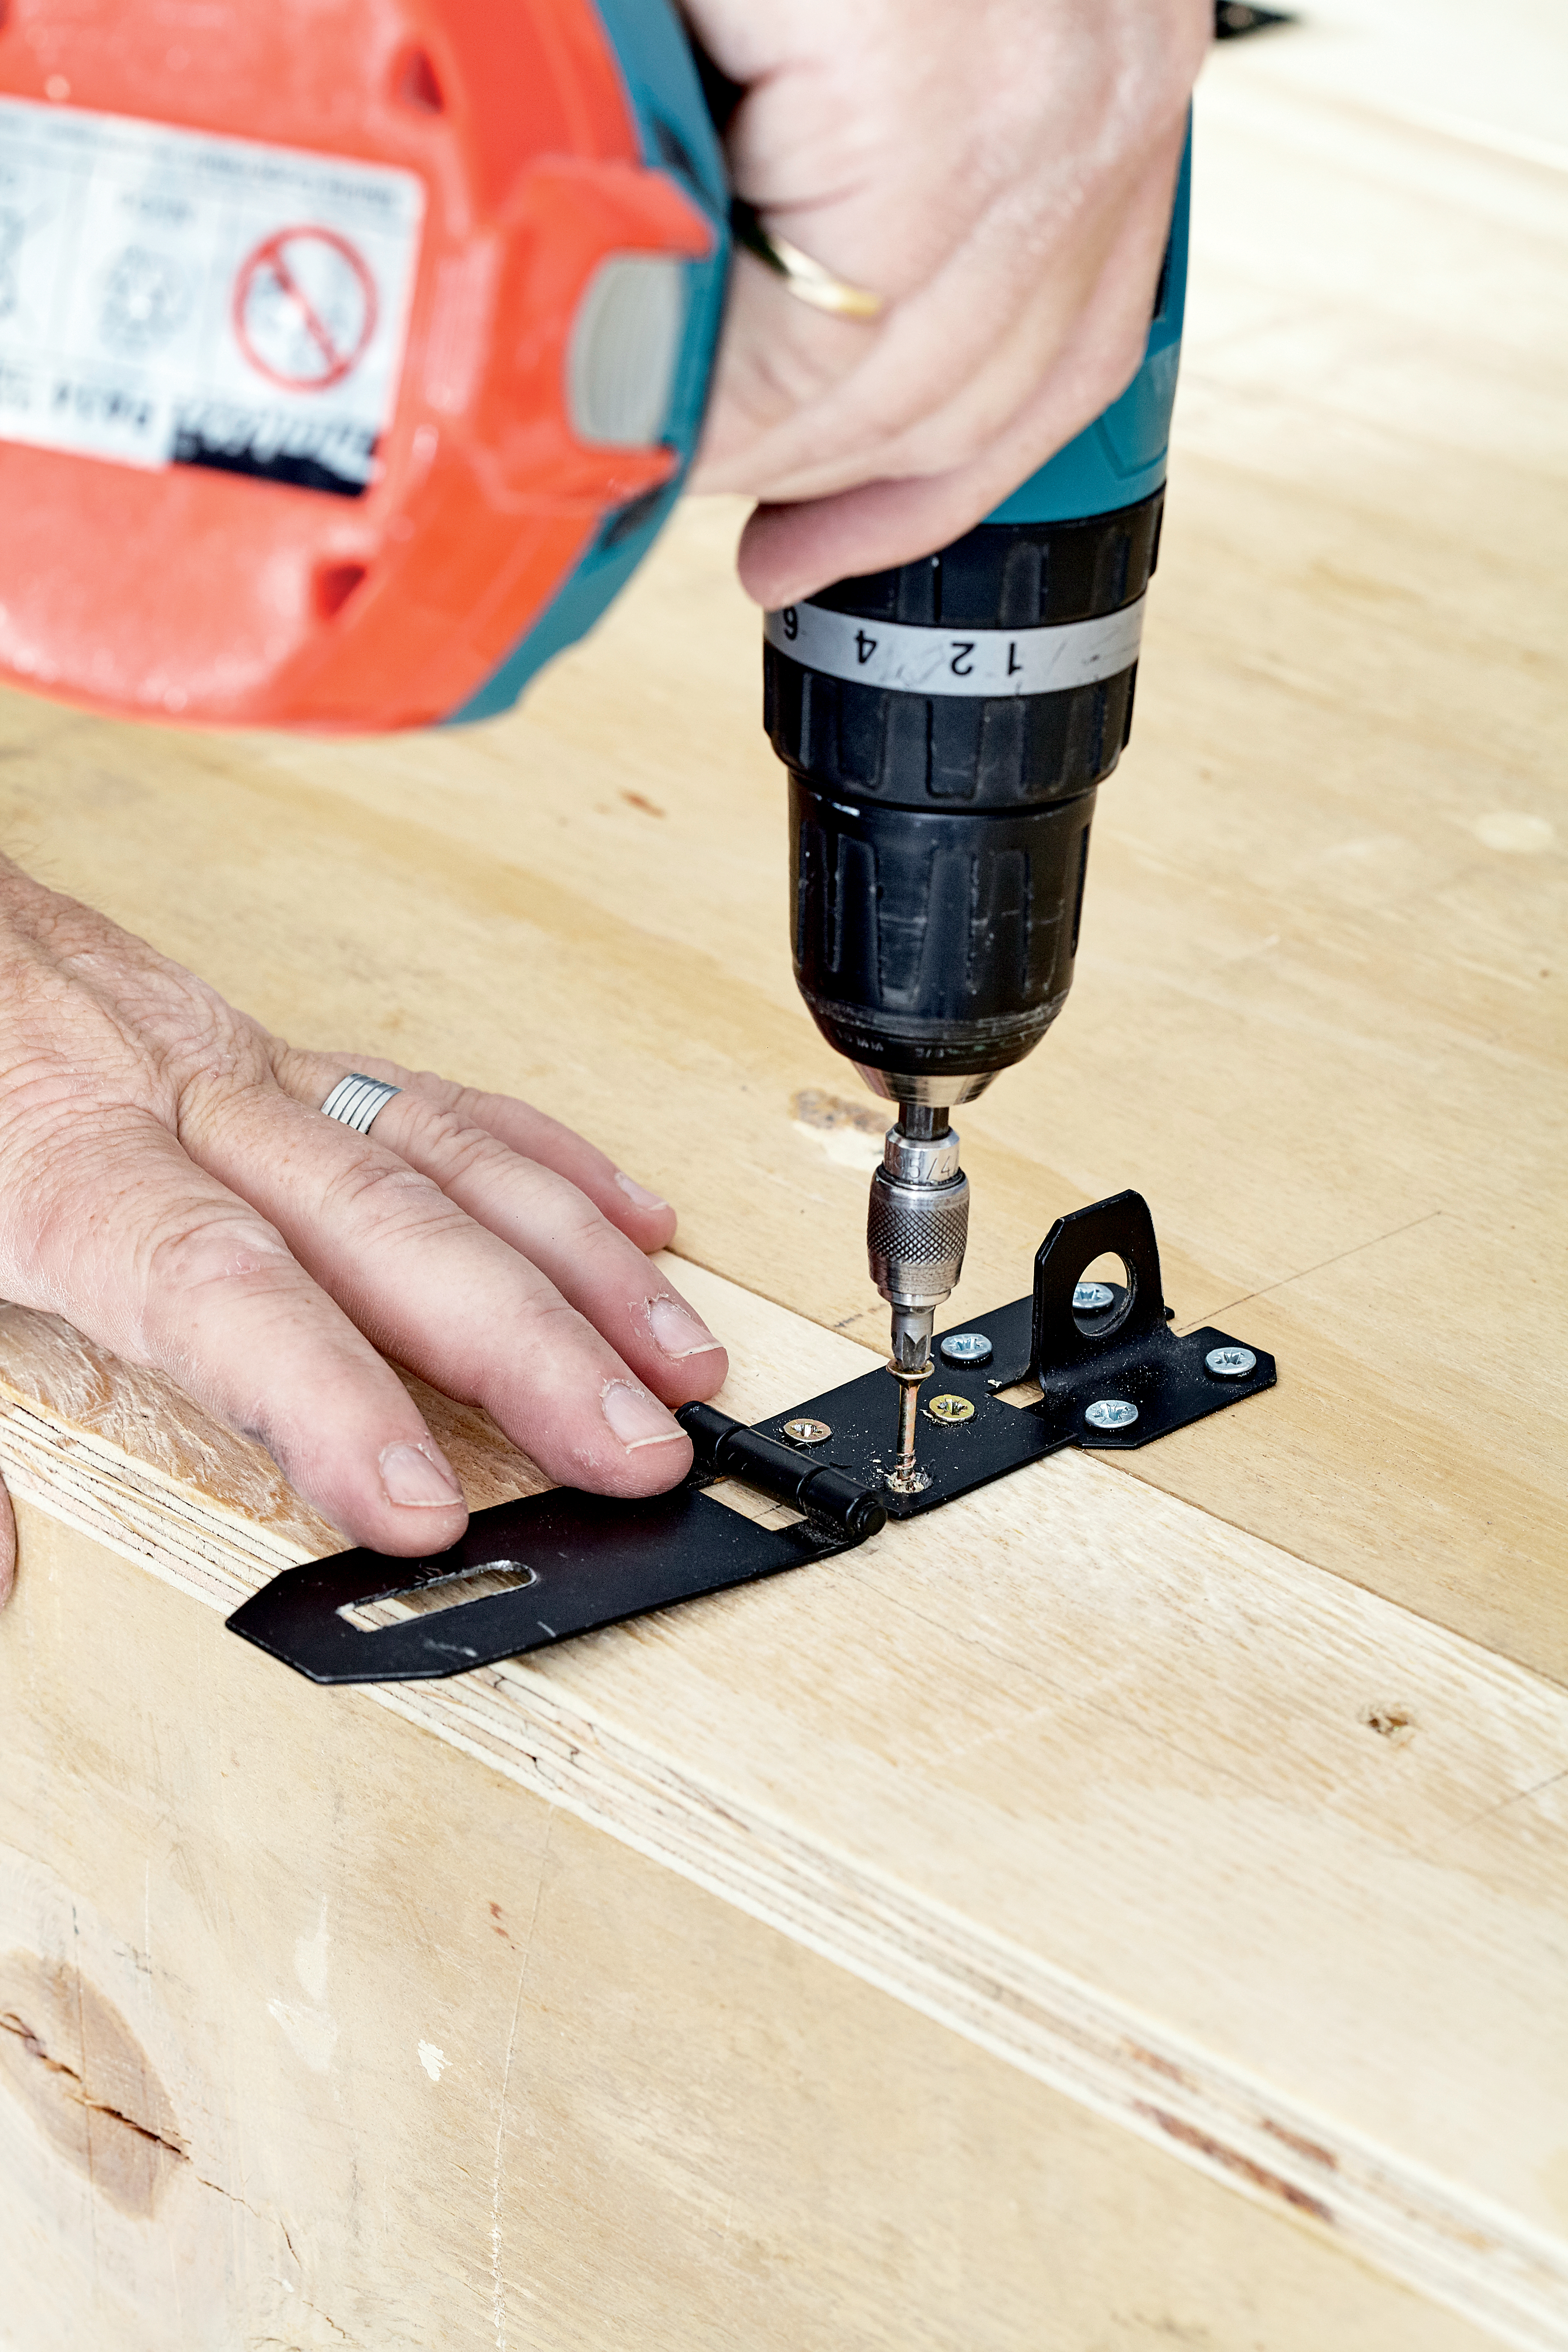
- two T-hinges
- one hasp and staple latch
- screw-in hooks
- paint or varnish
- wood filler
Cutting List
- two lengths of 18mm Shutterply, cut to:
- two 1 580 x 250mm (sides)
- one 1 564 x 664mm (rear)
- one 700 x 250mm (top)
- one 664 x 250mm (base)
- two 1 600 x 100mm (front panels)
- one 1 564 x 50mm (strut for front panel)
- three 664 x 100mm (shelf and struts)
- one 1 590 x 495mm (door)
- two 495 x 100mm (door struts)
- one 740 x 290mm (roof)
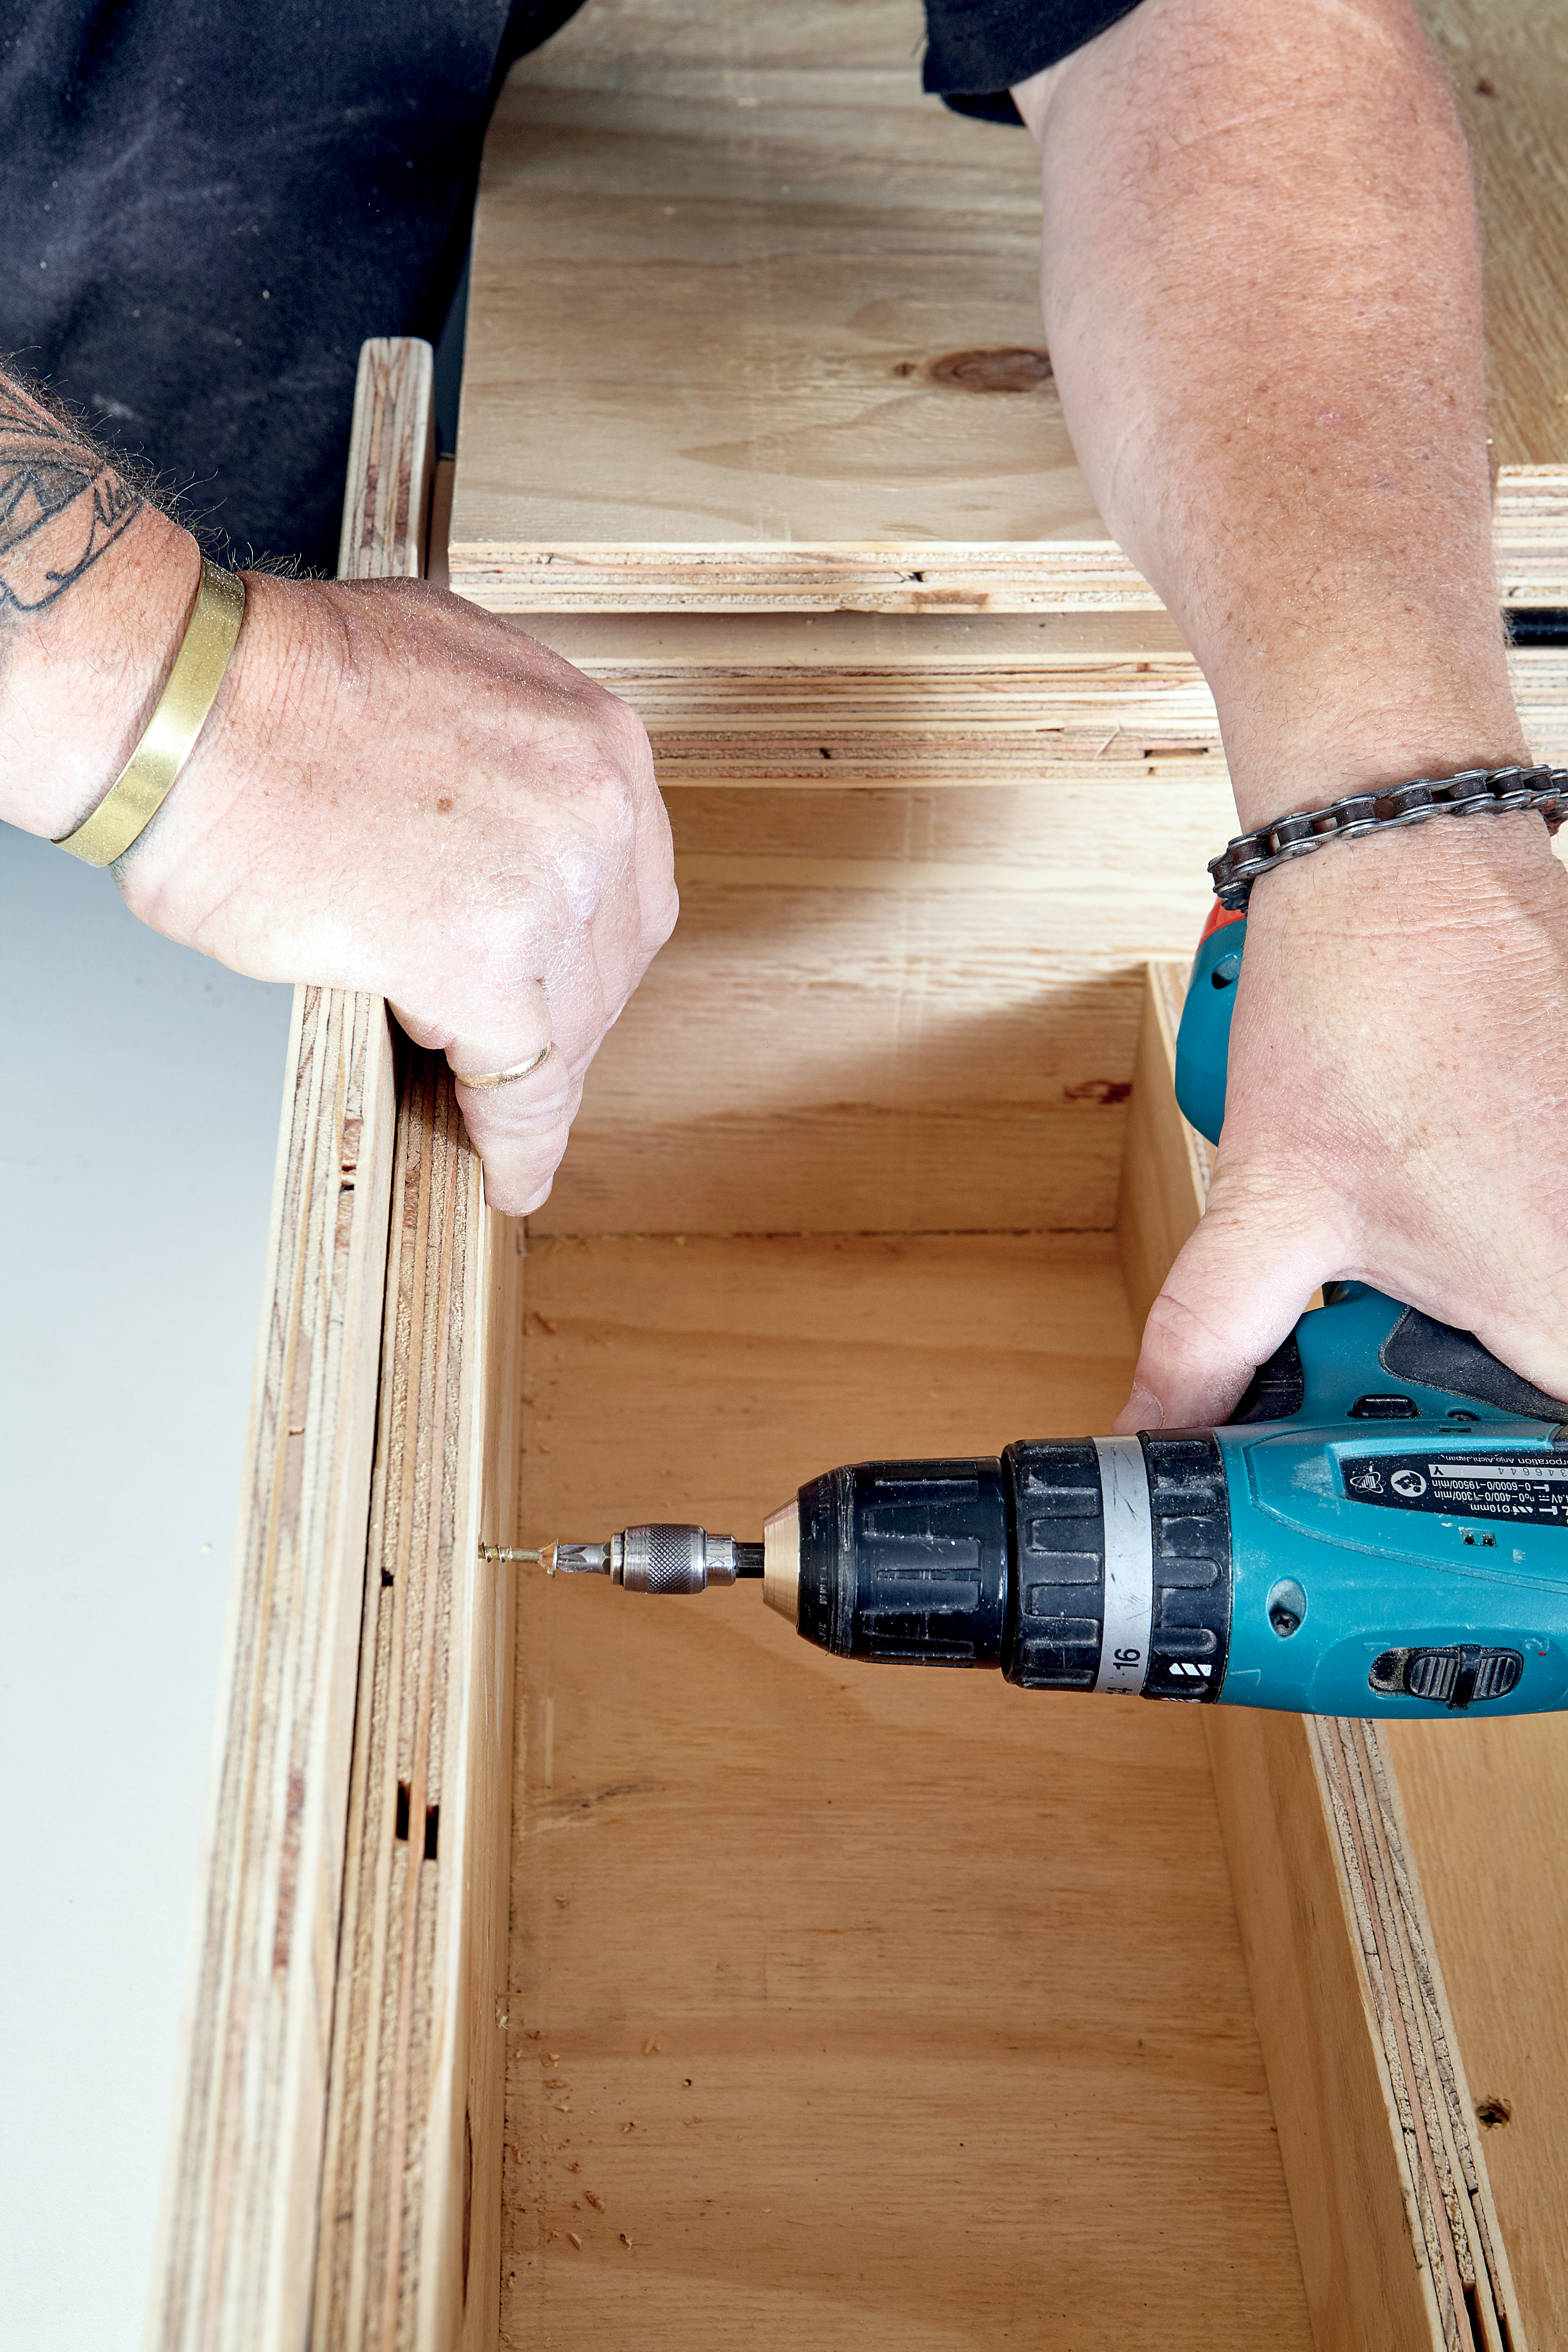
Step 1
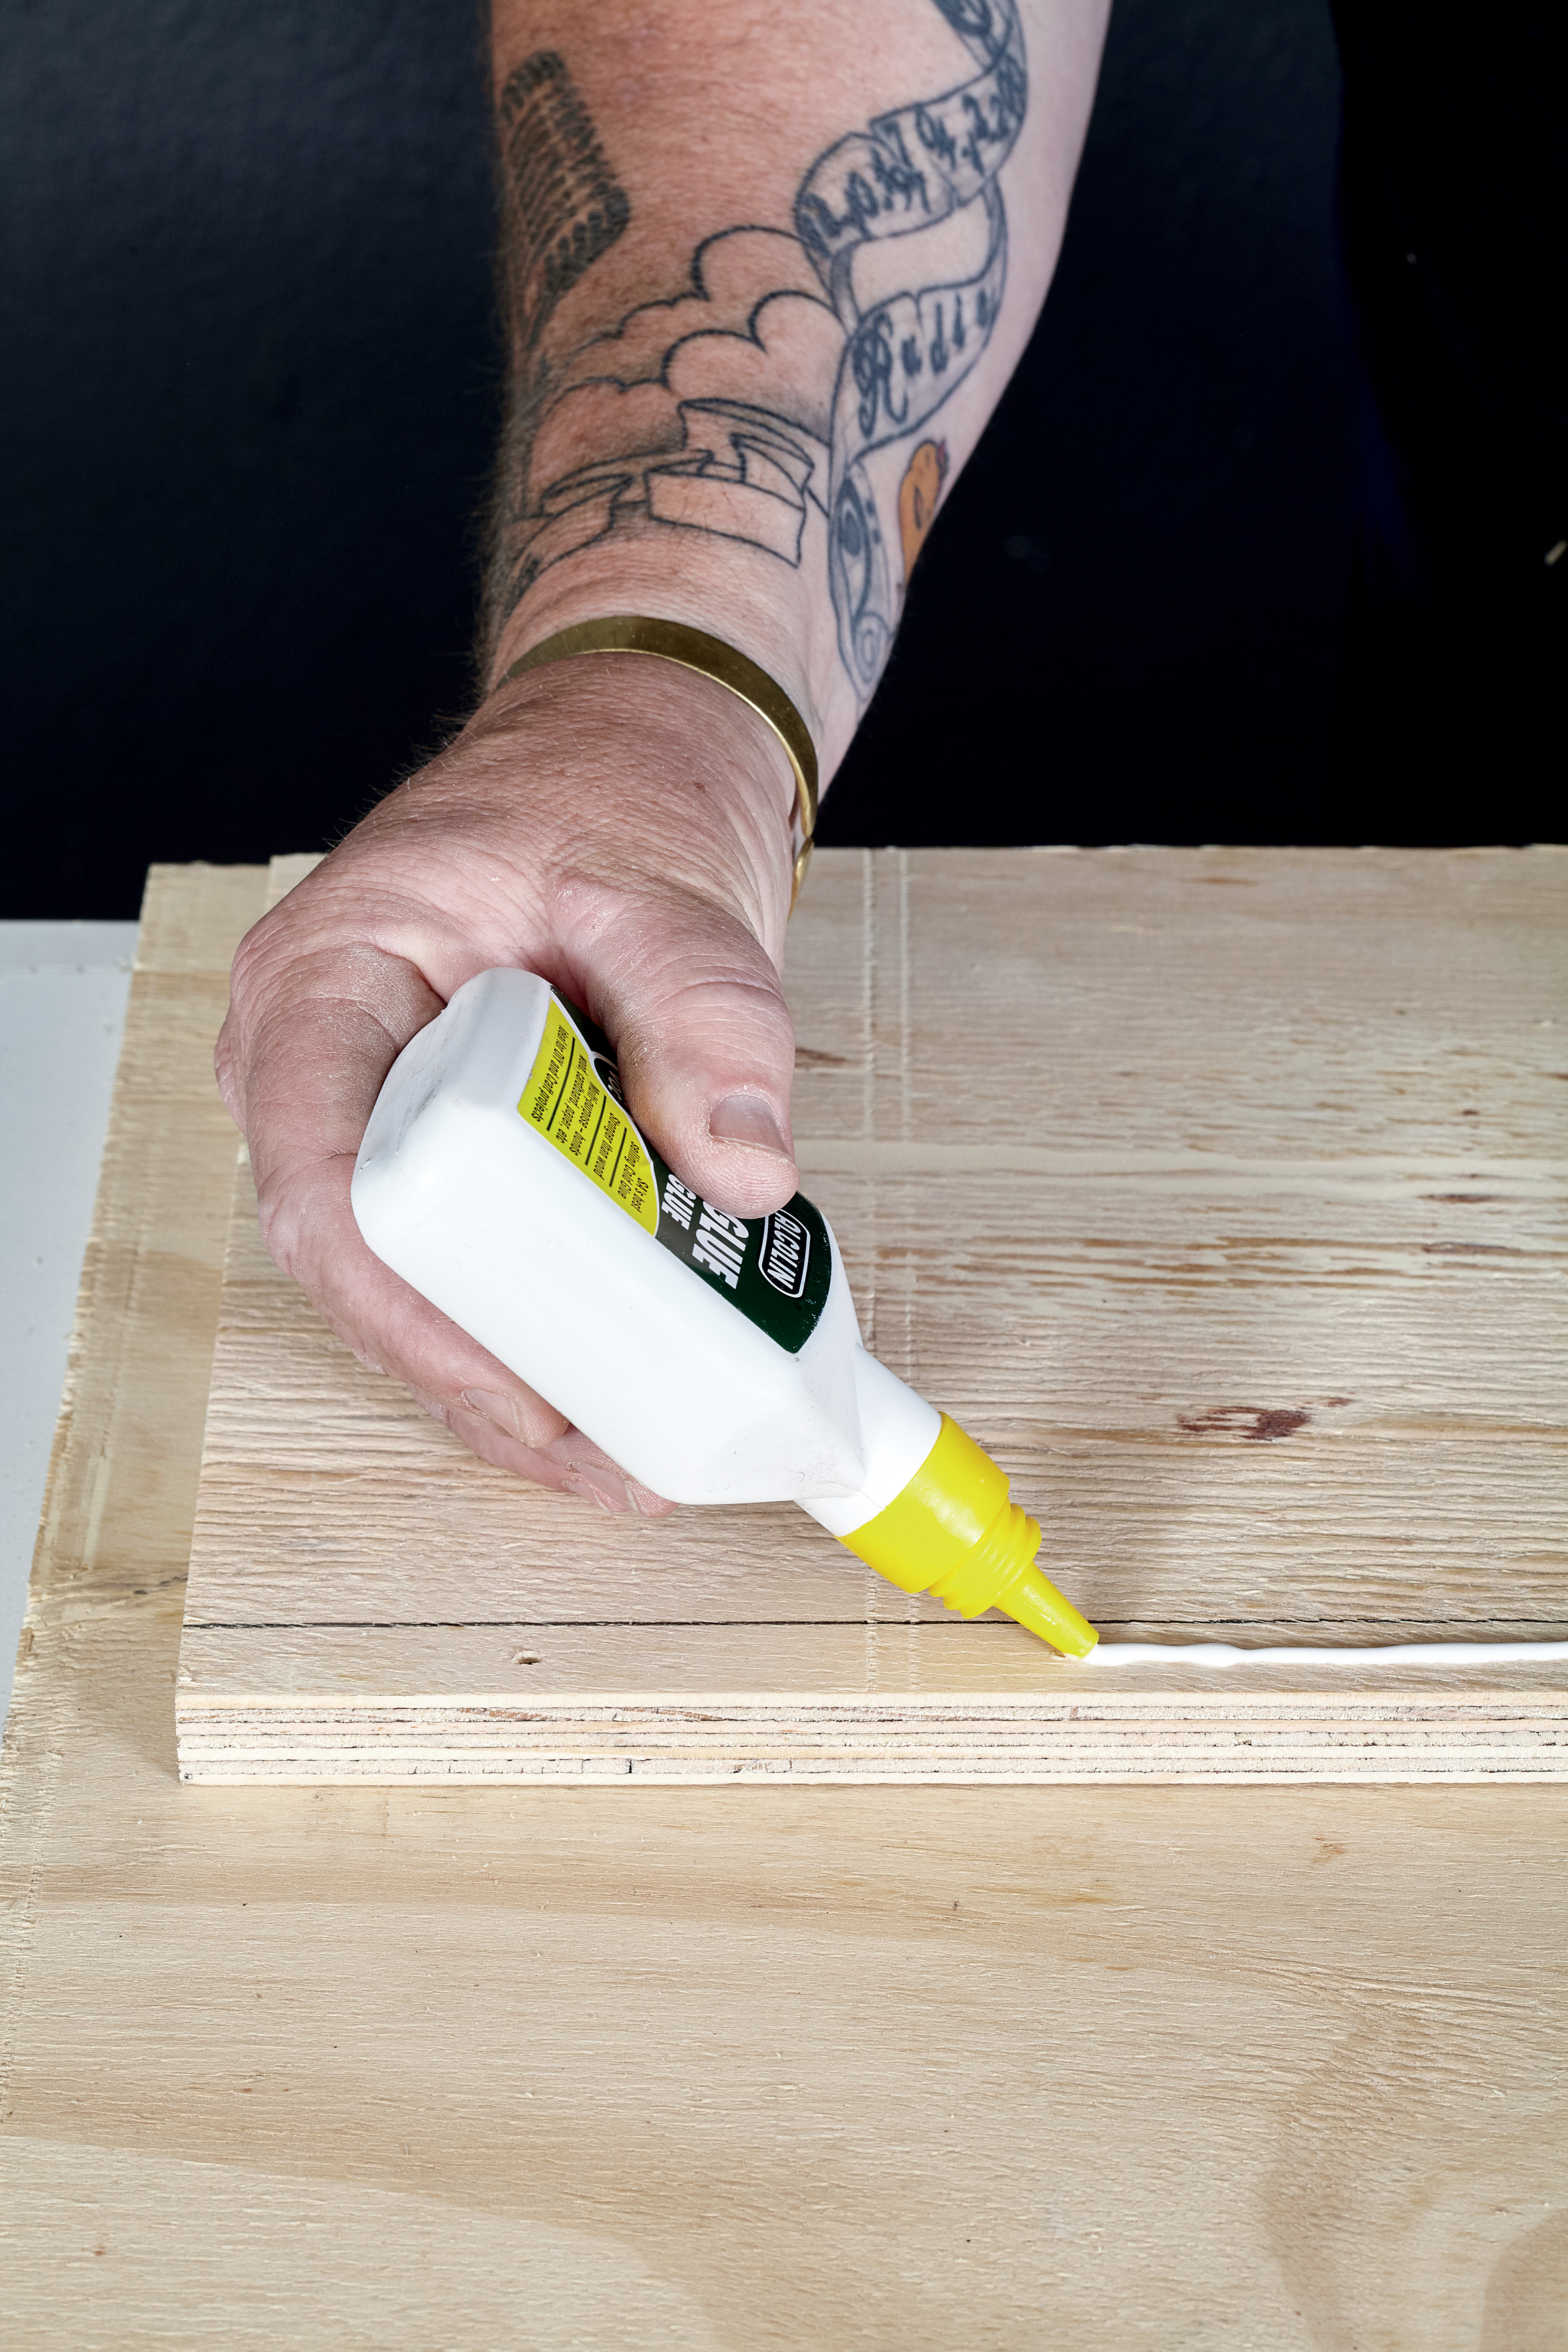
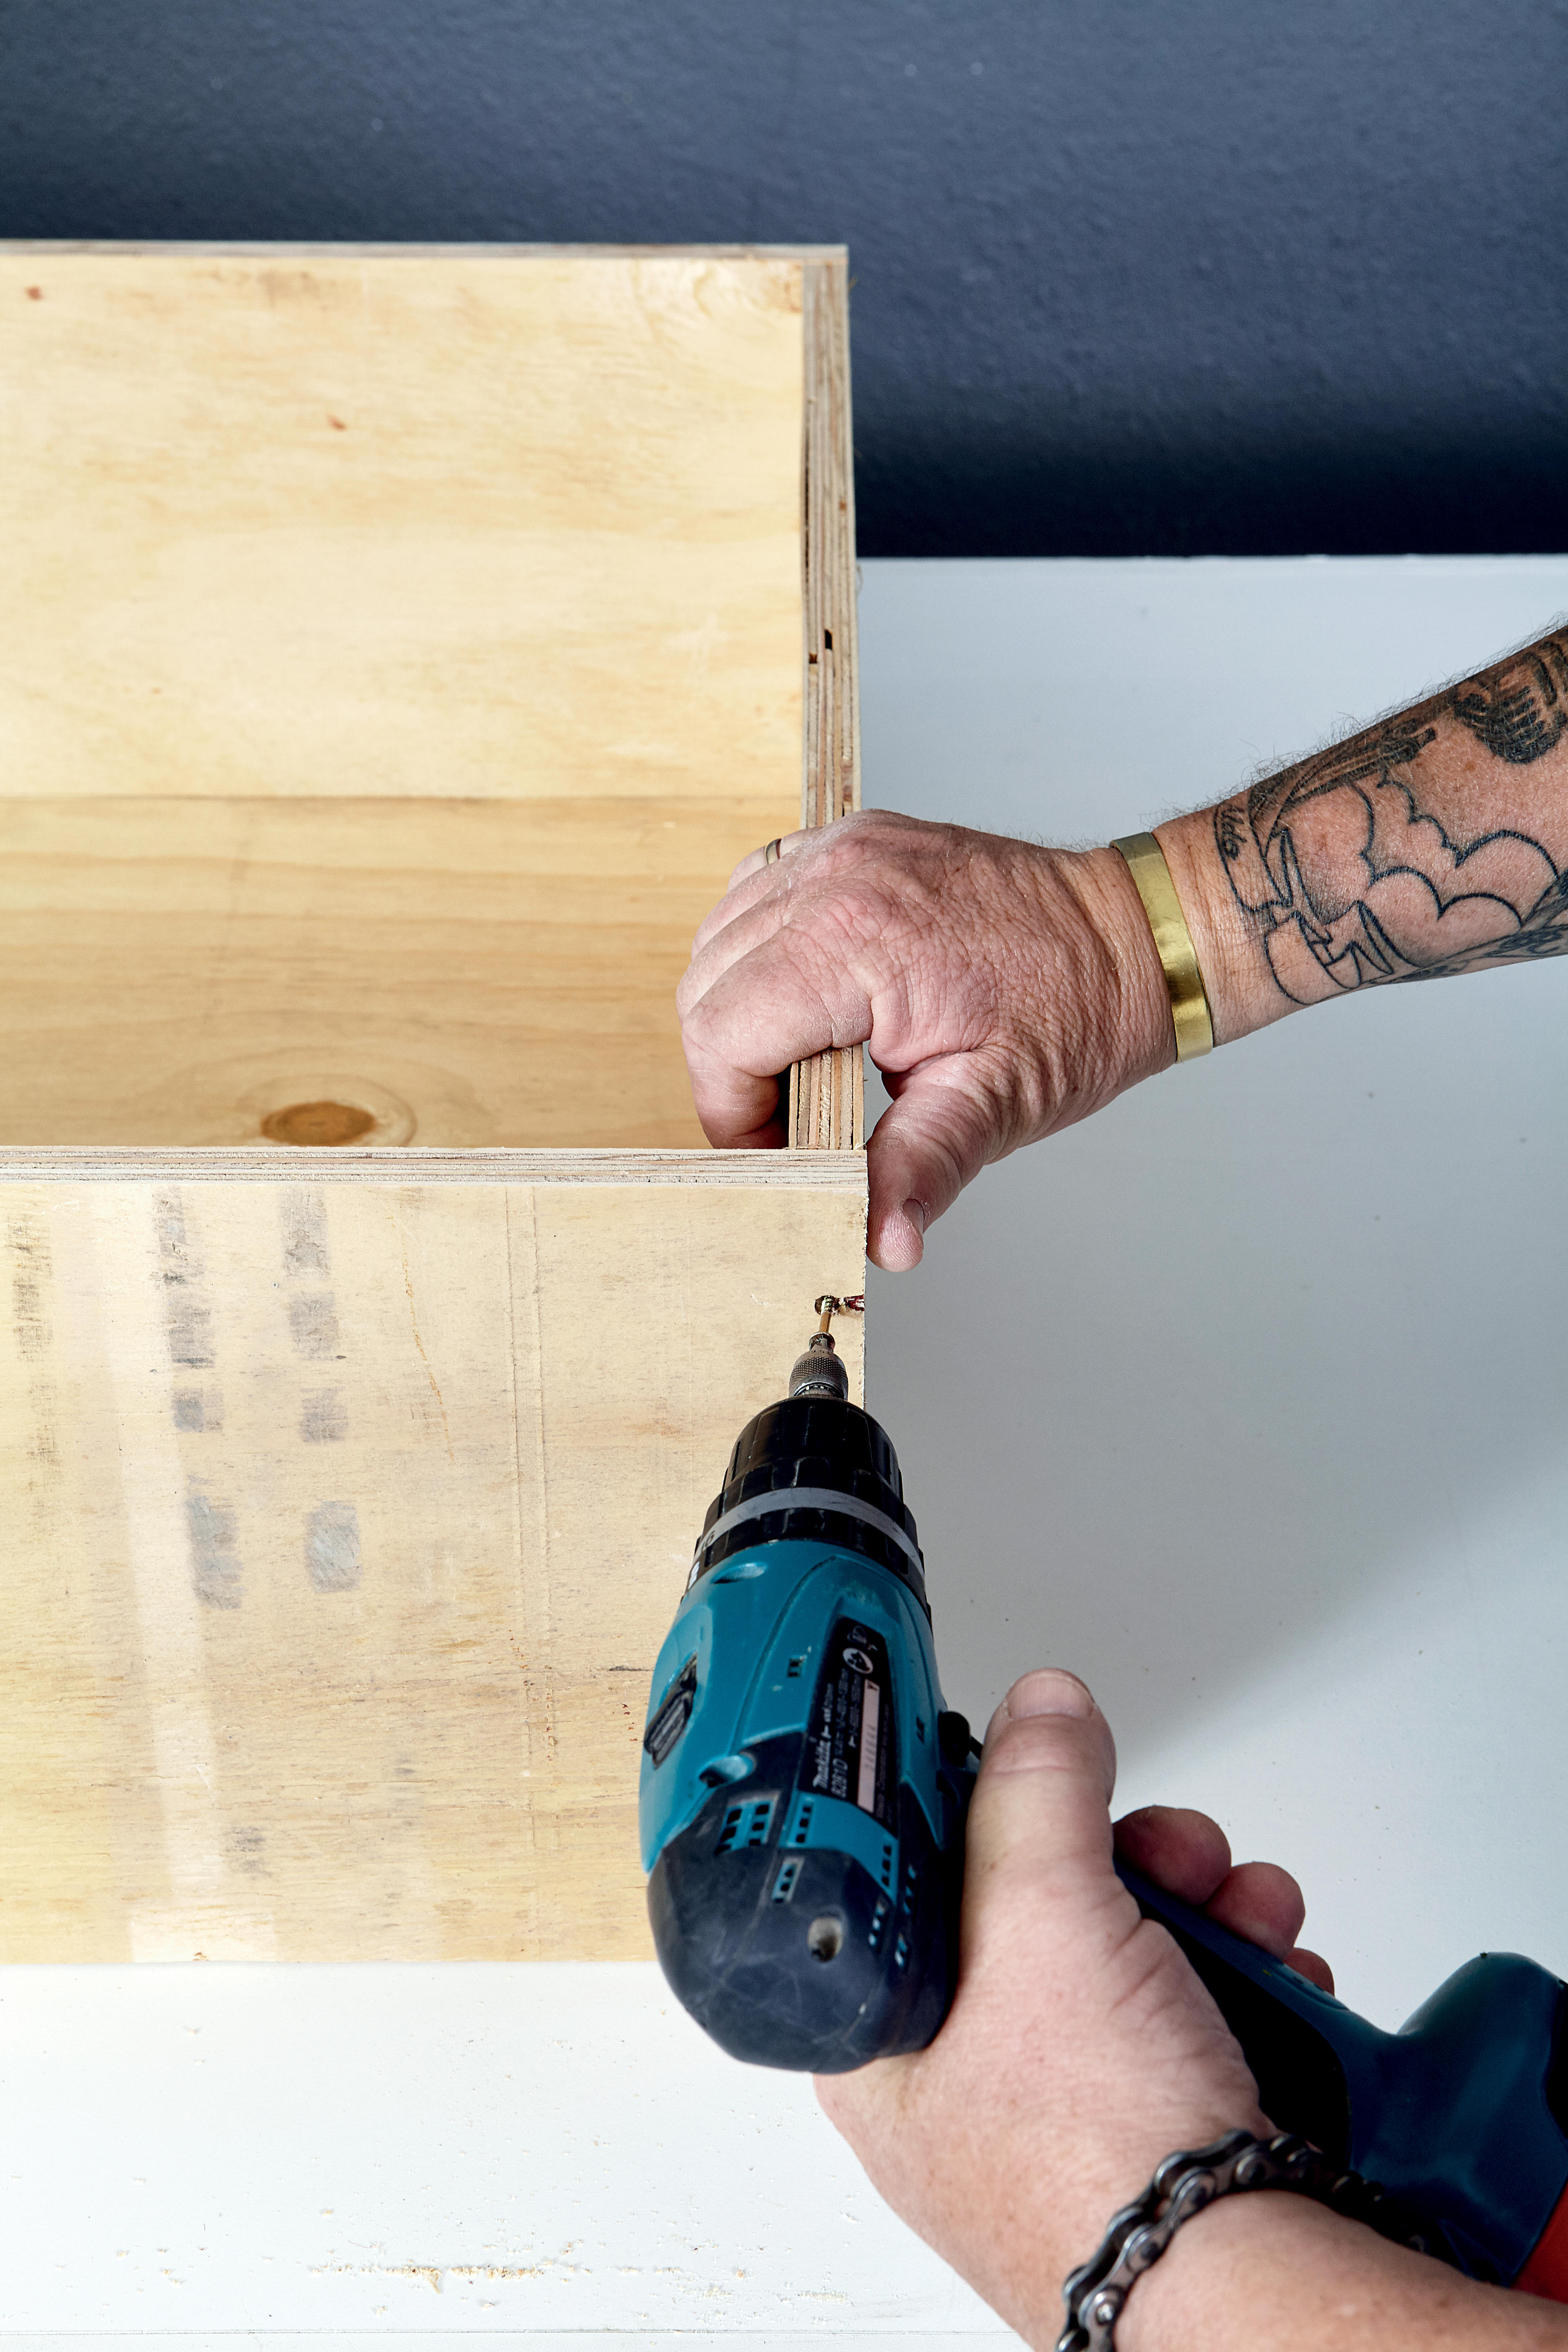
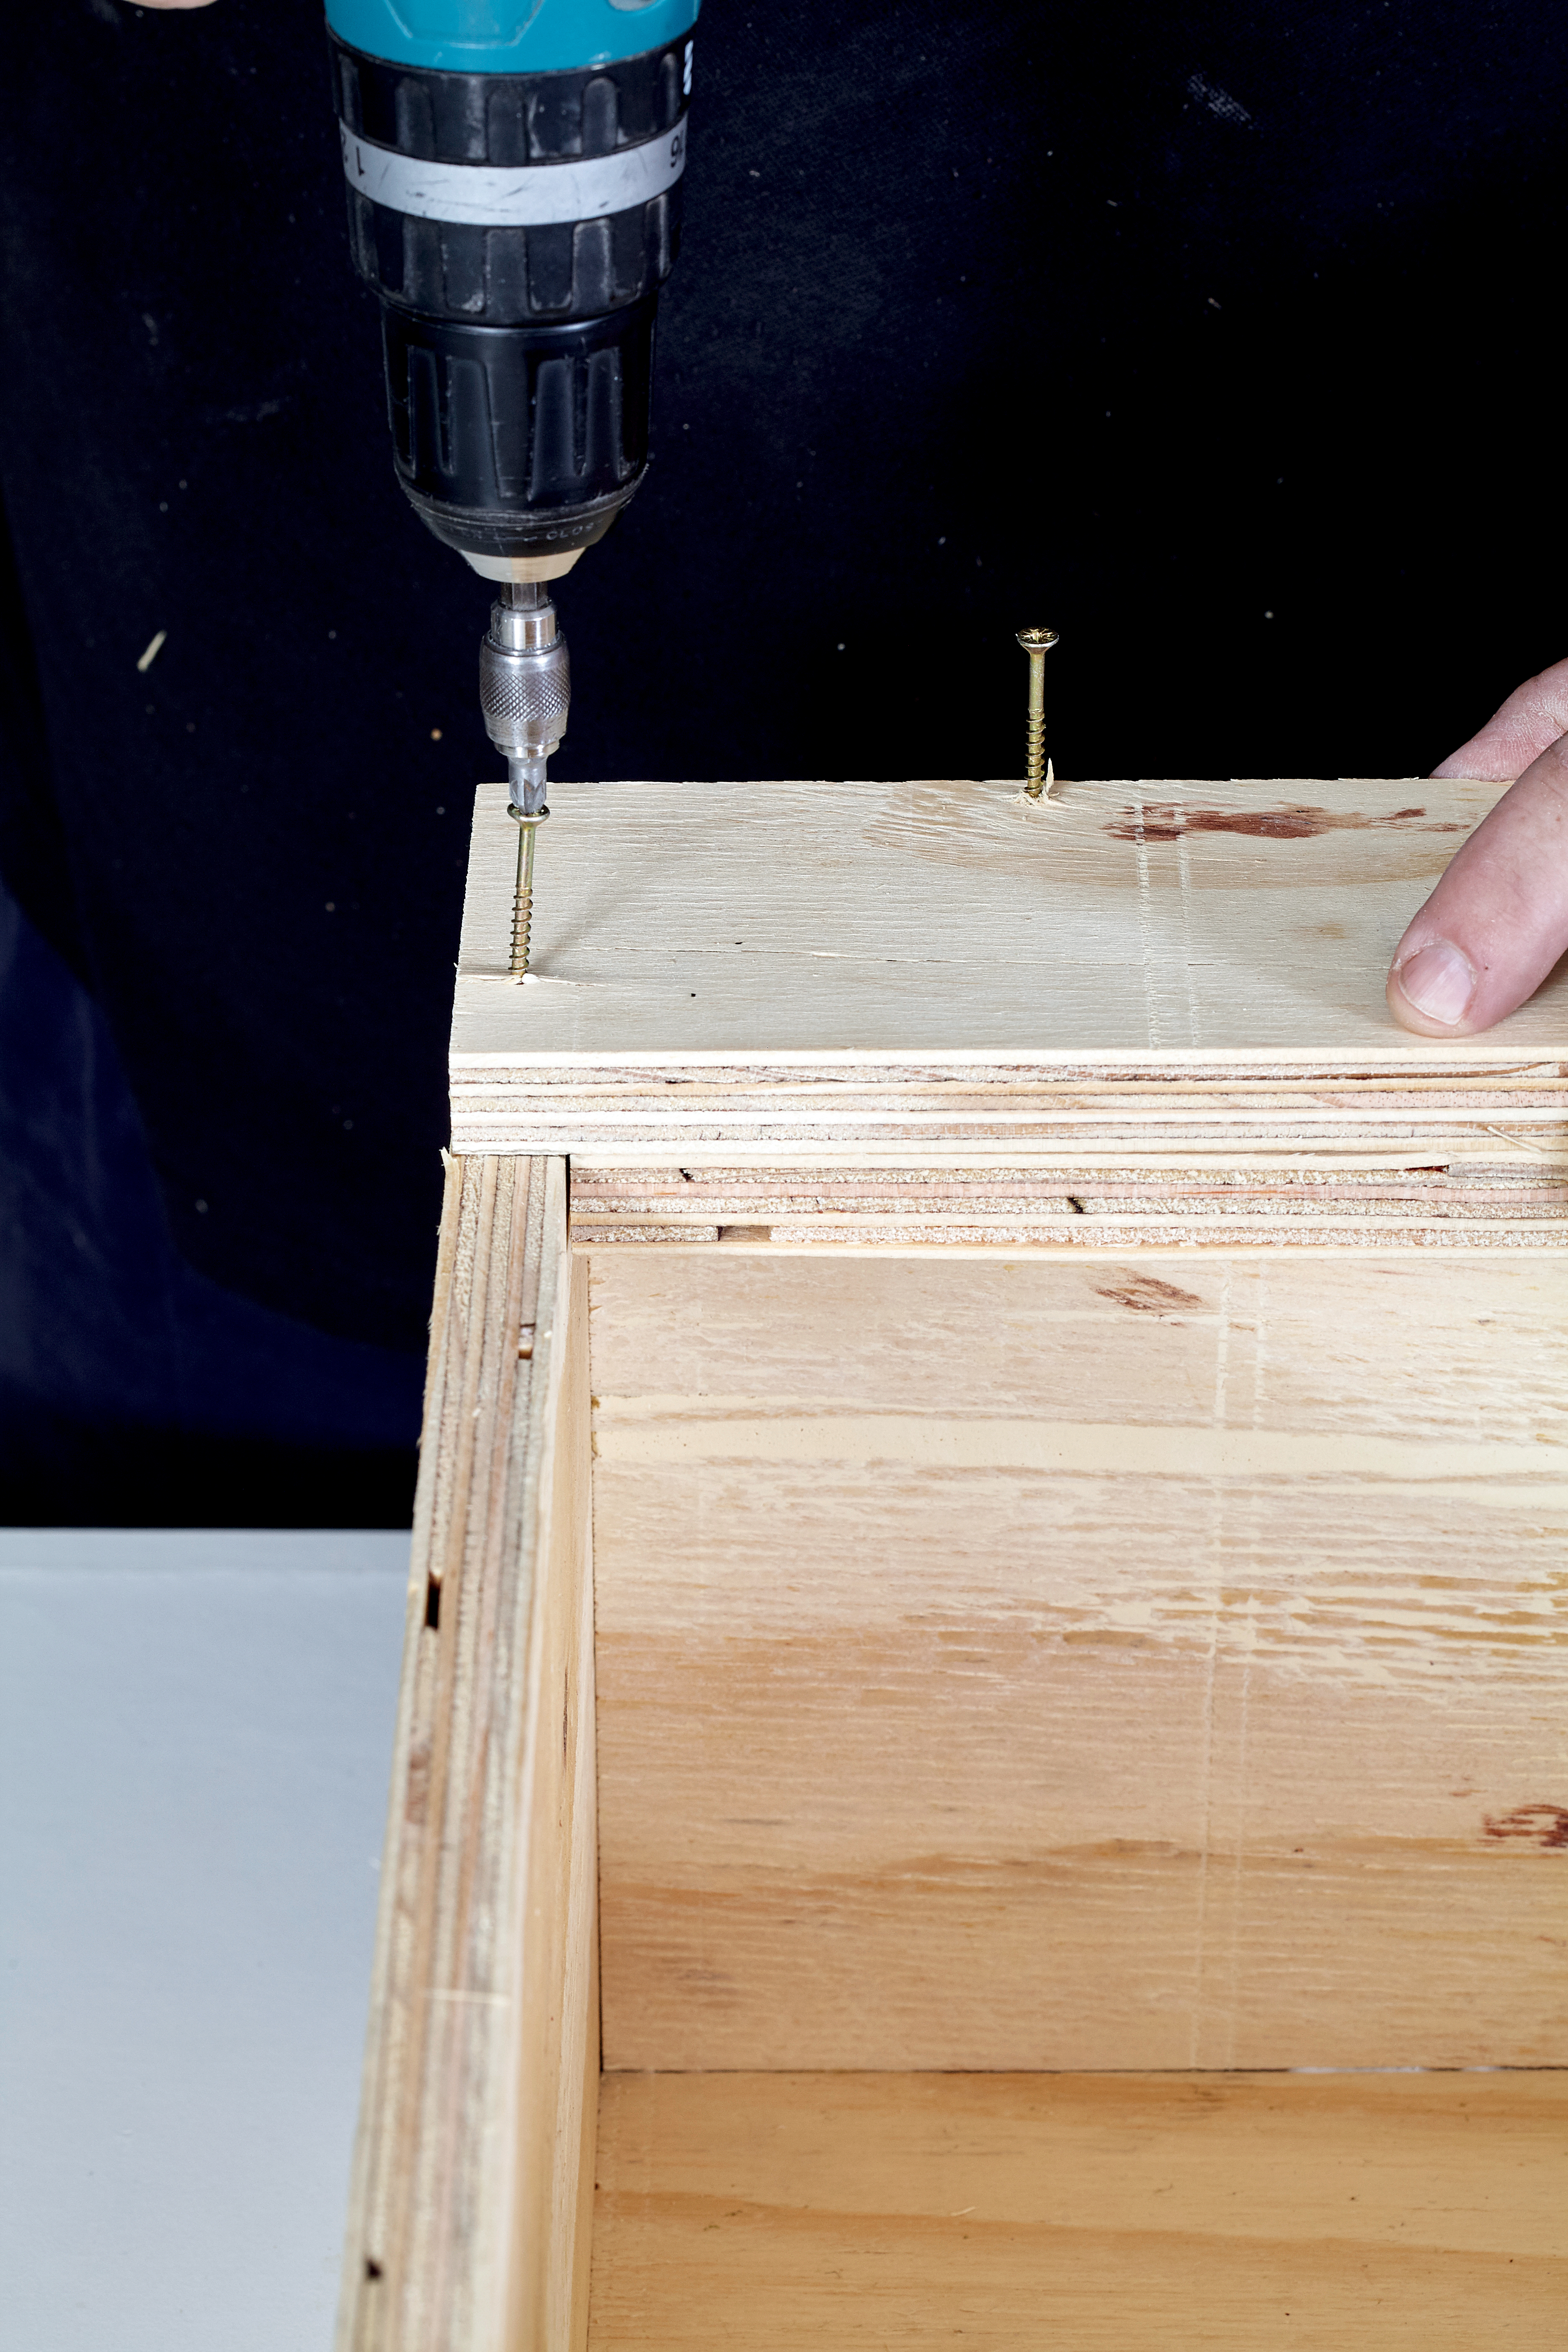
Glue and screw the 1 564 x 664mm back piece between the two 1 580 x 250mm side pieces, flush with the top.
Step 2
Screw the 700 x 250mm top piece on top and the 664 x 250mm base on the bottom between the sides.
Step 3
Strengthen one 1 600 x 100mm front panel by attaching the 1 564 x 50mm strut with glue and screws, flush with the inside edge and 18mm from each end; attach the panel to the right-hand side of the cupboard. The strut makes provision for attaching the hinges later.
Step 4
Screw the other 1 600 x 100mm front panel to the left hand side.
Step 5
Measure and mark 200mm and 500mm from the top on the inside of the cupboard. Glue and screw two of the 664 x 100mm pieces to the rear piece as struts beneath these marks.
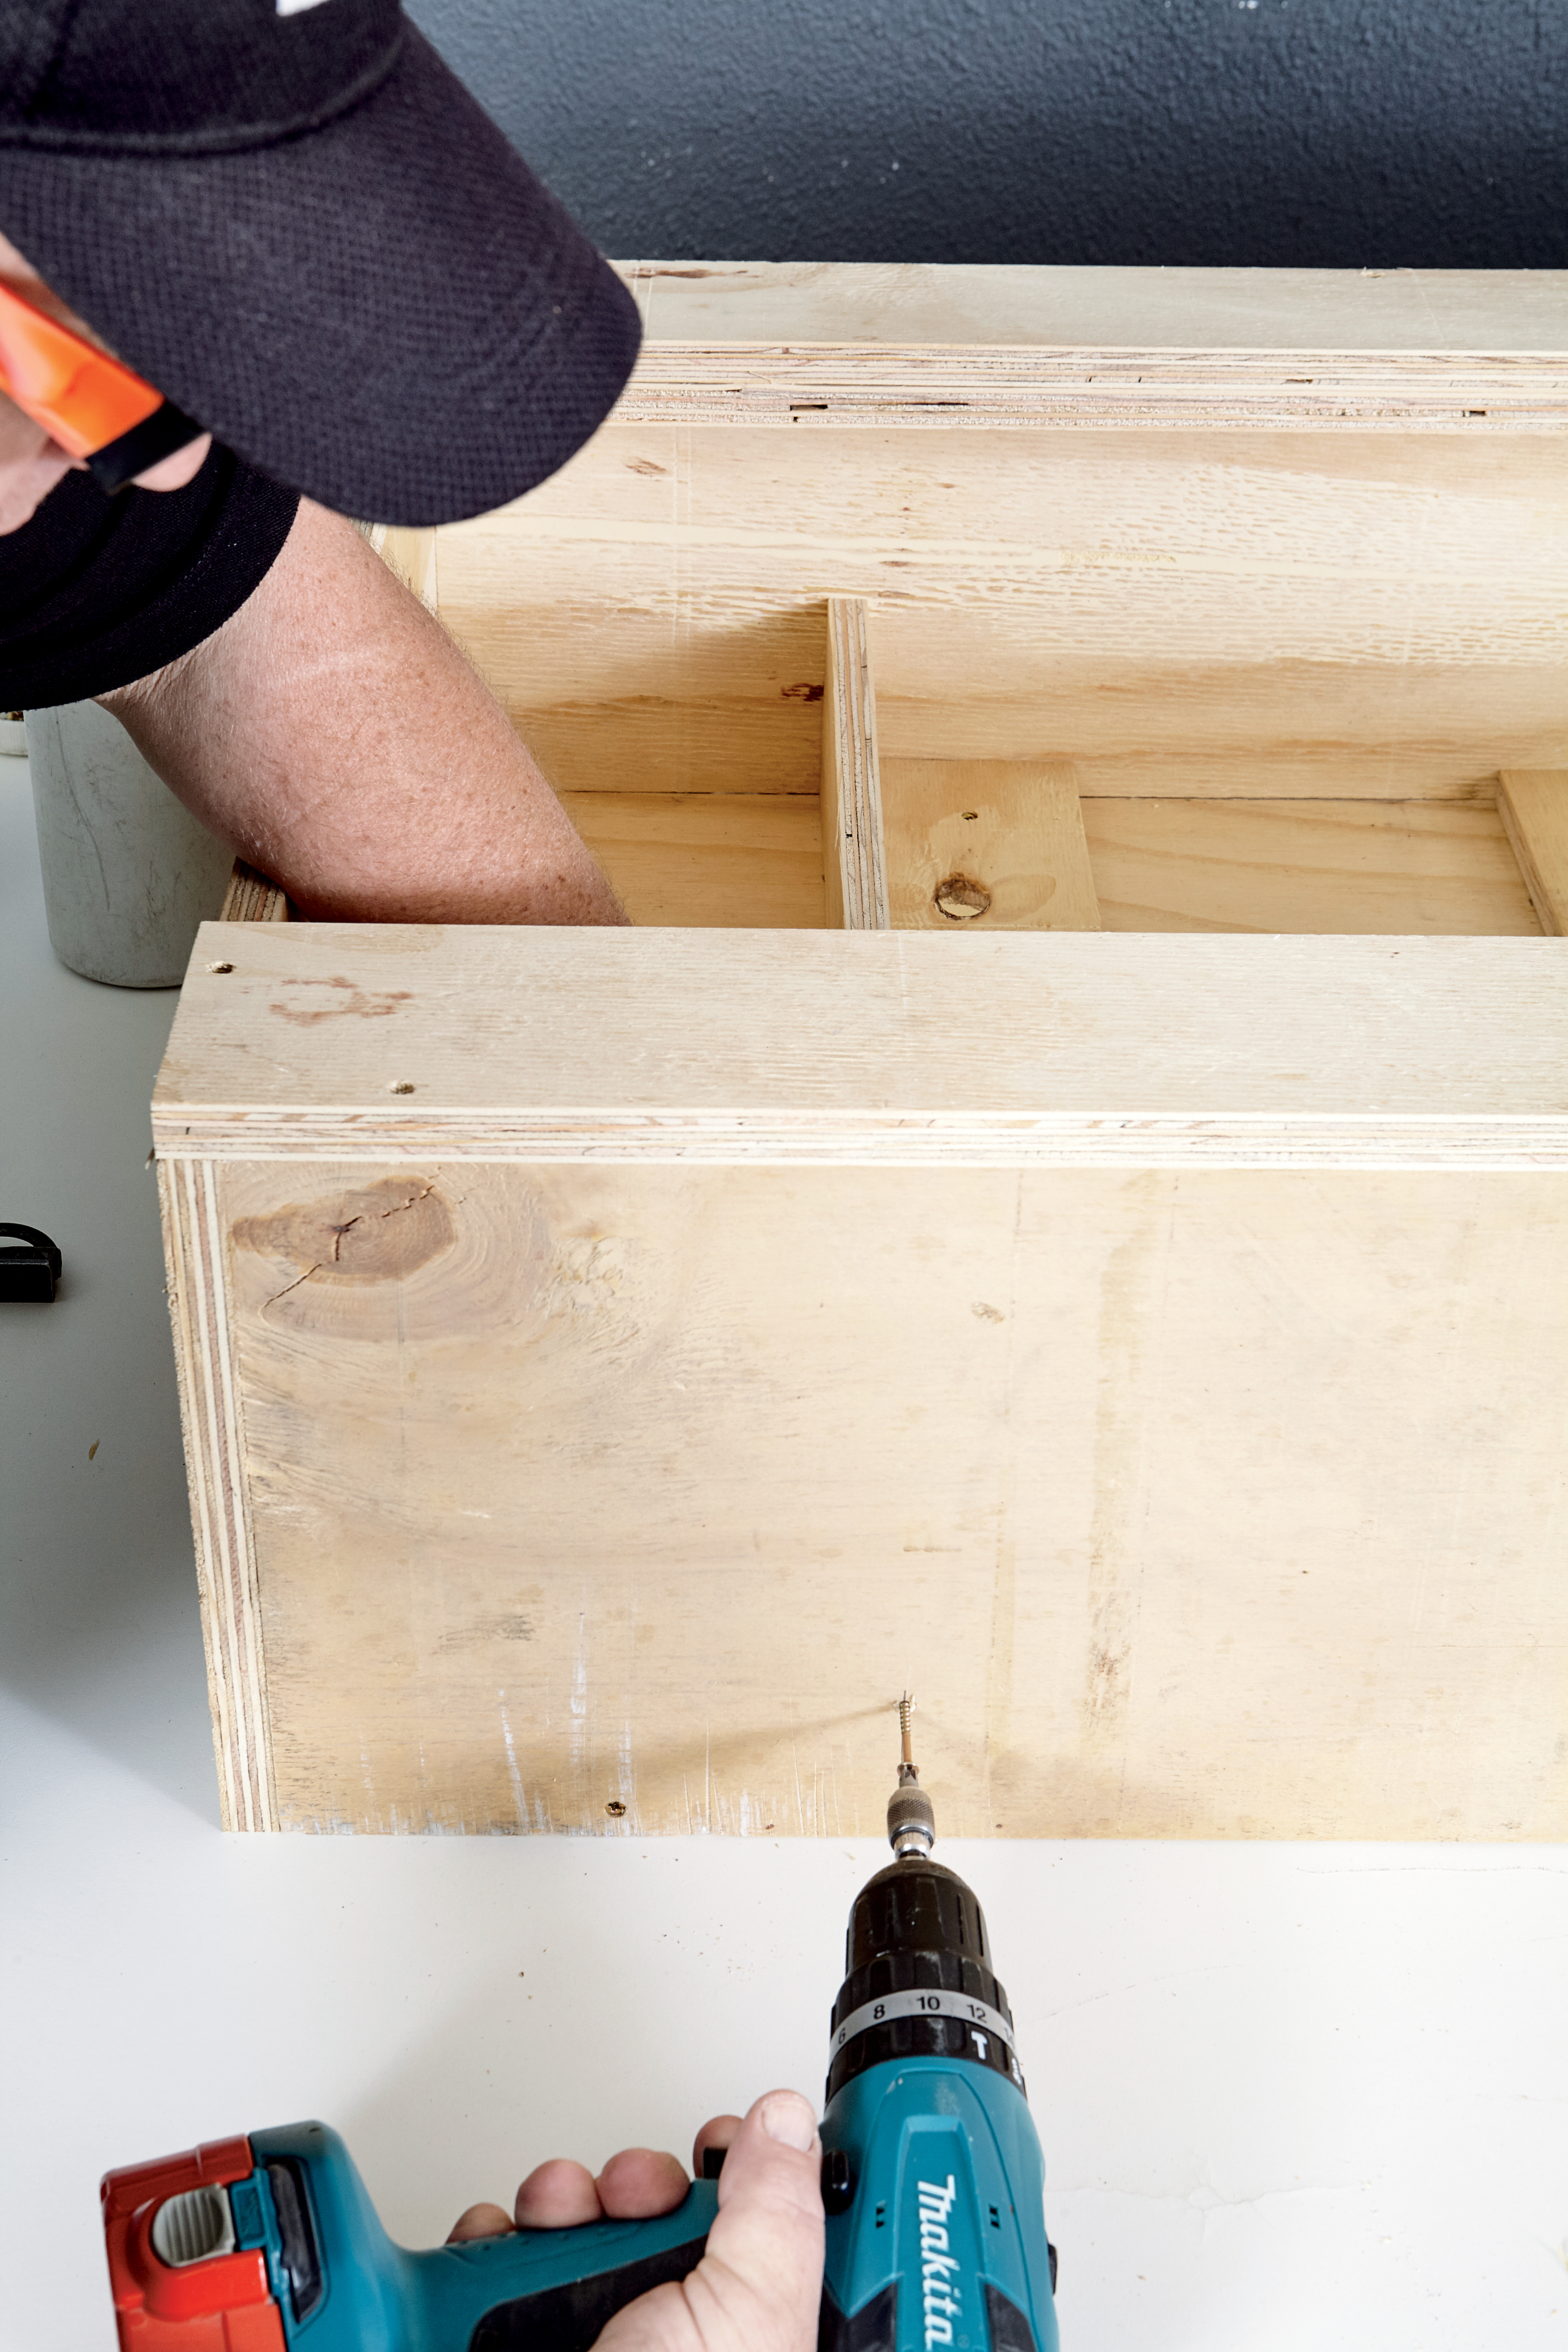
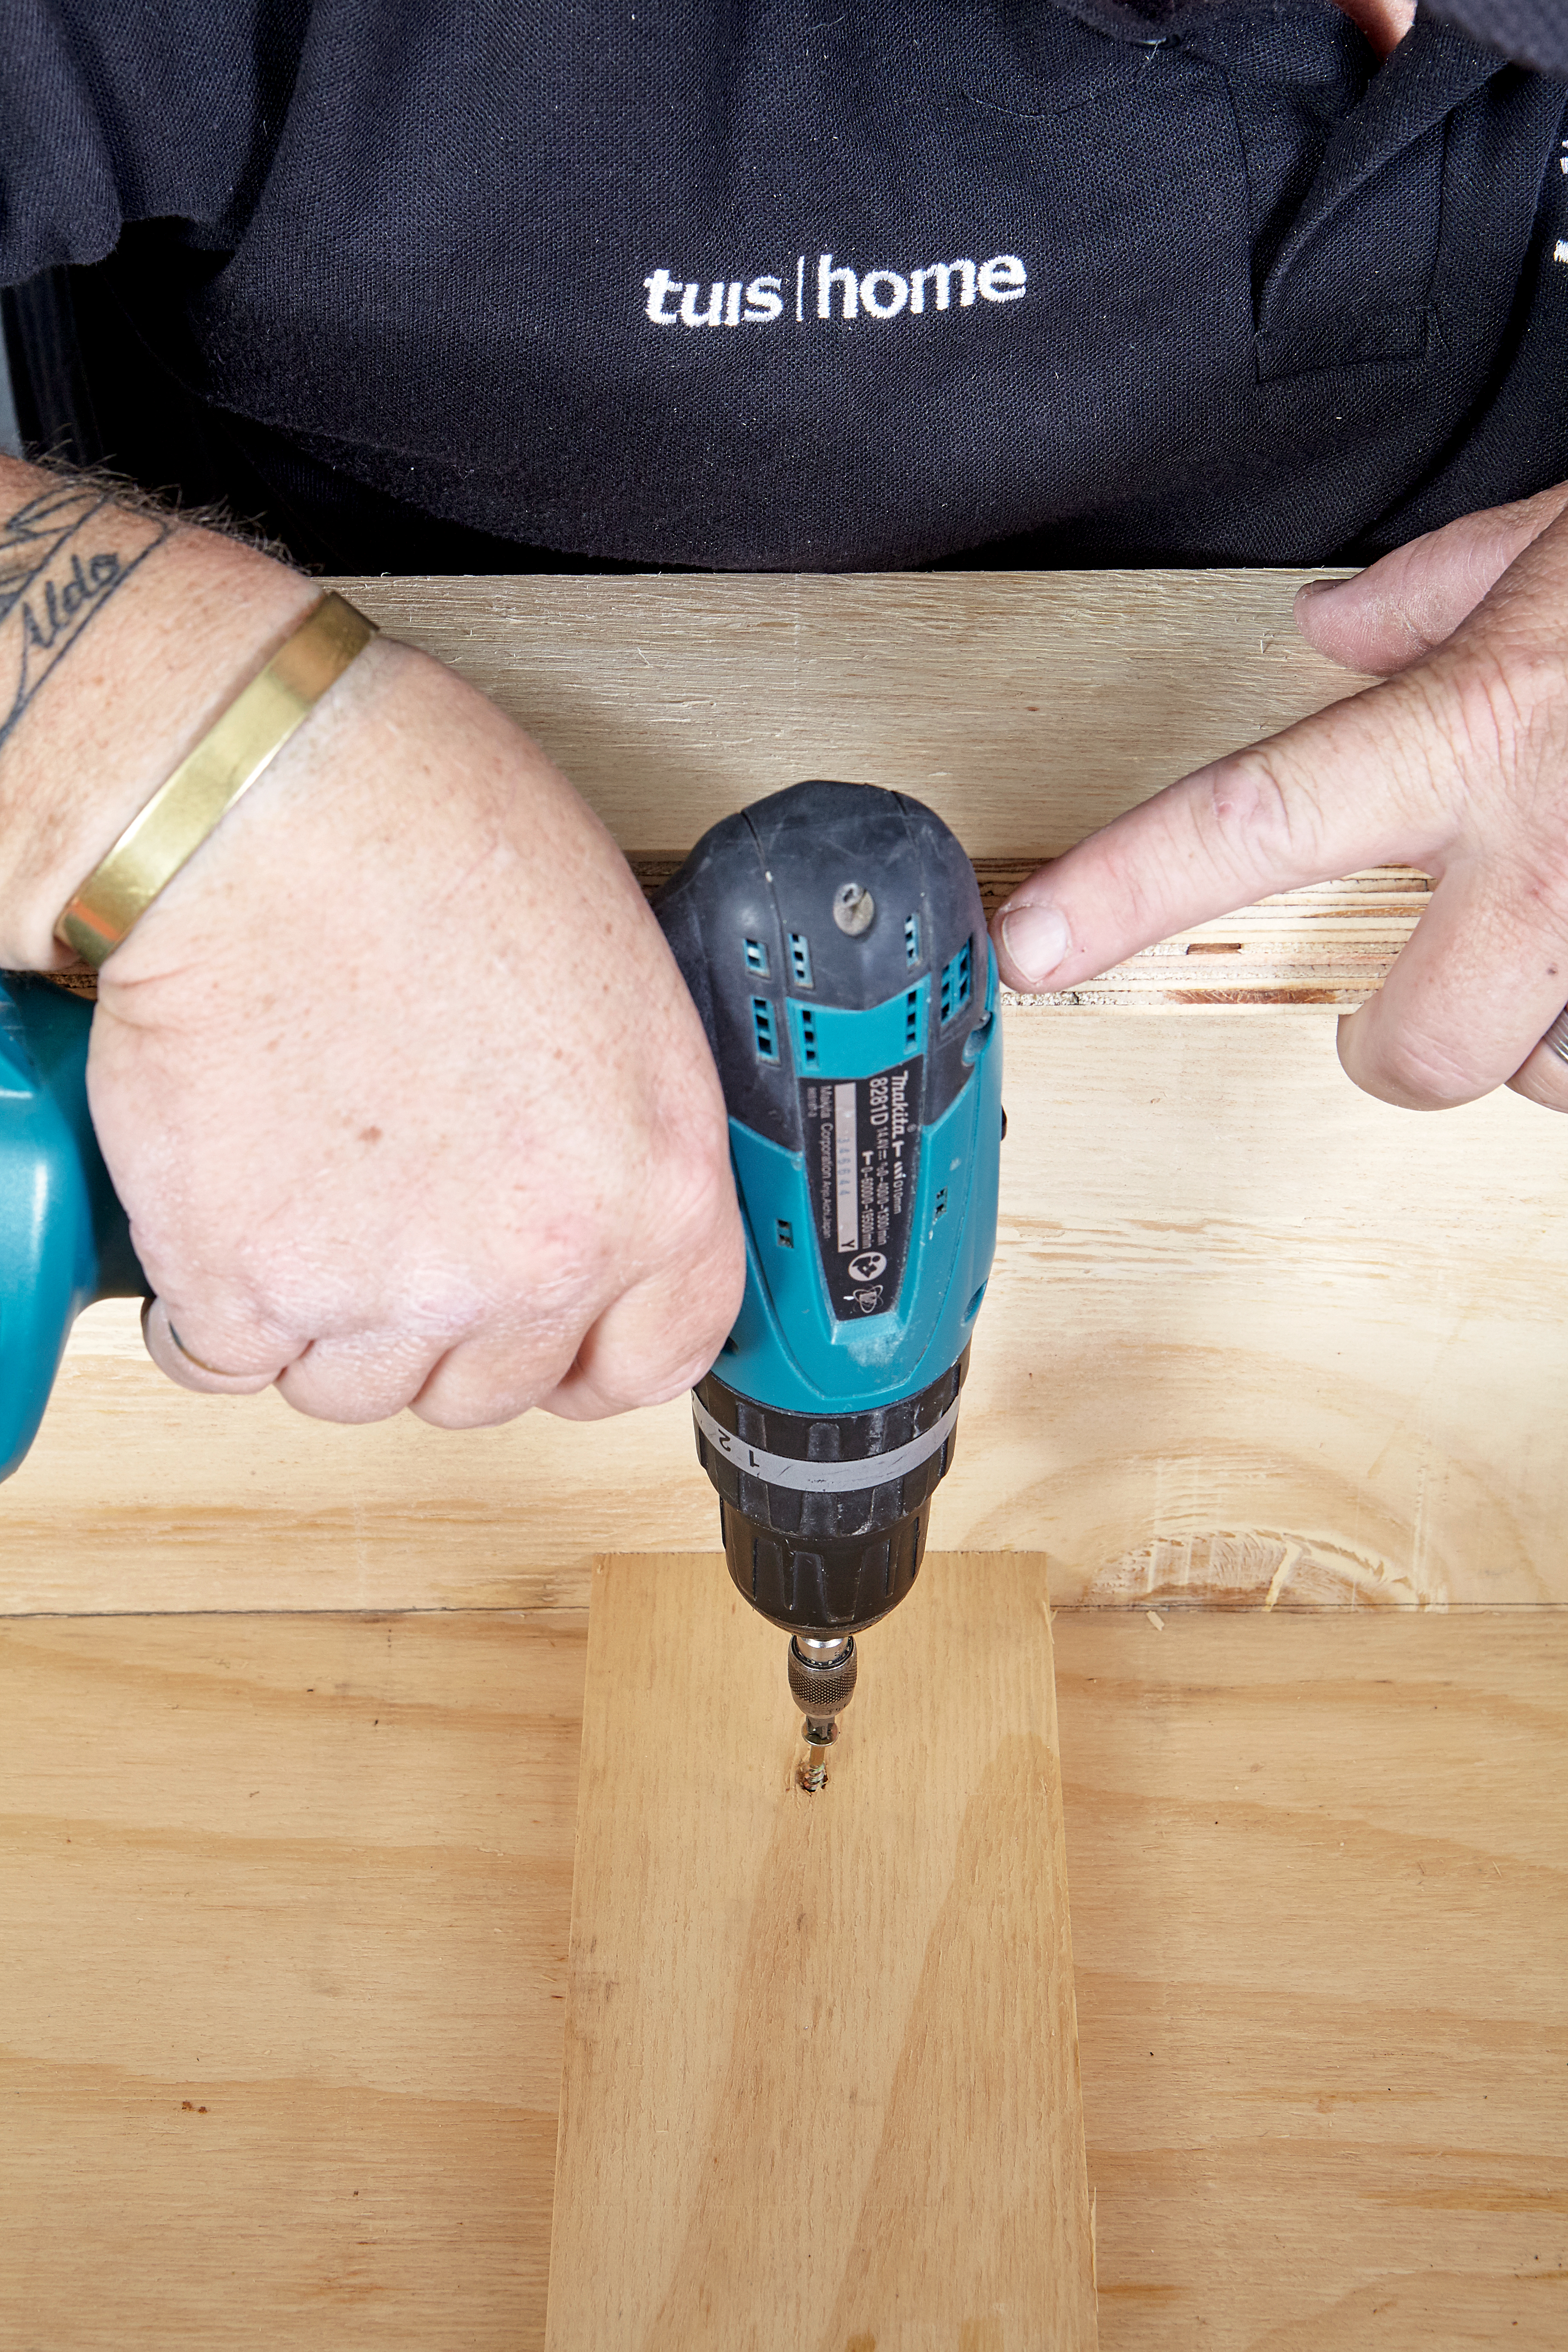
Step 6
Place the third 664 x 100mm plank flat against the top strut to form a shelf and screw them together from the outside.
Step 7
Measure and mark 250mm from the top and bottom of the inside of the door.
Step 8
Screw the two 495 x 100mm struts between these marks.
Step 9
Also glue and screw an offcut piece of wood to the inside of the left-hand side panel to serve as a stopper for the door. Place the cupboard on its back and position the door in place.
Step 10
Measure and mark 300mm from the top and bottom on the outside of the door and attach the hinges at those marks. Screw the hasp and staple latch to the door and left-hand side panel.
Step 11
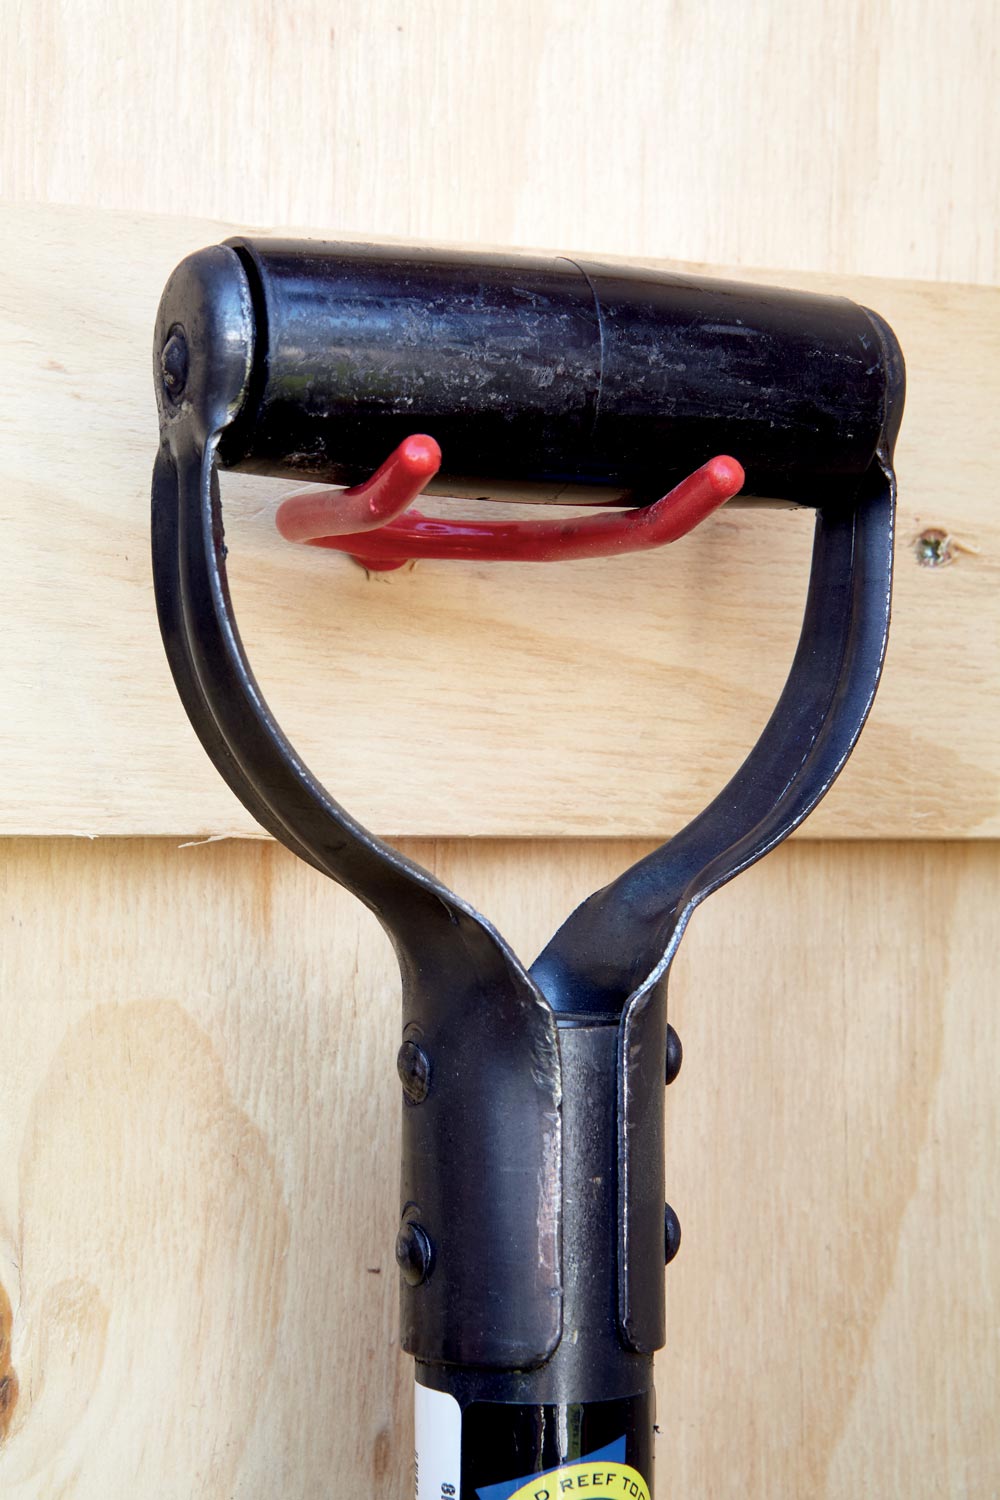
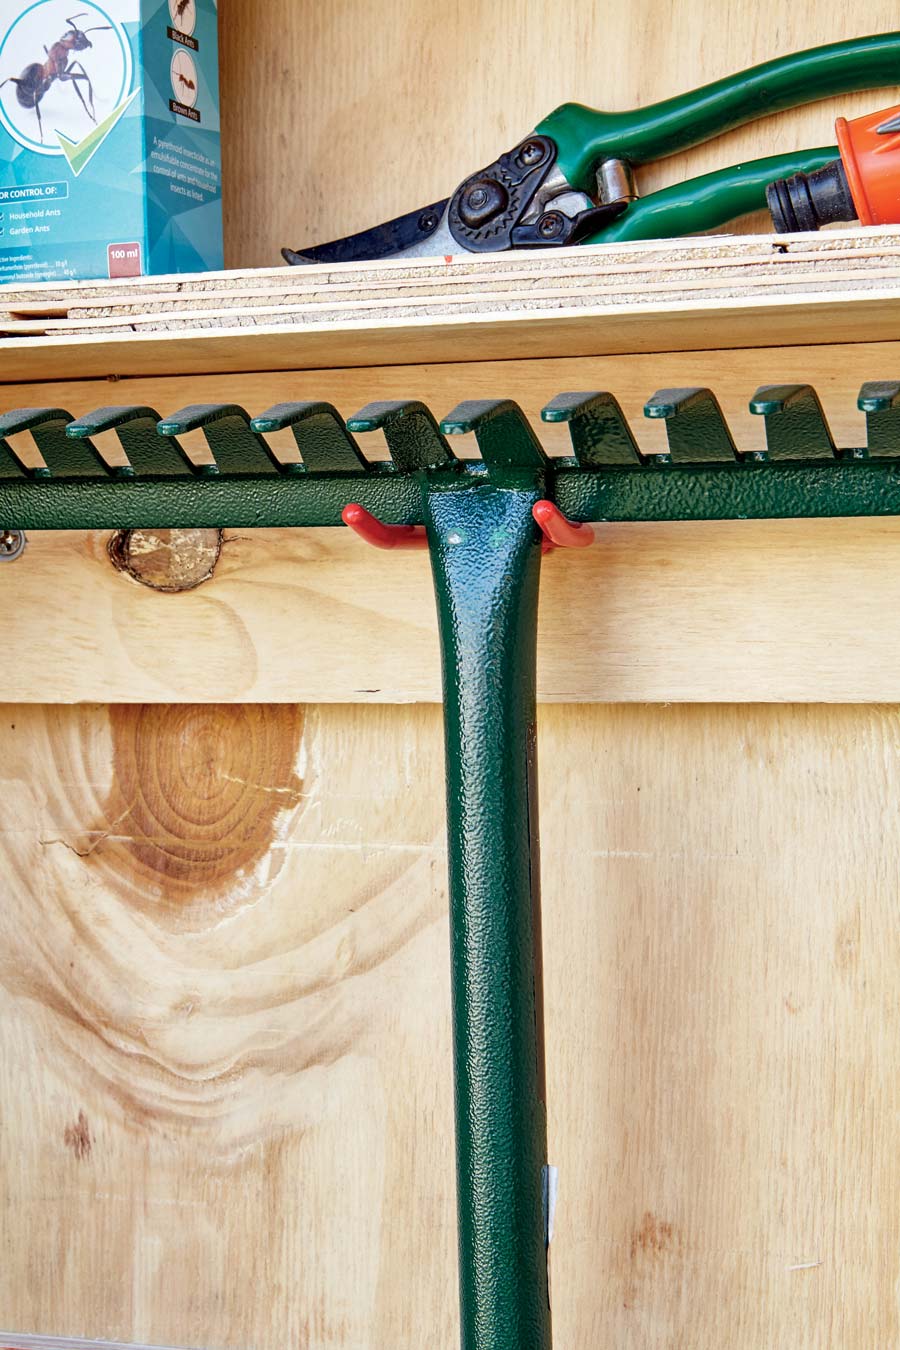
Attach the ‘roof’ from the inside with 8mm x 30mm chipboard screws and attach the screw-in hooks at the desired heights.
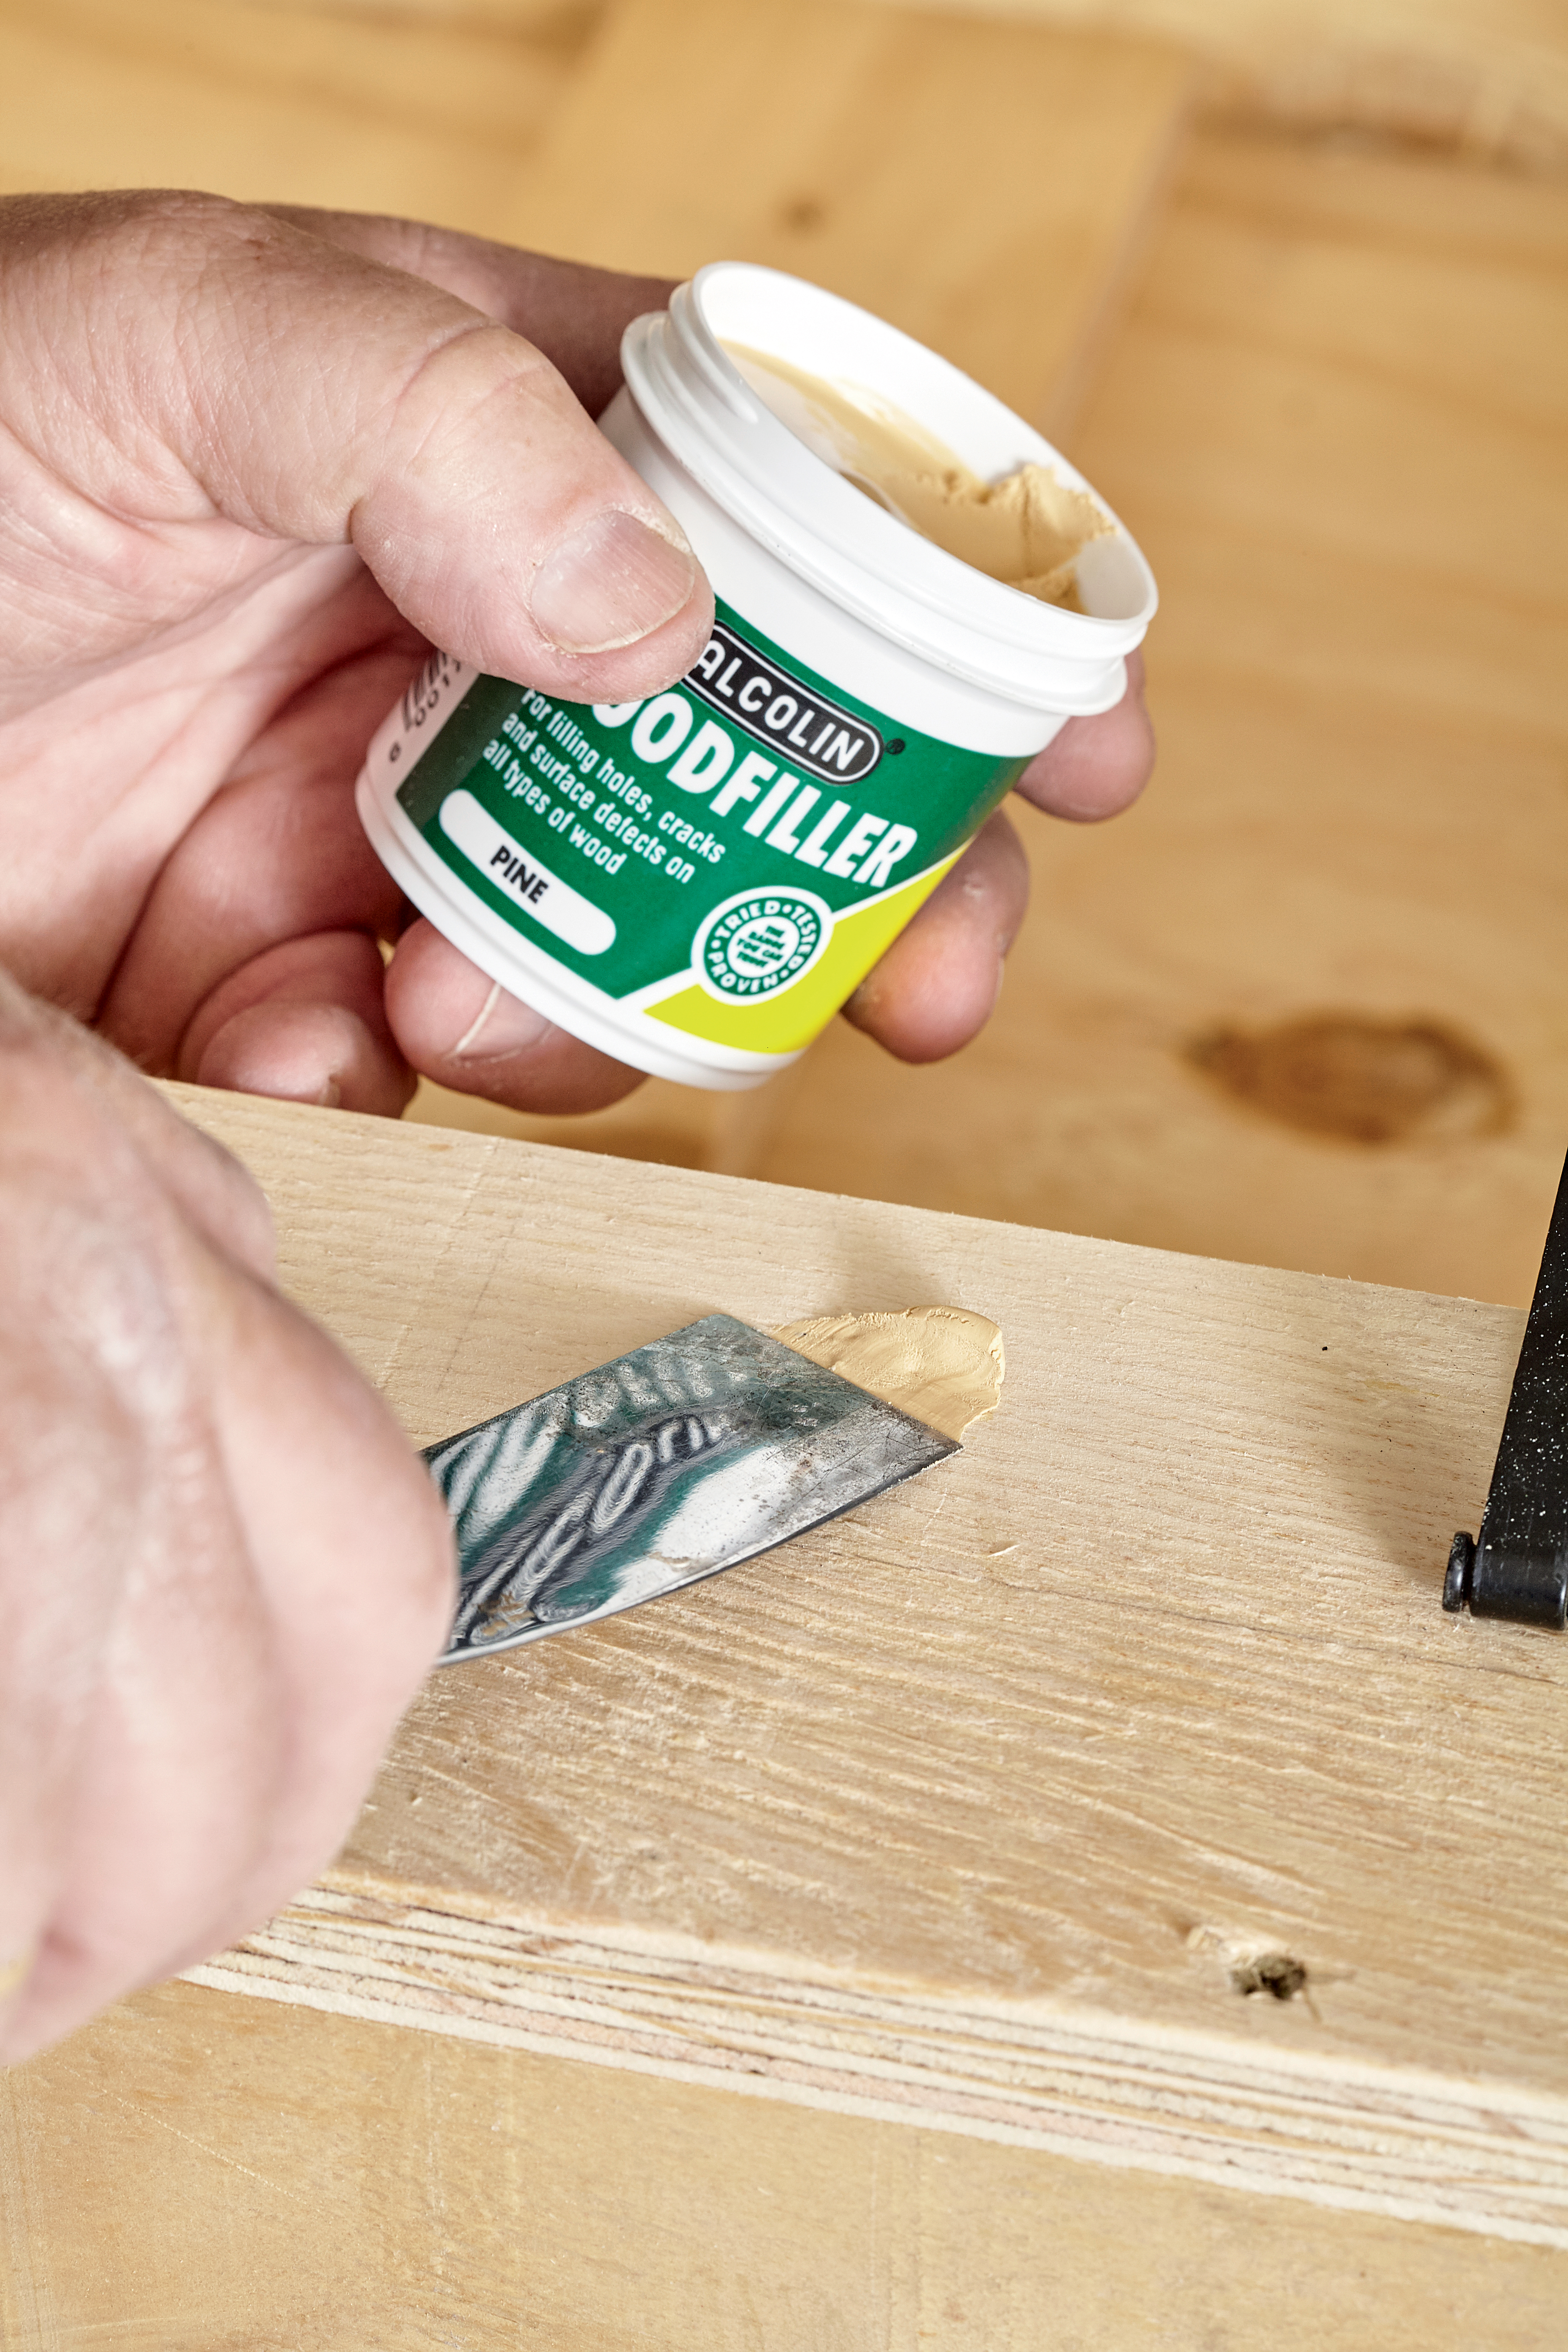
Step 12
Fill in the screw holes with wood filler and allow to dry thoroughly.
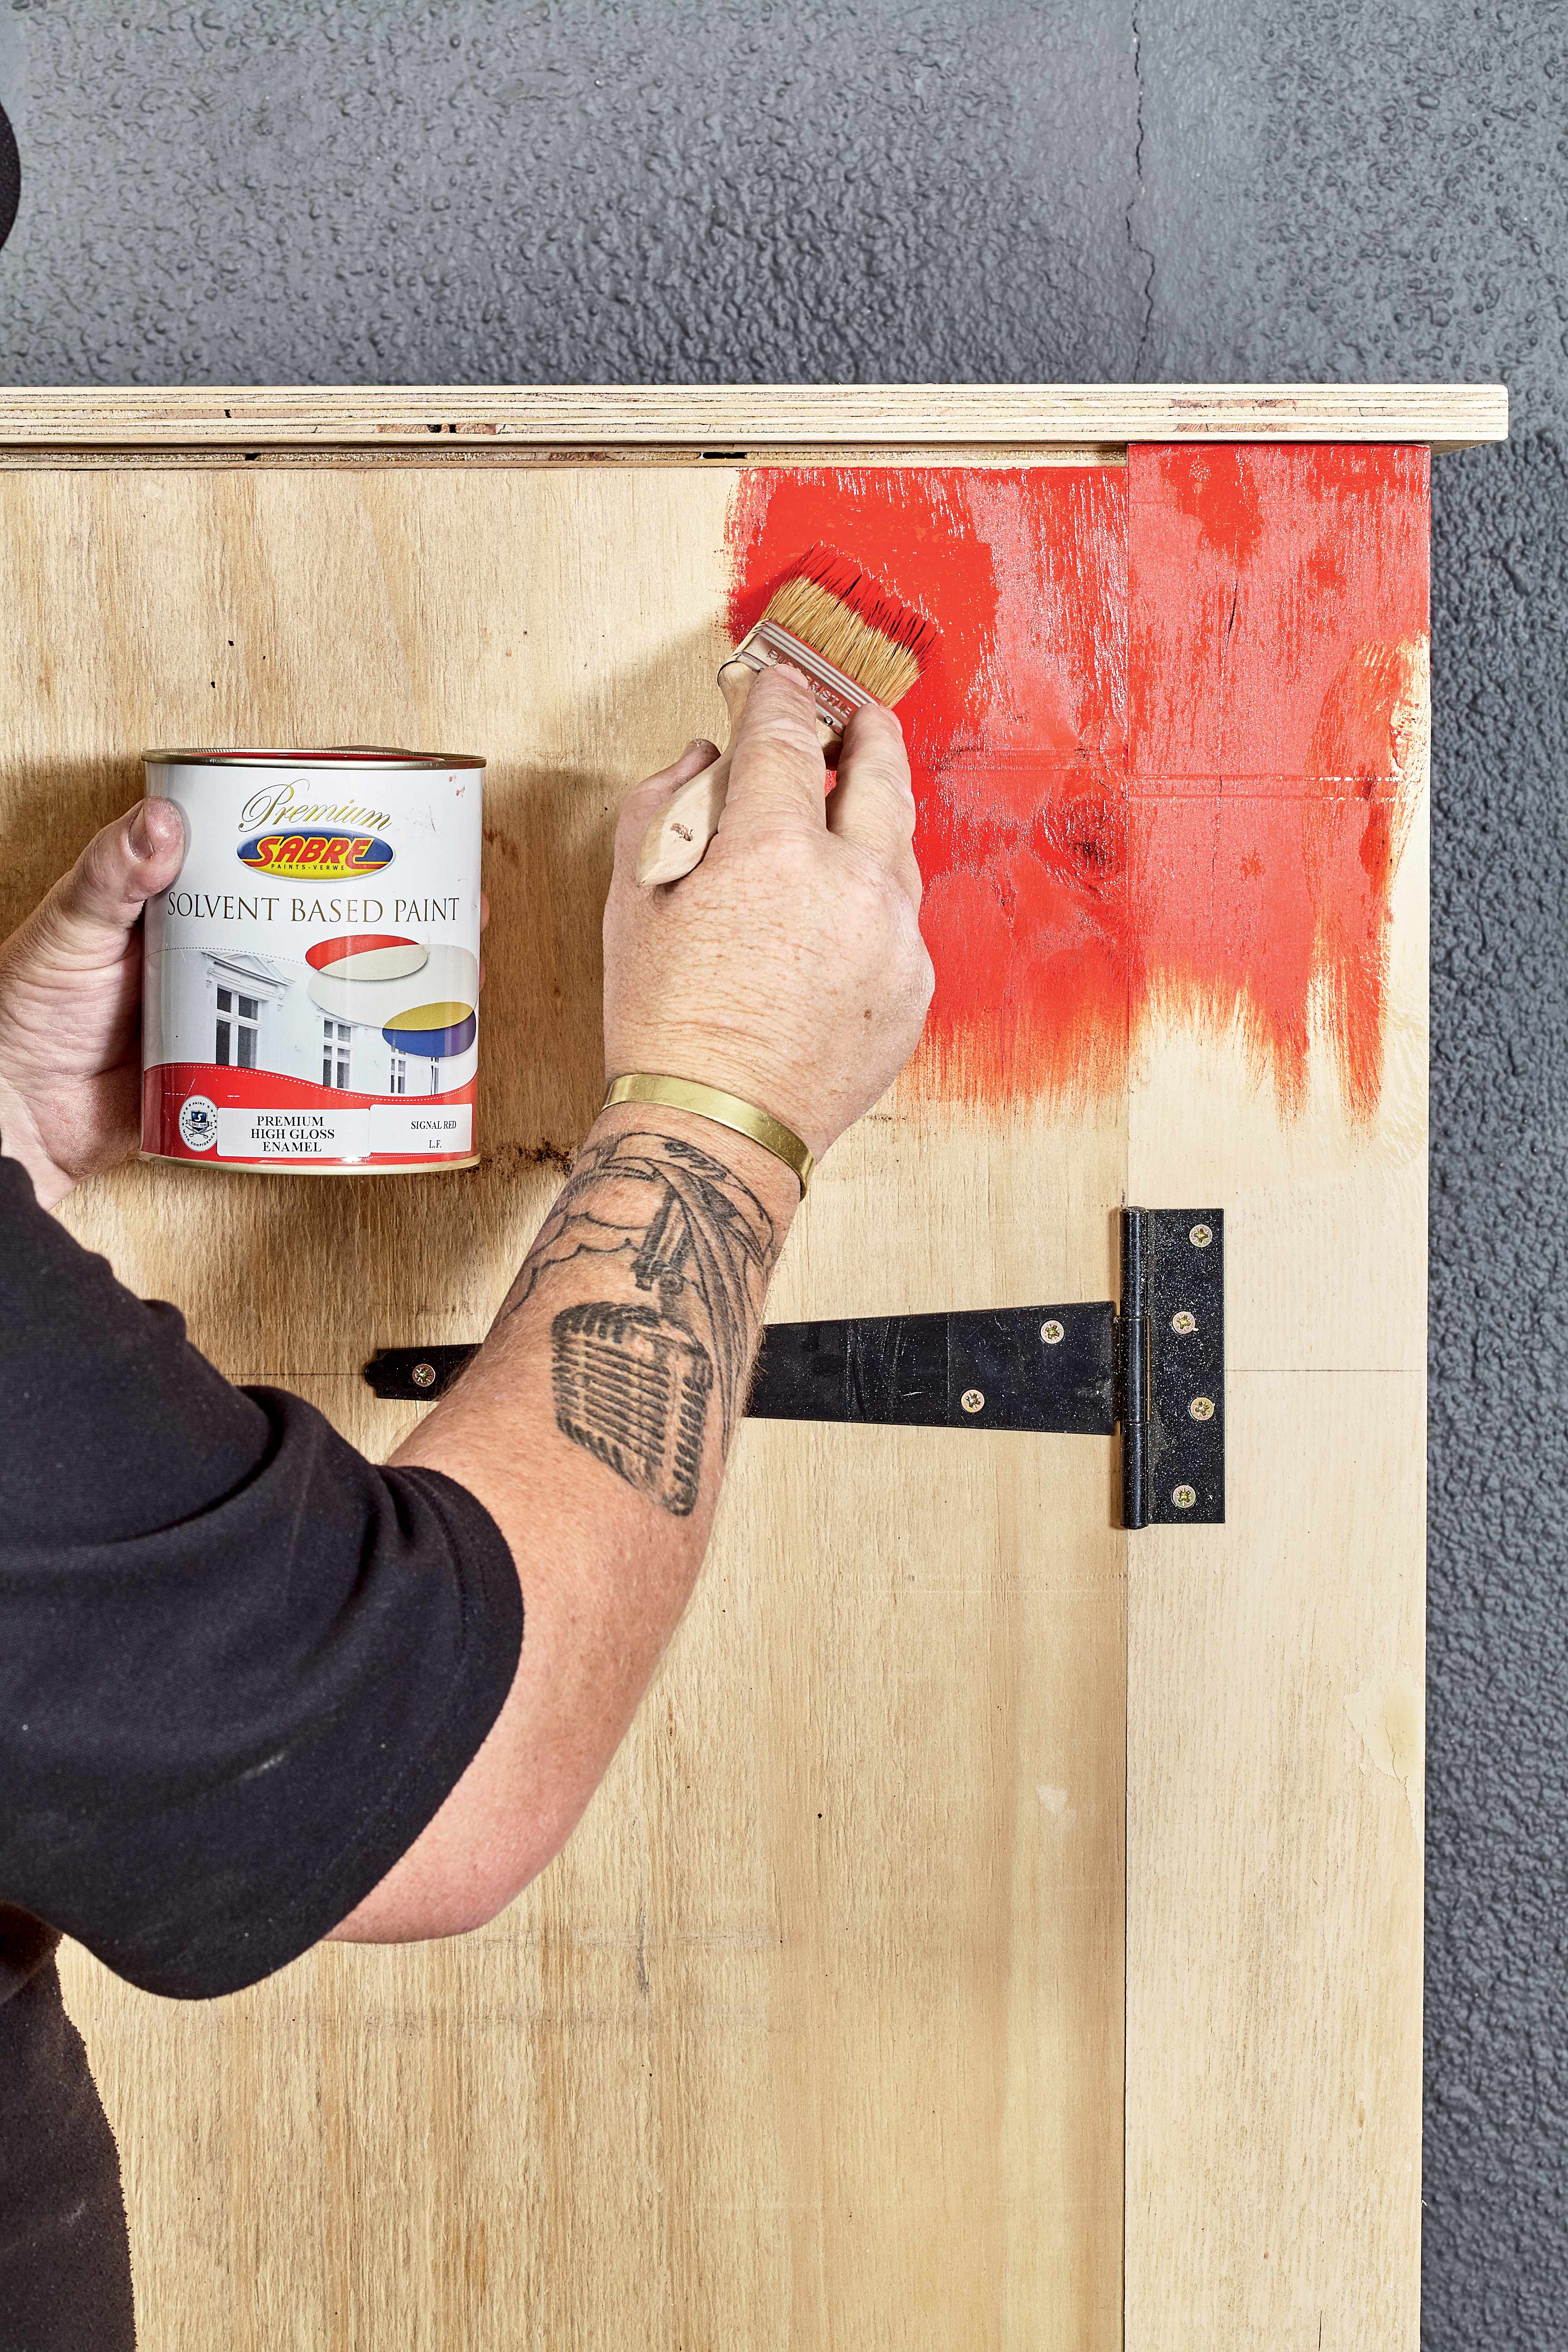
Step 13
Sand the wood and seal it with the product of your choice. We used Sabre enamel paint in the colour Signal Red.
Credits
Referenced from Gallo images / Home Magazine
Browse 1000’s of products available to you. Select your country to Shop Online.


