
Whether it’s a secret mini bar in your man cave or a place to stash braai spices and tools, keep it tidy in a fold-out cabinet.
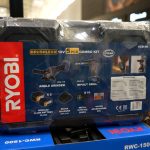
- Jigsaw with a small blade
- Electric screwdriver
- Tape measure
- Drill with 6mm wood and masonry drill bit
- Pine planks (see cutting list)
- 3,5 x 30mm self-cutting screws
- 6 x 60mm nail-in anchors and plugs
- Hinges
- Four 6 x 30mm eyebolts
- Four 4mm spring hooks
- 2m link chain
- Flat bolt 100mm
- Rust-Oleum Painter’s Touch Ultra
- Cover 2X semi-gloss spray paint
- Rust-Oleum polyurethane sealant spray
If you have a circular saw or cut-off saw you can cut your own wood, otherwise take this list to the Builders wood department where they will cut it for you.
- Sides panels: two 22 x 14 x 700mm P1
- Shelves: three 22 x 94 x 715mm P2
- Back panels: two 12 x 144 x 715mm P3
- Tabletop: five 12 x 144 x 600mm P4
- Cross bars: two 22 x 44 x 620mm P5
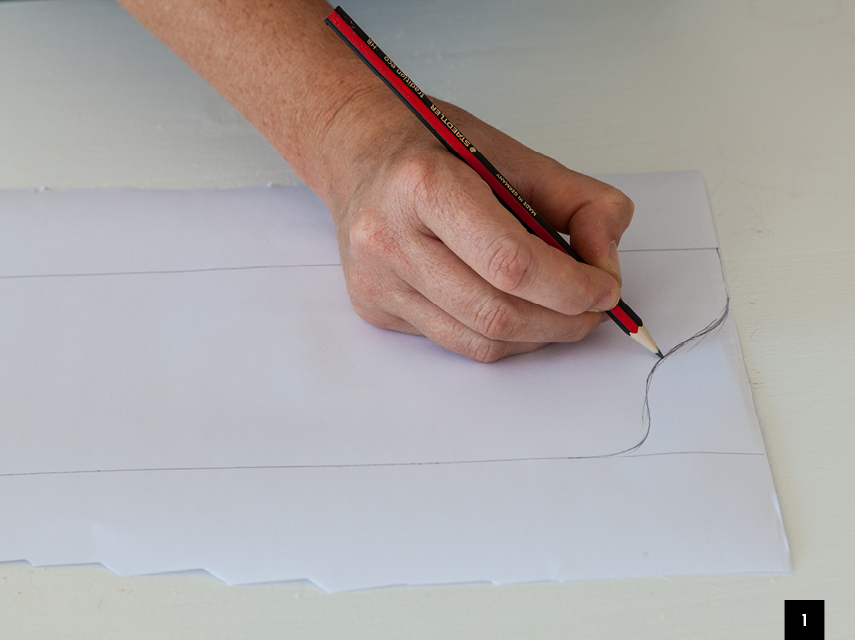
Step 1
Download and print the template of the curve, cut it out and trace the shape onto one end of each of the P1 planks.
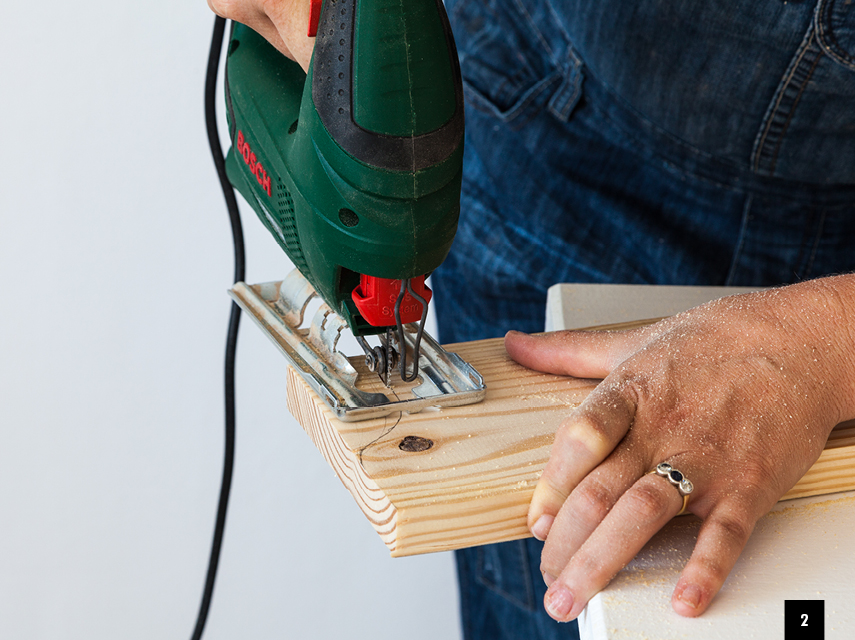
Step 2
Use your jigsaw to cut the curve. A fine blade will give you a more accurate curved cut.
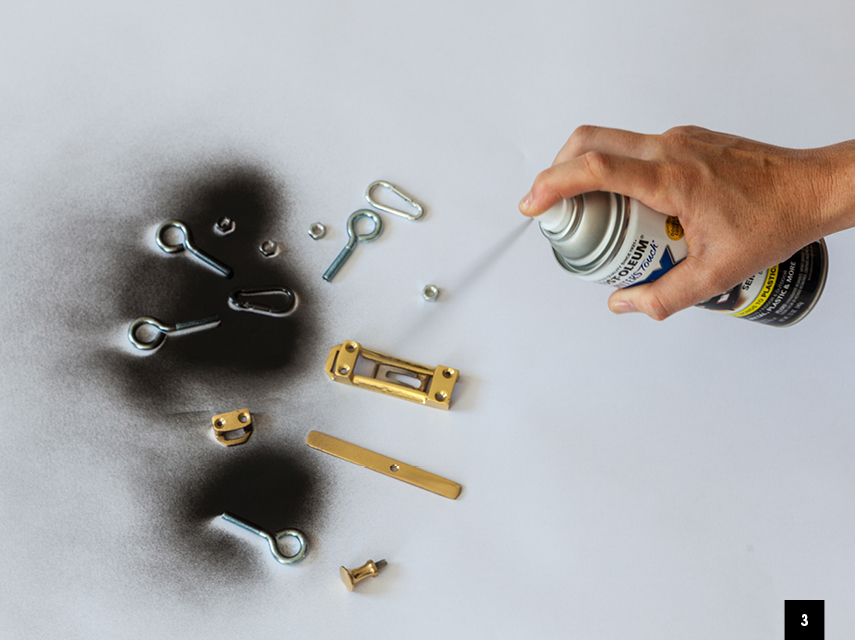
Step 3
Spray the hardware on all sides with two coats of Rust-Oleum Painter’s Touch Ultra Cover 2X. It’s a paint and primer in one and suitable for painting metal. Make sure it dries properly between coats.
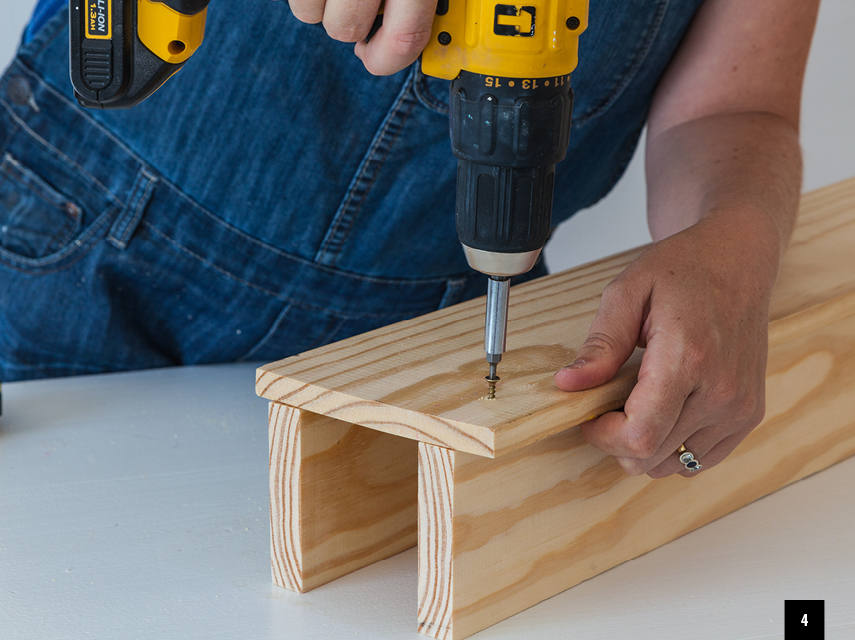
Step 4
To assemble the unit, use your 3,5 x 30mm cut screws. For top and bottom shelves: attach a P3 (back panel) at a right angle to P2 (the shelves). For the bottom shelf the P2 will be flush with the end edge of the P3. To allow space for the top shelf, measure 100mm from the end of the P3 and attach your P2 at this mark.
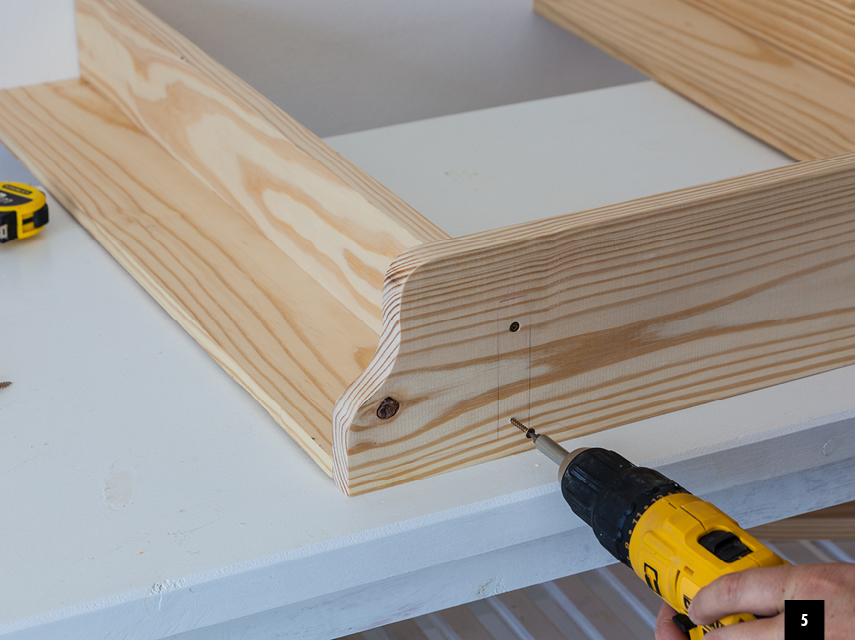
Step 5
Attach the P1 side panels to the two shelves you’ve just made.
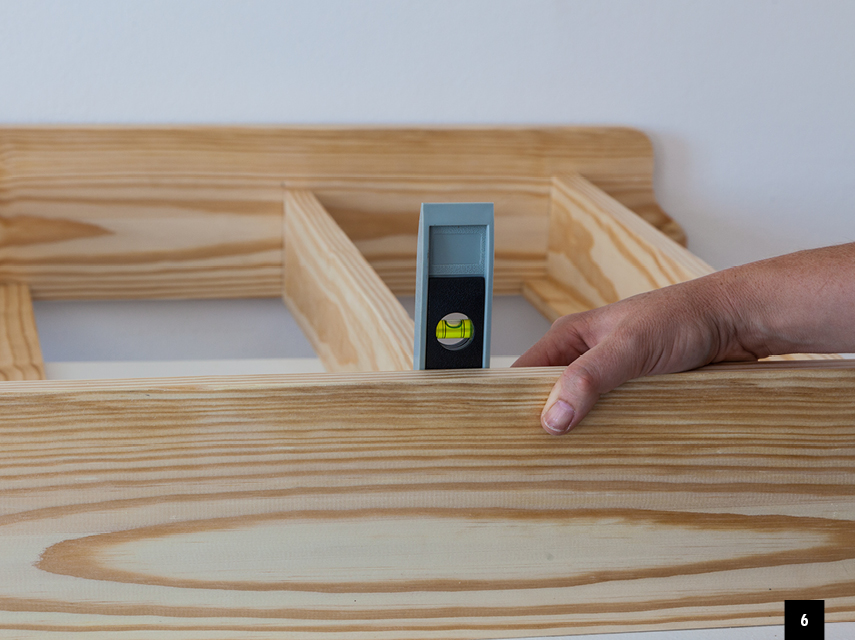
Step 6
Measure 350mm up from the bottom shelf and attach the middle shelf on the mark. Use a spirit level to make sure it will be level, before you attach it with screws.
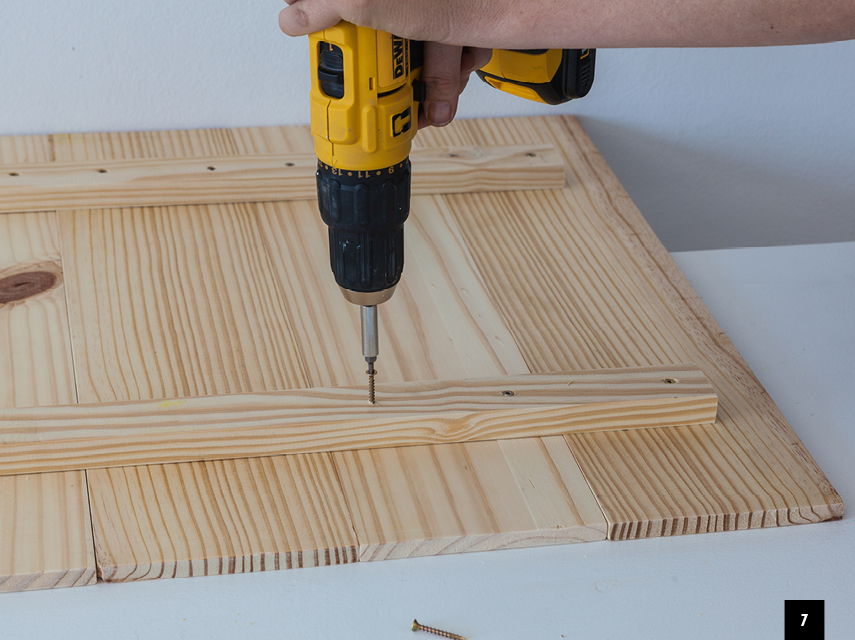
Step 7
Place all five P4s next to each other, and attach them with the P5s at right angles, 100mm from the top and bottom.
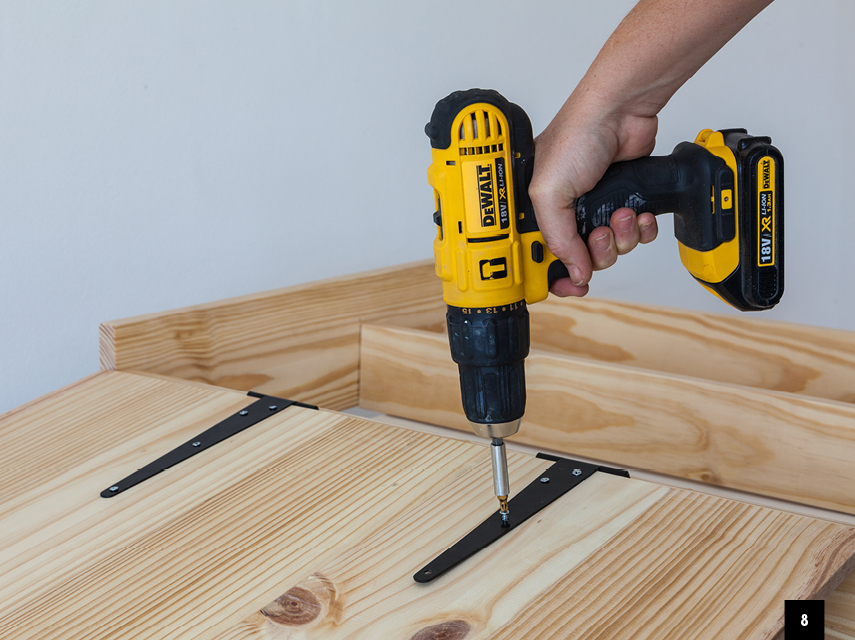
Step 8
Attach the tabletop to the shelves with the hinges.
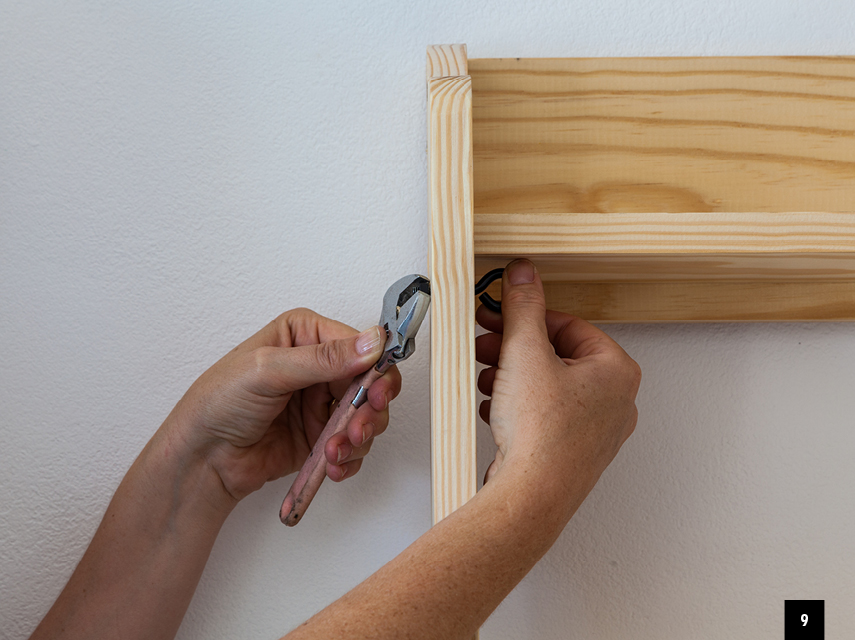
Step 9
Drill 6mm holes in the centre of the side panels just below the top shelf on both sides. Insert an eyebolt and secure in place with the nut. Now do the same on the two far corners of the tabletop.
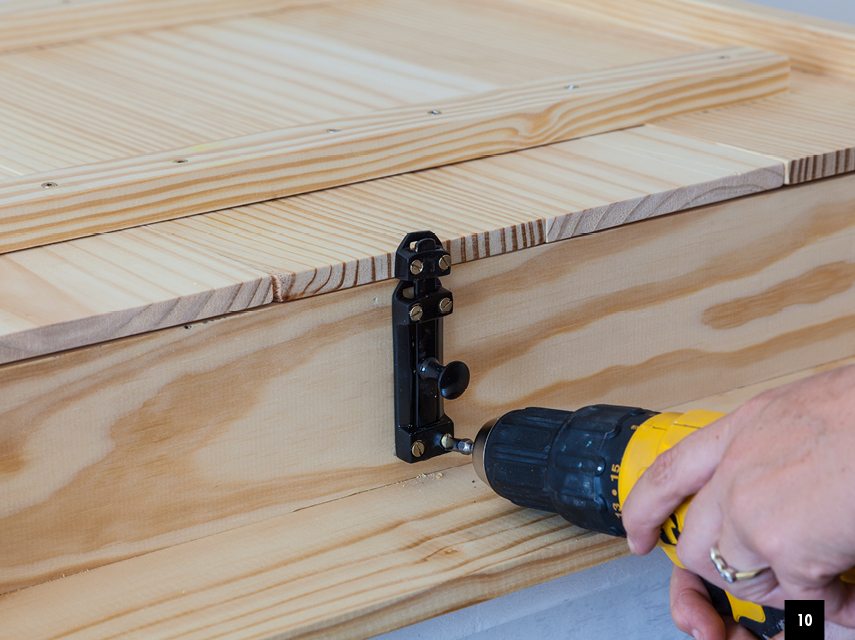
Step 10
Attach the sliding bolt in the centre of the top shelf and its corresponding slot in the centre of the top edge of the tabletop.
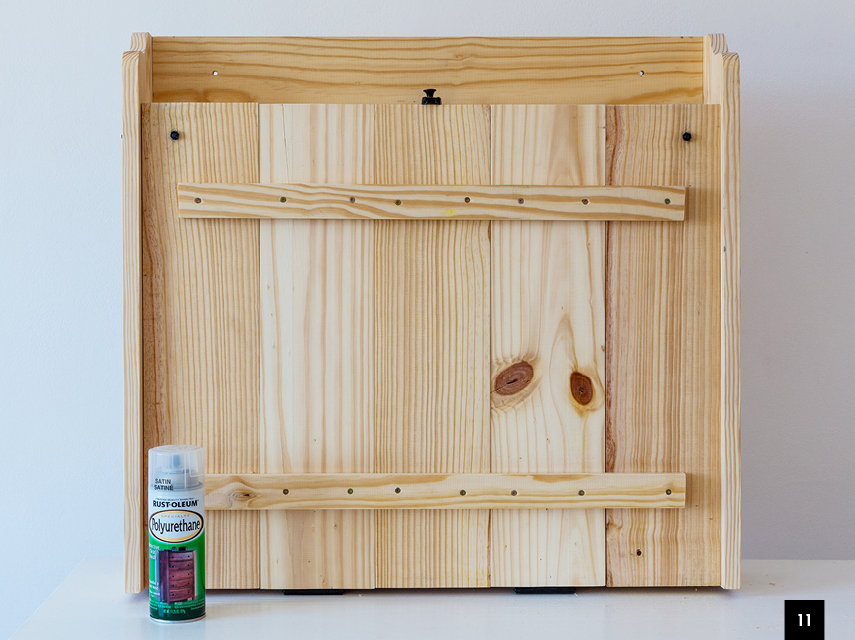
Step 11
Seal the wood with two coats of Rust-Oleum polyurethane spray. For a very durable surface you can use Woodoc Floor Sealer.
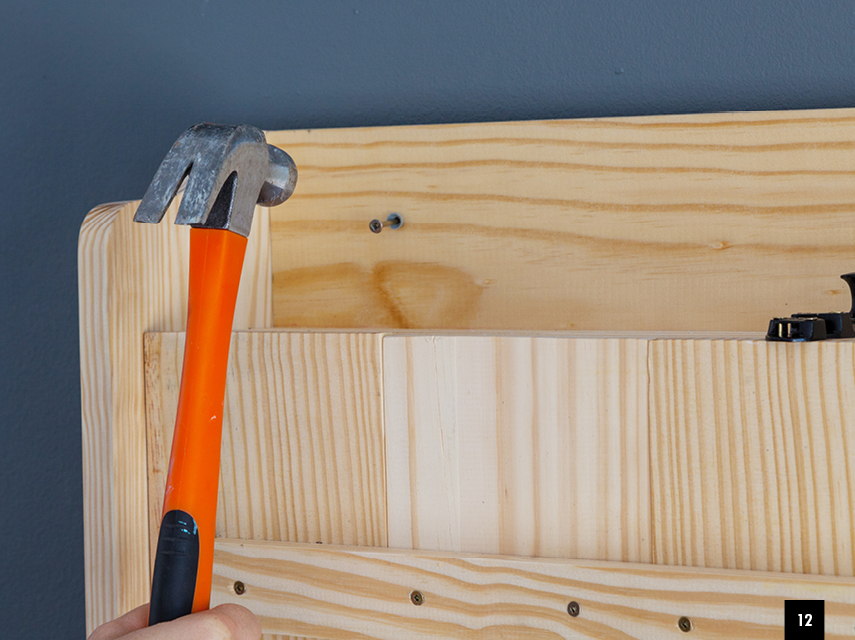
Step 12
Mount the mini bar on the wall using nail-in screws.
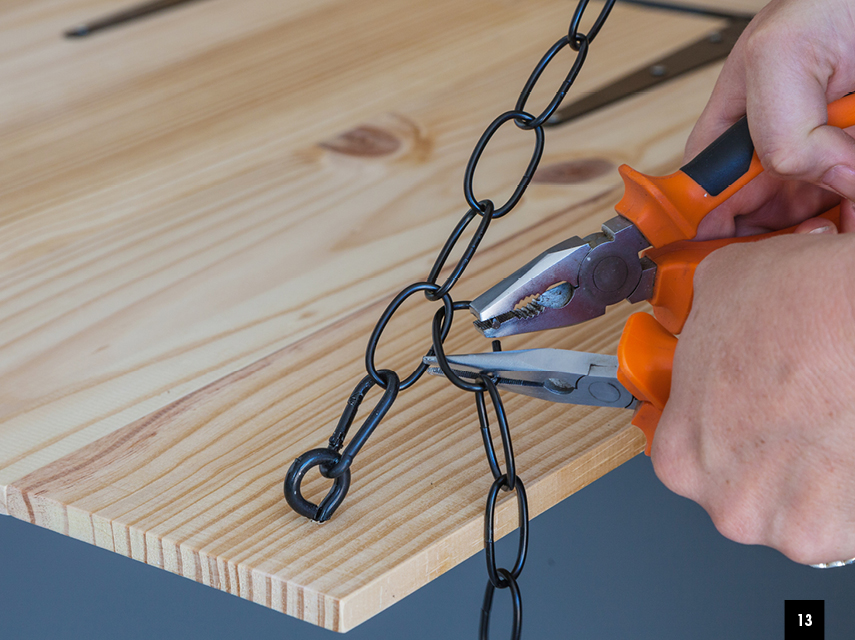
Step 13
Once your mini bar is secure on the wall, open the tabletop and attach the chains with spring hooks to the eyebolts. Remove extra chain links.
Browse 1000’s of products available to you. Select your country to Shop Online.


