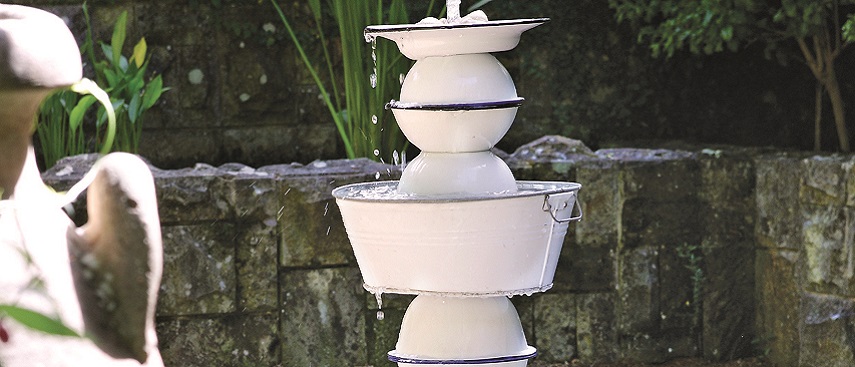
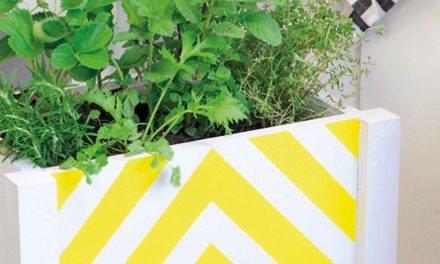
Use enamelware to create an inexpensive and interesting water feature in your garden.
- Cloth measuring tape
- Marker
- Ruler
- Masking tape
- Hammer
- Nail
- Drill with 20 mm and 5 mm steel drill bits
- Hacksaw
- Shifting spanner
- Enamel basins and bowls
- 2 threaded rods
- 1 m clear tubing
- 12 x 5 mm nuts (pack of 30)
- 2 washers with 5 mm hole
- 2 ring washers 20 mm
- 2 PVC push-in glands
- Submersible pump 800 L/h 1,8 m
- White pebbles
Note: You need one large bowl ± 600 mm in diameter for the basin at the bottom. For the column you need two bowls ± 320 mm in diameter, plus four pairs of bowls ± 160 to 220 mm in diameter. For the top of the column you can use a plate as we did or another bowl ± 220 mm in diameter.
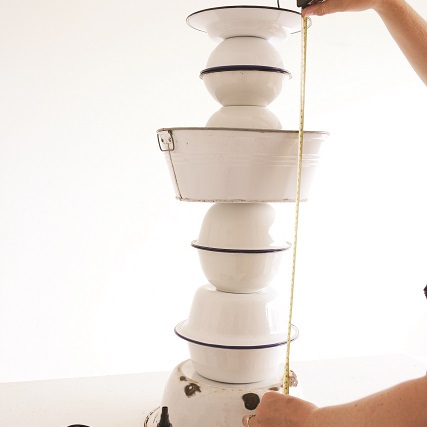
Step 1
Set the biggest bowl aside. Arrange the bowls that will form the column until you’re happy with the design. Start with one of the larger bowls upside down at the base of the column. Position the other bigger bowl just beyond halfway up the column, right way up, to form the middle tier. The plate or small bowl that forms the top tier should also be right way up. Now measure the distance from just below the base of the bowl at the bottom to the inside of the bowl at the top and add about 2 cm. Ours measured 63 cm. Use the hacksaw to cut each threaded rod to this length.
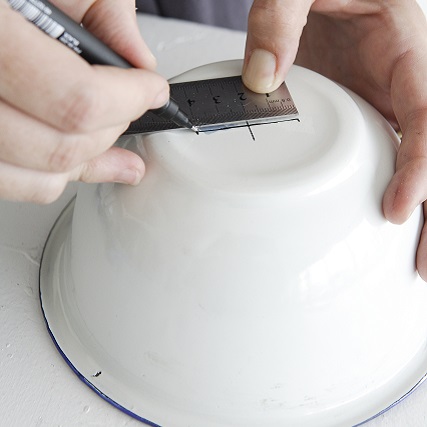
Step 2
Mark the centre point at the base of each bowl (see tip). Then mark 2 cm on either side of this mark.
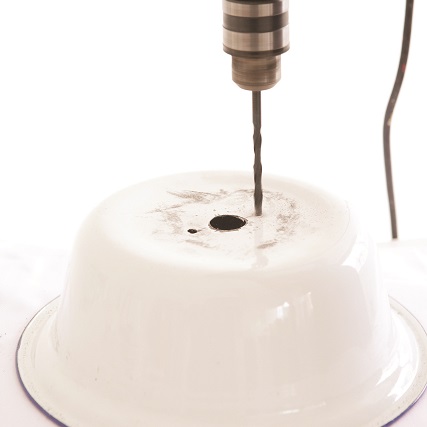
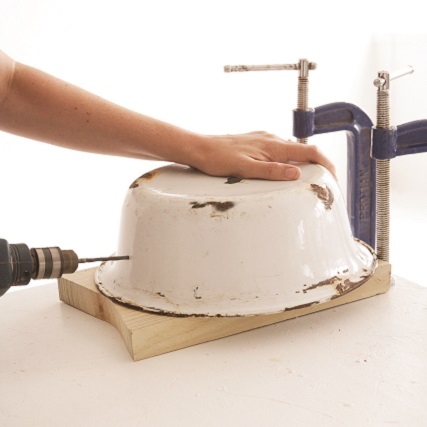
Step 3
Make pilot holes with the nail and hammer on all 3 marks on each bowl. Use the 20 mm drill bit to drill a hole on the centre mark and the 5 mm drill bit to drill holes on the marks on either side.
Step 4
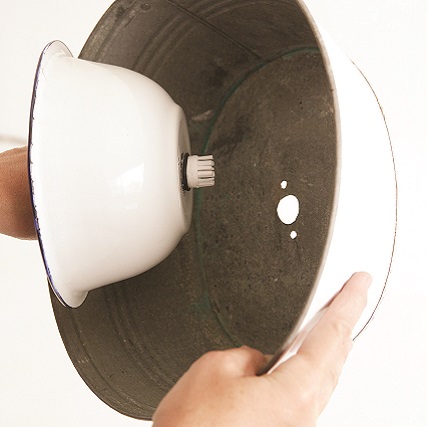
On the bowl that goes at the base of the column, drill 3 holes with the 5 mm drill bit into the side to let the water flow from the bottom basin into this bowl, where the pump will eventually go.
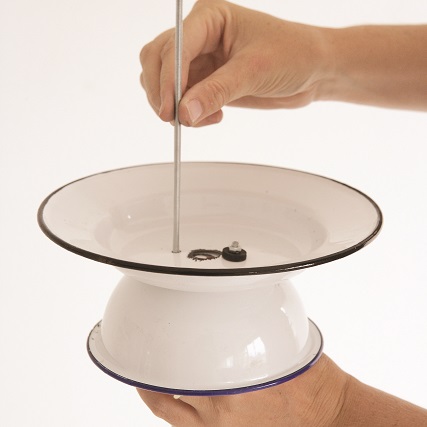
Step 5
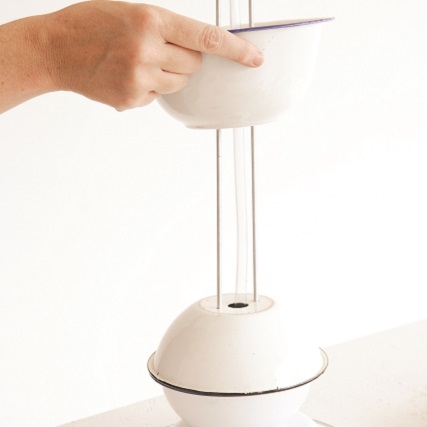
Place the top tier on the bowl that will go directly below it (the 2nd bowl). Insert the threaded rods through the small holes. Place a small washer over each end, then screw a nut onto each threaded rod.
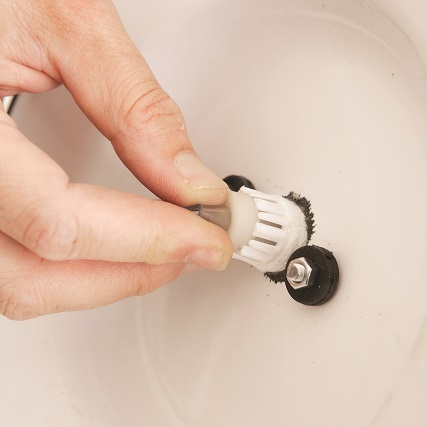
Step 6
Remove the plastic nut from the push-in gland. Insert the push-in gland from the 2nd bowl and thread the clear tubing through. Place the washer from the push-in gland over the tubing and push it back in between the teeth of the push-in gland. Slip a ring washer over the push-in gland and screw the plastic nut over the gland.
Step 7
Tighten the threaded rods on the inside of the 2nd bowl using a 5 mm nut on each rod.
Step 8
Slip the next two bowls over the threaded rods and tubing and tighten again with two more 5 mm nuts.
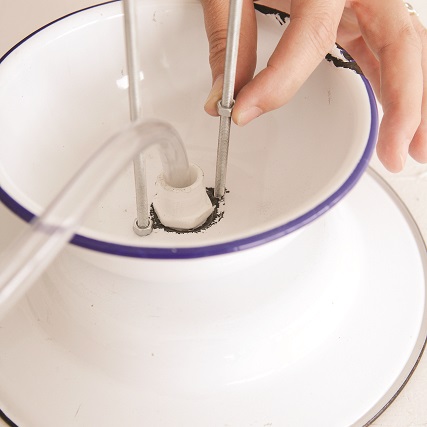
Step 9
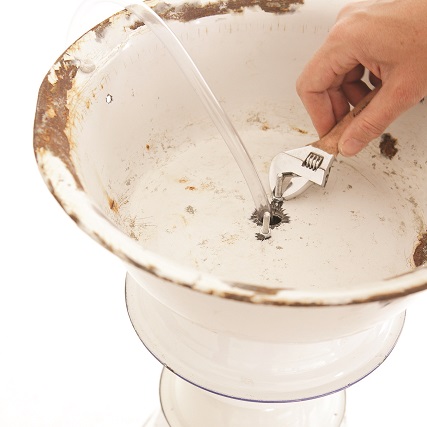
When you get to the bowl inside the middle tier, place the second push-in gland through the centre hole, then the ring washer. Push it through the centre hole of the middle tier and the bowl that goes underneath it. Thread the tubing through the push-in gland and thread the bowls over the rods. Insert the push-in gland’s washer in place and tighten with the nut. Screw a 5 mm nut over each rod and tighten.
Step 10
Slip the rest of the bowls over the threaded rods and tubing and tighten with nuts as you go until you get to the last bowl.
Step 11
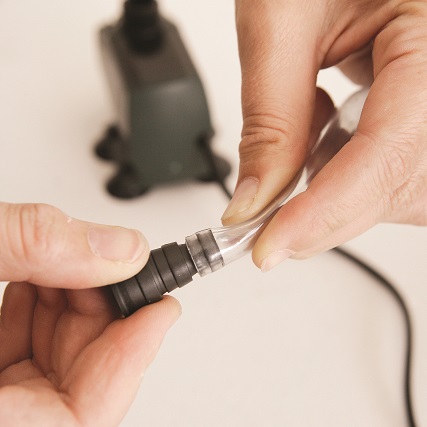
Push the end of the tubing over the nozzle of the submersible pump. Screw the nozzle onto the pump.
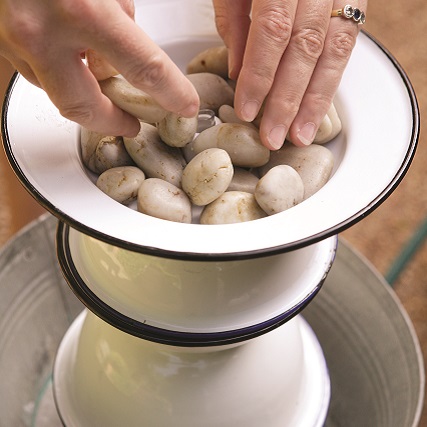
Step 12
Place the column into the biggest bowl where you want to position your fountain, with the pump hidden inside the bottom bowl of the column. Cover the threaded rod and nuts with the white pebbles and fill the fountain with water. Switch the pump on.
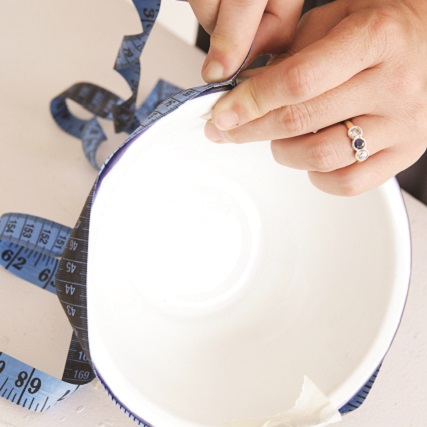
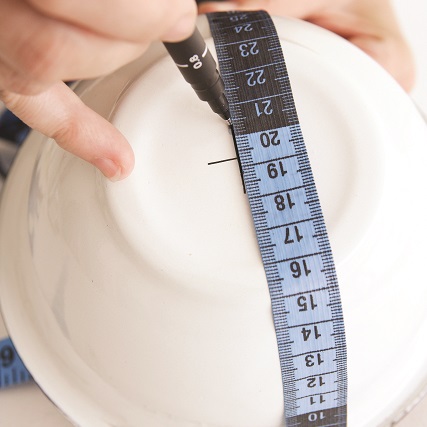
How to find the centre on the base of a bowl
First Measure the circumference of the bowl, divide by 4 and mark off on the top edge bowl. Then take the measuring tape across the base of the bowl between two opposite marks you’ve made and mark the centre at the base. Repeat with the two remaining marks.
Credits
Referenced from Gallo images / YOU Magazine
Browse 1000’s of products available to you. Select your country to Shop Online.


