Make a clock with this easy DIY.
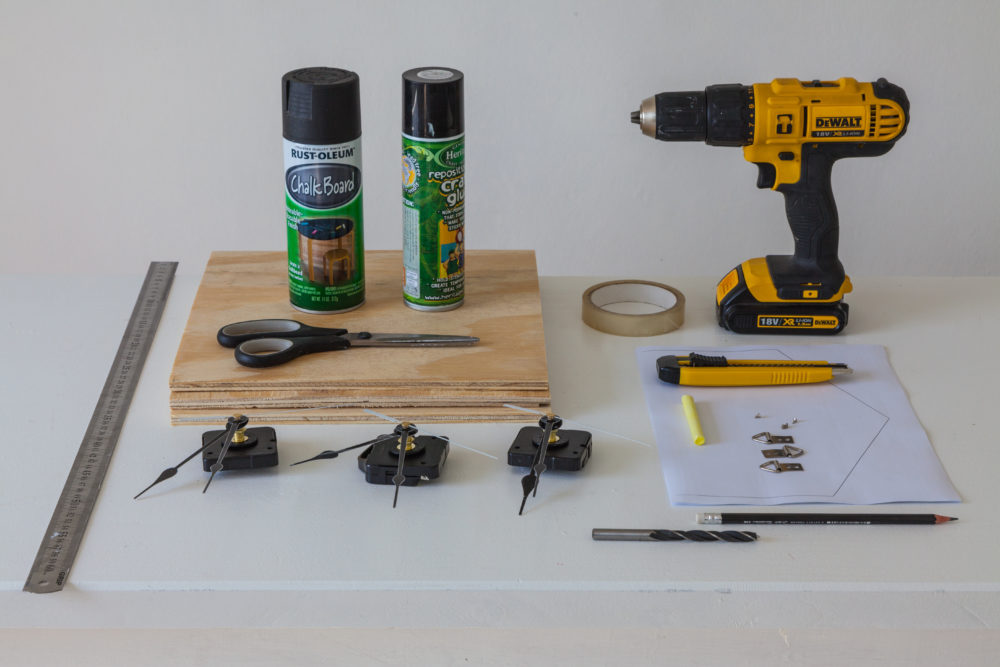
- Templates
- Ruler
- Craft knife or scissors
- Cutting pad
- Cordless drill and bit
Materials you will need
- White paper
- Sellotape
- Repositionable spray-on glue
- Plywood cut to 300 x 300mm
- Rust-Oleum Chalkboard spray paint – Black
- Pencil
- Clock mechanism with hands
- Chalk
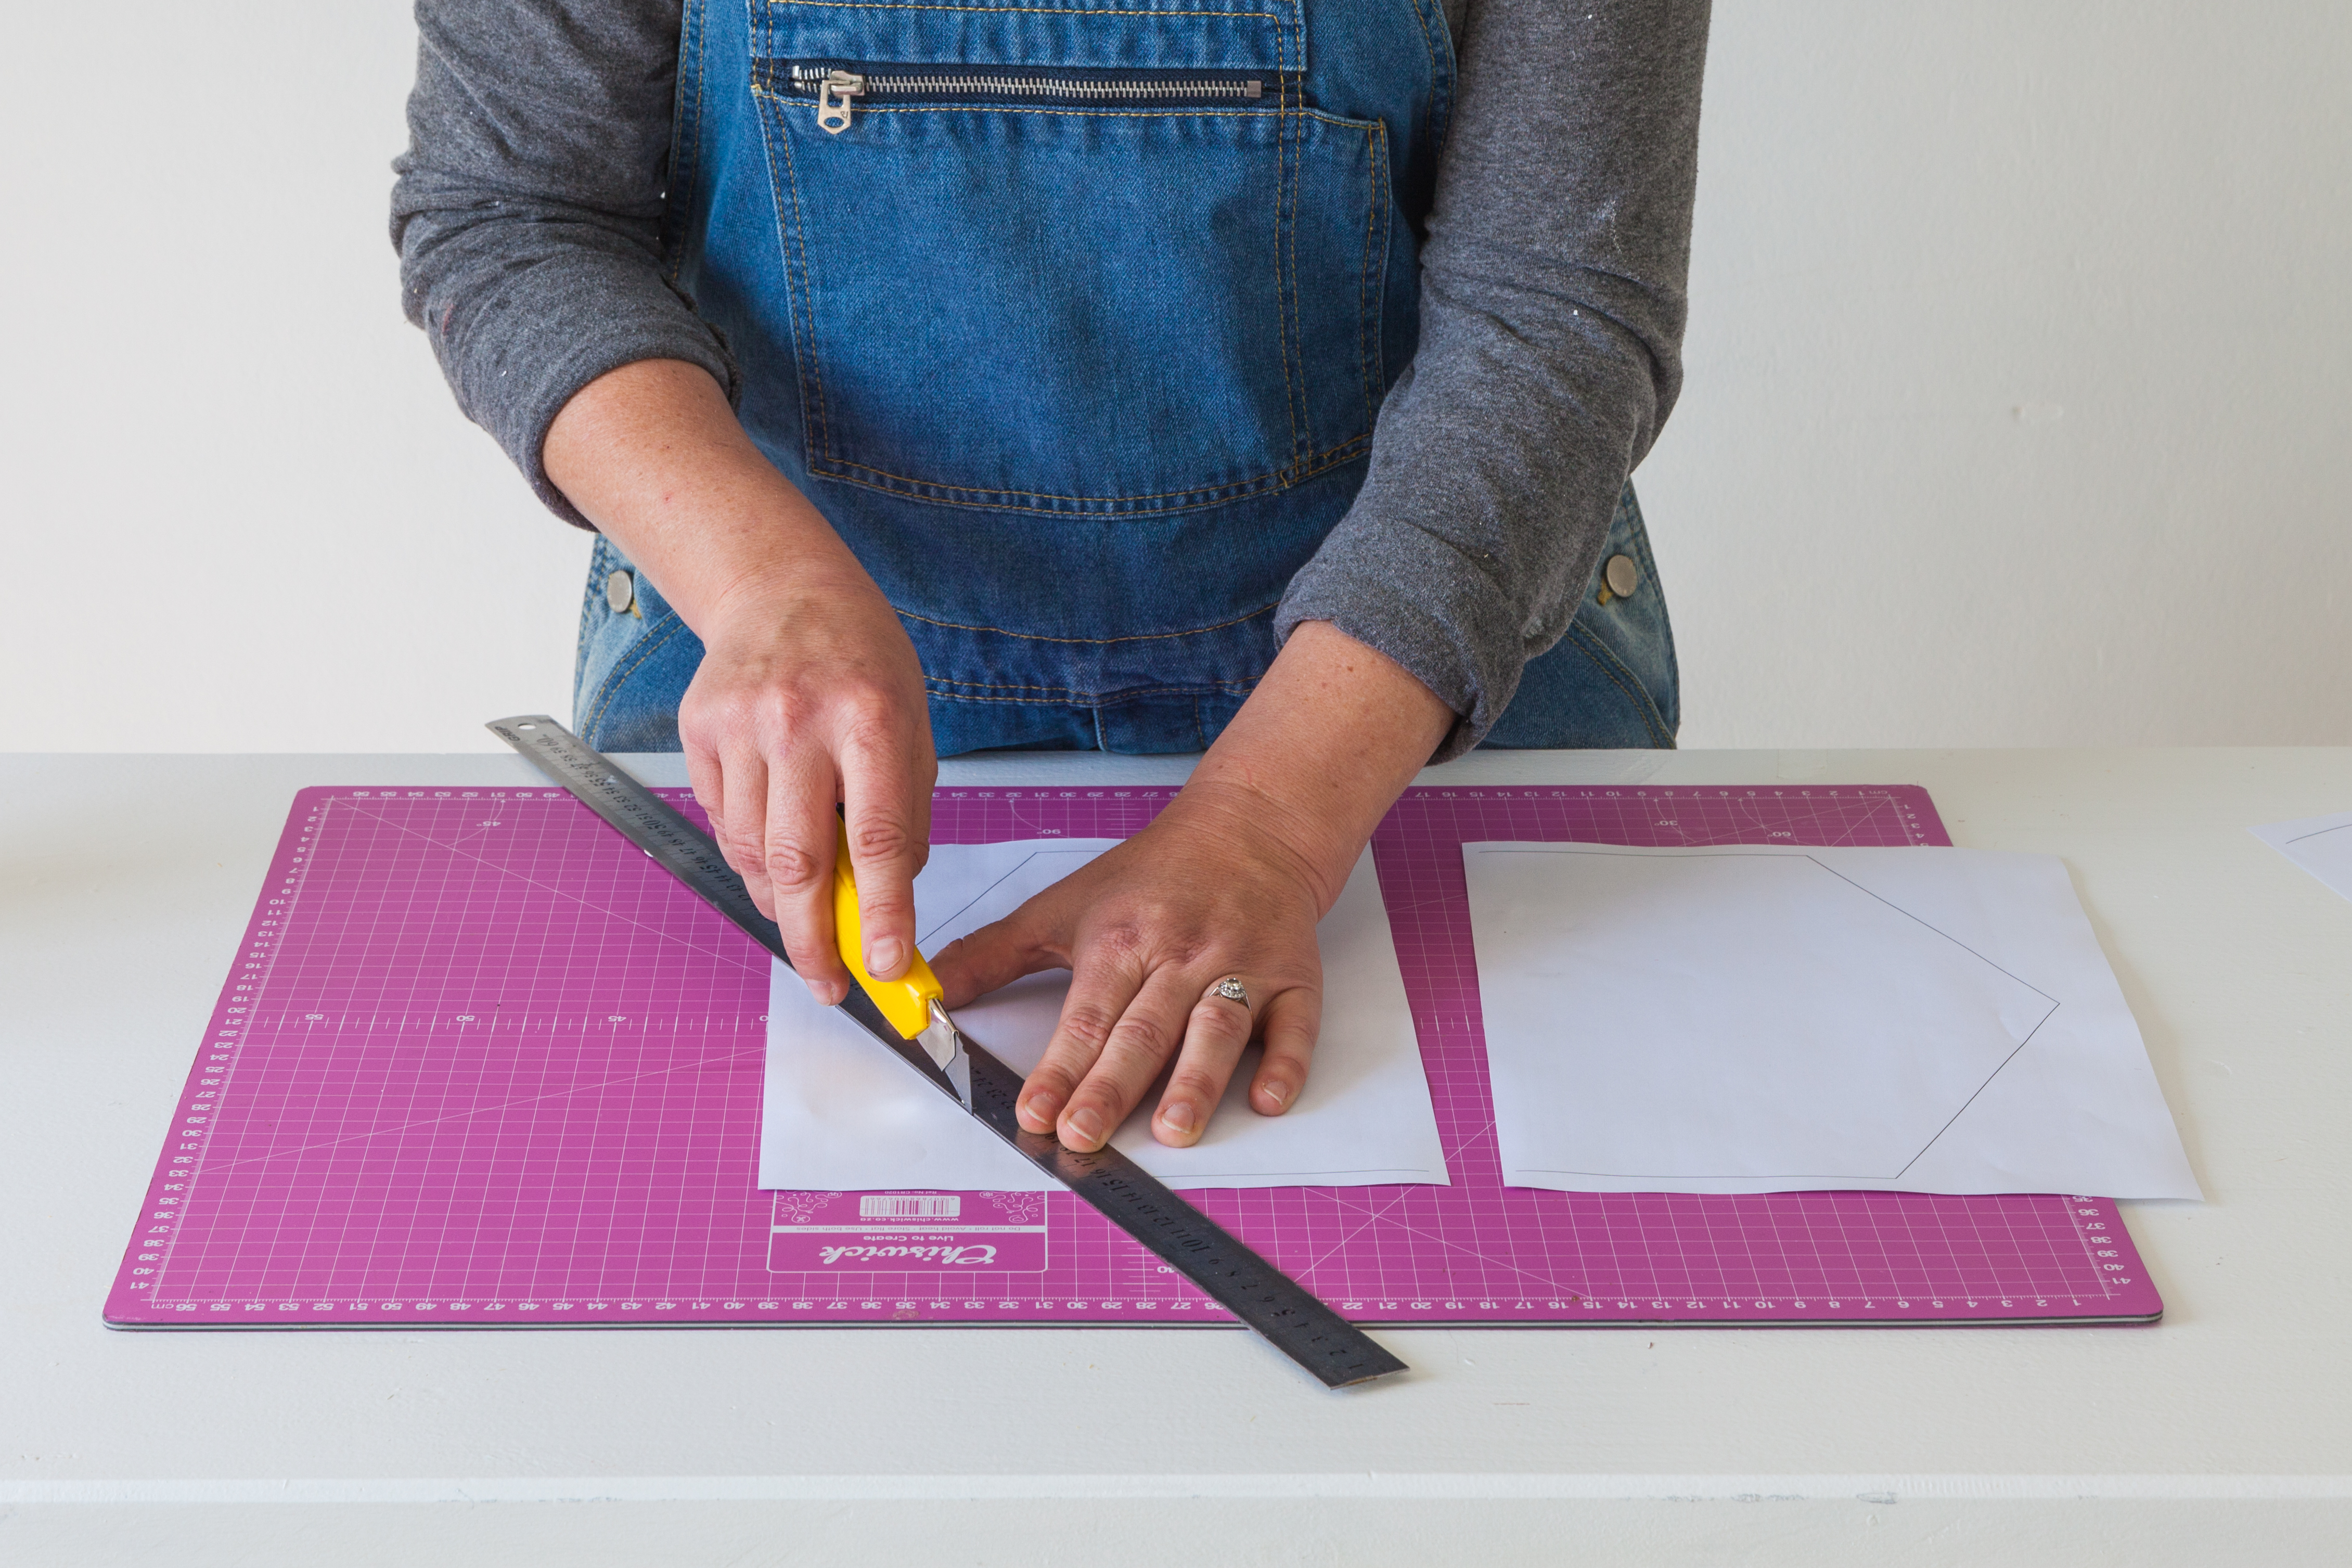
Step 1
Download and print out the templates. Cut out the shapes on a cutting pad using a ruler and a craft knife.
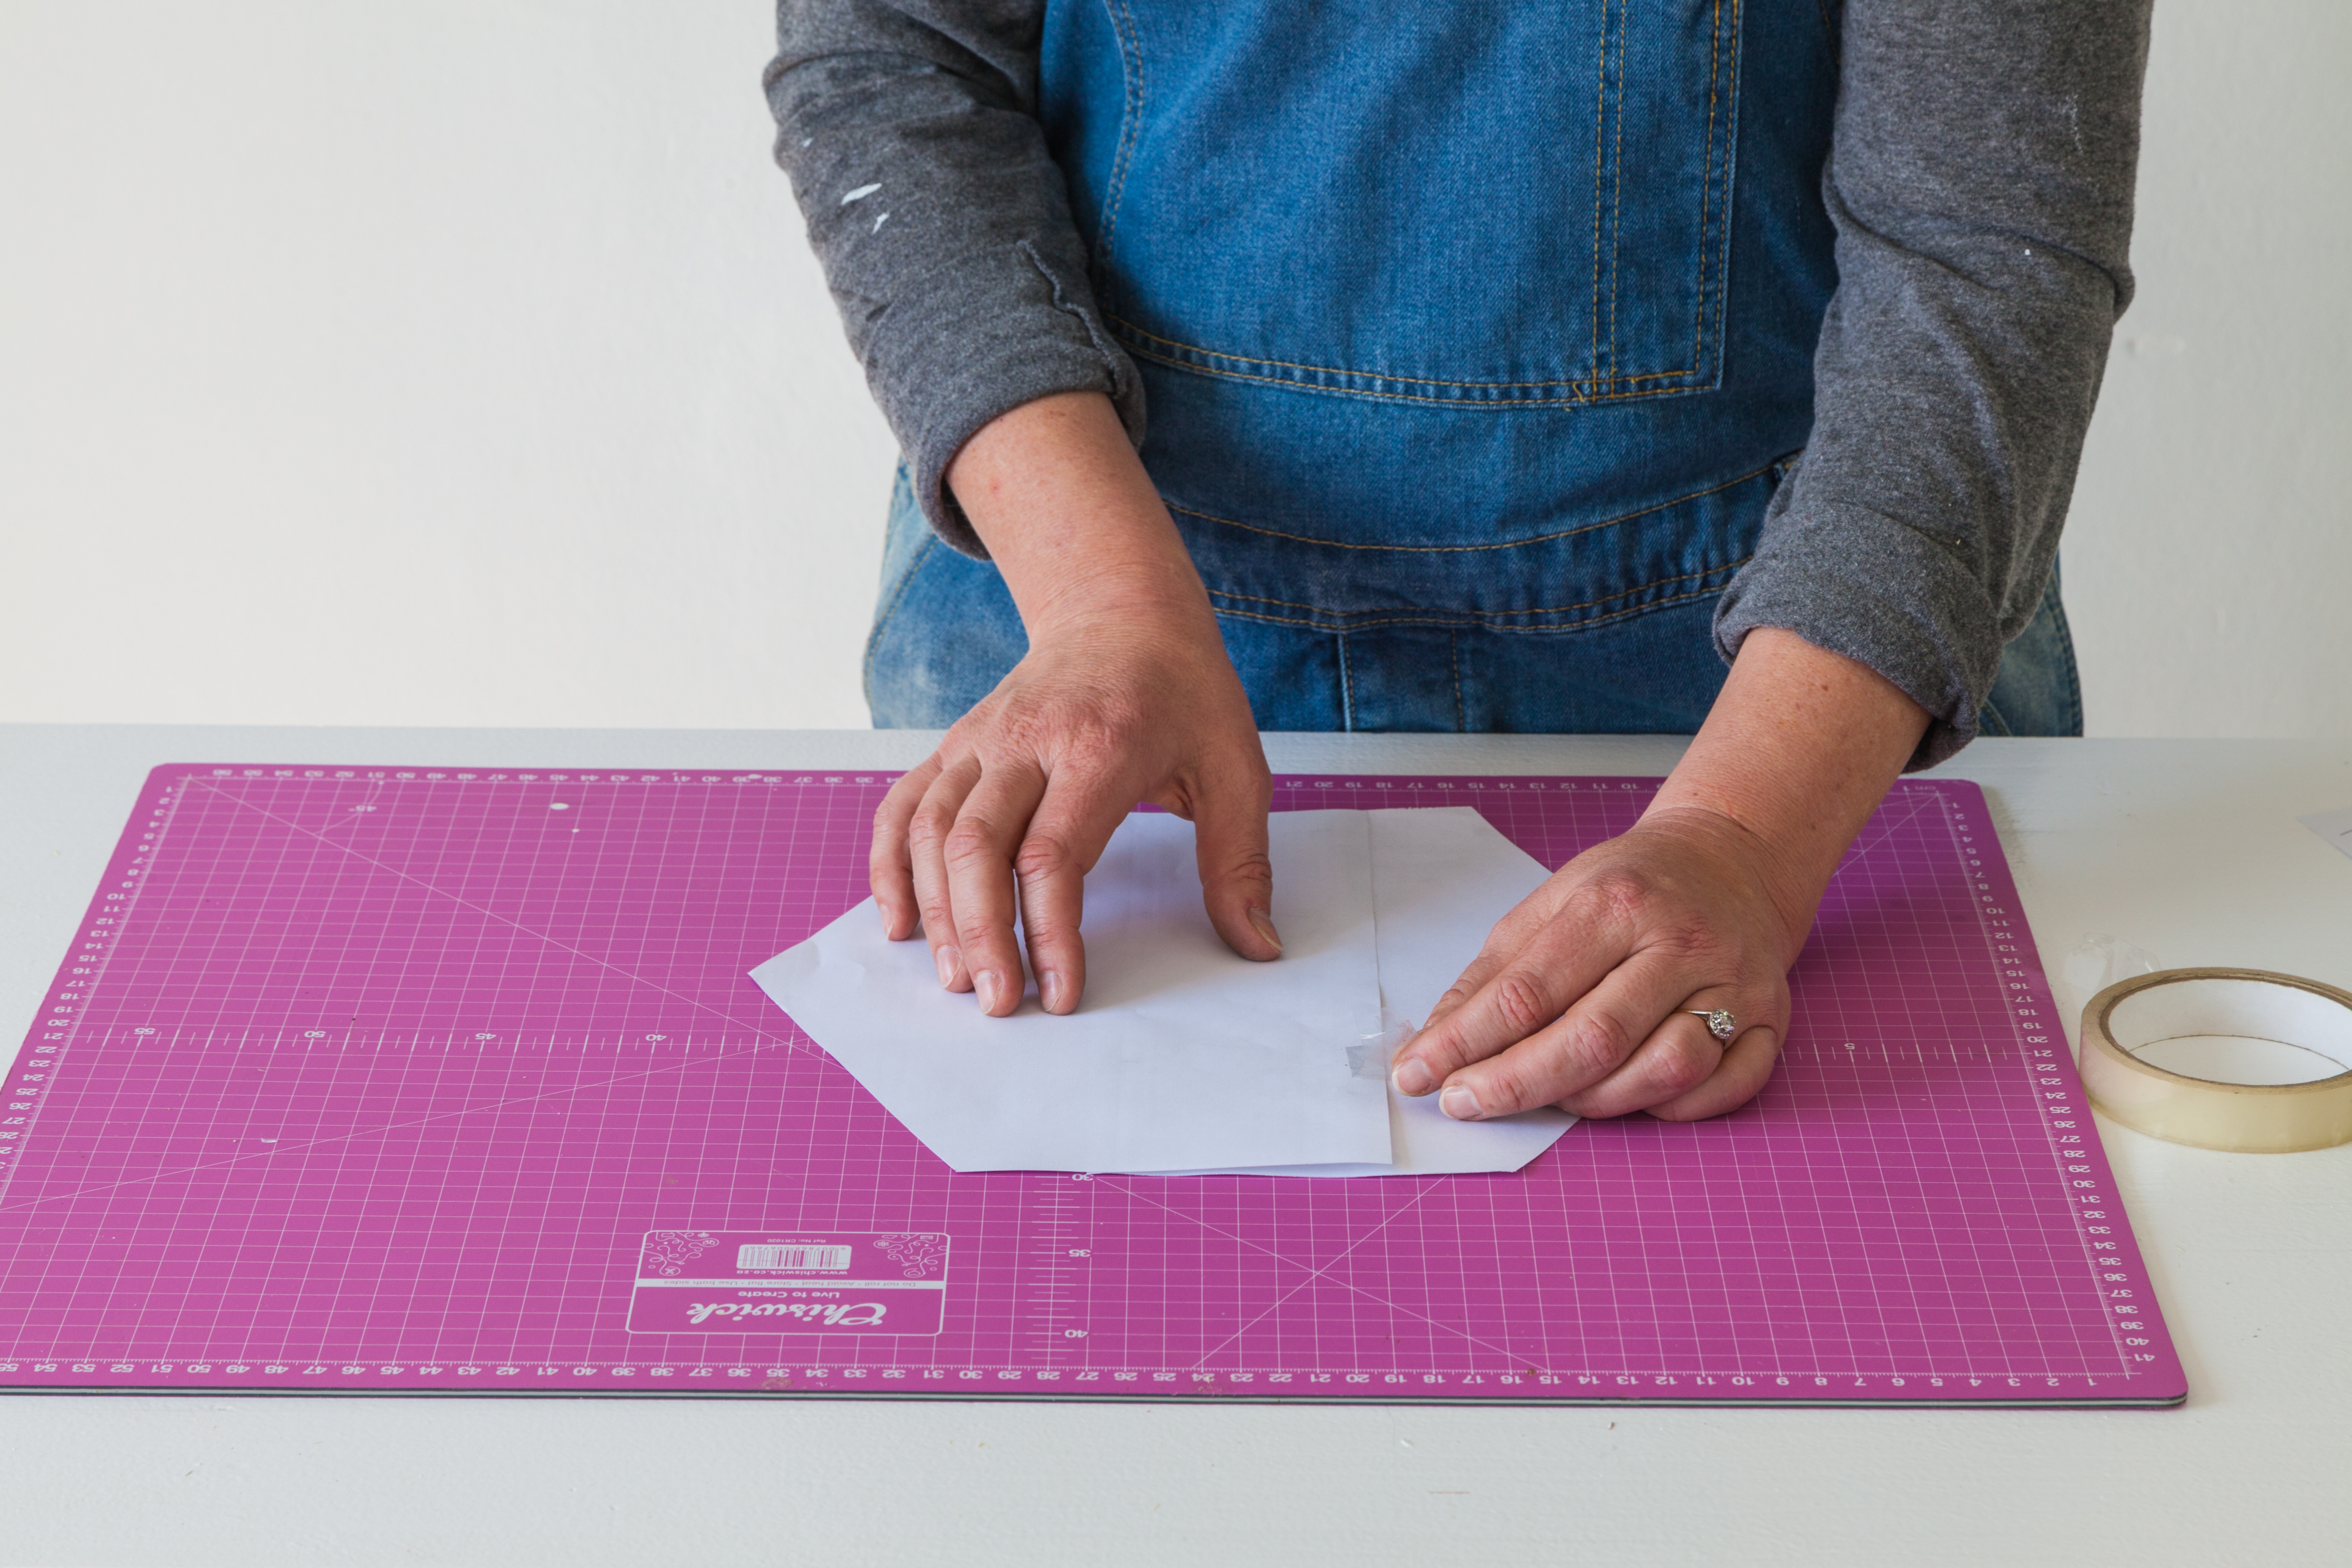
Step 2
If your printer only does A4, just print two copies and join them together with Sellotape.
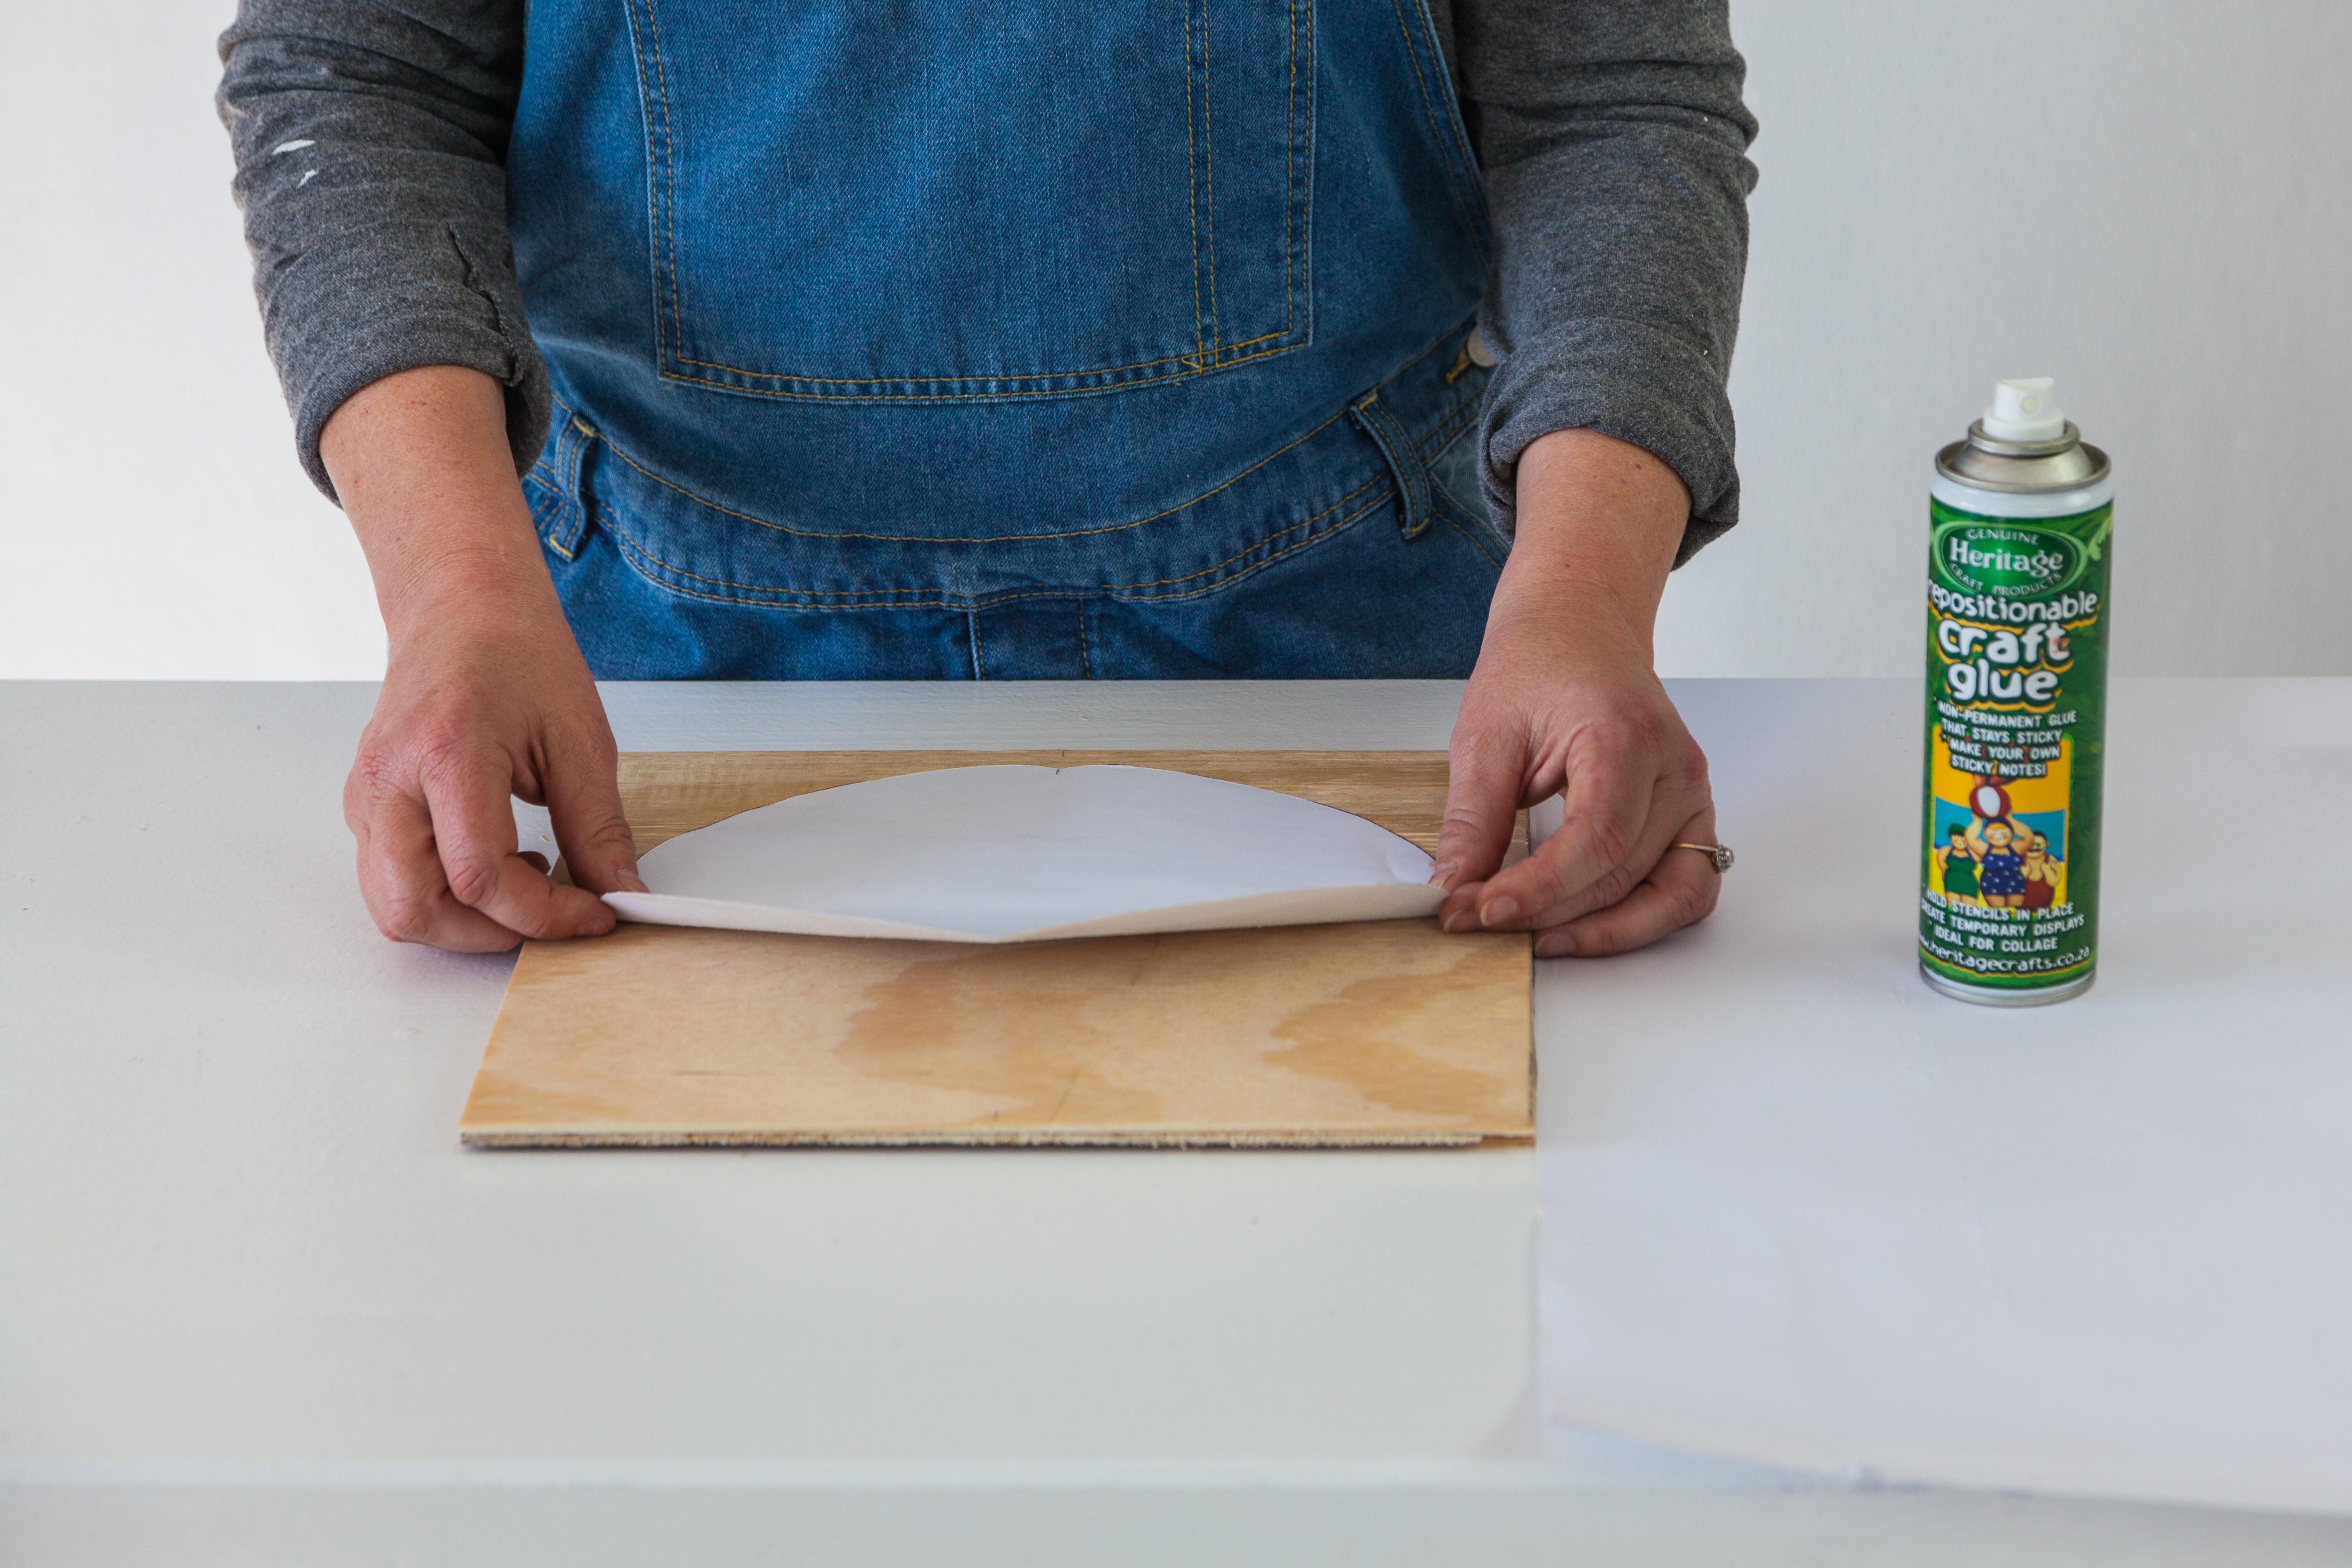
Step 3
Spray repositionable glue onto the back of the template and place it in the middle of the plywood square.
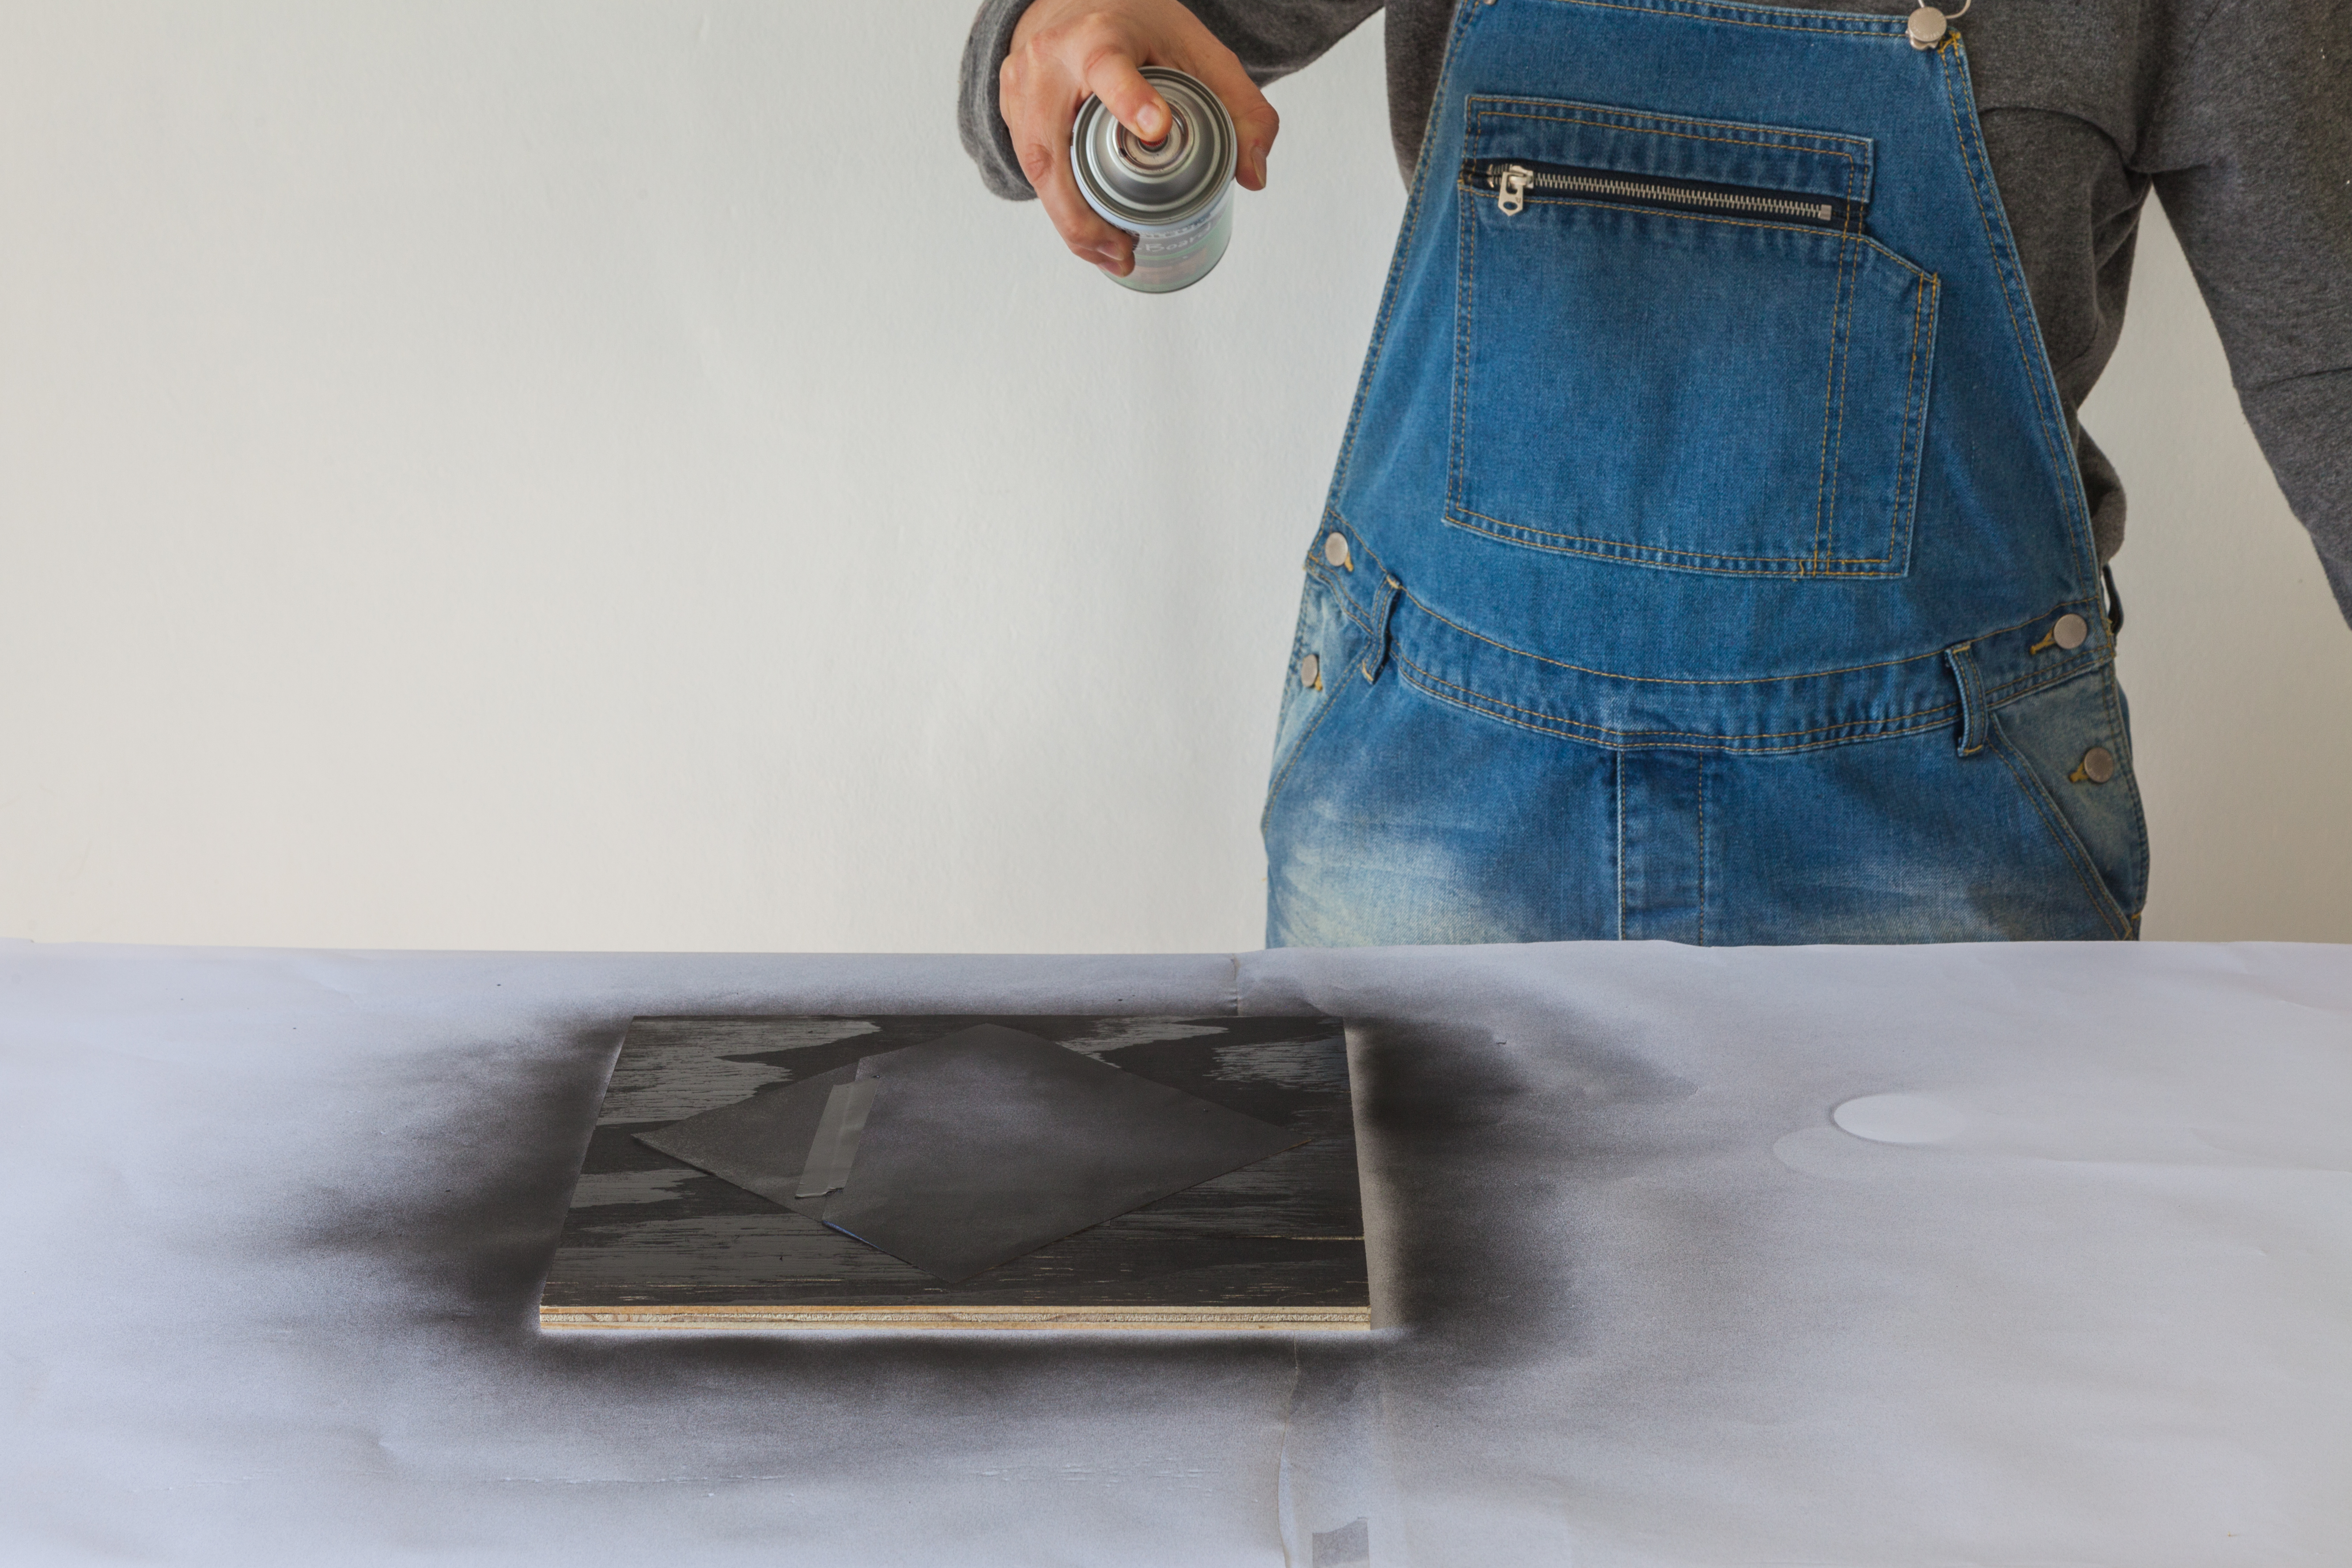
Step 4
Shake the can of chalkboard paint and, holding it 20 centimetres above the project, spray in light coats until you get an even, black finish.
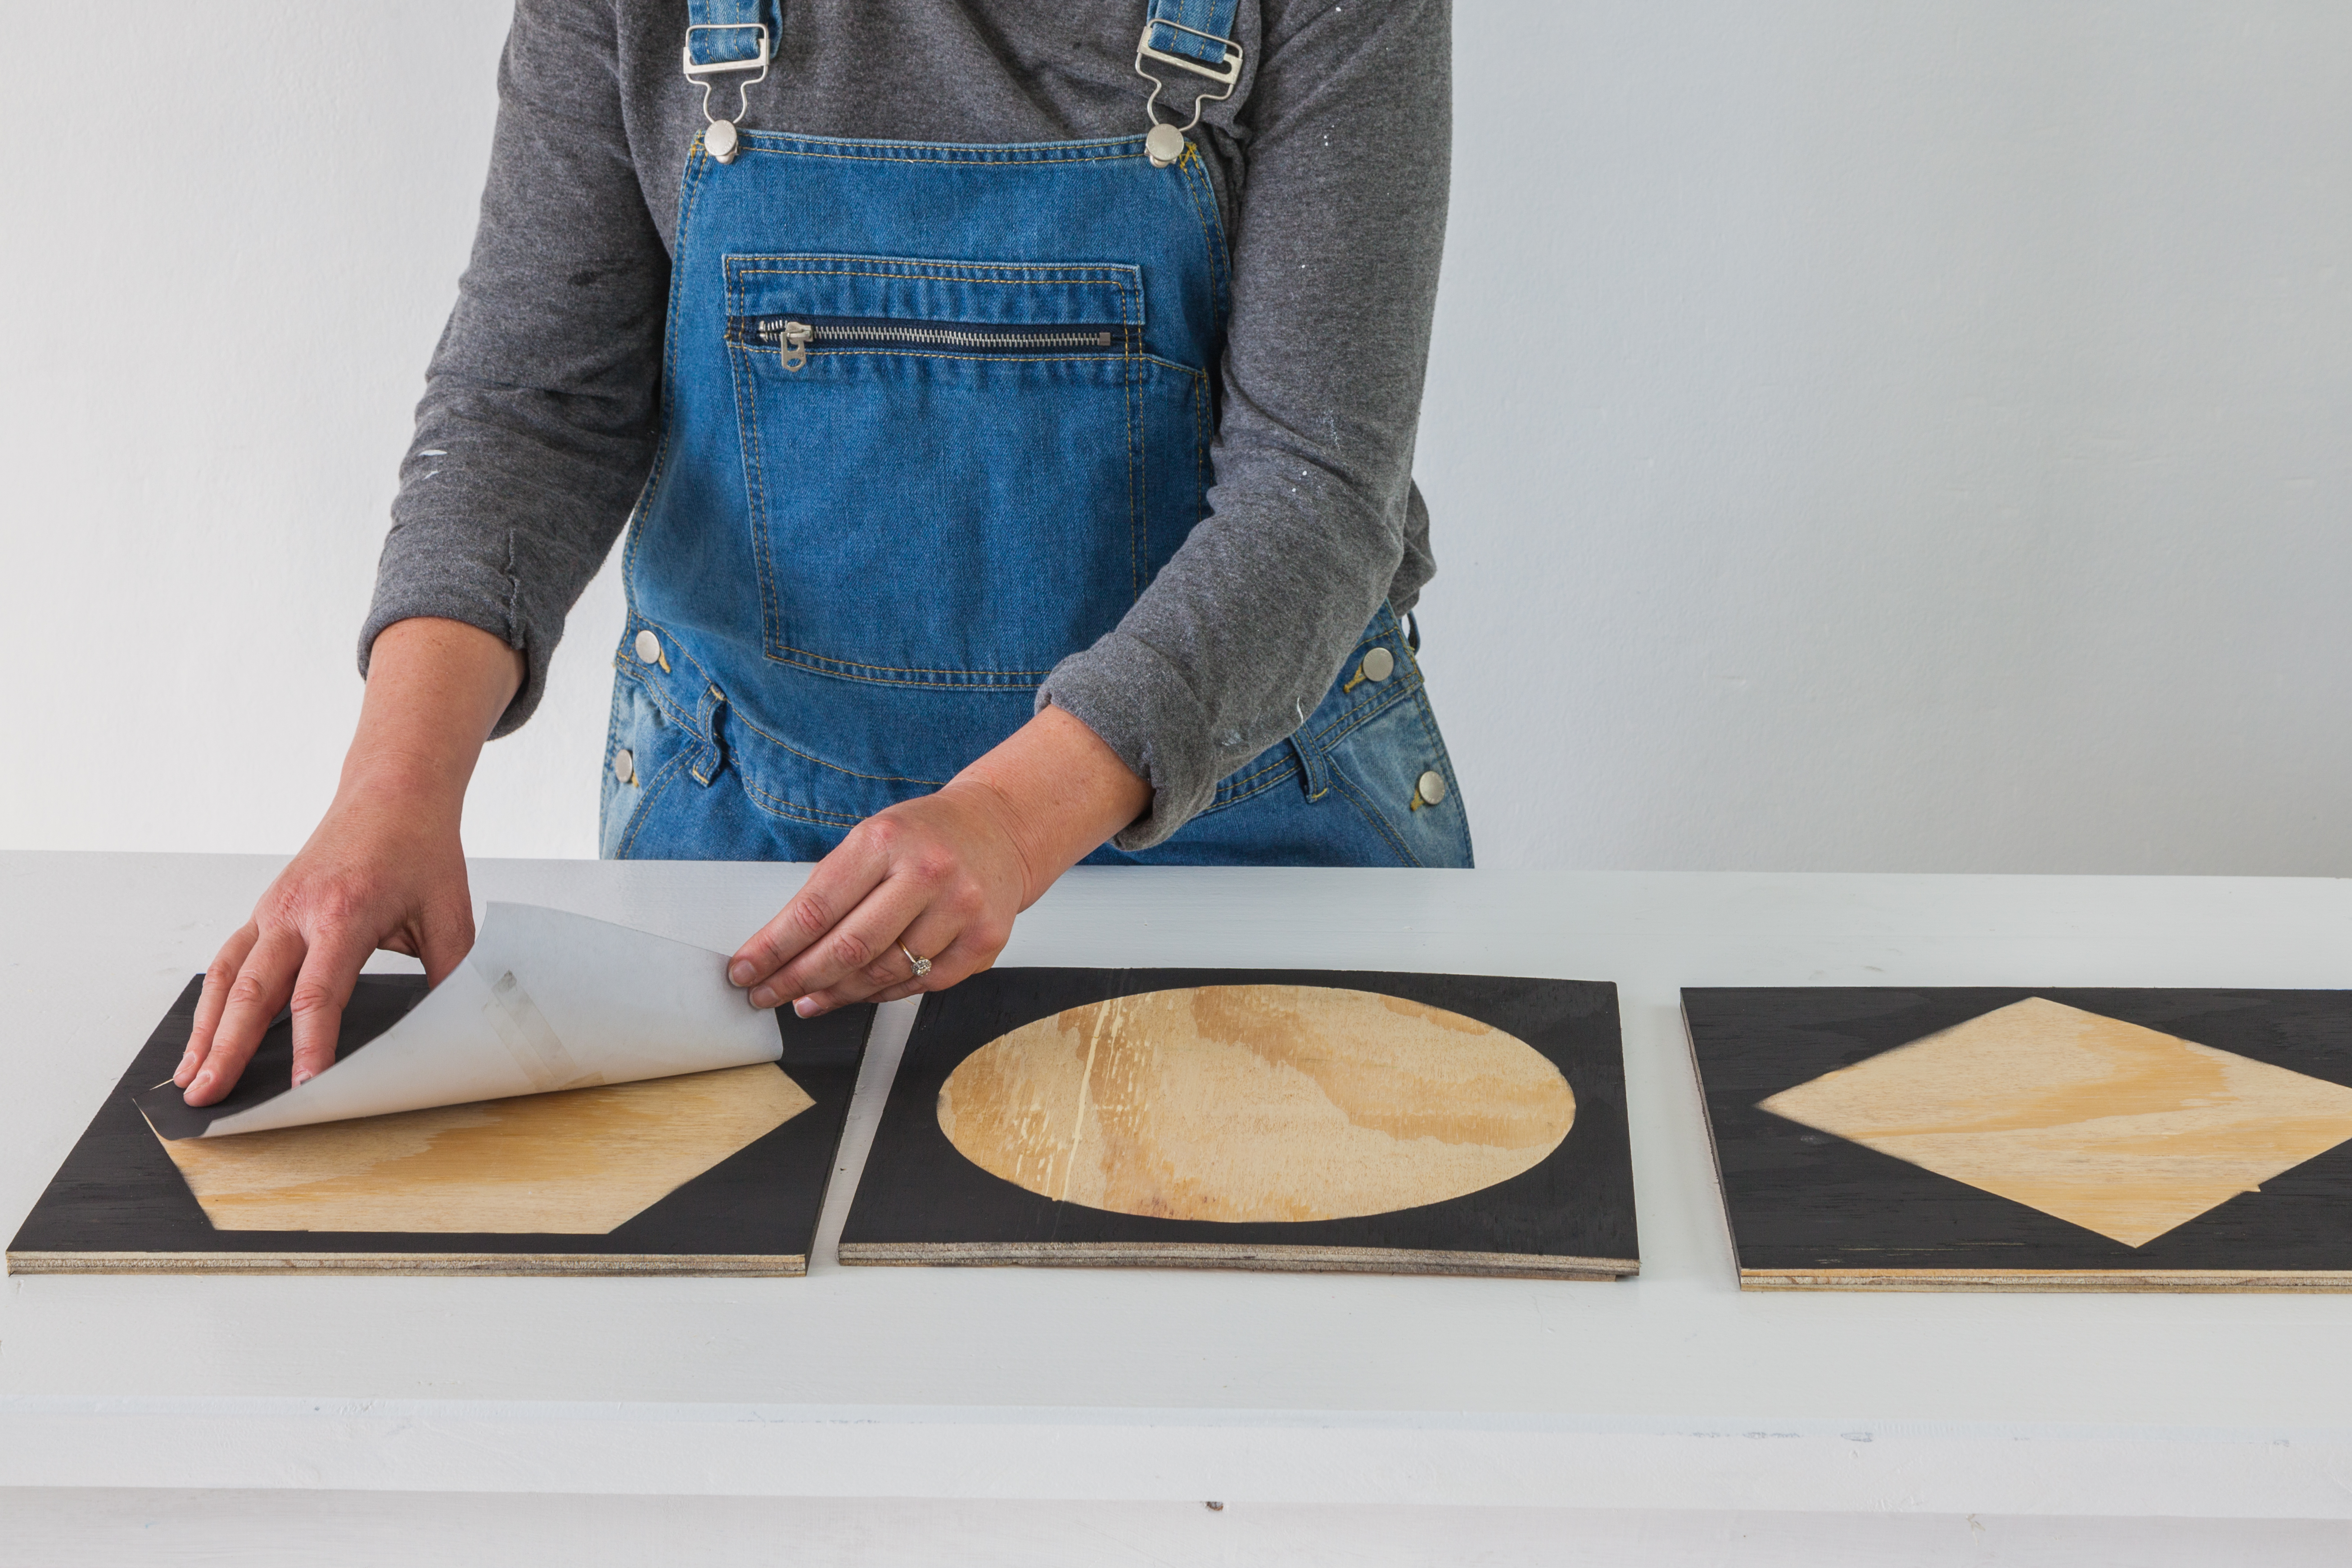
Step 5
Carefully peel the template off the plywood.

Step 6
Mark the middle of the square (where the diagonals intersect) with a pencil and drill a hole through the plywood using an eight- to 10-millimetre bit (depending on the size of your clock mechanism).
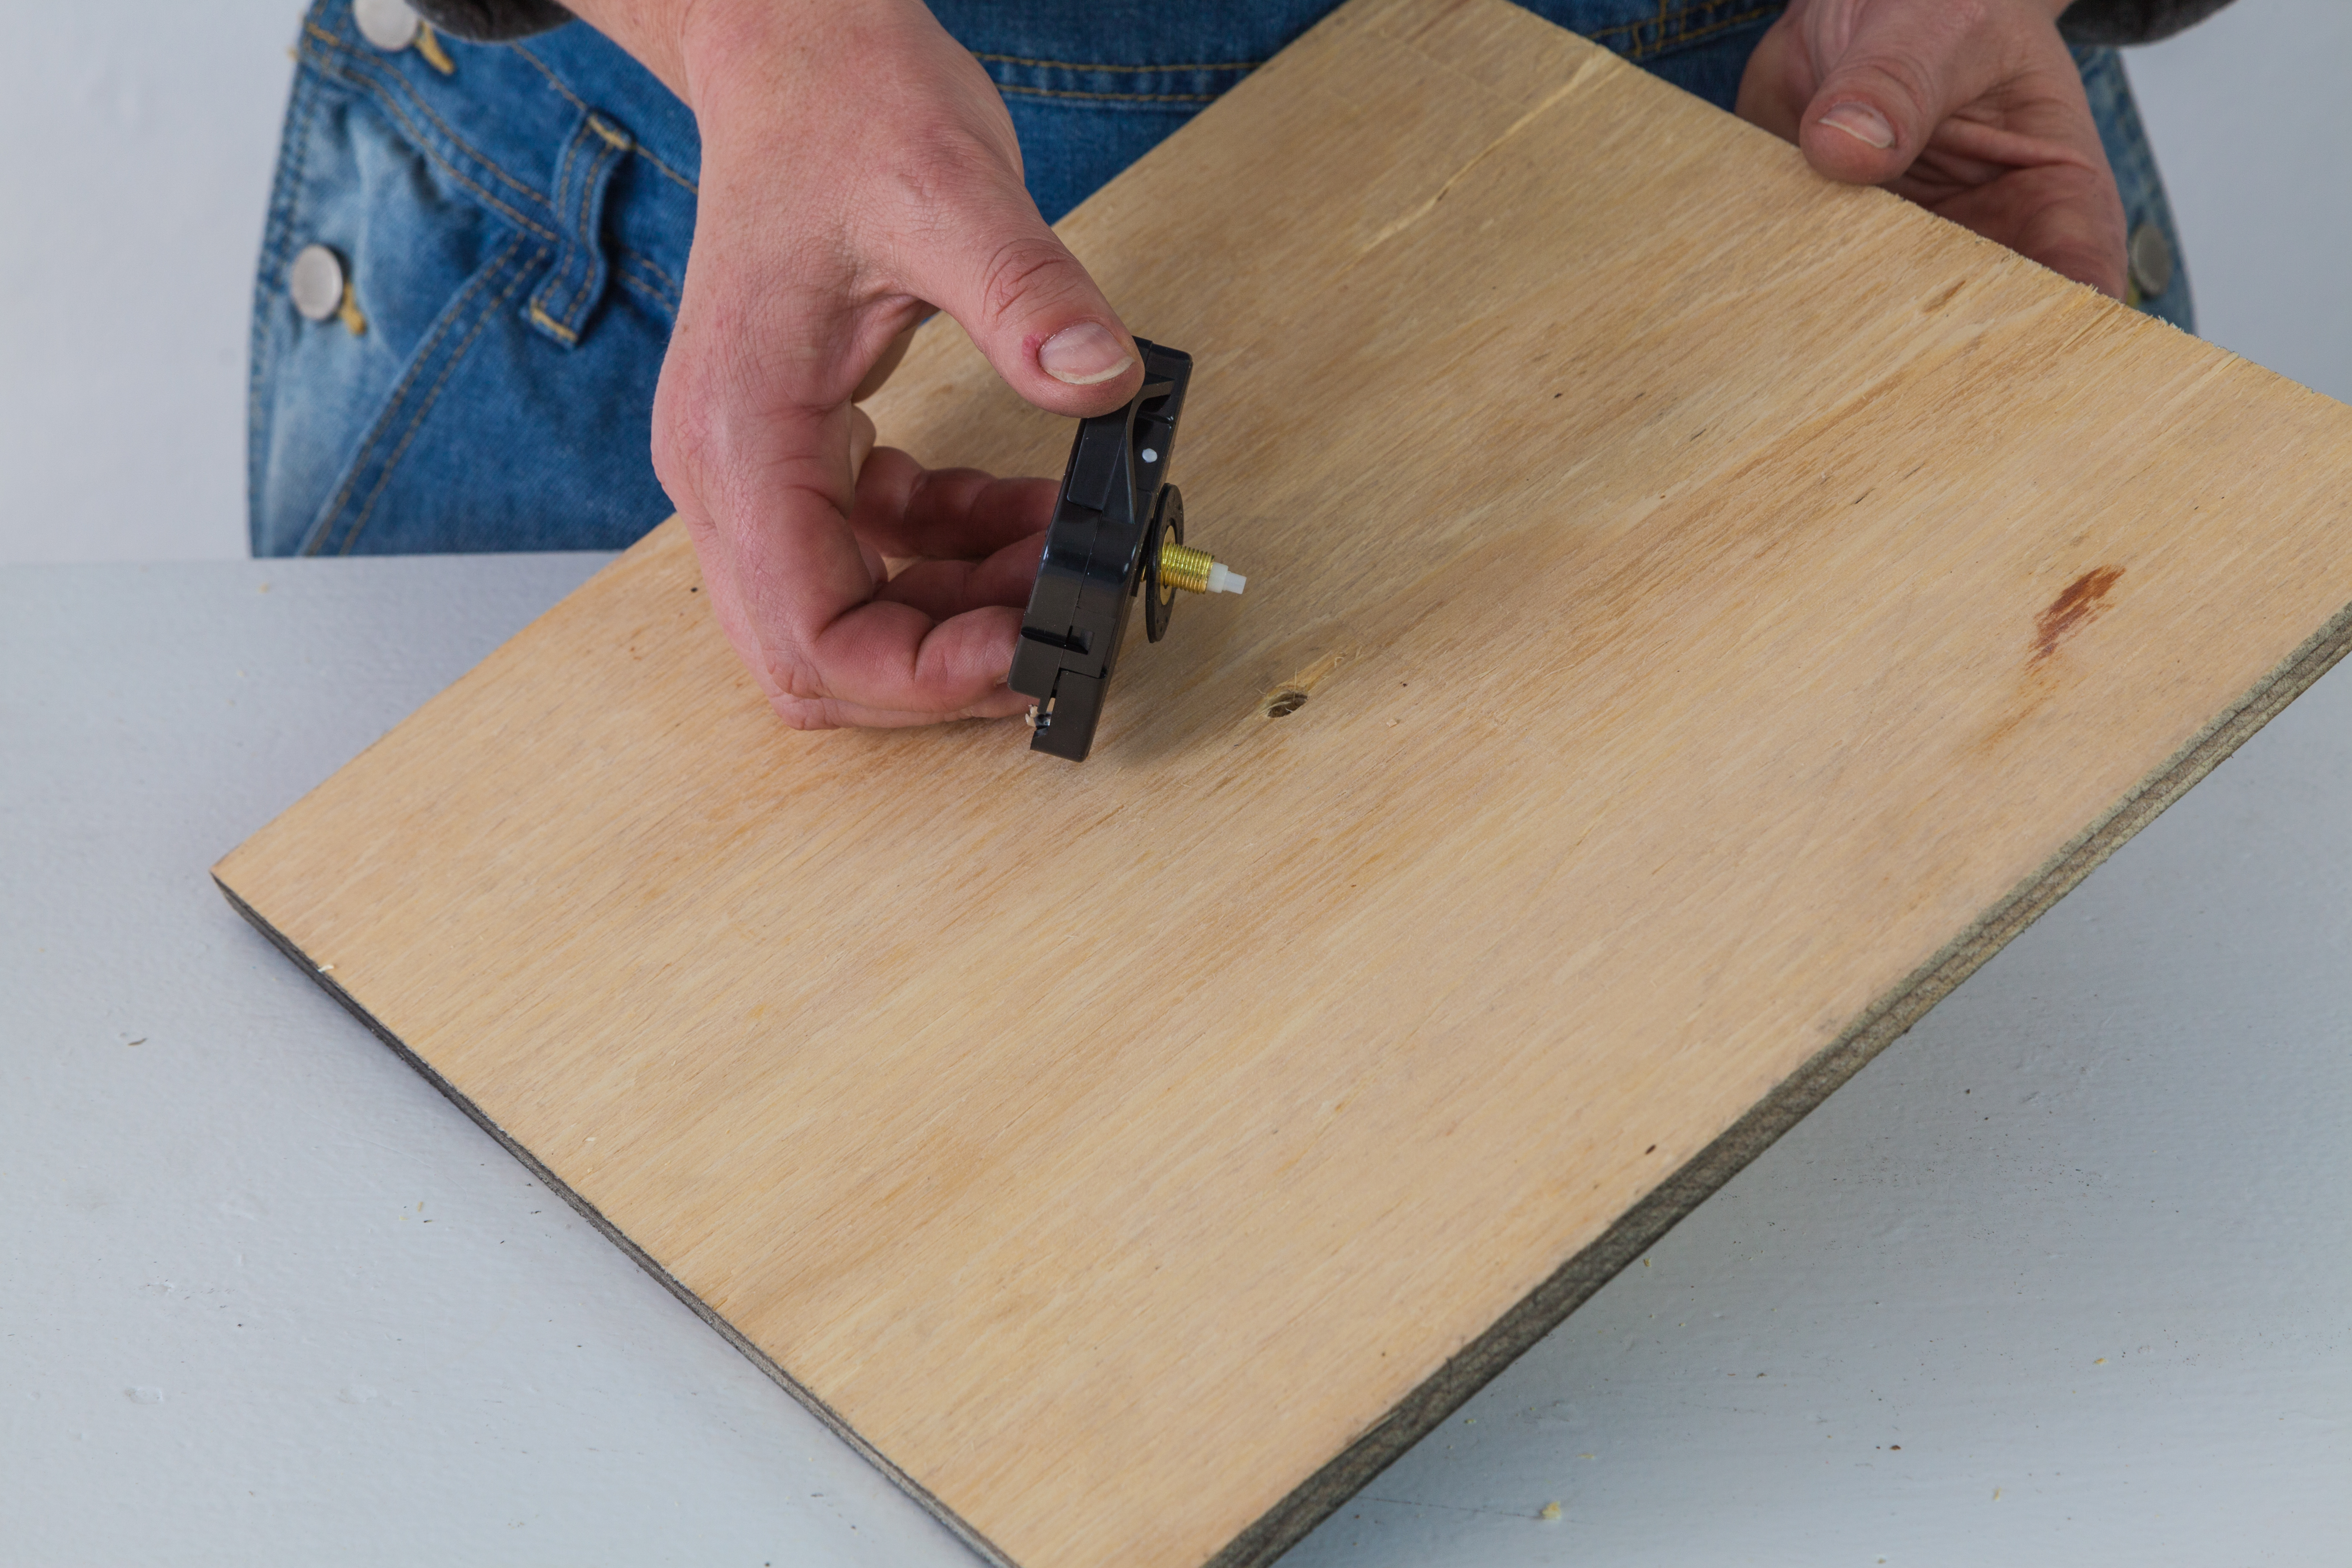
Step 7
Insert the clock mechanism through the back of the plywood, then tighten the mechanism in the front.
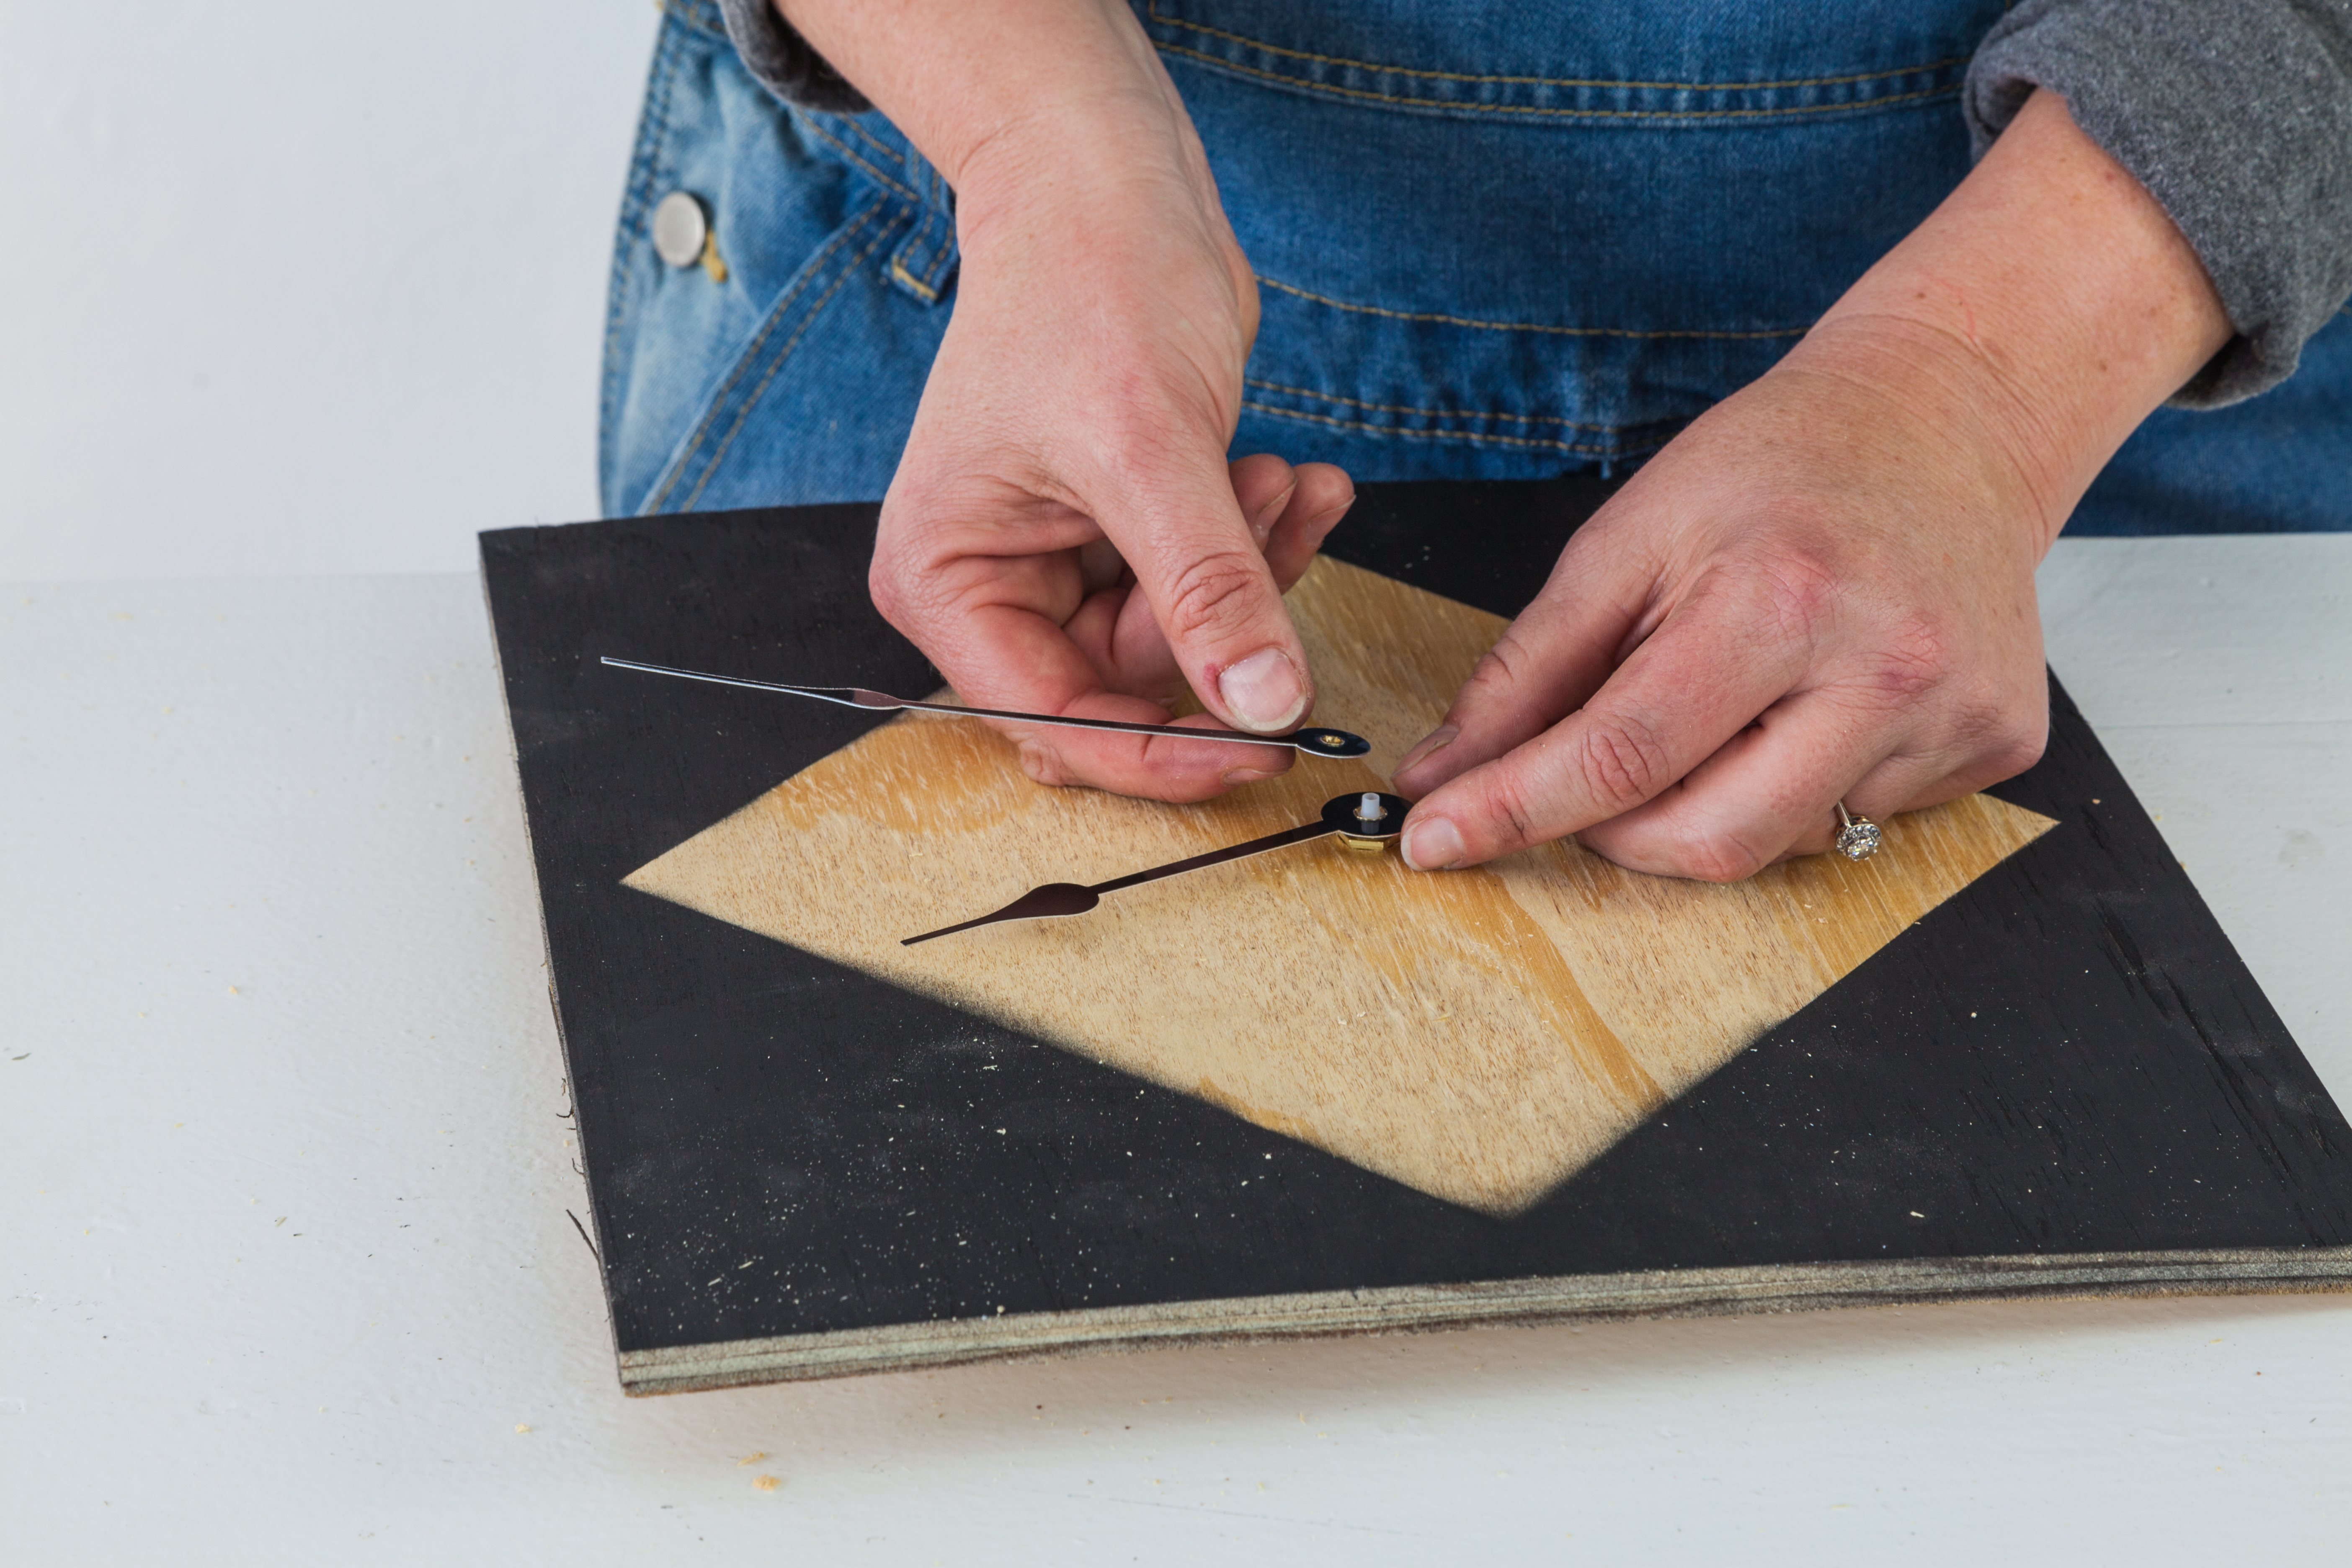
Step 8
Carefully attach the hands of the clock, insert a battery and set the time.
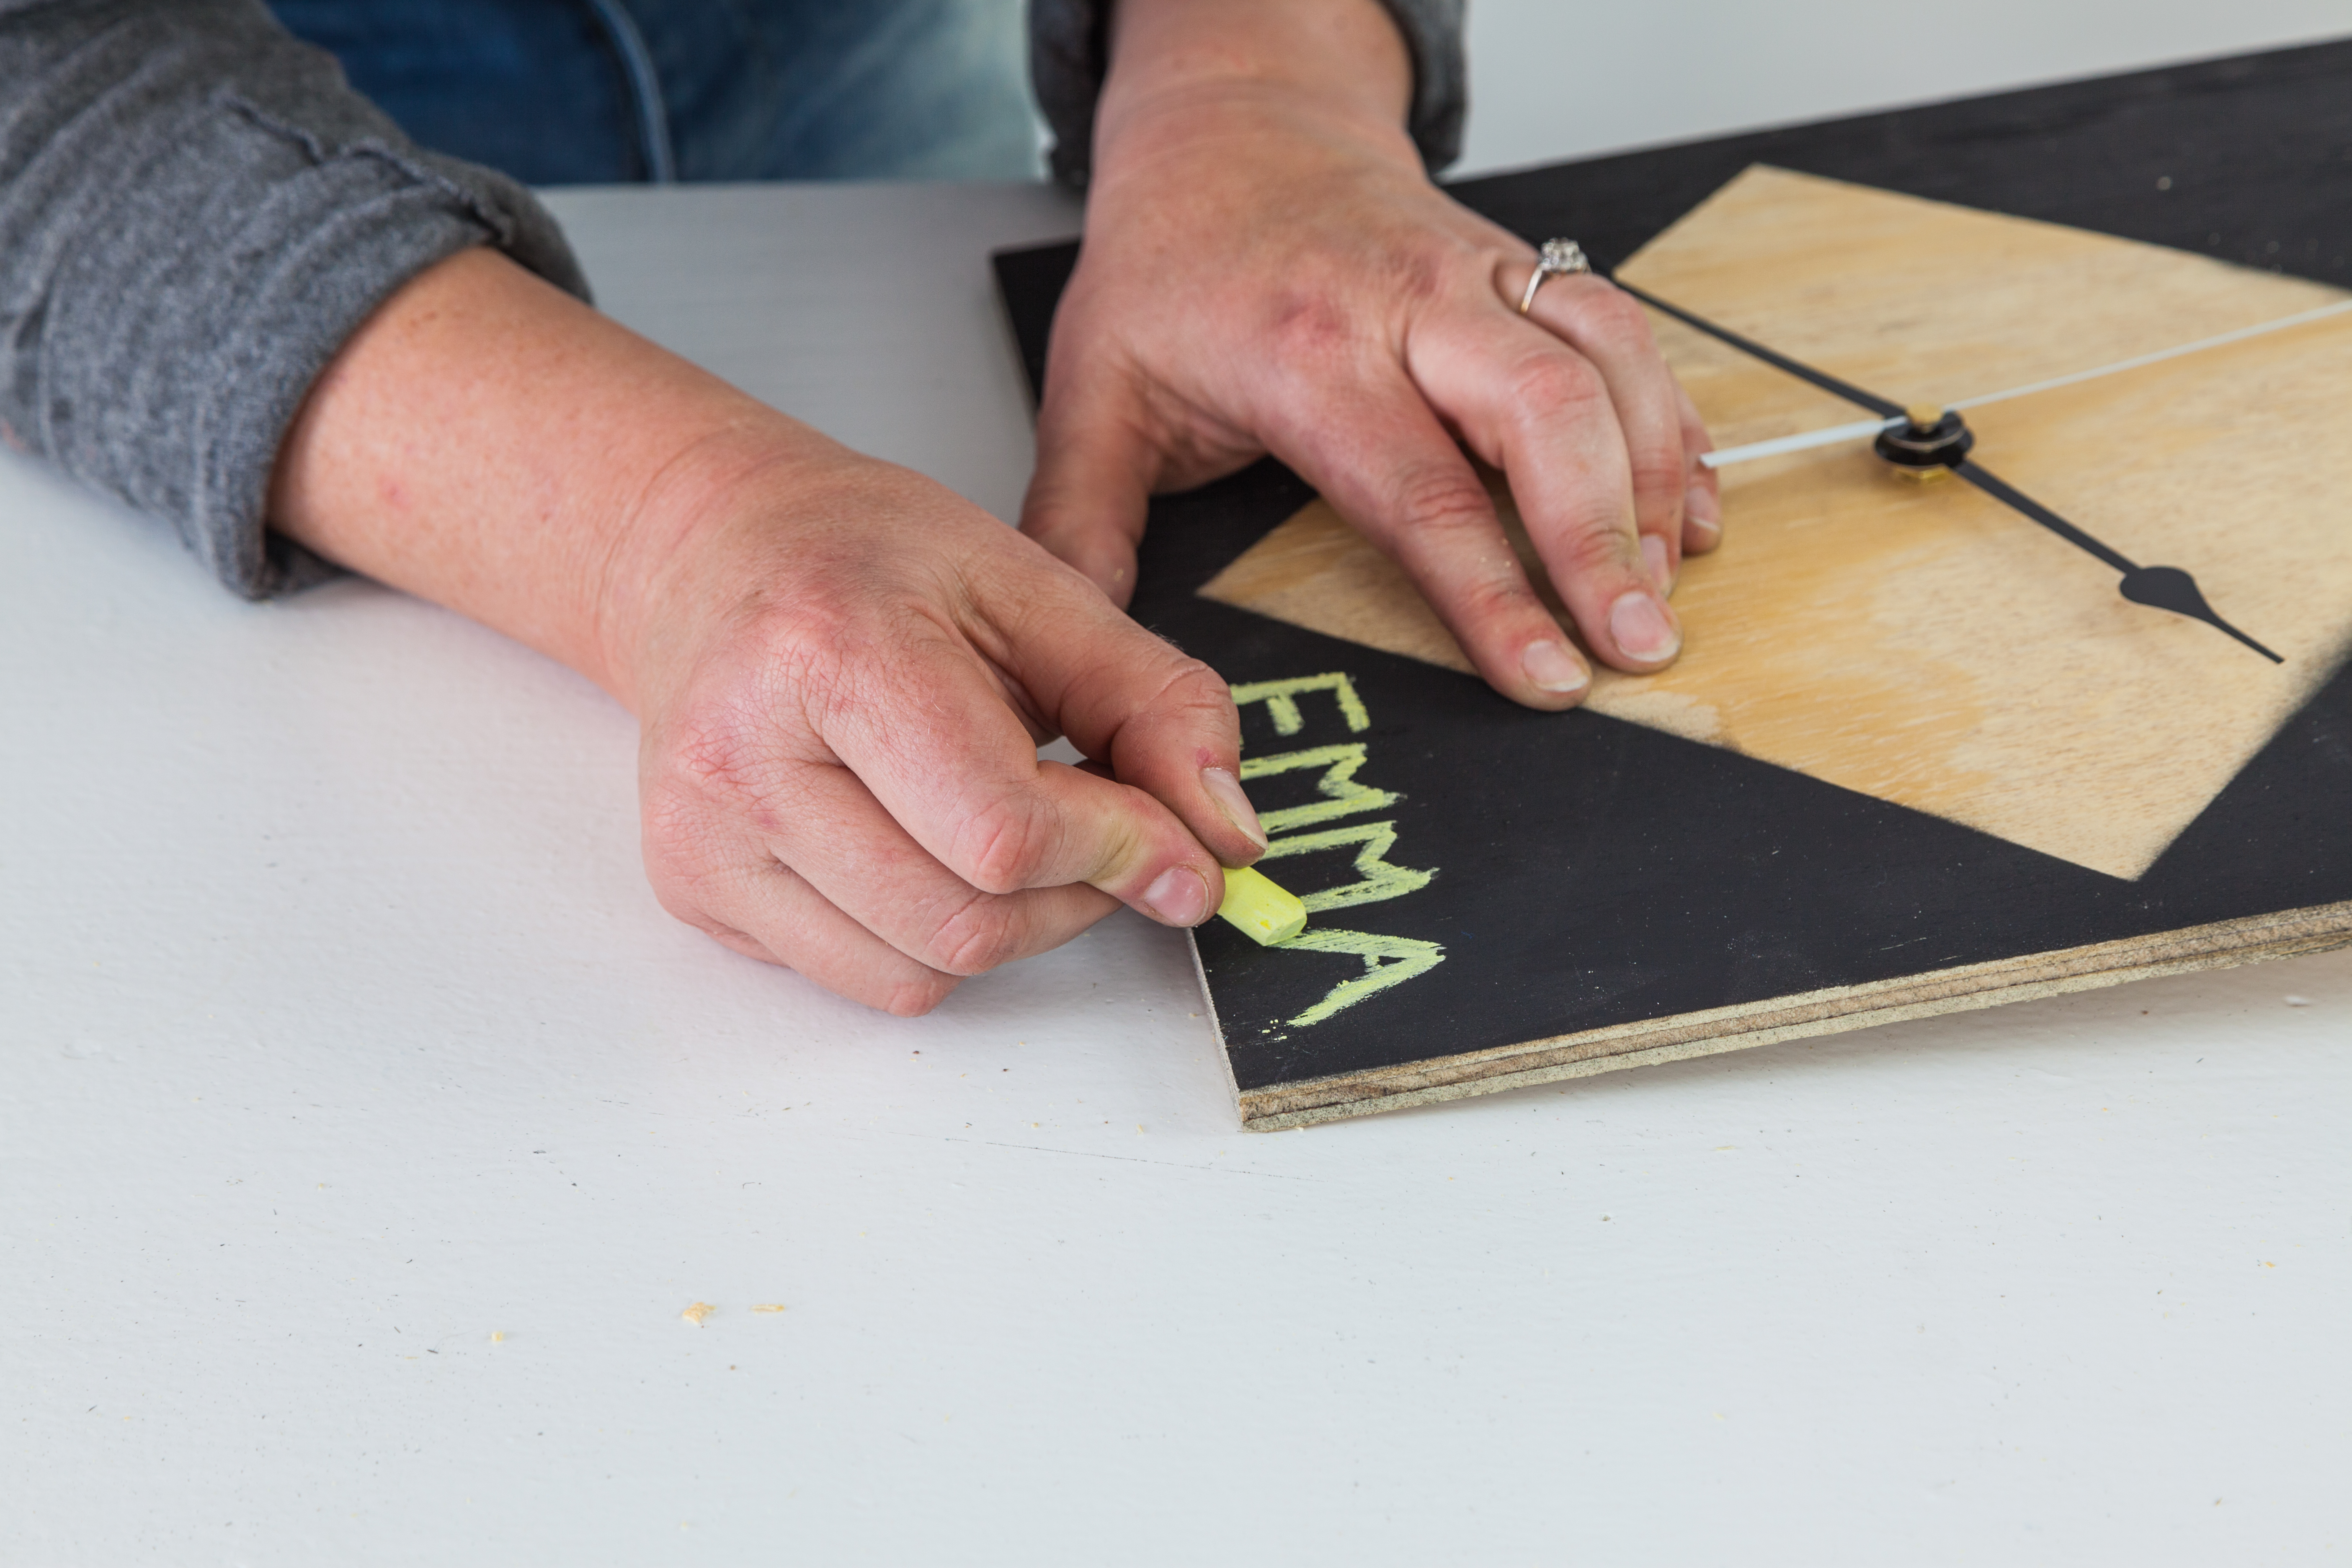
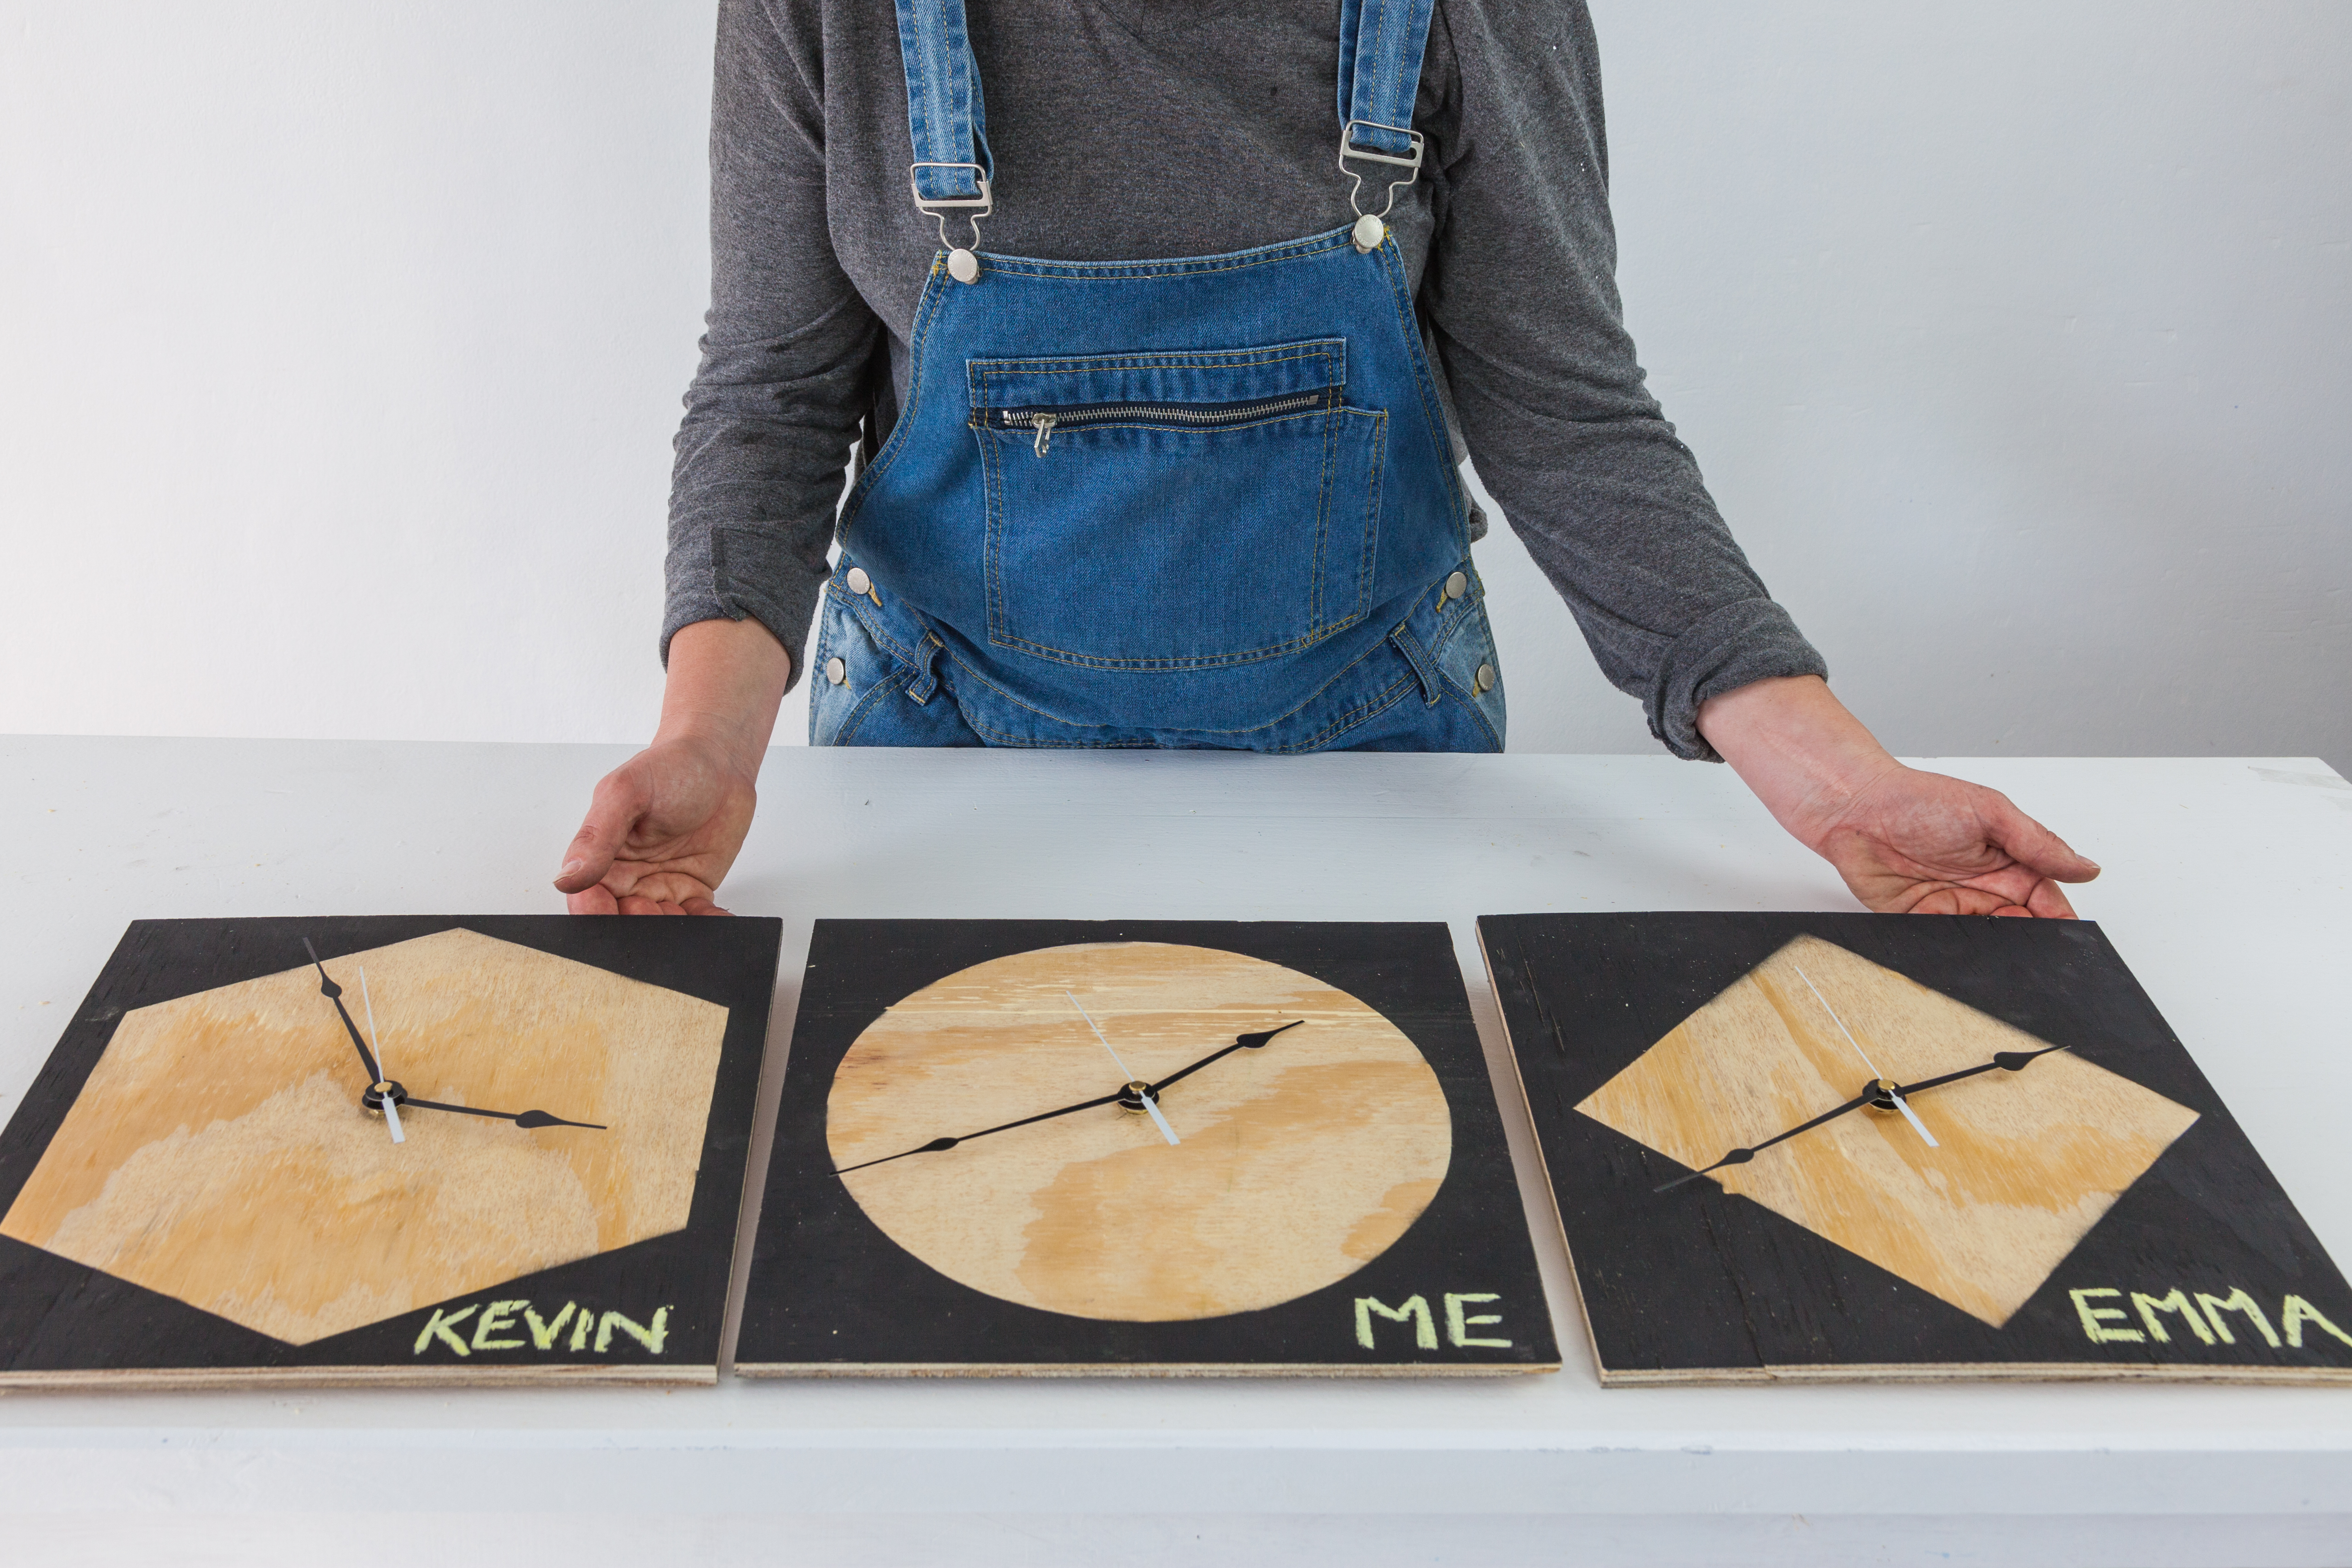
Step 9
To keep track of friends and family abroad, write their names on the chalkboard clocks and set the time according to their time zone so you won’t wake them in the middle of the night with a phone call. Remember to set one clock for yourself.
Browse 1000’s of products available to you. Select your country to Shop Online.


