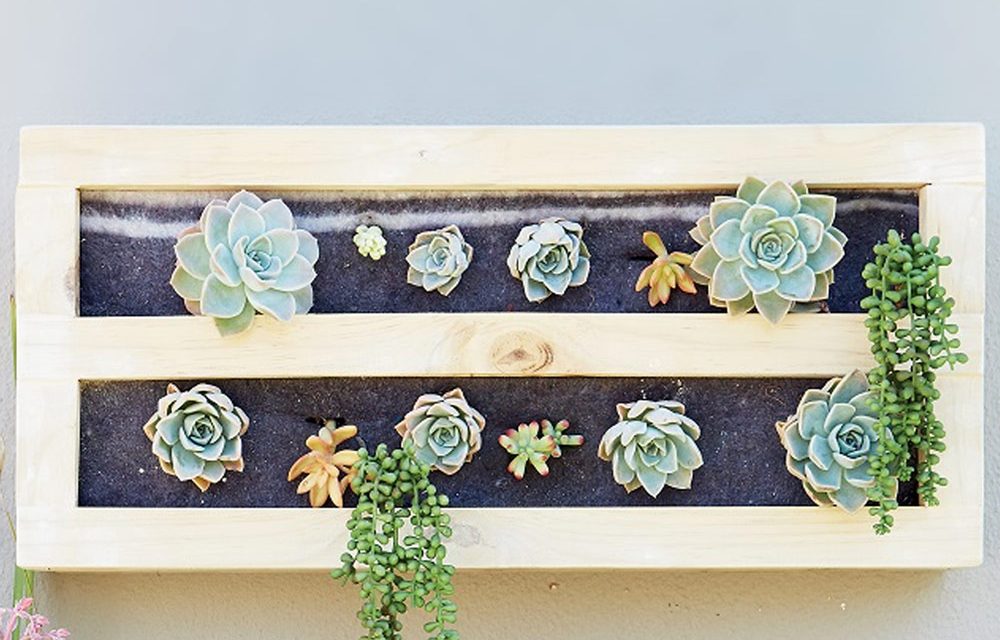
Add greenery to bare walls with a pretty planter box that can be assembled in three easy steps.
- cordless drill
- scissors
- 12mm spade bit
- sharp knife
- 22 x 95mm planed pine, cut to:
- two pieces of 300mm and three pieces of 660mm (frame)
- 22 x 44mm planed pine, cut to:
- three pieces of 700mm and four pieces of 95mm (finishing)
- 18mm plywood 700 x 300mm in size (back)
- blanket
- one pack of 6mm x 40mm chipboard screws
- one pack of 8mm x 16mm chipboard screws
- 10 washers
- one bag of potting soil
Step 1
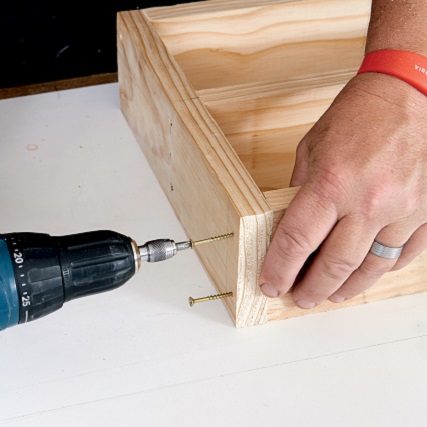
Make marks where you will drill pilot holes in the middle and at each end of the two 300mm planks. Glue and screw two 660mm planks between the ends of the two 300mm planks with 6mm x 40mm chipboard screws. Screw the final 660mm plank in the middle to form two compartments. Then attach the 700 x 300mm plywood to the back of the frame.
Step 2
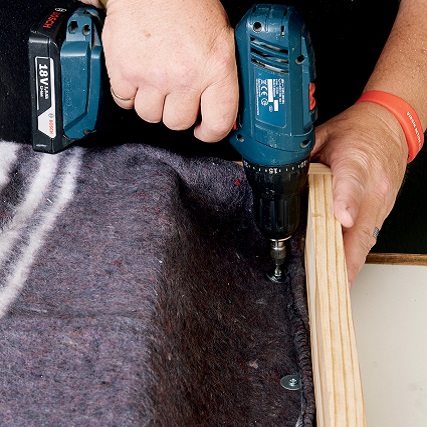
Use the spade bit to drill drainage holes in the side that will face downwards, as well as in the middle plank. Cut the blanket 800mm wide and attach it to the back of the side that has no drainage holes with the 8mm x 16mm chipboard screws and washers.
Step 3
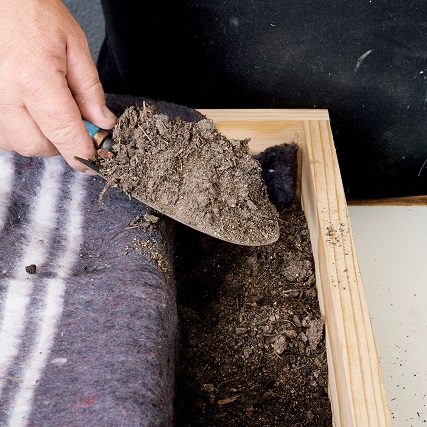
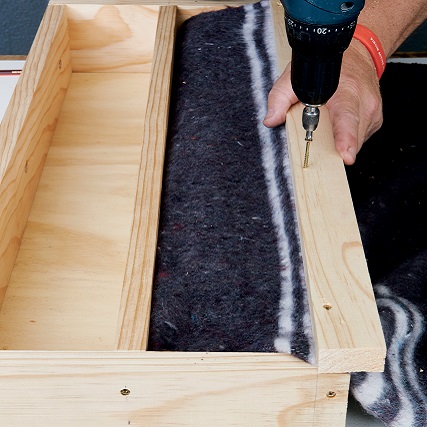
Fill the compartment with potting soil and fold the blanket over, securing it by screwing the 700mm plank to the frame on top of the blanket. Trim off any excess blanket. Repeat this process for the bottom compartment.
Step 4
Screw the remaining 700mm plank to the bottom edge, and then the four 95mm planks between the 700mm planks to finish off your box.
Step 5
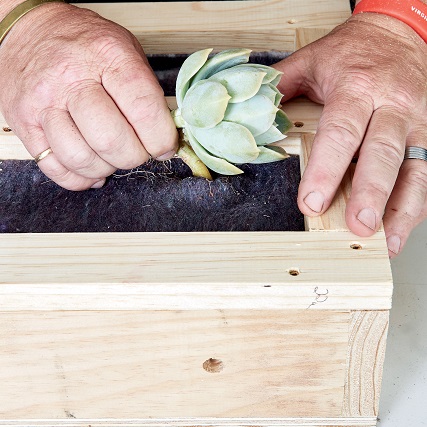
Using a sharp knife, cut slits in the blanket through which you will plant the succulents in the soil. Plant your chosen plants and water the blanket and soil well. When you’re ready to hang your vertical garden, use hooks to attach it to the wall.
Project note
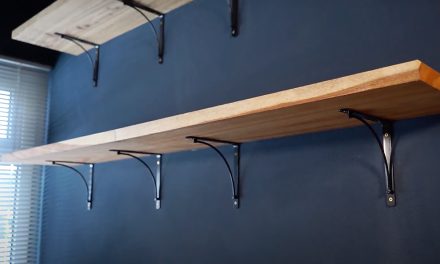
If you’re planning to varnish or paint your wood, do it beforehand – it will make your task a lot easier.
Credits
Referenced from Gallo Images / Home Magazine

