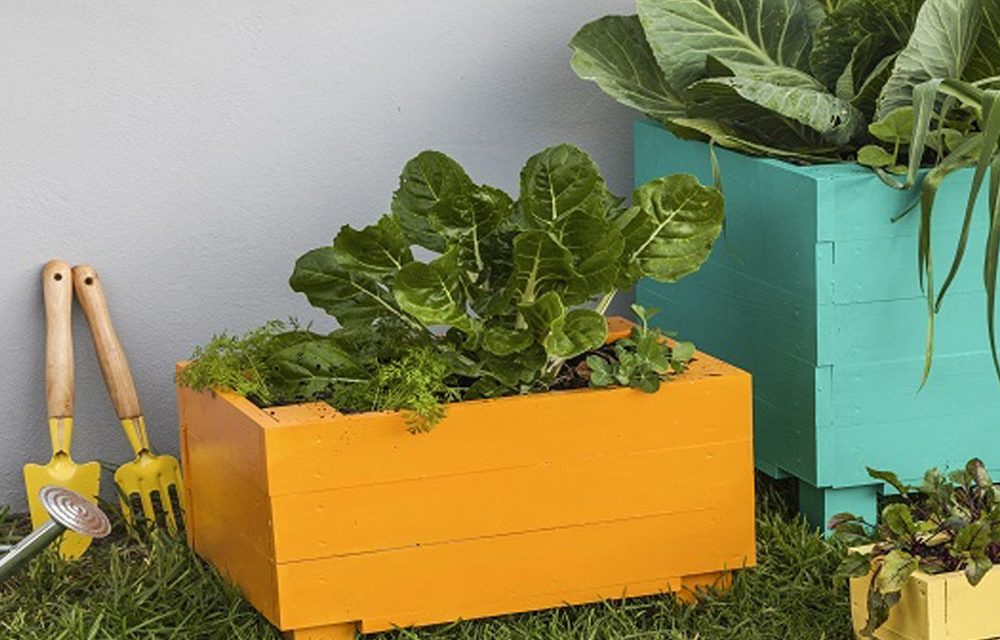
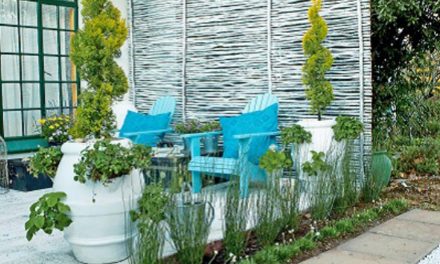
Make gardening fun with colourful planters to inspire the kids to grow their own vegetables and learn while they do so.
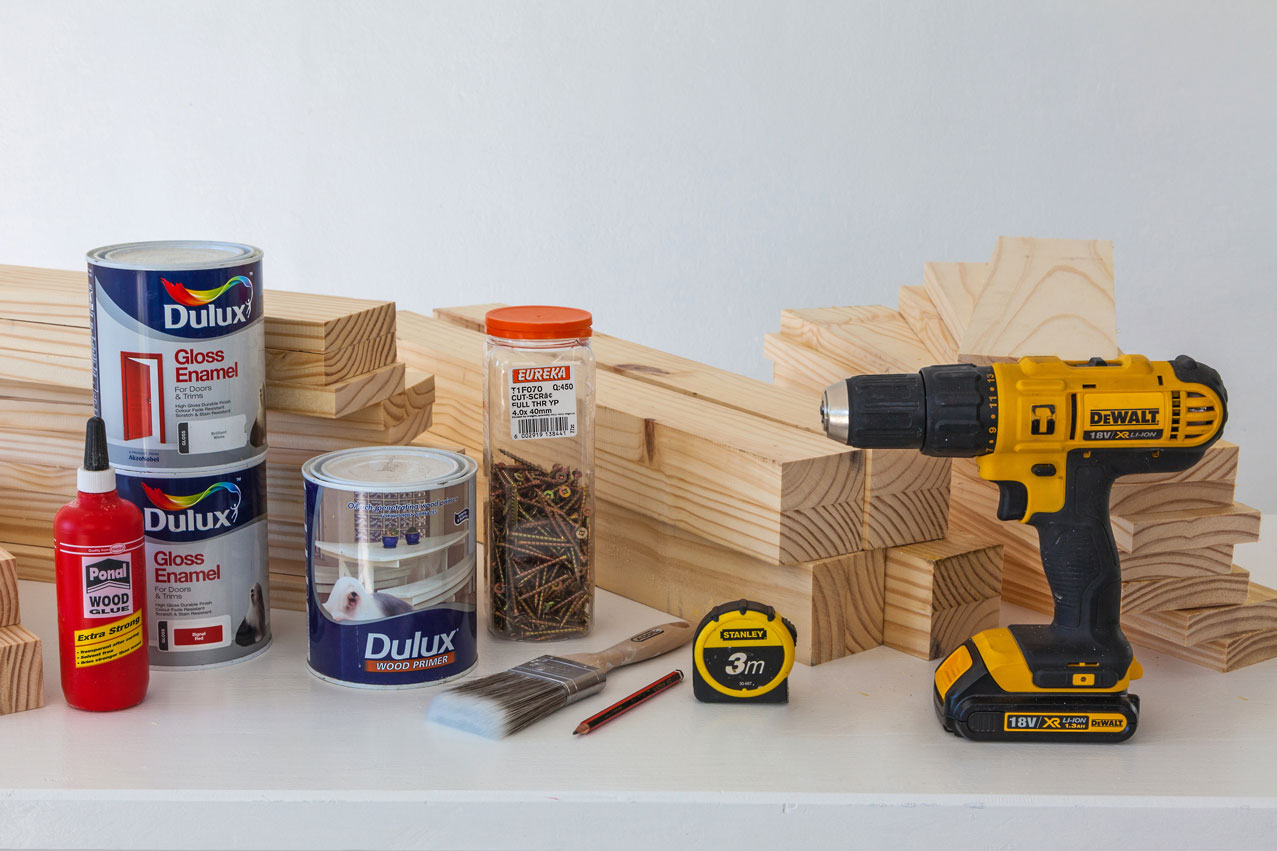
- Cordless drill
- Paintbrush
- 3,5 x 40mm cut screws
- Paintbrush
- Pencil
- Try square
- Dulux Wood Primer
- Dulux Gloss Enamel
- Wood glue
- Wood filler
- Tape measure
- Heavy duty drop sheet
- Staple gun
Cutting List
These are just suggested sizes as the project can be scaled up and down.
- P1 – legs
- P2 – long sides, long bottom
- P3 – short sides, strut
- P4 – short bottom
Large planter
- P1 – Four 68 x 68 x 600mm
- P2 – Thirteen 96 x 22 x 540mm
- P3 – Eleven 96 x 22 x 496mm
- P4 – Two 96 x 22 x 360mm
Medium planter
- P1 – Four 68 x 68 x 360mm
- P2 – Seven 96 x 22 x 540mm
- P3 – Seven 96 x 22 x 320mm
- P4 – Two 96 x 22 x 360mm
Small planter
- P1 – Four 31 x 31 x 150mm
- P2 – Two 96 x 22 x 200mm
- P3 – Three 96 x 22 x 156mm
Top Tip: A try square is a great tool to have and particularly useful in this project to ensure the legs stand evenly on the ground.
Step 1
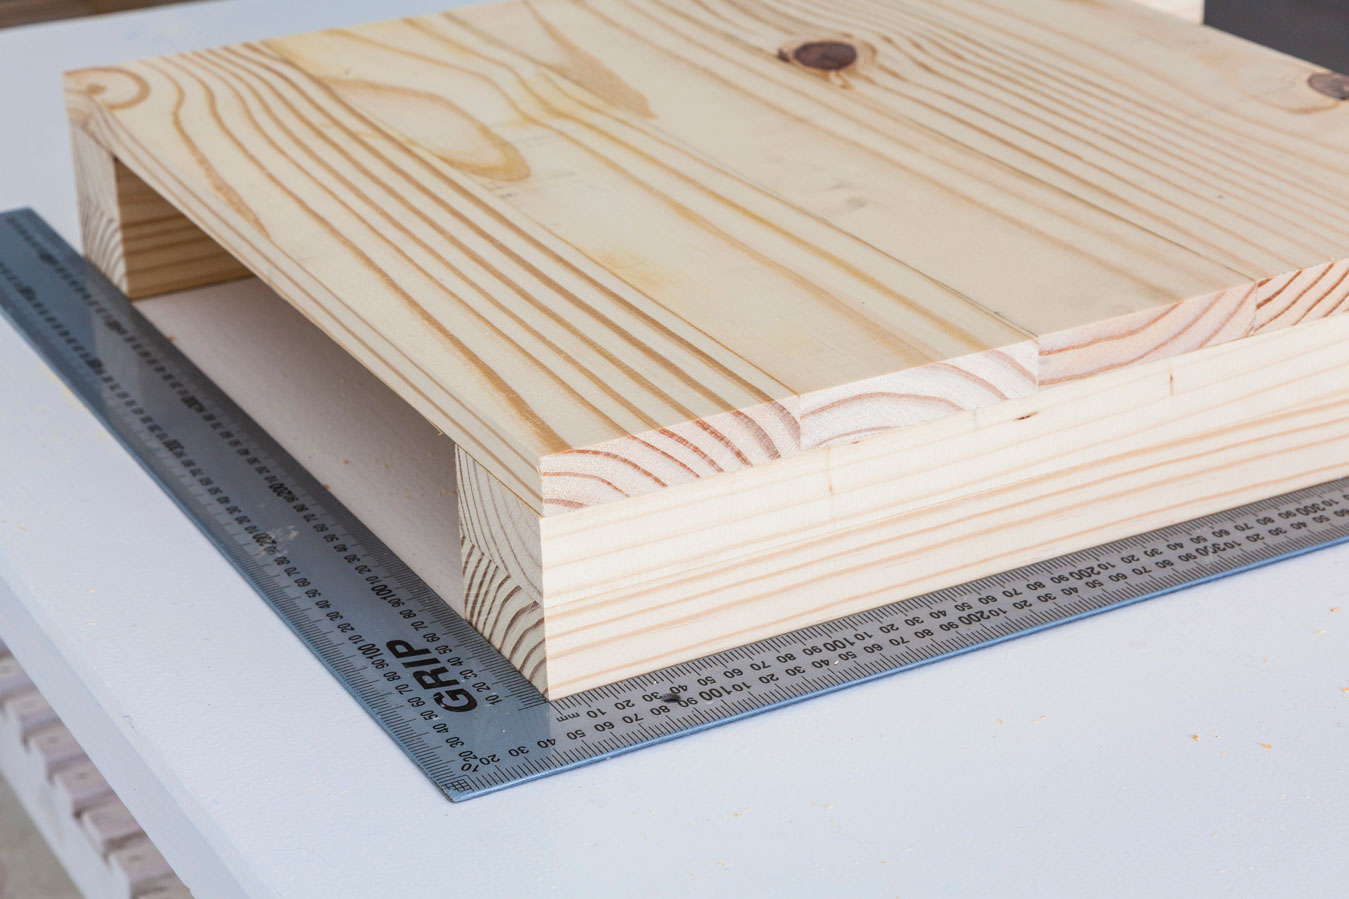
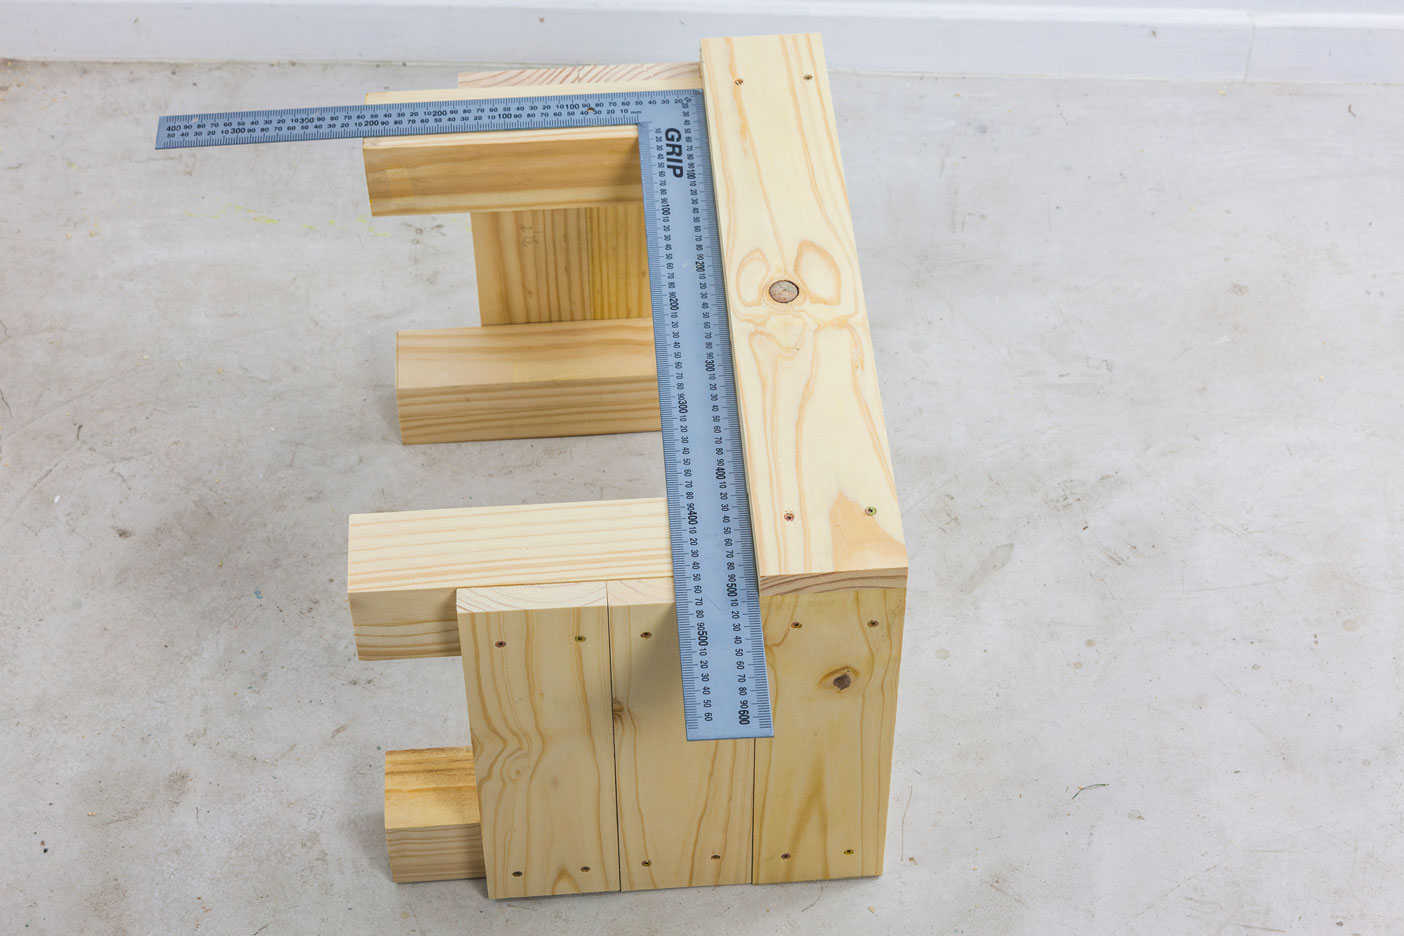
Start by making up the short sides and lay the P3 planks onto of the P1 legs, starting flush with the top of P1. For the large planter, use five per side, medium is three and the small one is one. Use a try square to ensure the legs are at a true 90-degree angle.
Step 2
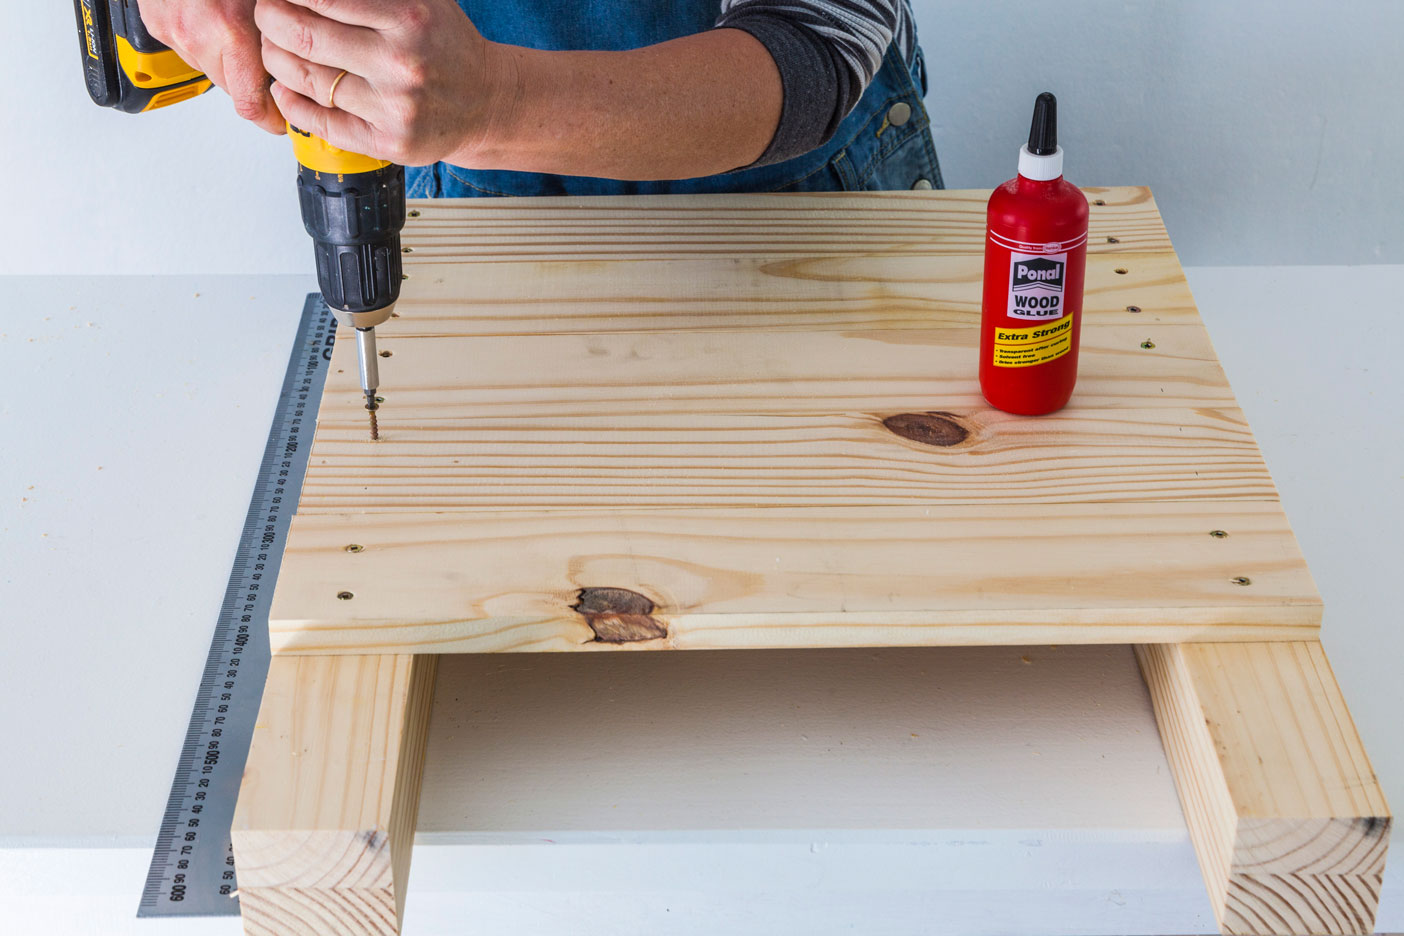
Glue and screw the P3 planks to the P1 legs. Keep a constant check with your try square that the legs remain straight. For a neat finish, recess or counter-sink the screws so they can be filled later.
Step 3
Once you’ve completed the short sides, you can glue and screw the P2 long sides to the P1 legs in the same manner.
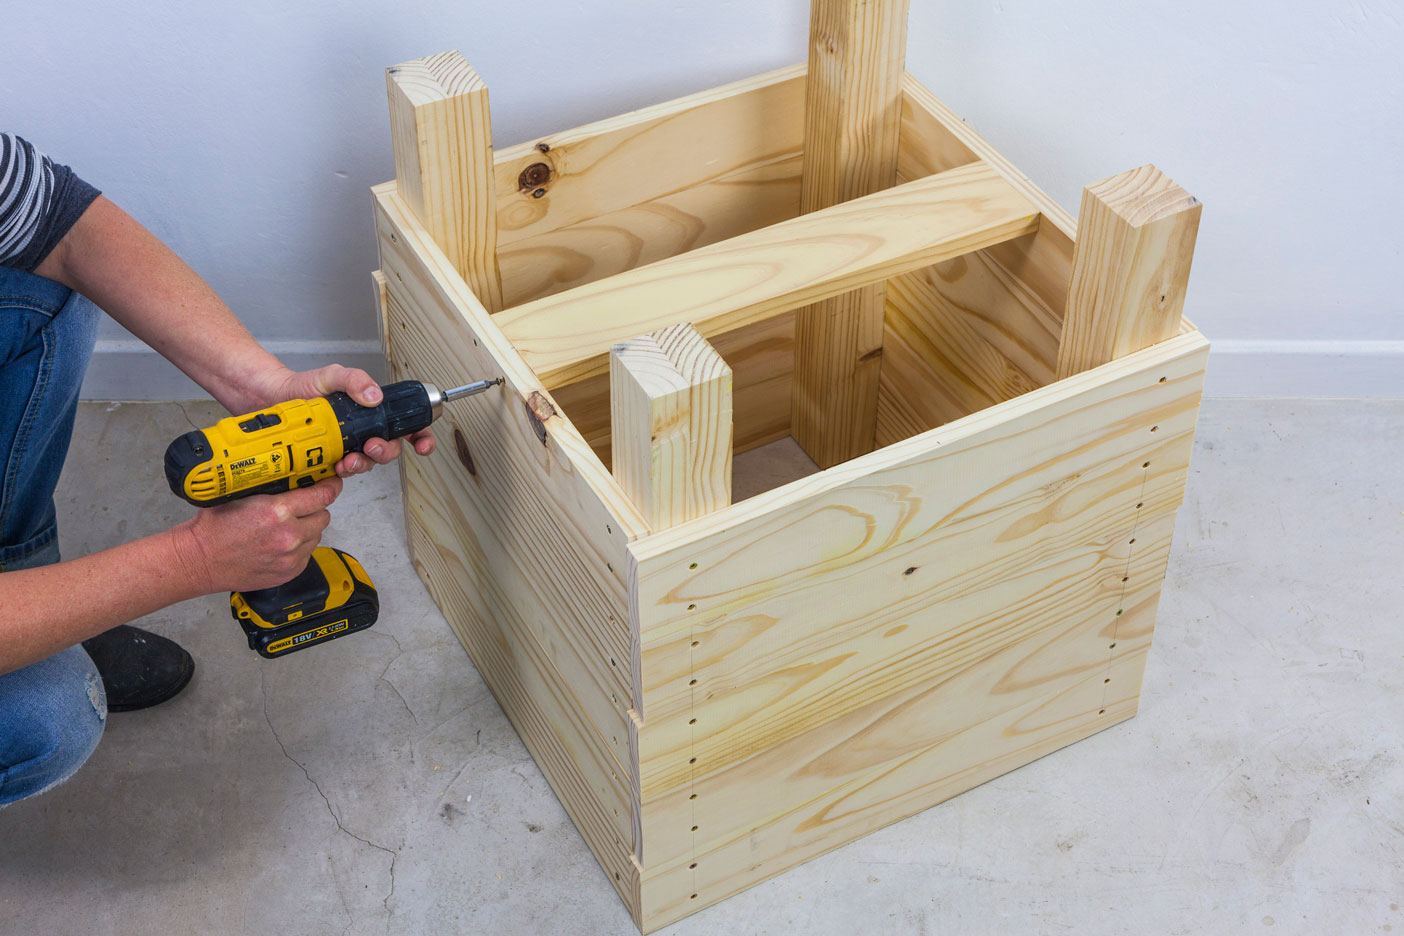
Step 4
Flip the planter upside down and glue and screw a P3 (support strut) flush with the edge of the panel. It’s important this is accurate so the bottom planks can be securely attached to this strut as well as the sides.
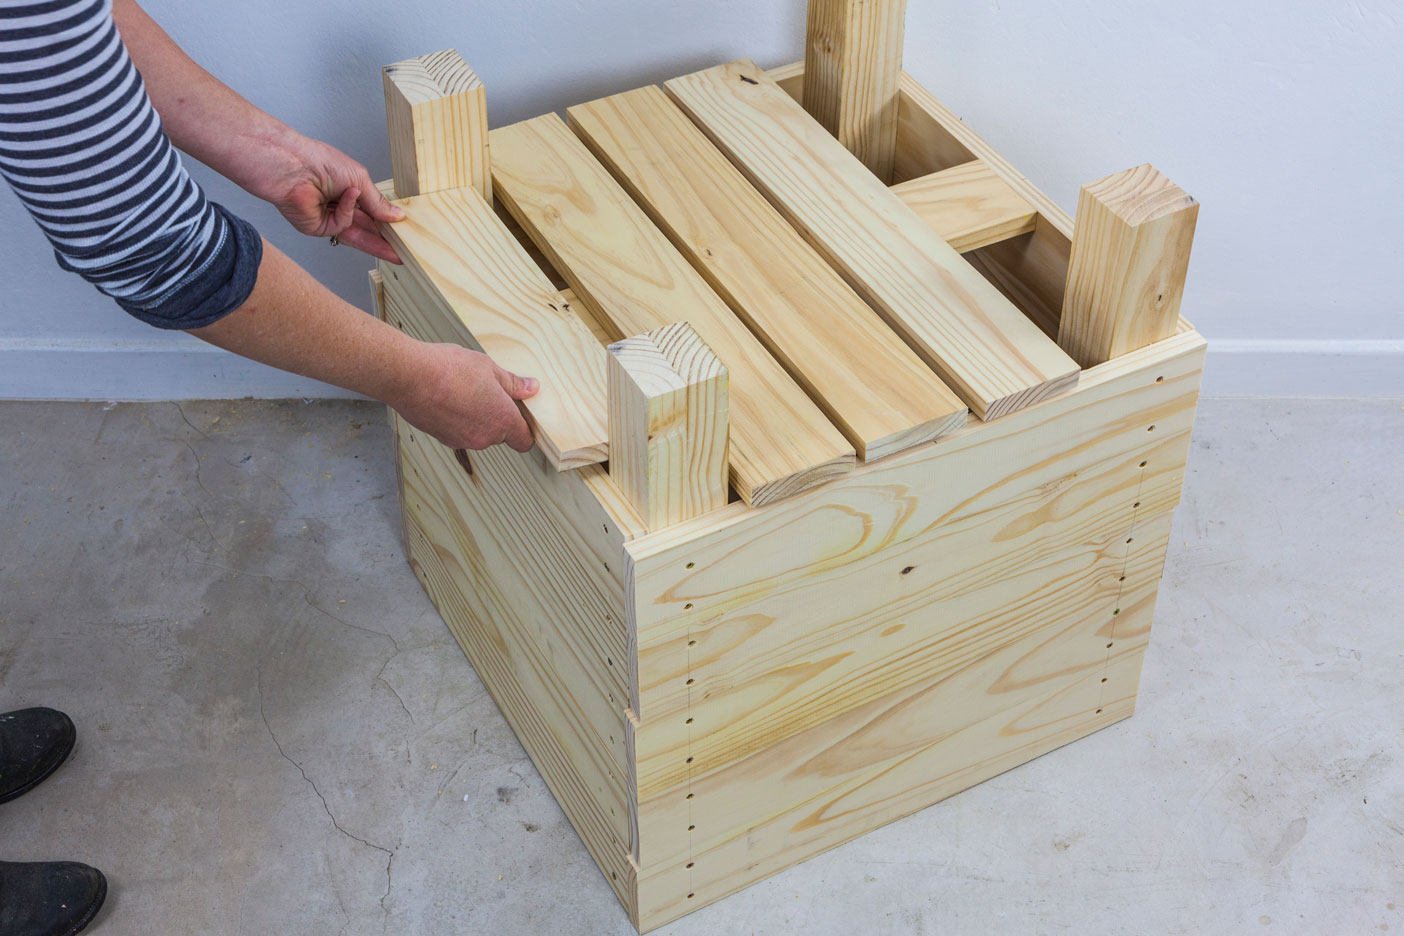
Step 5
Arrange the bottom planks (P2) so that they are evenly spaced. Use three P2s for the large planter, one for the medium planter and one for the small version. For the medium and large planters you will also use P4s on either side.
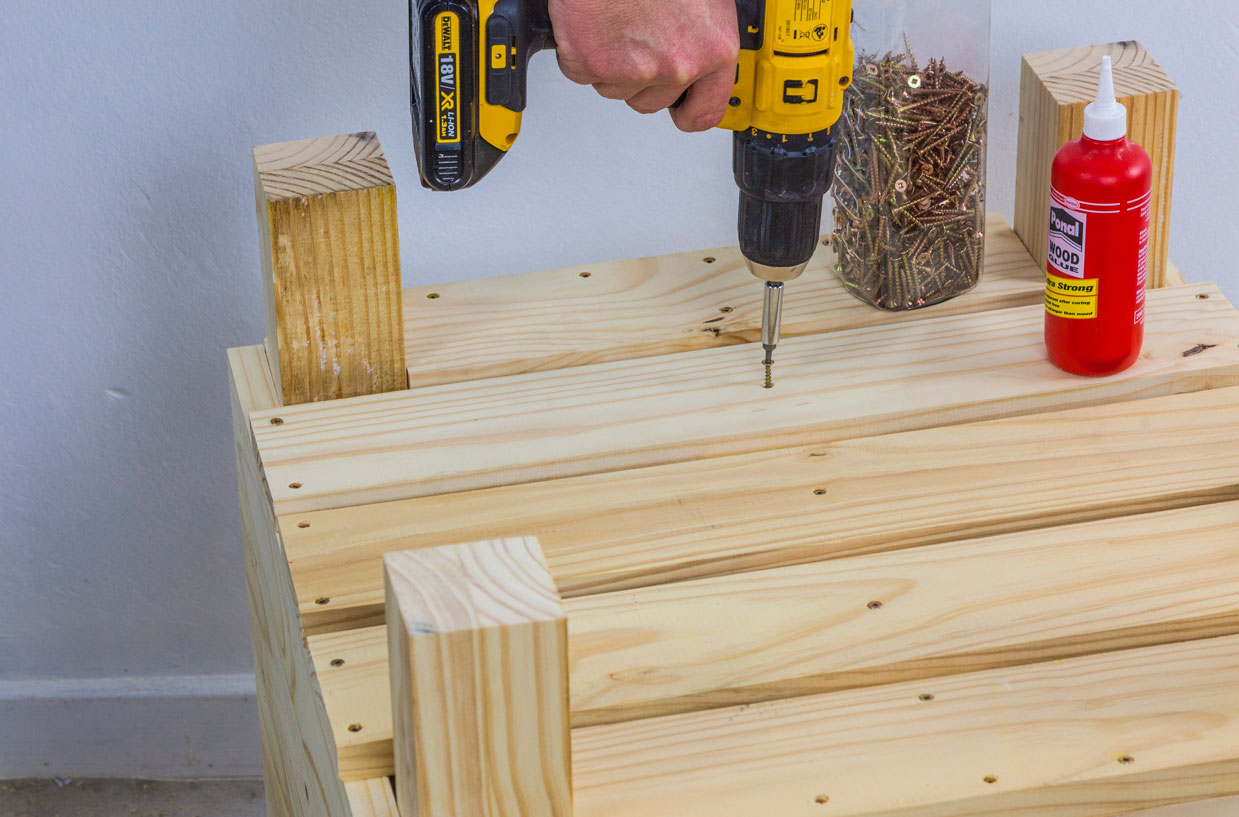
Step 6
Screw all the planks in place. You’ll get the strongest bond if you glue first.
Step 7
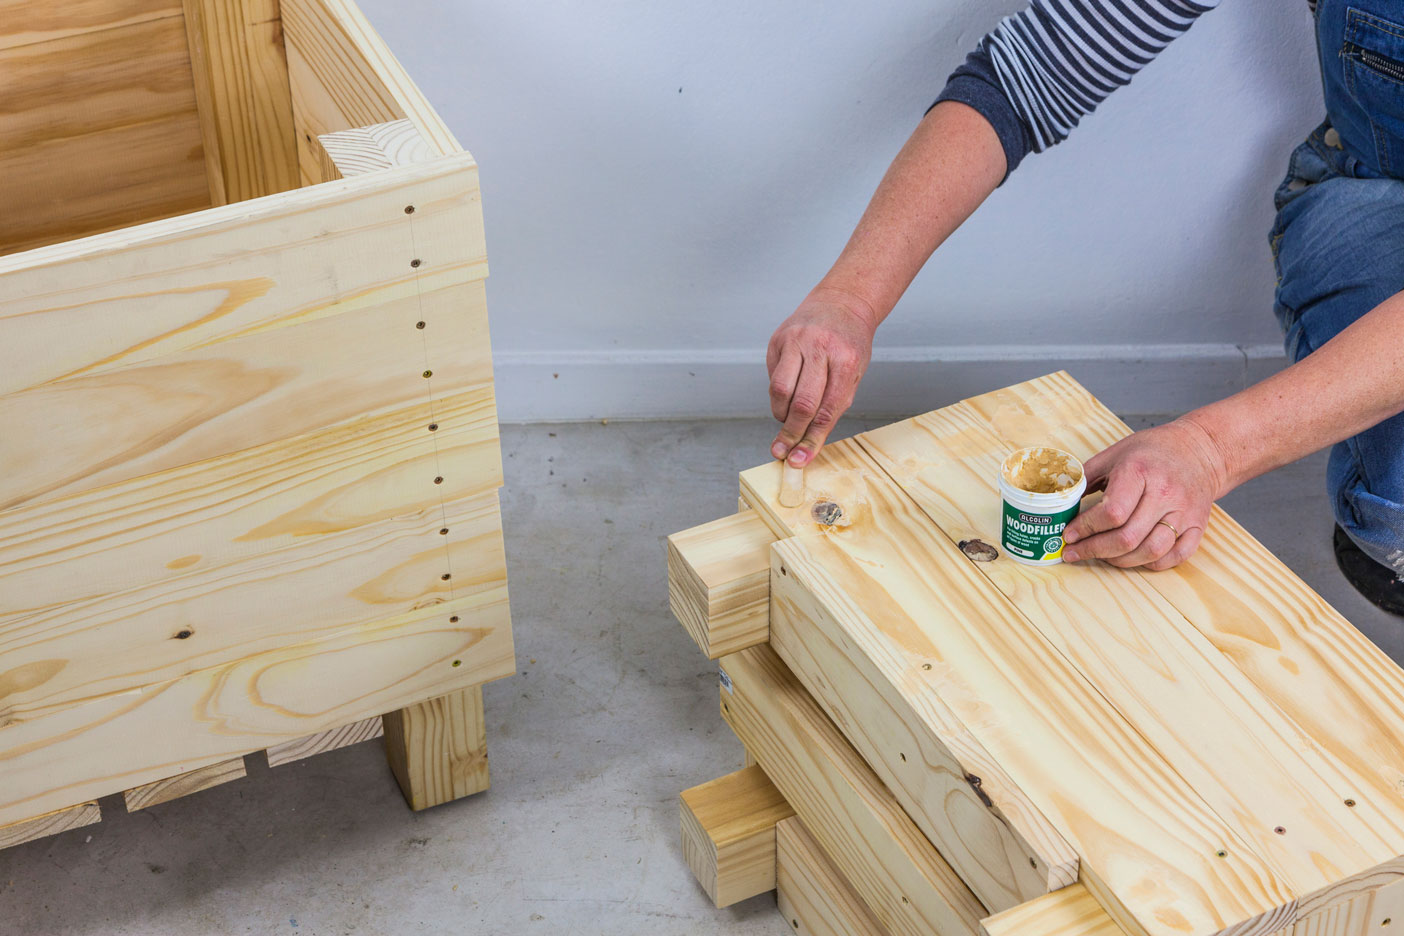
Fill any holes in knots and screw recesses using wood filler. Let the filler dry, then give the whole planter a good sanding.
Step 8
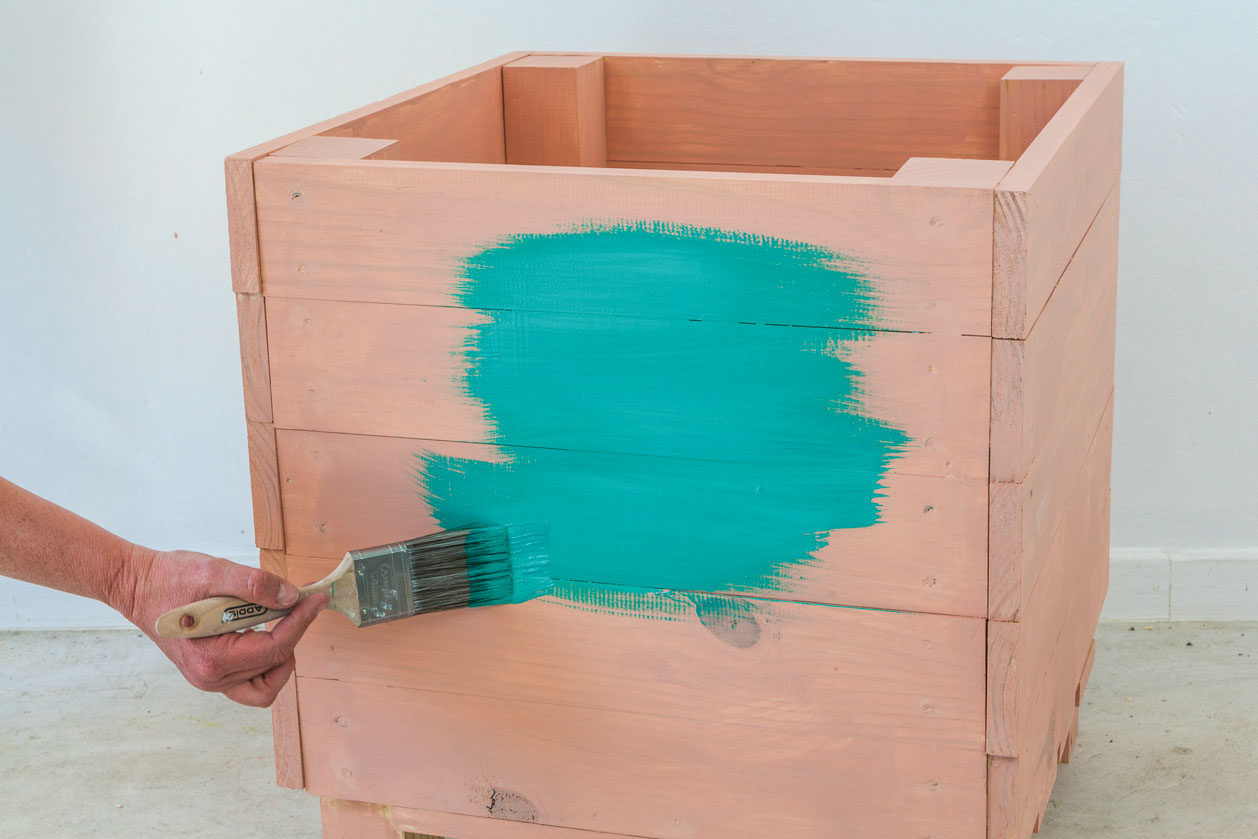
Give the planter one coat of pink wood primer and leave it to dry thoroughly. Then paint two coats of gloss enamel in the colour of your choice. We chose Mexican Mint 4, Harvest Fruits 1 and Spring Breeze 4. Paint all the surfaces, inside and out.
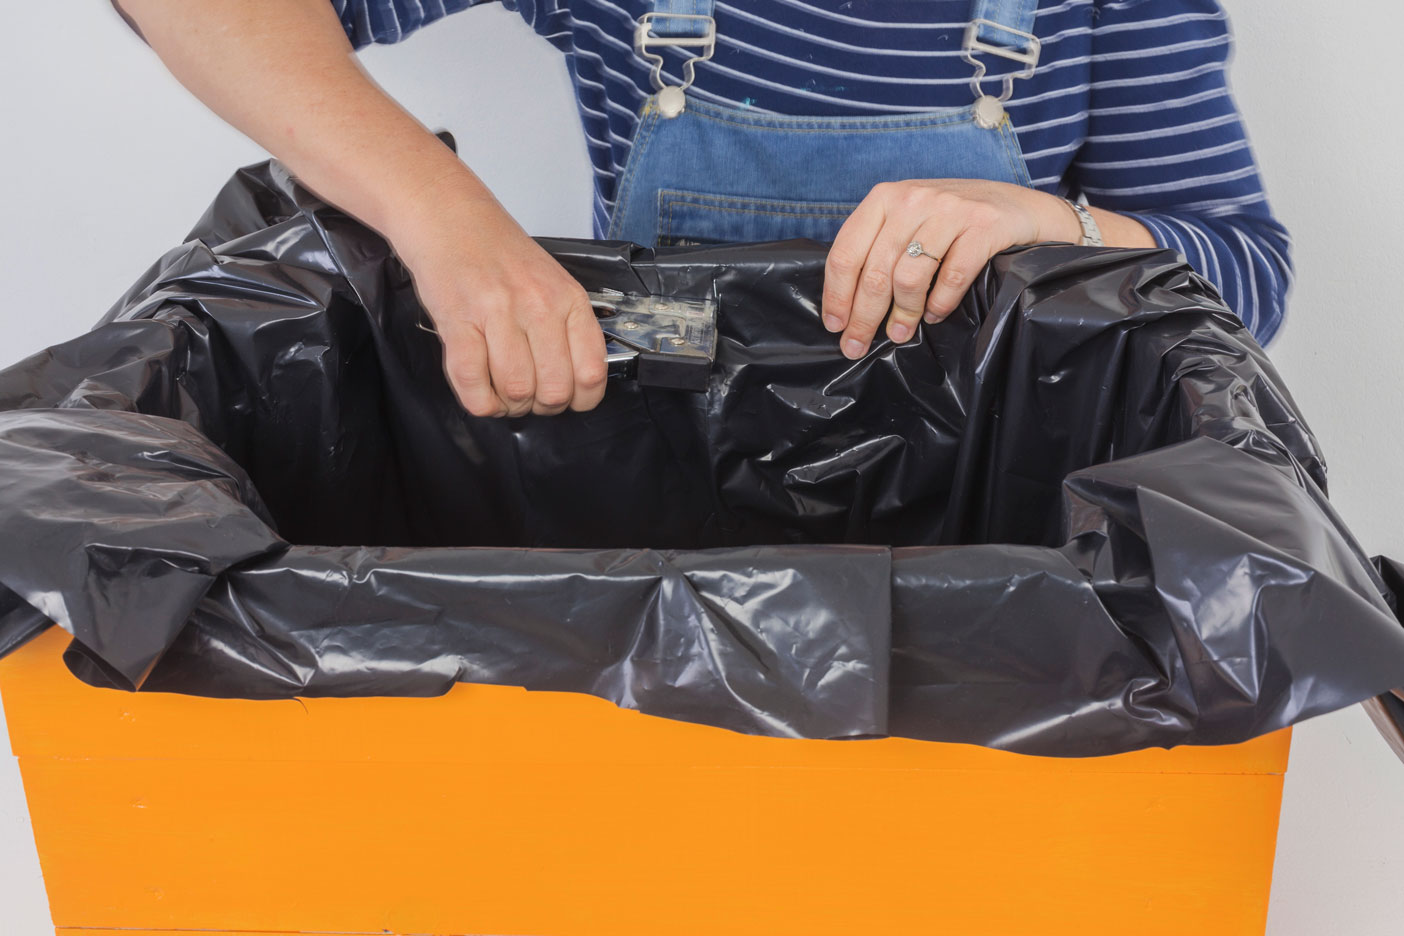
Step 9
Measure and cut a drop sheet to size. The easiest way to do this is just to cover the top and sides with the drop sheet then add a few centimetres to be safe. Line the inside of the planter with the dropsheet and staple in place.
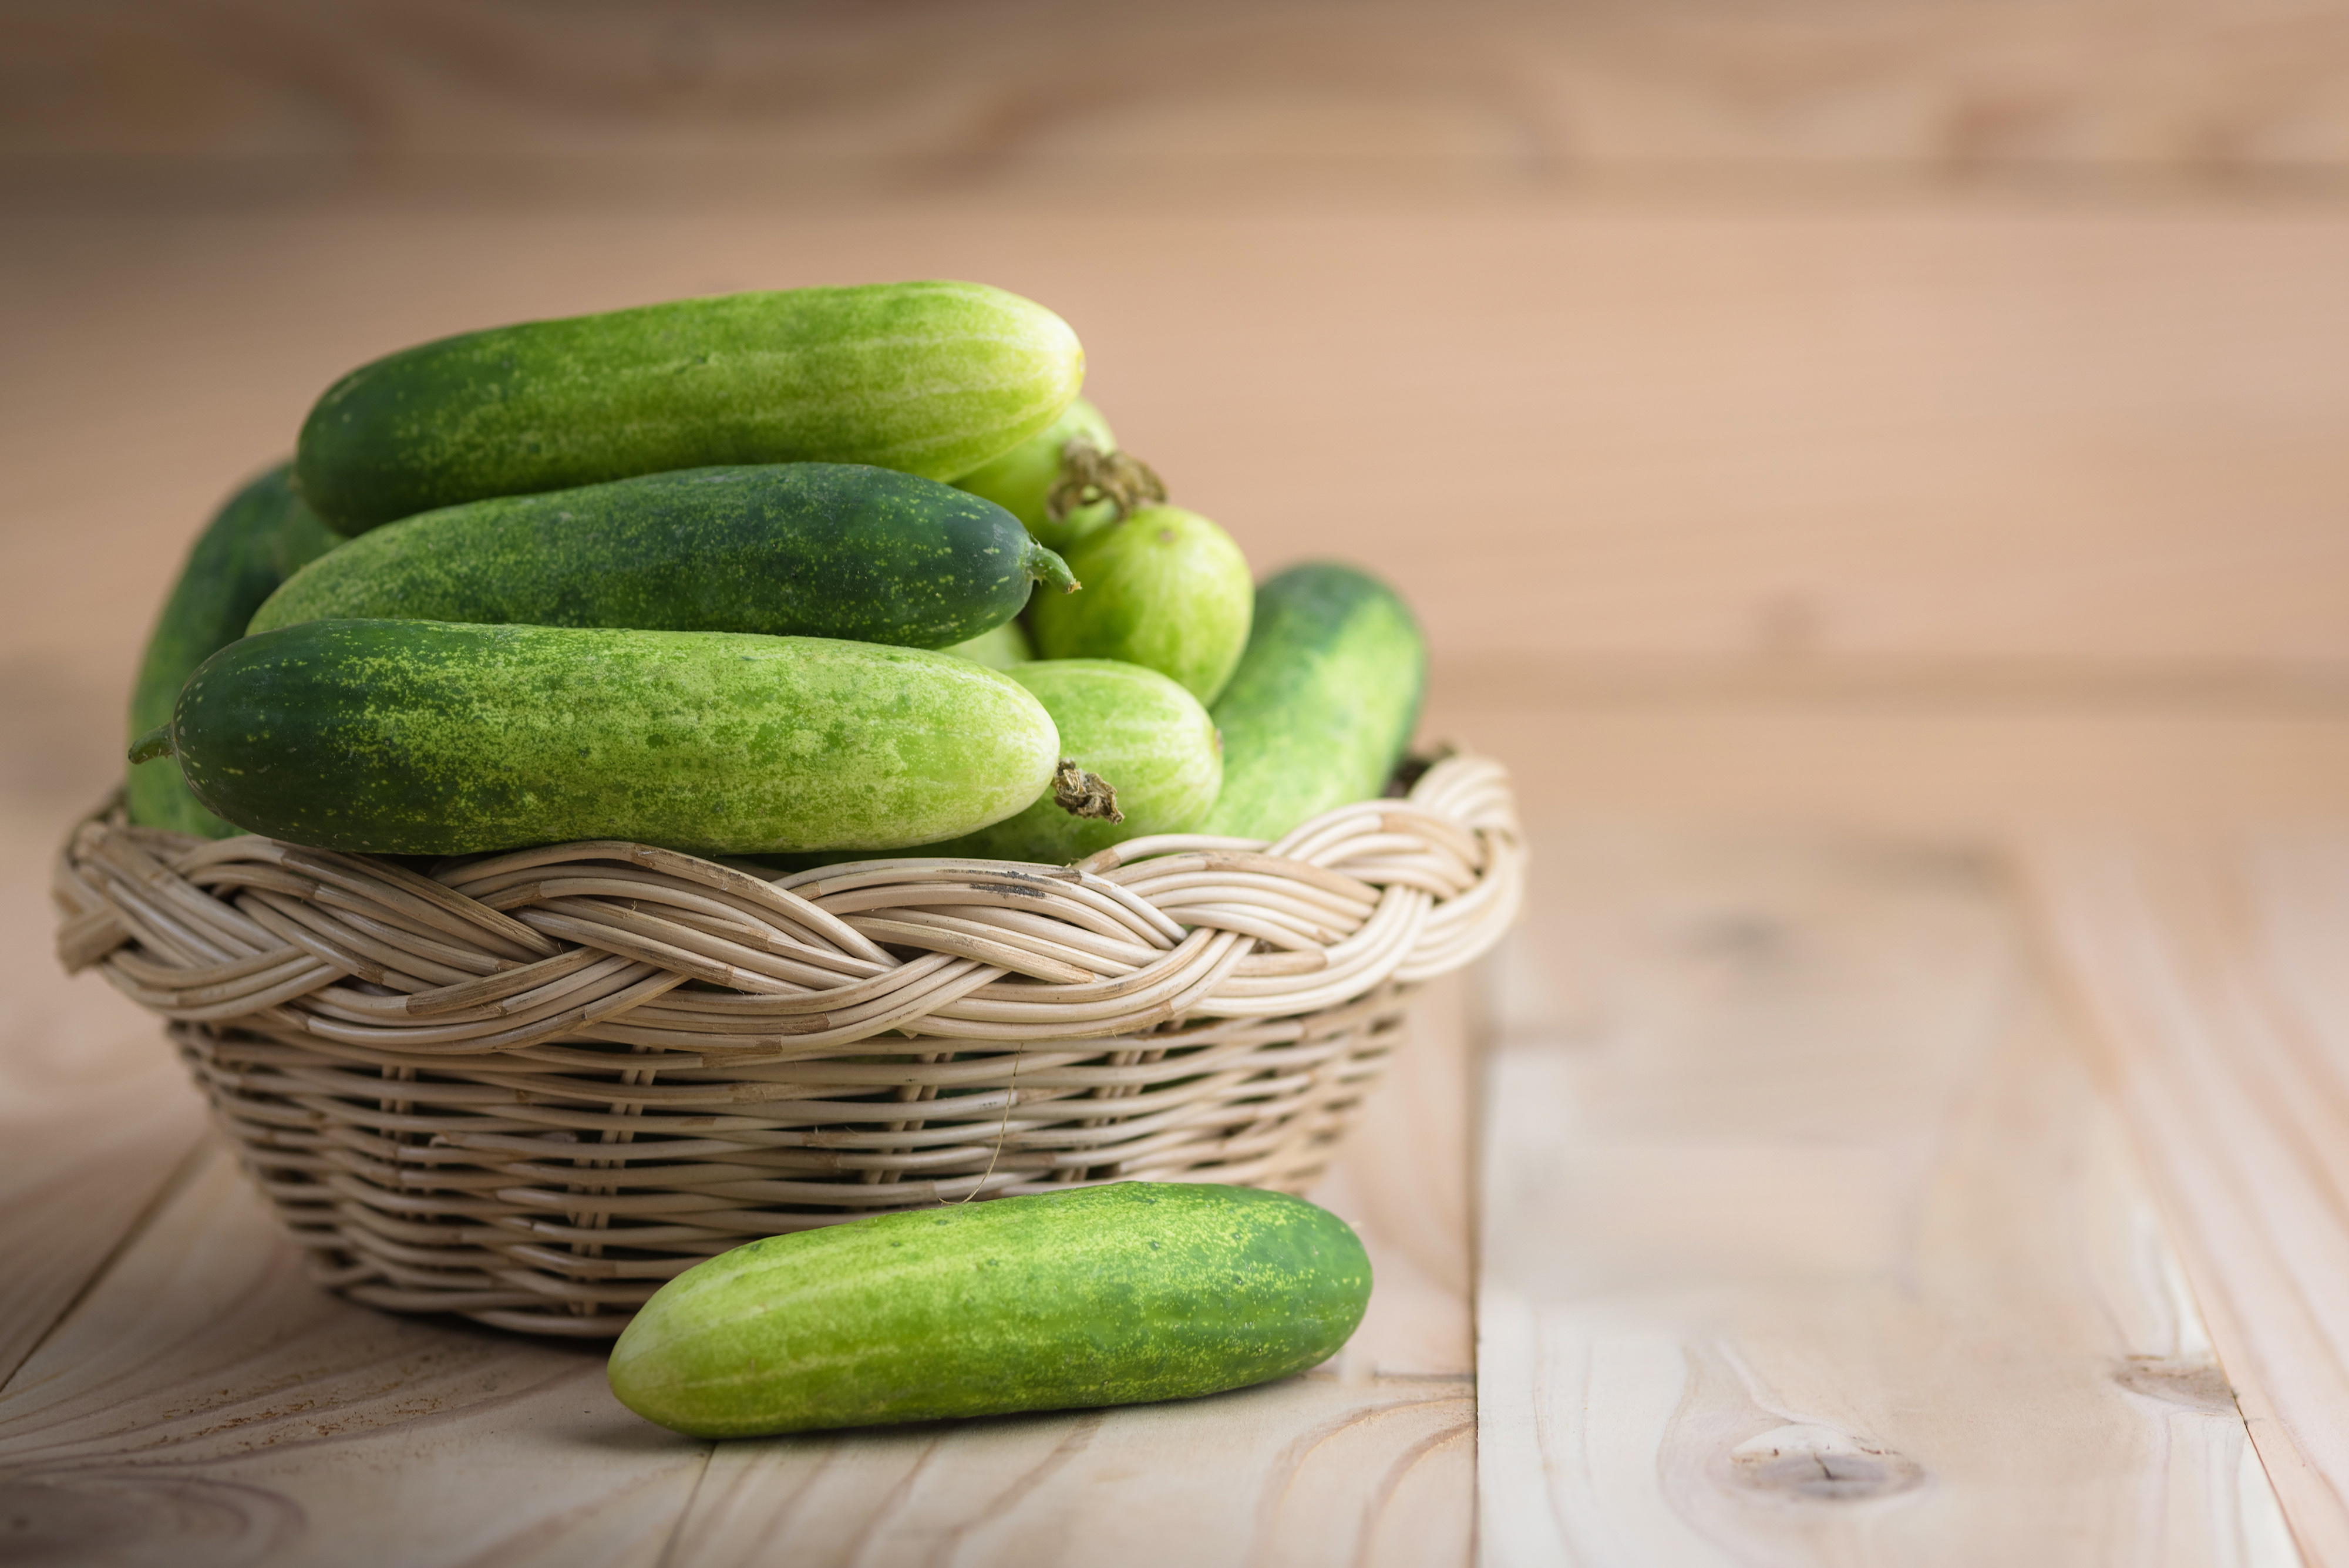
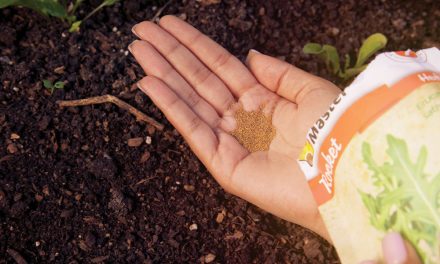
What to Plant in Summer
If you’re in the garden this holiday, here’s what to plant for the kids to enjoy the ‘fruits’ of their labour.
Summer rainfall areas
- Asparagus
- Broad beans
- Beetroot
- Broccoli
- Cabbage
- Carrots
- Cauliflower
- Cucumber
- Dwarf beans
- Horseradish
- Mustard greens
- Okra
- Pole/runner beans
- Rocket
- Spinach
- Strawberries

Dry summer / subtropical areas:
- Asparagus
- Broccoli
- Brussel sprouts
- Cabbage
- Chilli dwarf beans
- Corn
- Eggplant
- Leeks
- Melon
- Mustard greens
- Okra
- Onions
- Pole/runner beans
- Potato
- Pumpkin
- Rocket
- Spring onions
- Squash
- Strawberries
- Sweet potato
- Watermelon
- Zucchini
Browse 1000’s of products available to you. Select your country to Shop Online.


