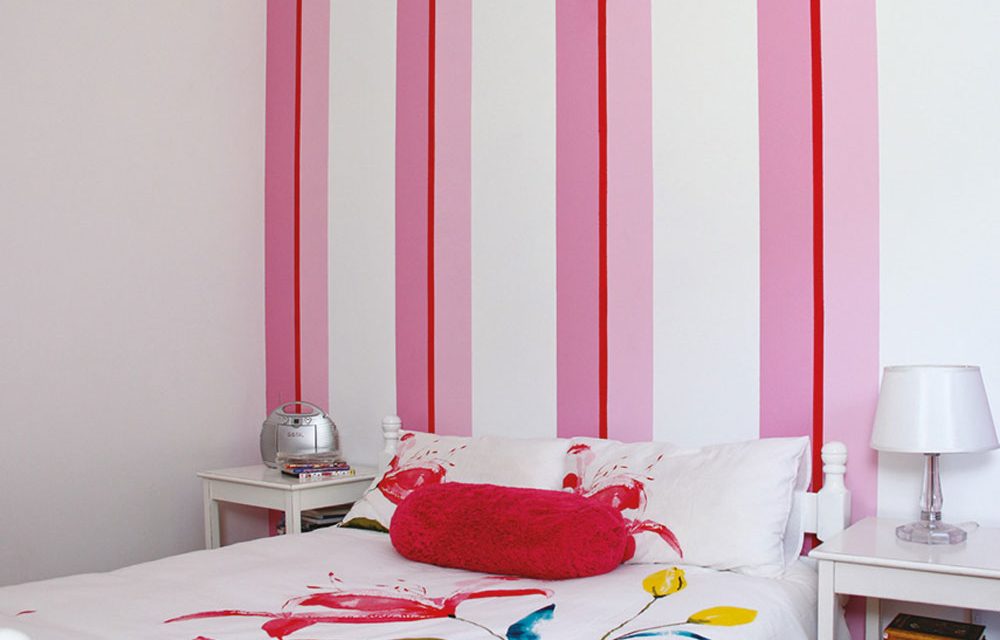
Why settle for a plain wall? Striped paint effects are easy to do and create a striking effect.
- Pencil, paper and ruler
- Roller and tray
- Bucket
- Watercolour pencil crayon that matches the colour of your base coat
- 1 base coat and 3 colours
- Paintbrush
- Bloc-it painters tape
- Choose your base colour and paint the wall with it. Allow to dry.
- Study the room and plan your stripes on a piece of paper. If doing a whole room, calculate the widths the various stripes need to be so you won’t be left with a fraction of a stripe at the end of a wall.
- Measure across your wall and mark it at the top, in the middle and at the bottom according to the pattern and width of the stripes (e.g. 30cm, 14cm, 2cm, and 14cm) so you can draw guidelines where the stripes will go. Join the marks vertically using a level or a laser level and a coloured pencil that closely matches the base coat.
- Tape along the outer edges of the stripes to be painted with colour ‘one’ (medium pink). Double-check your sketch and tape across the stripes not to be painted so you won’t make a mistake.
- Apply colour ‘one’ (medium pink) with a roller and allow to dry.
- Apply a second coat and allow to dry.
- Remove the tape.
- Tape the outer edges of the stripes to be painted with colour ‘two’ (light pink).
- Apply colour ‘two’ with a roller and allow to dry.
- Apply a second coat and allow to dry.
- Remove the tape.
- Lastly tape the outer edges of the thinnest stripes, making sure that no base coat shows through between the stripes.
- Apply colour ‘three’ with a roller and allow to dry.
- Apply a second coat and allow to dry. With dark colours such as this you may even need a third coat.
- Remove the tape. Stand back and admire.
Top tip: Stripes of equal width and only two colours are the simplest to create. The base coat becomes the one colour and you only have to add the second colour. When taping the stripes it will appear as if you have a wide one and a narrow one. Tape across the stripes you don’t need to paint to avoid confusion.
When painting your walls, take a marker pen and write down the colour code inside a light switch cover. That way it’s easy to match at a later stage. If buying numerous tins of the same colour, try to buy the same batch or make sure you mix them so there’s no colour difference between each batch.
To make your walls suitable for a coat of paint, preparation is the key. A good scrub with sugar soap will do the job – clean to paint, don’t paint to clean. A wall that’s properly prepared, wears a coat of paint much more fashionably.


