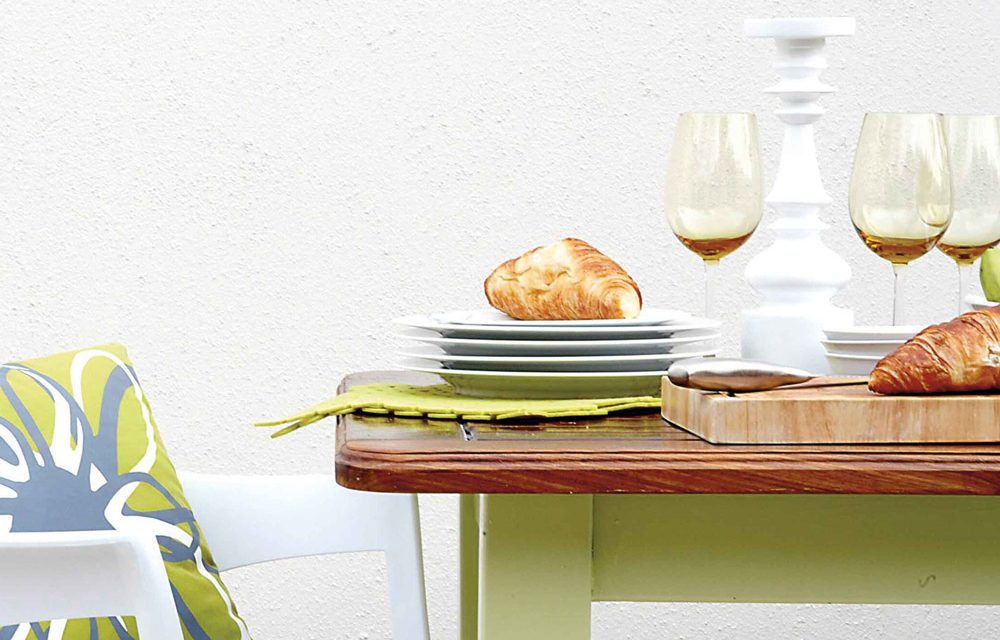
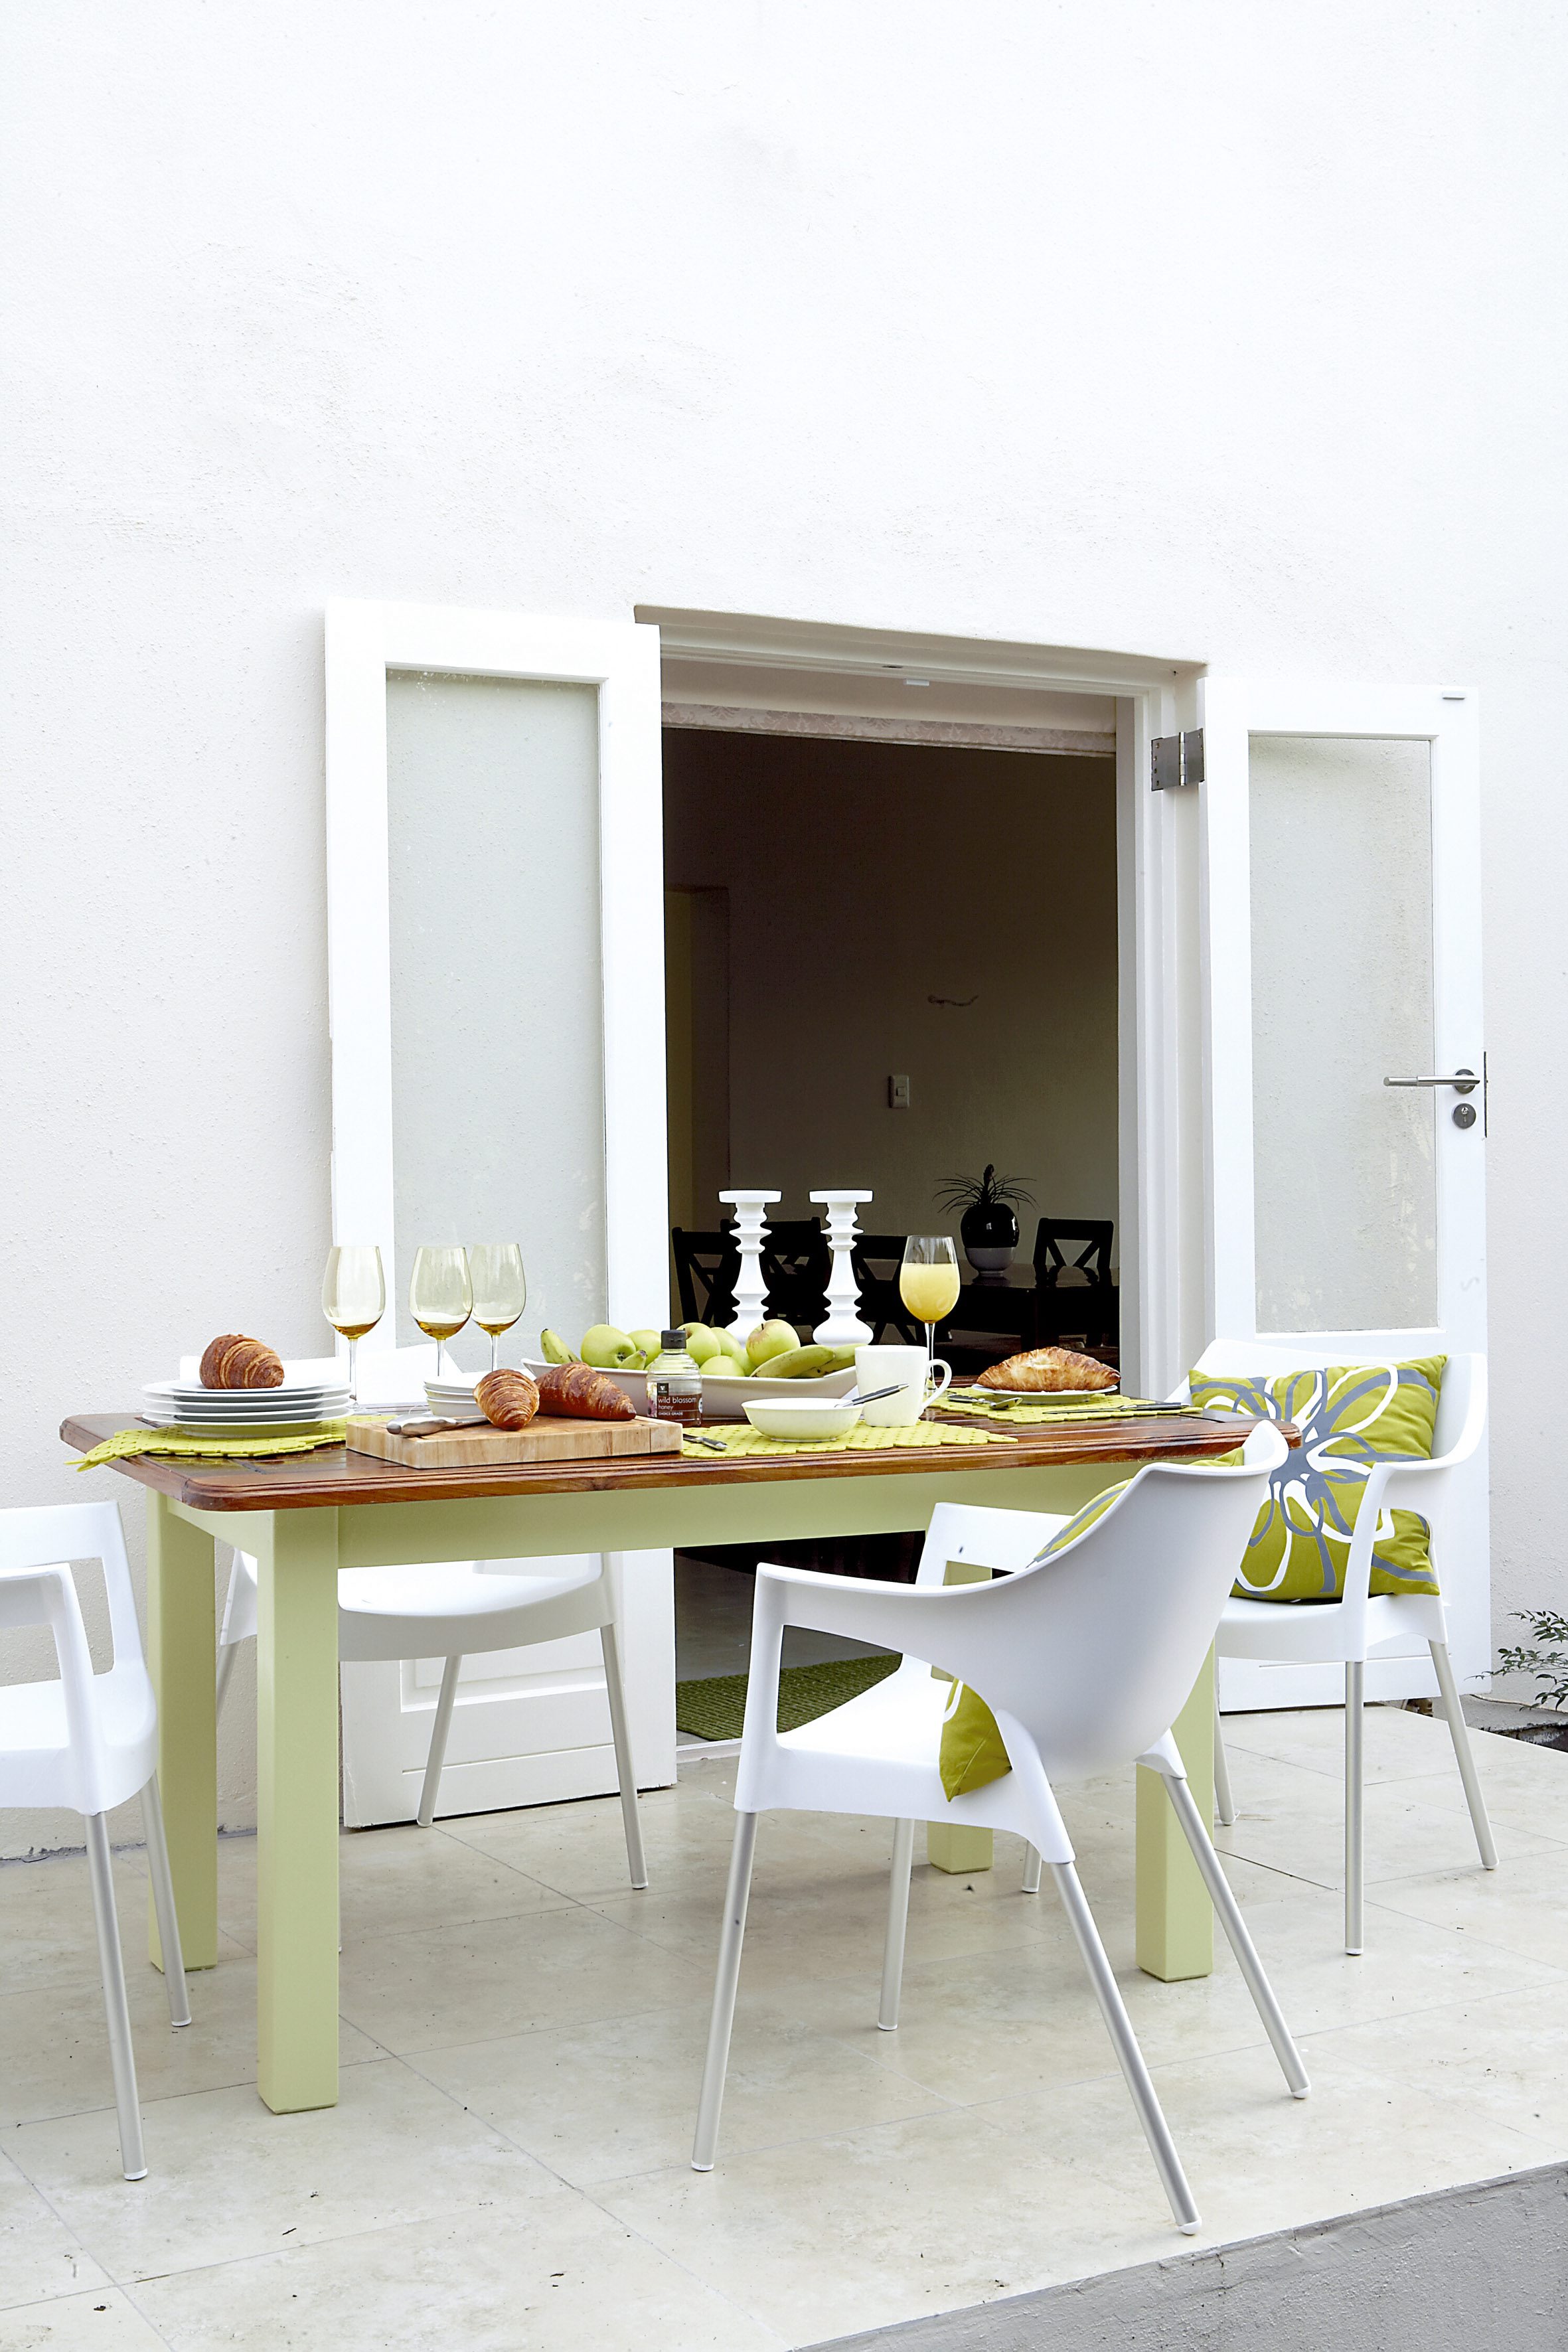
With a little elbow grease and a lick of environmentally friendly paint, an old table is given a brand new lease on life.
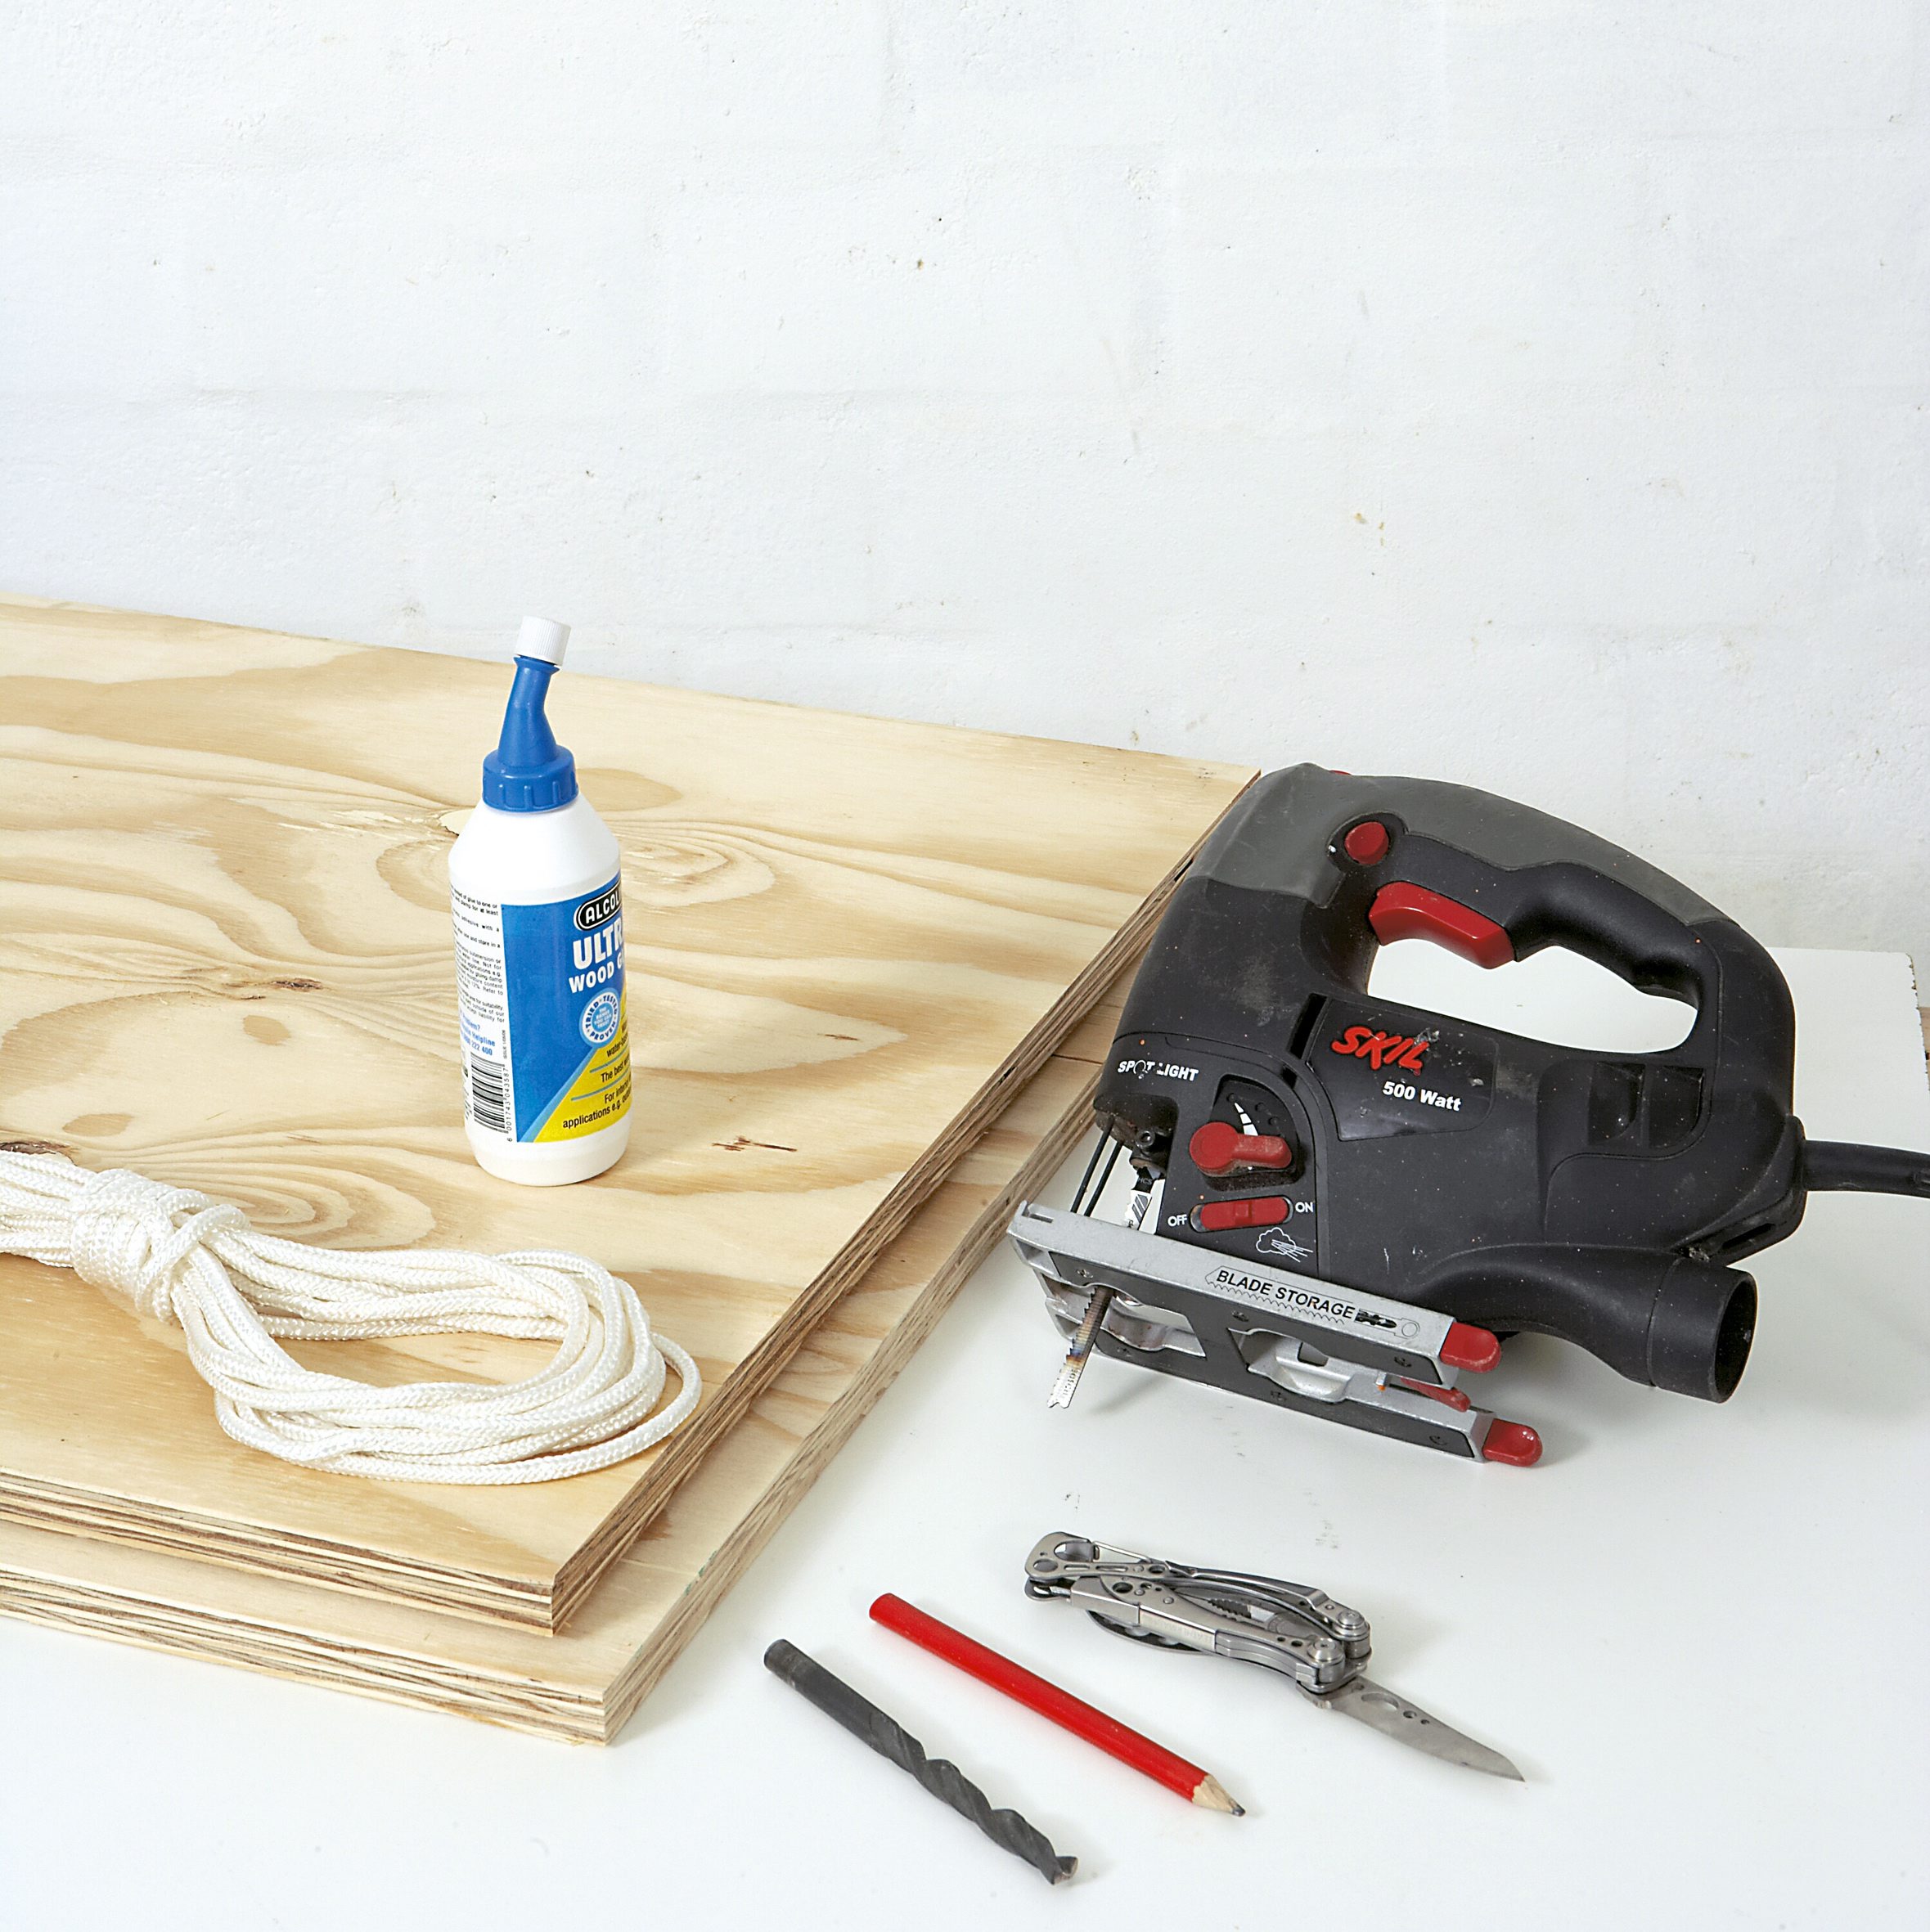
- one old table (or similar wooden item)
- wood filler
- undercoat and waterbased enamel
- clear varnish
- drill, combination countersink drill bit
- router
- plane
- sander
- paintbrush and foam roller
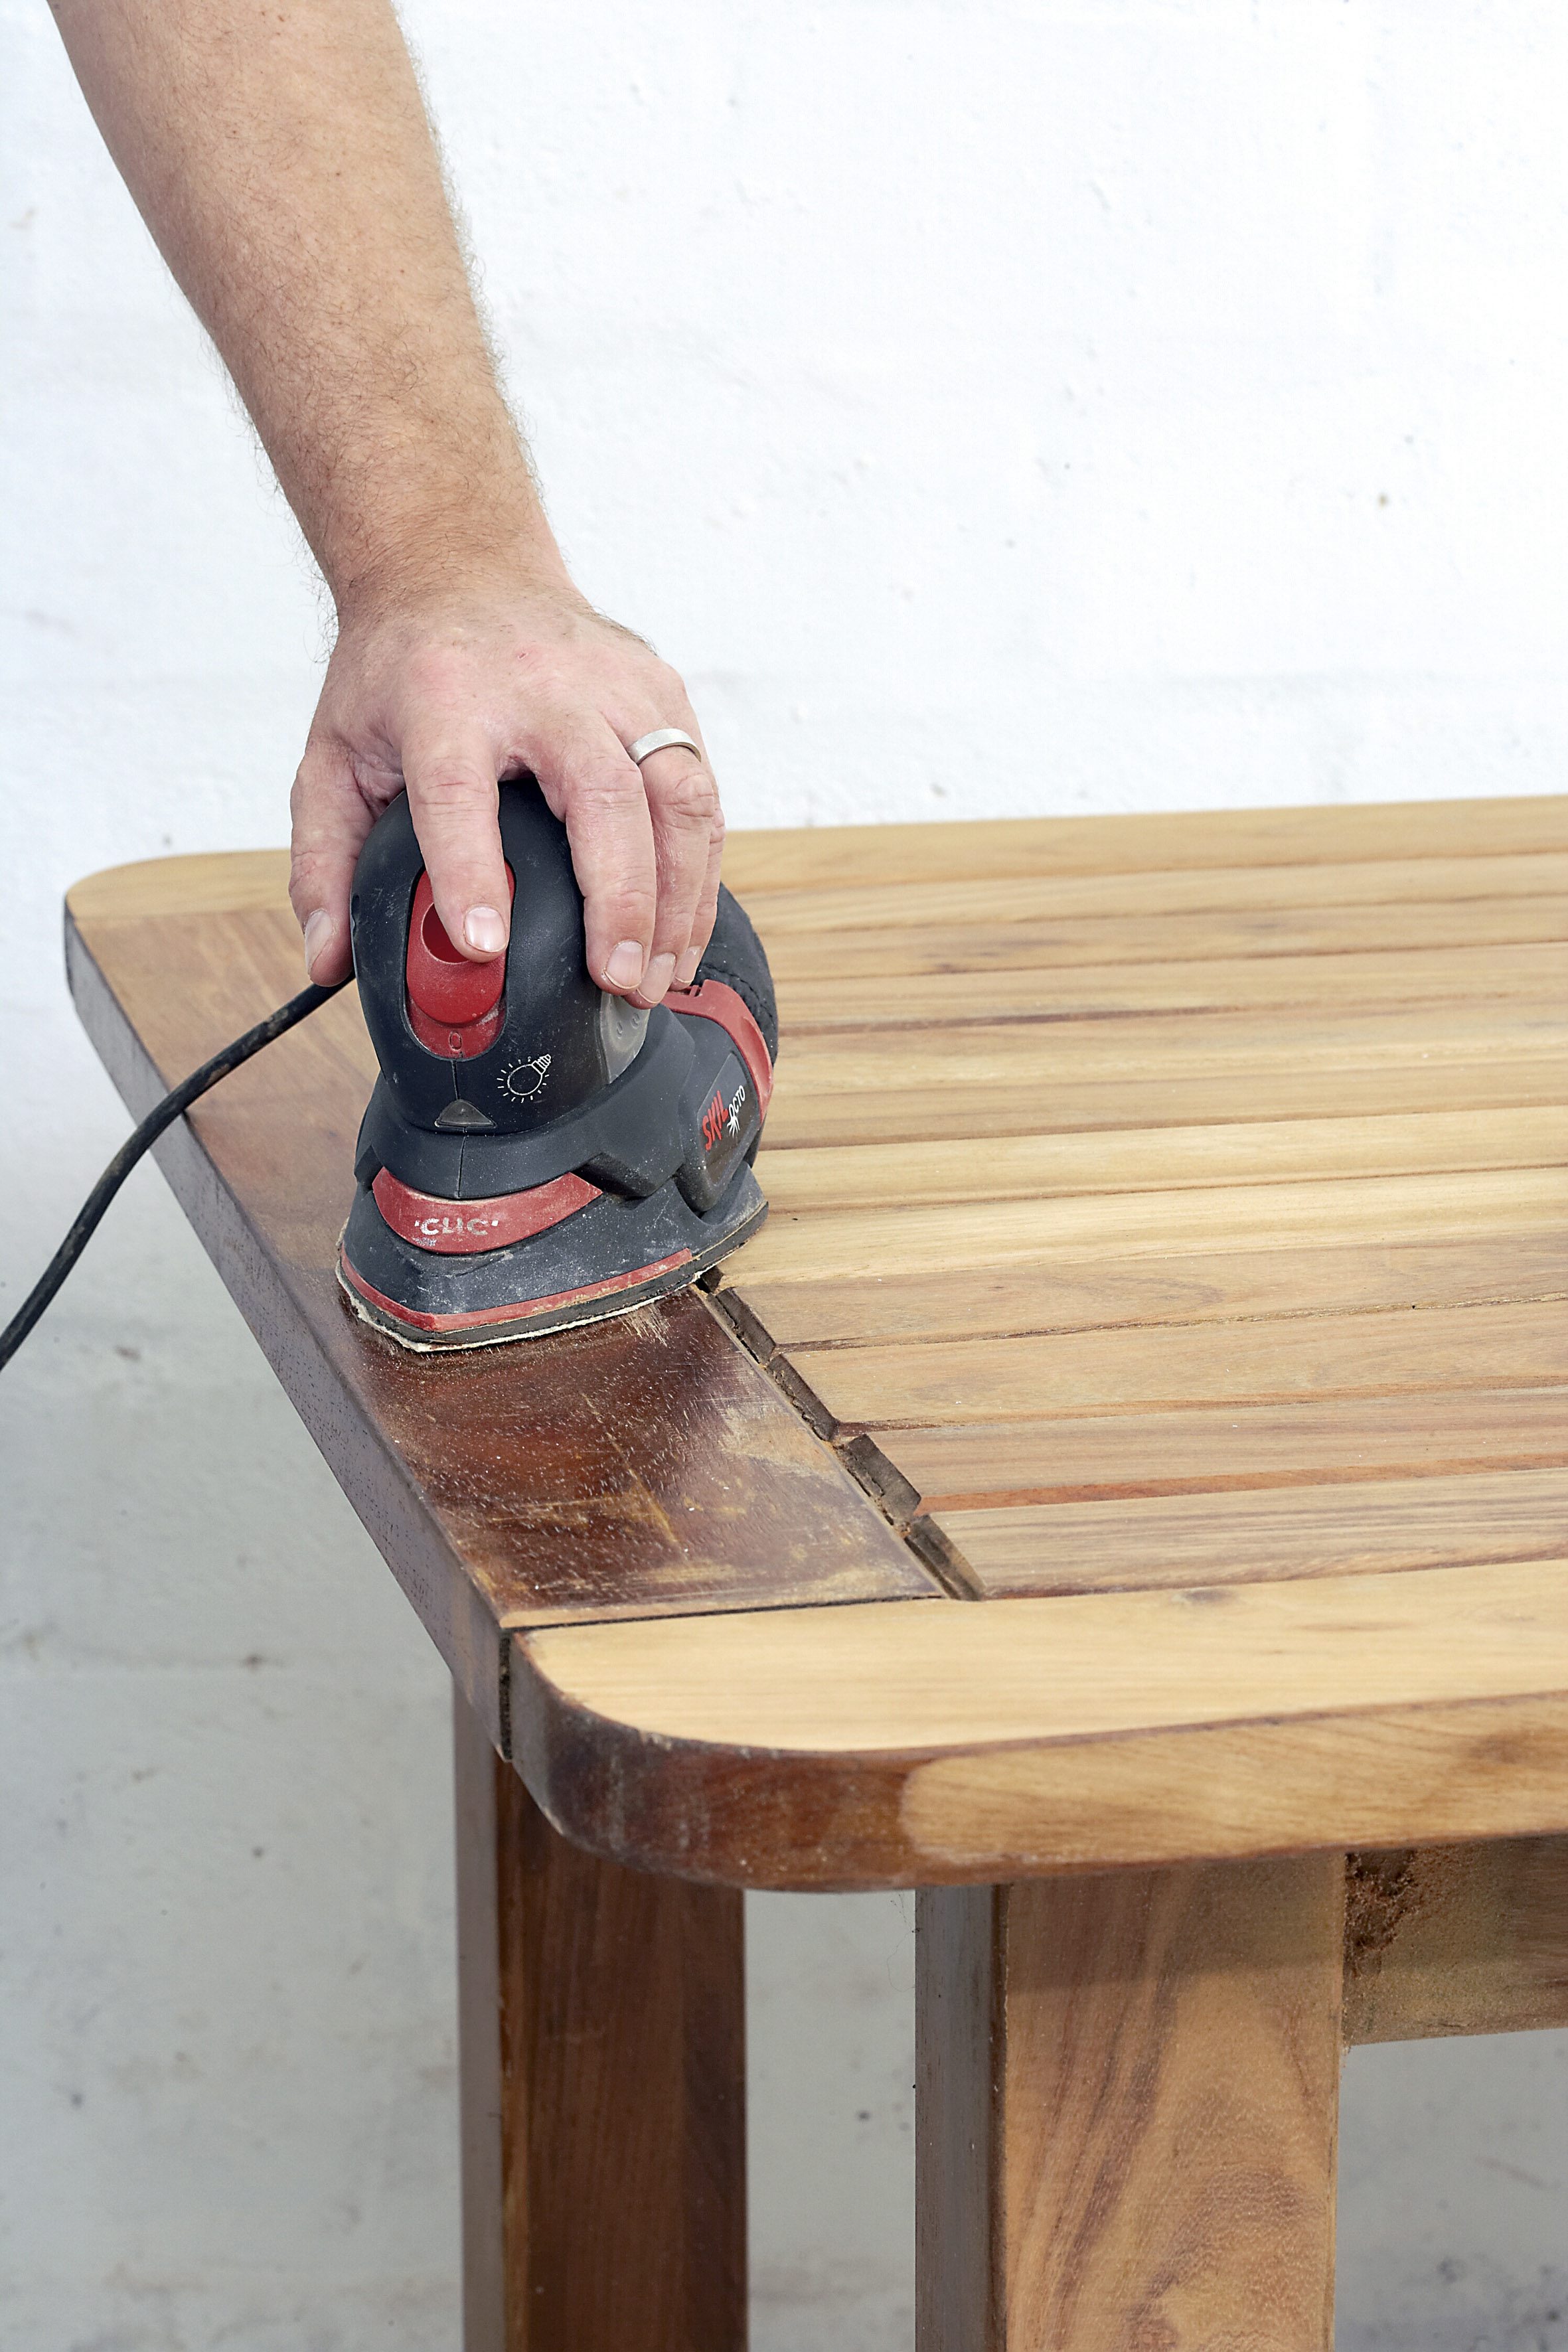
Step 1
Remove old varnish or paint; rather use a sander to get rid of the old varnish than a harsh paint-stripping product. Also sand the old ‘dead’ top layer of weathered wood to expose the beauty of the wood underneath.
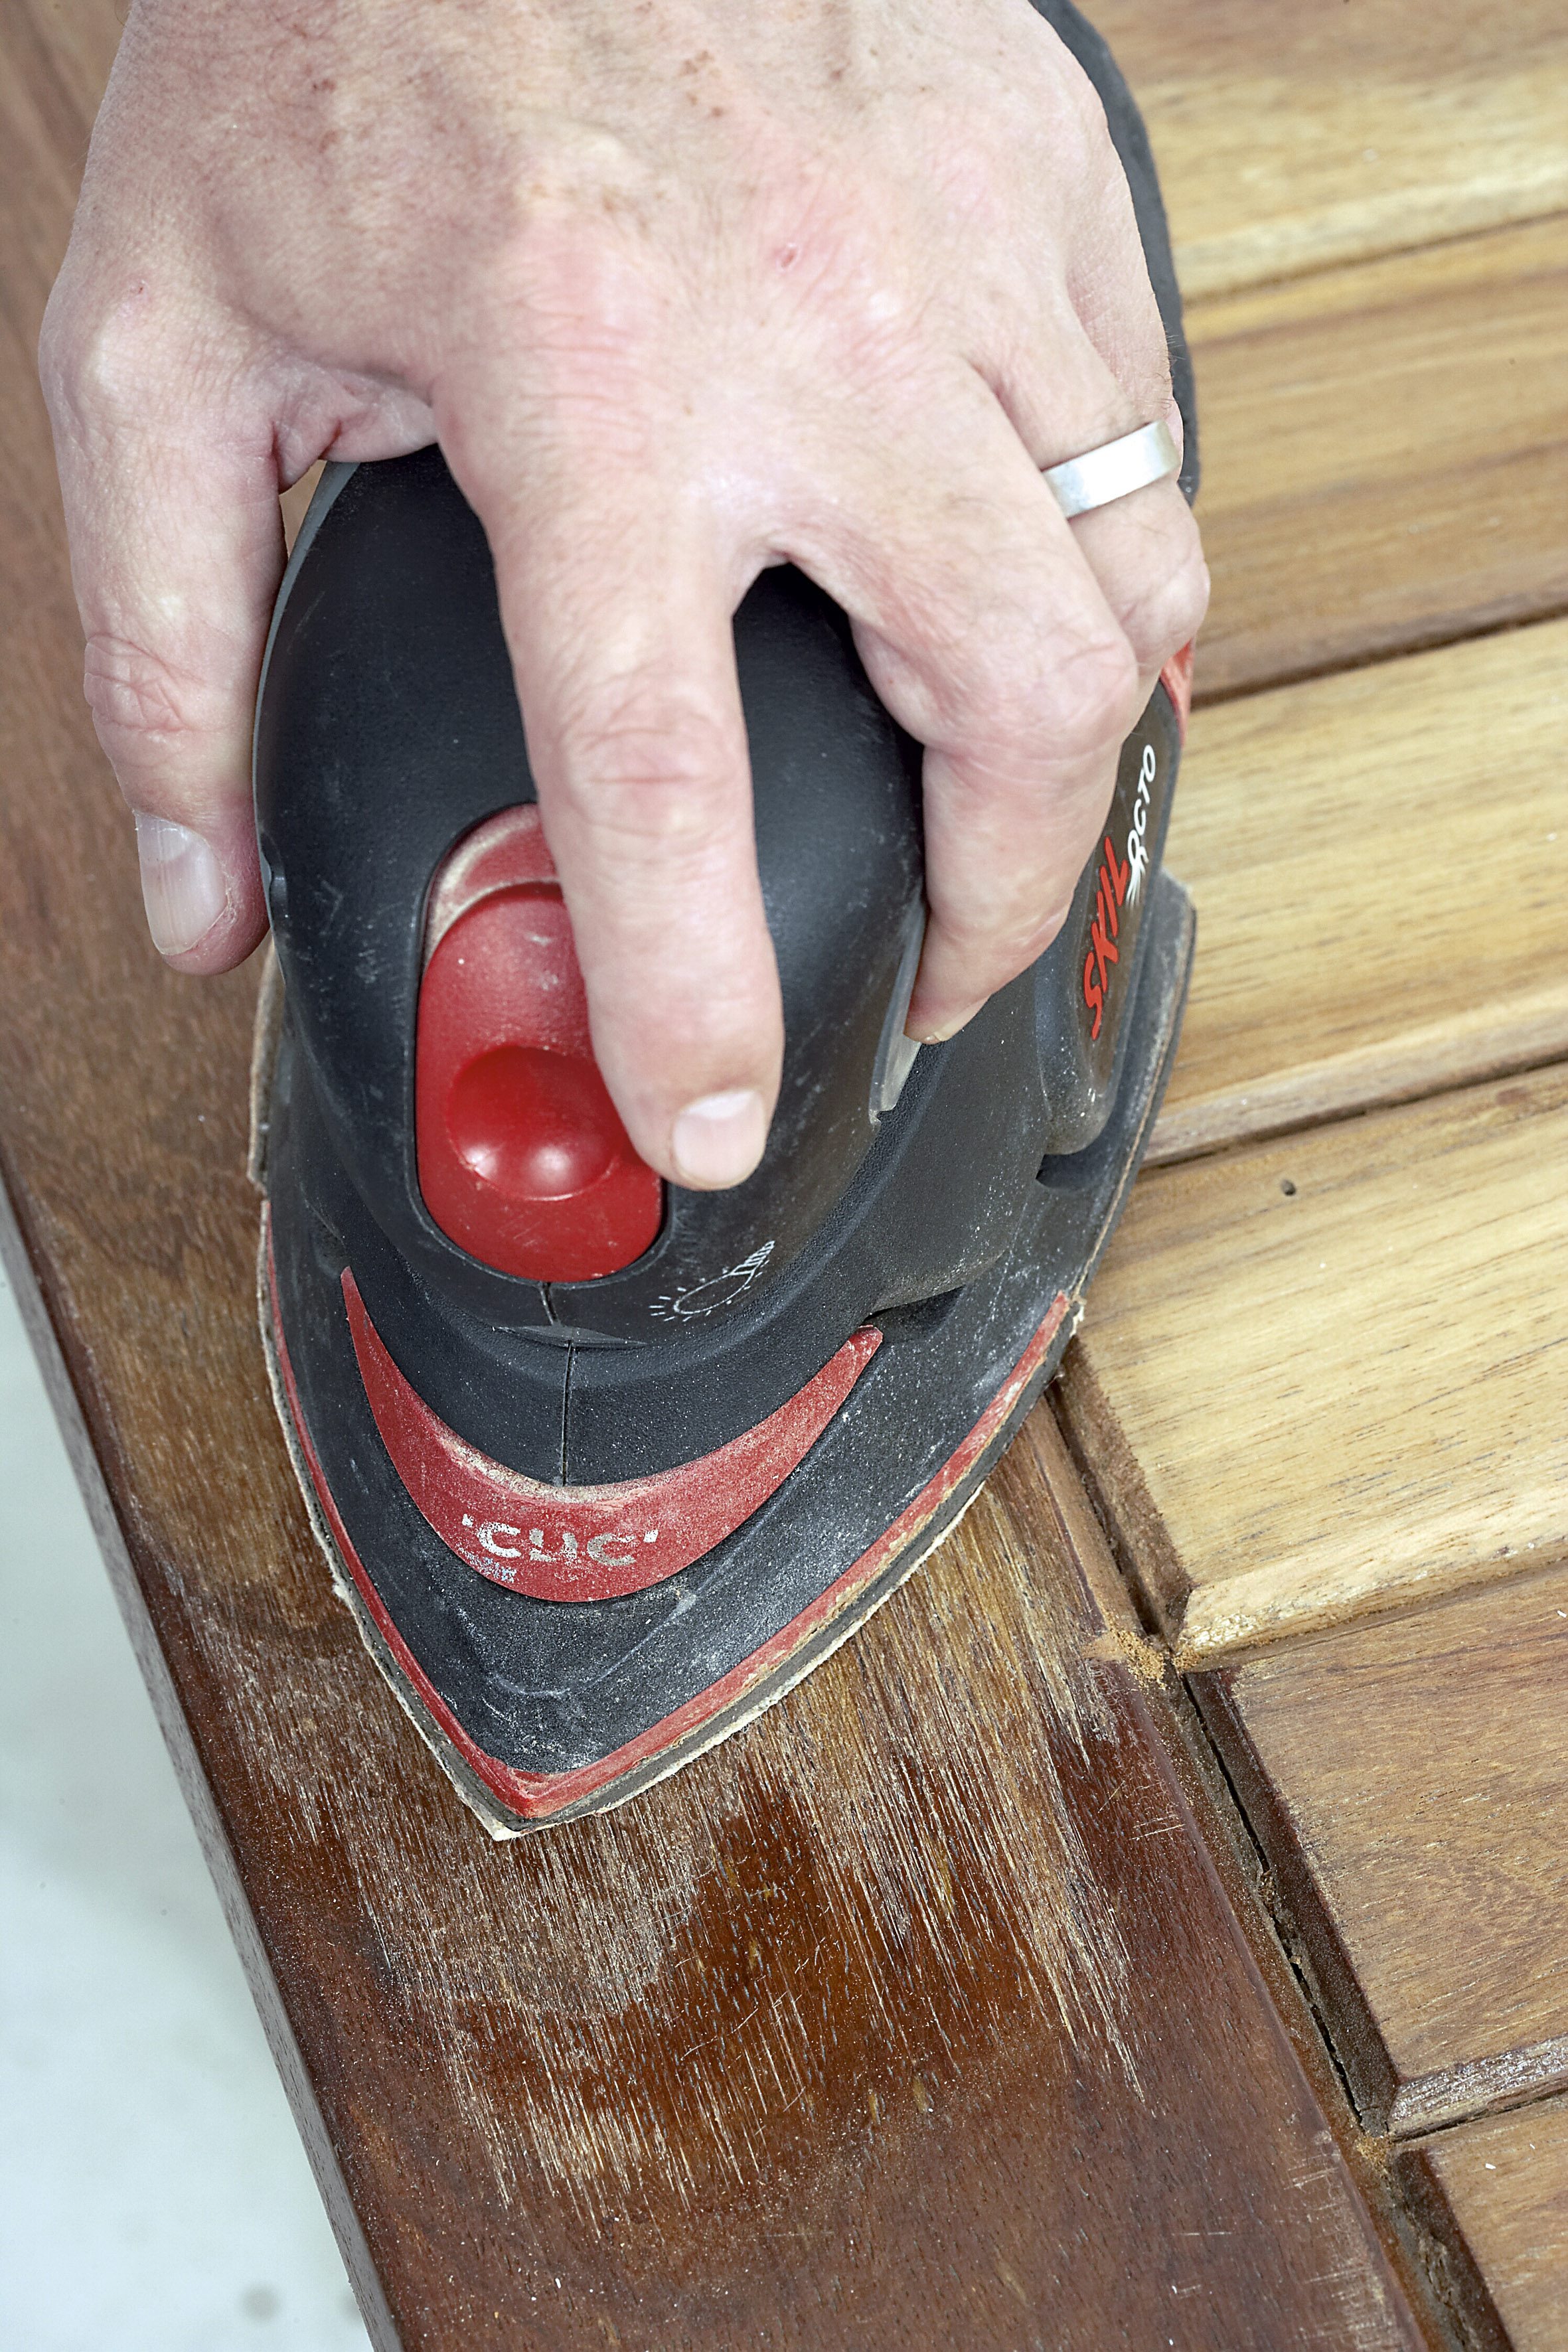
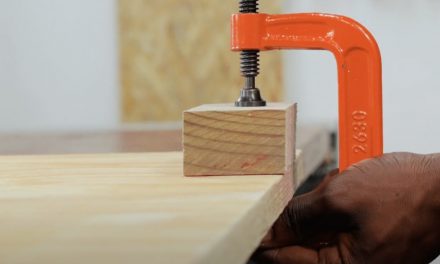
Step 2
A good multi-sander will allow you to sand any crevices and should generally make the job easier. If you find that you need to remove more surface material than you originally thought, you might need to use a belt sander first. At this stage, you can also give the legs of the table an undercoat.
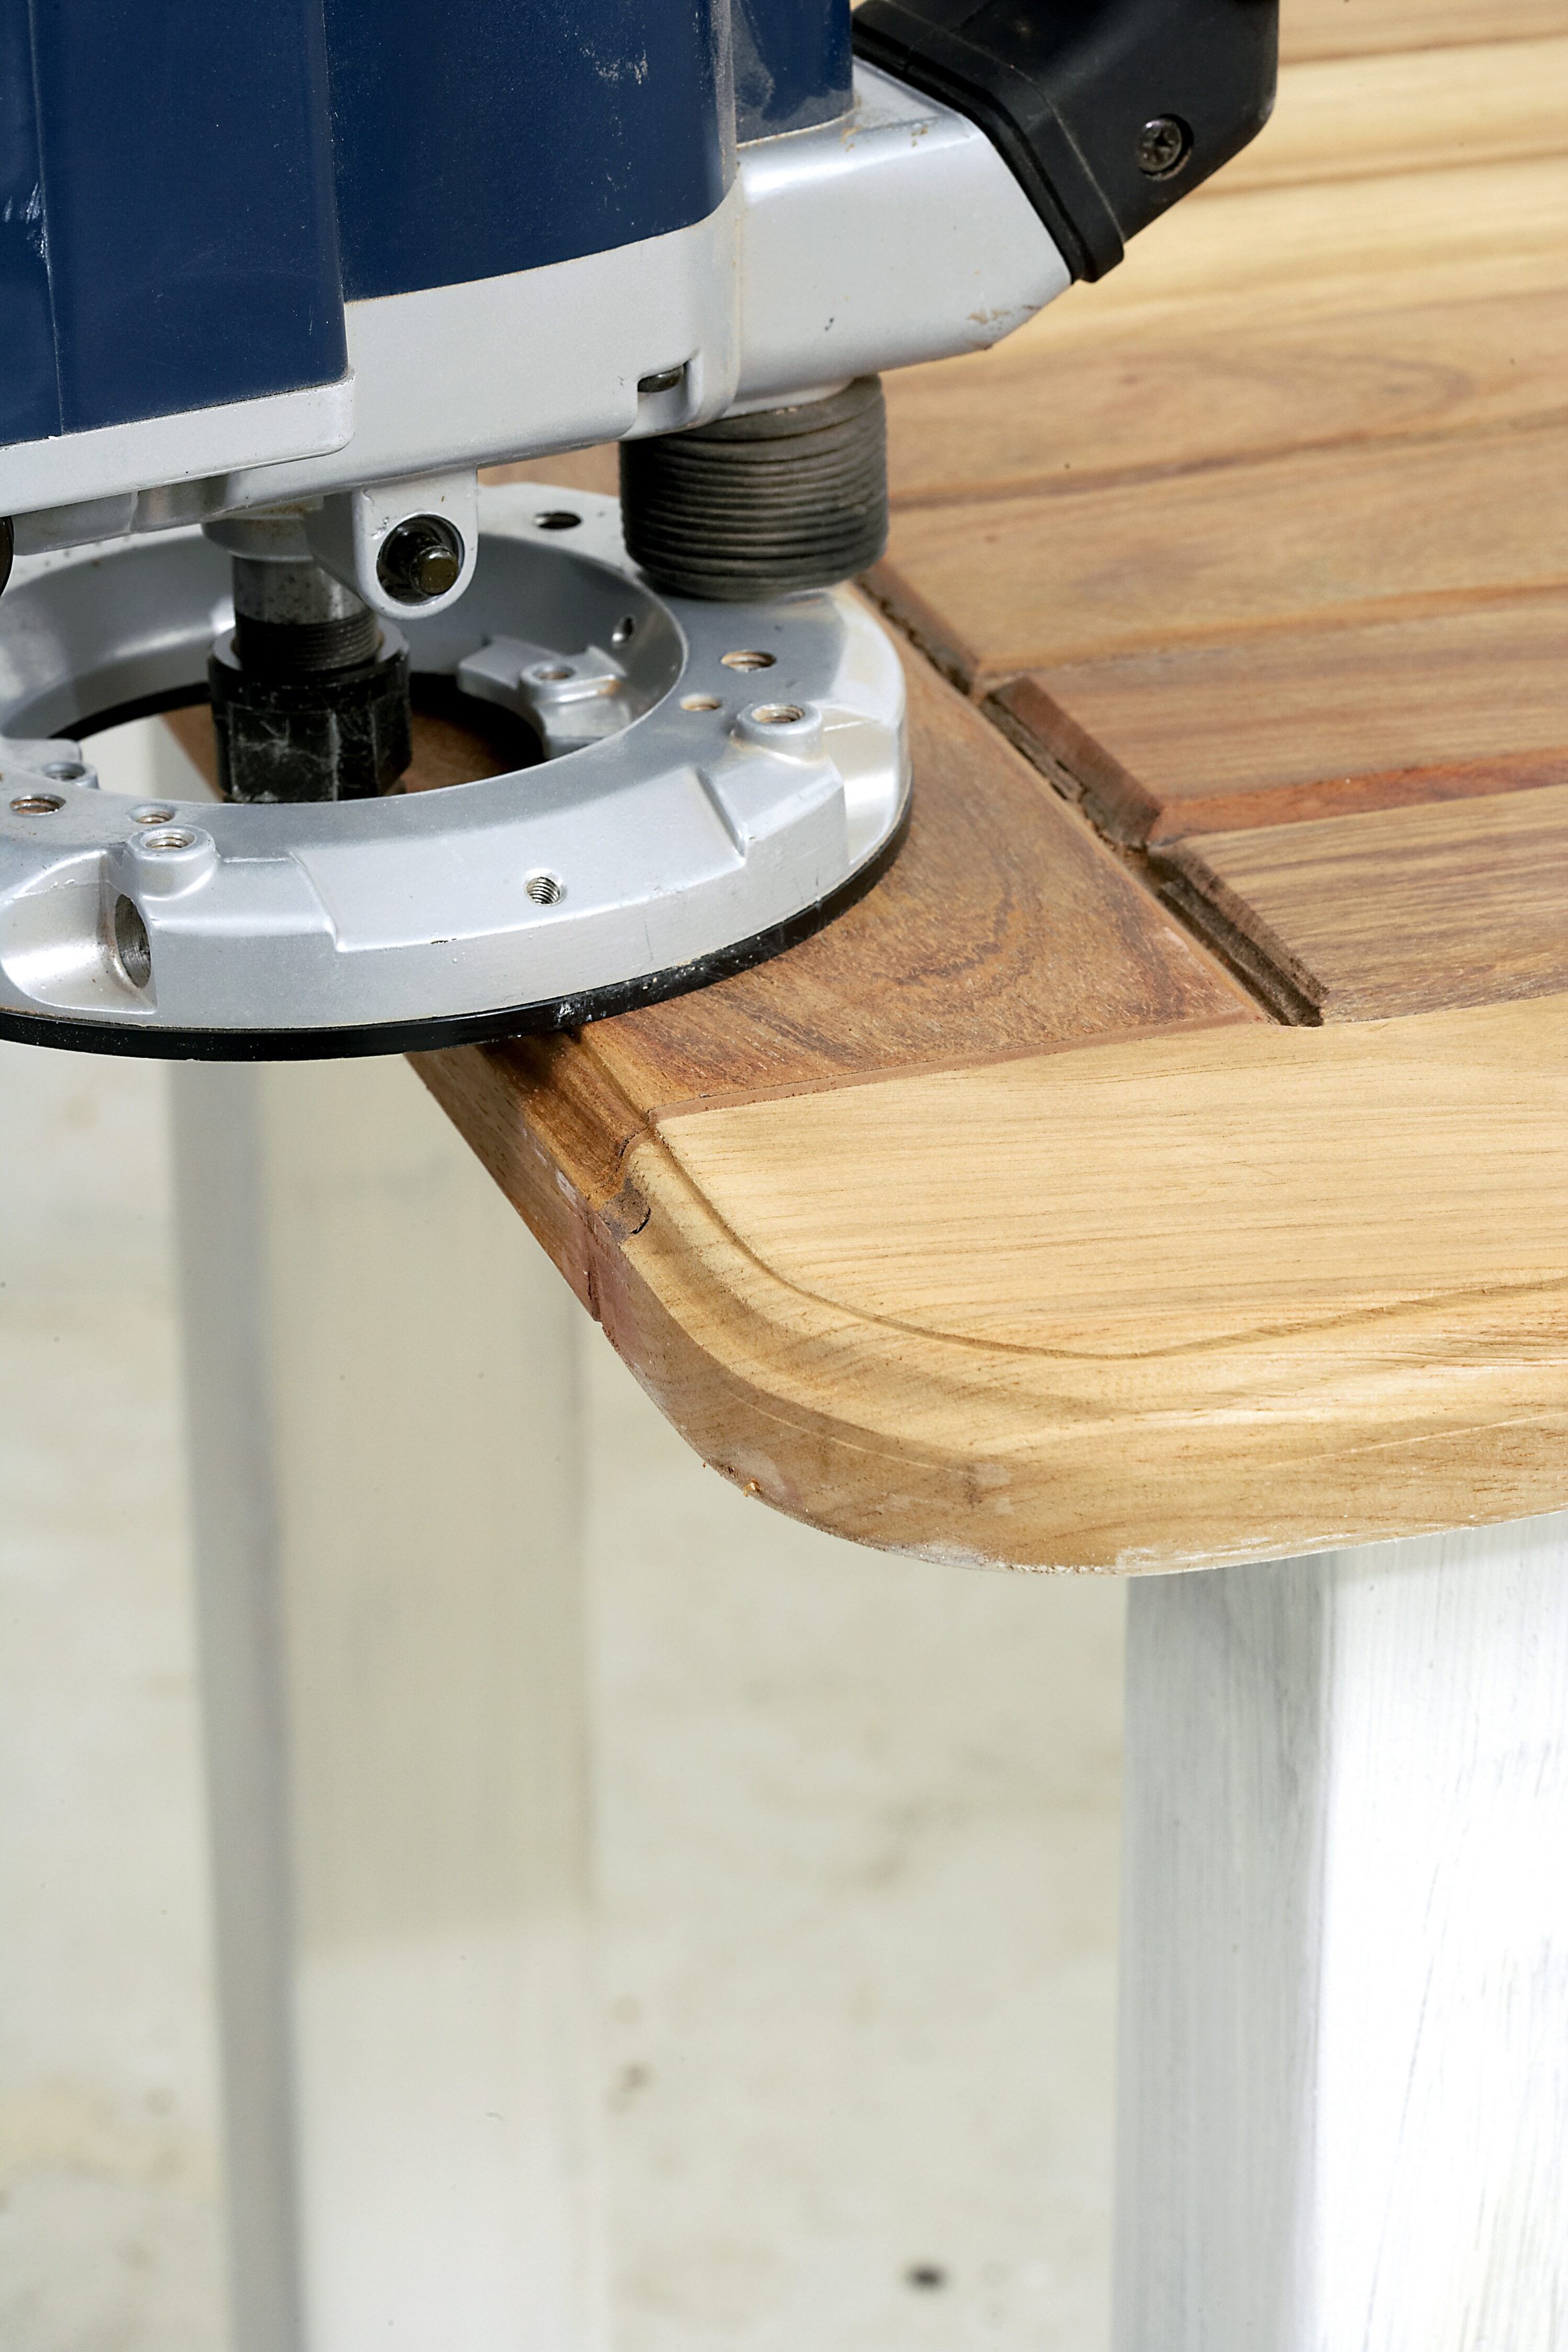
Step 3
The tabletop looked a little too wide for the base so we planed the long sides down by 5mm to make it a little narrower before using a router and profile bit on the edges to give the tabletop a whole new look. Once you’ve finished sanding, fill any blemishes with wood filler – we matched the colour of the wood with Alcolin Sapele coloured wood filler. Once dry, sand these patches, as well as any rough edges, to a smooth finish.
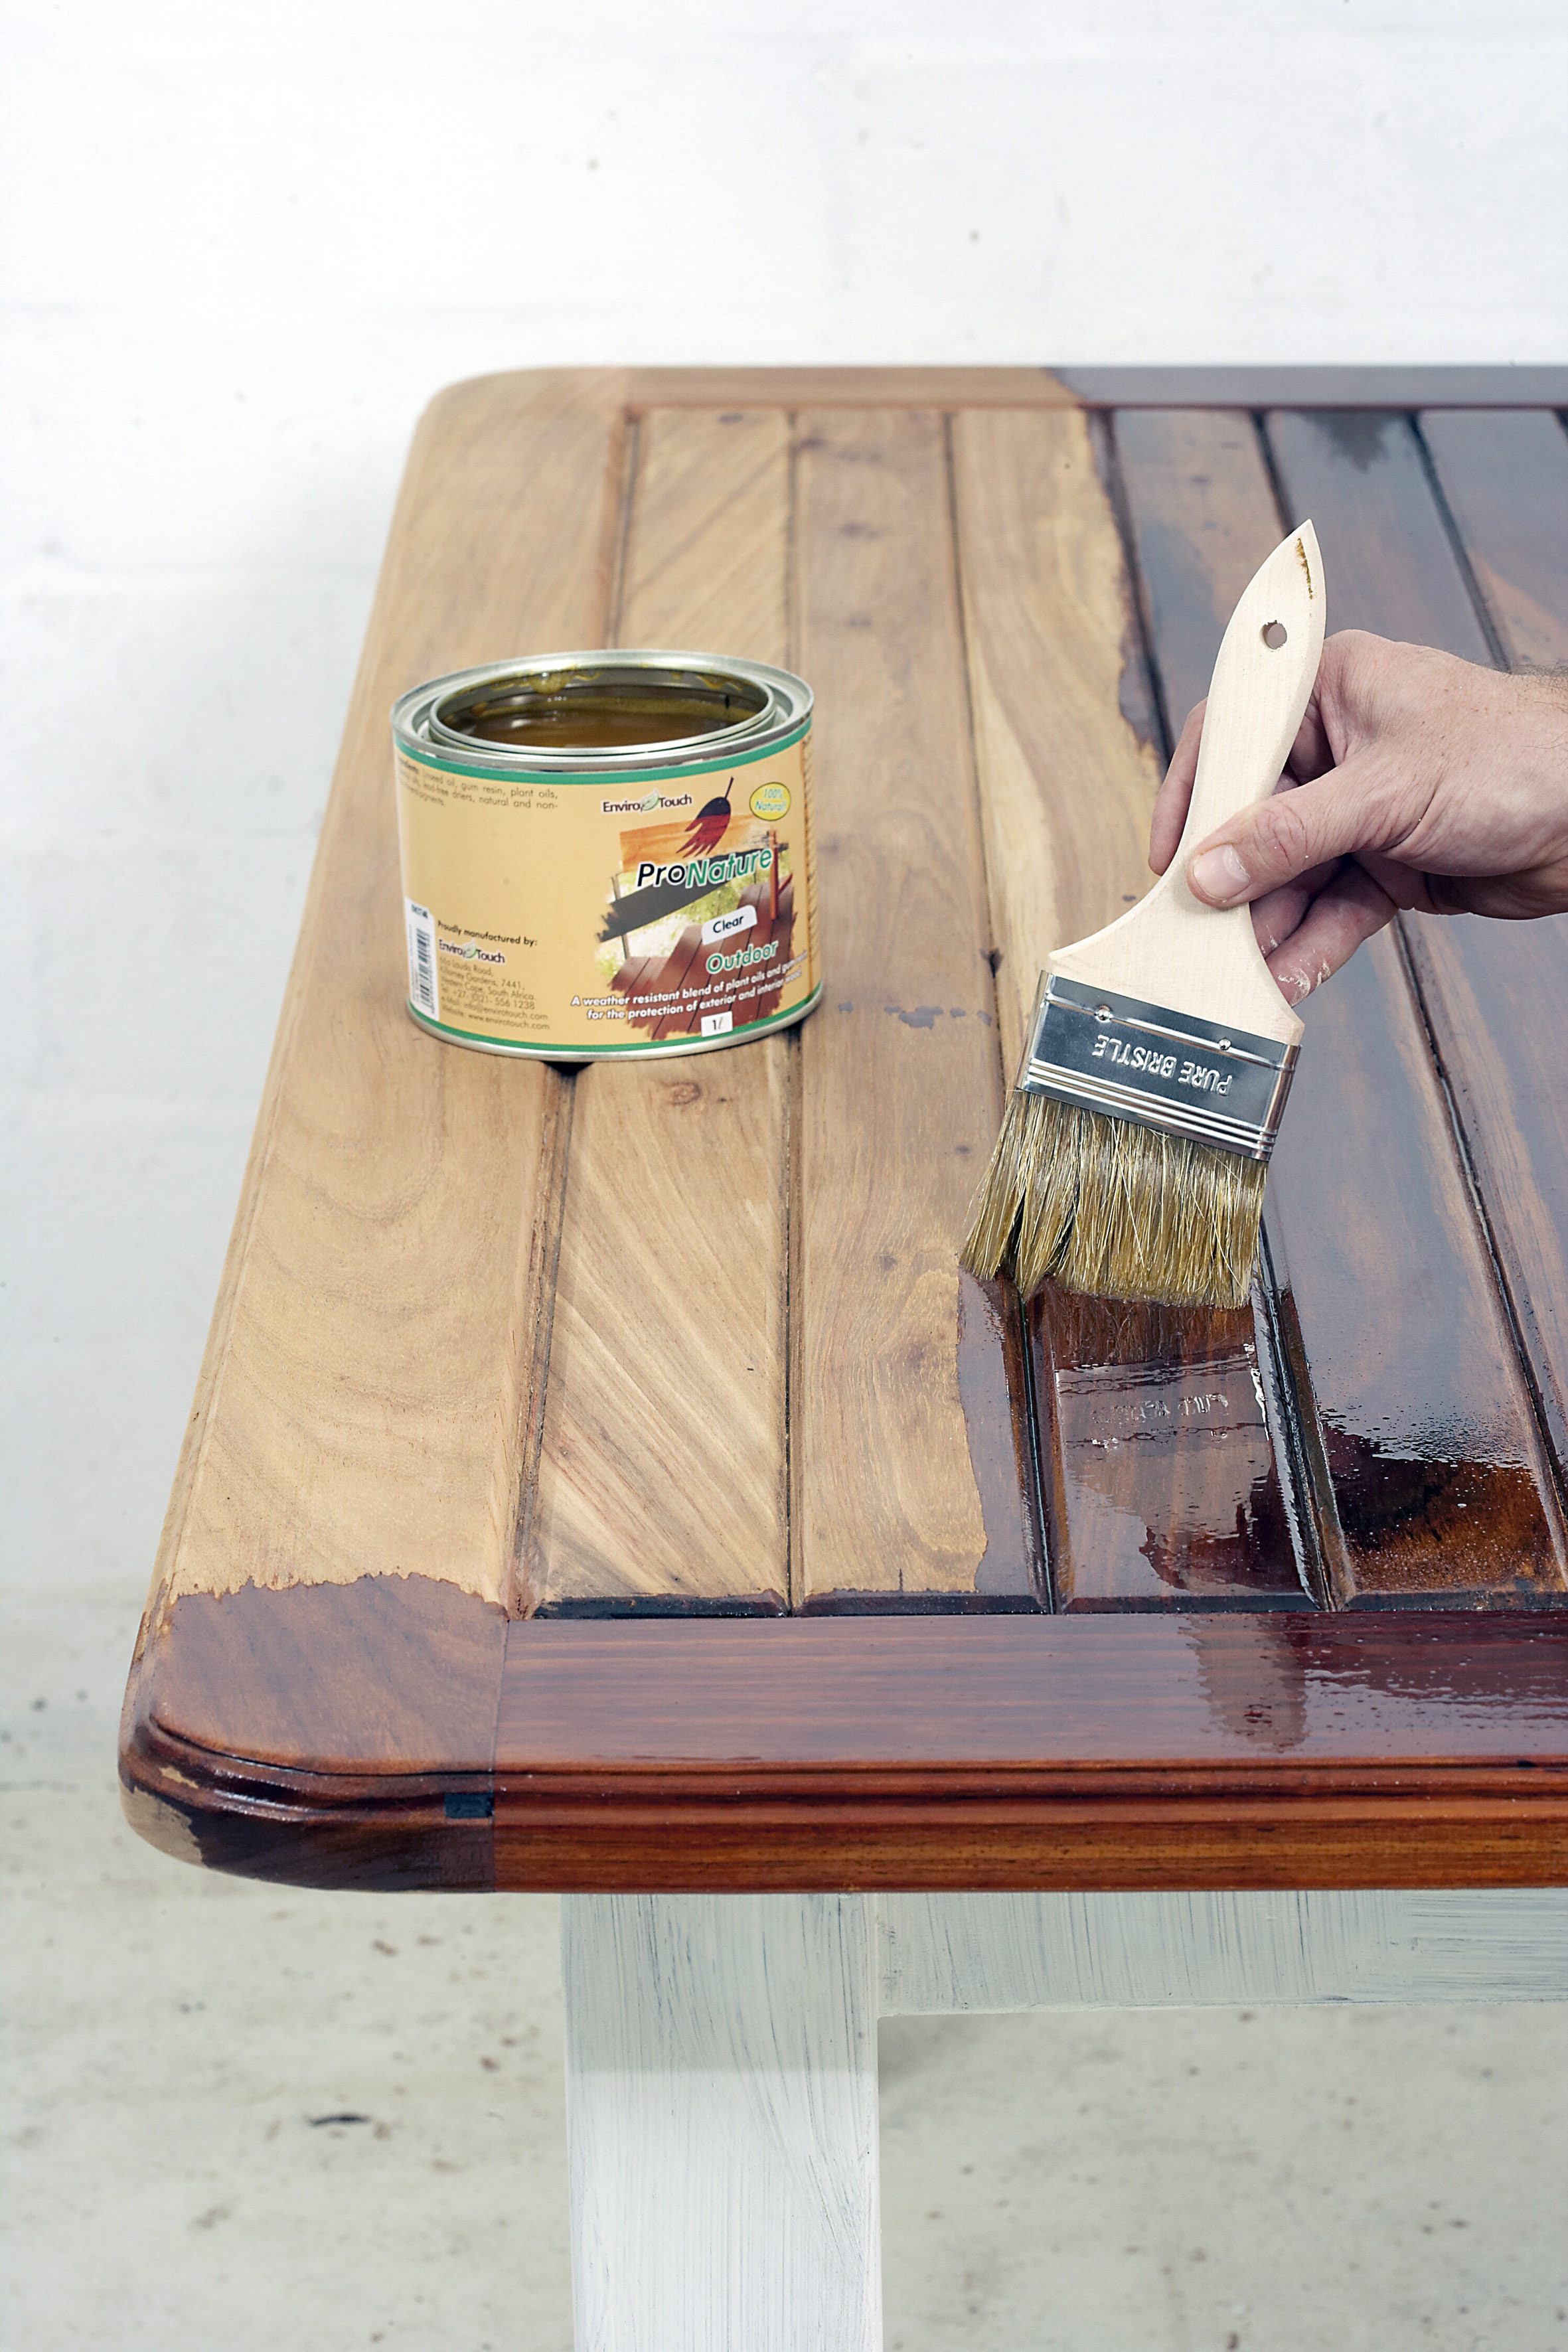
Step 4
Apply two to three coats of clear varnish to the tabletop in long even brush strokes, and paint the legs in the colour of your choice, using an enamel-based paint.
Top Tip: It’s a good idea to thin the first coat of varnish so that it penetrates the wood – especially if it’s dry and hasn’t been treated for some time.
Credits
Referenced from Gallo images / Home Magazine
Browse 1000’s of products available to you. Select your country to Shop Online.


