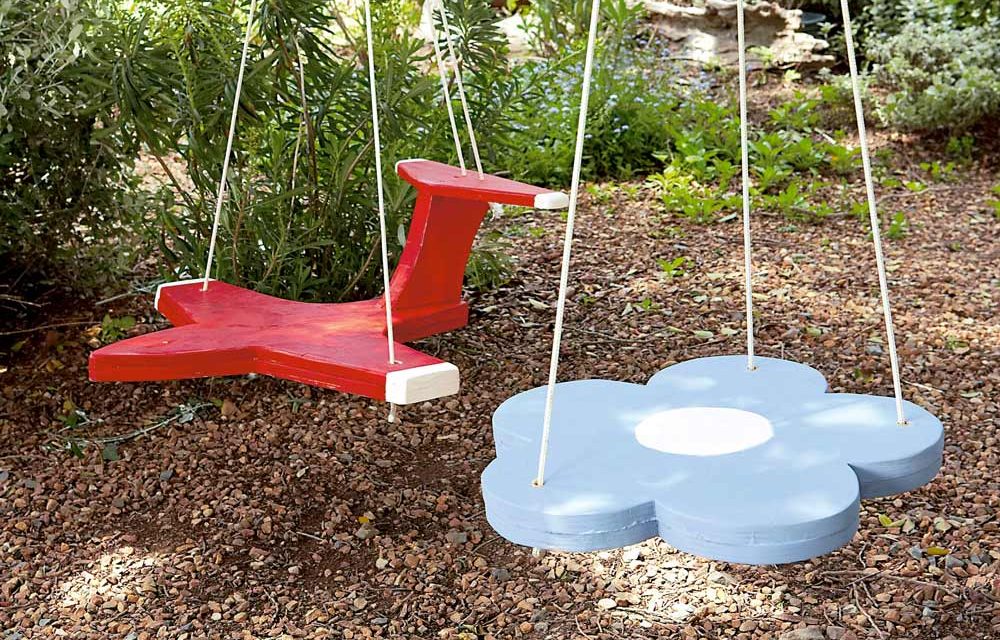
Create playful and unique alternatives to the traditional kiddies’ swing with just a bit of planning!
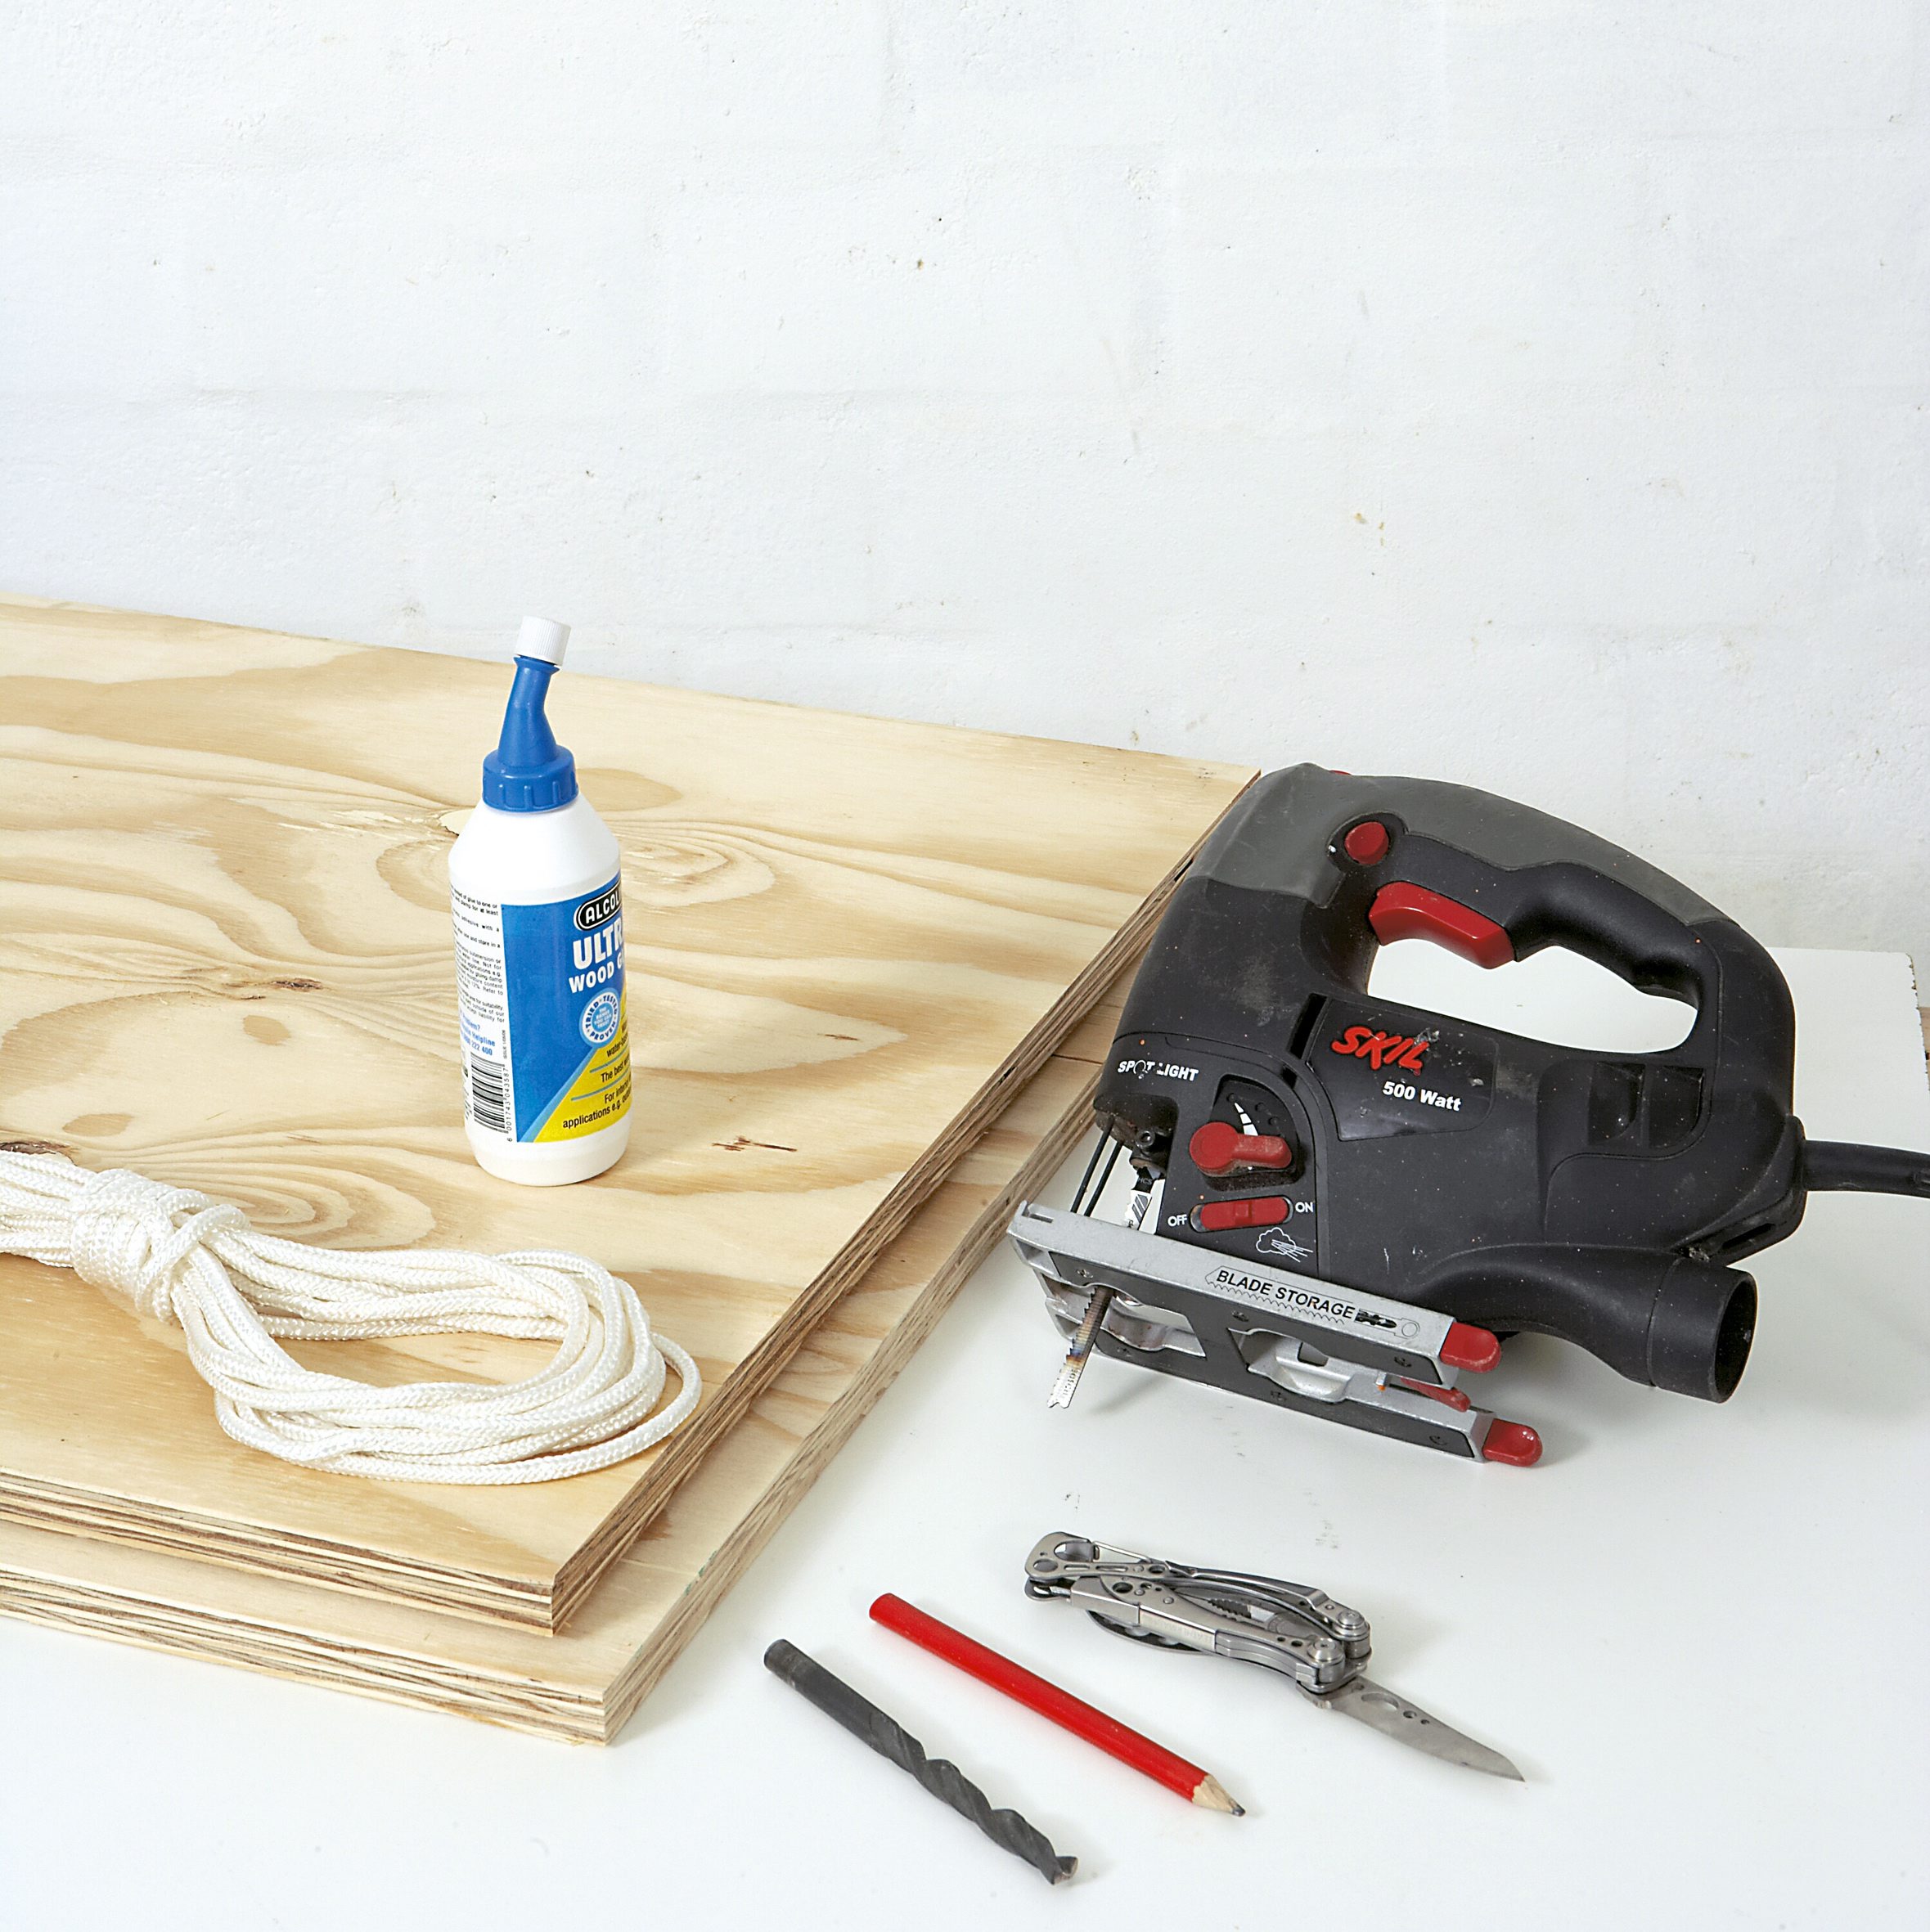
- One 1220mm x 1220mm half-sheet 18mm plywood (shutter ply)
- ± ten 40mm chipboard screws
- waterproof wood glue
- medium grit sandpaper (120 grit)
- paintbrush
- multisurface primer/universal undercoat
- water-based enamel
- 5m length of rope
- cordless drill and 8mm drill bit
- jigsaw
- orbital sander
- sharp knife
- pencil
- G-clamps
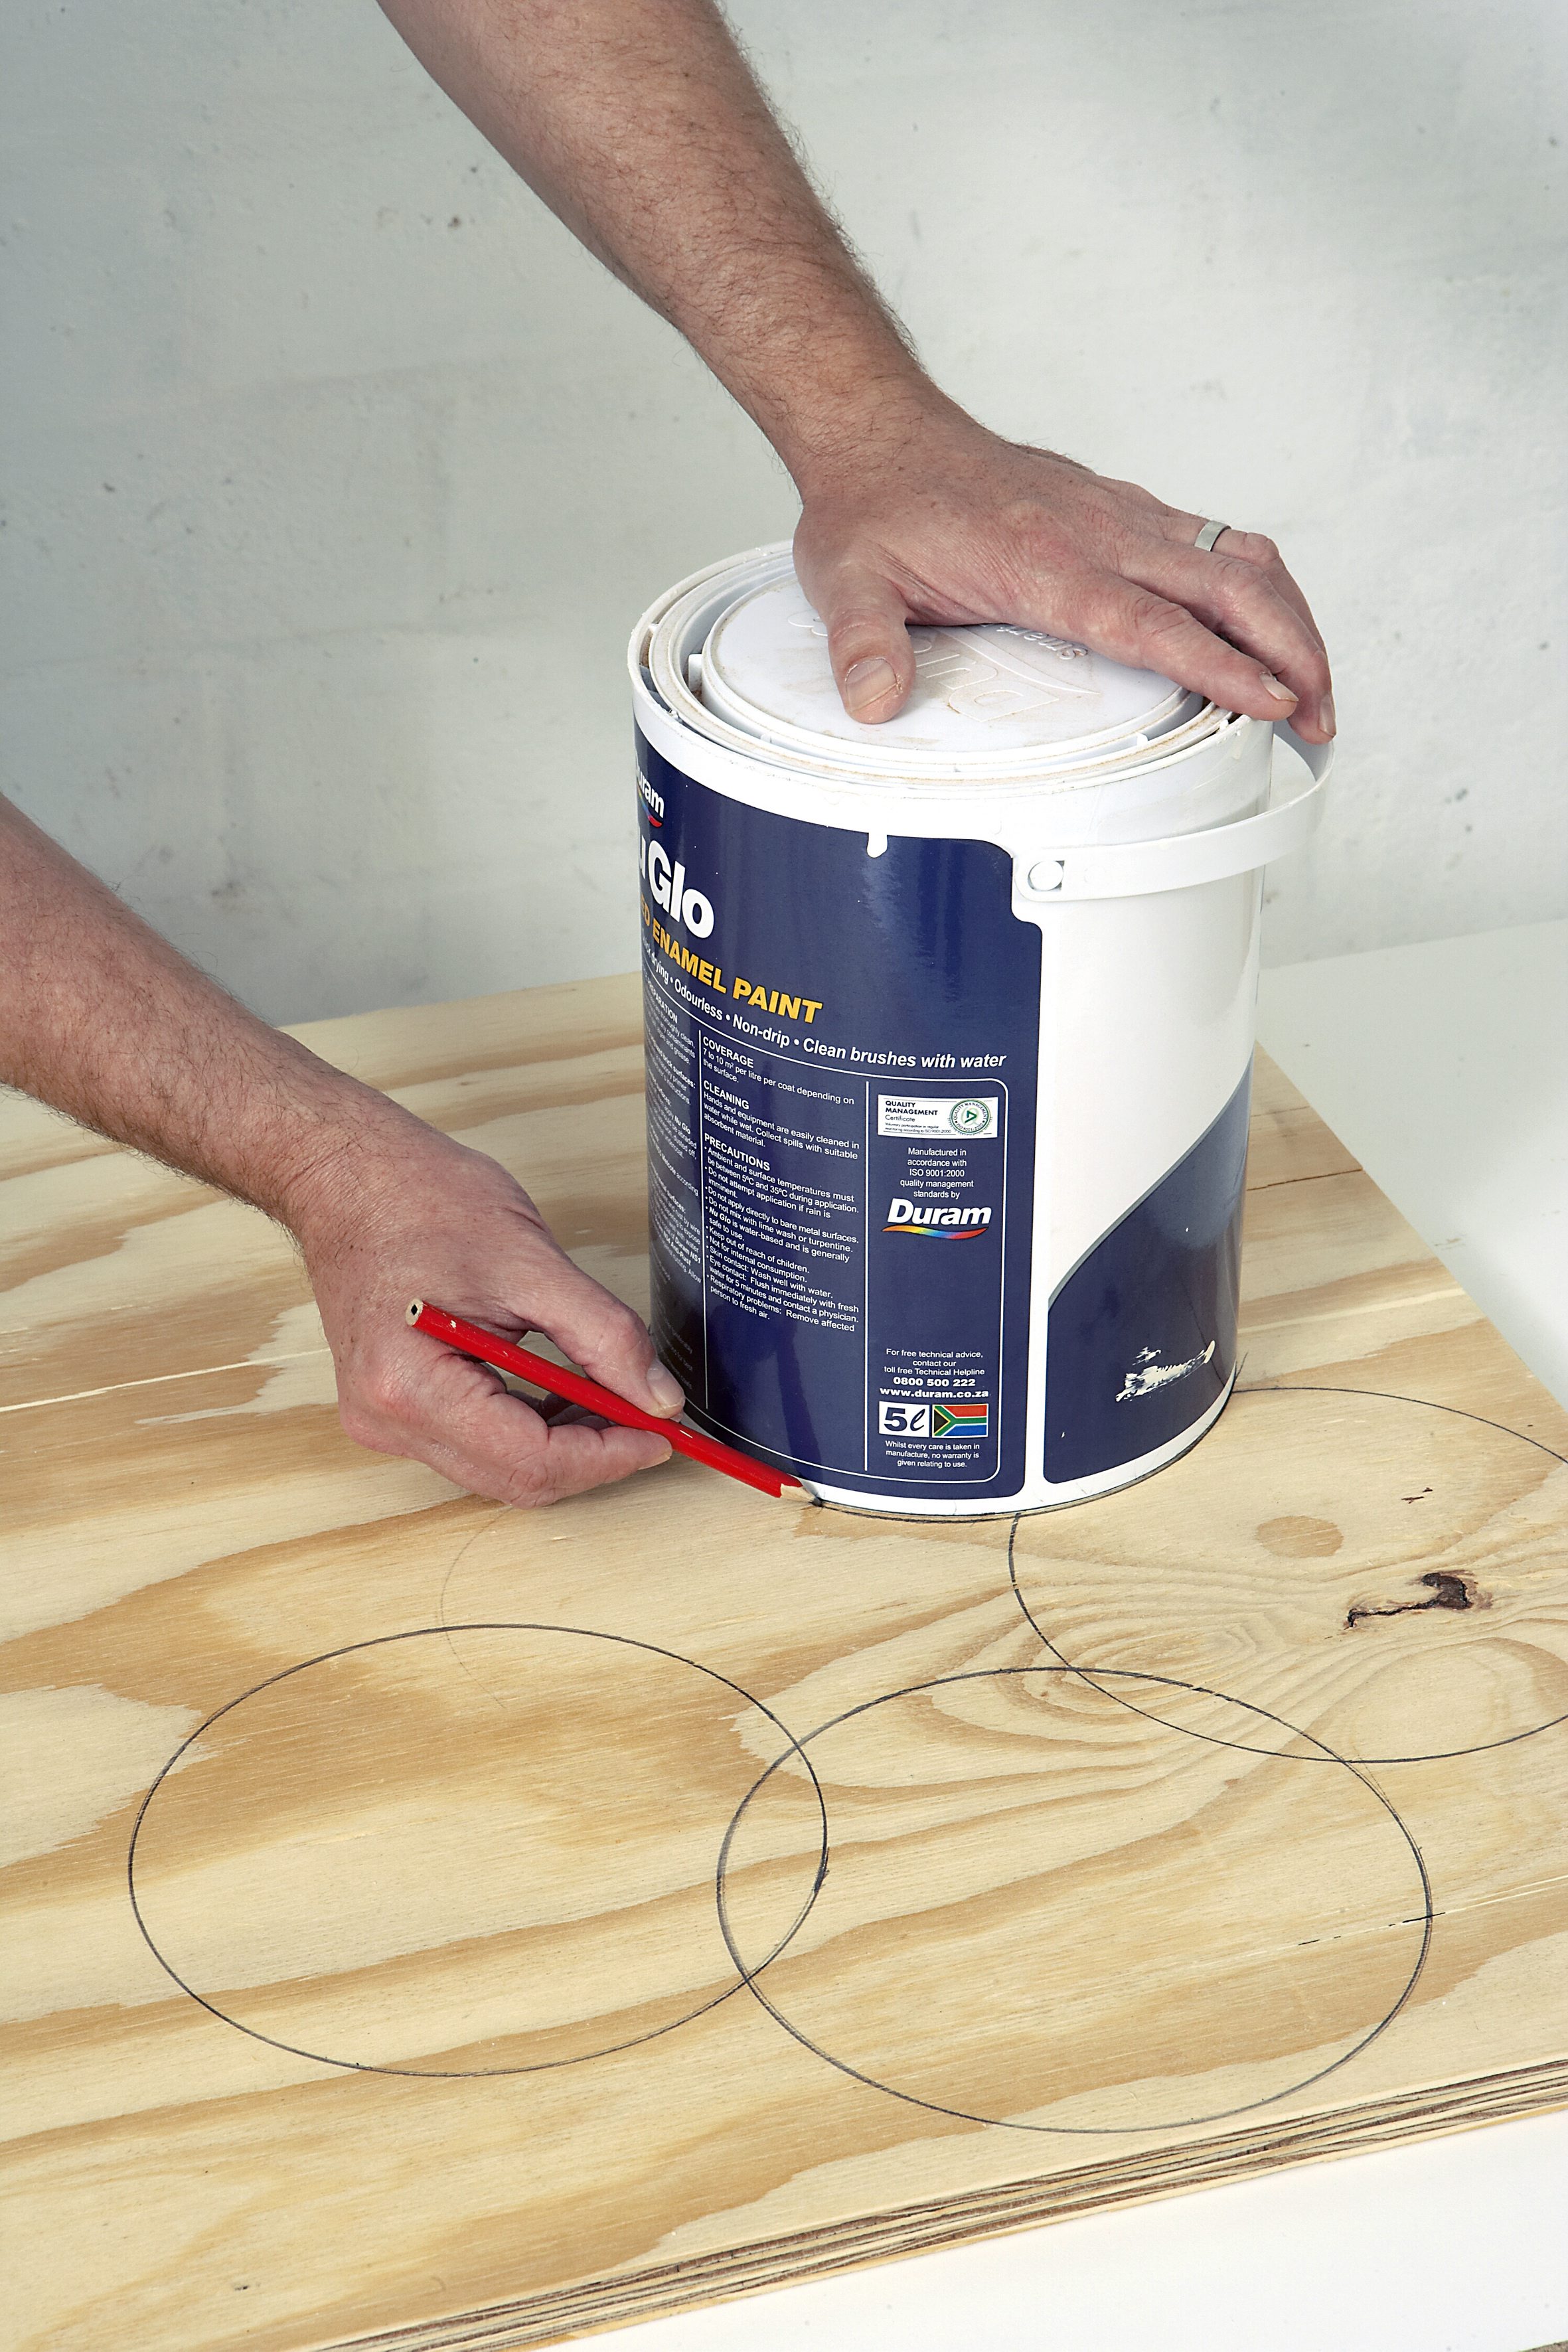
Step 1
Draw simple flower shapes or aeroplane shapes onto the plywood, either in freehand, or using any household objects as guides. We used a paint tin to help mark out the petals of the flower-shaped swing.
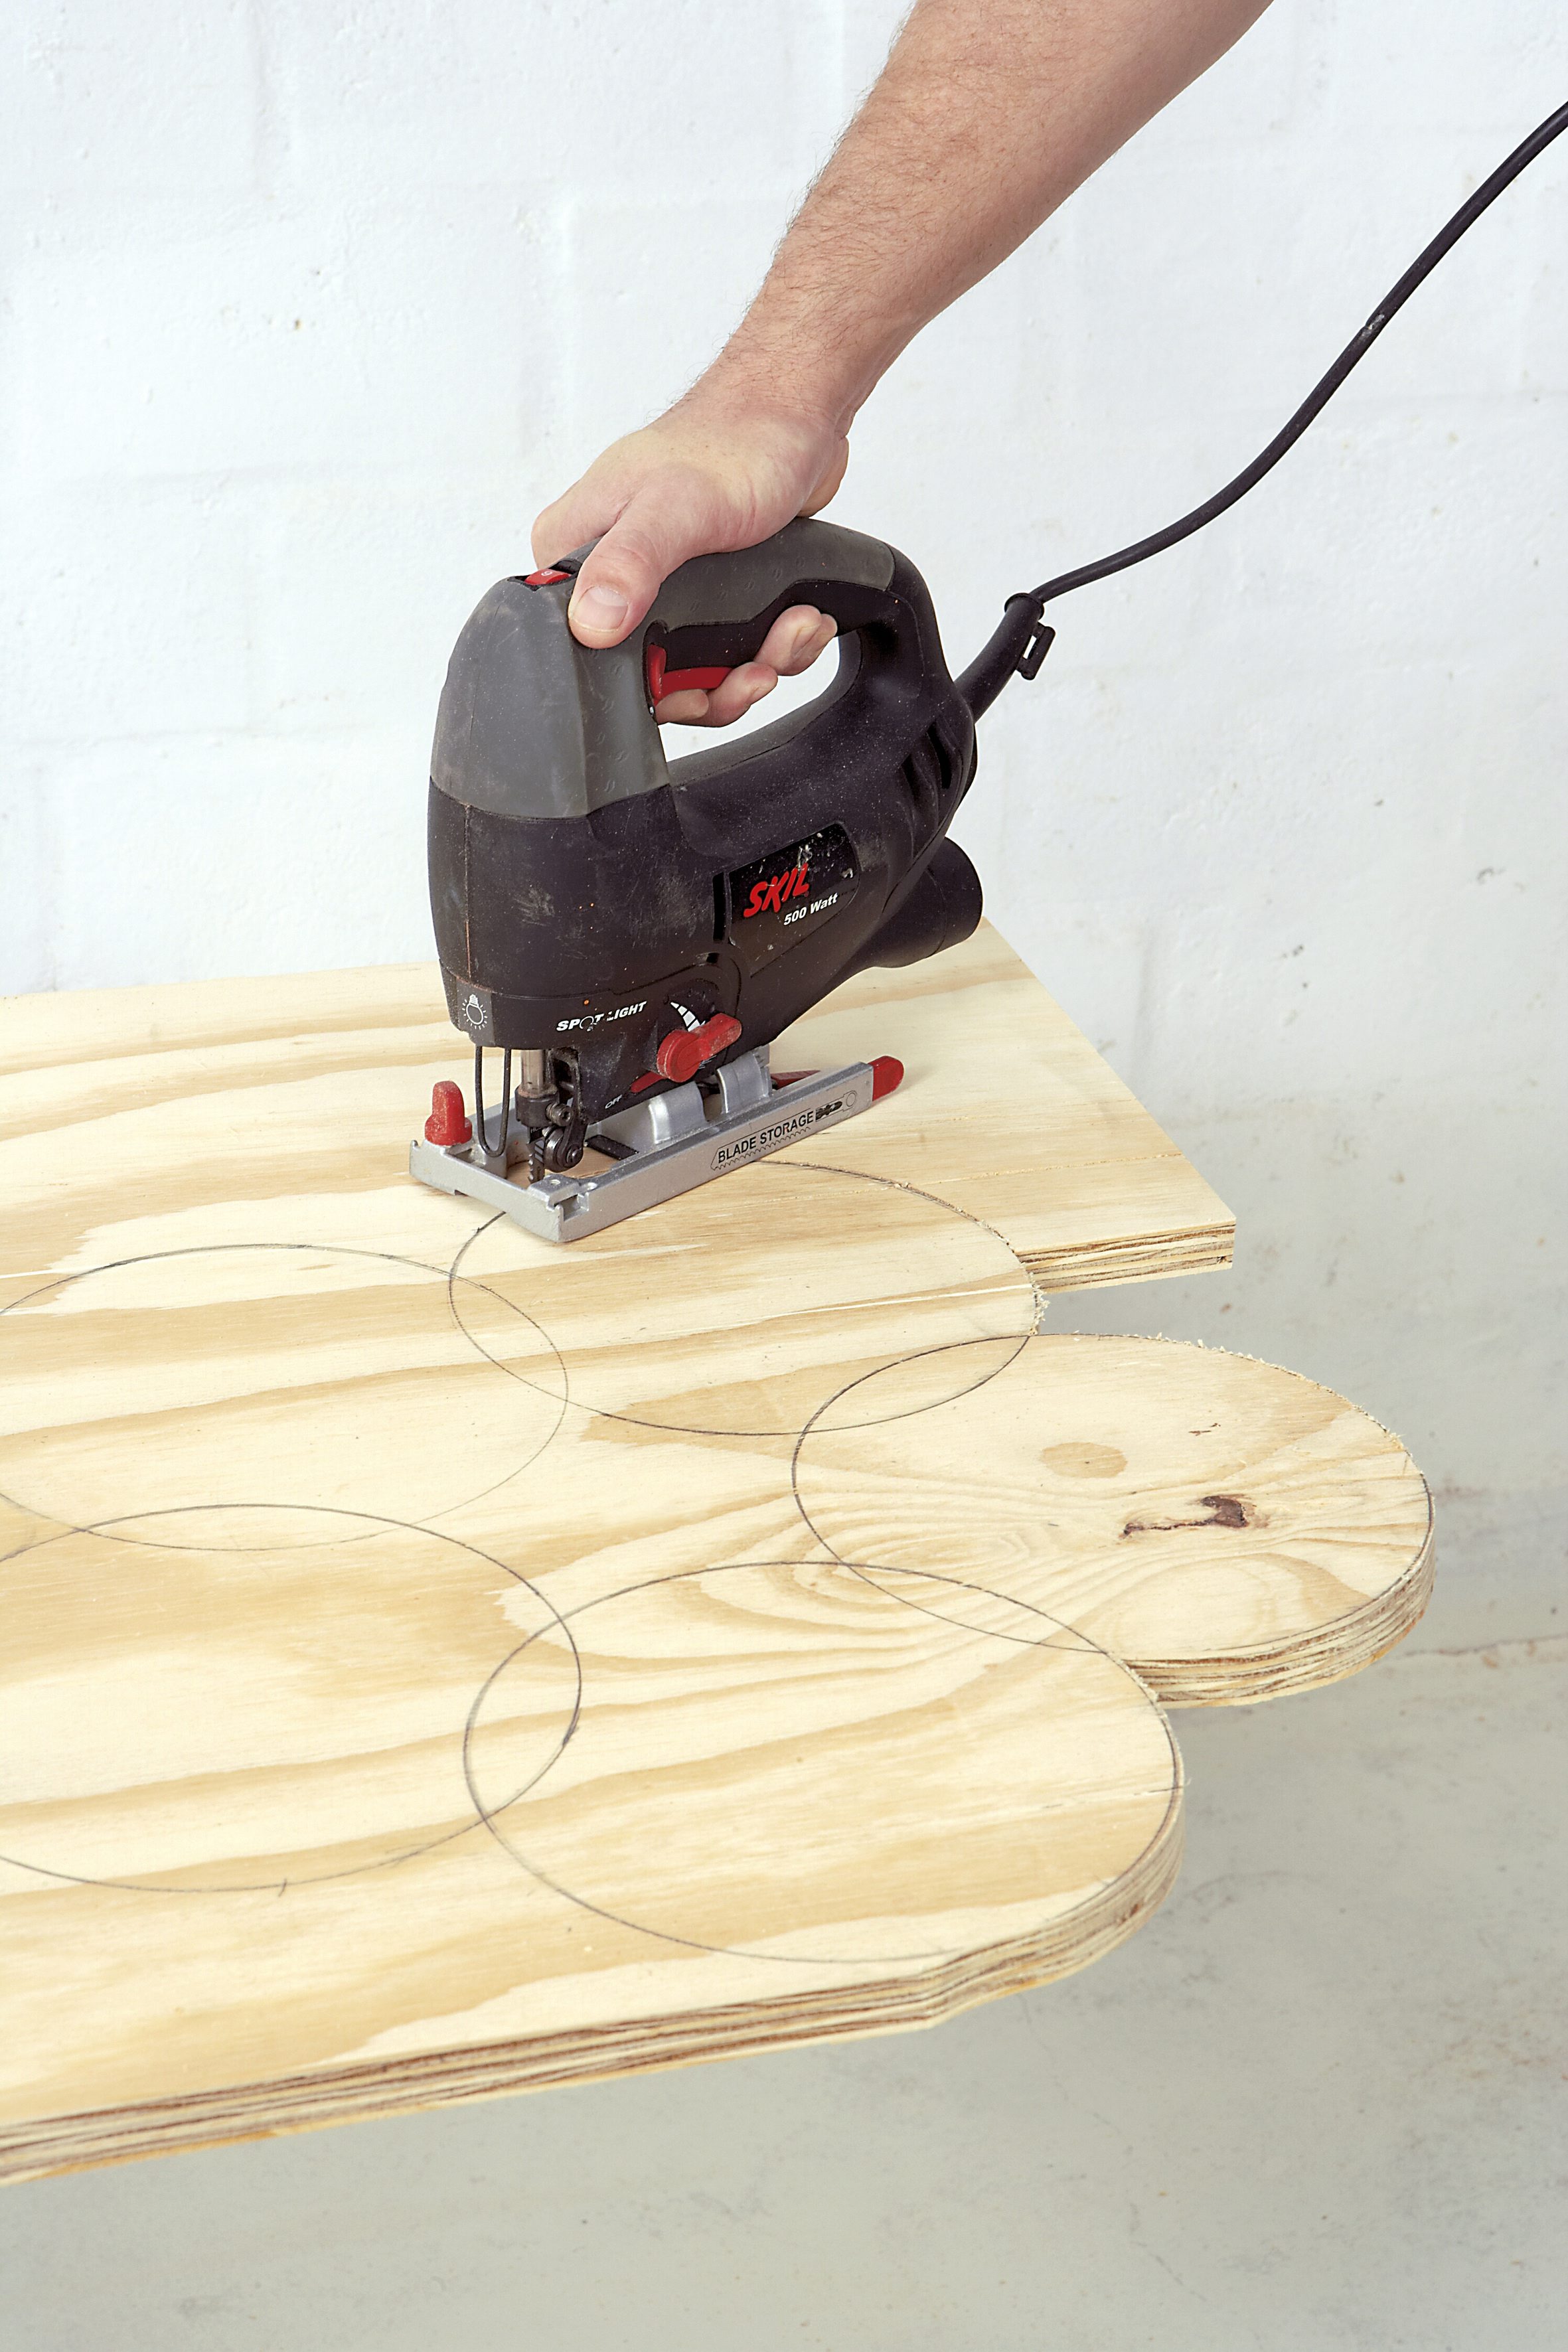
Step 2
Now use a jigsaw to cut out the first layer of each of the shapes.
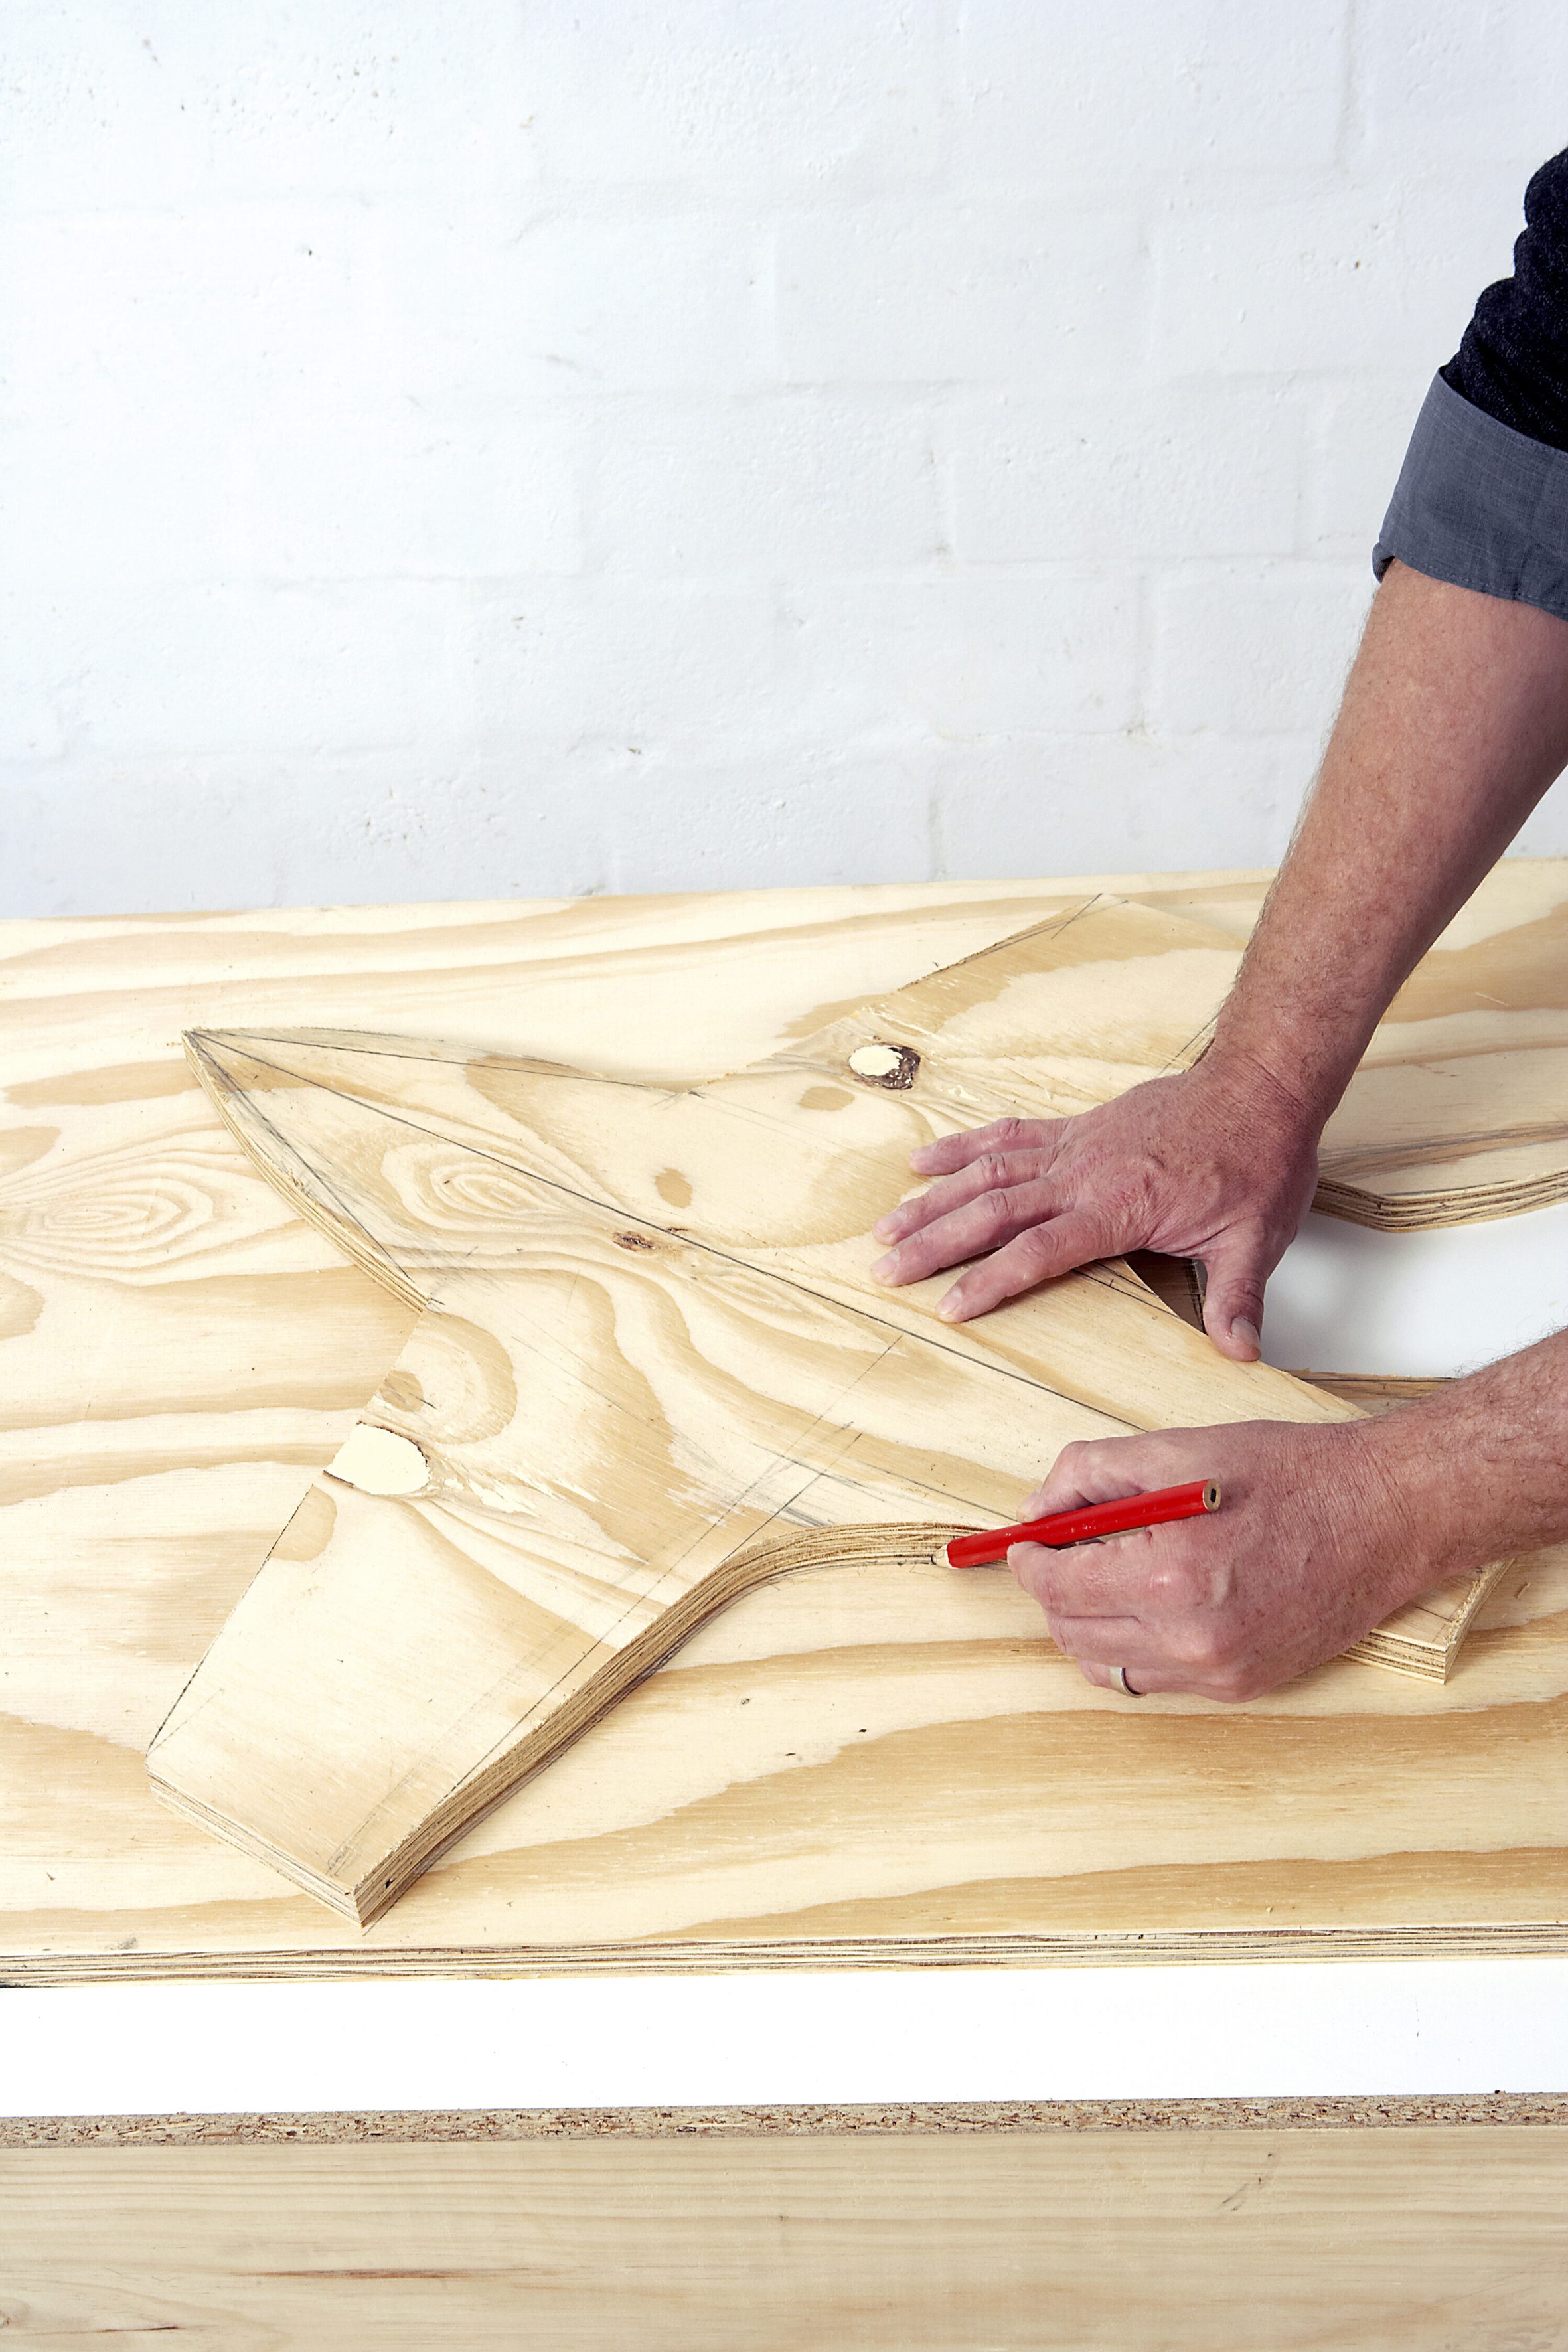
Step 3
Place the first layer onto the remaining plywood and trace the outline before cutting these out too; this will ensure an exact double.
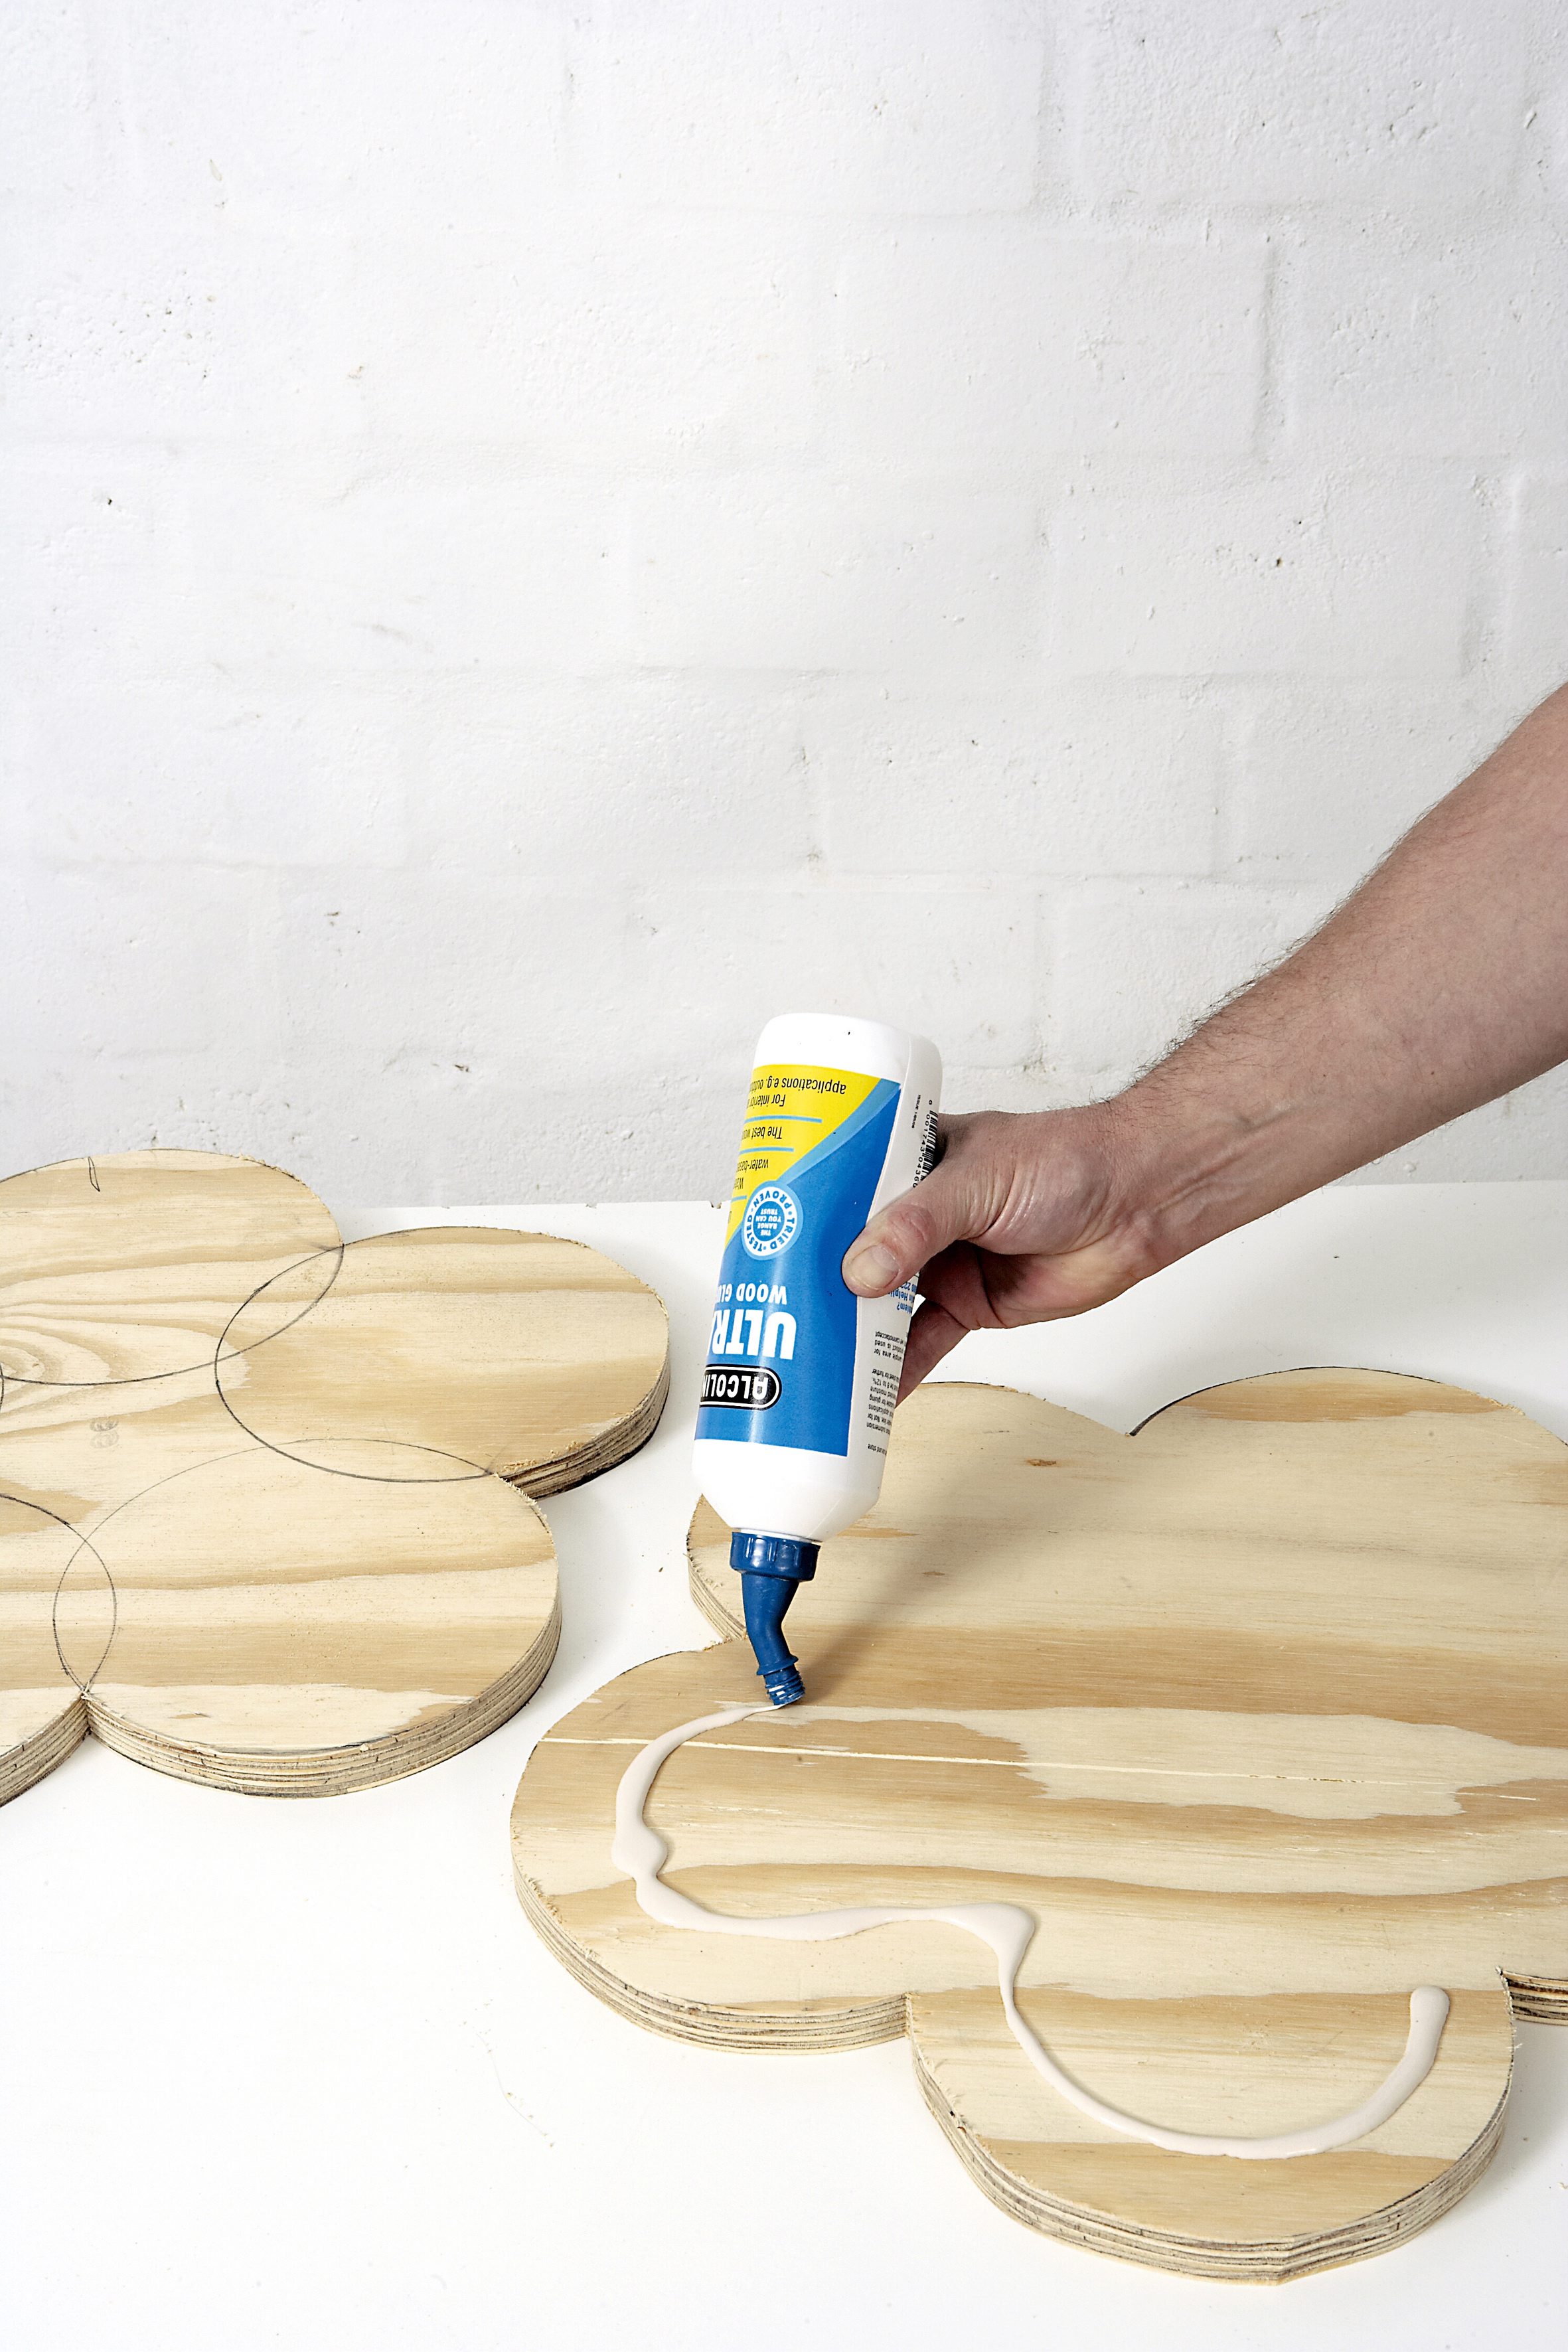
Step 4
Apply waterproof wood glue to either part.

Step 5
Use G-clamps and some offcut pieces of wood to clamp the two parts firmly together.
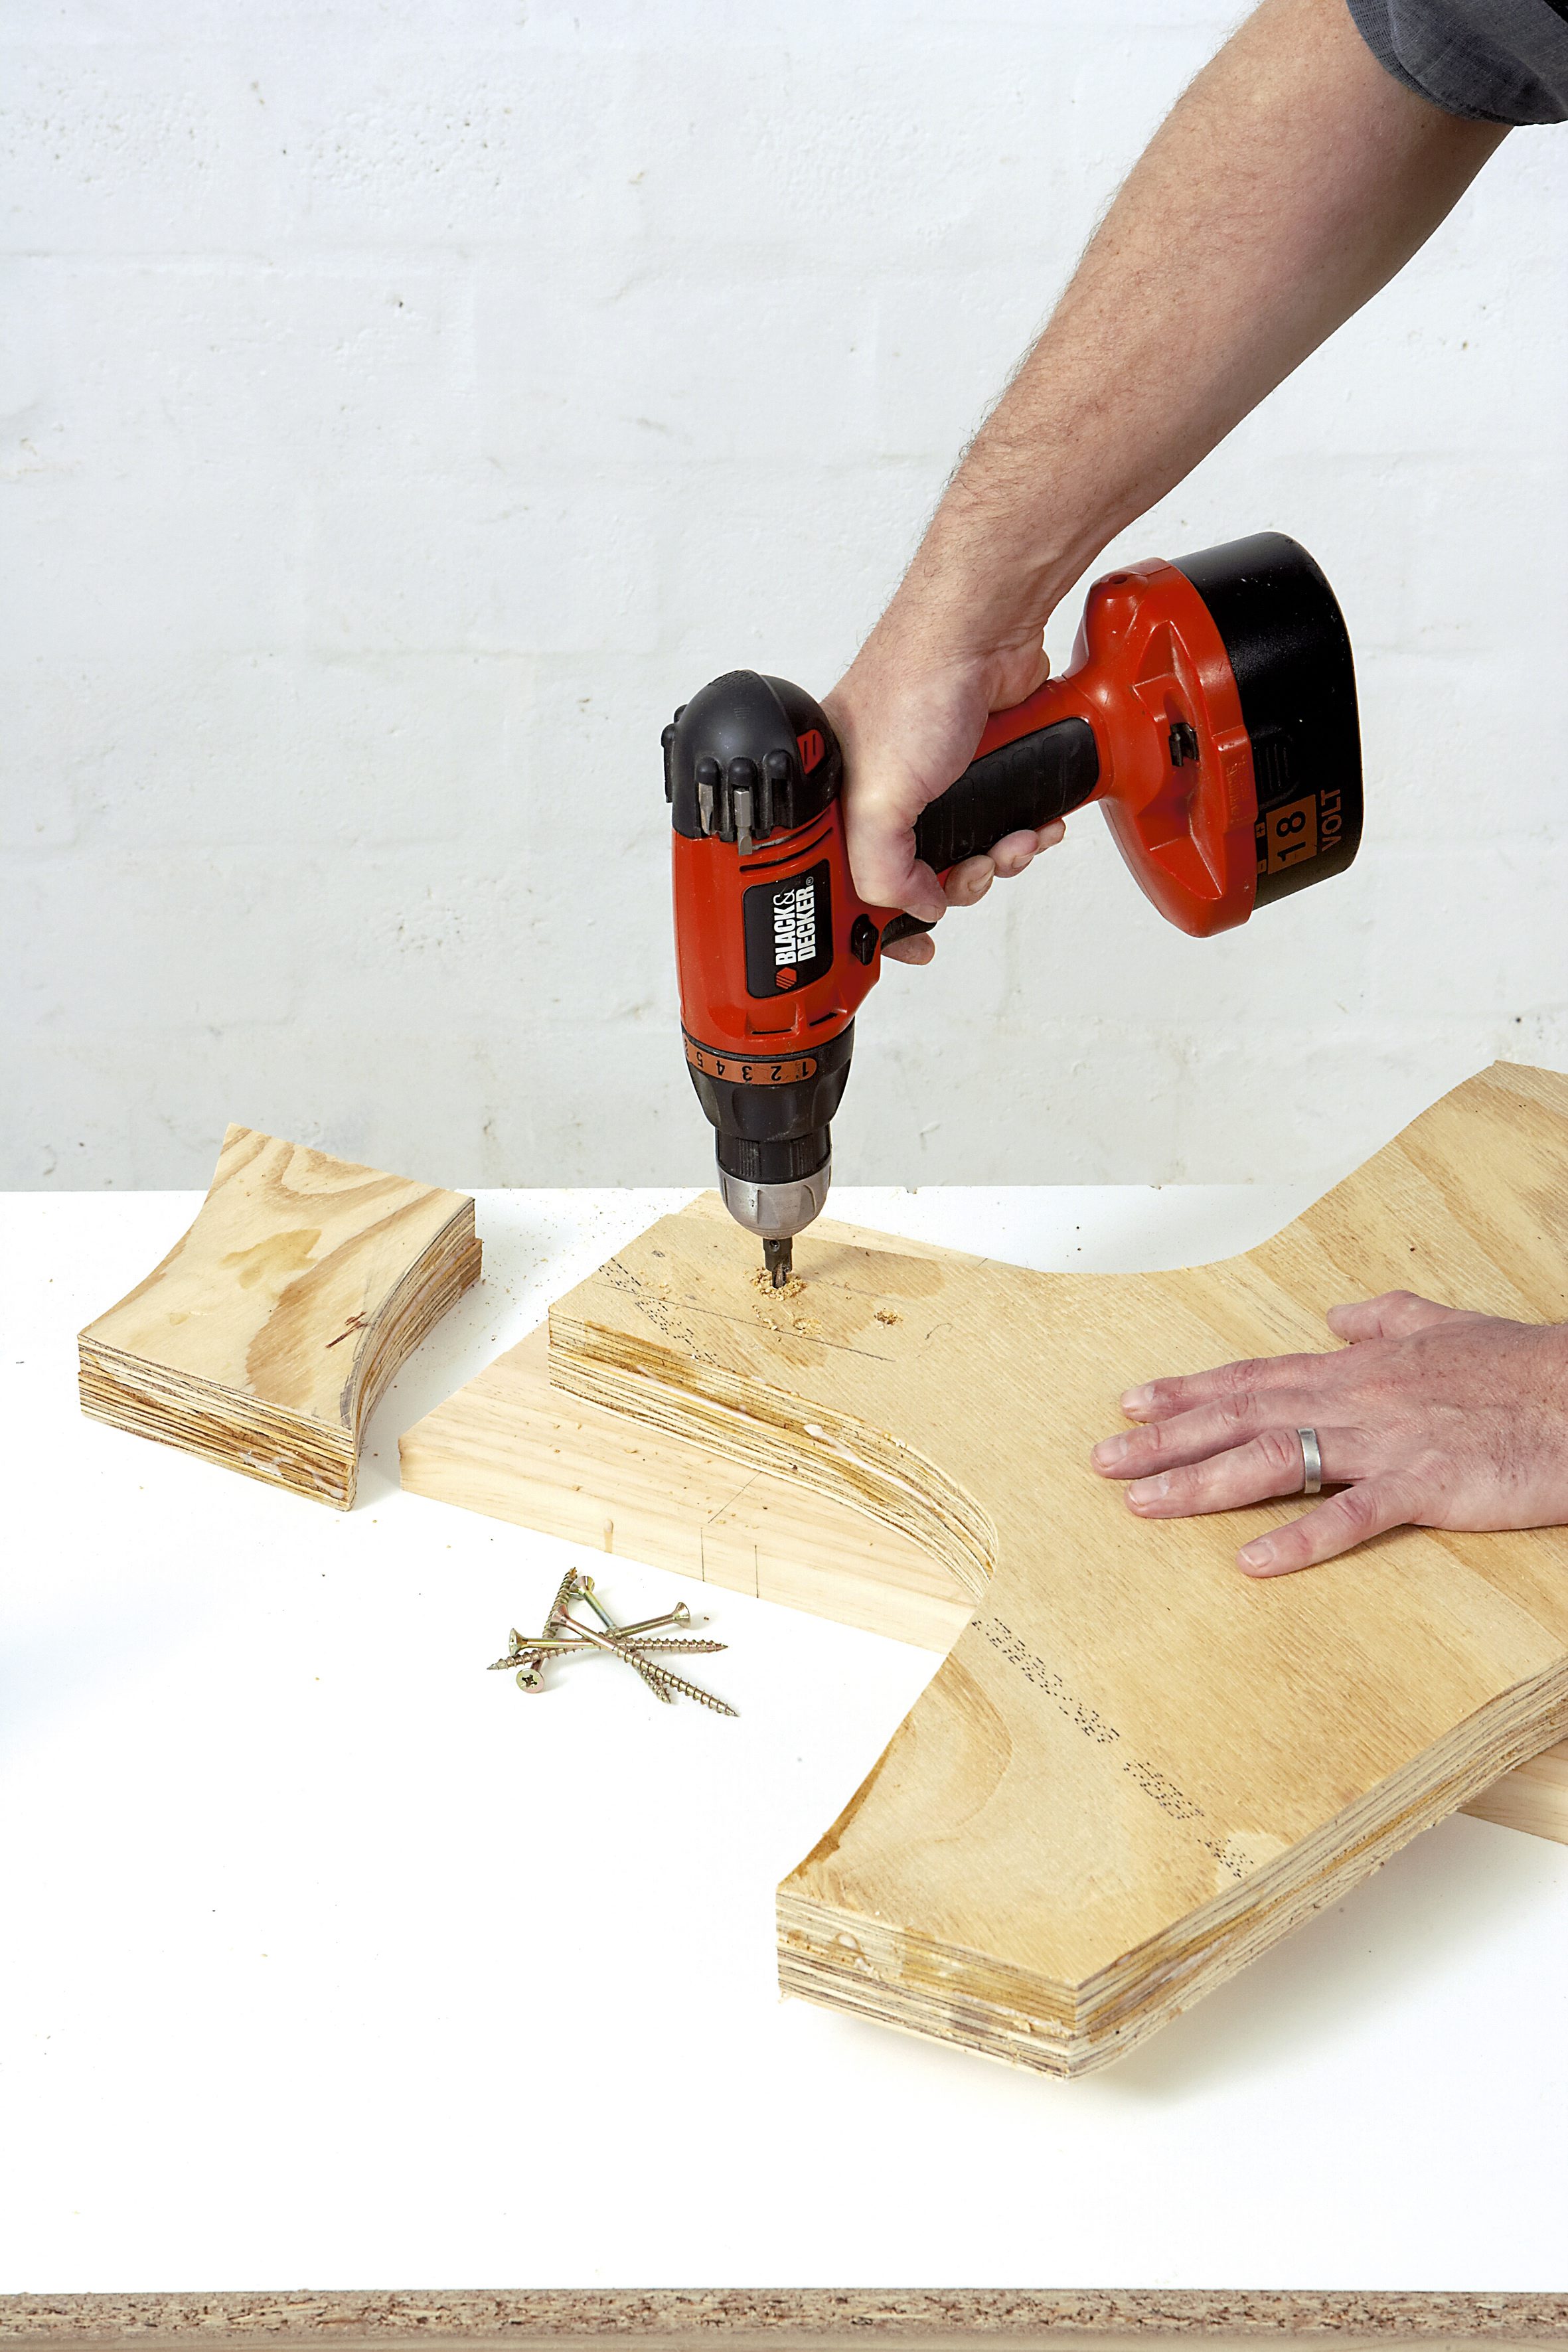
Step 6
Use the cordless drill, chipboard screws and wood glue to fix the tail section of the aeroplane to the back of the ‘fuselage’.
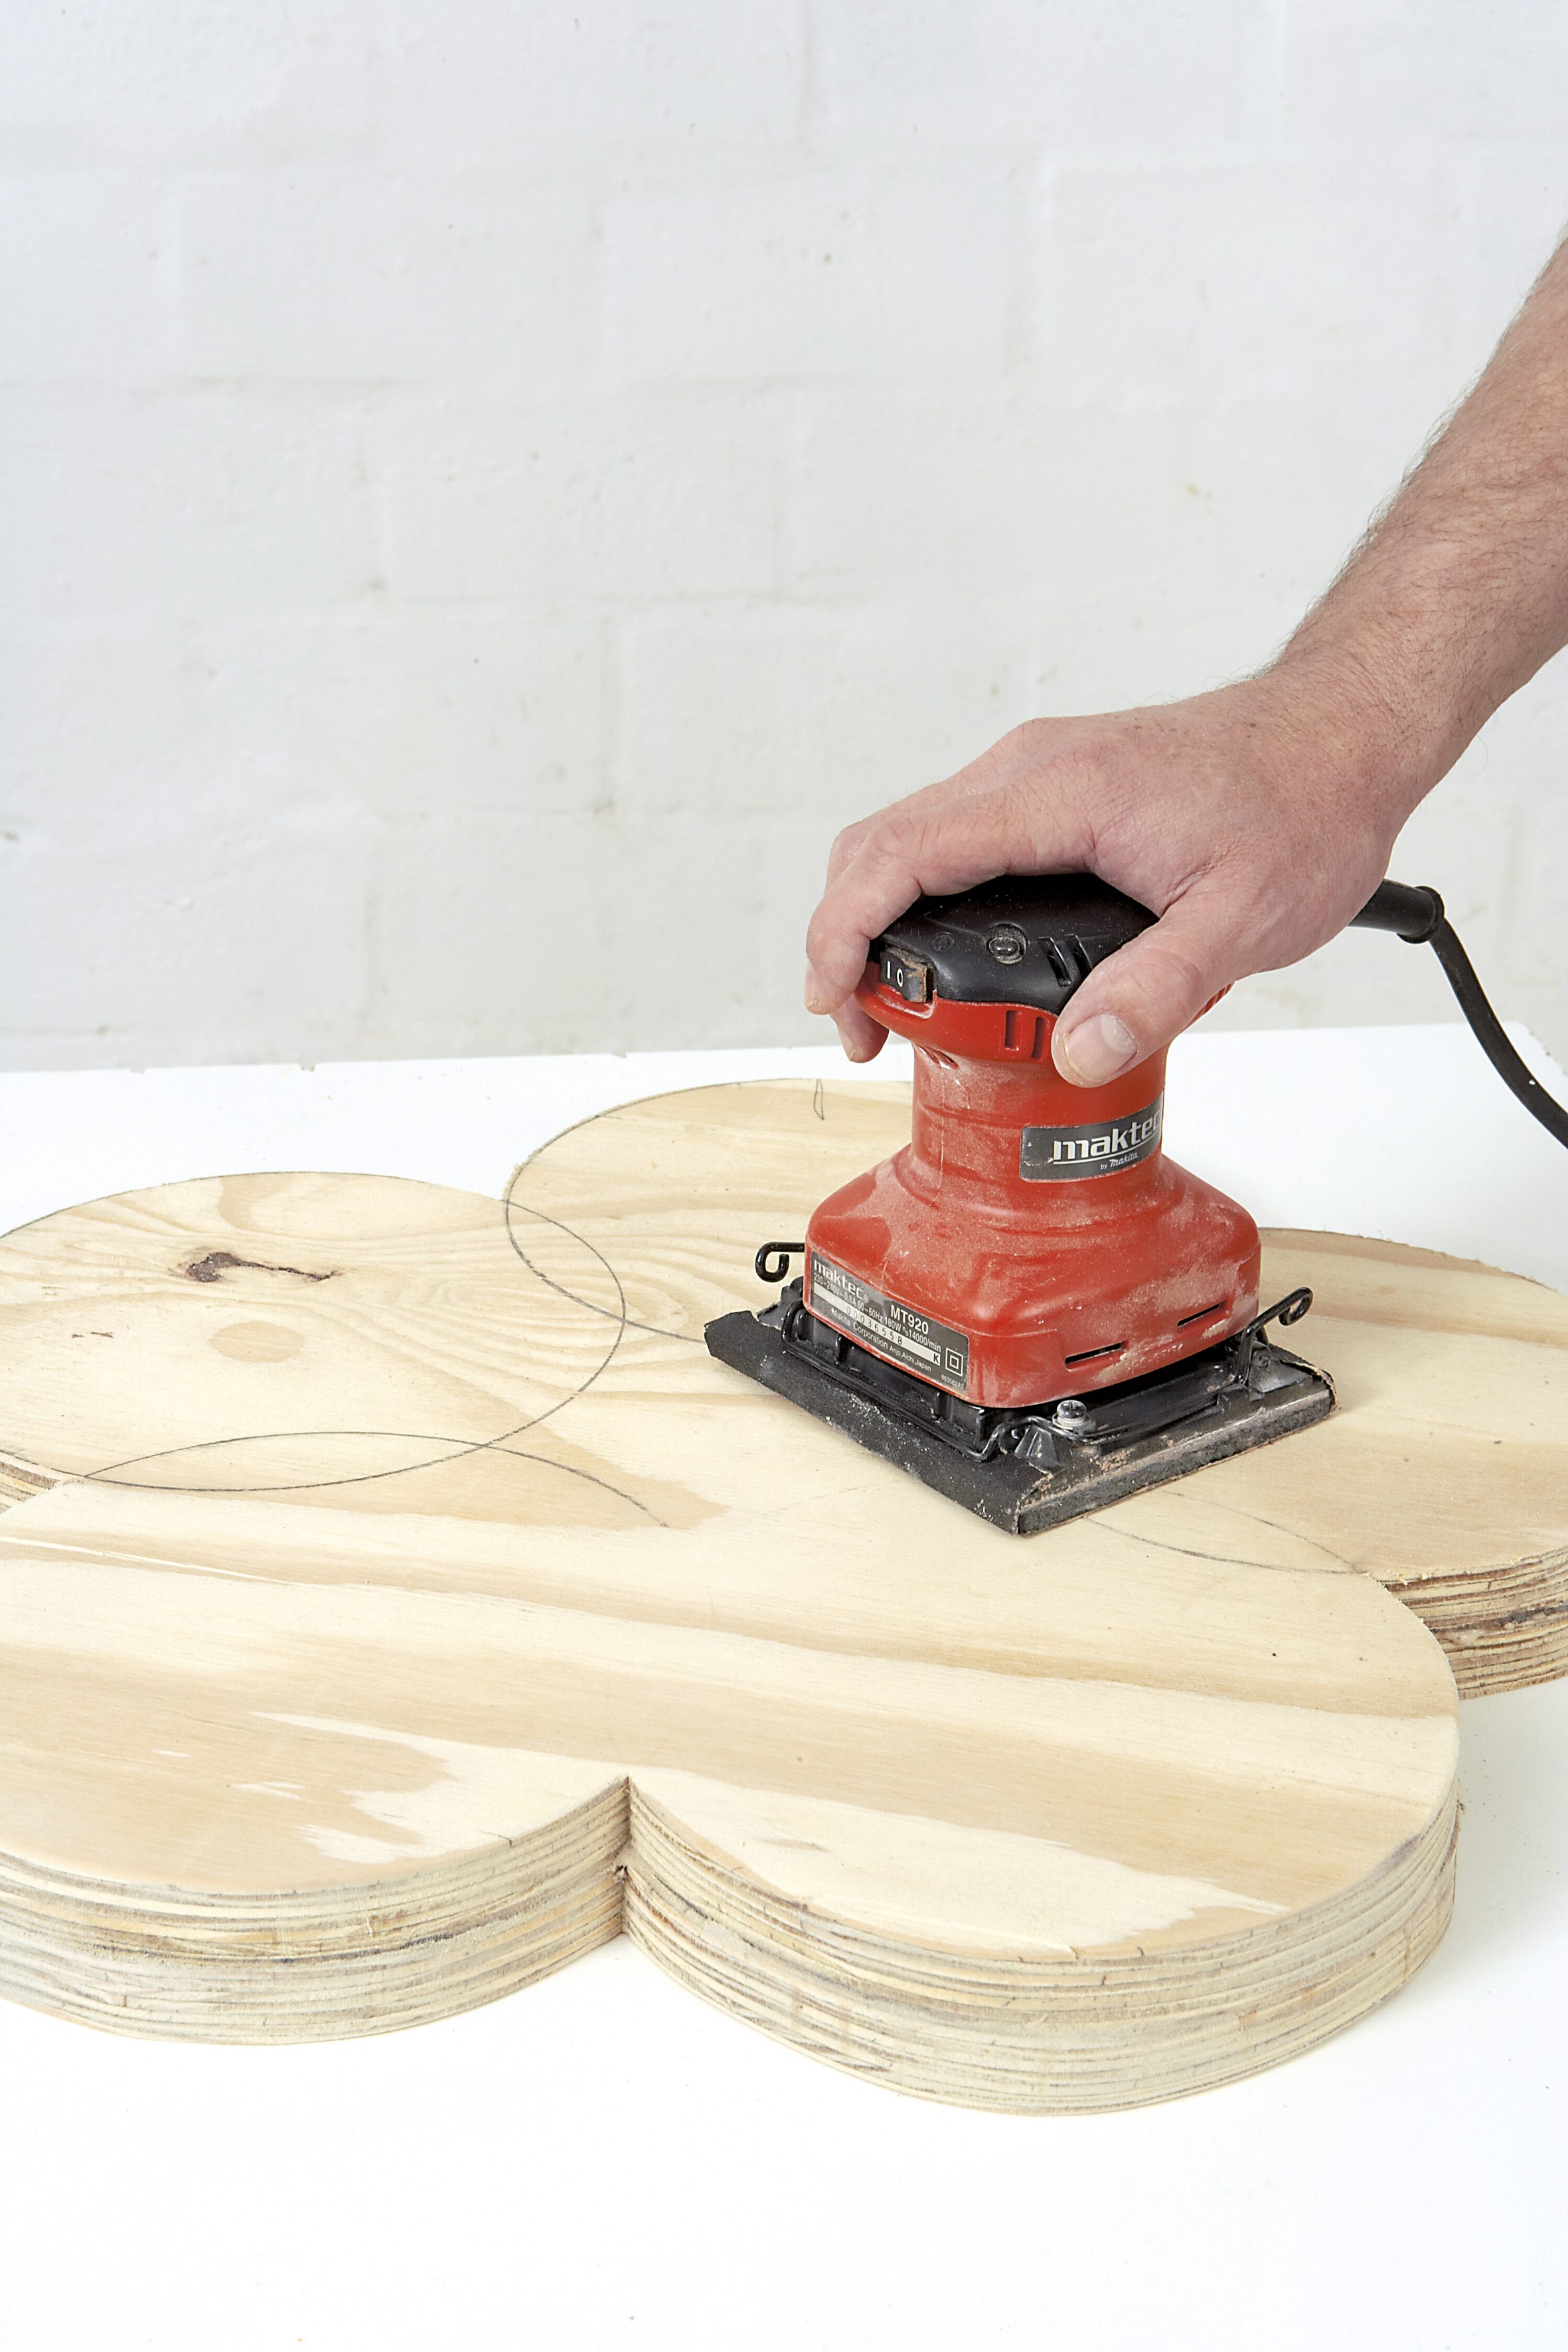
Step 7
Use the sander and sandpaper to smooth all the edges. Then use a paintbrush to apply multisurface primer or a universal undercoat, followed by water-based enamel in the colour of your choice – or simply apply a UV-resistant polyurethane varnish. Then drill holes in the swing(s) for the rope. Thread the rope through the holes and tie a simple overhand knot underneath, then fix the swing securely to a strong overhead branch or beam.
Credits
Referenced from Gallo images / Home Magazine
Browse 1000’s of products available to you. Select your country to Shop Online.


