This easy fun project just needs an old tile and a few mosaics.
- Two louvre doors
- Sugar soap
- Two metal braces with two to four holes
- Multi-purpose sander
- 120-grit sandpaper
- Self-cutting wood screws (3,5 x 16mm)
- Bloc-It painter’s tape
- Permanent marker
- Screwdriver
- Modo universal undercoat
- Your choice of five colours in Modo non-drip satin enamel. We used Field Daisy PO 27-W5, Garden Party P154-C4, Jindabyne P115-C3, Purple Mystery PO96-C5 and Colorado Sand PO50-W3
- Modo white non-drip satin enamel
- 12 and 25mm paint brushes
- Small brush for touching up
Preparing the louvre door
Step 1
If you’re using new louvre doors simply prime the raw wood with pink wood primer and allow to dry. If you’re repurposing old ones, clean the surfaces with sugar soap and allow them to dry. Fill any holes with wood filler and sand away the excess once dry.
Step 2
Use a multi sander to key the surfaces. Louvres are fiddly and time-consuming and a multi-sander has useful detail attachments for getting into difficult places. Make sure you don’t put too much pressure on the slats when sanding.
Top Tip: It’s easier to sand with the slats facing downward.
Step 3
With the sanding job complete, place the two louvre doors on a flat surface. Make sure they are flush with the top ends perfectly aligned. At the top end, hold your metal support brace against the wood where the two louvre doors meet, and carefully mark the position for the wood screws. Make sure the brace is straight. Using a power drill or screwdriver, screw in the self-cutting wood screws. Repeat at the bottom of the louvre doors to make sure they are firmly connected to each other.
Step 4
Place the panel of louvre doors against a wall with the slats facing upward. Then give them one coat of universal undercoat. Allow this to dry completely.
Step 5
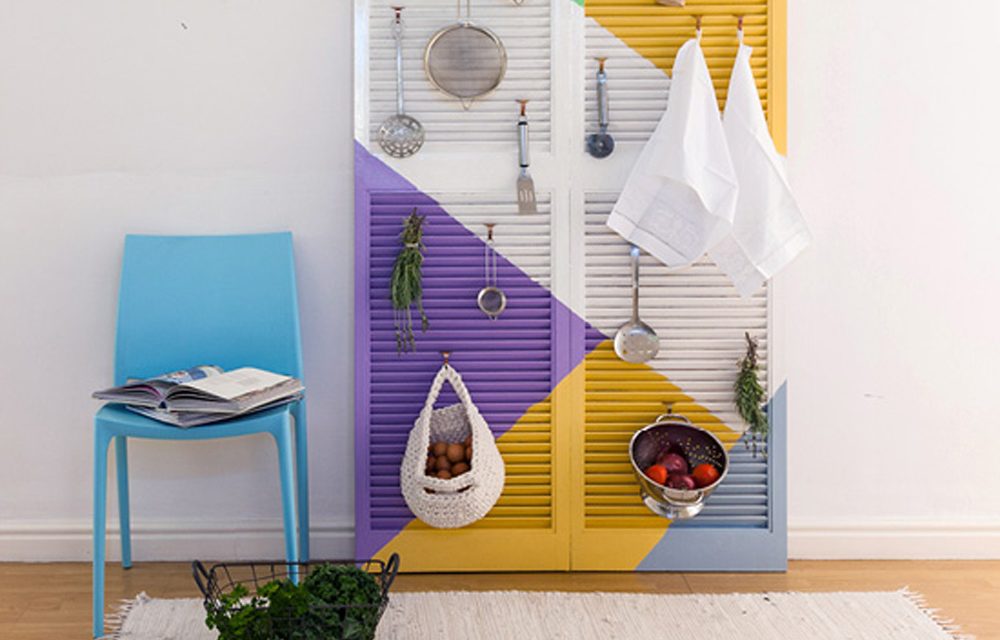
Using the pro-mask tape, mask the louvre doors as per our geometric design, or make up your own design.
Step 6
First paint the colours (two coats), including the louvre door sides and let them dry well. (Make sure you clean your brushes before you switch colours). Remove all the pro-mask tape when the coloured paint has dried. Then apply the white paint (two coats).
Top Tip: Turn the louver doors upside down between the first and second coats. This will reveal blemishes and poor paint coverage.
Step 7
Once the paint has dried, use a small paintbrush to sharpen the edges between the various colours to ensure seamless boundaries and straight lines.
Browse 1000’s of products available to you. Select your country to Shop Online.


