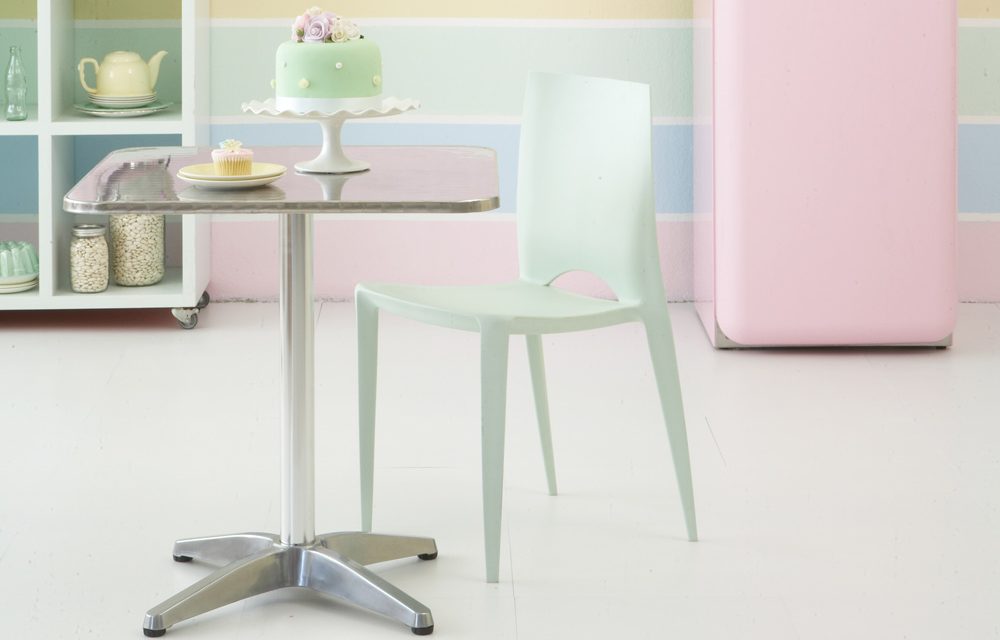
Add a quirky touch by using pastels as a colour theme and match your furniture, food, clothing and make-up look to this palette.
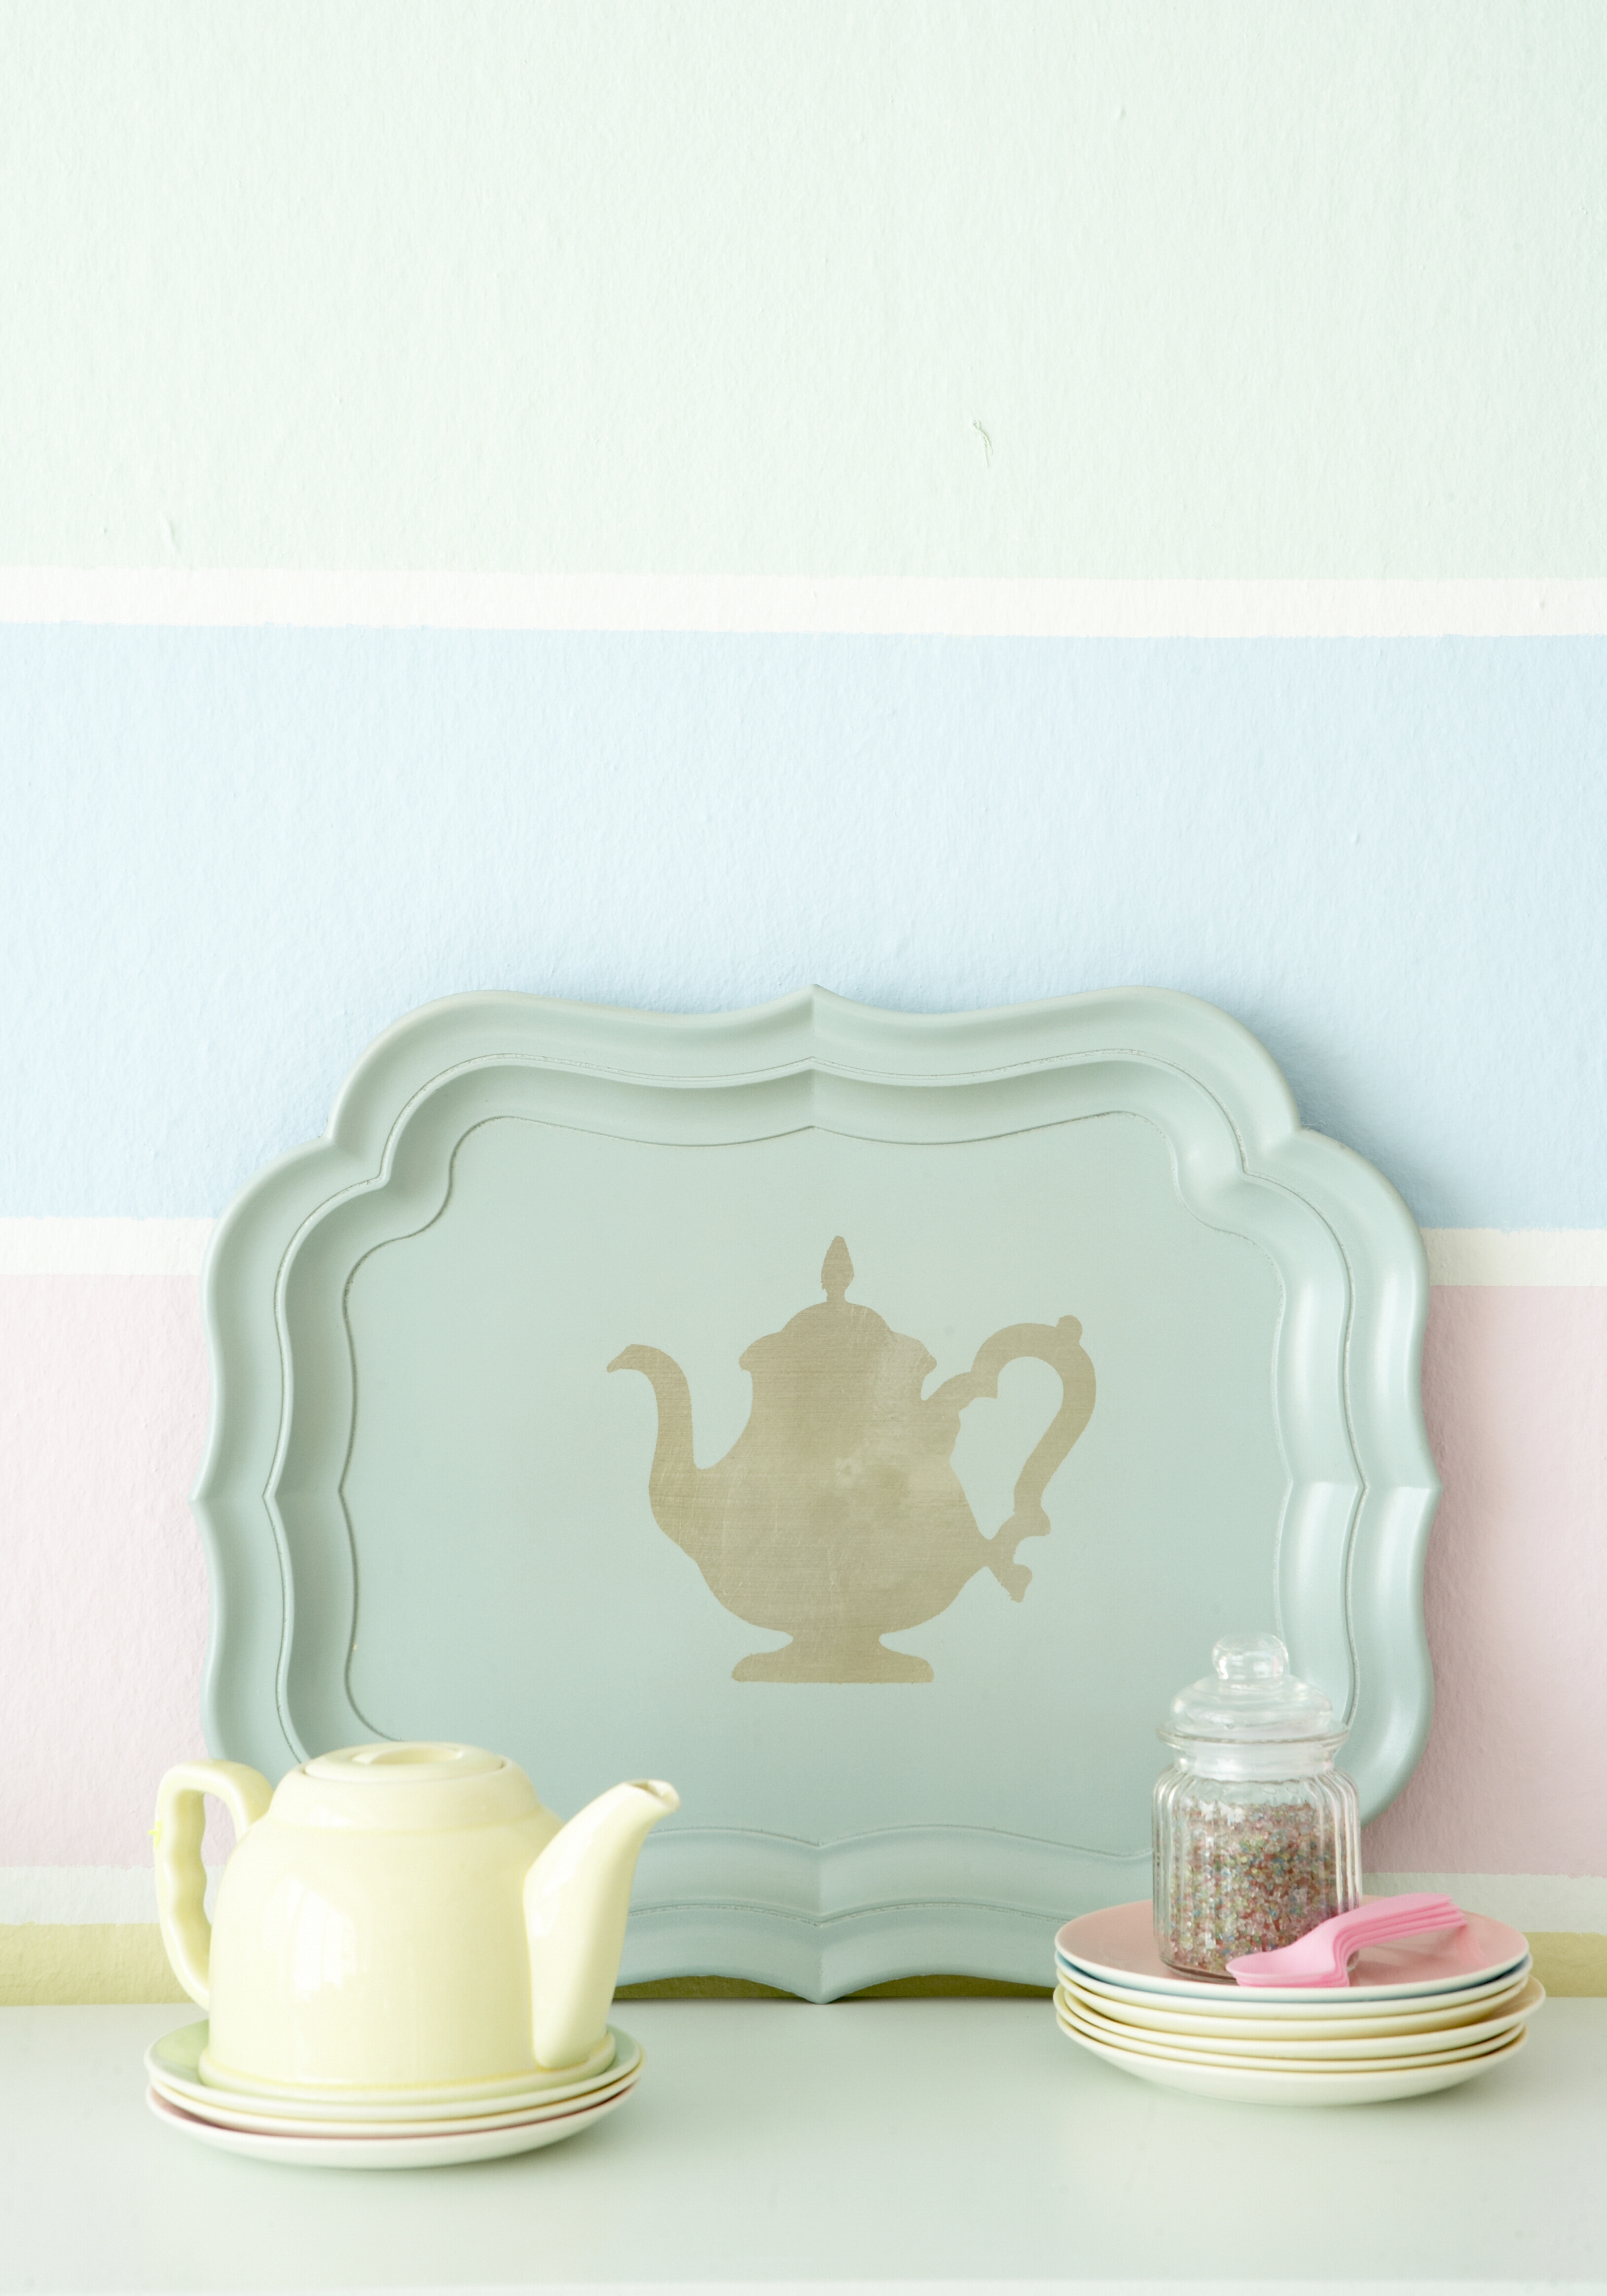
On a tray
Transform an ordinary tray into a designer item with a coat of spray paint and a stencil.
Materials you will need:
- tray
- teapot motif
- spray paint in the colour of your choice (for the background)
- clear spray lacquer
- contact sheet
- craft knife and cutting mat
- drip mat
- very fine sandpaper
- Sand very lightly over the sections of the tray where you wish to apply paint and wipe off the dust. The tray must be very clean.
- Use our teapot motif on page 119 or trace your own design onto the paper layer on the back of the contact sheet. Remember that it will be a mirror image of the design once you turn it over. Cut the design out and stick it onto the tray. Make sure the contact sheet has adhered properly everywhere so that the paint cannot seep in under it.
- Follow the manufacturer’s instructions and spray paint the background of the tray in the colour of your choice (we used Rust-Oleum’s Gloss Protective Enamel in Glacier Blue). Leave to dry, preferably overnight, and then very carefully remove the contact sheet.
- Spray the tray with clear lacquer (we used Rust-Oleum’s Painter’s Touch Ultra Cover Semi-gloss Clear) and leave to dry.
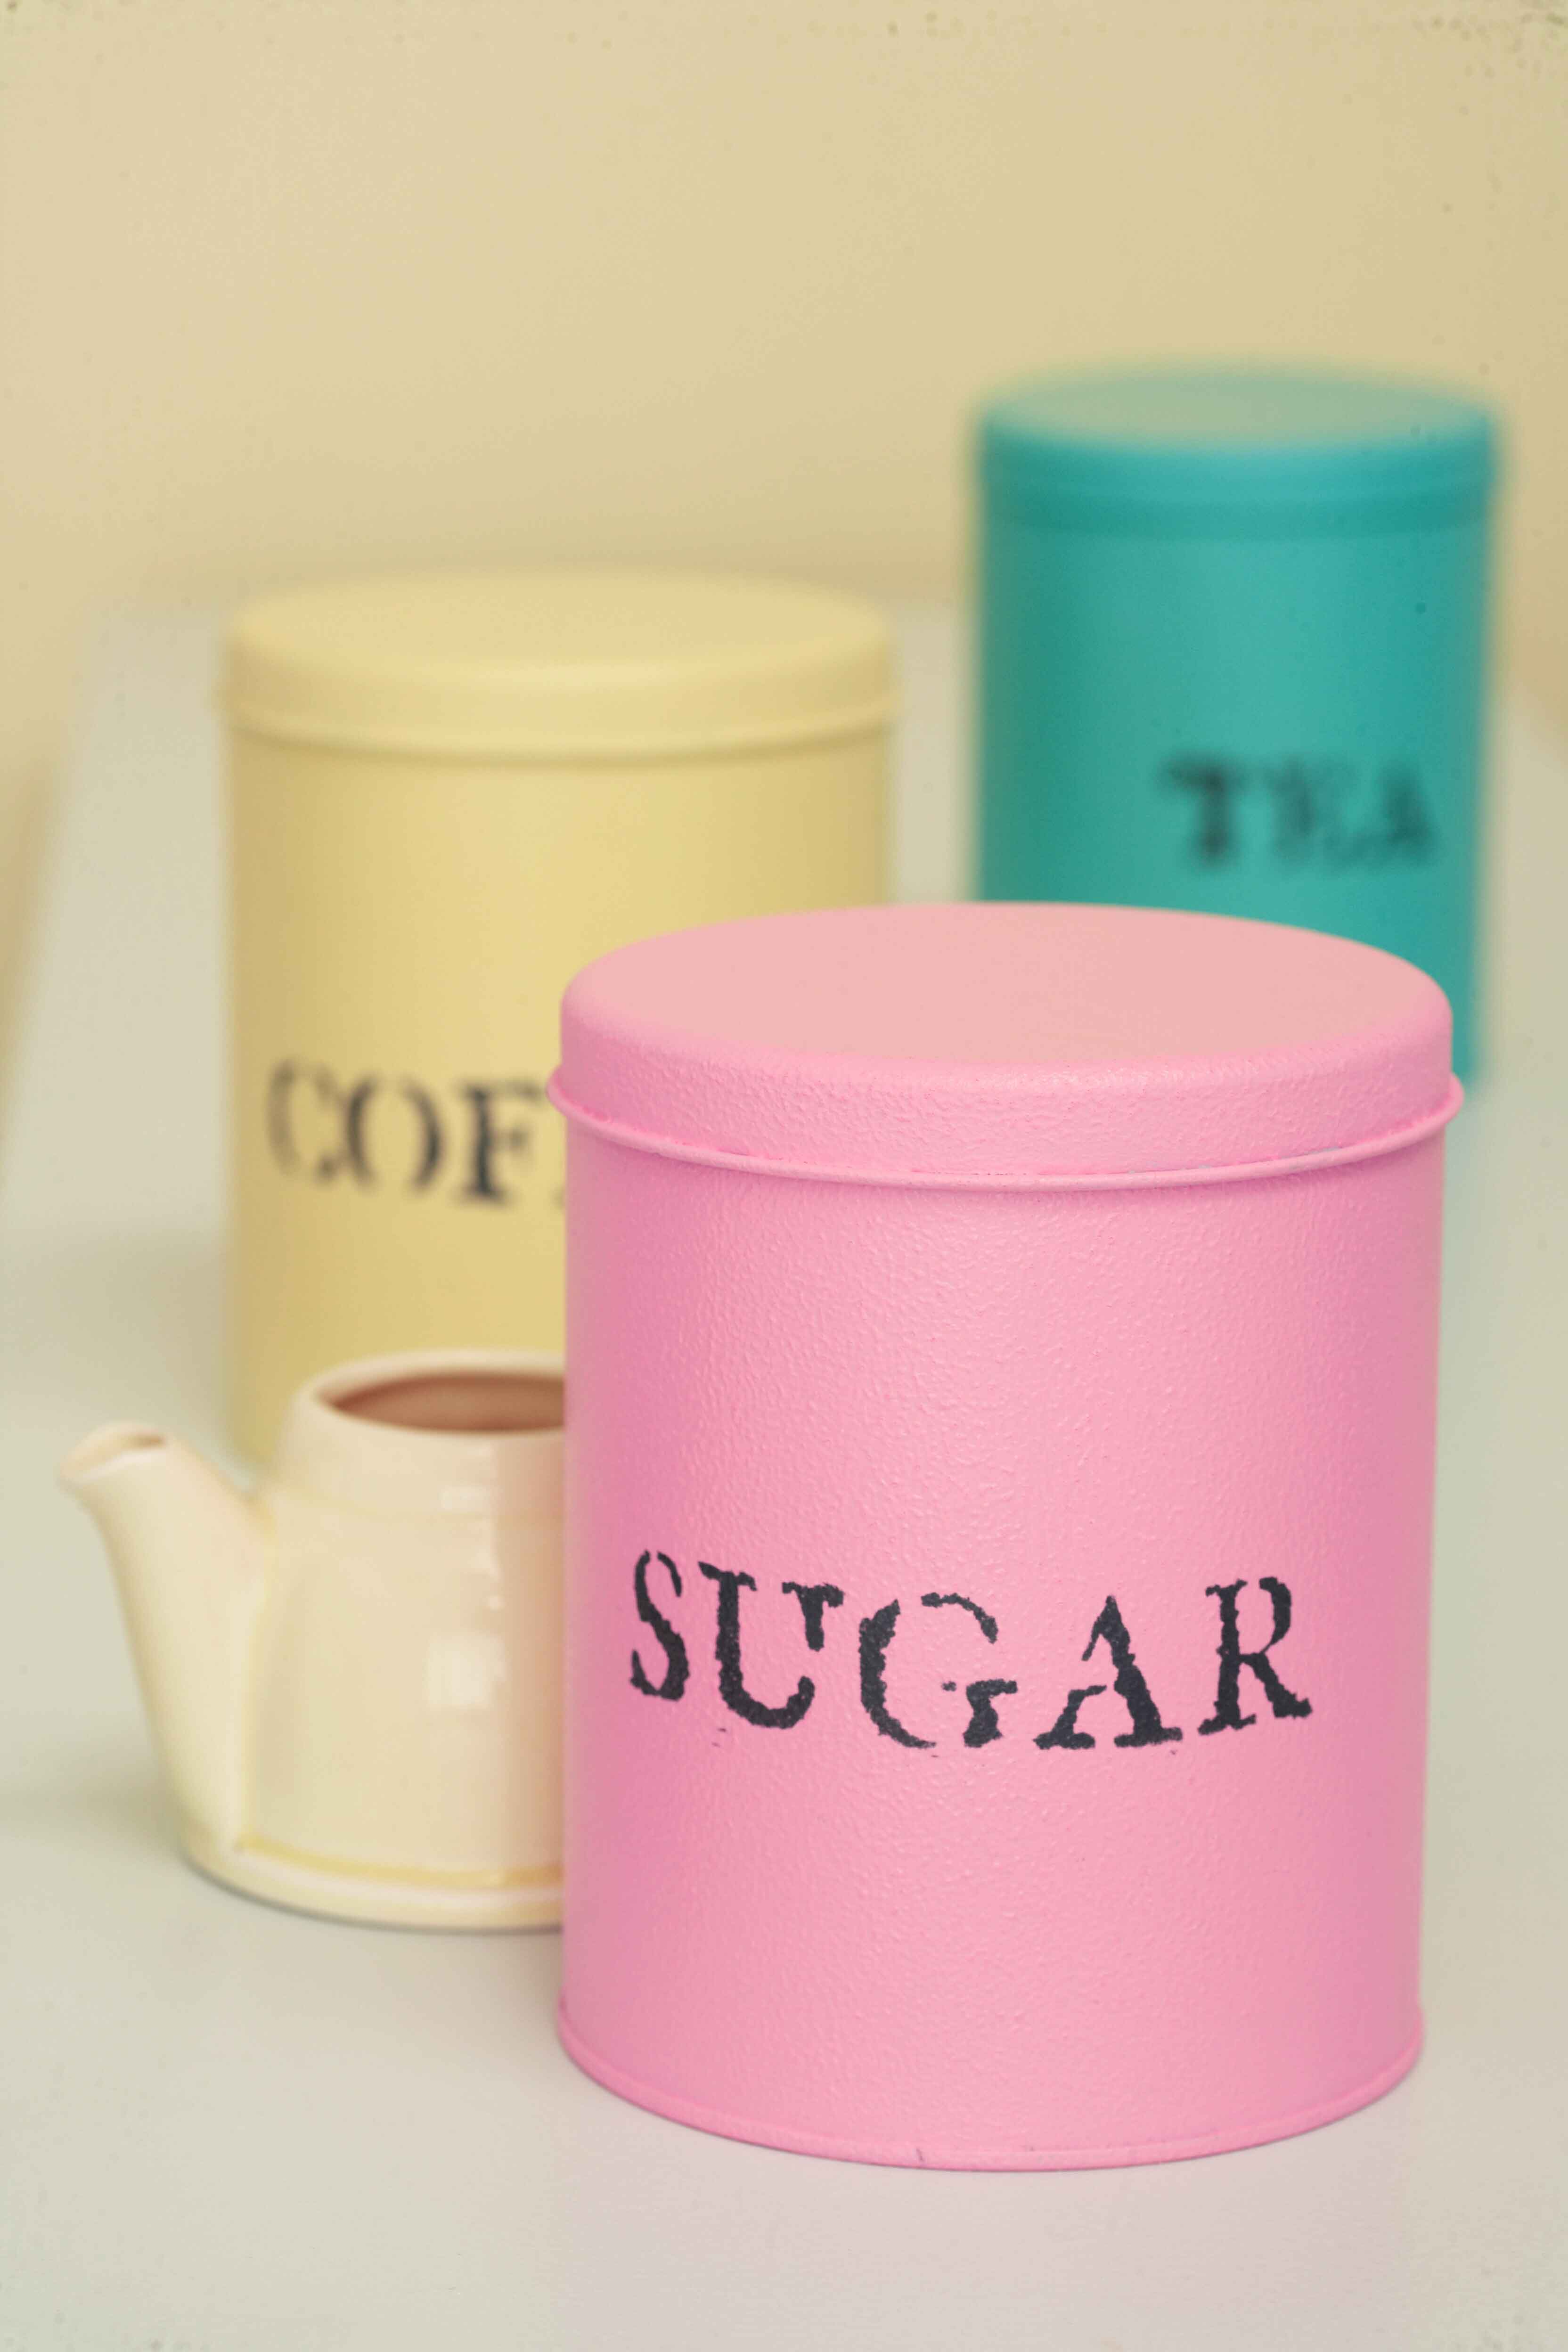
Colour-coded canisters
Freshen up your kitchen by painting the canisters for your coffee, tea and sugar in pastel shades.
Materials you will need:
- canisters with lids
- craft paint in the colours of your choice
- clear spray lacquer
- acetate
- spray or stencil glue
- sponge rollers and drip trays
- drip mat
- fine sandpaper
- masking tape
- sponge
- craft knife and cutting mat
- Sand the canisters lightly with the fine sandpaper and wipe off the dust.
- Use a sponge roller and paint each canister with two coats of craft paint (we used Heritage Craft Acrylic Paint, which is suitable for painting a variety of materials) in the colours of your choice. Leave to dry between coats.
- In the meantime, make the stencils for the words ‘coffee’, ‘tea’ and ‘sugar’. Print out the words on your computer in the typeface of your choice. Use masking tape to stick the printed words to the back of a sheet of acetate and cut out carefully on your cutting mat using your craft knife.
- Make a mark on the canister where you want to stencil the word and stick a strip of masking tape to the base line to act as a guide. Spray glue on the back of the stencil and position it on the canister.
- Use a small sponge to apply a light coat of paint to the stencil. Repeat until the letters are clear but do not apply too much paint as it may seep in under the stencil.
- Remove the stencil and leave the canister to dry.
- Spray the canister with clear lacquer (we used Rust-Oleum’s Painter’s Touch Ultra Cover Semi-gloss Clear) to seal it and to give it a slight sheen.
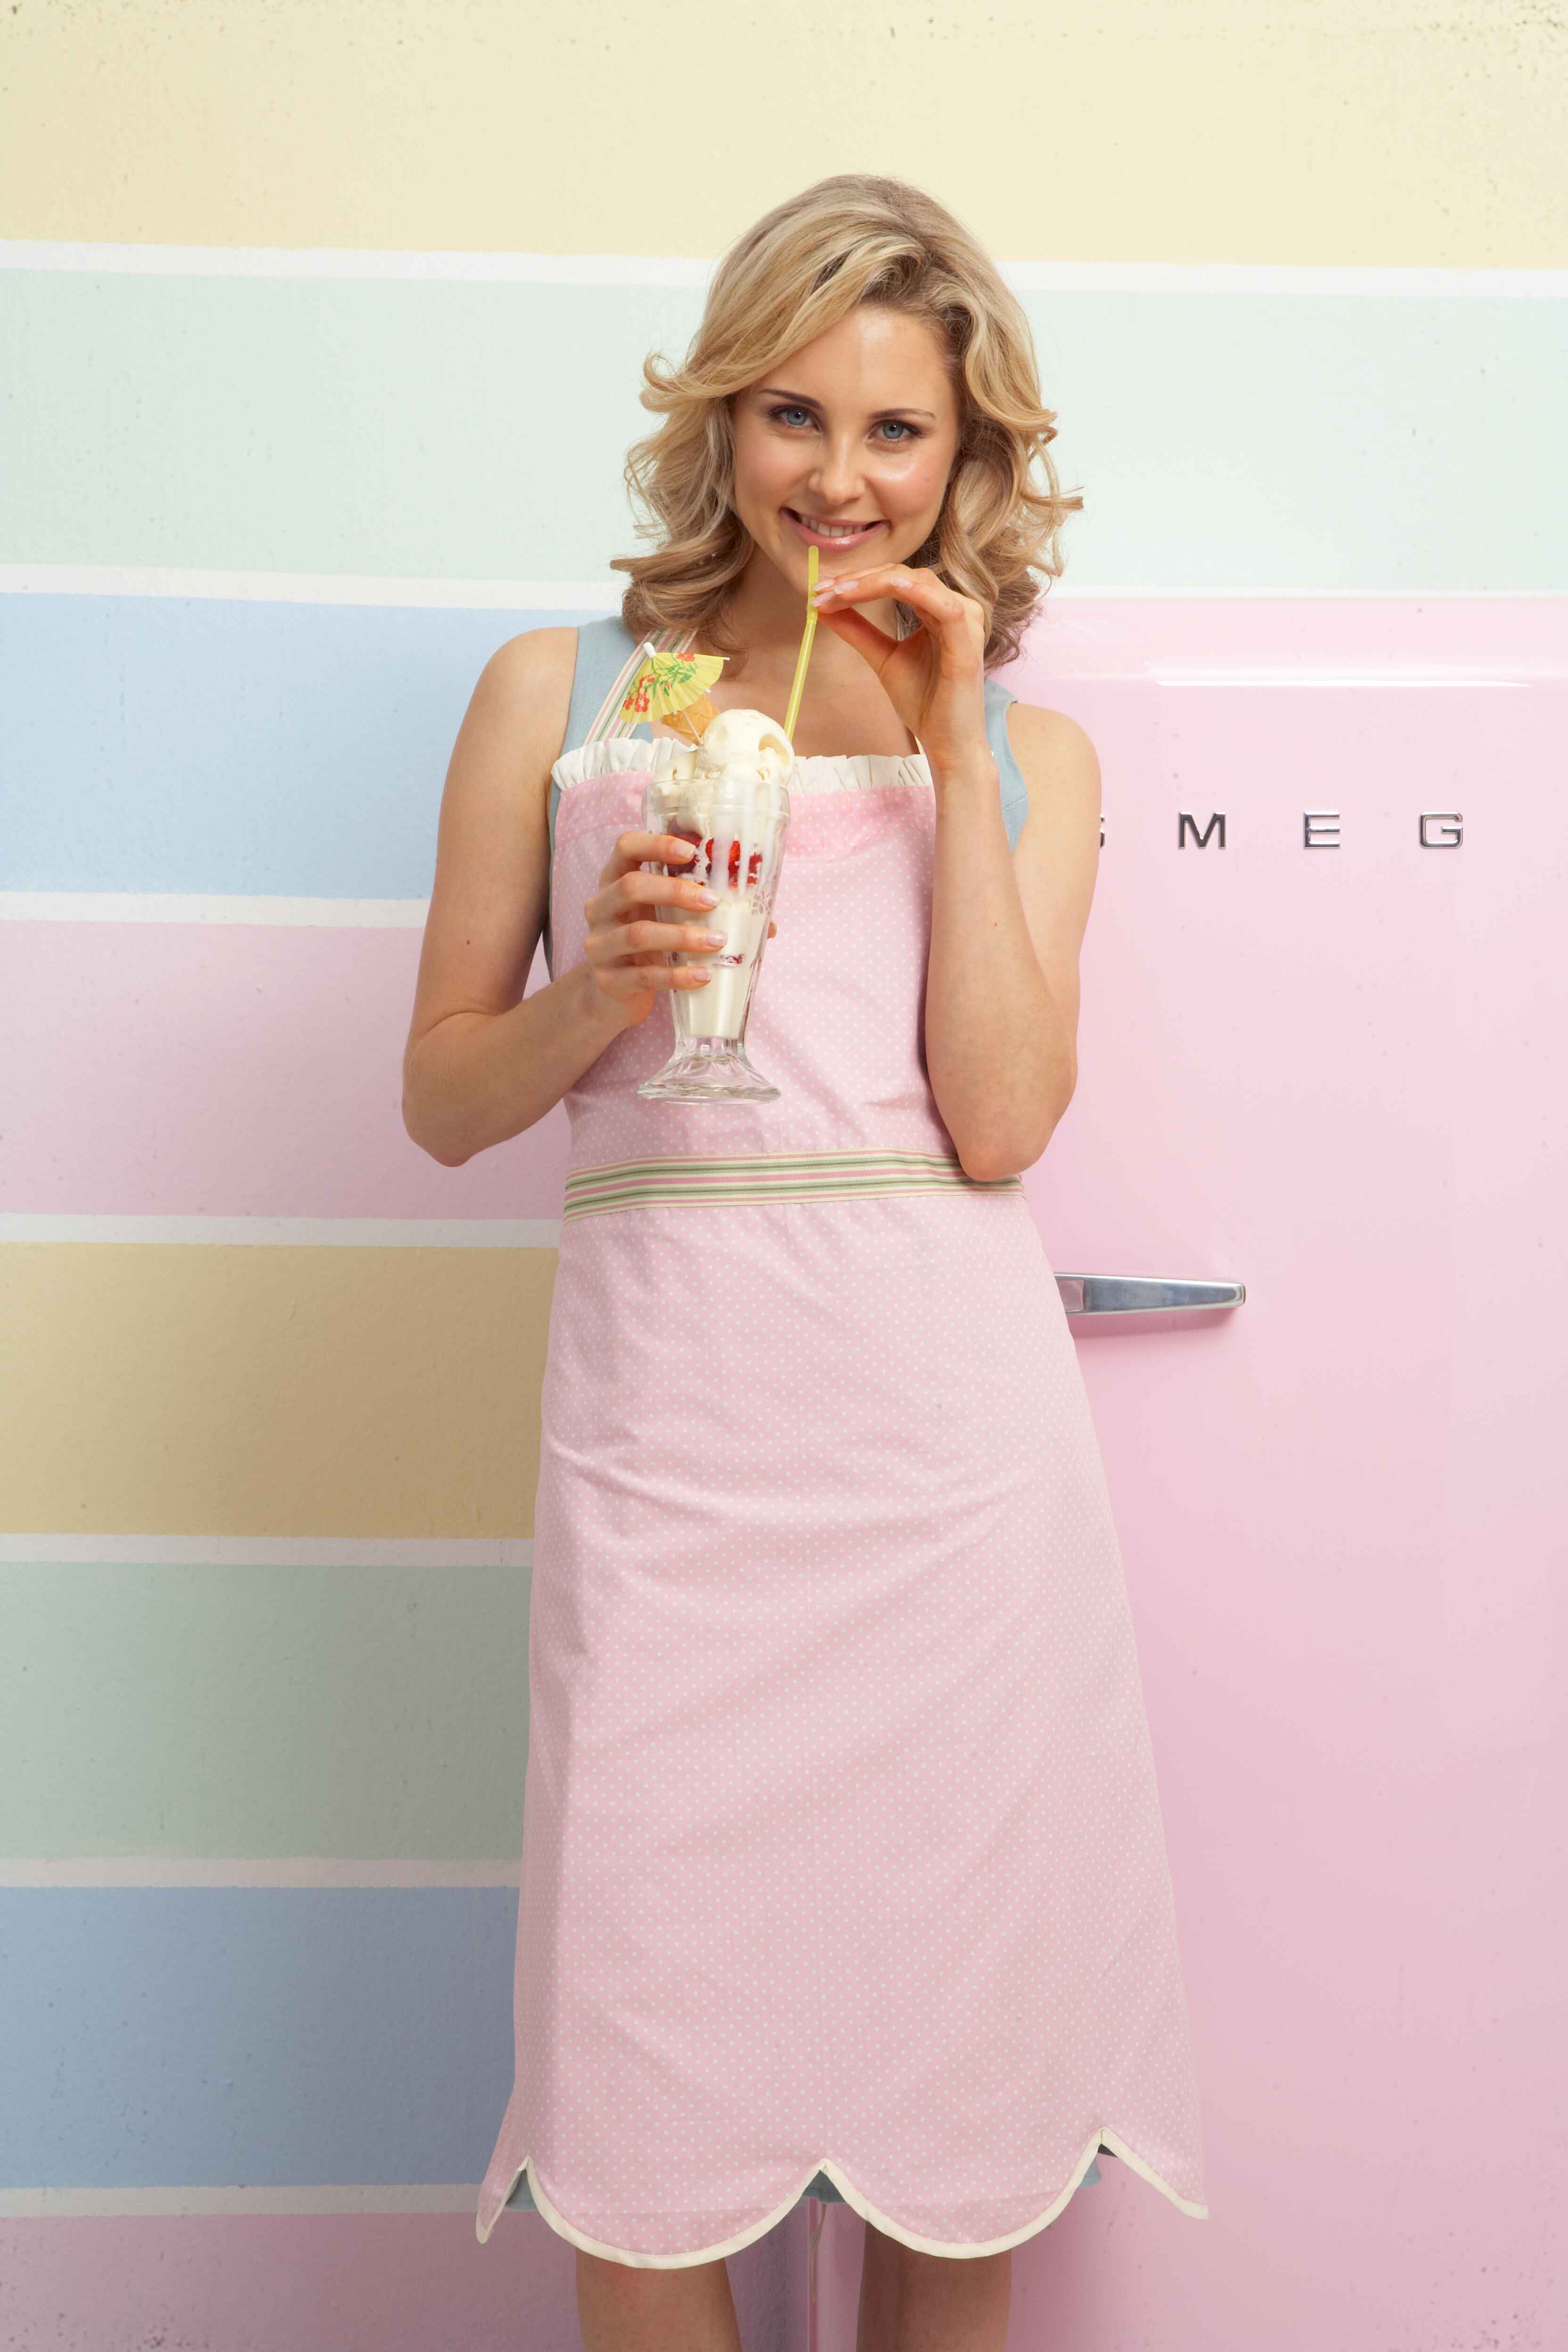
Apron strings
The scalloped hem and frilly trim add a feminine touch to this pretty dress-style apron.
Size
One size only – length 110cm
Materials you will need
- newspaper or brown paper for pattern
- ruler and pencil
- French curve or set of compasses
- 120 x 100cm pink and white polka dot print cotton
- 375cm woven ribbon with pastel
- stripes 3cm wide
- 60 x 5cm stripe of white cotton fabric
- 120m white bias binding
- matching coloured sewing thread
Good idea
Instead of using woven ribbon for the ties and neckband you could use a pretty floral-print fabric. Cut the strips 7cm wide so that when folded in half and stitched they measure the same width as the ribbon. Satin ribbon can also be used instead of the bias binding or, if you feel very adventurous, you can make your own bias strips from a plain cotton fabric.
- Draw the pattern to size following a template. Use a ruler for the straight edges and a French curve or set of compasses for the curved edges at the armholes and scallop border. There are four complete scallops along the lower edge, each measuring 18,75cm in diameter. Cut out the pattern from the pink and white polka dot fabric, allowing an extra 1cm around all sides for the seam allowance. Cut out a separate pattern piece for the facing following the top edge of the apron, making the width of the facing 5cm wide.
- Fold under a seam allowance on the end of the bias binding and attach to the side edge of the scallop border. Carefully bind the scallops, folding the binding neatly over the curved edge. When completed, cut away the excess binding, fold under the seam allowance and attach to the side edge.
- Overlock the edges along the curved armholes and side edges to the lower border. Leave the top edge of the apron raw at this stage. Now fold a 1cm seam allowance along the overlocked edges and pin and tack in place. Using a matching coloured thread, top-stitch the seams in place. It may be necessary to clip into the seam allowance along the curved edges so that they lie flat.
- Fold the hem allowance along the top edge and press. Take the white strip of cotton fabric and fold it in half widthways so the wrong side of the fabric is on the inside, then press the fold line in place. Work a double row of gathering stitches along the lower edge, sewing through both layers of the strip. Pull in the gathering stitches until the strip measures the same width as the top of the apron, making sure the gathers are evenly distributed. This forms the frill.
- Turn the apron over to the wrong side and tack the frill at the lower edge to the seam allowance. Cut a length of ribbon 58cm for the neckband and tack each end to the back of the frill at the seam allowance section.
- Fold a hem along the lower edge and side edges of the facing piece. At this stage check the facing is the same size as the top of the apron and machine stitch the hems in place. Fold the seam allowance under along the top edge of the facing. Place the facing in position with the right side uppermost so it sandwiches the frill and neckband edges. Machine stitch the facing in place along all sides, following the original seam lines.
- Cut a length of woven ribbon to measure approximately 300cm. Fold under a seam allowance at the raw edges and machine stitch the seam closed to prevent the ribbon fraying.
- Place the ribbon immediately below the armhole sections, making sure you have equal amounts of ribbon protruding at the side edges for ties. Tack in place. Top-stitch the ribbon to the main piece of apron, working the stitching along both edges. Try to work the stitching as close to the edge as possible. Remove all the tacking stitches.
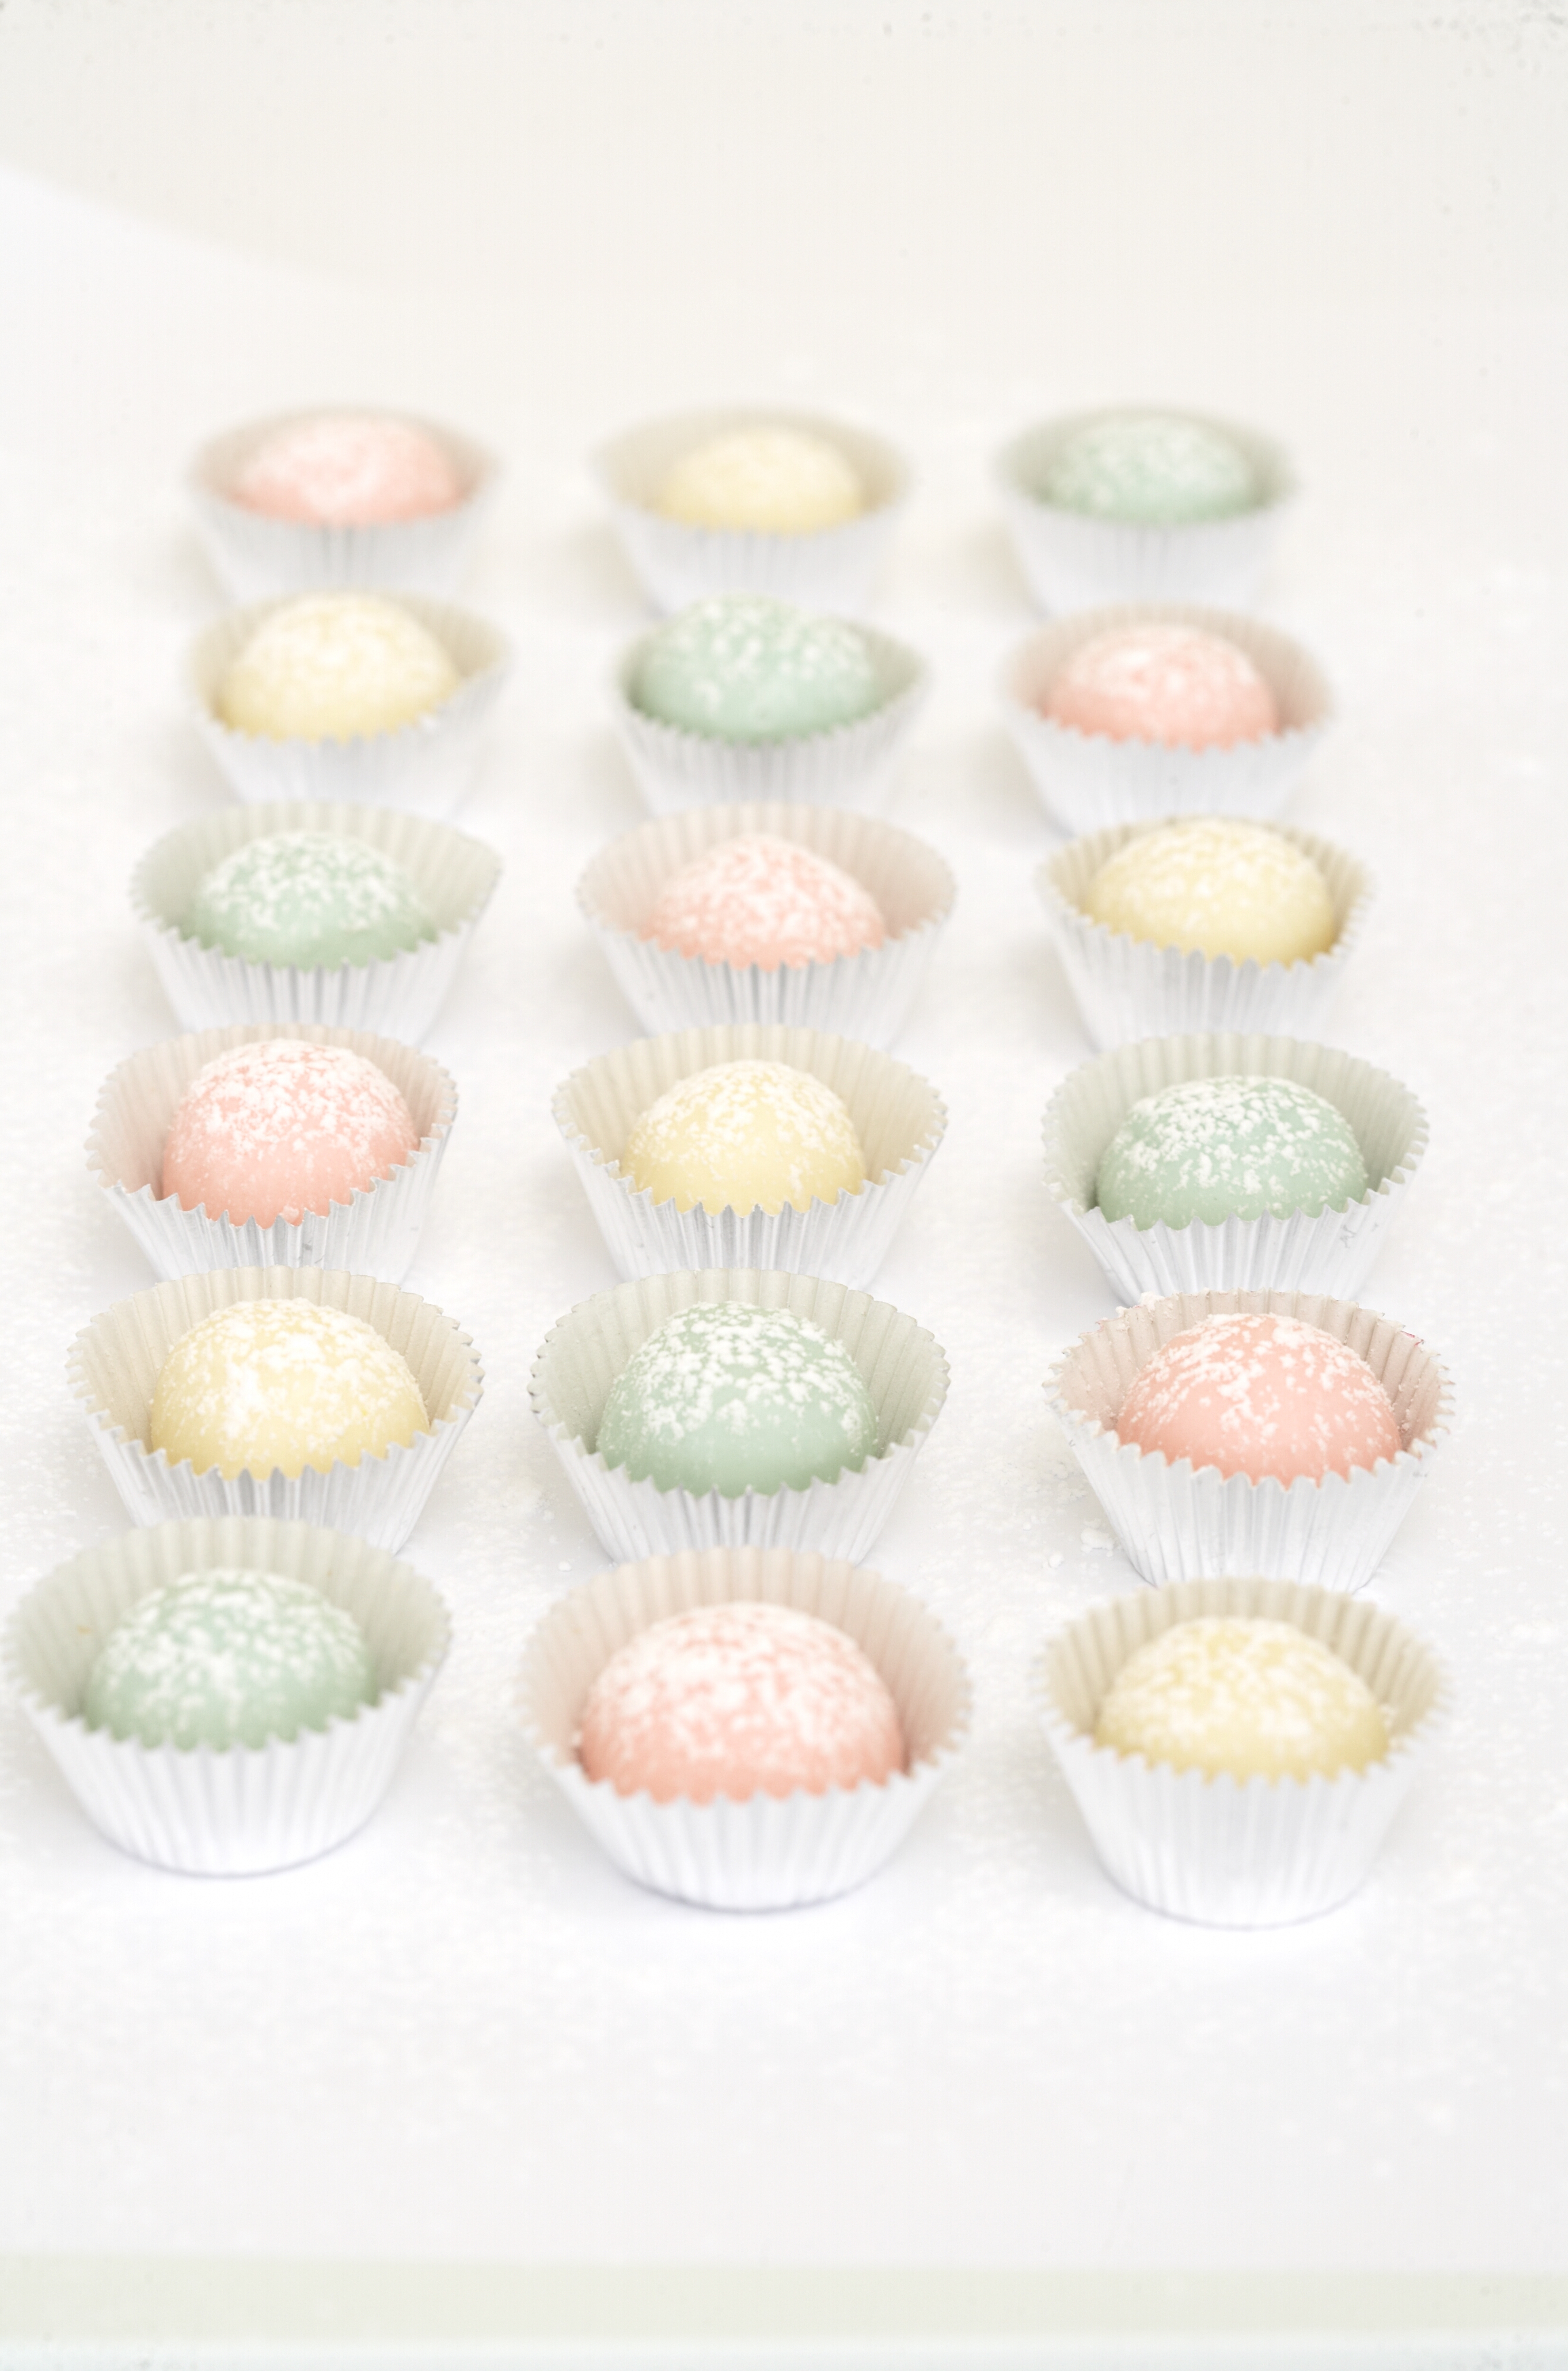
Sweet truffle treats
Enjoy these yummy coconut-filled white-chocolate morsels.
- Sift 280g of icing sugar and 1ml cream of tartar together
- Add one can of condensed milk and 135g desiccated coconut and stir well.
- Then add another 135g coconut. Stir again, then refrigerate for 30 minutes.
- Roll into small balls.
- Melt some white chocolate and colour it with powdered food colouring of your choice
- Dip each coconut ball into the chocolate to coat.
- Leave to set, then dust with icing sugar and place into truffle cases.
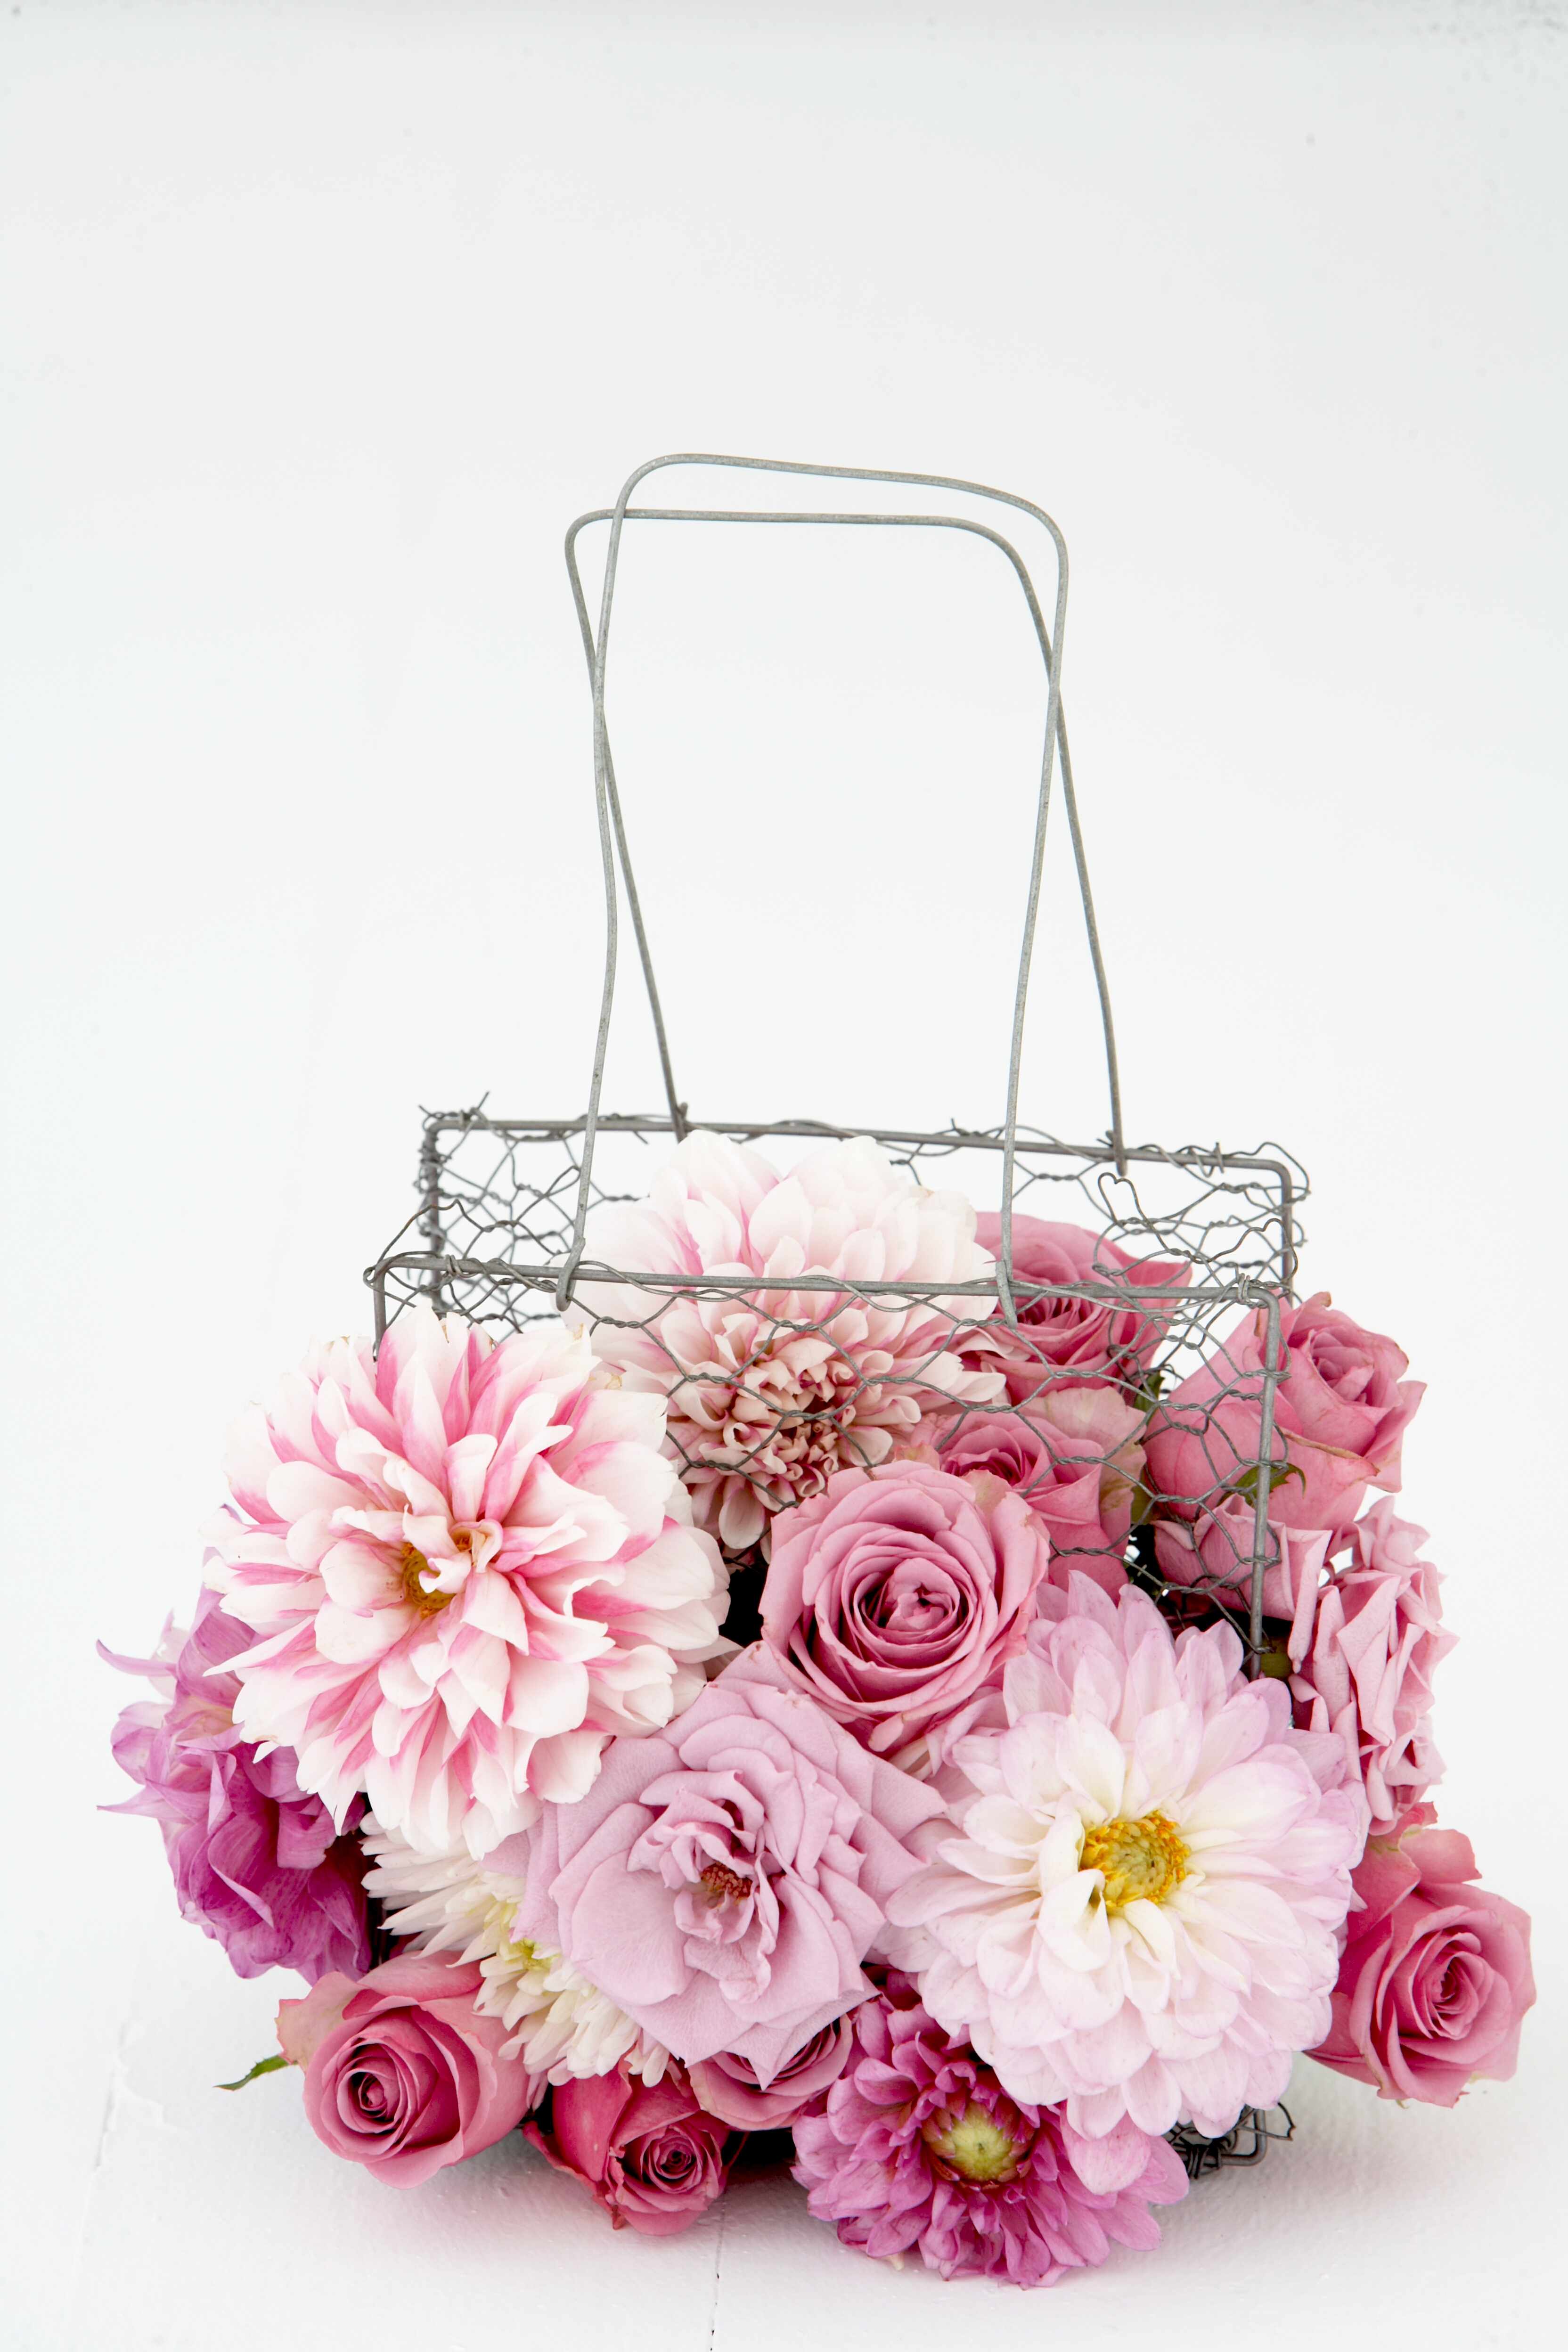
Pretty in pink
Find a wire frame (ours was R20 from Super Floral), insert some floral foam and arrange a selection of pink flowers for a pastel-themed table decoration.
Top Tip: Remember to soak the floral foam in some water before inserting the flowers.
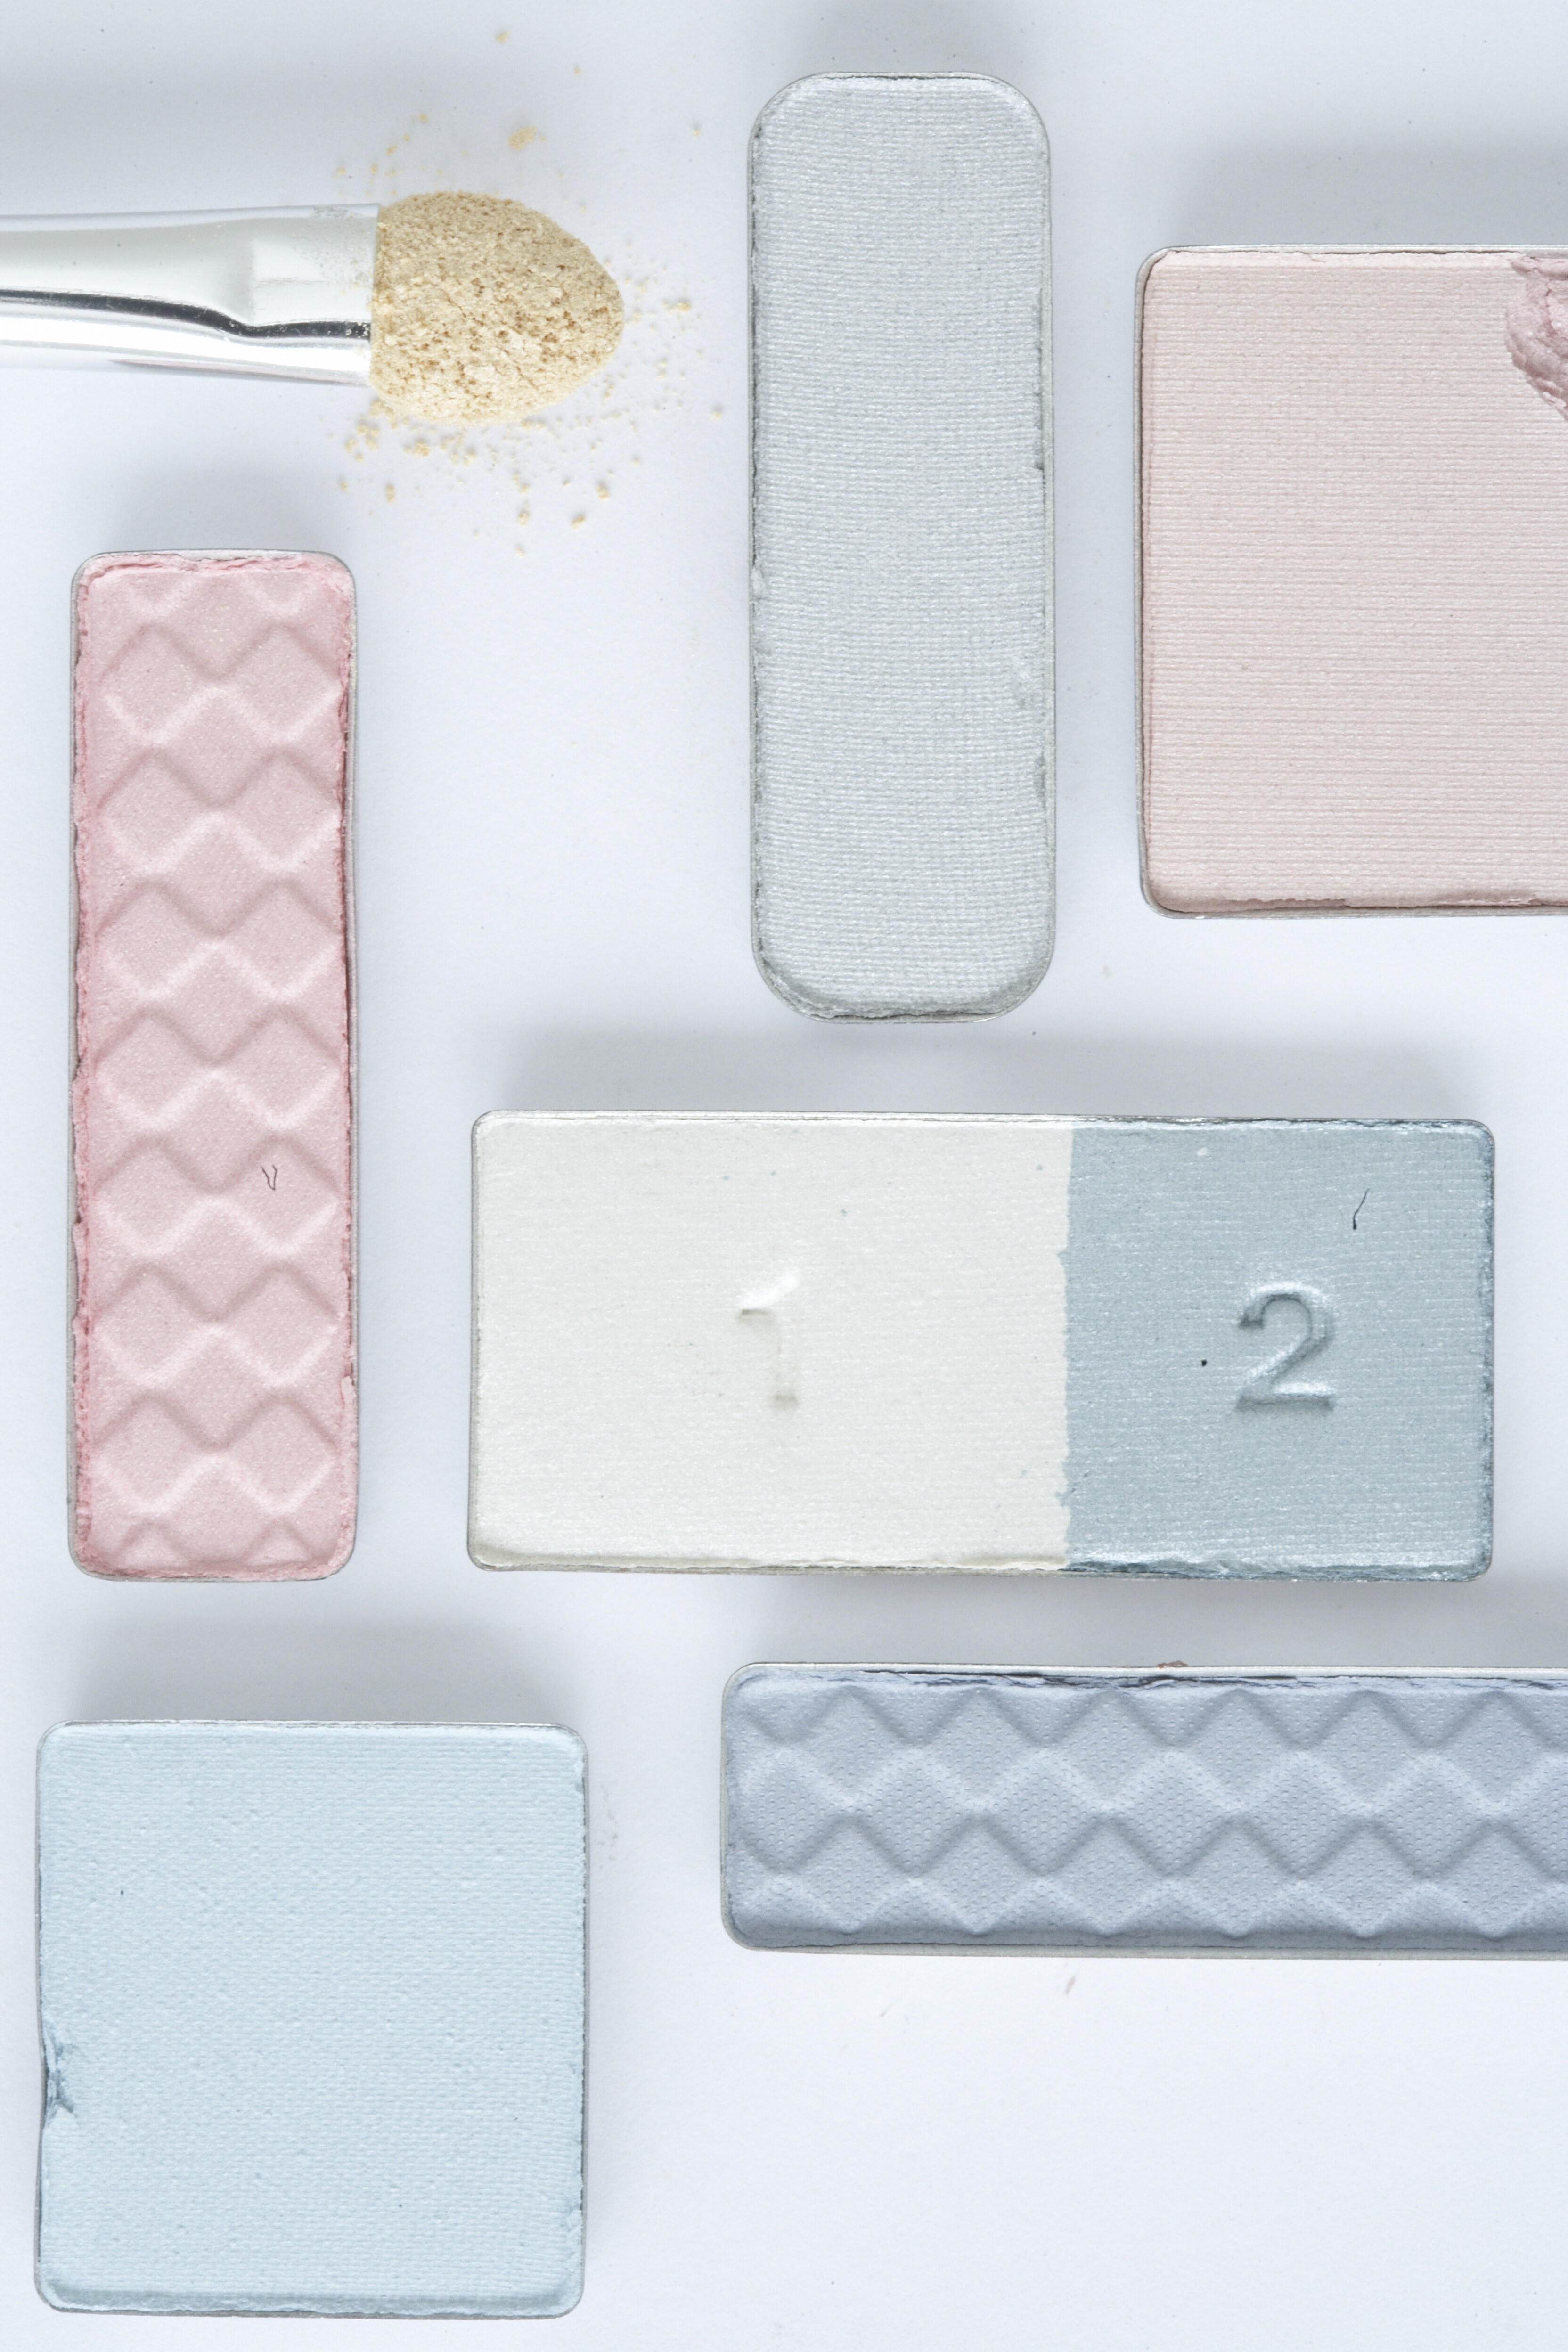
Pastel perfect
Pastel eye shadows complement most eye colours. With all the pretty colours available on the shelf, it’s time to find the perfect colour for you.
Eye shadow tips
- When blending eye shadow, choose two to three colours and start applying from light to dark.
- Brush the base colour over the entire eye then build up to the darker colour.
- Either choose a shadow the same colour or a complementary colour to your eye colour to make them stand out.
- Apply a highlighter only to your brow bone.
- A bit of white eye shadow inside the eye, close to the tear duct, will make your eyes appear brighter.
- Lavender eye shadow suits most eye colours.
- Use a matt eye shadow if you want to create a strong colour look.
- Apply a little loose translucent powder to your lids before applying eye shadow to make sure it lasts.
- Apply your eye make-up before applying face makeup so that you can easily wipe away any mess you might have made.
- Always apply eye make-up to your most ‘difficult‘ eye first – then you can match the easier one.
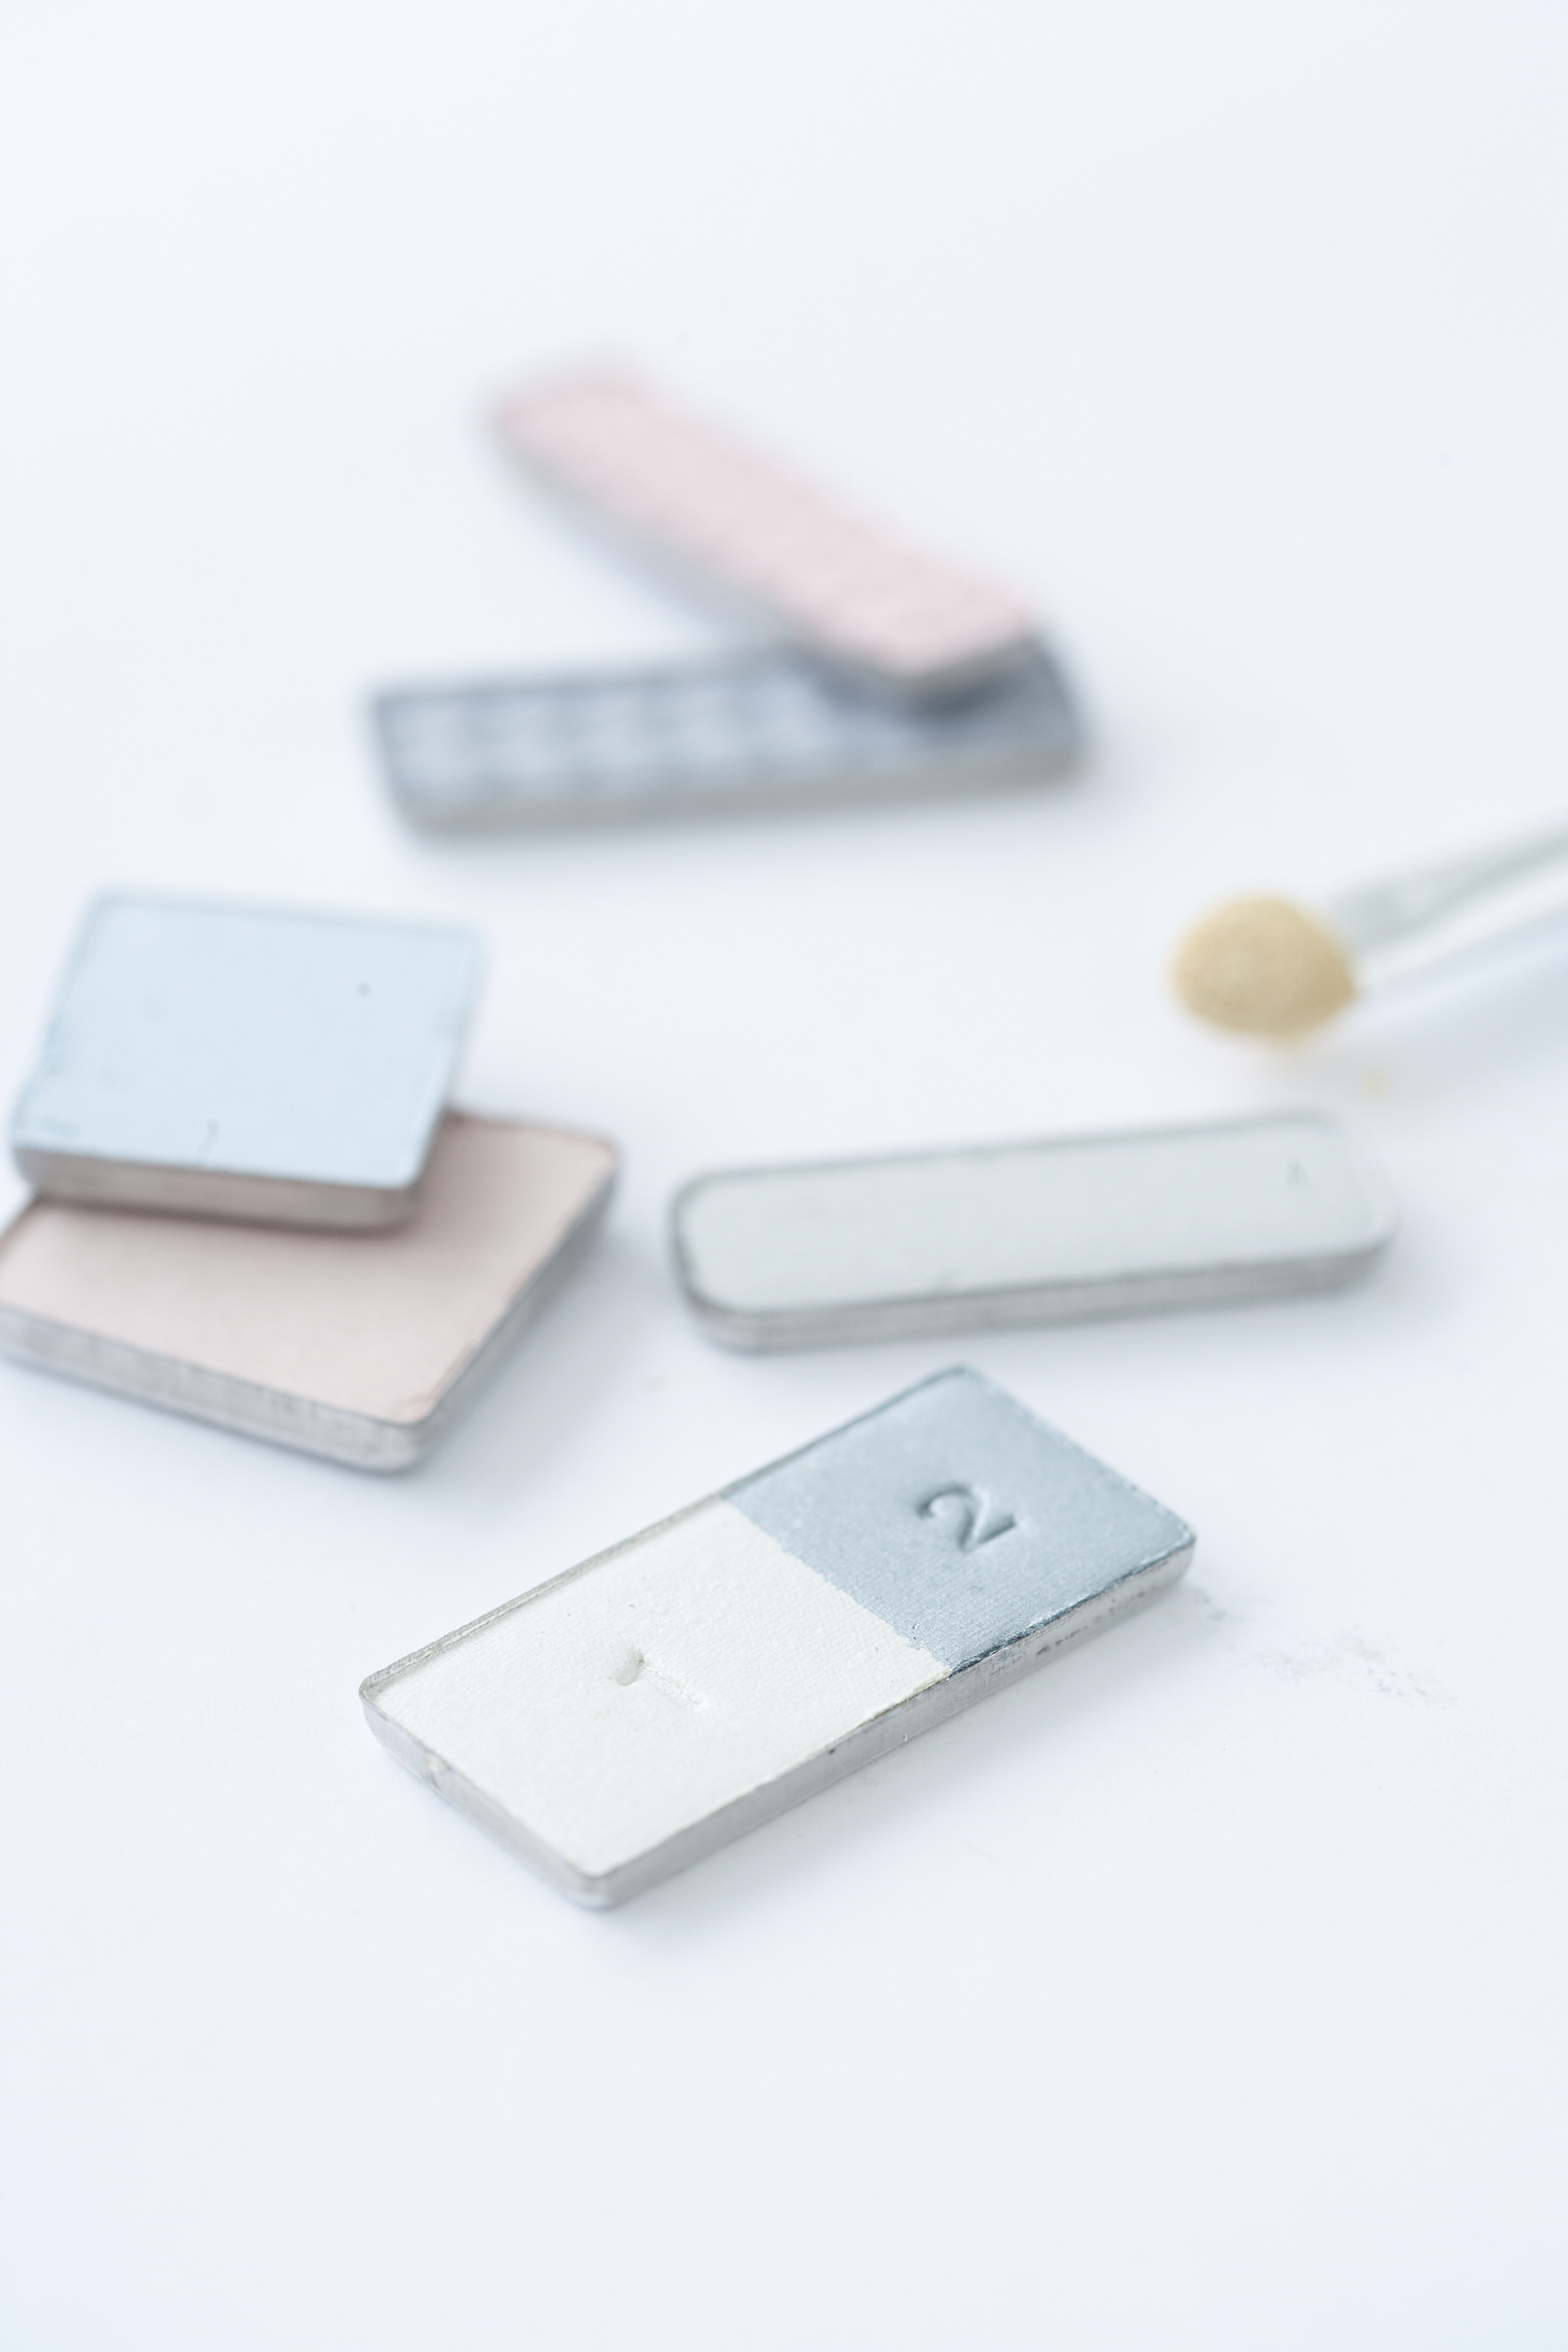
Applying pastel eye shadow
- Start by choosing the correct hue for your skin tone.
- Deep brown eyes, darker complexion, dark hair: pale pink, rose and pale green.
- Blonde hair, blue eyes, pale skin: blue, lavender, pinks.
- Blonde, blue eyes, tanned: deeper shades, peach.
- Auburn or red hair, green eyes, pale skin: pale green, soft peach.
- Using two tones in the colour you have chosen, apply the lighter colour with a soft brush on the entire eye up to just underneath the brow bone. Blend the darker shade just above the eyelashes on the lid; make sure the colours are sufficiently blended.
- Blend a bit of shimmer over your eye shadow for evening eyes.
- Apply colour in moderation – pastels should be used only to enhance your eyes.
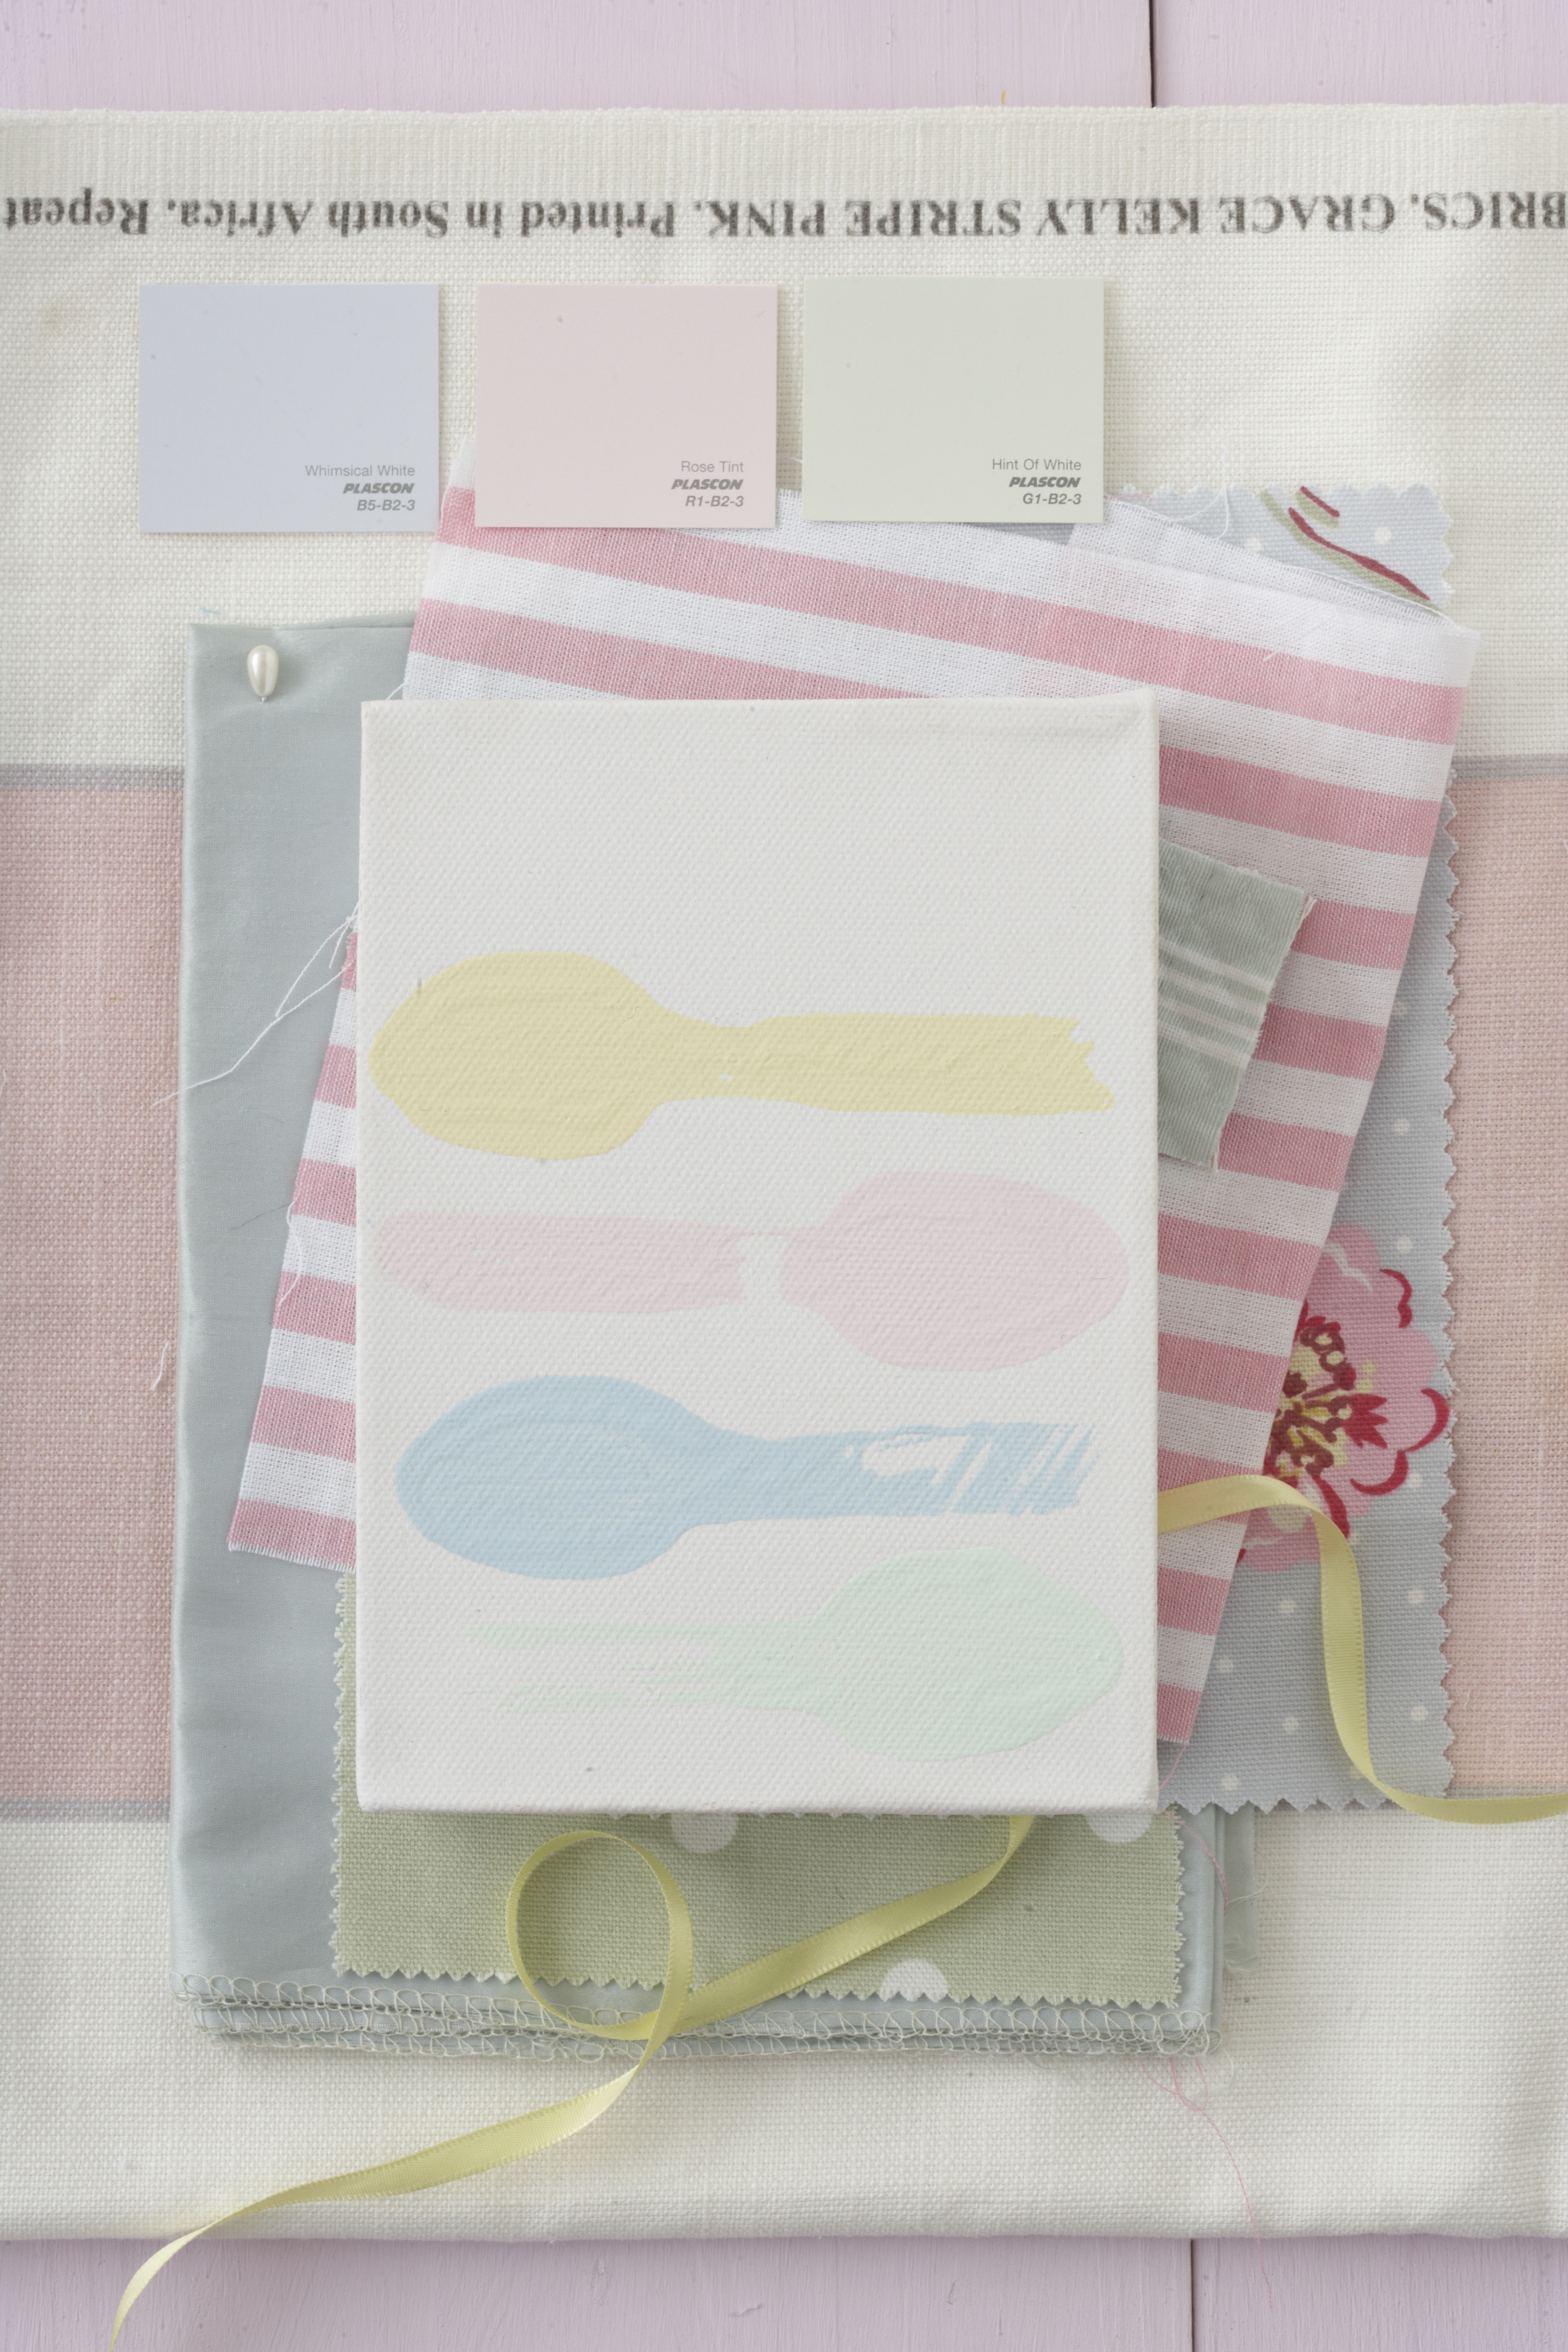
Get the look
From top: Reef Stripe (green and white stripes) in the colour Seaspray (about R608 per metre) from Halogen. Side Long (narrow pink and white stripes) in the colour Sweetie (about R270 per metre), English Rose in the colour Ice (about R250 per metre) and Dotty in the colour Sage (about R250 per metre), all from Hertex. Dupion Silk in the colour Crystal (R747 per metre) from The Silk and Cotton Co. The Spring Collection Grace Kelly Stripe in pink (R1 000 per metre) from Lula Fabrics.
Credits
Referenced from Gallo images / IDEAS Magazine
Browse 1000’s of products available to you. Select your country to Shop Online.


