Sealing wood left outdoors will prolong it’s life by protecting it from the natural elements and general wear and tear. Follow these pointers to get the job done right.
The main types
There are two main types of sealers, oil or solvent based and water or acrylic based. Oil-based sealers need to be cleaned with a solvent such as mineral turpentine or thinners. This kind of sealer has a strong odour, which can take a few hours to clear. Drying or curing can take several days, depending on the weather. When using a non-tint sealer, two or three coats may be needed and the wood may dry to a slightly amber tint.
Wood painted with water-based sealers can be cleaned with soap and water and have fewer volatile organic compounds (VOCs) making it more environmentally friendly. The drying time is much quicker which means you can complete a job in one day, even if several coats are required. There is also very little colouration of the wood. However, when using a non-tint base you’ll need more coats – up to four sometimes for maximum protection.
Carbolineum is a wood sealer made from creosote and coal tar, and because it is toxic and has a strong odour, it is for exterior use only. It offers highly effective protection against fungal decay and attack by termites and other wood boring insects. Tools, brushes and mixing equipment should be cleaned immediately after use otherwise the material will set. Use a recommended product followed by a wash with soap and water.
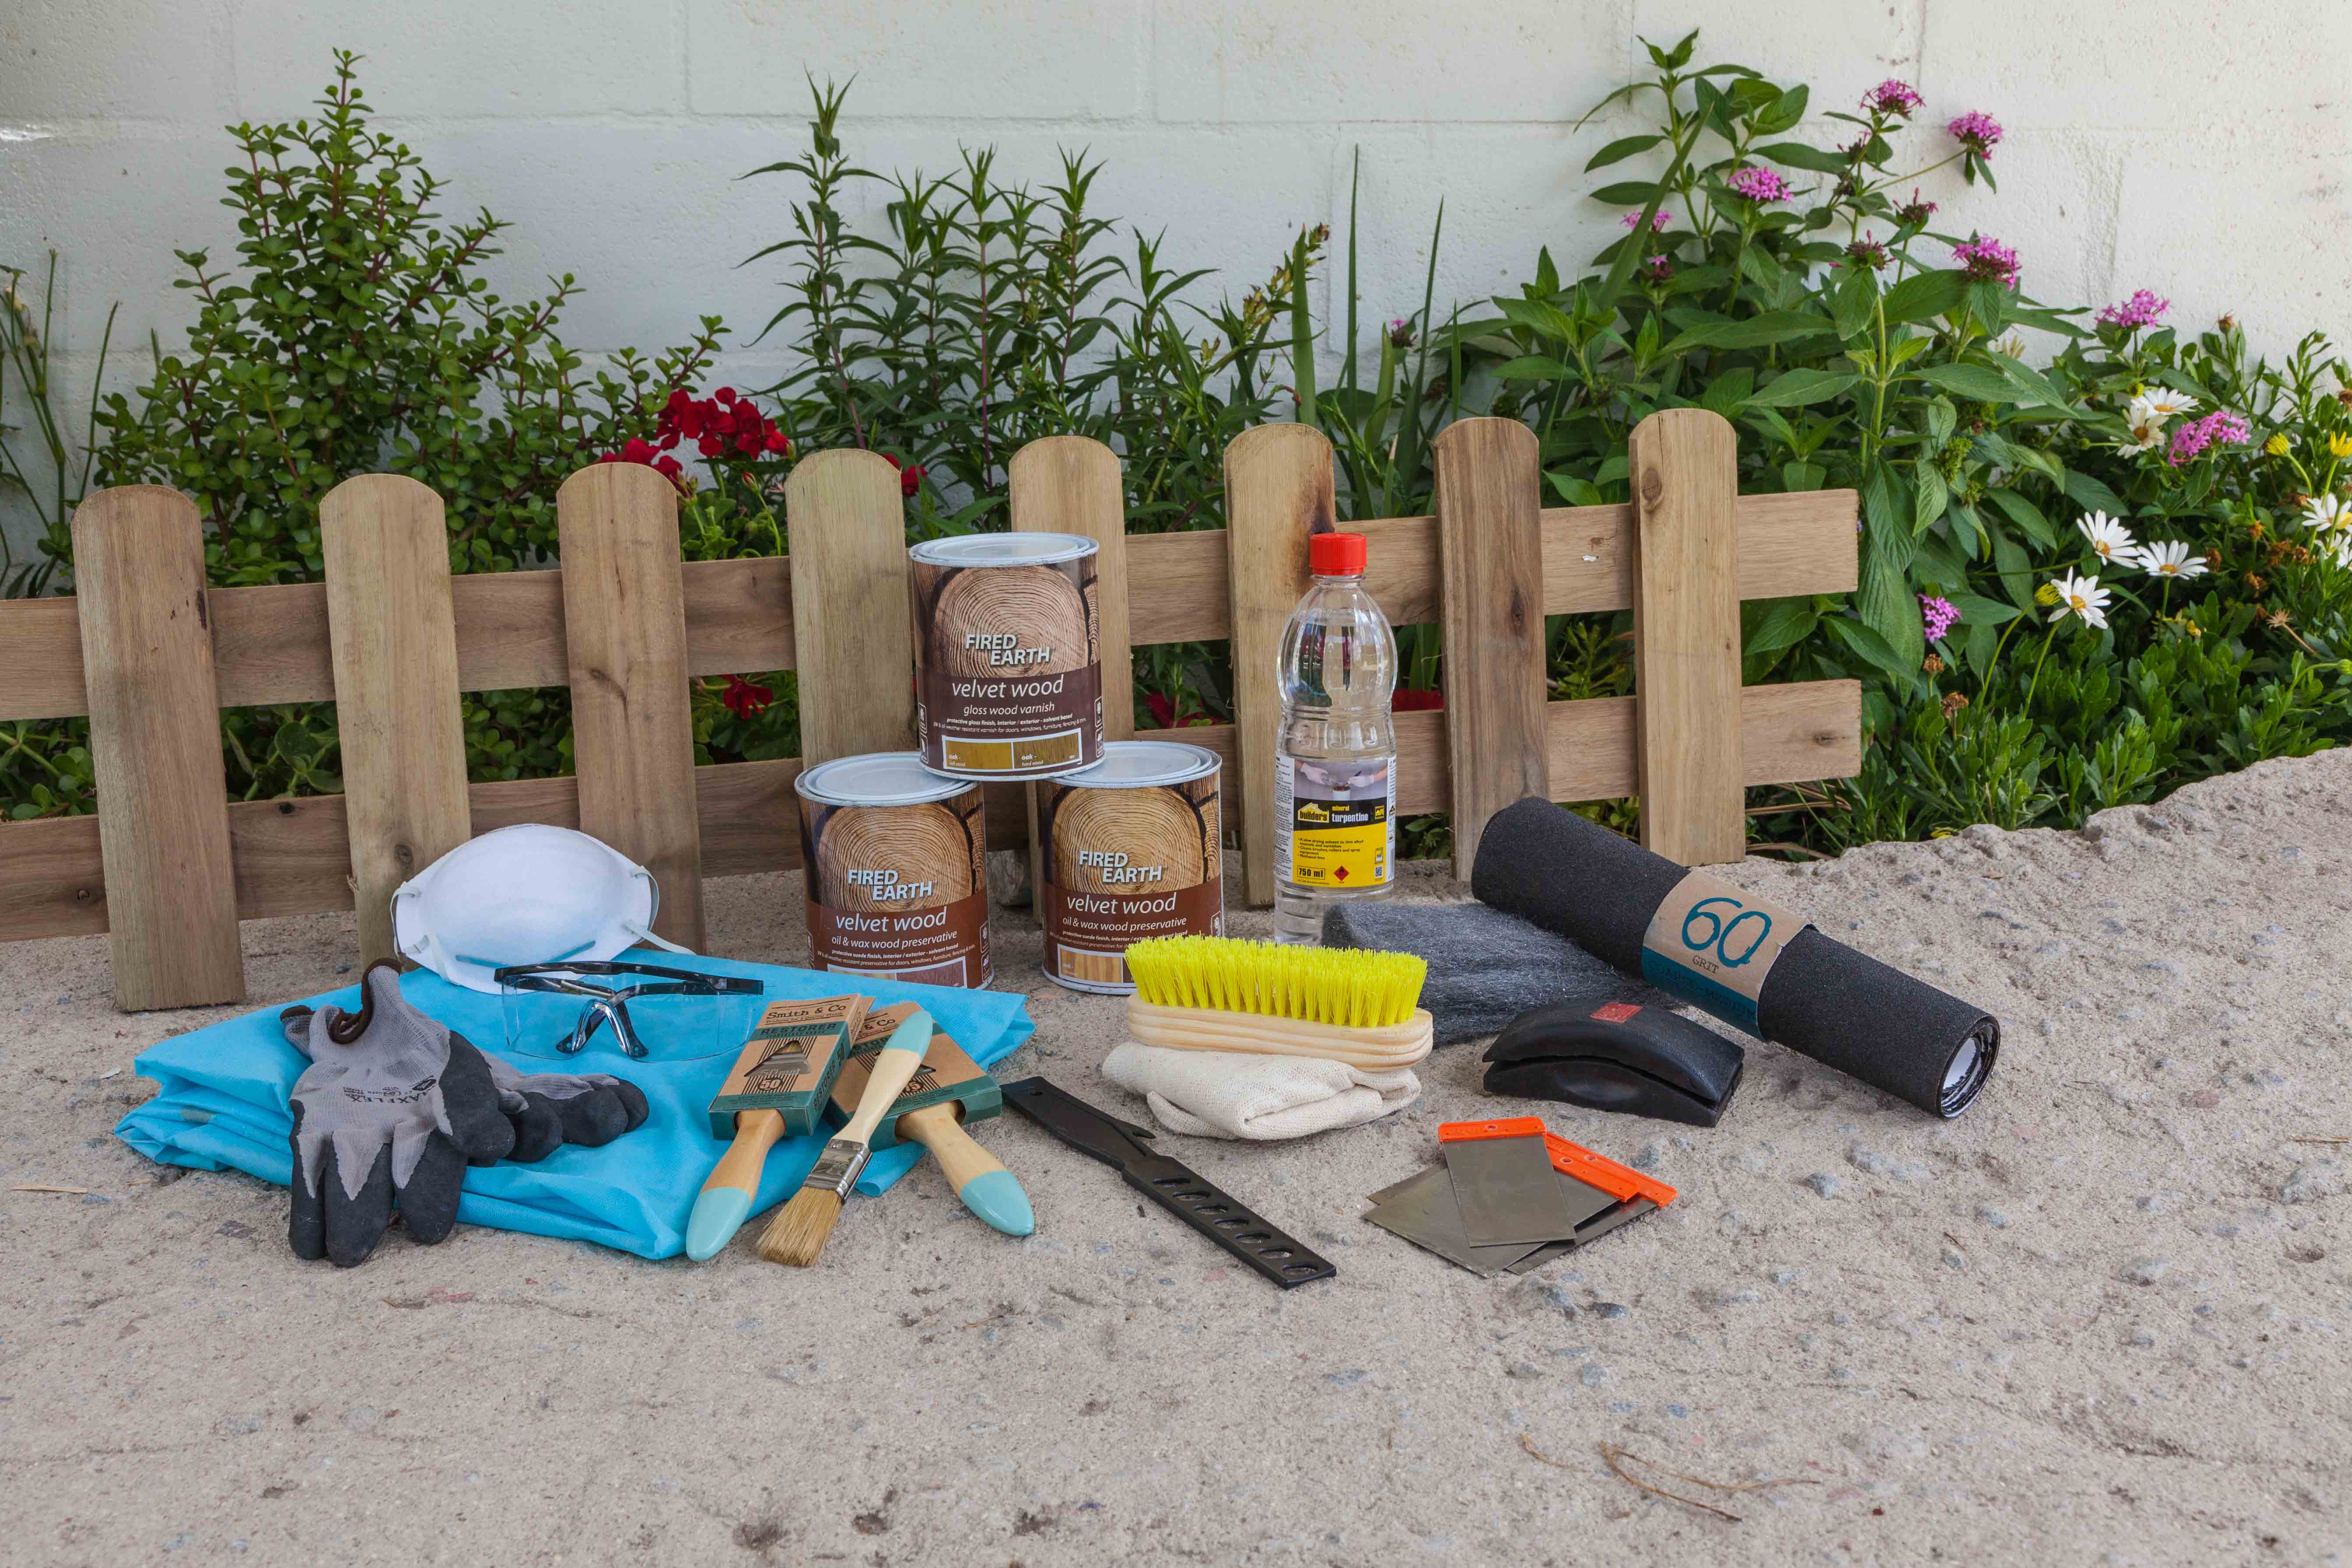
- Sandpaper (rough and fine grit)
- Sanding block
- Steel wool
- Mutton cloth
- Flat paddle stirrers
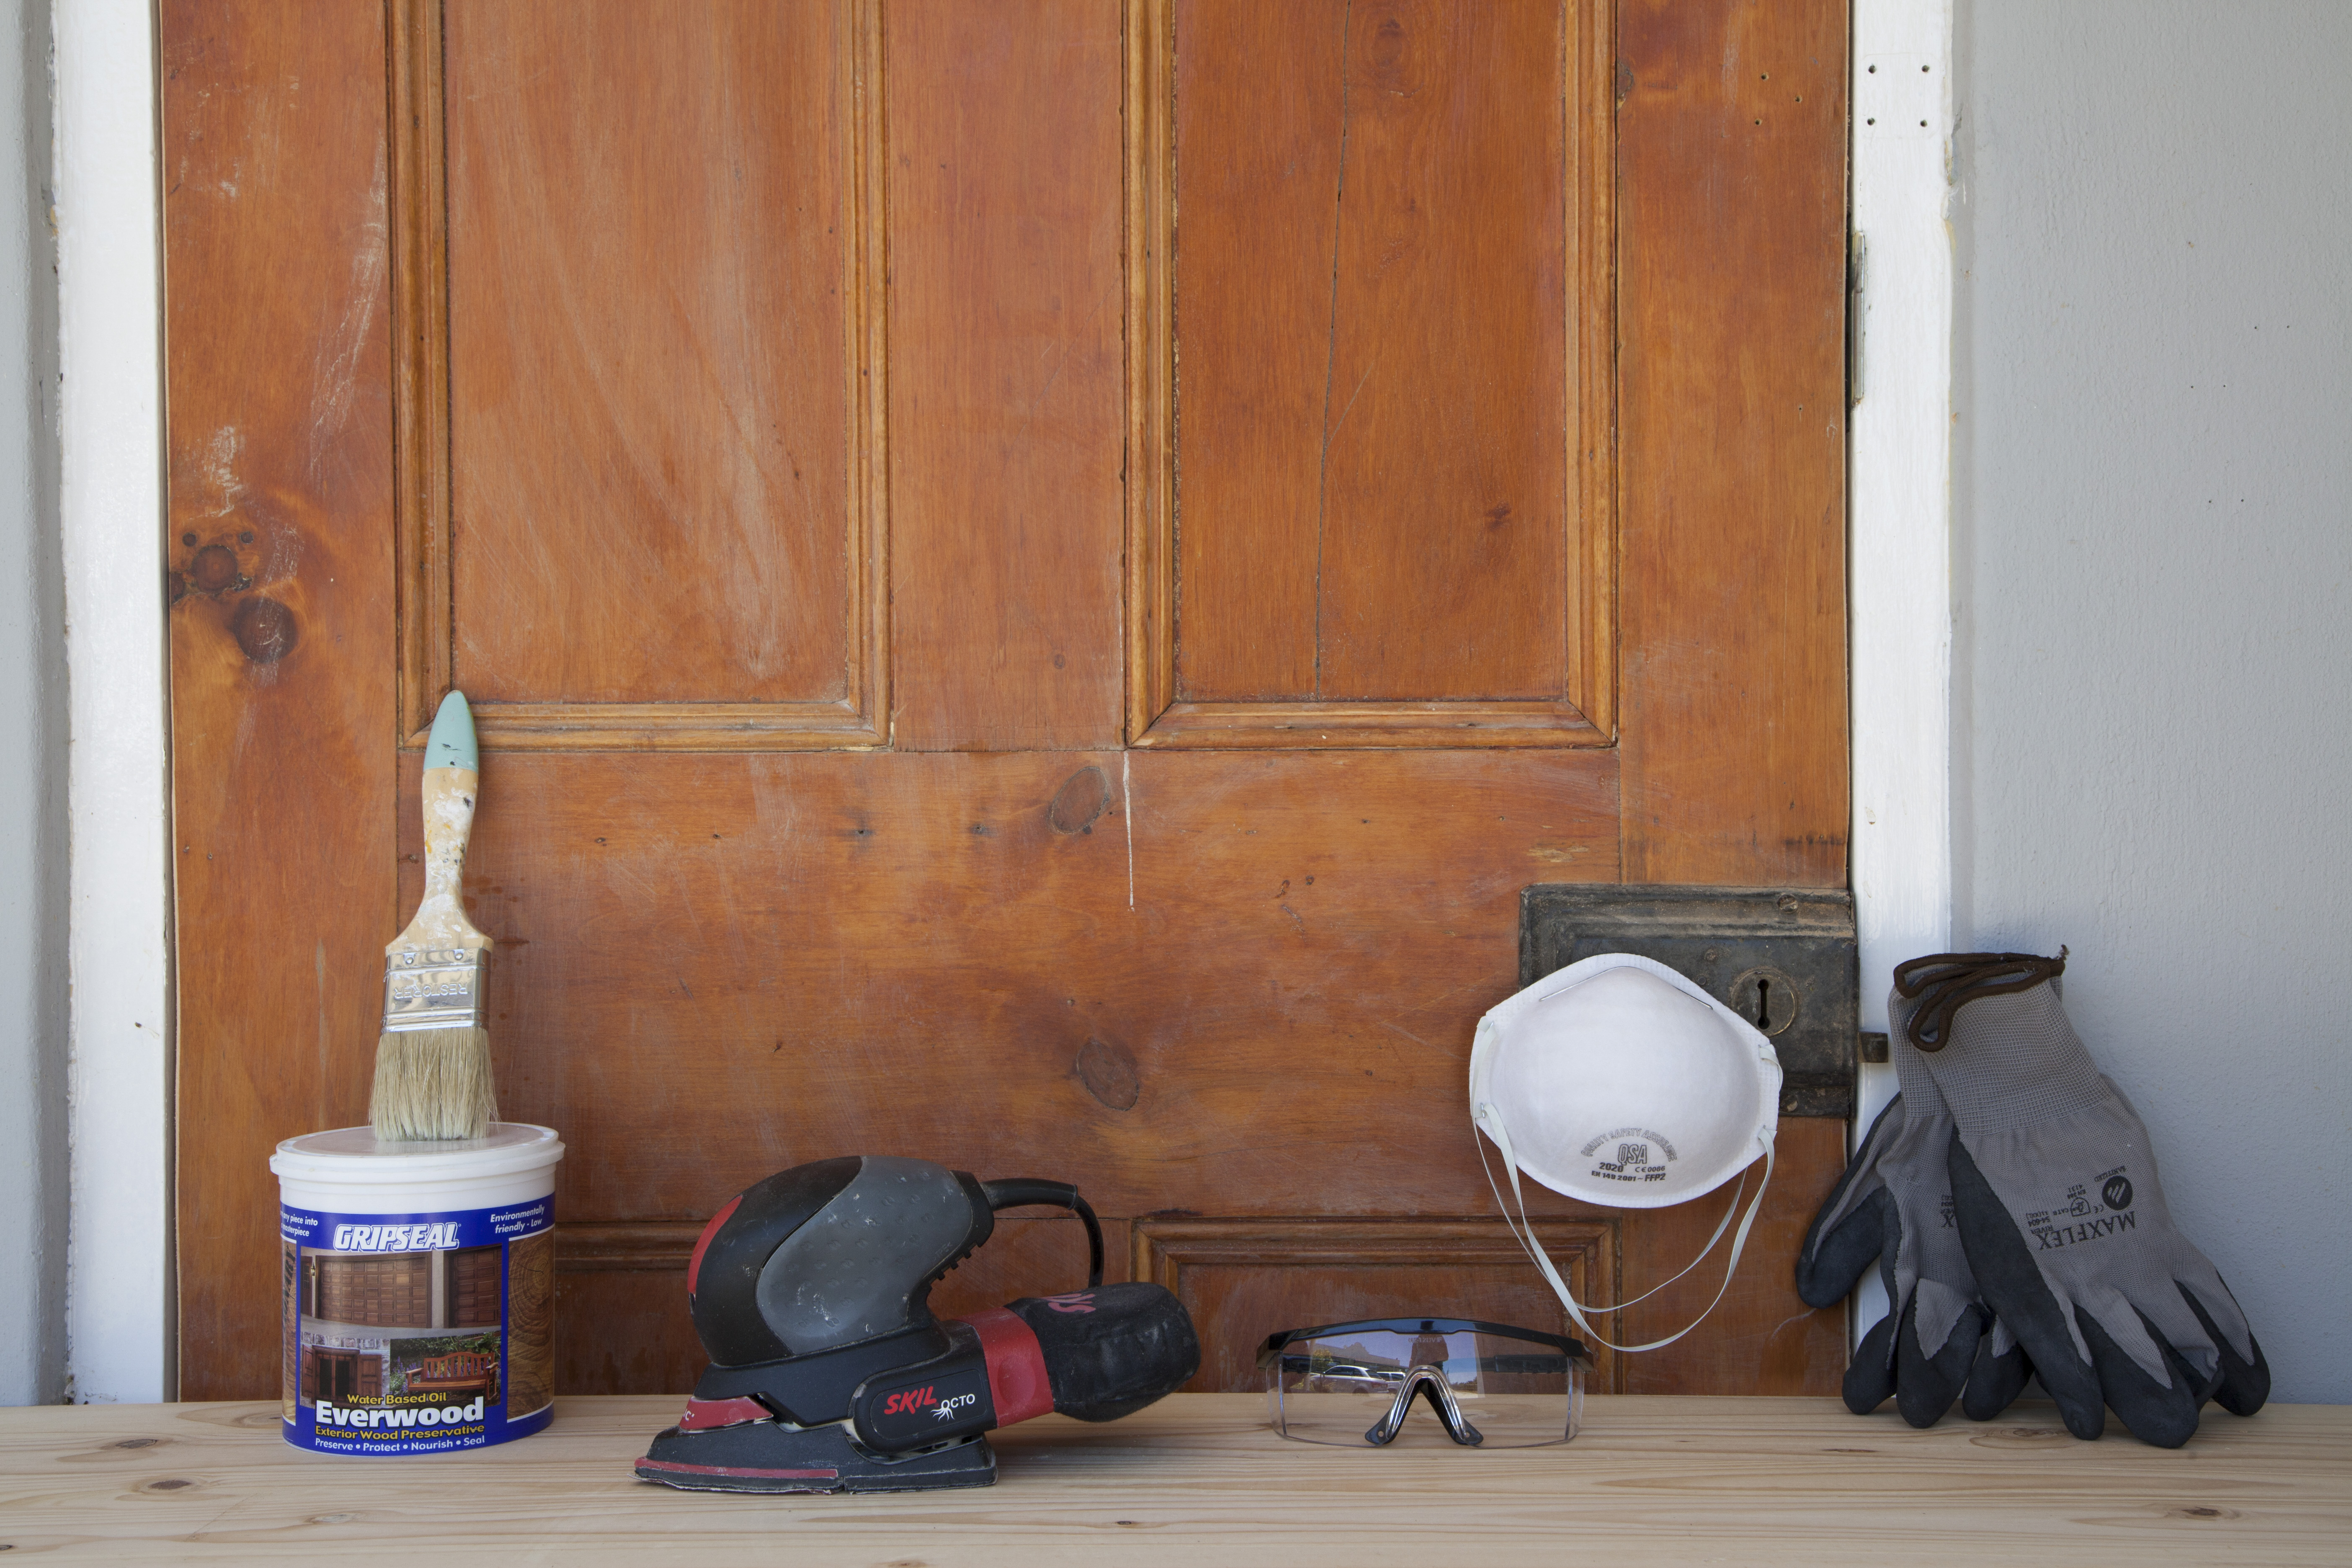
- Paintbrushes
- Sponges
- Lint-free cloth
- Paint trays
- Mineral turpentine (if oil based)
- Paint remover (if applicable)
- Scraper
- Scrub brush
- Scrub pad
- Dust mask or respirator (prevents inhalation of dust and sealer fumes)
- Goggles (protects eyes from dust and possible splatters)
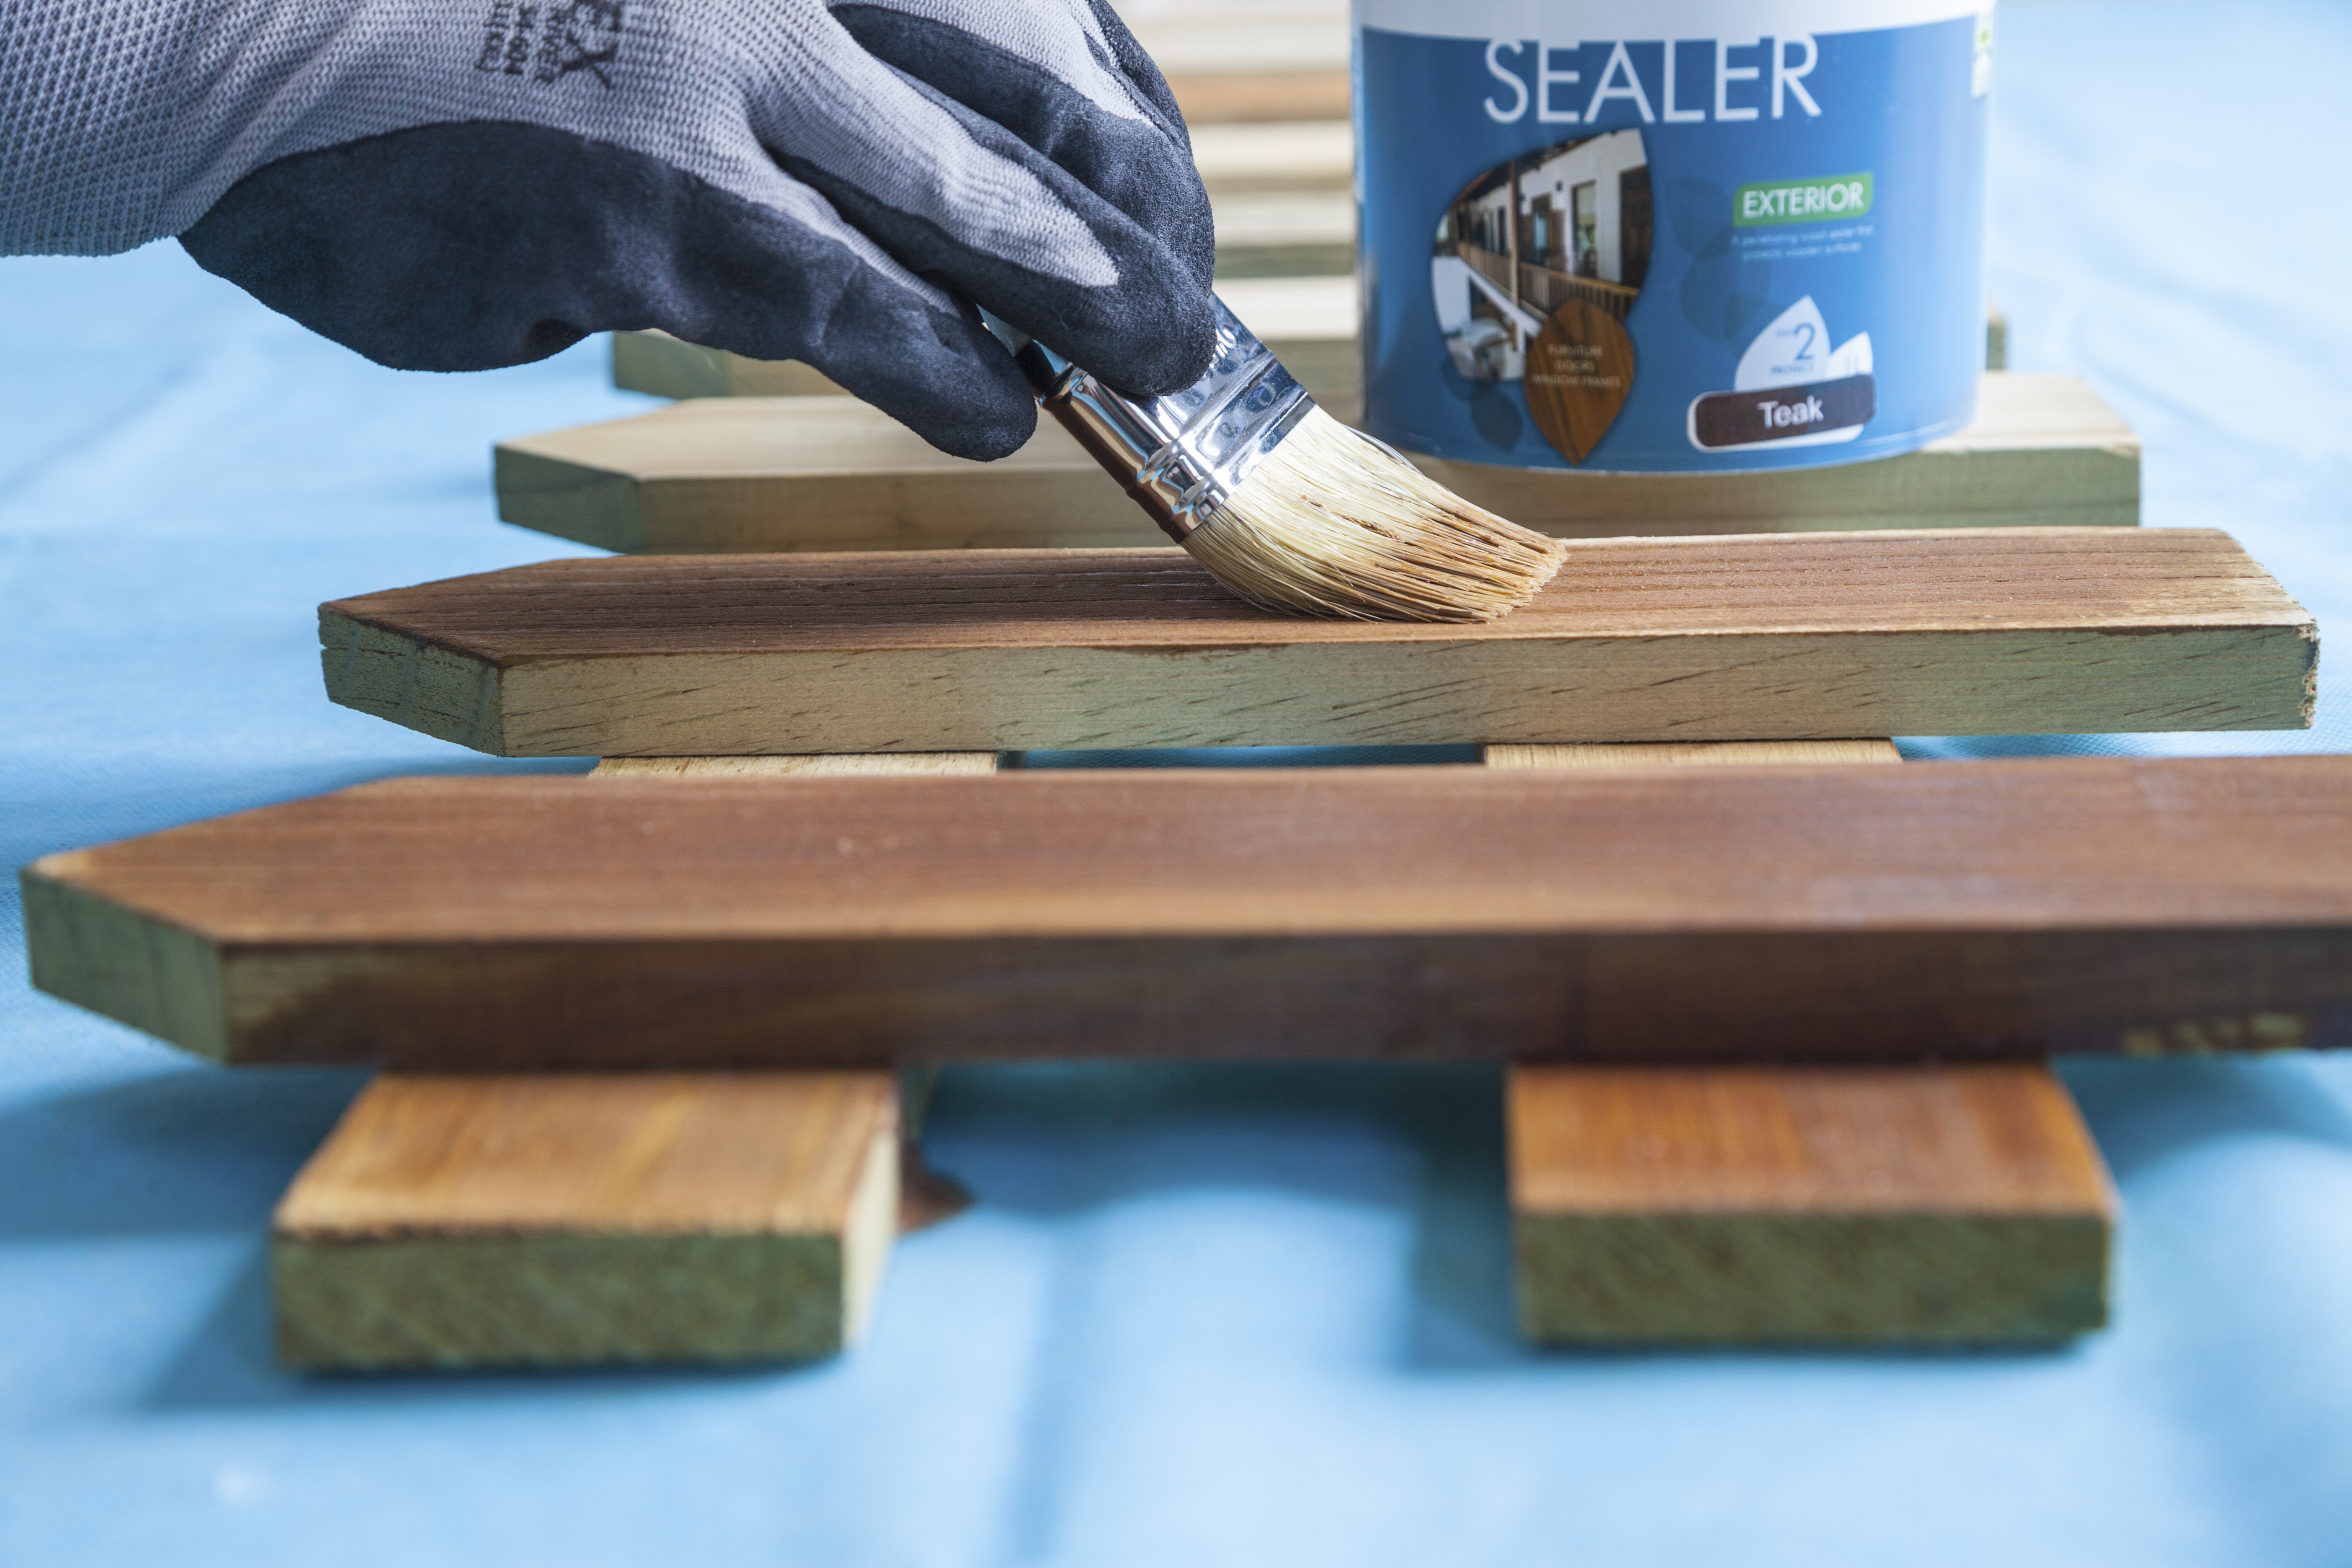
- Gloves (protects against splinters)
The importance of sanding
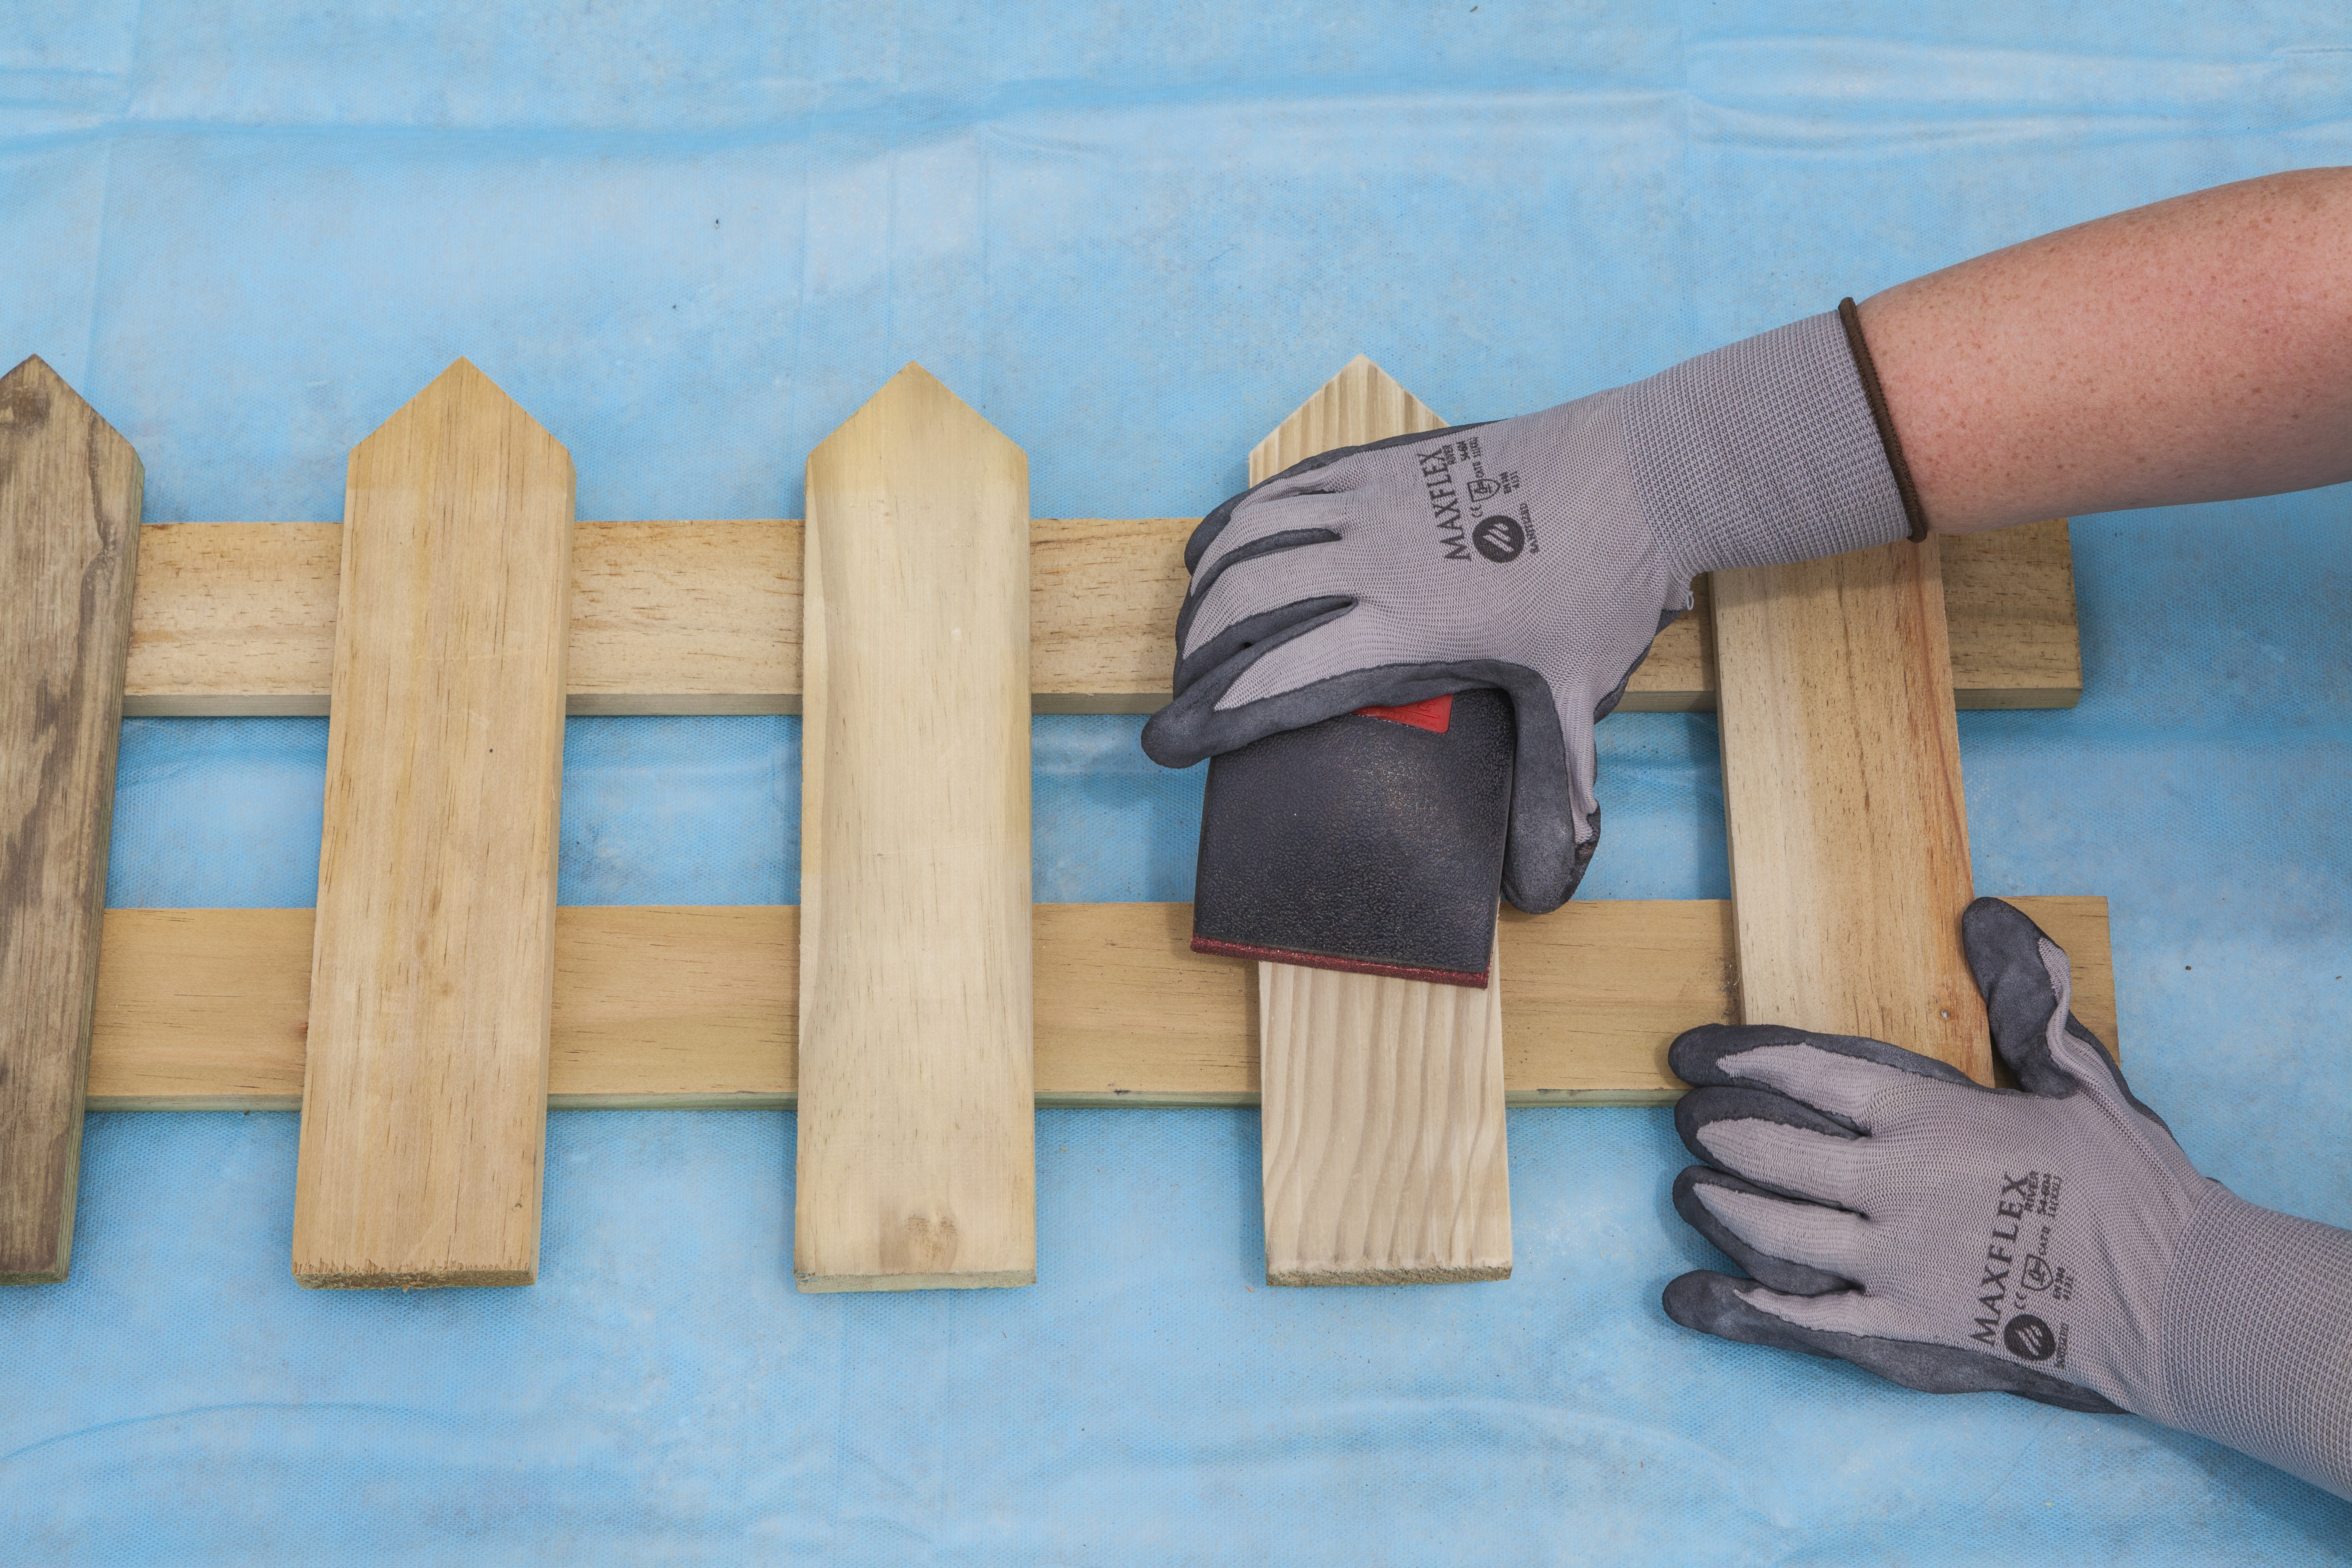
Sanding is important because it opens the pores of the wood, ensuring that the sealer both penetrates and adheres to the surface. Depending on the pre-existing finish, a surface could require different approaches to preparation.
New wood
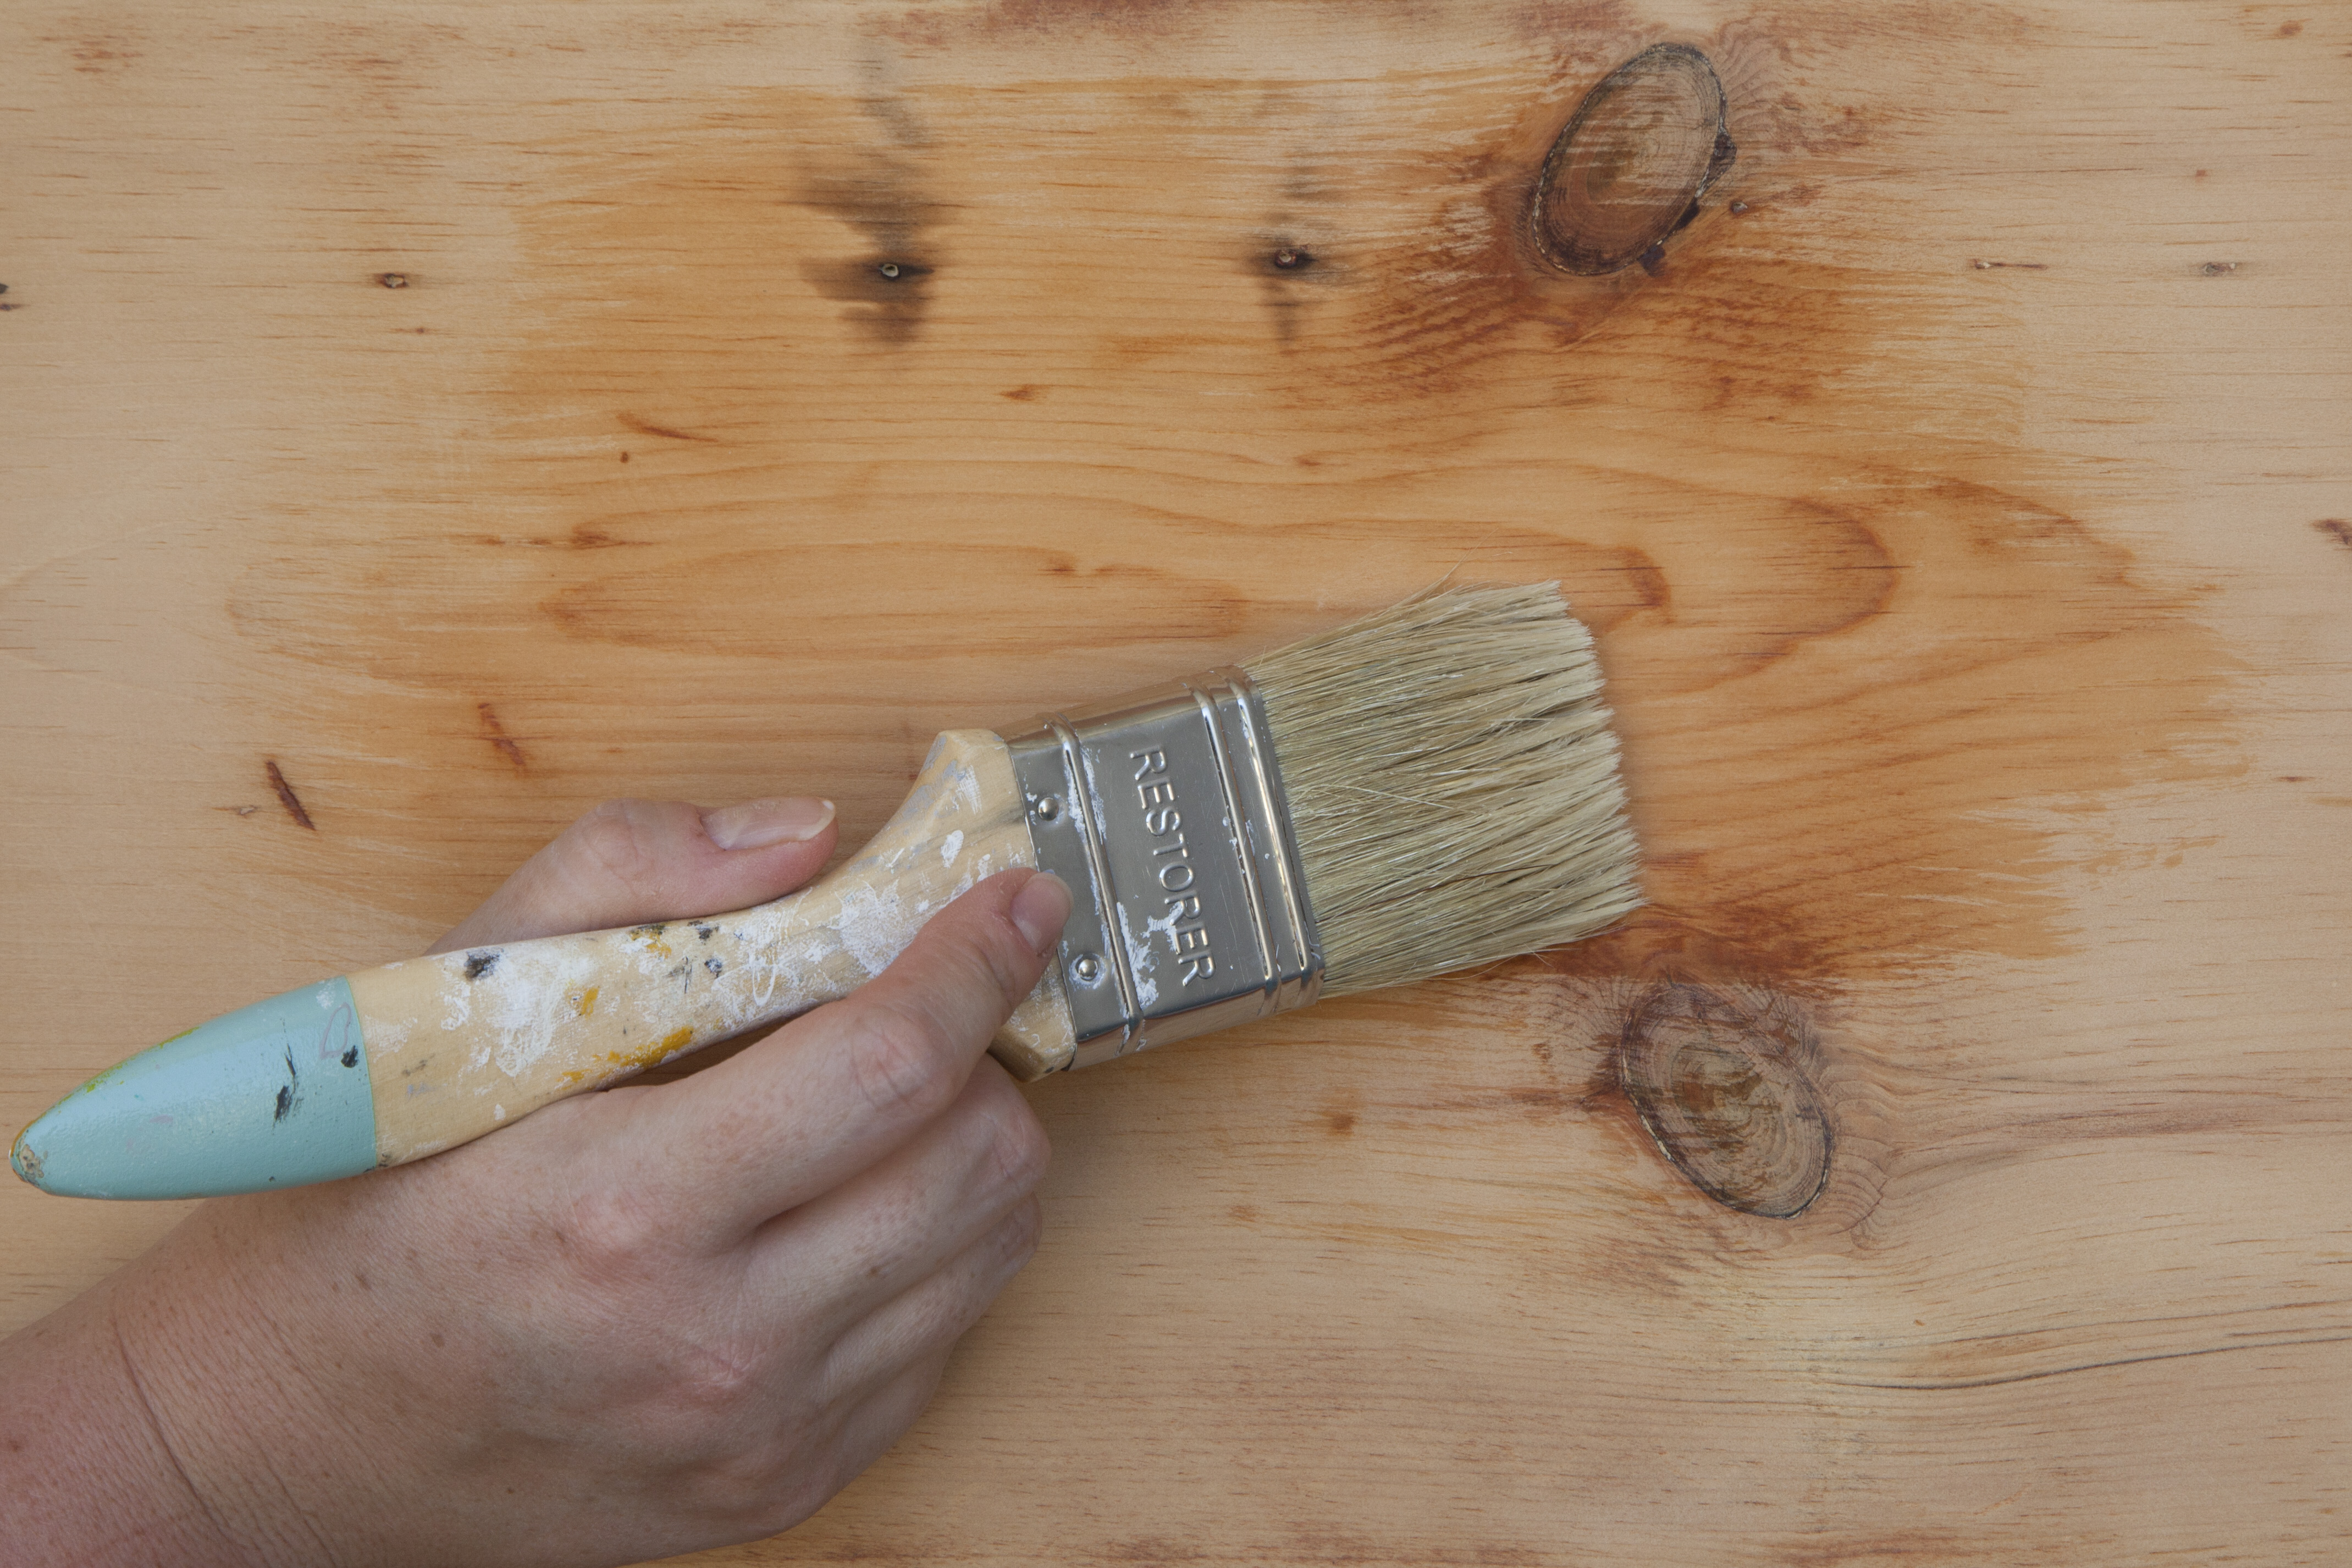
It is always advisable to sand new wood to remove irregularities such as splinters and rough edges, and to ensure it’s clean. Using sandpaper like Smith & Co, start with a rough grit (80 to 100) and progress to a fine one (120 to 220) to ensure a smooth finish. Steel wool can also be used to produce a blemish-free finish. If there are nail holes or wood crevices, these need to be filled with wood filler and left to dry before you start. Sand the wood along the grain using long strokes, back and forth. Apply pressure lightly to avoid scratching the wood and use a sanding block to distribute the pressure evenly across the surface.
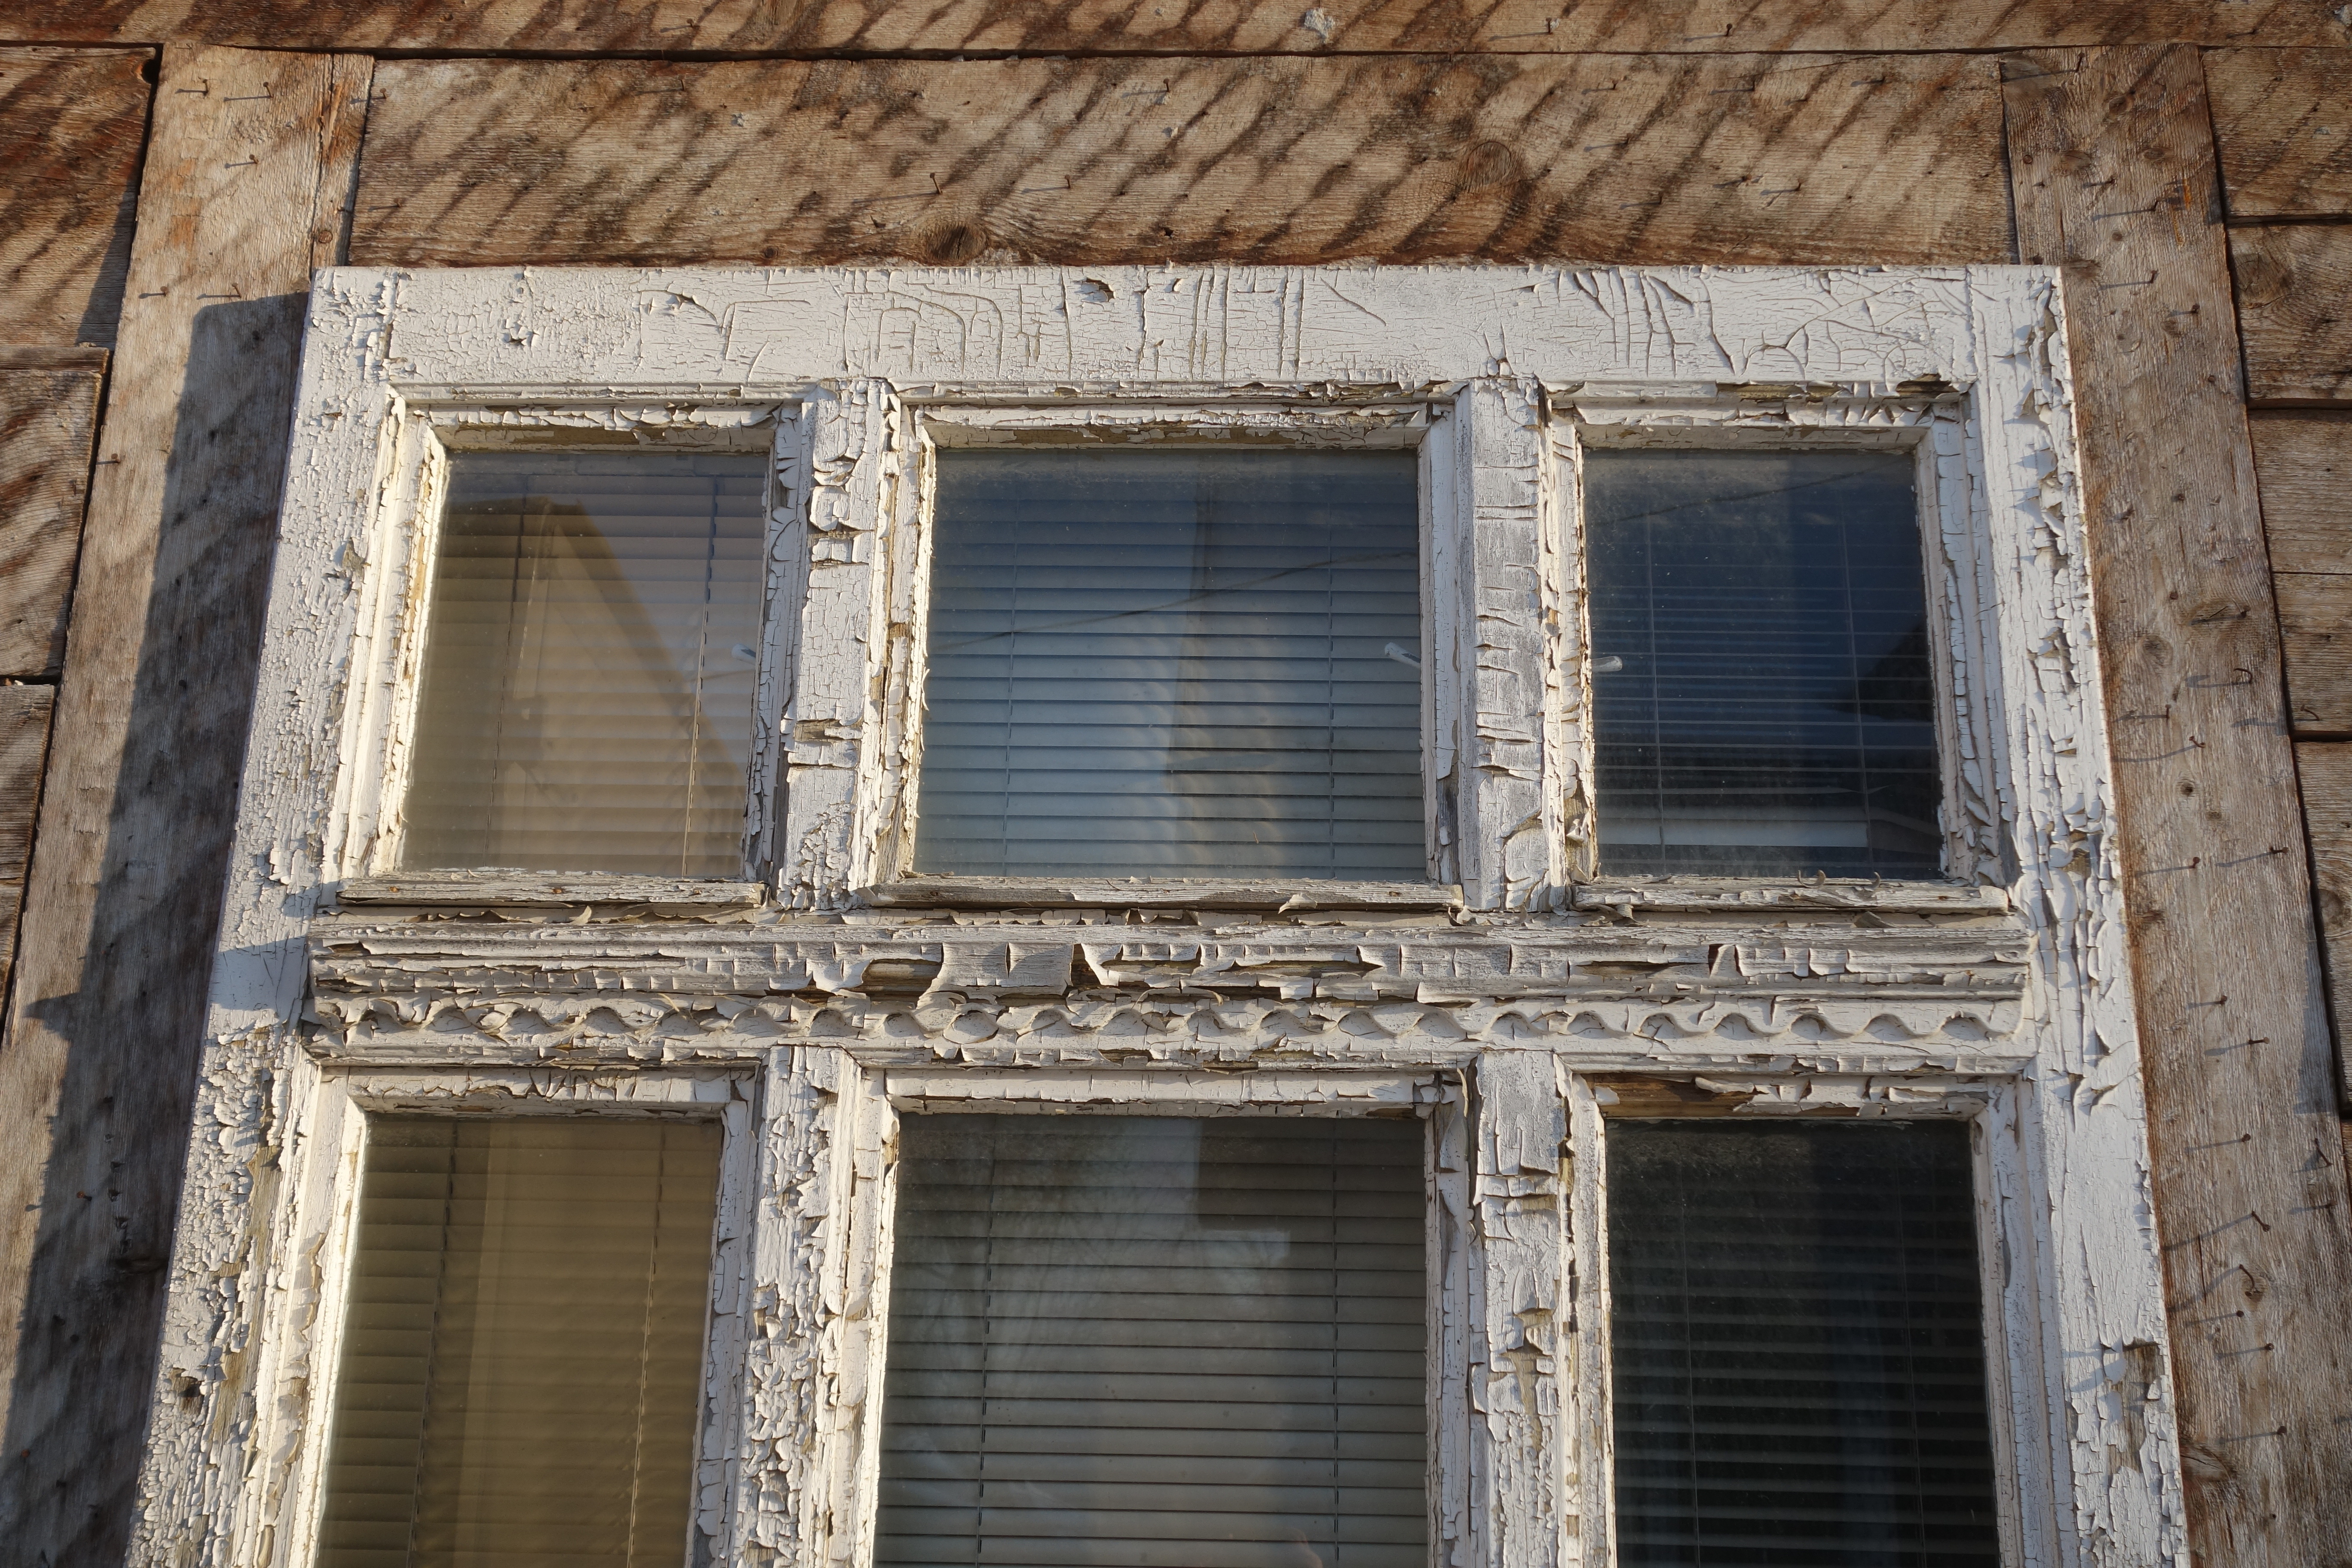
Previously sealed wood
If the wood treatment is intact with no signs of discolouration or cracking, remove the dirt and grime using a lint-free cloth moistened in mineral turpentine. If the wood treatment has worn away or there are signs of discolouration, you’ll have to remove the finish by deep sanding back to fresh wood.
Wood with ageing paint
Strip the wood by brushing paint remover over all the area covered with paint, wait a few minutes for the paint to bubble/soften (refer to the product directions) and then scrape the paint from the wood surface. Any leftover paint can be removed with a scrub brush. Clean the surface with a damp scrub and leave to dry thoroughly. To prevent sawdust from sticking to the sealer, it’s important to clean the wood after it has been sanded, using a dry cloth.
Basic application
There are some points to consider to ensure successful application of a wood sealer, but the first step is to choose the correct brush from a reputable range like the one from Smith & Co. If the brush is not new, make sure it’s clean and that the bristles are flexible and dry. A good quality, long-haired brush is best. The size of the brush is dependent on what you’re painting.
Here’s a guide:
- 25 mm for window frames
- 50 to 75 mm for doors and gates
- 75 mm or larger for garage doors
It is not necessary to dip the brush deeper than a third of the bristle length into the sealer. An overloaded brush leads to runs and spills. For small and delicate work, even as little as two millimetres is sufficient. Use long, even strokes to apply the sealer along the grain and always take the brush away from the edge of the wood to prevent runs. Apply thin coats and wait until touch dry before applying the second and third coat. For a professional finish, some manufacturers advise light sanding between coats to ensure that the next coat adheres properly.
Tips
- Even when working with an exterior sealer, always make sure the area is well ventilated.
- Avoid painting if rain is forecast. Warm, dry conditions are best.
- Always replace the lid tightly on the sealer tin and tap secure with a rubber mallet.
- Storing partially empty tins upside down prolongs the life of the remaining sealer, so long as your tin is properly closed.
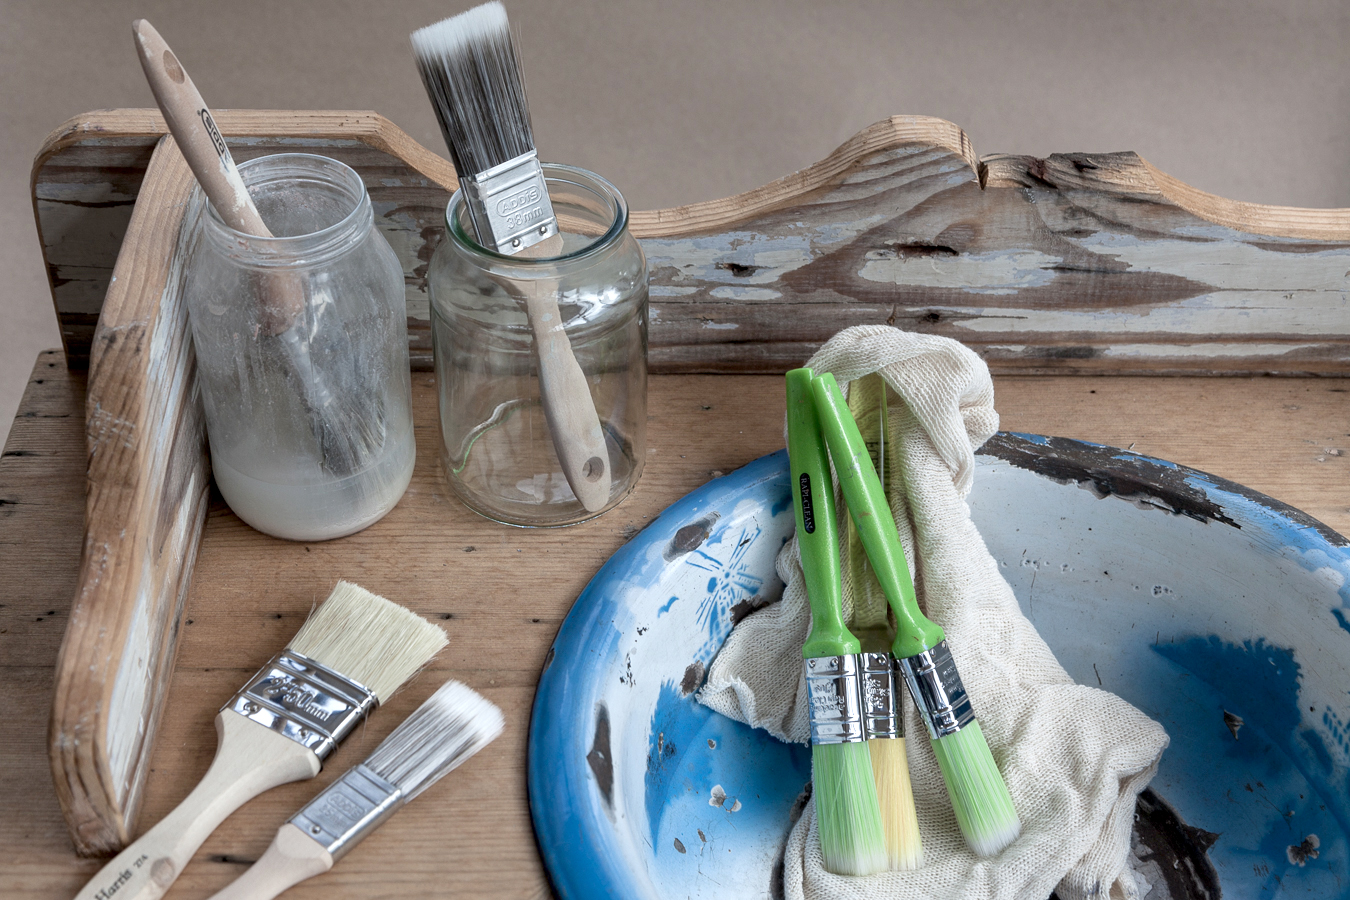
Cleaning brushes
Wipe off as much of the remaining sealer as you can with a cloth or newspaper. Rinse the brush thoroughly in mineral turpentine like Smith & Co if oil based, or soapy water if water based, shaking off any excess before drying the bristles with newspaper or a cloth. Then wash in warm water with dish detergent. Rinse thoroughly, straighten the bristles and lay the brush flat or hang it up to dry.
Products to buy
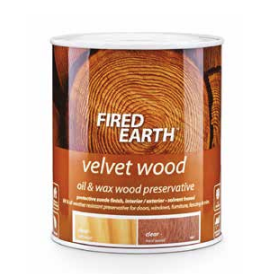
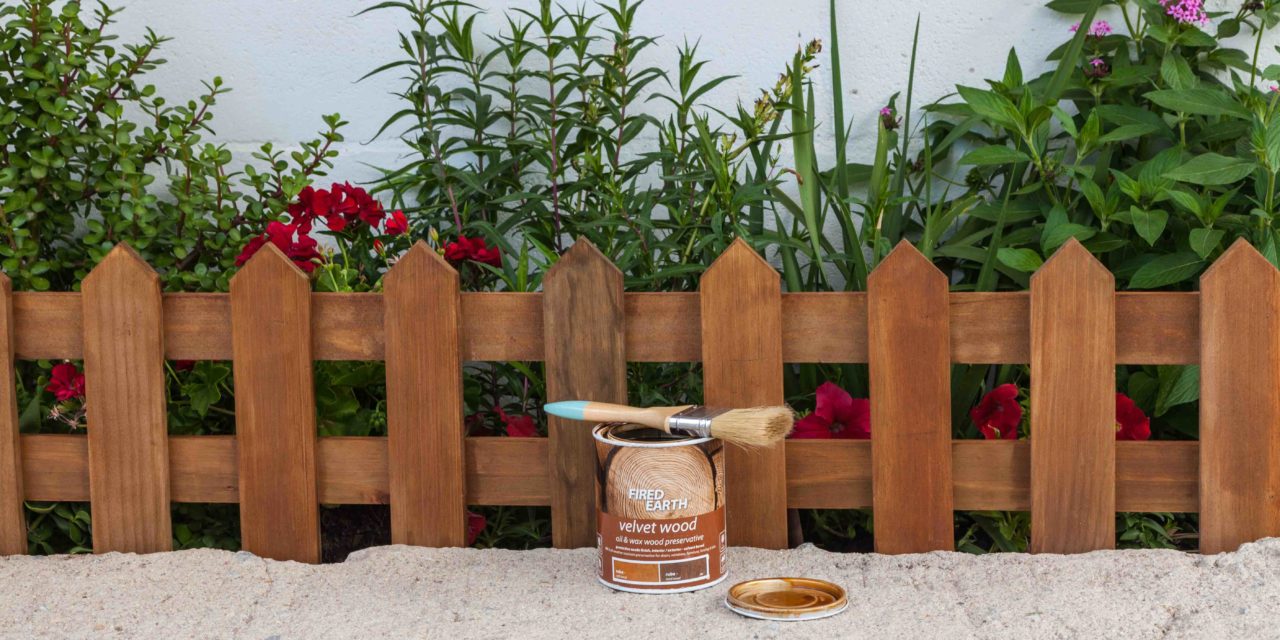
Fired Earth Velvet wood oil & wax wood preservative 5L (529162)
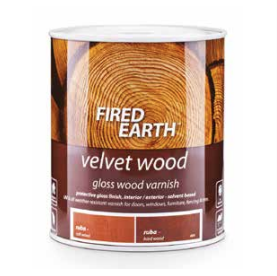
Fired Earth Velvet wood gloss wood varnish 5L (529041)

Gloves

Respirator

Goggles

Smith & Co flat roll danspaper 1m 40;60;80;100 grit R18
Browse 1000’s of products available to you. Select your country to Shop Online.


