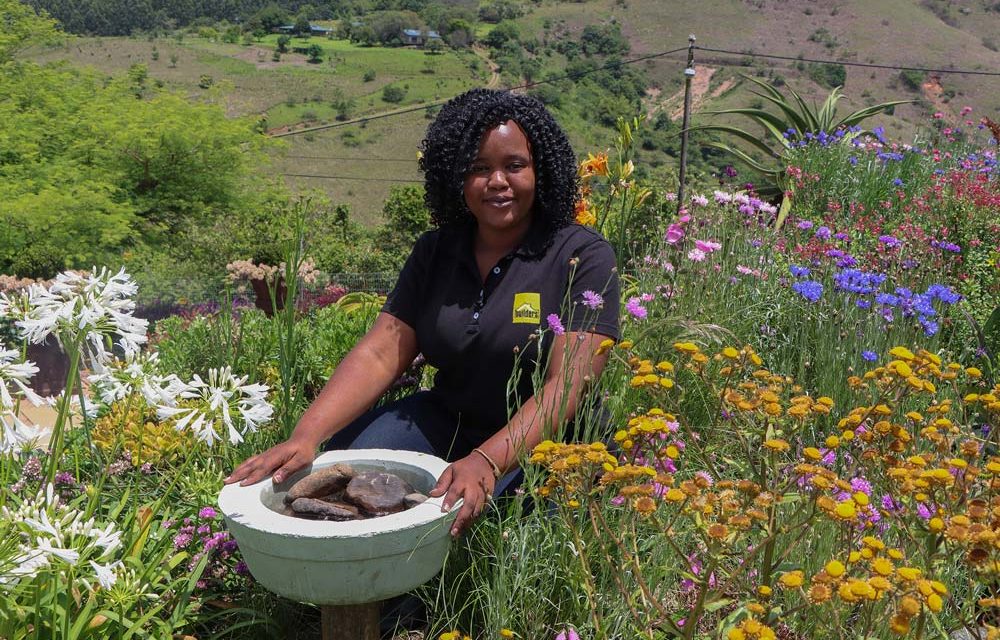
Bees need a clean supply of water, so adding a safe bath for them will encourage visits to your garden.

There are many ways to attract bees and other pollinators to your garden. The more pollinators in your garden, the better your flowers will set seed and the more fruit your trees and fruiting vegetables will produce. Putting down plants that bees can use for food in the form of nectar and pollen will attract them to your garden, but another, often overlooked, attraction is a source of clean water.
Bees need water to drink, just like all other animals, but they also use it for a host of other things too. This includes making honey, cleaning themselves and the hive and cooling the hive down.
Here’s how we made a bee bath. You will need:

- 2 different sized plastic tubs, one slightly smaller than the other, to be used as a mould
- Cooking oil and a paintbrush
- A cup of keycoat
- A few decorative rocks to place in the bee bath
- Builders 32.5 N cement
- River sand
- Stone
- Cement dye (we used green)
- A trowel

Step 1
Oil the inside of the bigger plastic tub and the outside of the smaller one.

Step 2
Mix the concrete. We used 1 part stone to 2 parts cement and 4 parts sand. We also added a cup of keycoat to the mix. Keycoat is an acrylic latex cement additive that increases water resistance, which is perfect as this bath will be holding water.

Step 3
Add water a little at a time until the concrete has a yoghurt-like consistency. Then add the cement dye and mix well until it is evenly spread.

Step 4
Pour some concrete into the larger tub and spread it out. Agitate it (gently knock it) to remove air bubbles. Make sure there are a few stones in the concrete to support the smaller tub.

Step 5
Place the inner tub onto the concrete.

Step 6
Place a few stones in the smaller tub to make sure it doesn’t float up, then use a trowel to carefully add concrete to the sides of the smaller tub, into the larger tub, to the brim, to form walls. Smooth the edges to neaten it.

Step 7
Leave the concrete to cure for a week. One trick is to cover it with plastic for the first few days. This slows down the speed at which the cement dries, and lessens the chances of cracking.)

Step 8
To remove the concrete bath, gently flex the plastic tubs until they separate from the concrete and remove them. You might need to turn them over and gently tap the base.
You’re all done! Now place the bee bath close to flowers, where the bees will find it. Pop some stones into the bath so that the bees have somewhere to land on, and fill it with water.
This is such a simple and fun DIY to do with the kids. You create a piece of art, you educate the children on the value of bees and other pollinators and you provide for nature.
Browse 1000’s of products available to you. Select your country to Shop Online.


