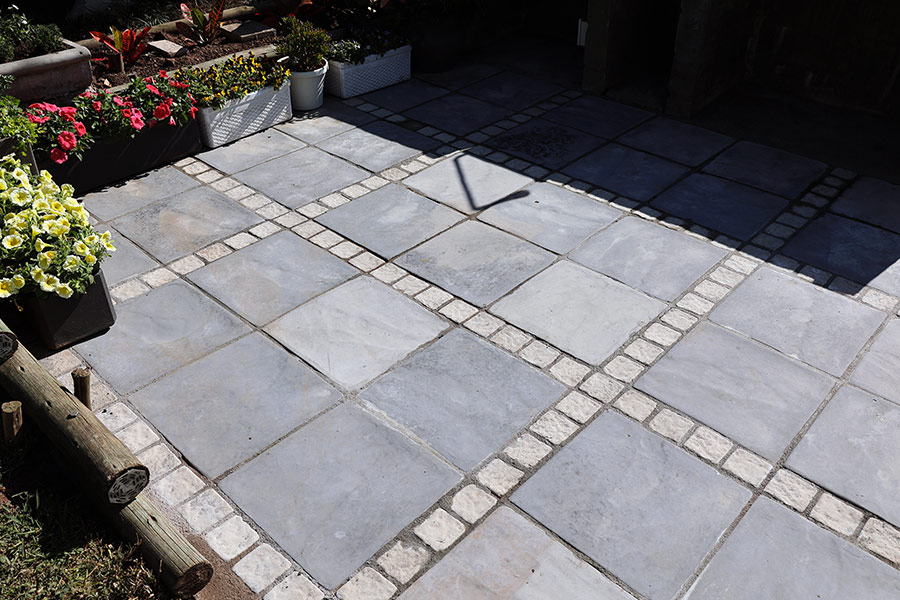
When it comes to paving, there’s a right way to do it and a wrong way. Make sure you get it right first time.

Step One
Start by removing all the paving blocks from the area and setting them aside.
Step Two
Rake the area with a metal rake to break up the soil clods and remove any unwanted stones and subsoil debris. Lower the level by about 30 – 40 mm to accommodate the river sand you will be laying down. You want the final level to be flush with the surrounding surface.

Step Three
Once the area is level and clean, lay down strips of weed guard (also known as landscaping fabric), ensuring a slight overlap to prevent weeds from squeezing through. Use a few piles of river sand to hold the weed guard in place, then cover the entire area with river sand, spreading it out evenly and levelling it using the back of the rake.

Step Four
Now, you could lay your pavers onto this sand, but over time there’s a good chance the pavers will shift, as rainwater runs between the pavers and people walk over them. This sand needs to be compacted and the best tool for this is a plate compactor, which fortunately can be rented from Builders.
A plate compactor vibrates and causes the sand particles to shift until they sit snugly together. Run the plate compactor until the sand has stopped bedding in, then check the height. You may need to add or remove sand, depending on your levels. Use a straight edge and spirit level to ensure the area is level, filling and compacting any low spots.

Step Five
With the base layer completed, run a building line or a piece of fishing line along the edges to ensure the pavers are as straight and level with the surrounds as possible. Position the pavers and knock them into place using a rubber mallet – not a four-pound hammer. Ensure each block is level in all directions and with the previous paver. A handful of sand may occasionally be needed to raise a corner. Pavers are often angled slightly on the edges, so when the base touches you will have a gap at the top – don’t stress, you are going to fill those later.

Step Six
Once all the pavers are in place, mix some dry cement into some river sand and pour this into the gaps, gently brushing away any spillages as you go. Give the area a gentle watering. When the mix dries, it will hold the pavers in place.

Step Seven
The gaps between the pavers are filled, but this area might not be perfectly square and there may be some gaps between the last paver and the surrounds. Mix a load of cement and fill these gaps; this will finish off the edging and hold the outer pavers in place. Once everything has dried, this area can be used again.
Do it properly the first time and you’ll be rewarded with a paved area that’s the envy of your neighbours. Builders stocks everything you need for this DIY, both in-store and online at builders.co.za. Certain Builders stores also offer tool rental for these bigger jobs, where they can make all the difference.
Browse 1000’s of products available to you. Select your country to Shop Online.


