
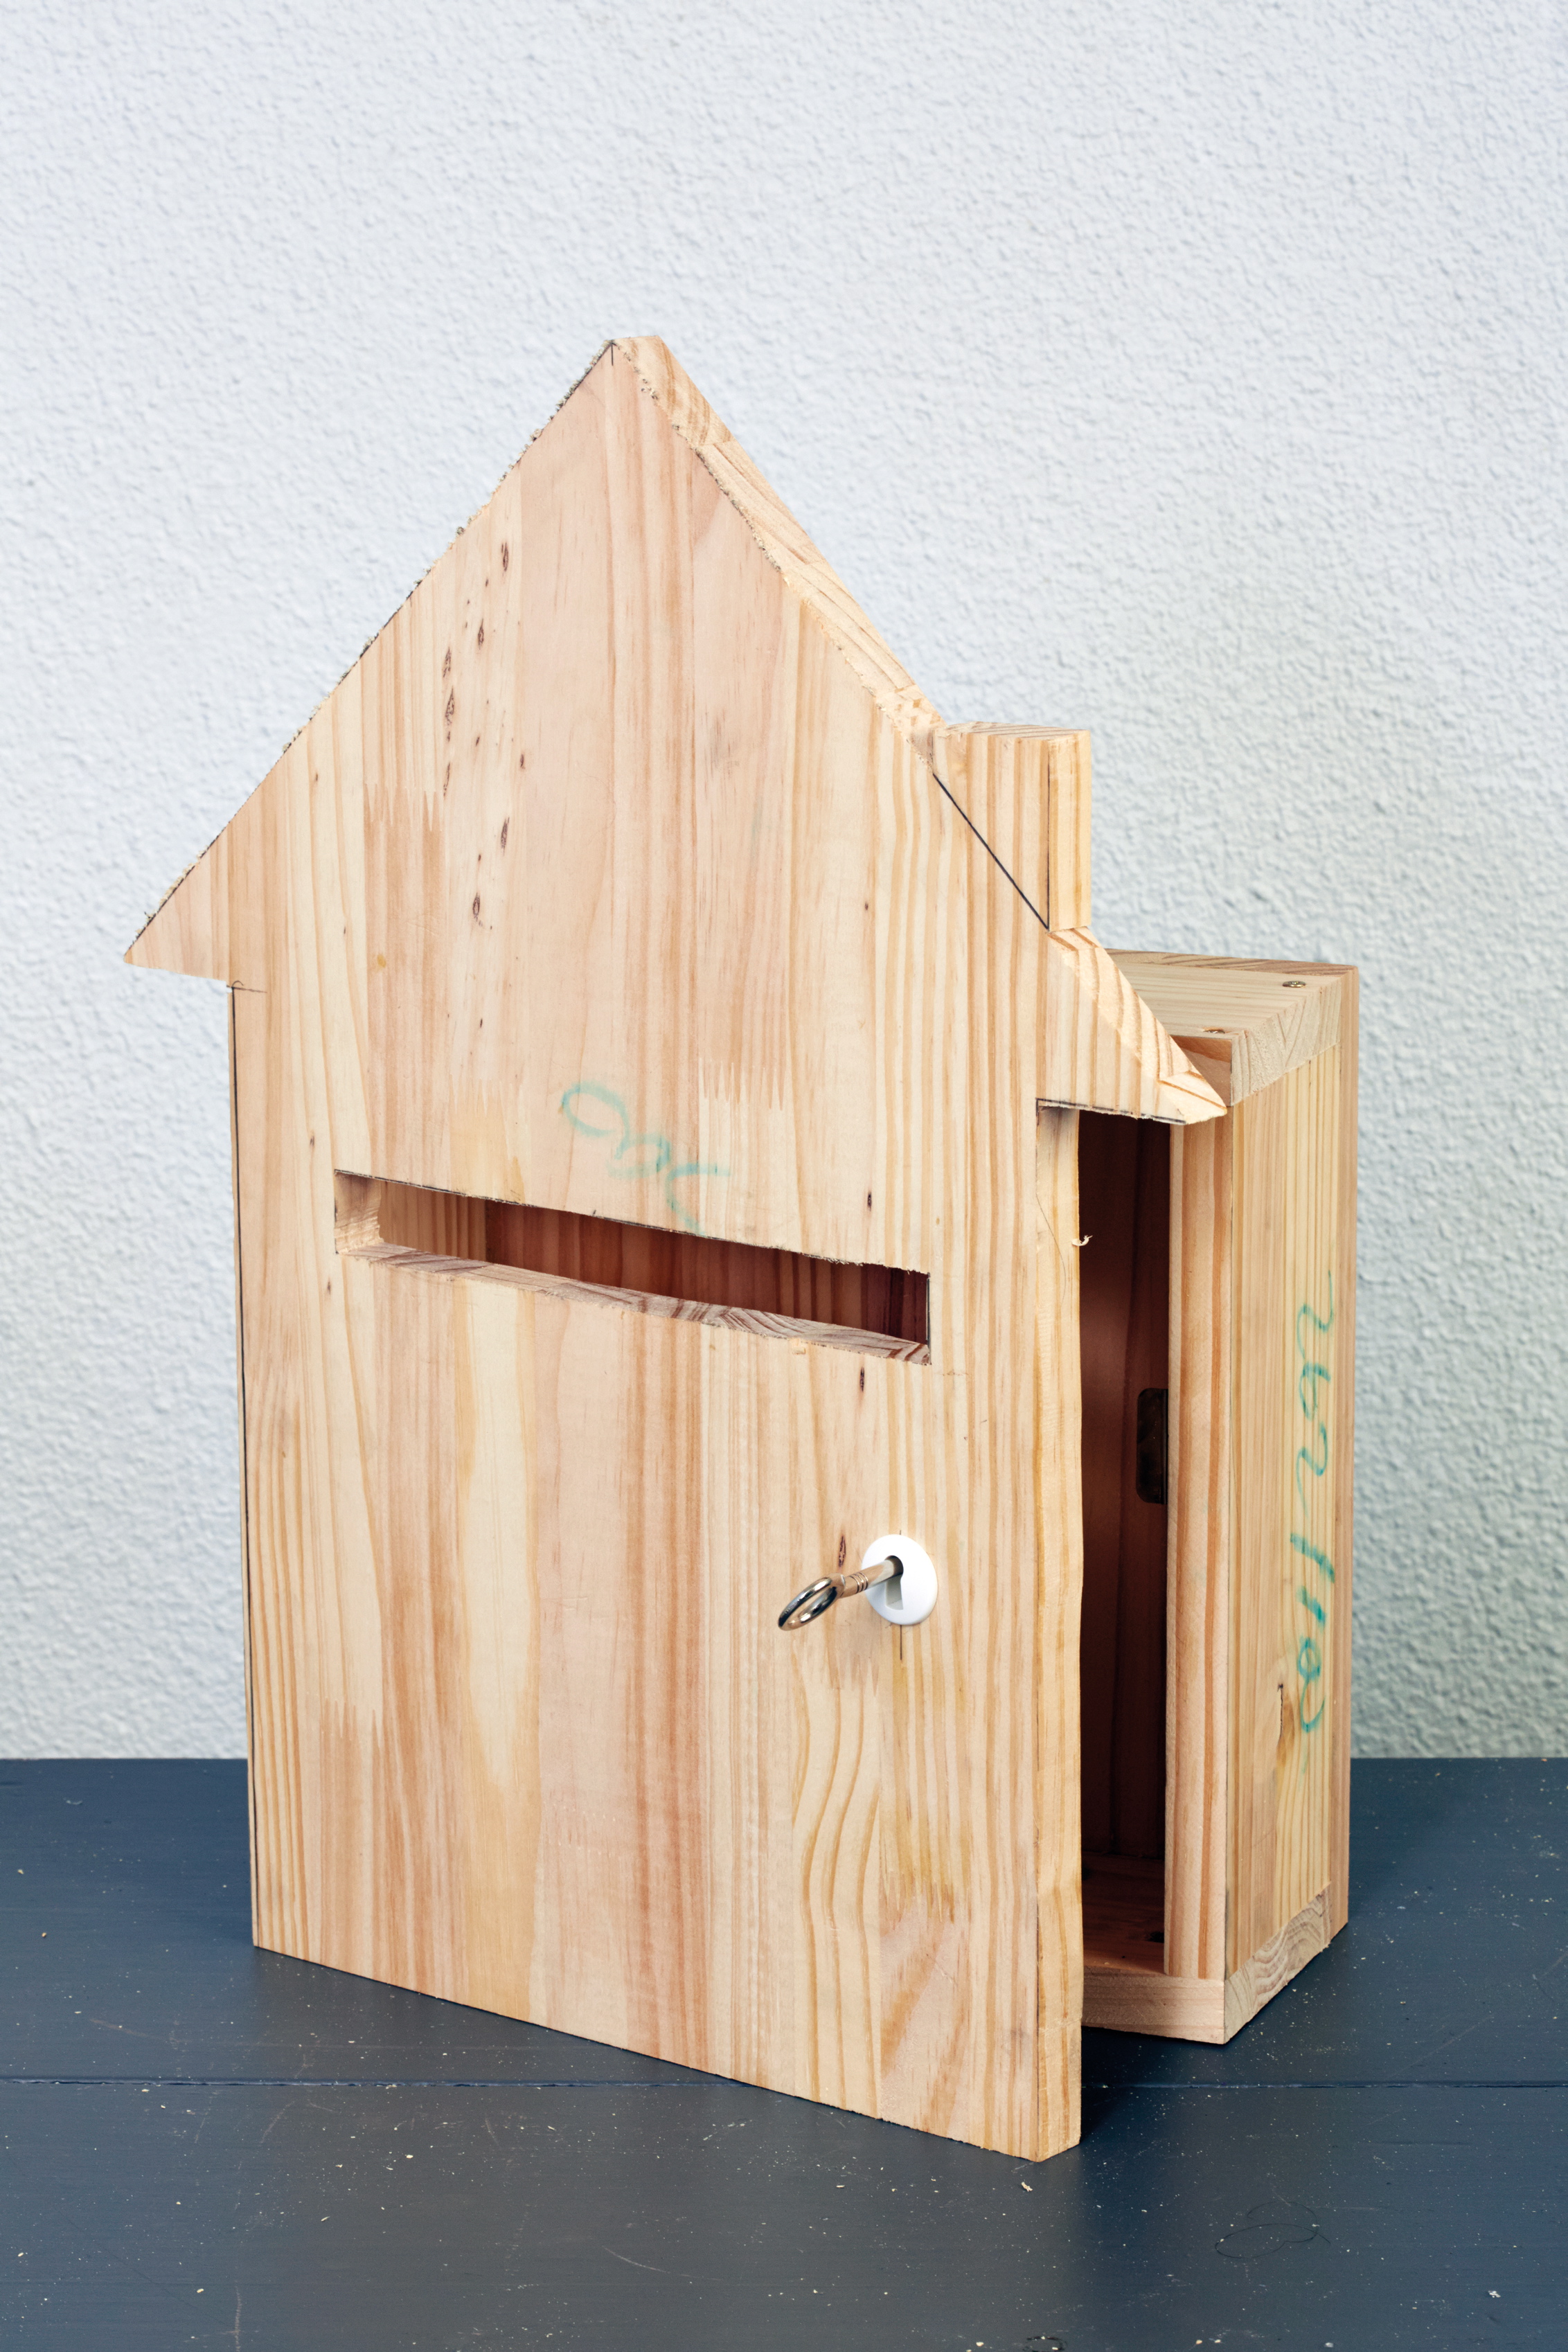
Despite all the electronic means at our disposal, there’s still nothing nicer than receiving a handwritten letter in the post. We show you how to build a bright new ‘home’ for your mail.
- 800 x 450 x 19mm laminated pine, cut to the following sizes:
- one 500 x 450mm (front)
- two 300 x 100mm and
- two 326 x 100mm (sides)
- one 300 x 300mm (back)
- 45mm screws
- 2 hinges
- lock and key
- paint of your choice
- measuring tape
- pencil and ruler
- saw
- jigsaw
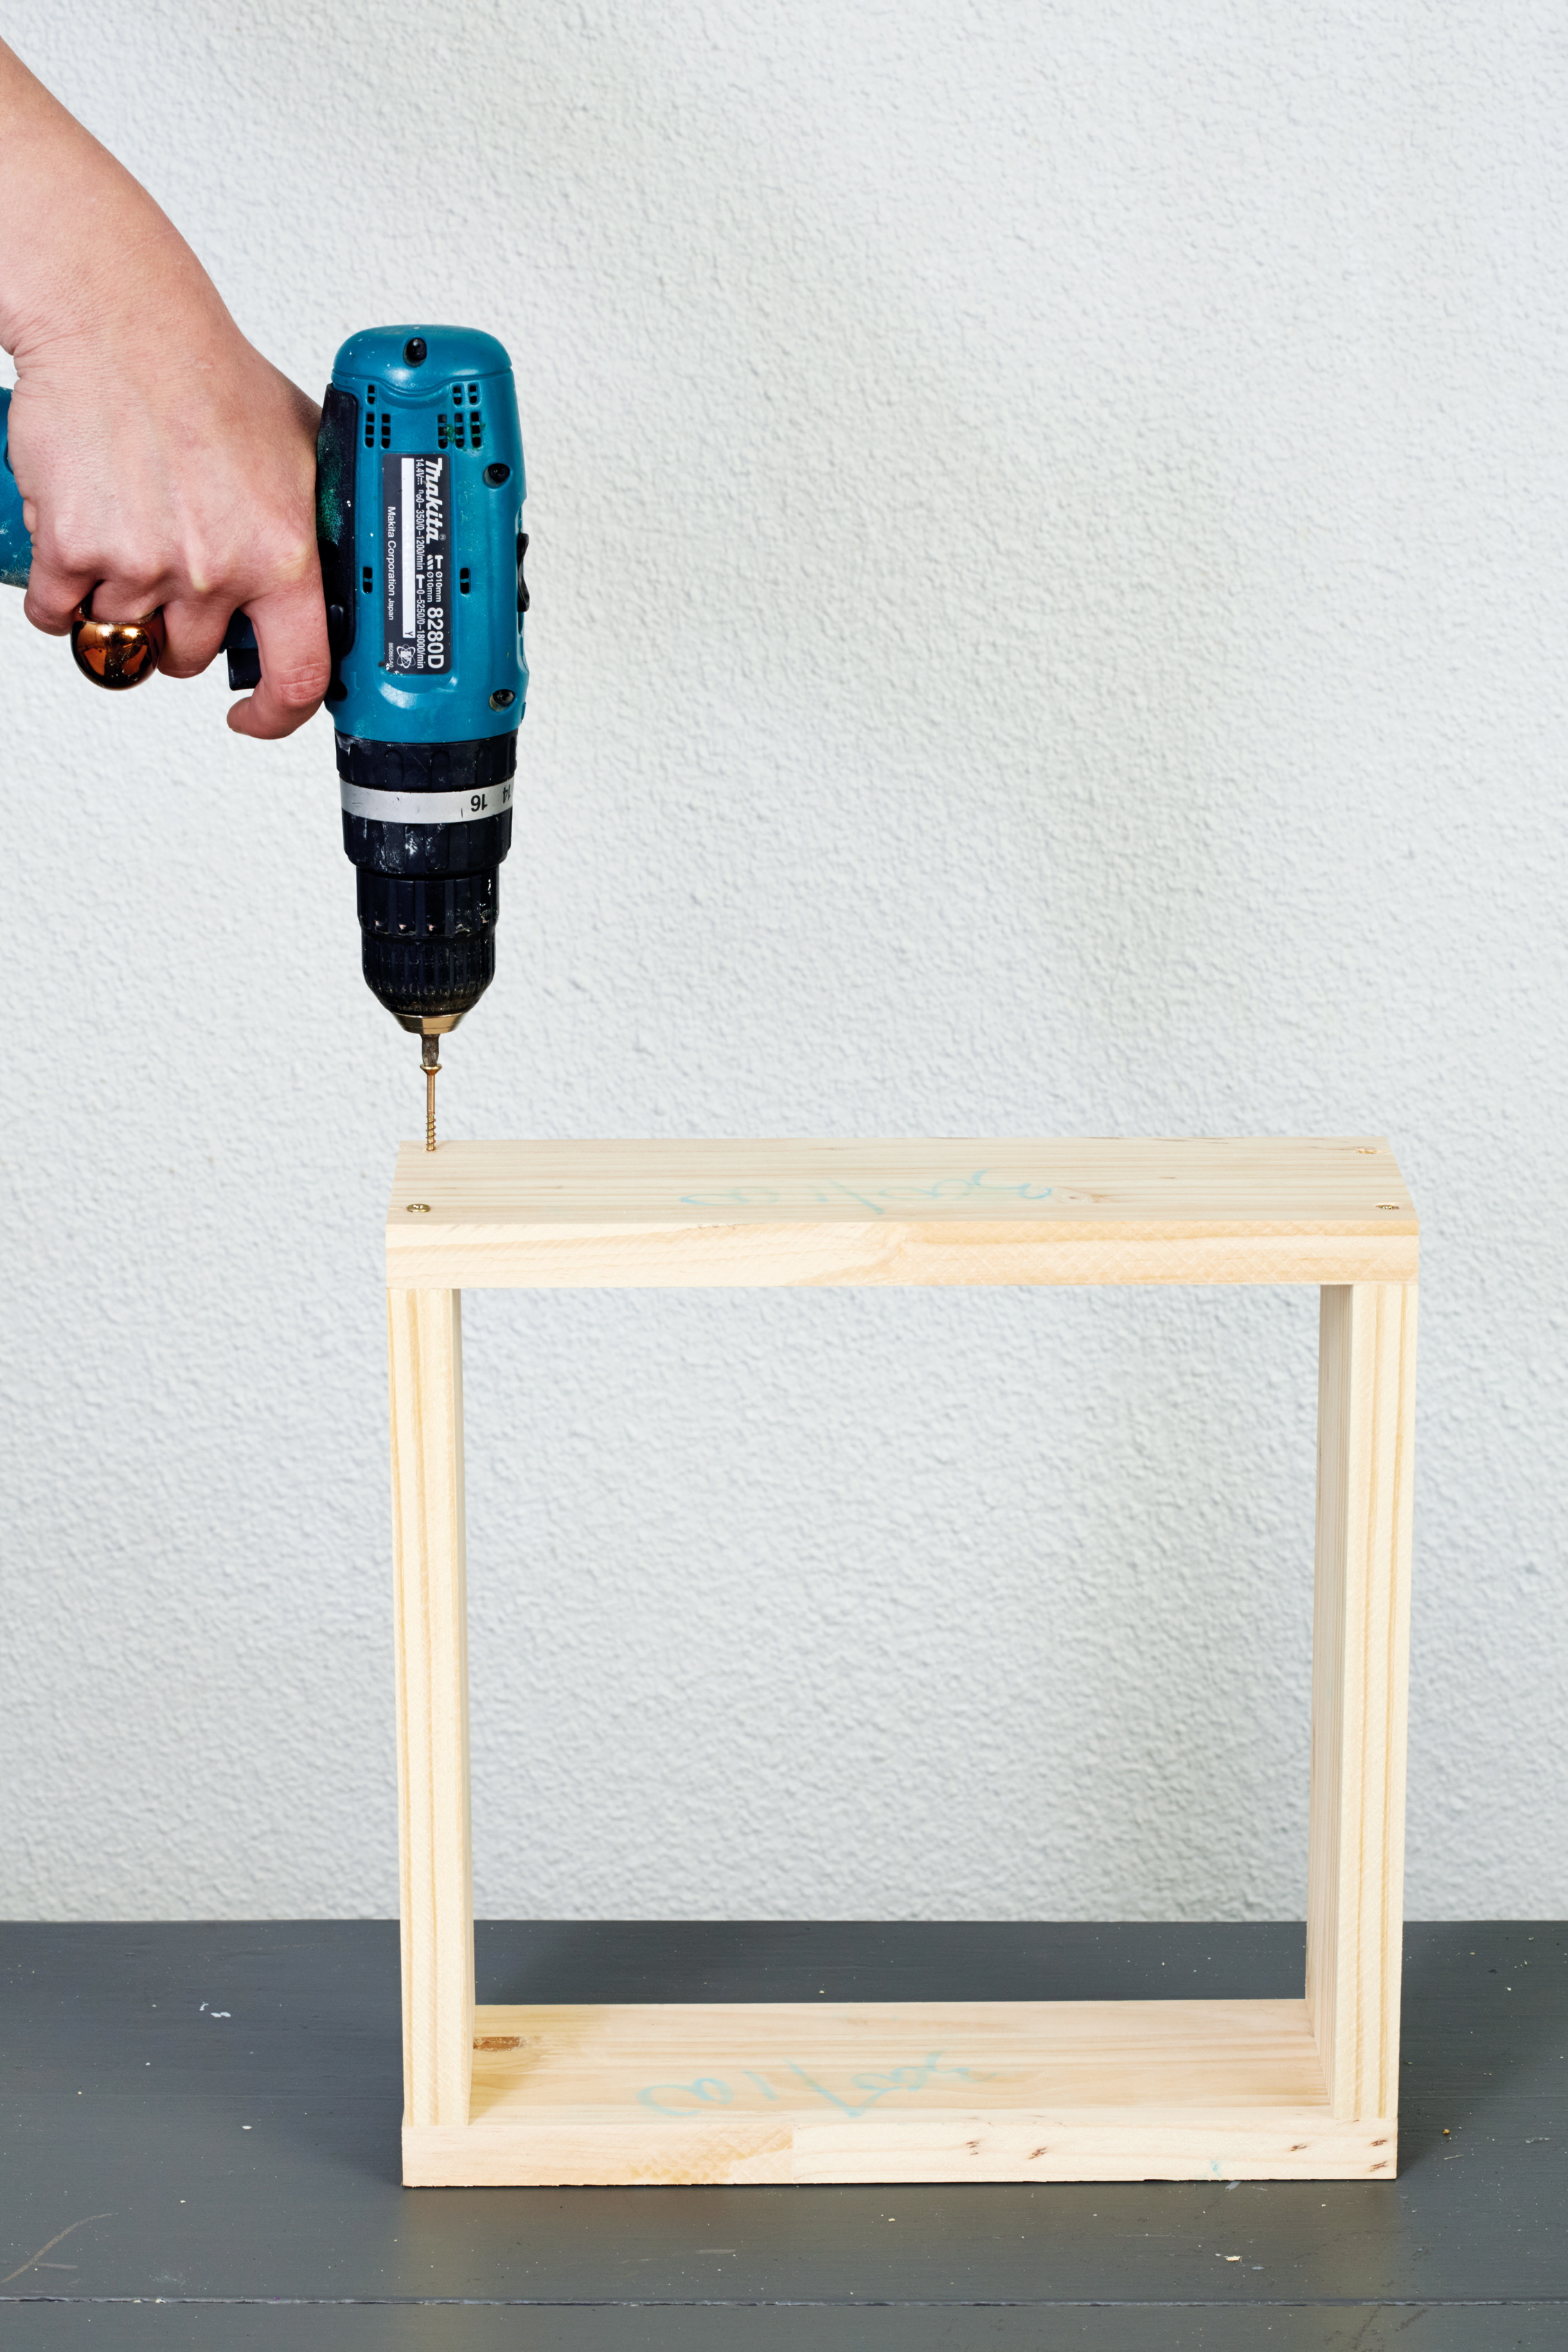
Step 1
Make a square framework by joining the two 300 x 100mm pieces between the two 326 x 100mm pieces. Use at least two screws at each corner.
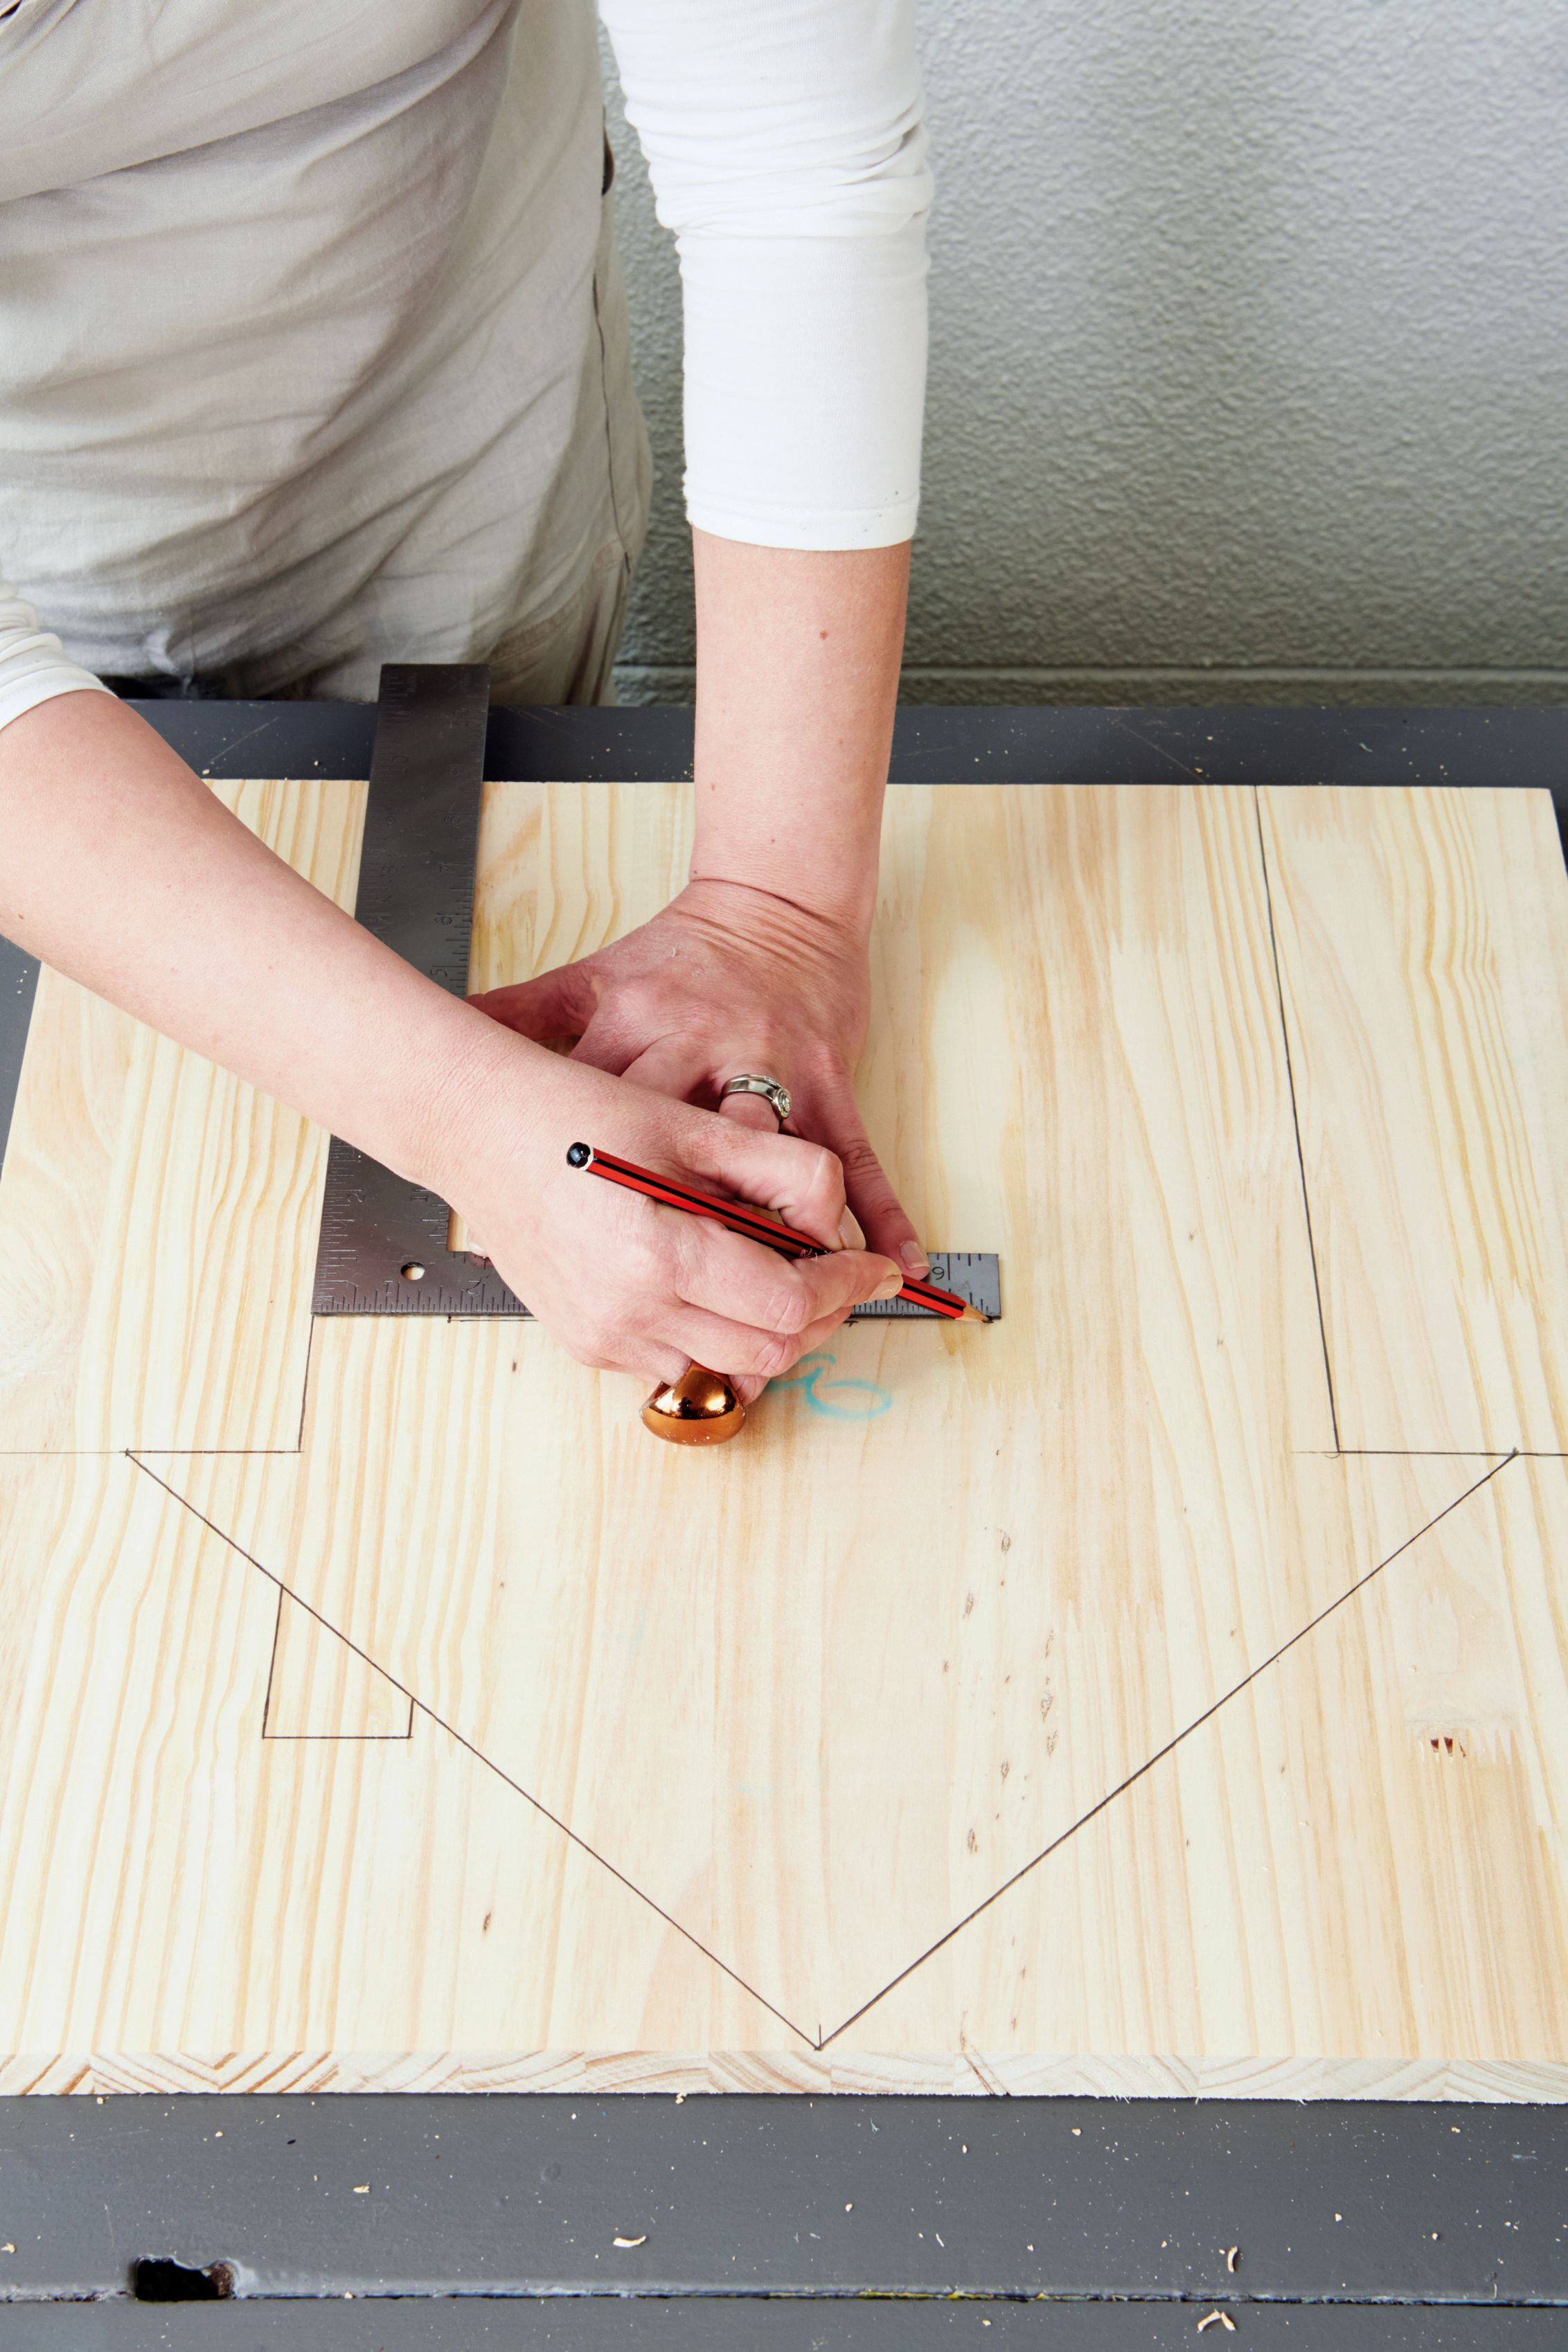
Step 2
Using the pencil and ruler, carefully draw the outline for the front of the postbox (forming the ‘house’), as well as the slot for the mail, on the 500 x 450mm piece of laminated pine.
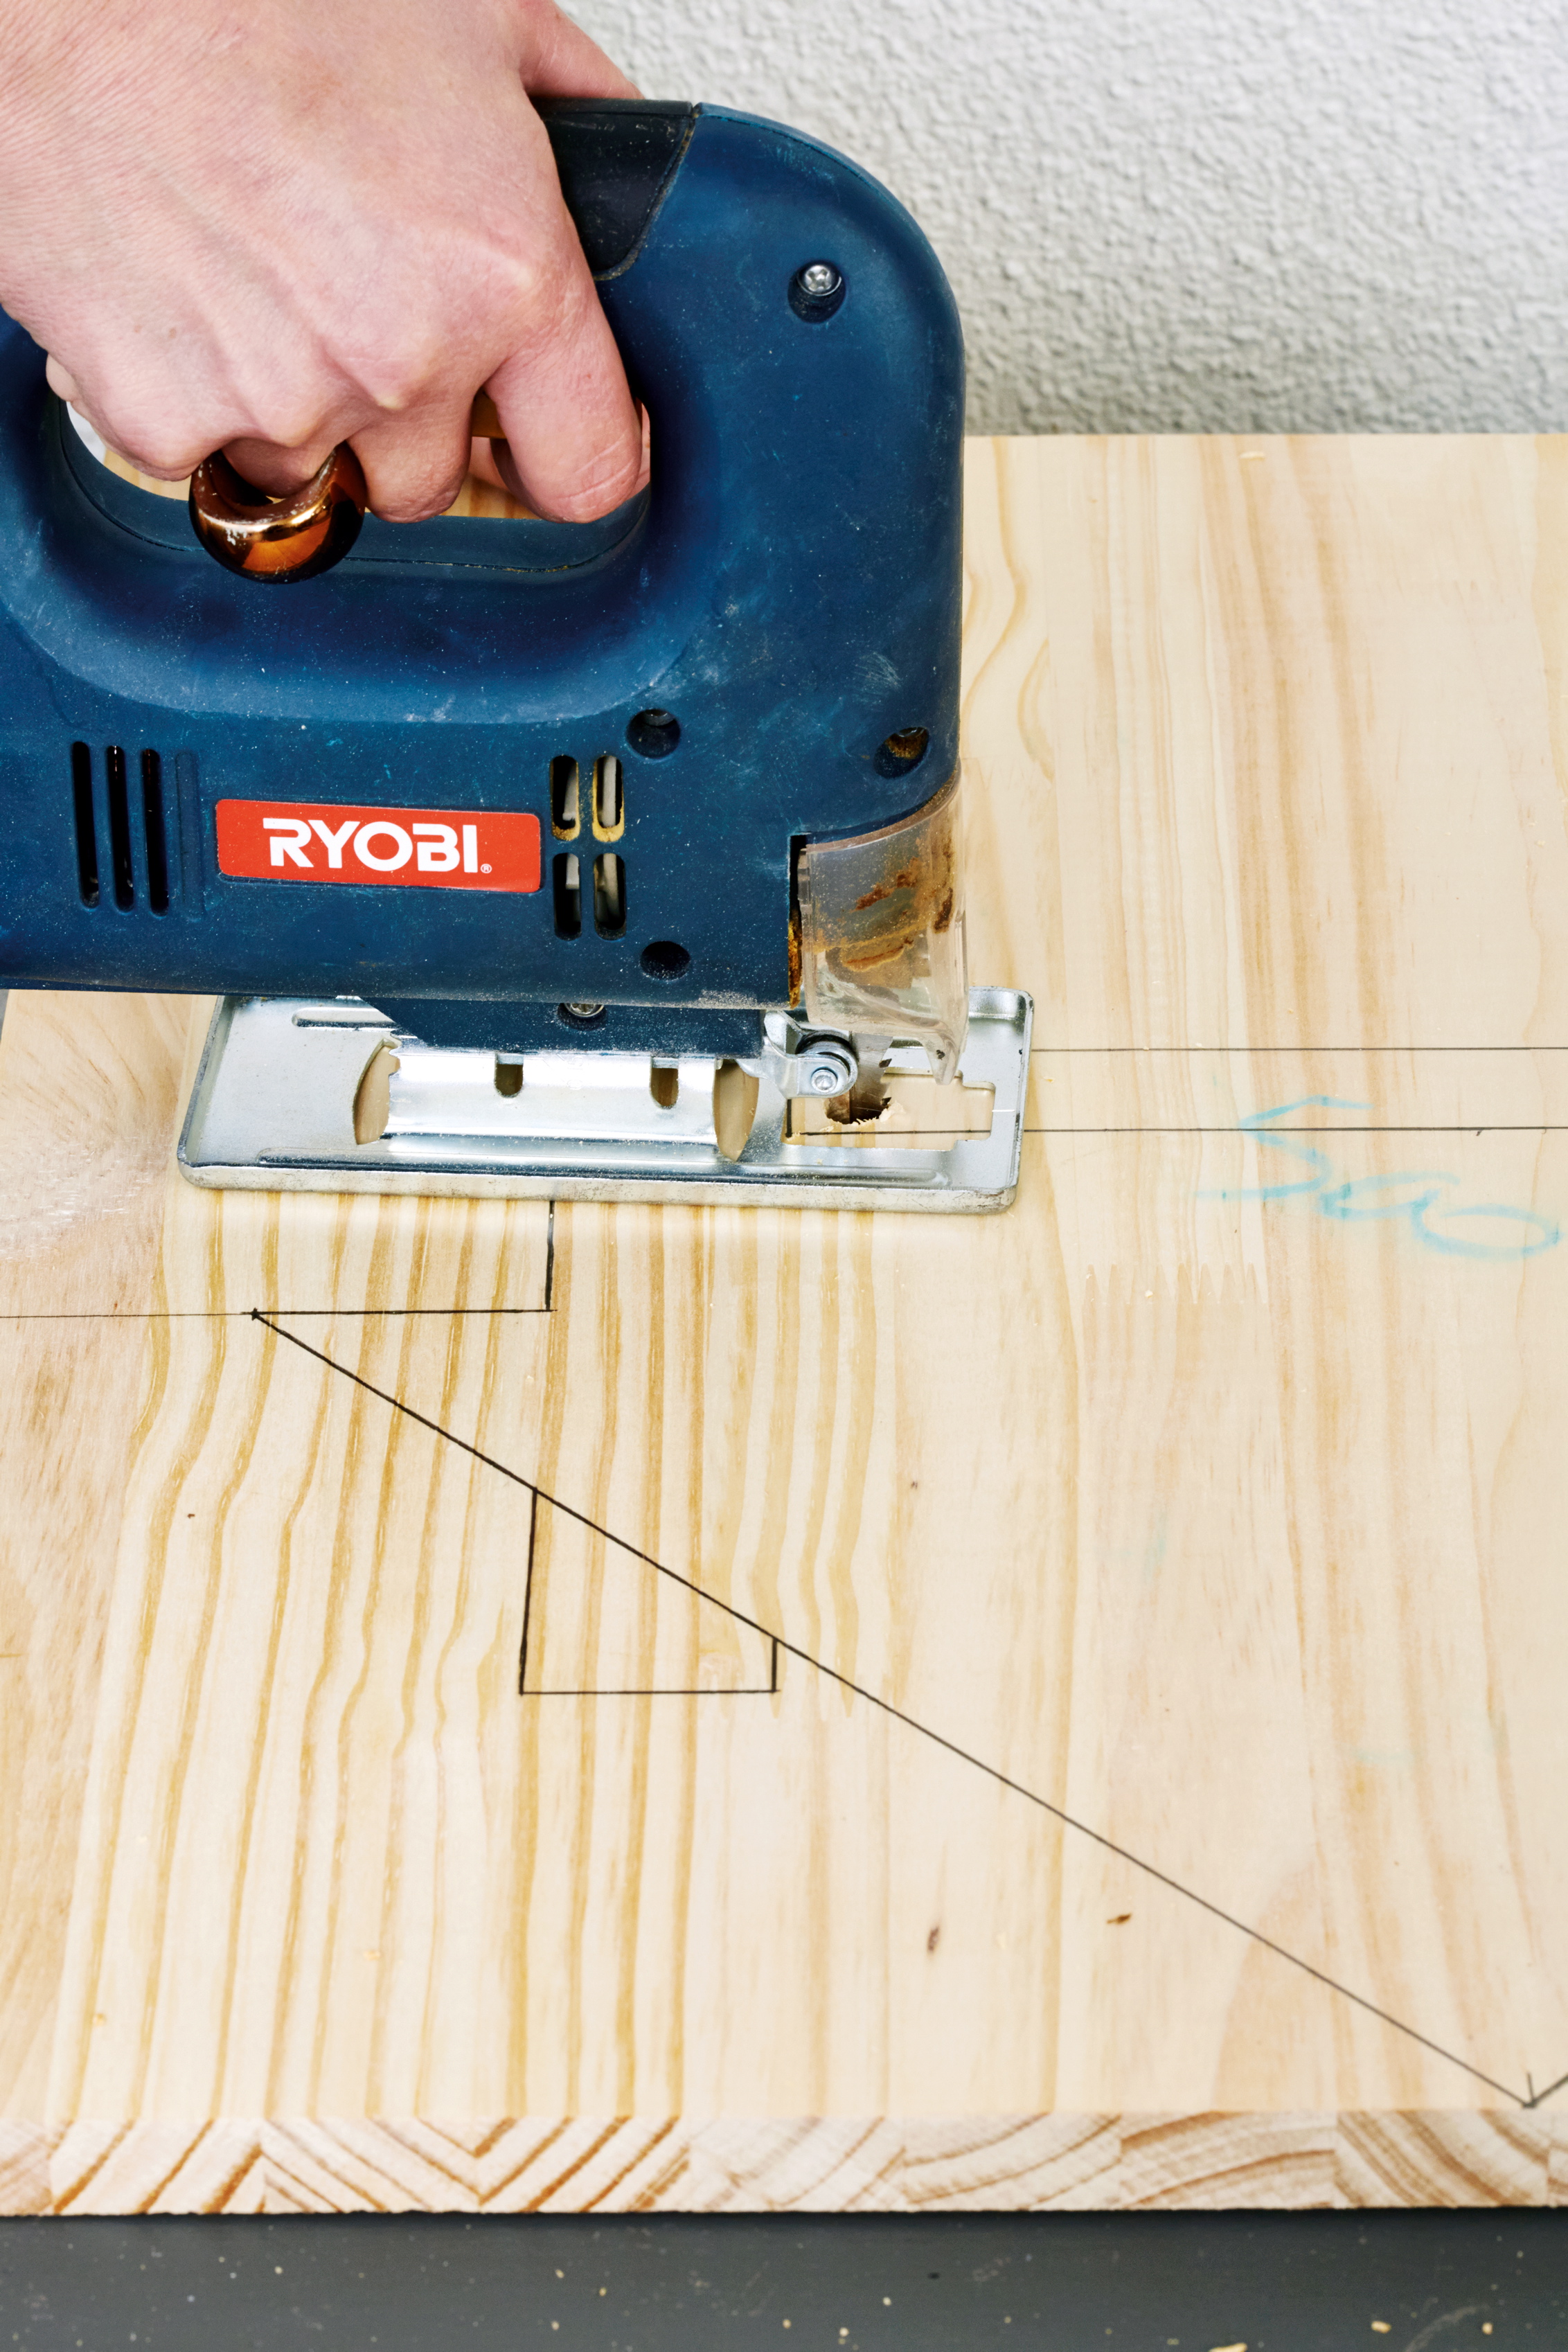
Step 3
Using the jigsaw, cut the shape of the house. To cut the slot, first drill a hole in the corner so that there is space for the jigsaw blade; then saw out the slot carefully.
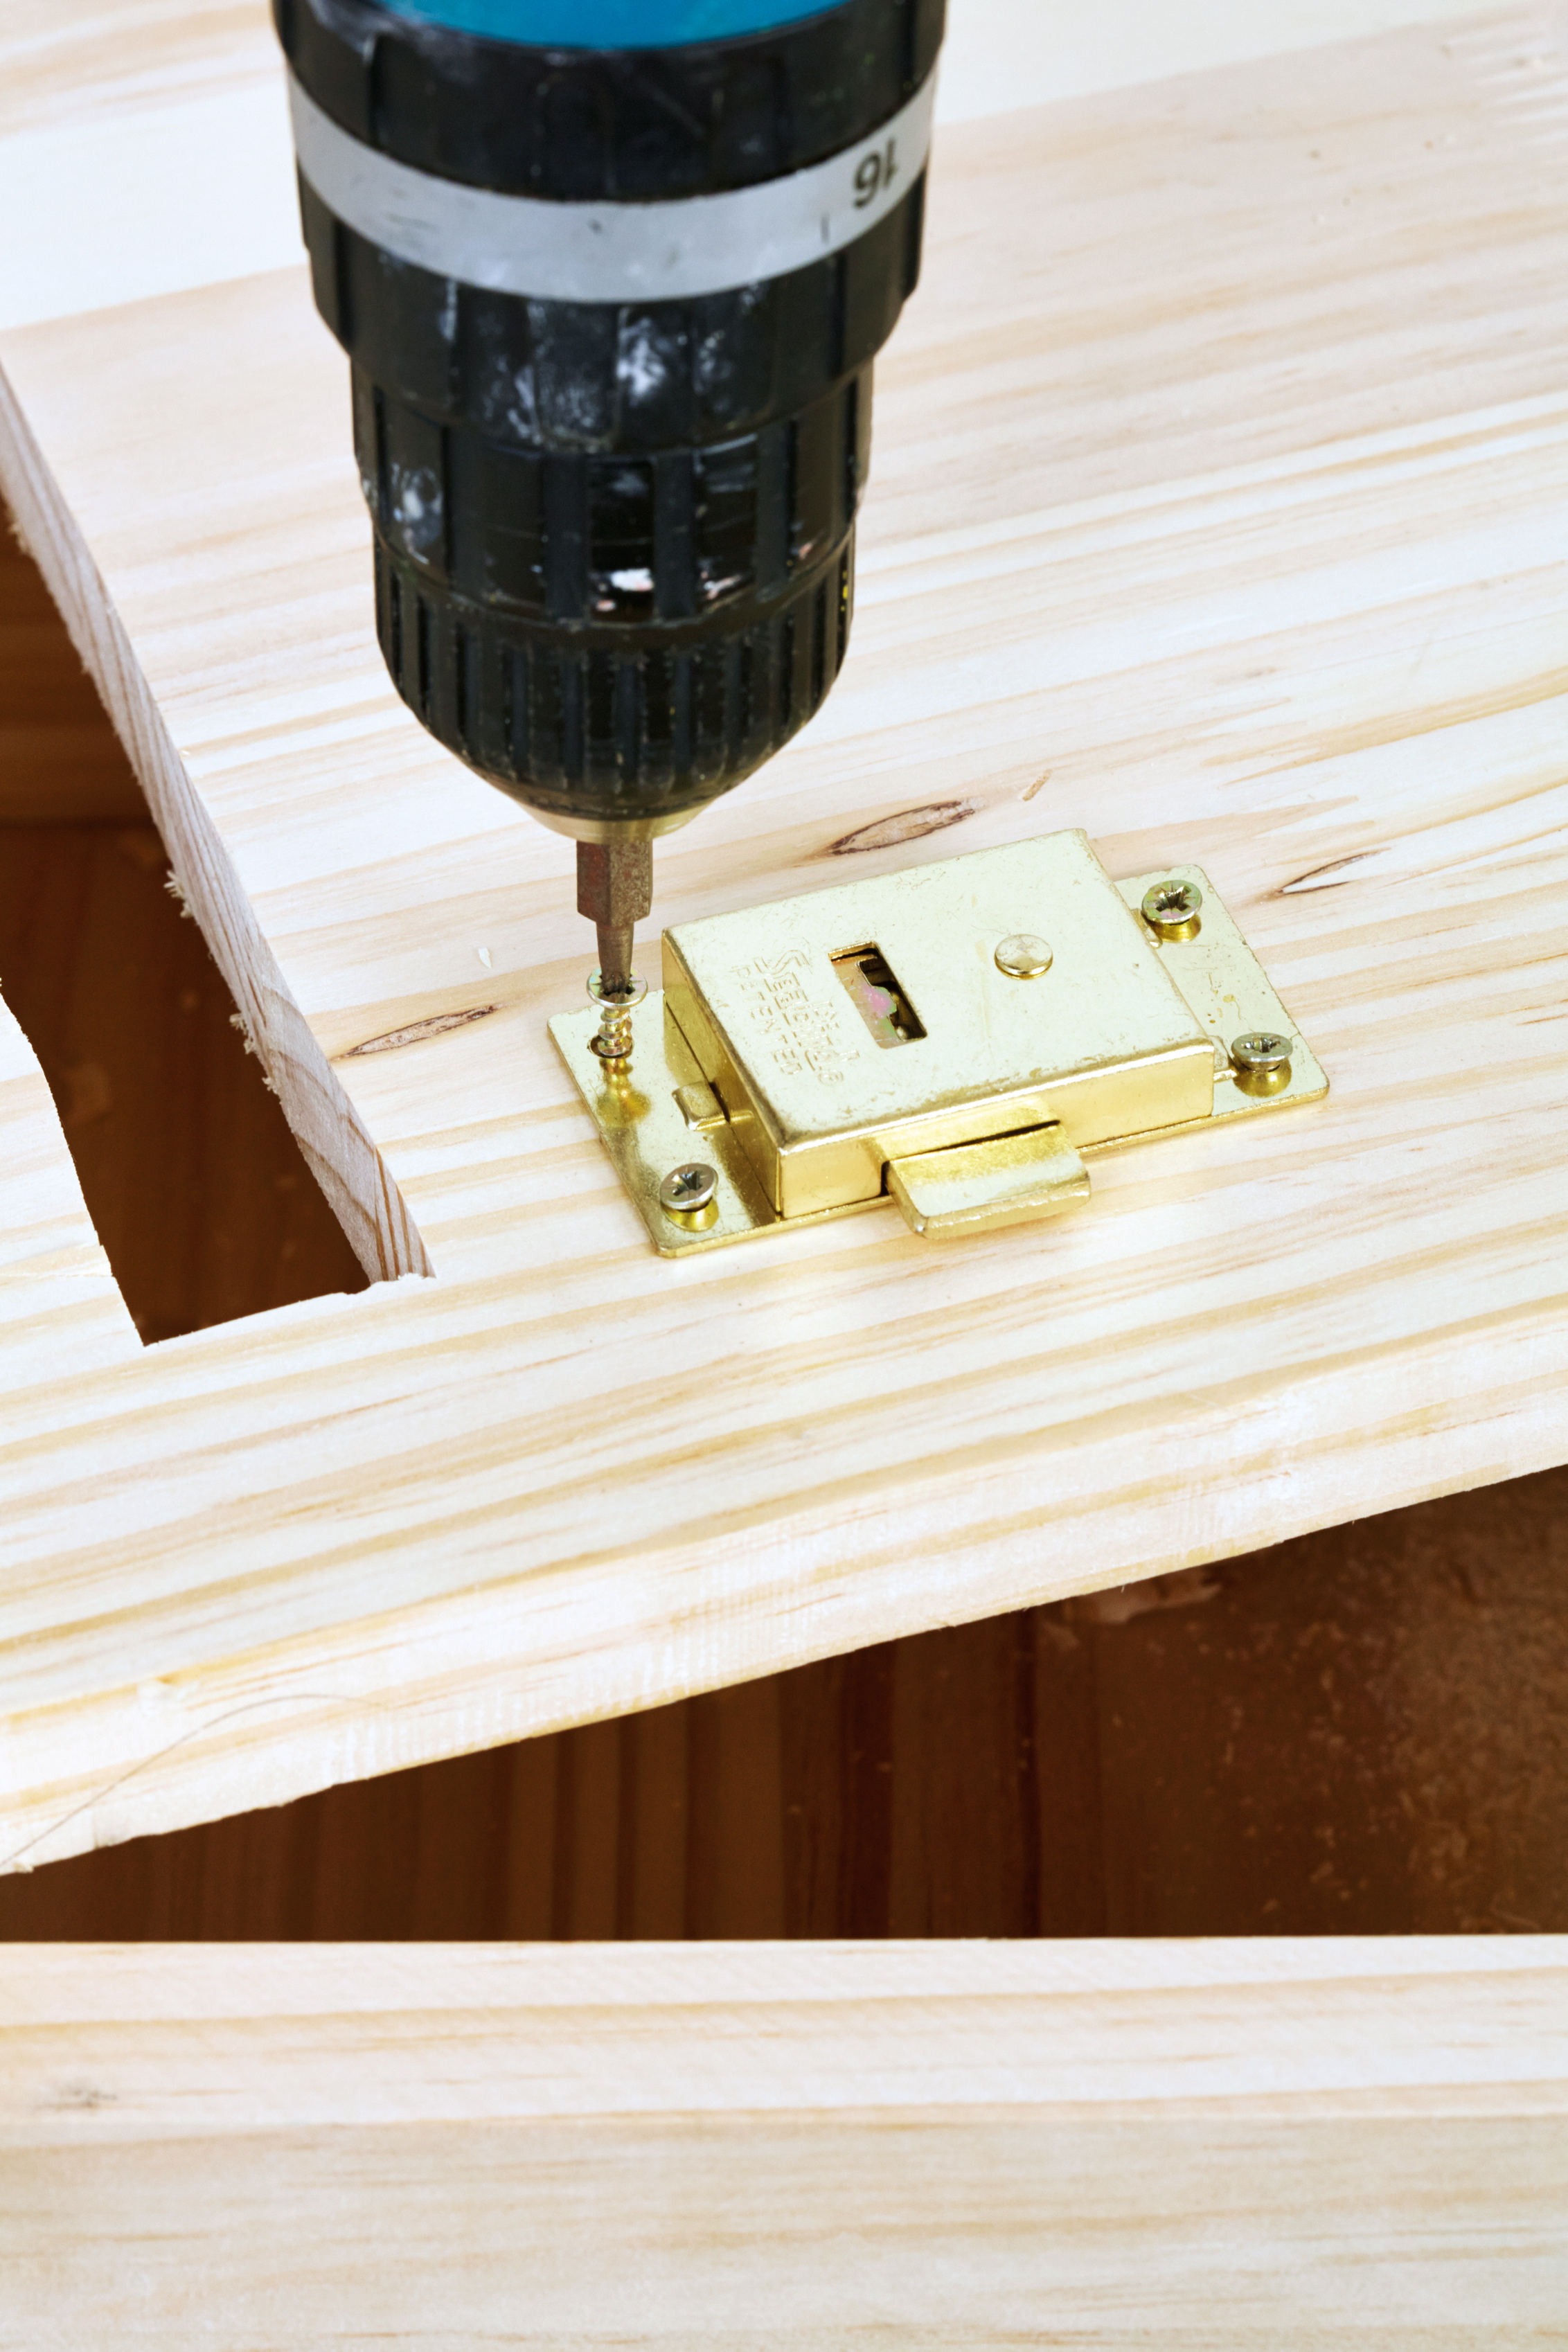
Step 4
Measure and mark where the lock has to be screwed in on the inside of the door. Drill a hole for the key through the front and fit the lock.
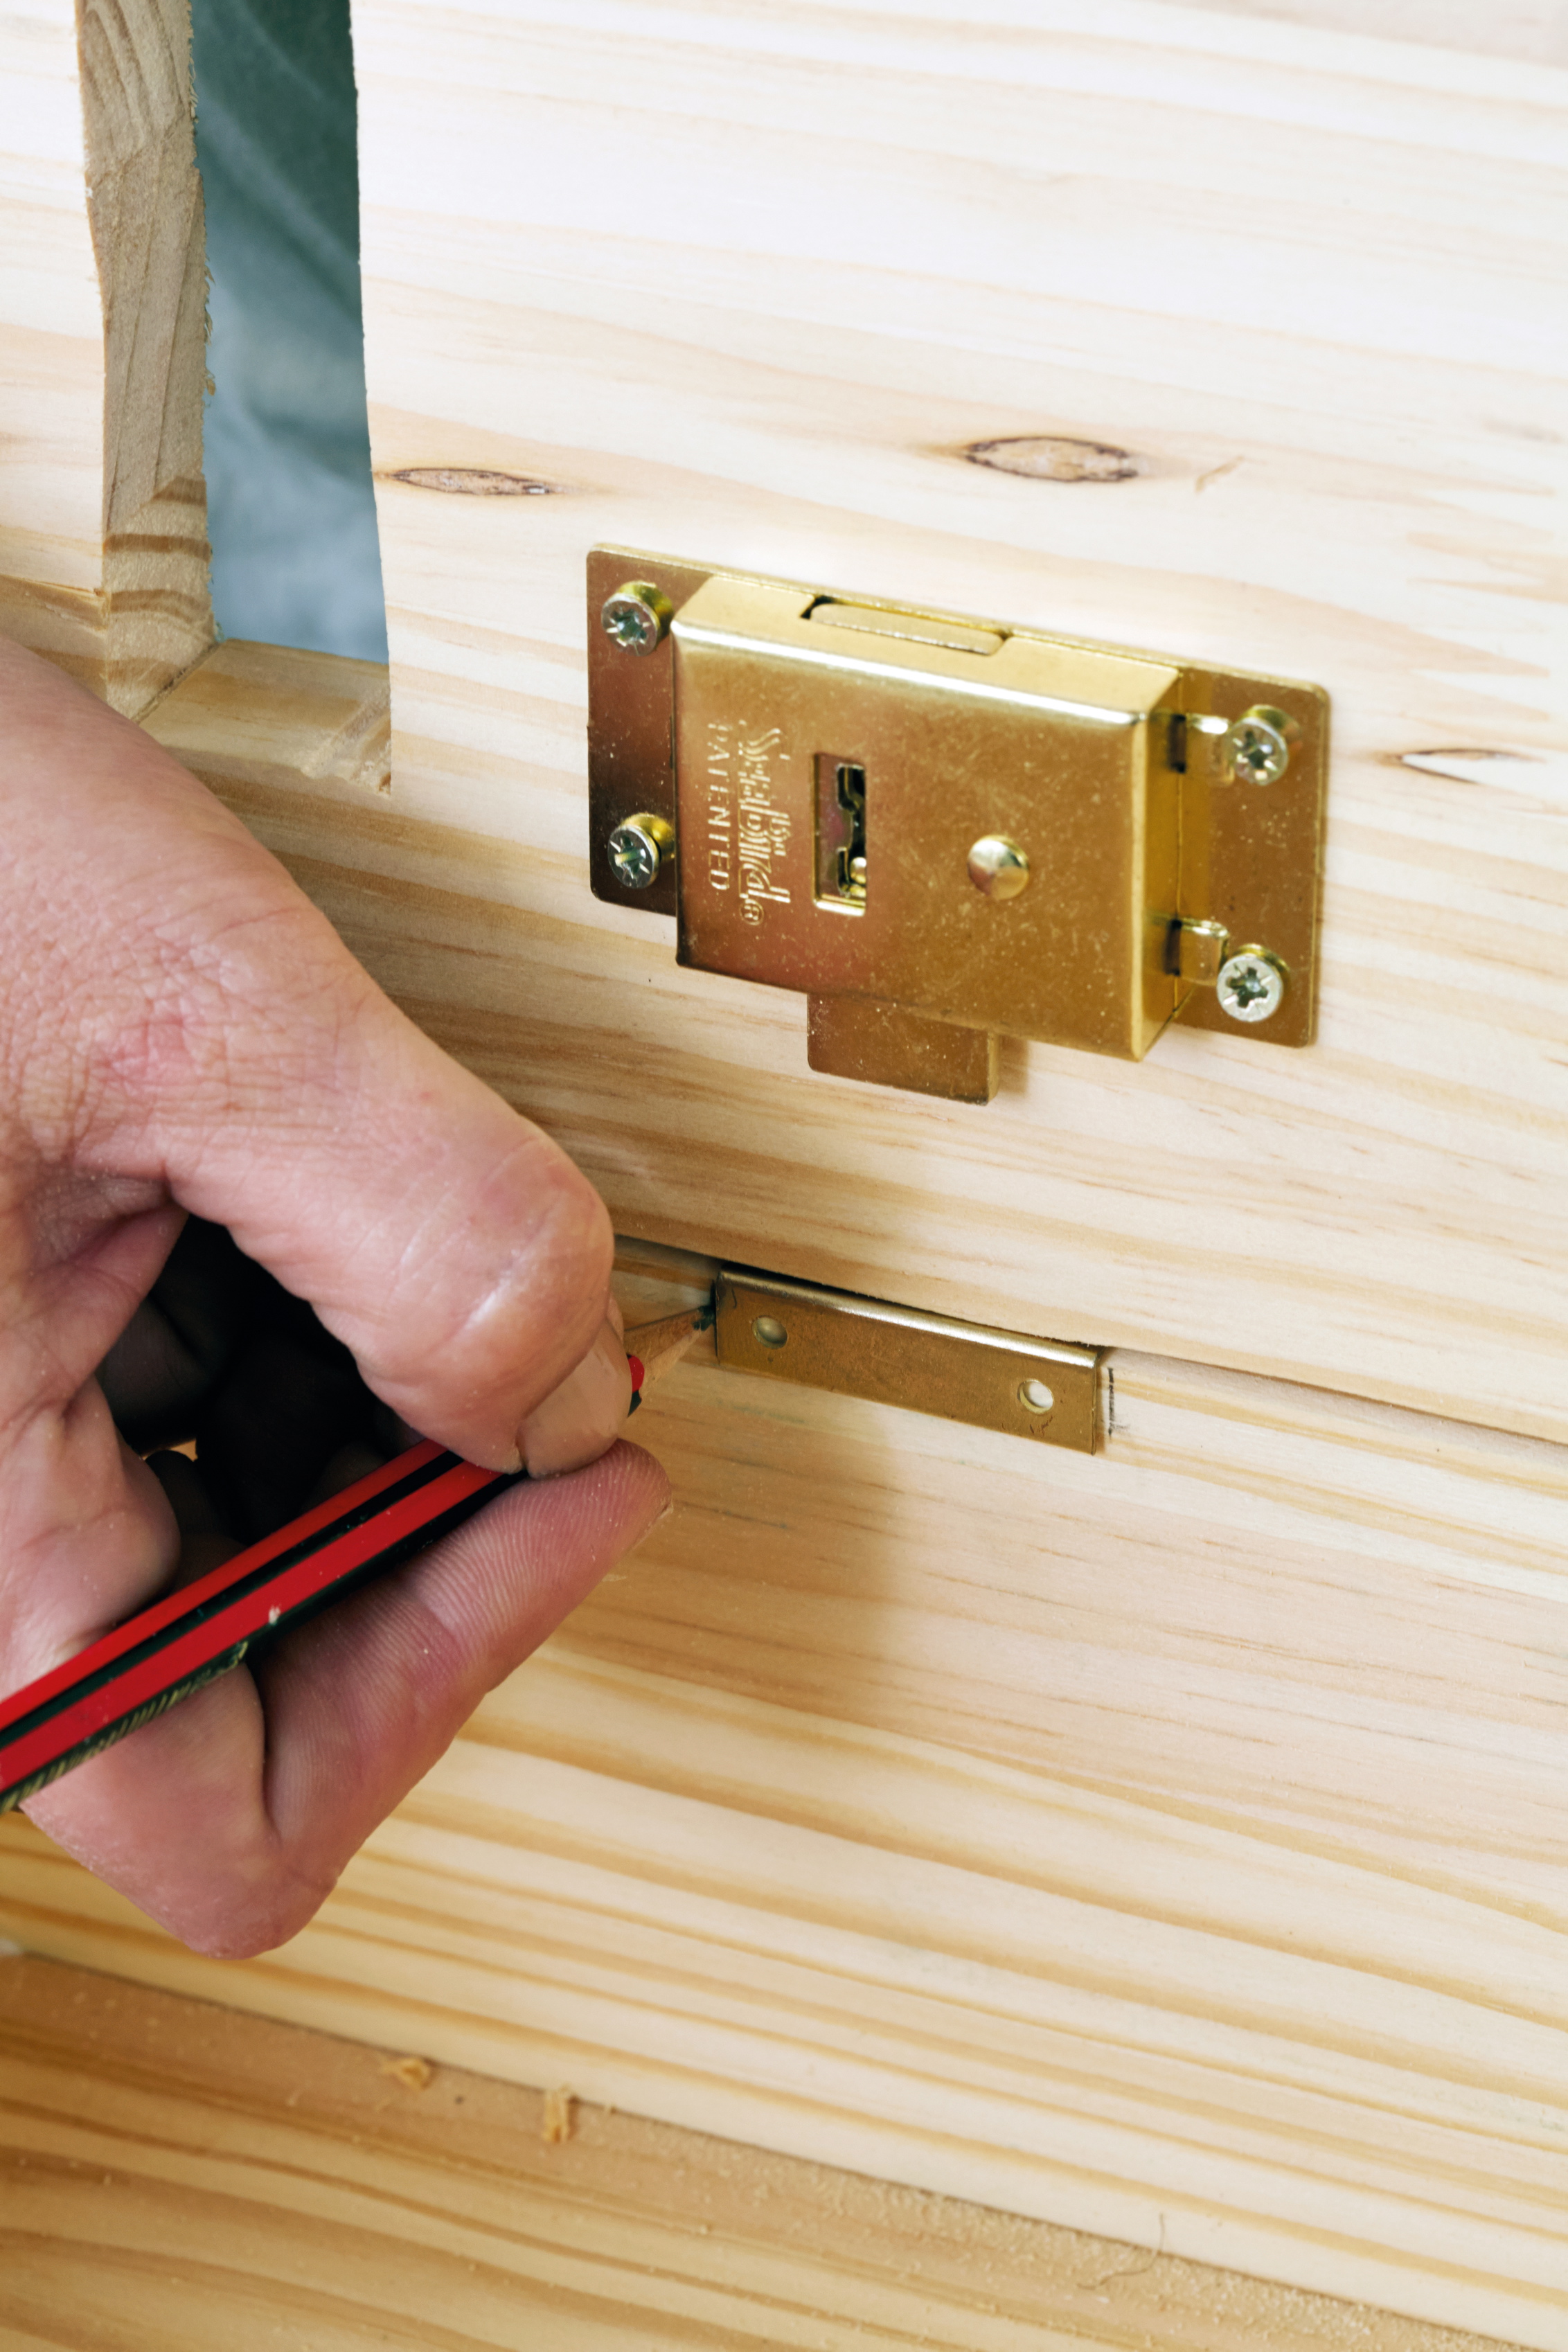
Step 5
Mark the position of the stop plate on the inside edge of the side and fit it to the side.
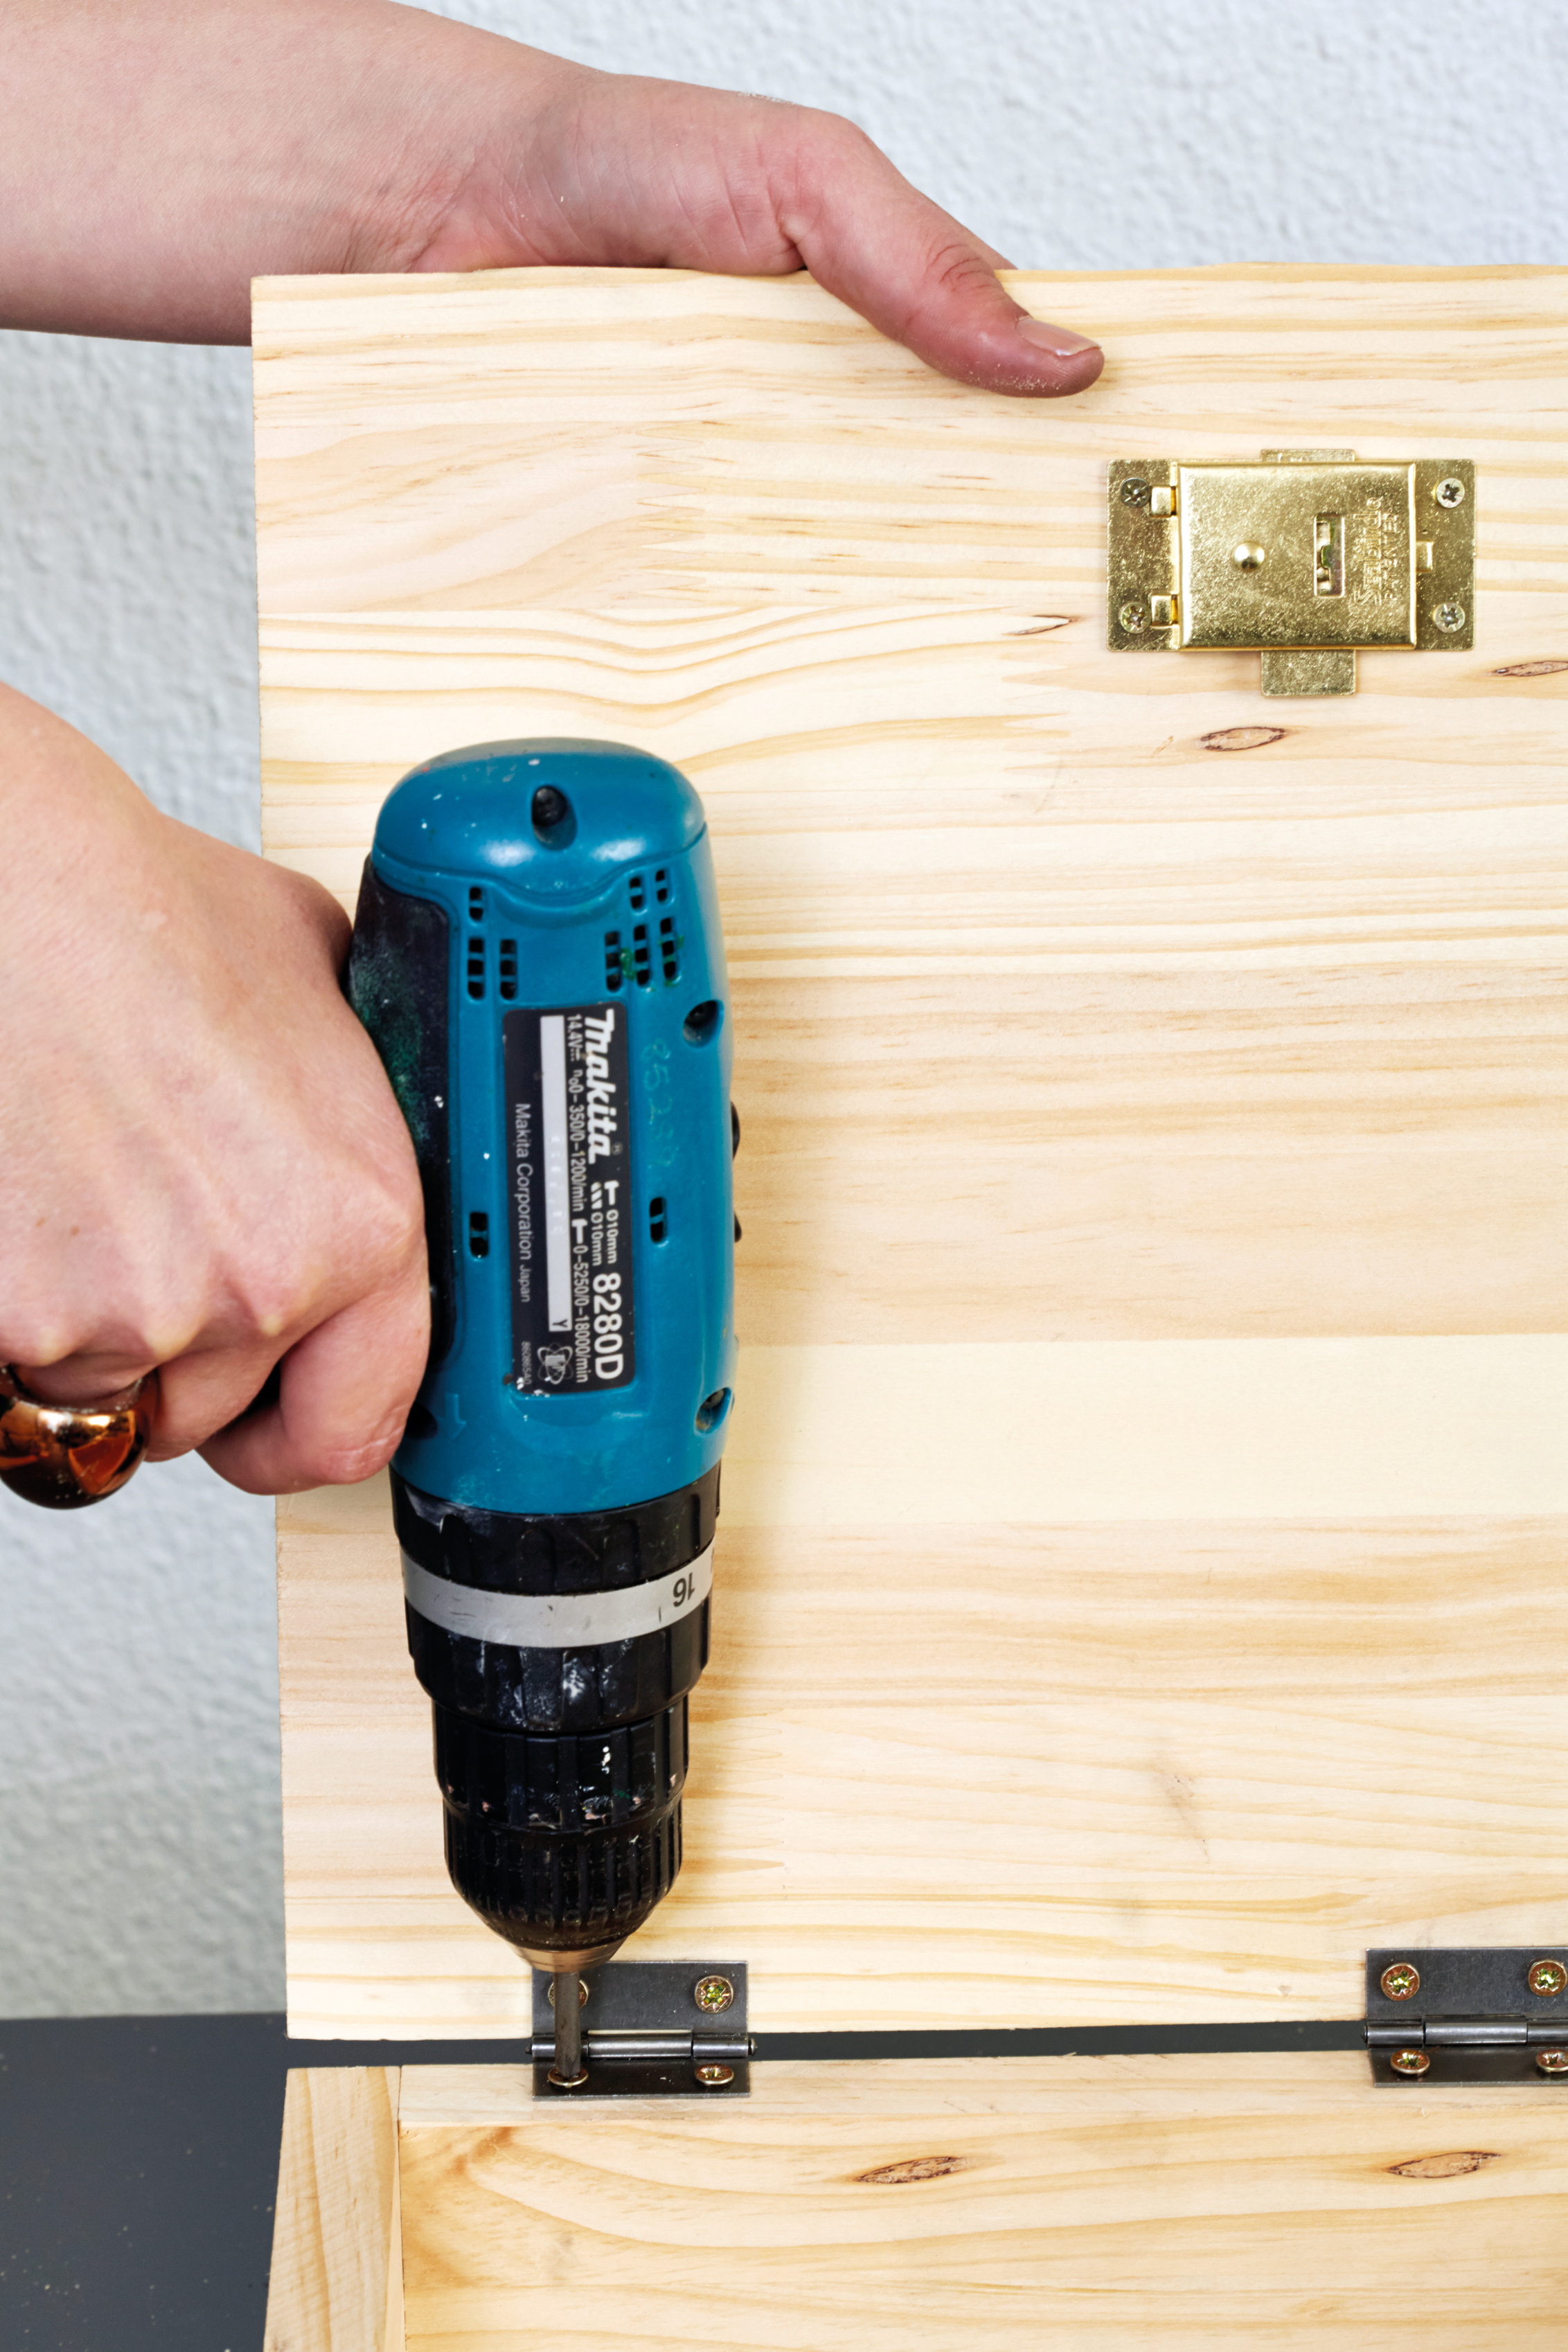
Step 6
Now screw the hinges in place.
Step 7
Finally, attach the back part of the box.
Note: It’s easier to fit the hinges and lock parts before you attach the back.
Your postbox is now ready to be painted: we chose Plascon Velvaglo in the colour Burnt Orange.
Credits
Referenced from Gallo images / Home Magazine
Browse 1000’s of products available to you. Select your country to Shop Online.


