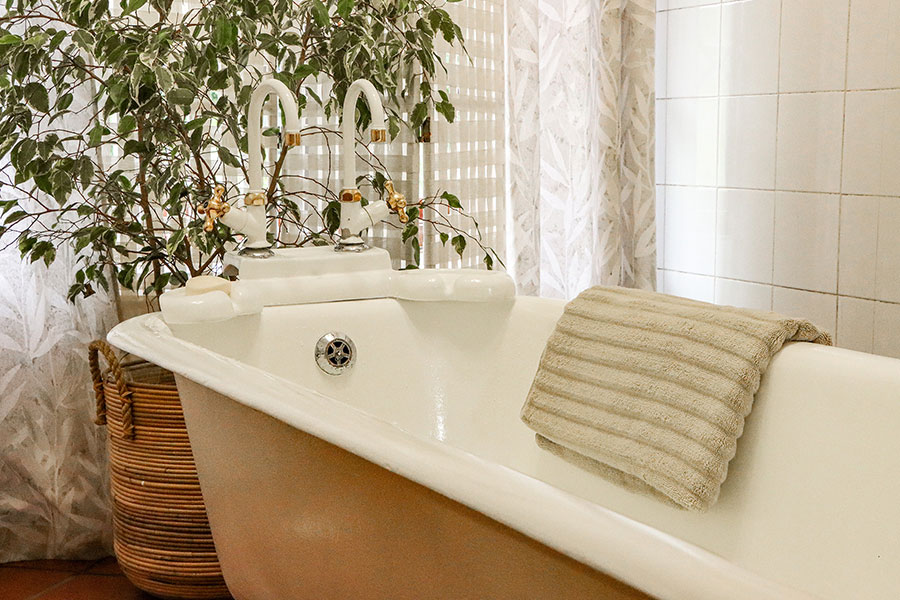
Don’t replace that beautiful old bath – give it a new lease of life with this top-quality product from Rust-Oleum.

Start by turning off the water to the bath and then remove the taps, drain outlet and any other metal hardware. (If you can’t or don’t want to do this, you can cover the fittings with masking tape.)

Start preparation by removing loose paint with a wire brush, then sanding any paint chips until the surface is smooth. Use a 400-grit sandpaper for a great finish. After sanding, wipe the bath down with a damp cloth and then scrub the bath with a scouring pad and acetone, to remove contaminants such as soap. Acetone evaporates quickly, so the surface will be ready to paint by the time you’ve got the paint mixed!

Rust-Oleum Tub and Tile is a high-quality two-part epoxy acrylic. It is solvent-based, so work with the windows open for ventilation and wear rubber gloves. Tub and Tile can be thinned with 10% isopropyl alcohol or acetone if necessary (for penetrating deep scratches, for example).
The kit is sufficient to do two coats of a complete bath, but if you’re doing a smaller area, you can mix the appropriate amount at a ratio of four parts of Part B with one part of Part A (the activator).

Clean up your brush and roller using acetone or thinners before the paint has dried on them.

We love this sort of job, where a great quality piece of vintage hardware is given a second chance at life. Everything you need for this DIY, as well as the rest of the Rust-Oleum range, is available at Builders, both in-store and online at builders.co.za.
Browse 1000’s of products available to you. Select your country to Shop Online.


