Knowing how to join metal is a skill worth knowing and can be the difference between fixing something or throwing it out.

The art of soldering
We’re sure this has happened to you: you’re mowing the lawn, turn around at the end of the garden and ‘zap!’, the mower cord falls victim to its own mower and is a write-off – or is it? Not if you know how to solder! Instead of simply twisting the wires together and taping the ‘fix’ up with insulation tape (which is unsightly and can also pull apart easily, making it unsafe), we’re going to do it the right way.

Doing it right means we need to solder the join. Soldering for electrical connections is an easy but fundamental skill for homeowners and DIY enthusiasts. Whether you’re working on circuit boards or simply joining two wires together, the principle remains the same.

The art of soldering

Soldering for a strong, permanent and safe electrical connection involves placing two ends of an electrical circuit, such as two ends of a cable, into hot molten solder. Solder is a very soft metal alloy made from tin and sometimes lead that melts at around 300°C. When cool, it forms a strong bond between the two metal surfaces.

The art of soldering is getting this right.

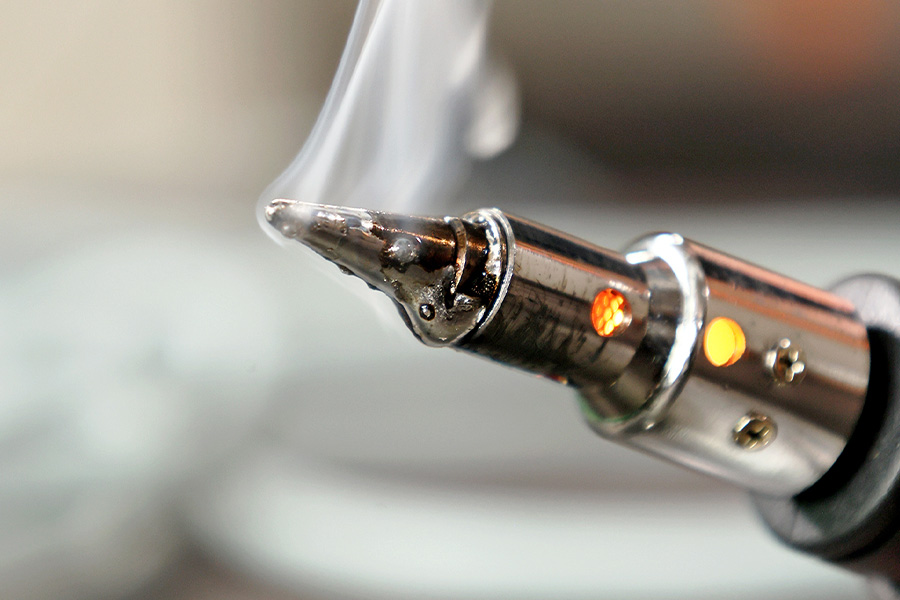
To solder properly, you need heat. The heat required to melt the solder is applied with a soldering iron, available in different sizes for different jobs. Solder wire is also sold in various sizes or gauges. For electrical work, you want a thin option – 1.2 mm is perfect.

The art of soldering
Soldering irons come in electric or gas-powered versions. For this example, we’re using a GRIP butane-powered soldering iron. Before attempting to solder, you’ll need to bring your soldering iron up to the correct operating temperature. If the solder wire melts quickly on the iron, it’s good to go!

Start by stripping the wire using wire strippers or pliers. At this point we’ll point out an optional step, applying flux. Some people use flux and others don’t but we recommend using it as it speeds up the process and gives more even coverage of the solder.

The art of soldering
Dip the end of the wire into the flux and then hold the wire on the hot soldering iron to heat up. In the same way, heat the wire. The flux will start to splatter. Now touch the solder onto the hot wire – the solder will melt onto the wire and the flux will draw the solder into the wire strands. Use just enough solder; too much can create messy joints. When it cools after a few seconds, it will create a solid surface. This process is called ‘tinning’.

If you don’t use flux, just leave out that particular step. The solder will still stick to the metal but will take slightly longer and is more fiddly.

The art of soldering
Now that all four wires are tinned, we can join them. Slip on a short length of heat shrink over the extension lead and a short length over each cable to be joined. Then, simply hold the two matching cables together, gently press onto the soldering iron and in a second or two, you’ll see the solder change from a drab to shiny silver. Move the cables off the tip and blow. There you are, that’s joined. Slide the heat shrink over the join and heat it using the heat coming from the ‘exhaust’ of the soldering iron.

Do the same for all the cables and then slide the last heat shrink into place. Heat it so that it seals the join and you’re done. Now that it’s been repaired with a good solid join, this cable can go back into service.

The art of soldering
With these simple steps, you can confidently fix your mower cord or any other electrical cables that fall victim to accidental cuts. Happy soldering!

For all soldering and electrical supplies (as well as new mower extension leads if the damage is too bad to repair!), visit Builders, either in-store or online at builders.co.za.

shopping cart

Browse 1000’s of products available to you. Select your country to Shop Online.