Working from a home office? A funky whiteboard that can be customised to suit your home.

- Rust-Oleum Dry Erase paint
- Wood sealer
- Chalk paint
- Wood glue
- Screws
- 1 sheet of 12mm plywood, cut according to the cutting list
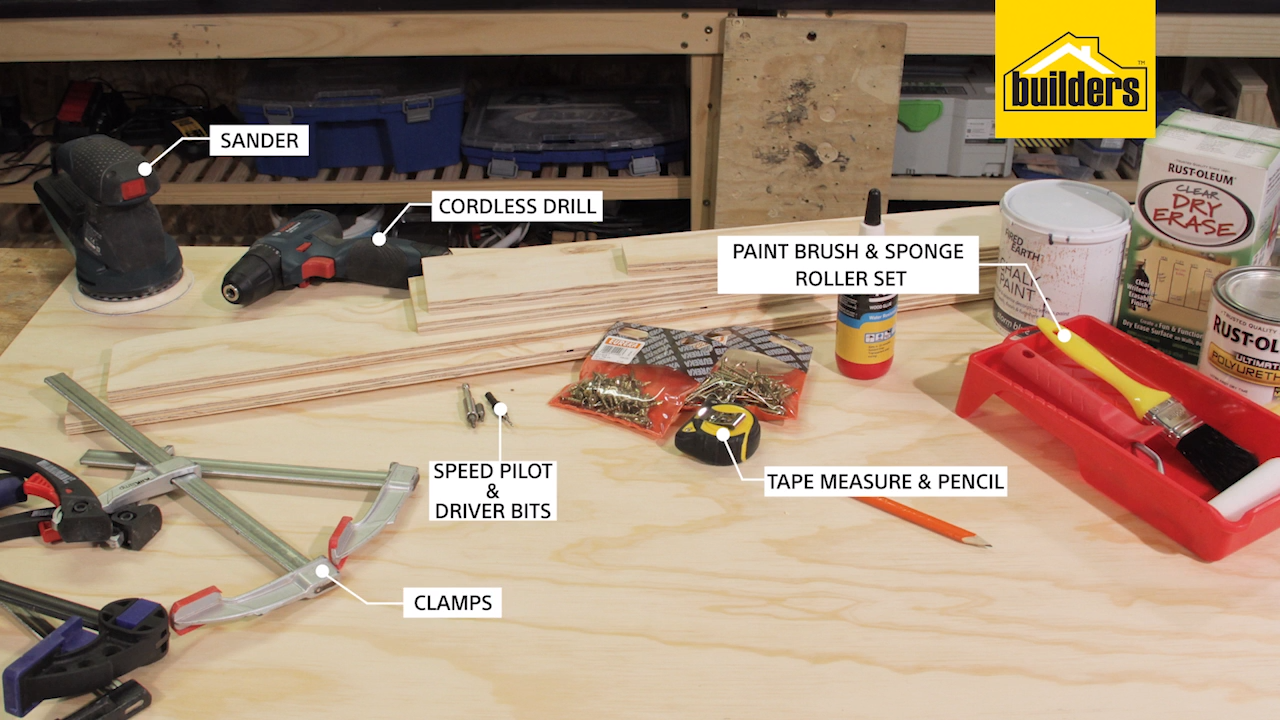
- Bosch Drill driver 646440
- Bosch sander 398128
- 20mm screws 356720
- A small pilot hole drill bit 9646
- Wood glue 10764
- Kliklamps 541717
- Paint brush 399881
- Foam roller and tray 573803
- Tape measure 8009
- Pencil 369790
For your convenience have Builders cut your timber for you. You can get two of these whiteboards from one board of 12mm plywood. 408491
- 2 x 1200mm x 100mm x 12mm (framework top and bottom)
- 2 x 600mm x 100mm x 12mm (framework sides)
- 1 x 1200mm x 800mm x 12mm (whiteboard surface)

Let’s start with the whiteboard:
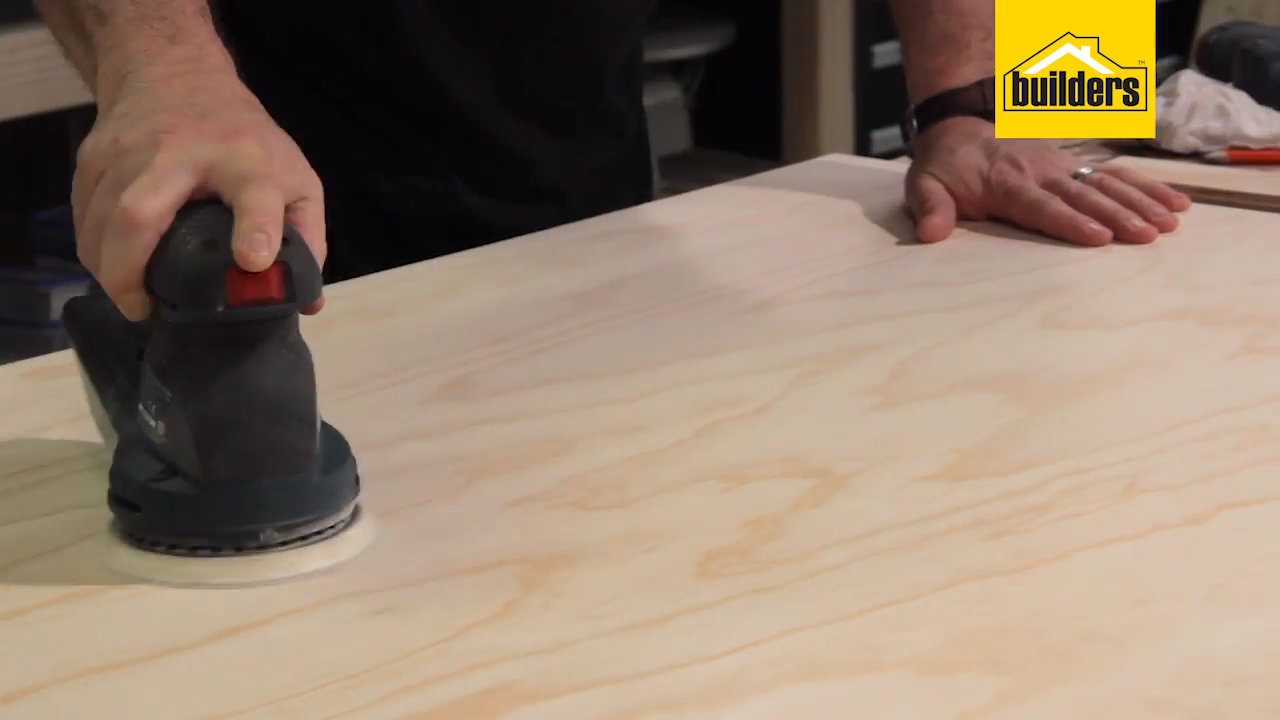
Step 1
Prepare the surface of the whiteboard by sanding the timber smooth.
Step 2
Once sanded, wipe off any excess dust and uses a wood sealer to seal the timber. The sealer will sink into the wood and raise the fibres of the timber, making the surface uneven again.

Step 3
Once the sealer is dry, sand the wood a second time for a smooth surface.
Step 4
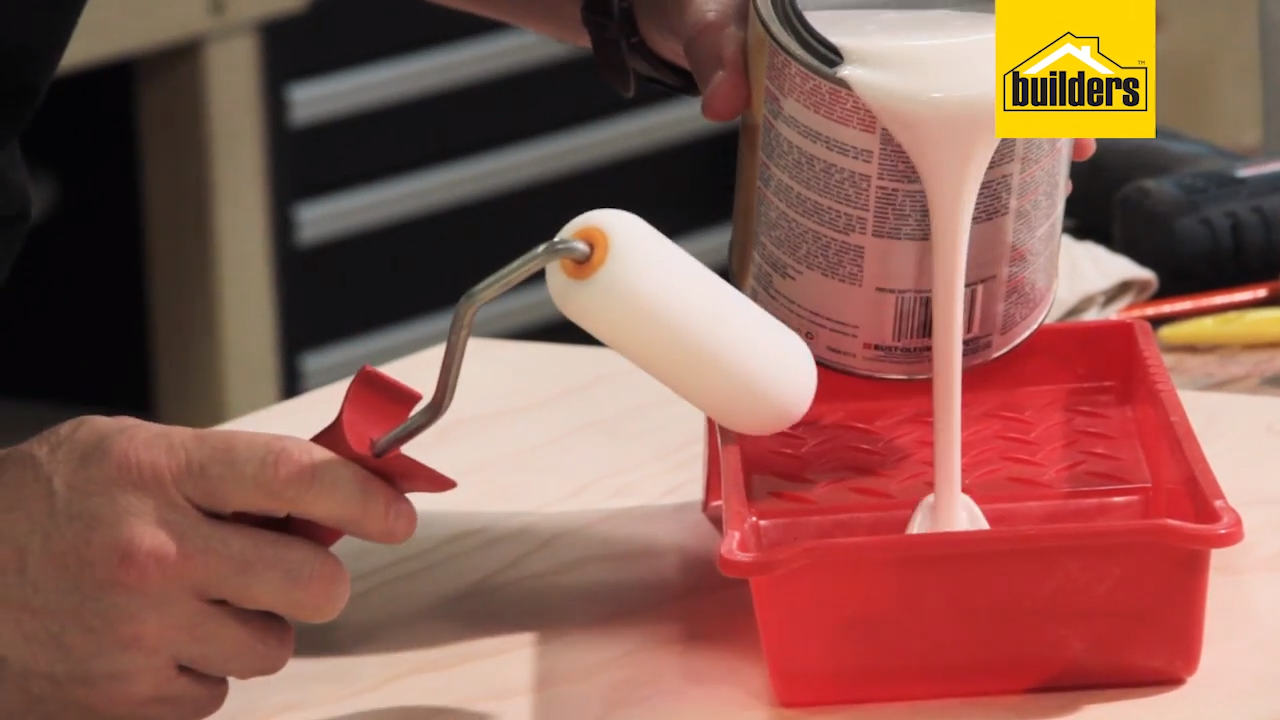
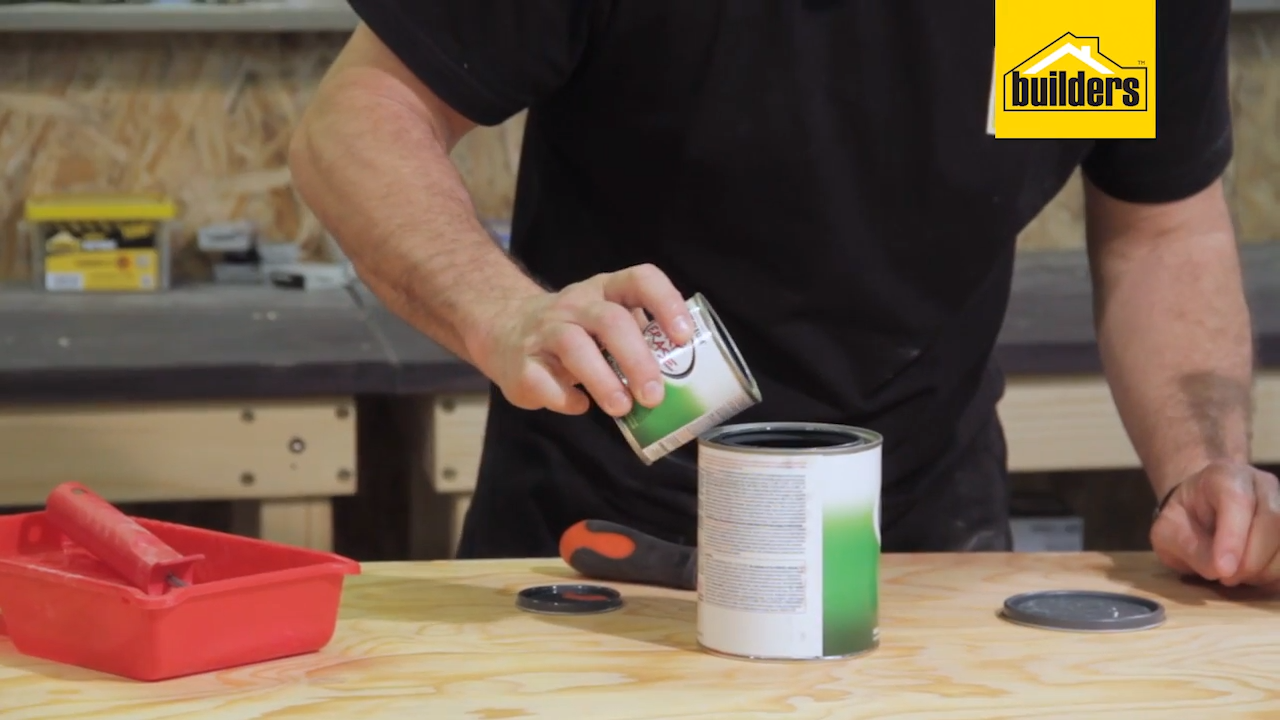
When the board is prepared it’s time to paint on the Rust-Oleum Dry Erase paint, which comes in a set of two tins.
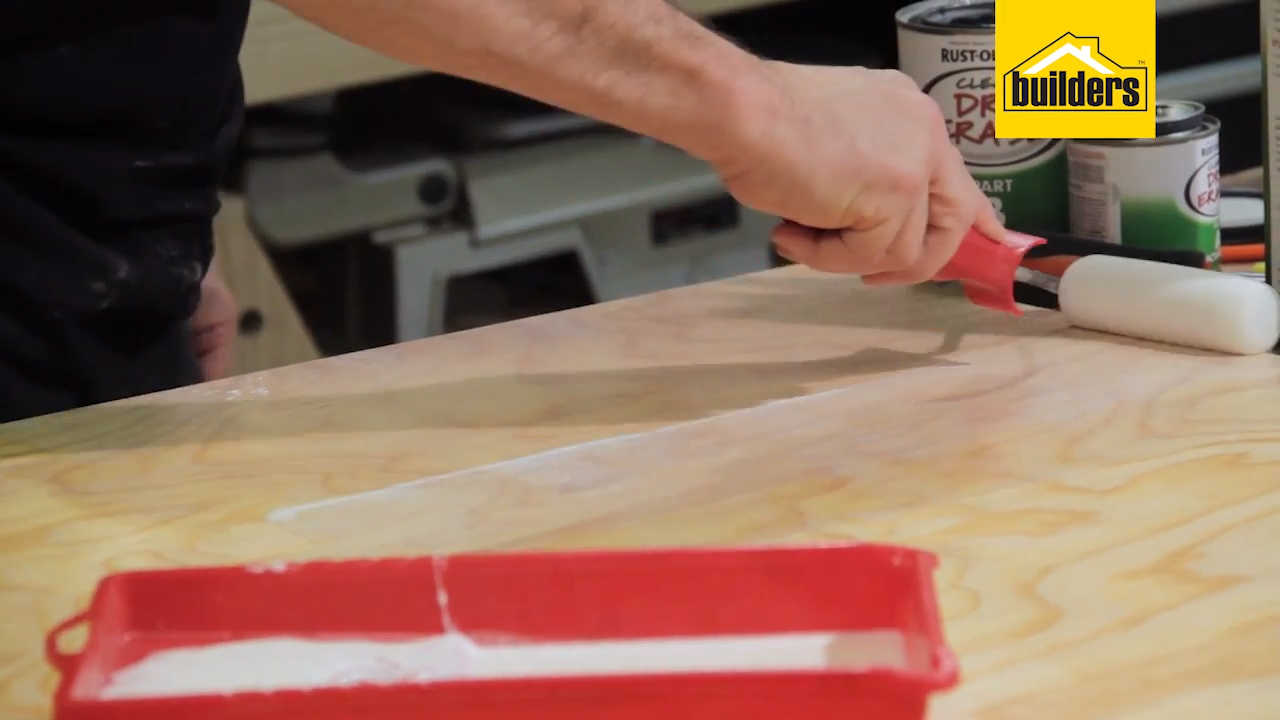
Step 5
Combine the paints and mix them well before using a sponge roller to paint the surface of the whiteboard.
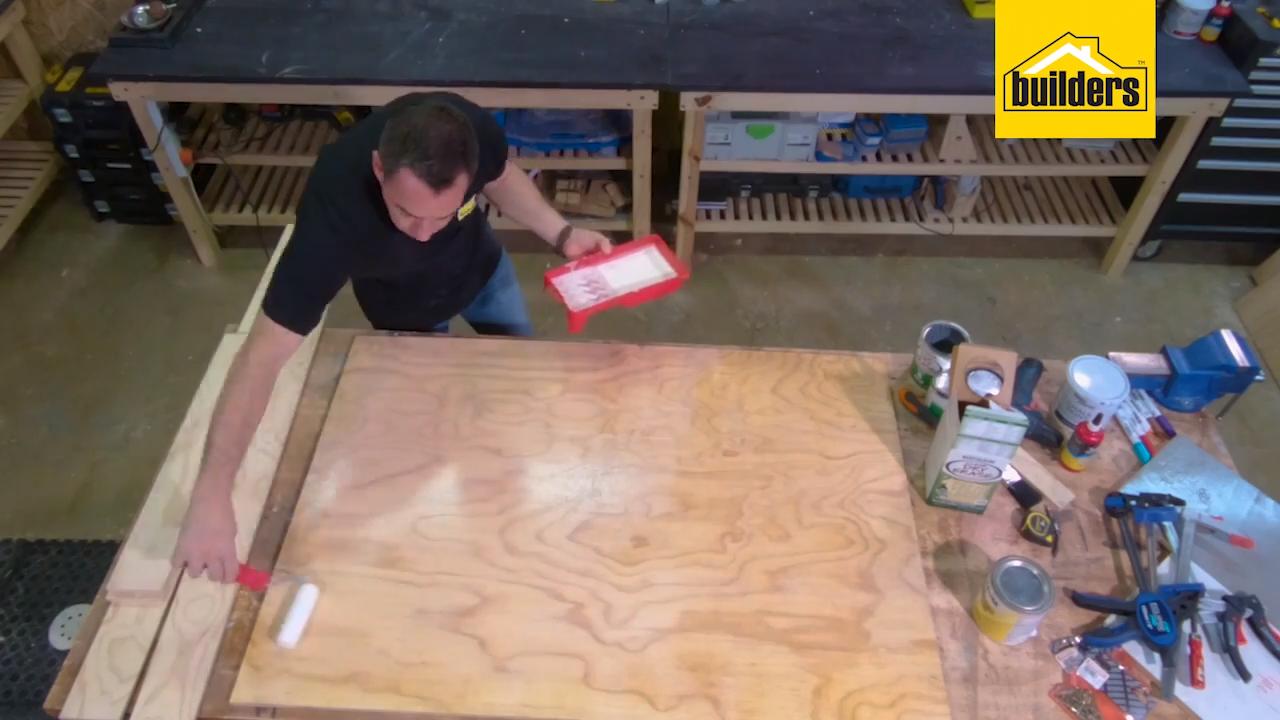
Step 6
The paint takes at least three hours to dry. Make sure the surface is completely dry before continuing.
Here’s how to do the framework:
Step 1
Sand the framework components for your whiteboard to a smooth finish.
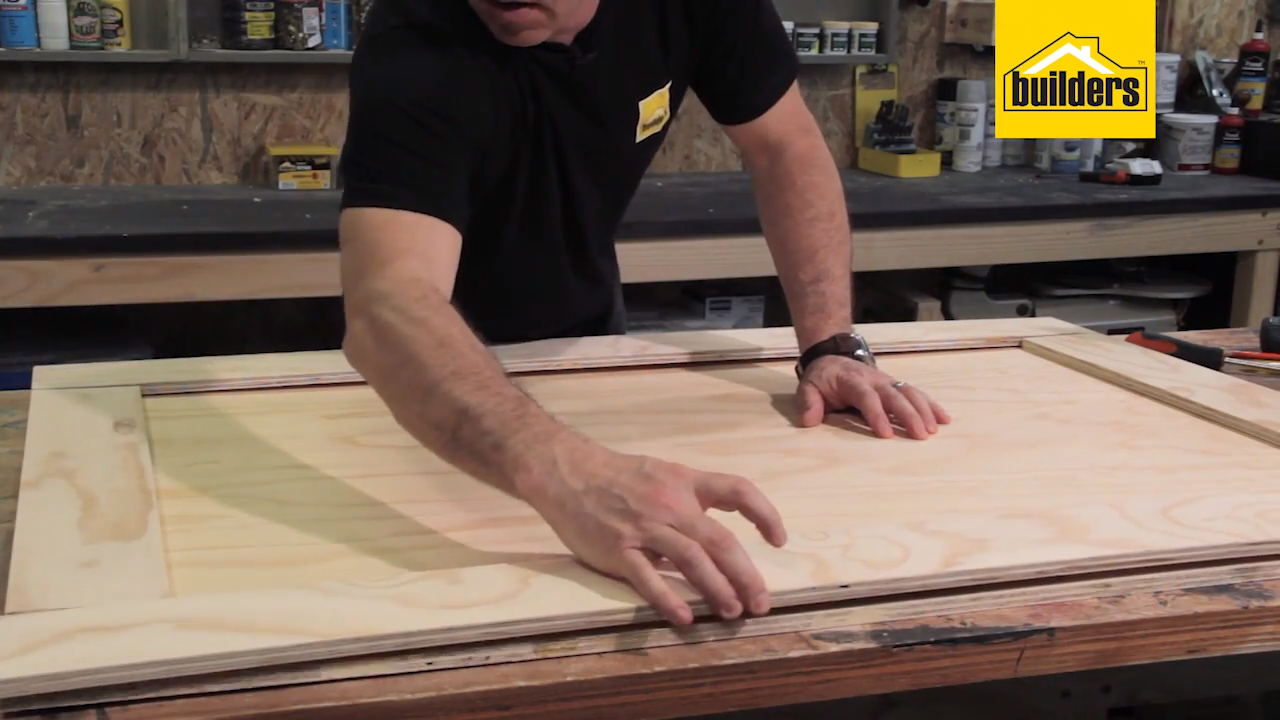
Step 2
Once sanded, lay the timber out around the edges of the whiteboard.

Step 3
Use wood glue to attach the frame to the board and clamp it tightly in place.
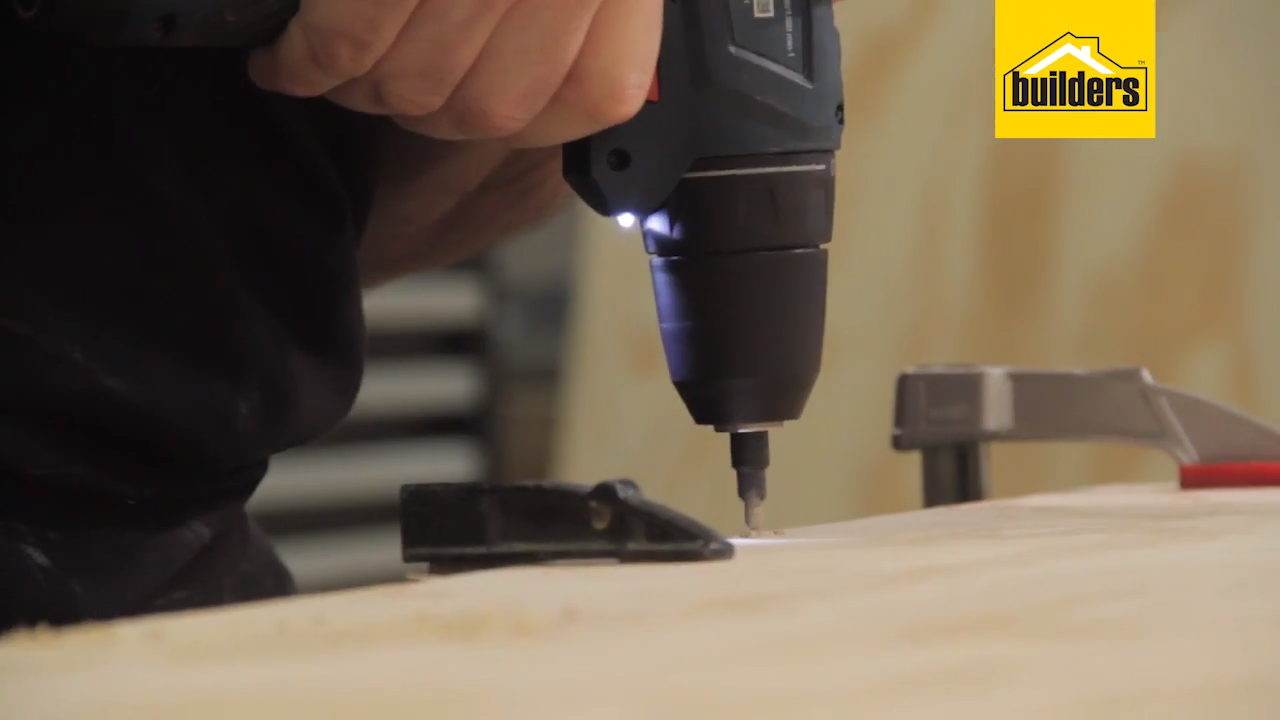
Step 4
Once the clamps are in place, flip the board over. Use a speed pilot to create pilot holes and counter-sink holes simultaneously, and screw the framework into place on the edges of the board.
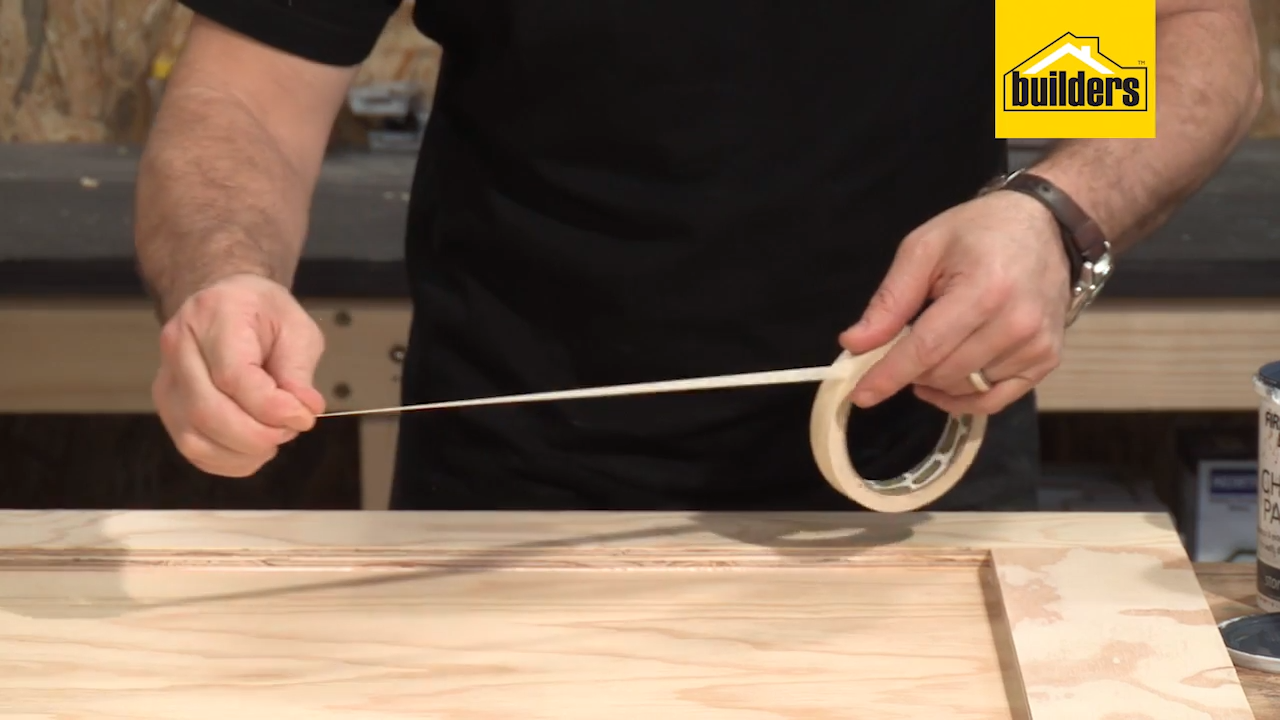
Step 5
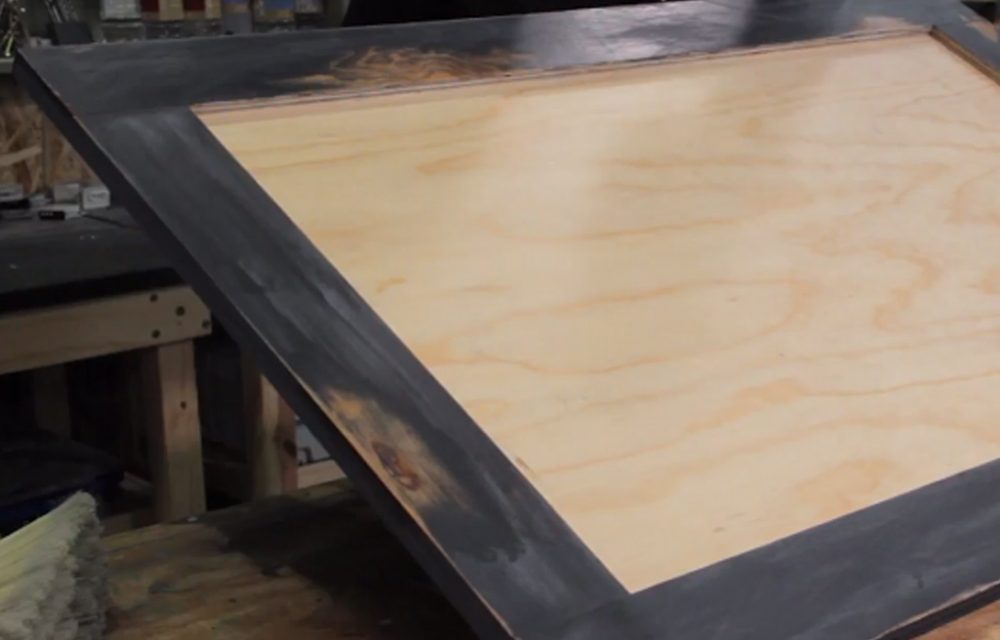
Once the frame is in place it’s time to paint. Use masking tape on the inside of the frame to protect the board from any paint.

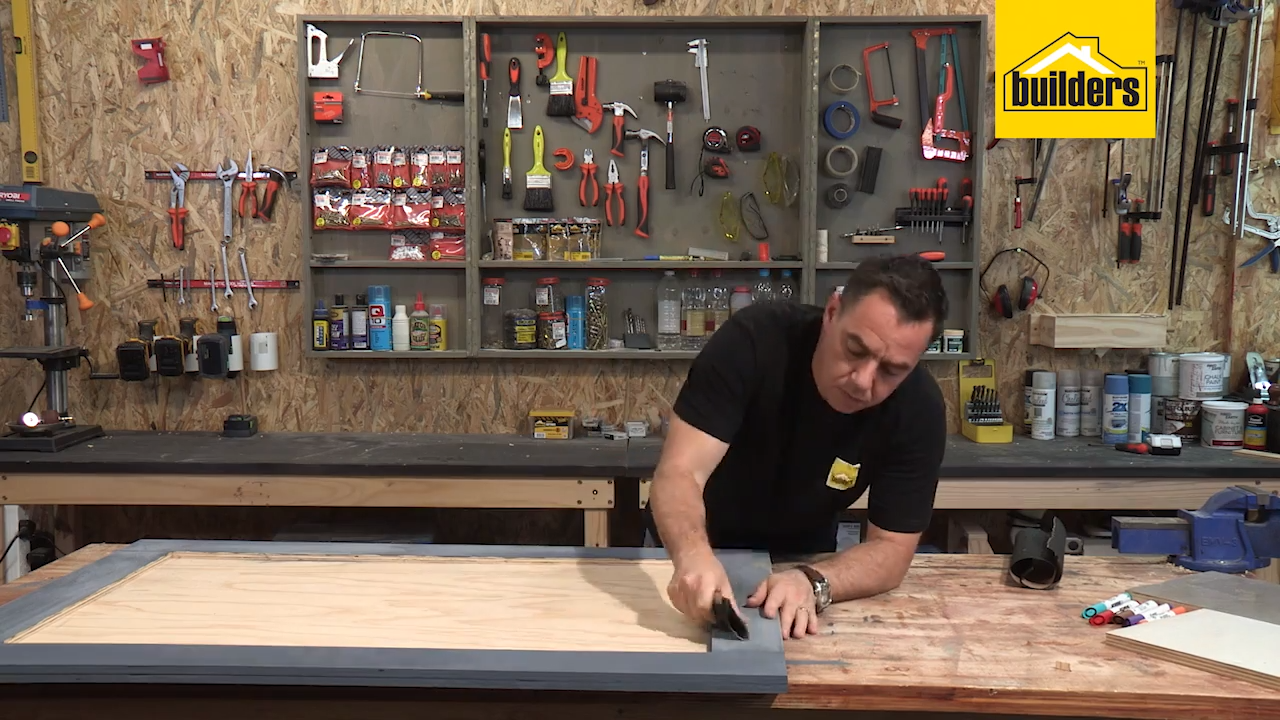
Step 6
Paint chalk paint on using a paintbrush for extra texture.
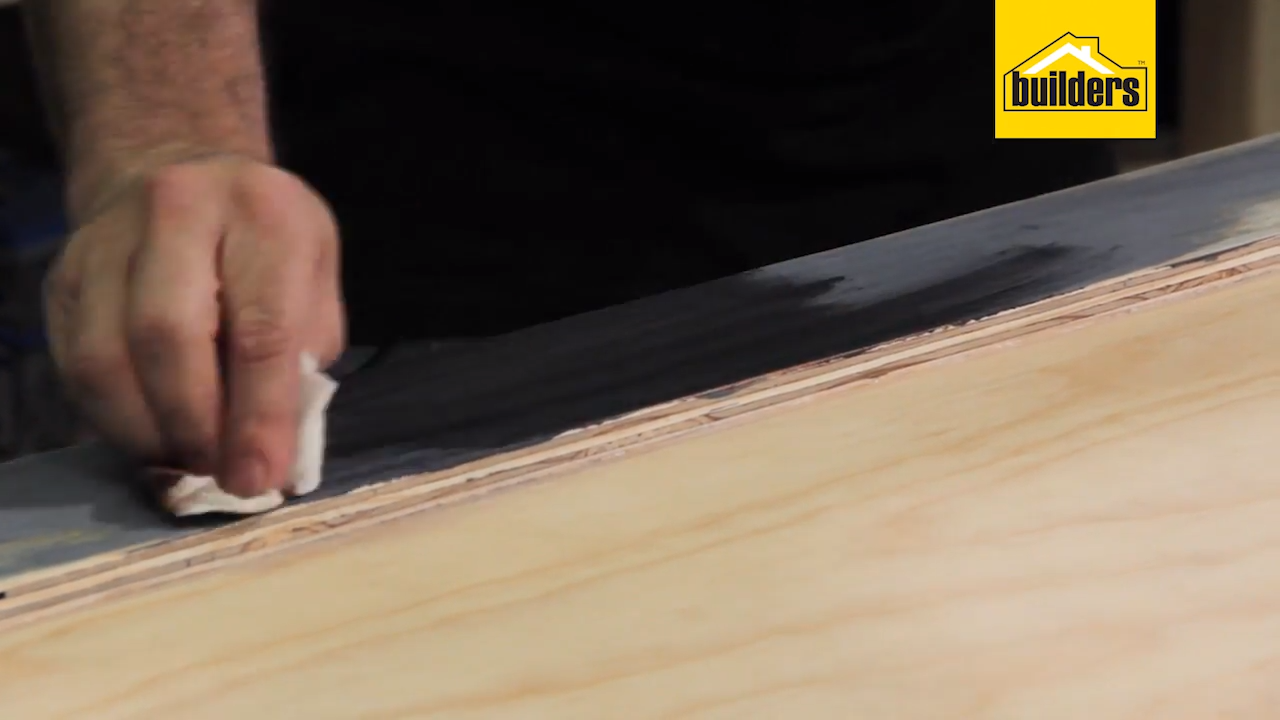
Step 7
Once the paint is dry you can leave it as is or sand the frame down to give it a rustic, distressed look.
Step 8
Once the frame is completed you can use a wax sealer to create an even more aged look, or simply leave the frame as is.
All done
The Dry Erase paint will take at least three days to fully cure and harden – do not use any whiteboard markers on the surface during this time. After your whiteboard is cured it’s time to put it up in your home and get writing!
Browse 1000’s of products available to you. Select your country to Shop Online.


