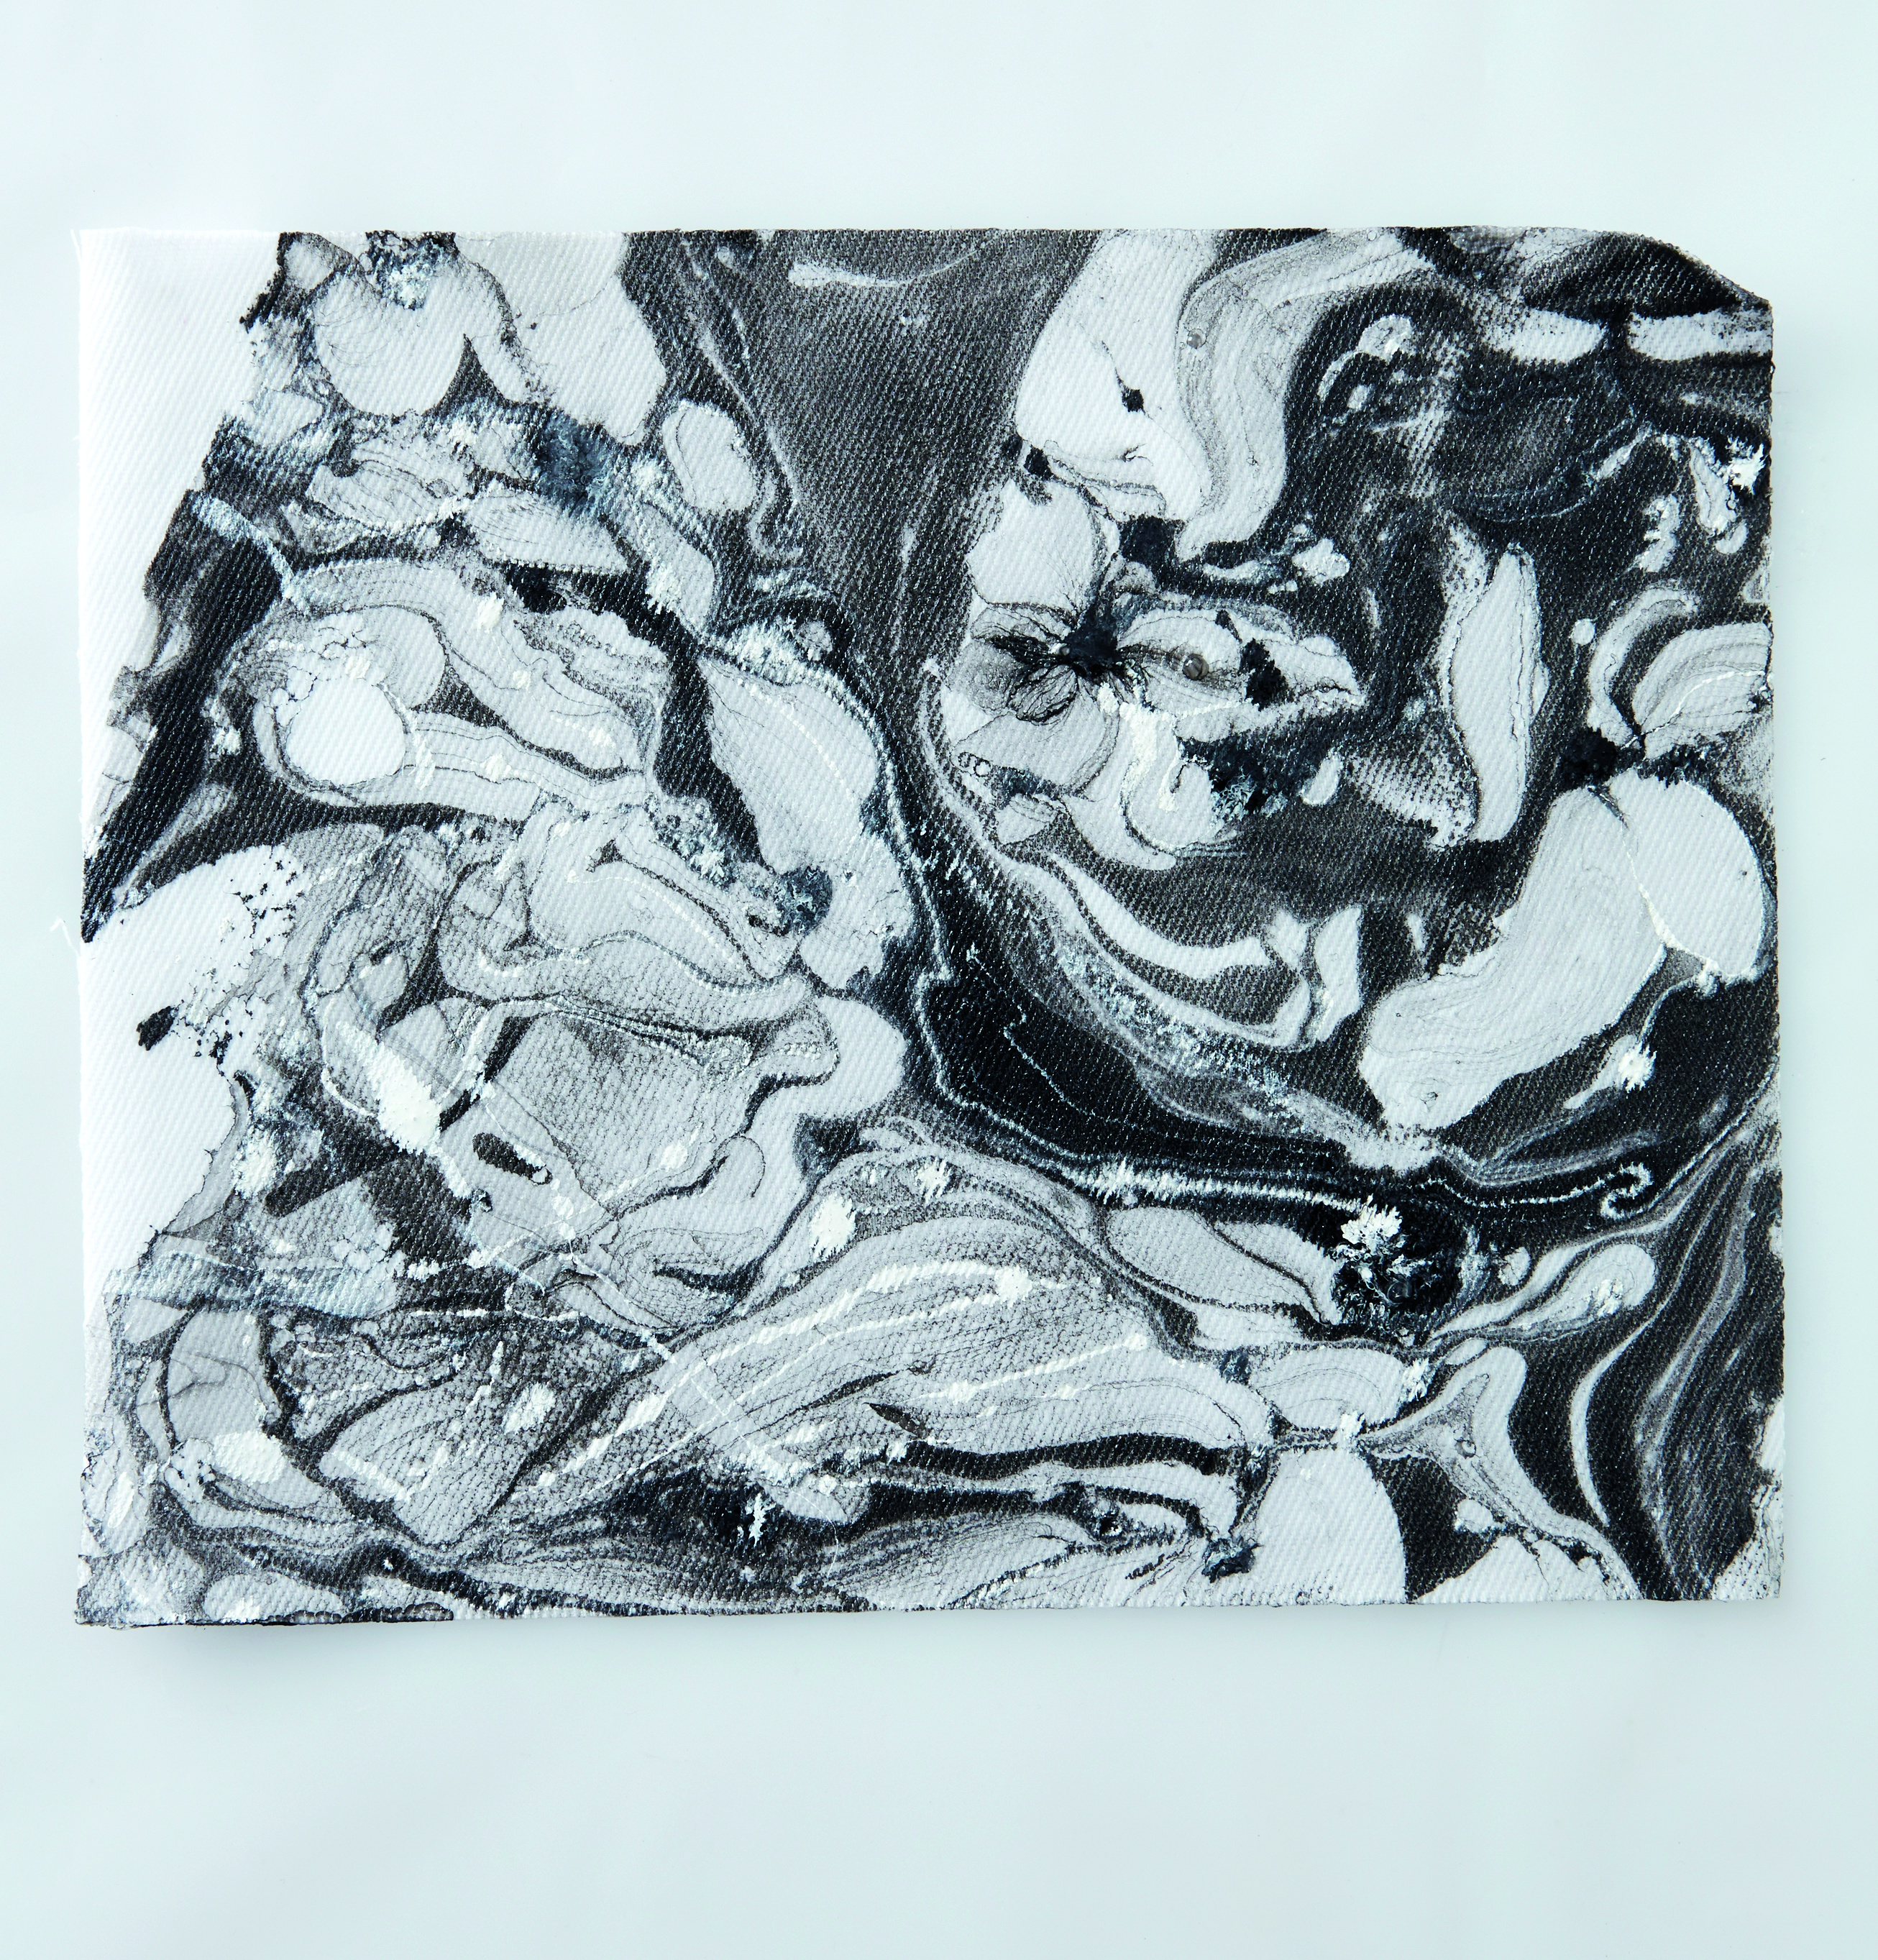
Marbled designs are back in fashion and we have come up with a simple method that you can try on fabric or paper to make marbling part of your décor.
- paper or fabric that you want to print on (paper in this instance)
- enamel paint in the colours of your choice (two or more)
- shallow metal or plastic container
- plastic spoons
- latex gloves
- cardboard
- double-sided adhesive tape
- toothpicks for the comb
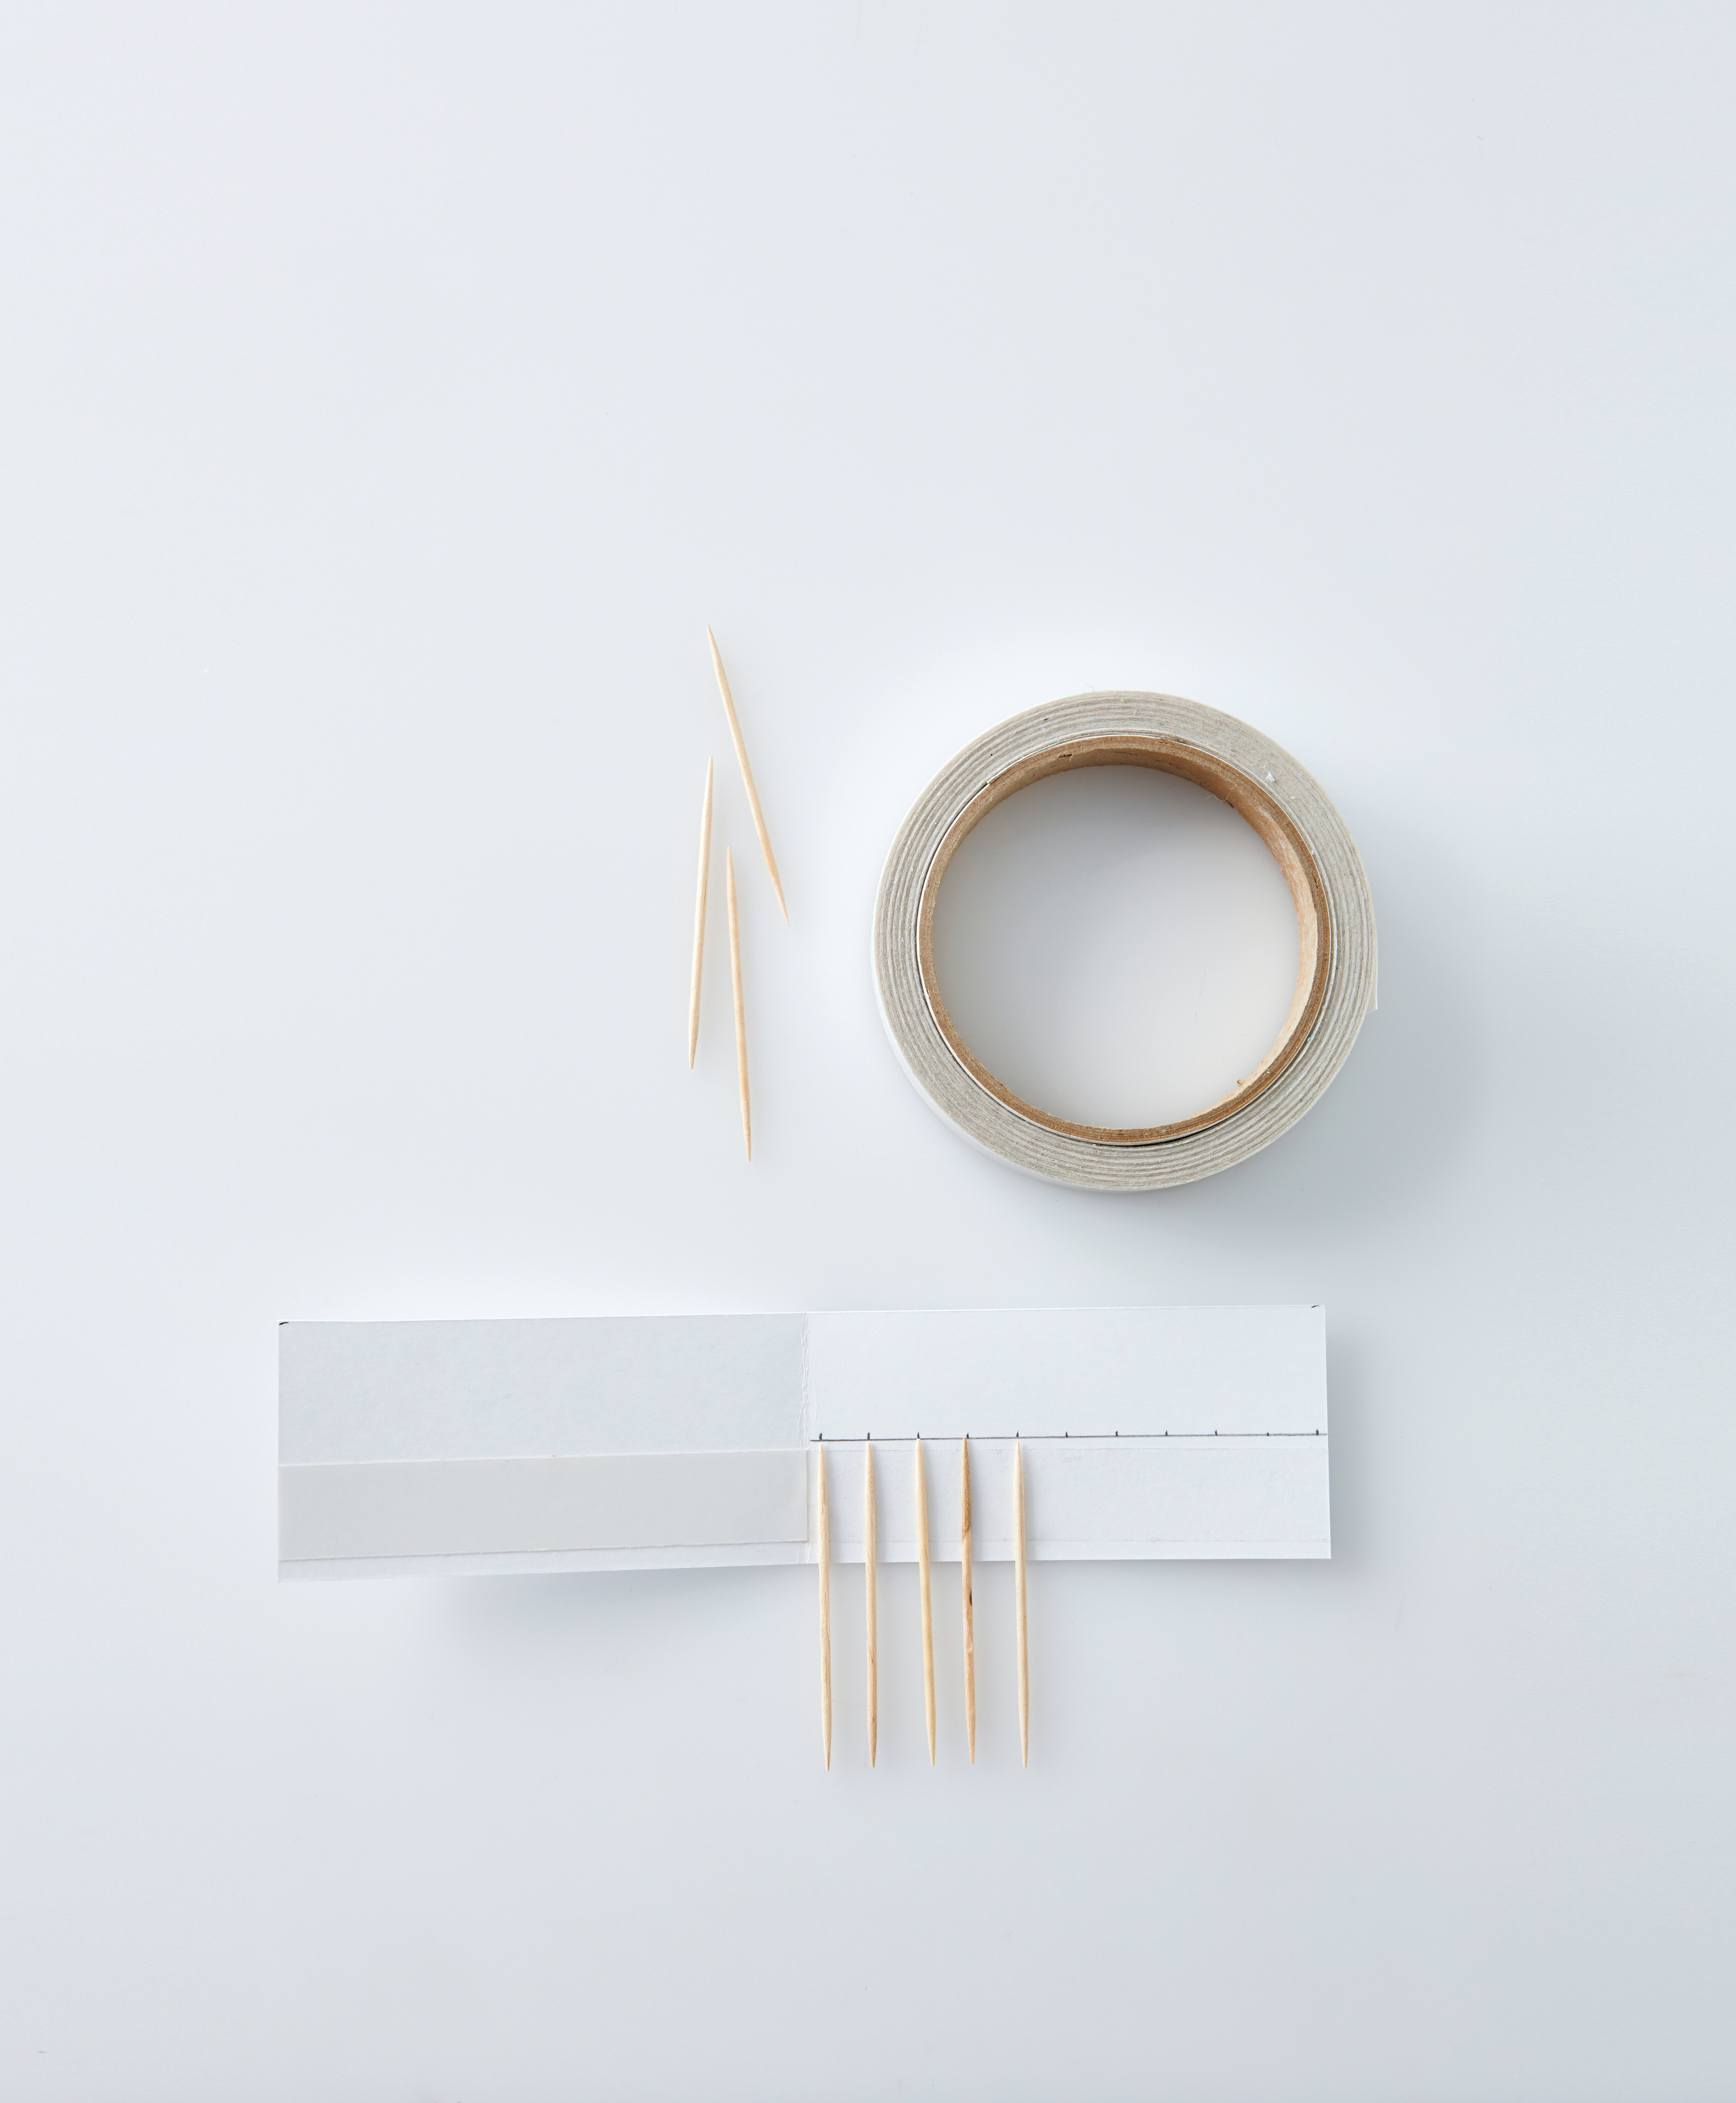
Step 1
First make a comb to pull through the paint to create the marble design, Cut a strip of cardboard 20 x 5cm, stick a strip of double-sided tape along the bottom edge and stick toothpicks onto one half. Fold the cardboard in half to make the comb.
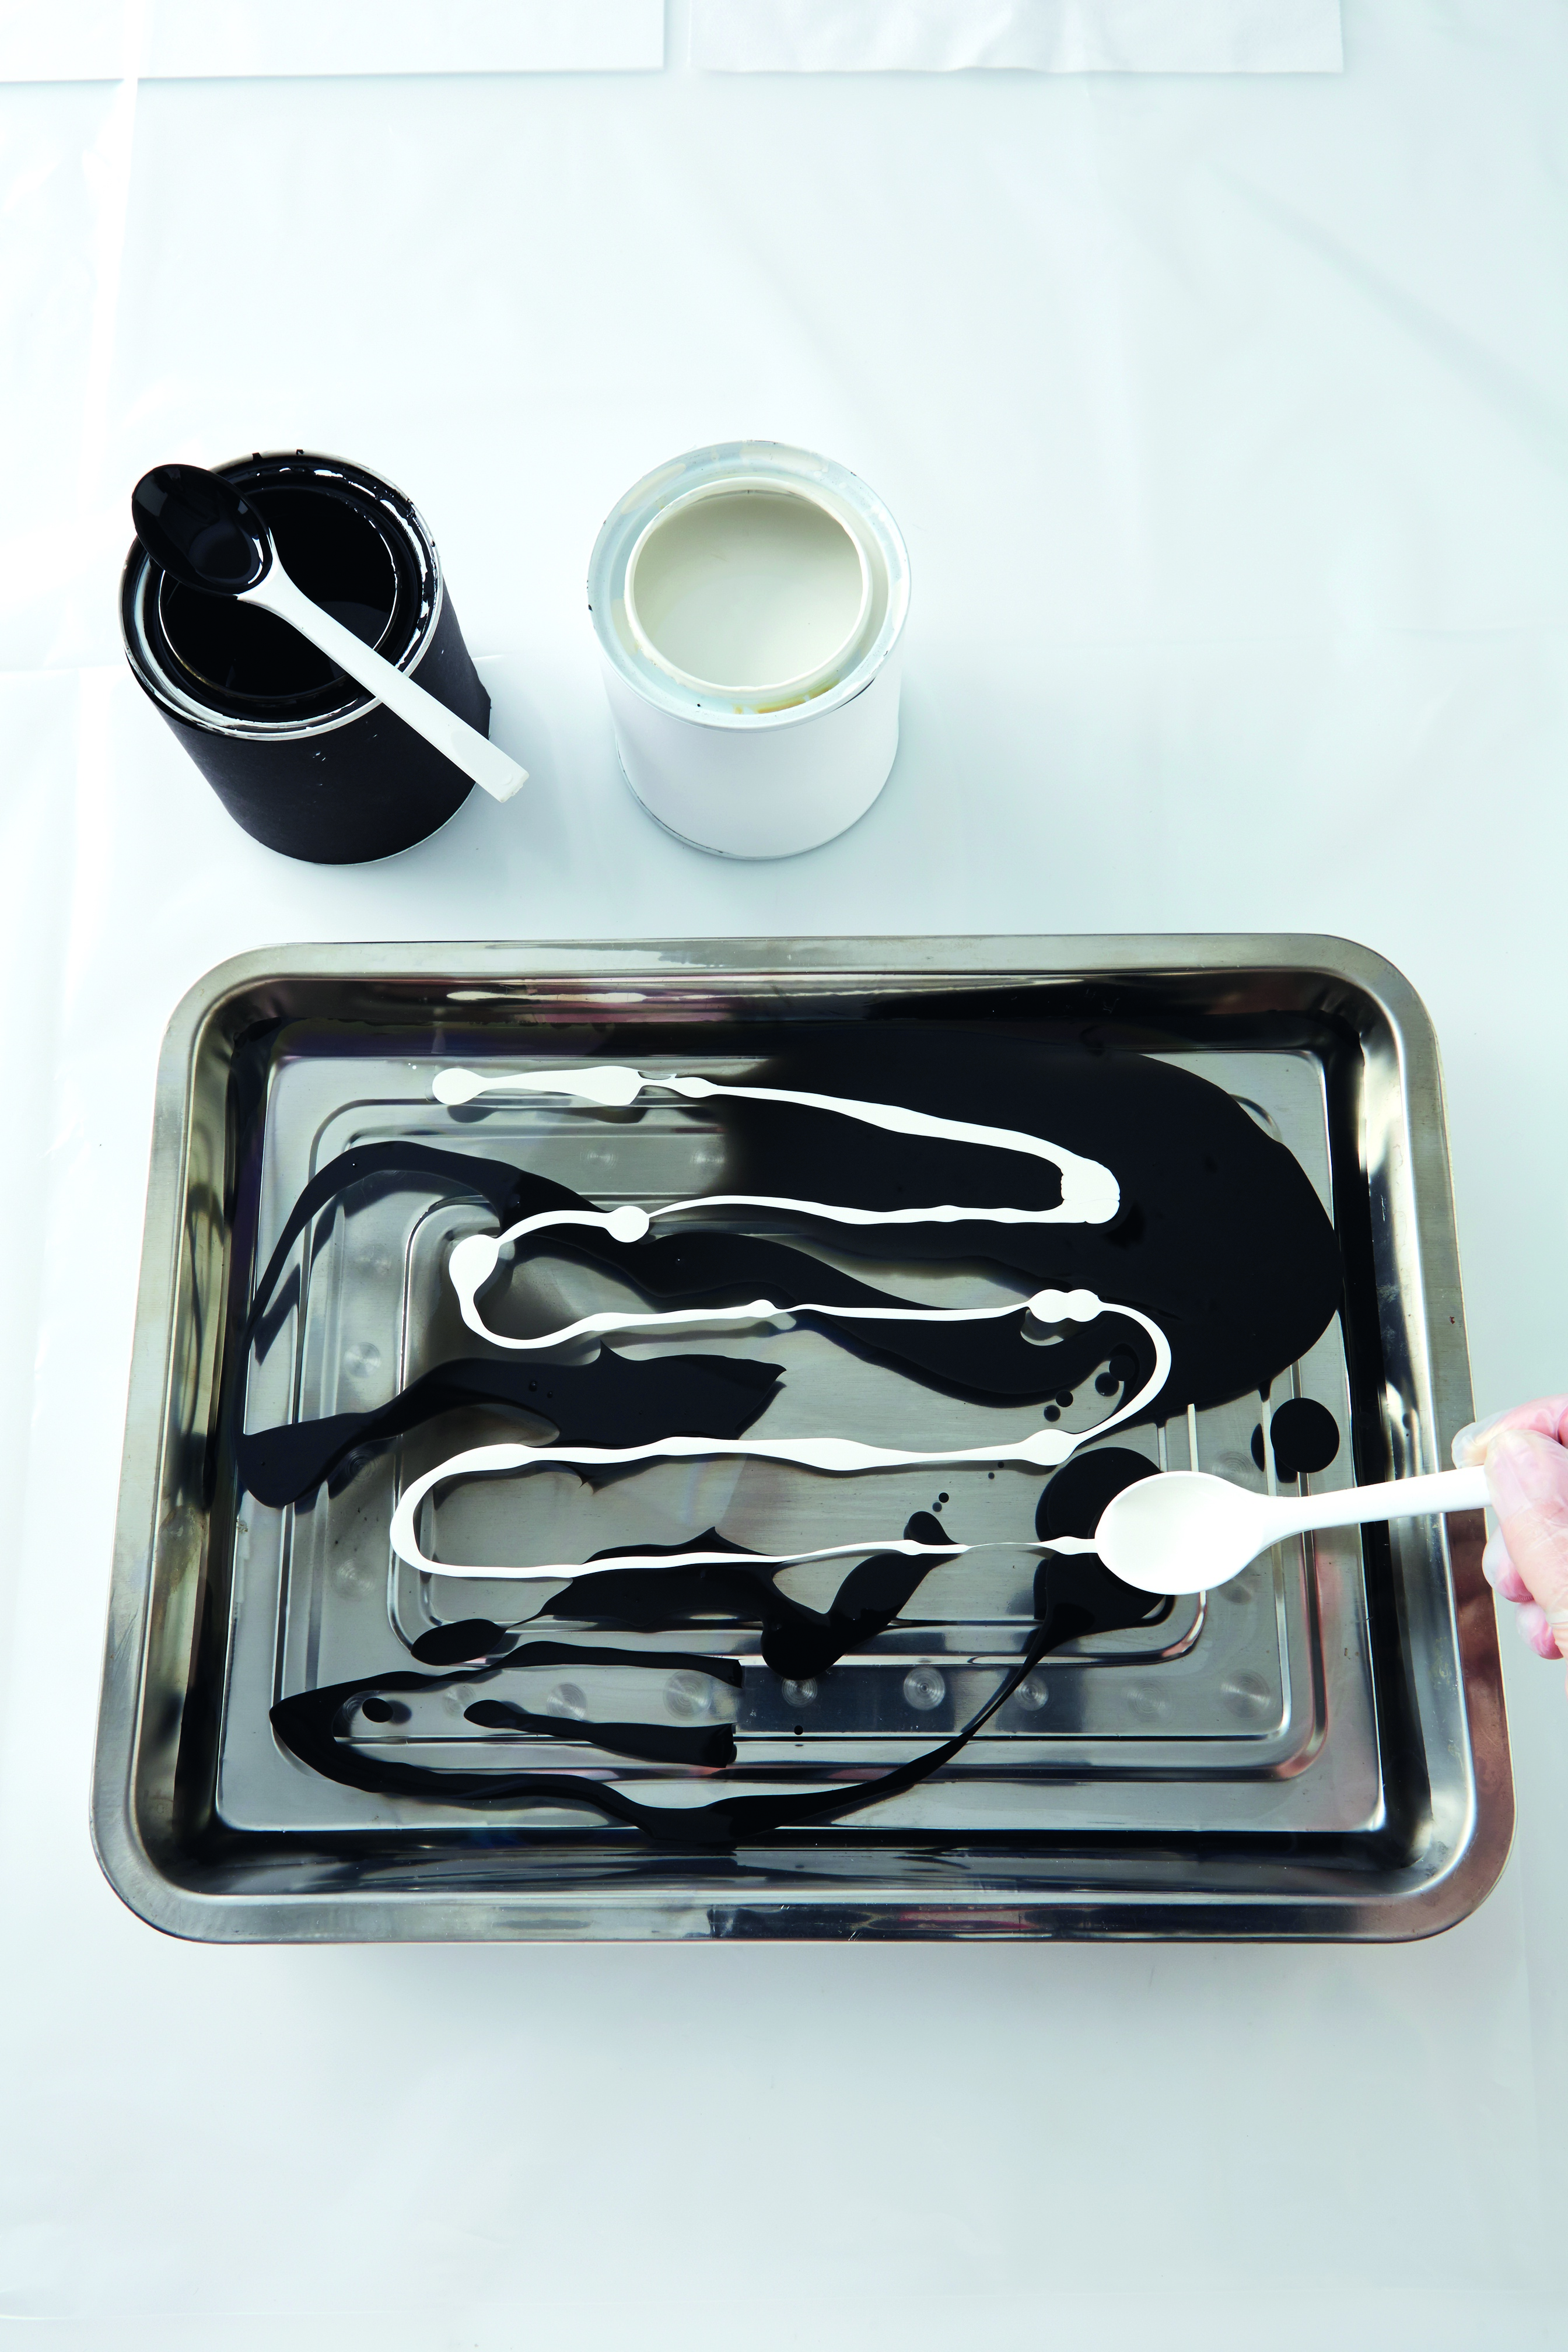
Step 2
Make your container two-thirds full with cold water. We used an oven-roasting pan that had an a4-size sheet of paper fits into comfortably. Put your gloves and drip a little of each paint colour onto the water. Some of the paint may sink to the bottom, but this should not affect your printing.
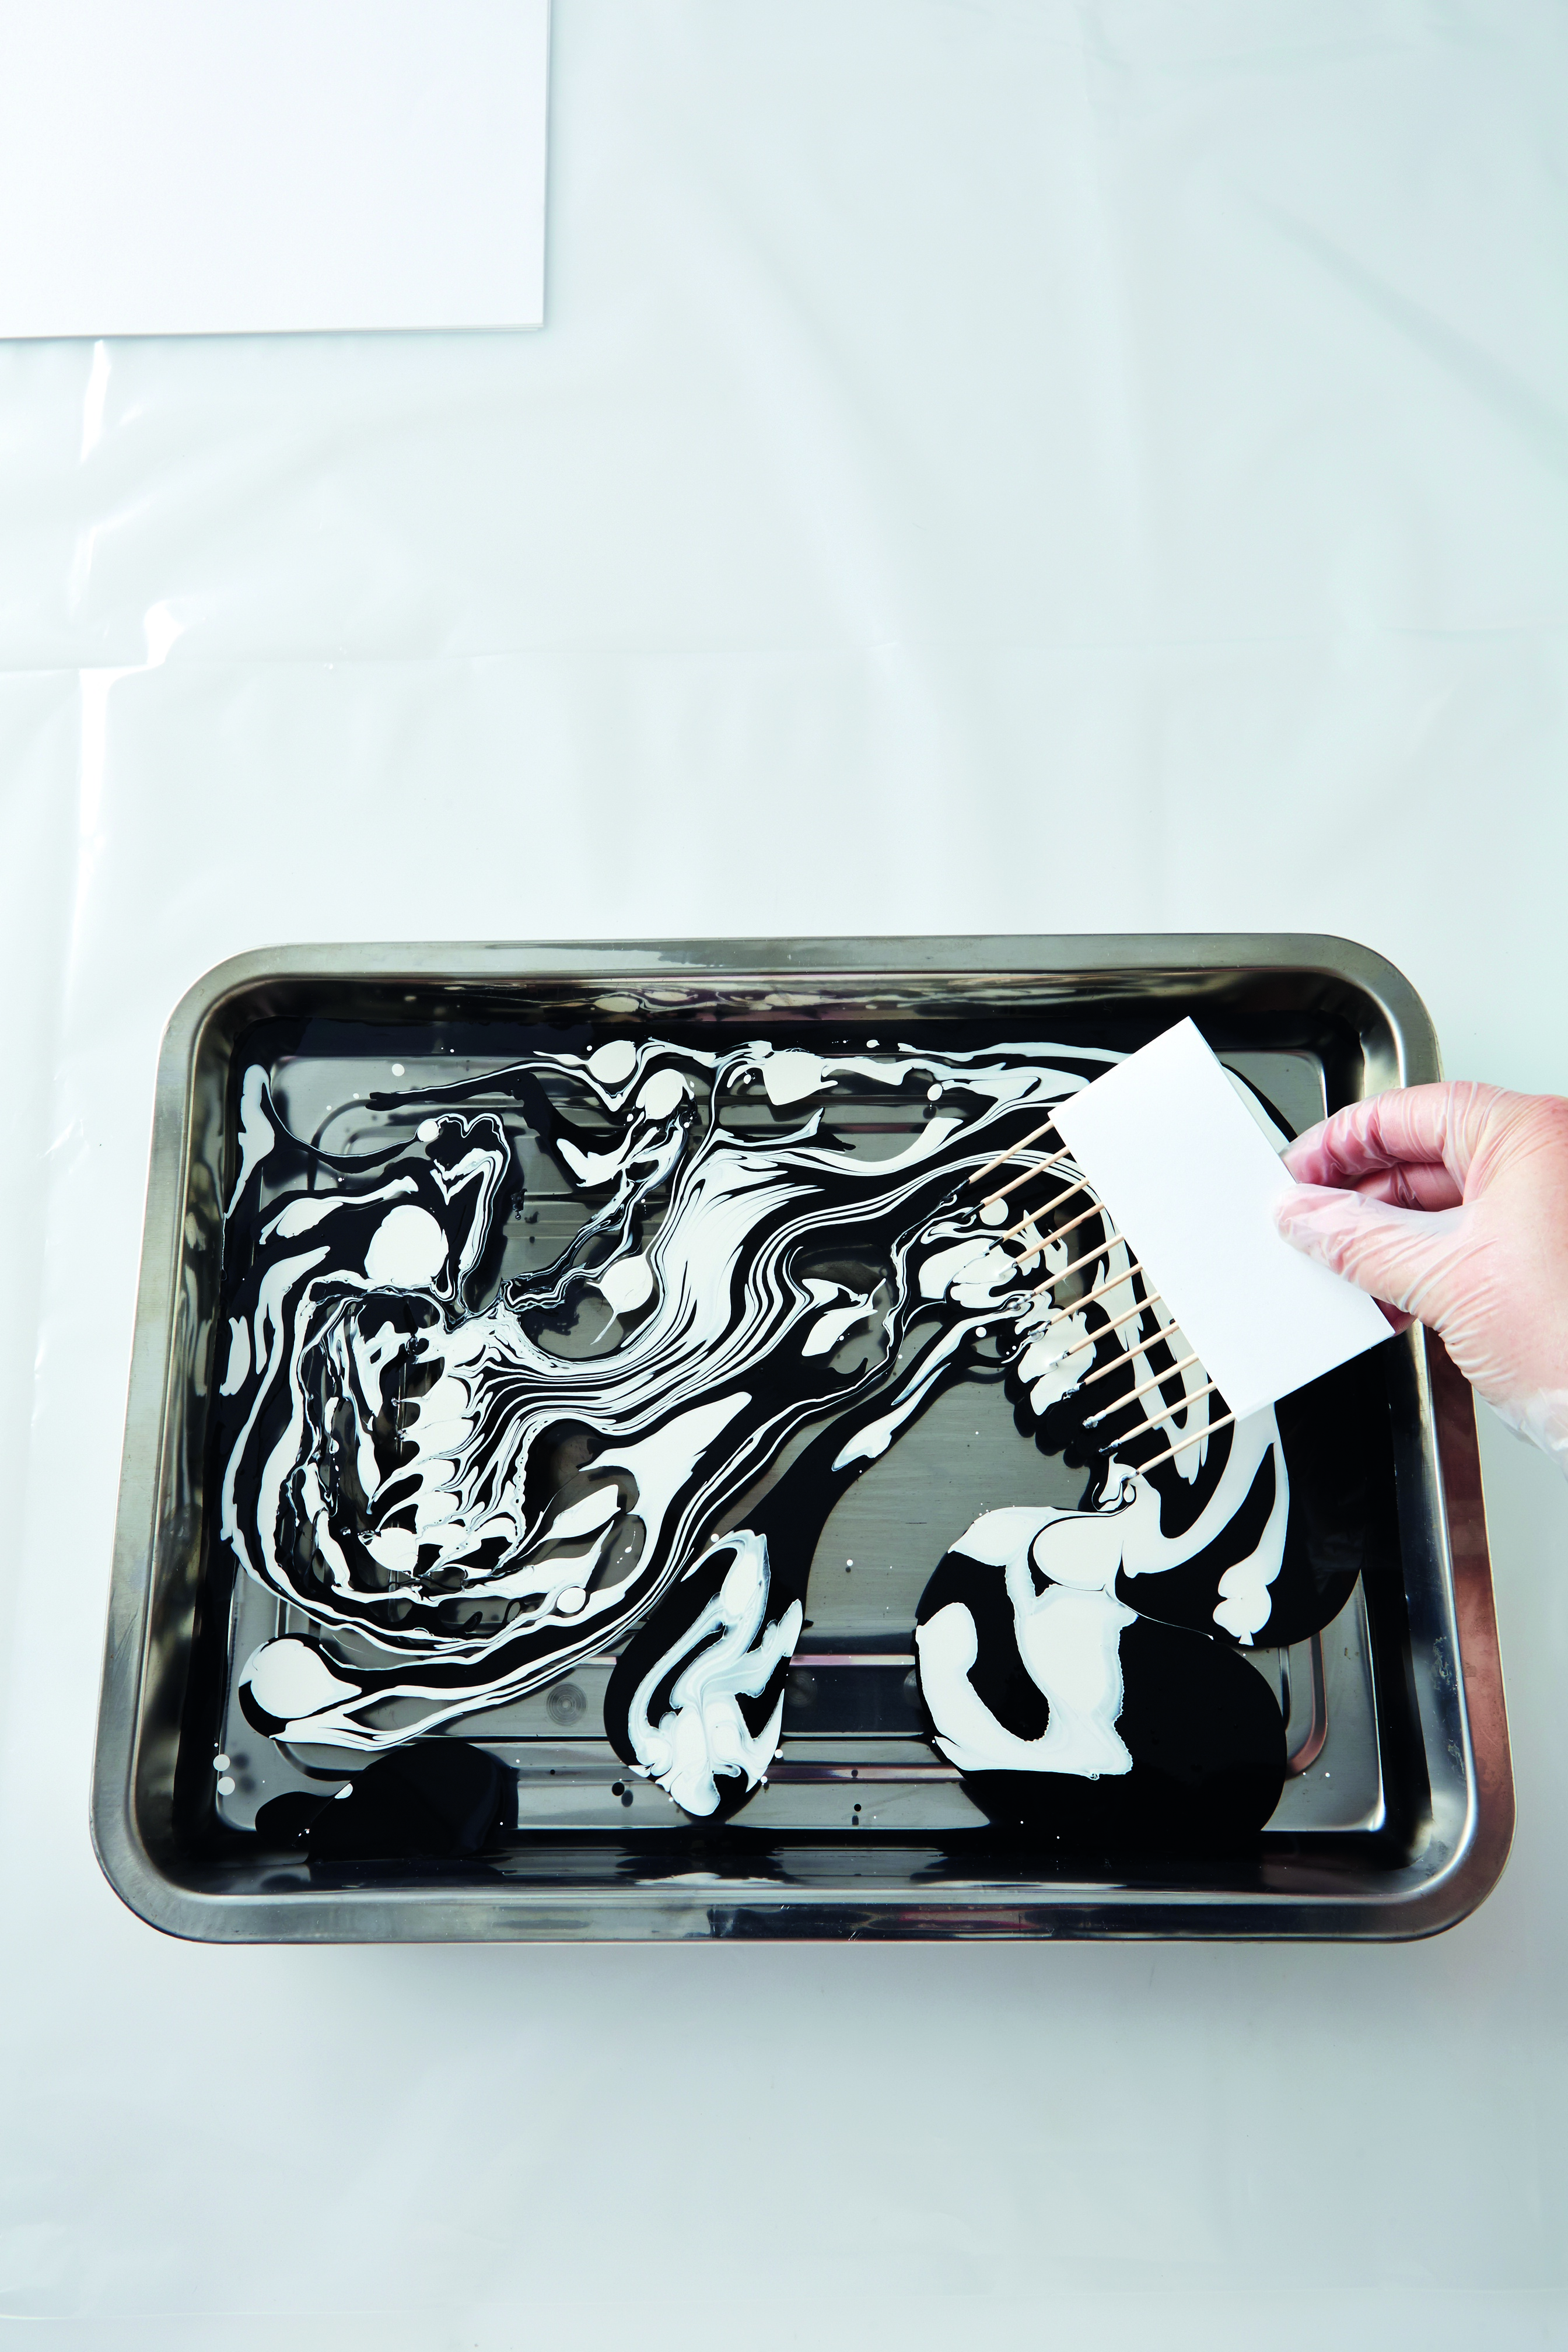
Step 3
Pull the comb through the paint to create a marbled pattern. You can also do this with a single toothpick if you find it easier.
Step 4
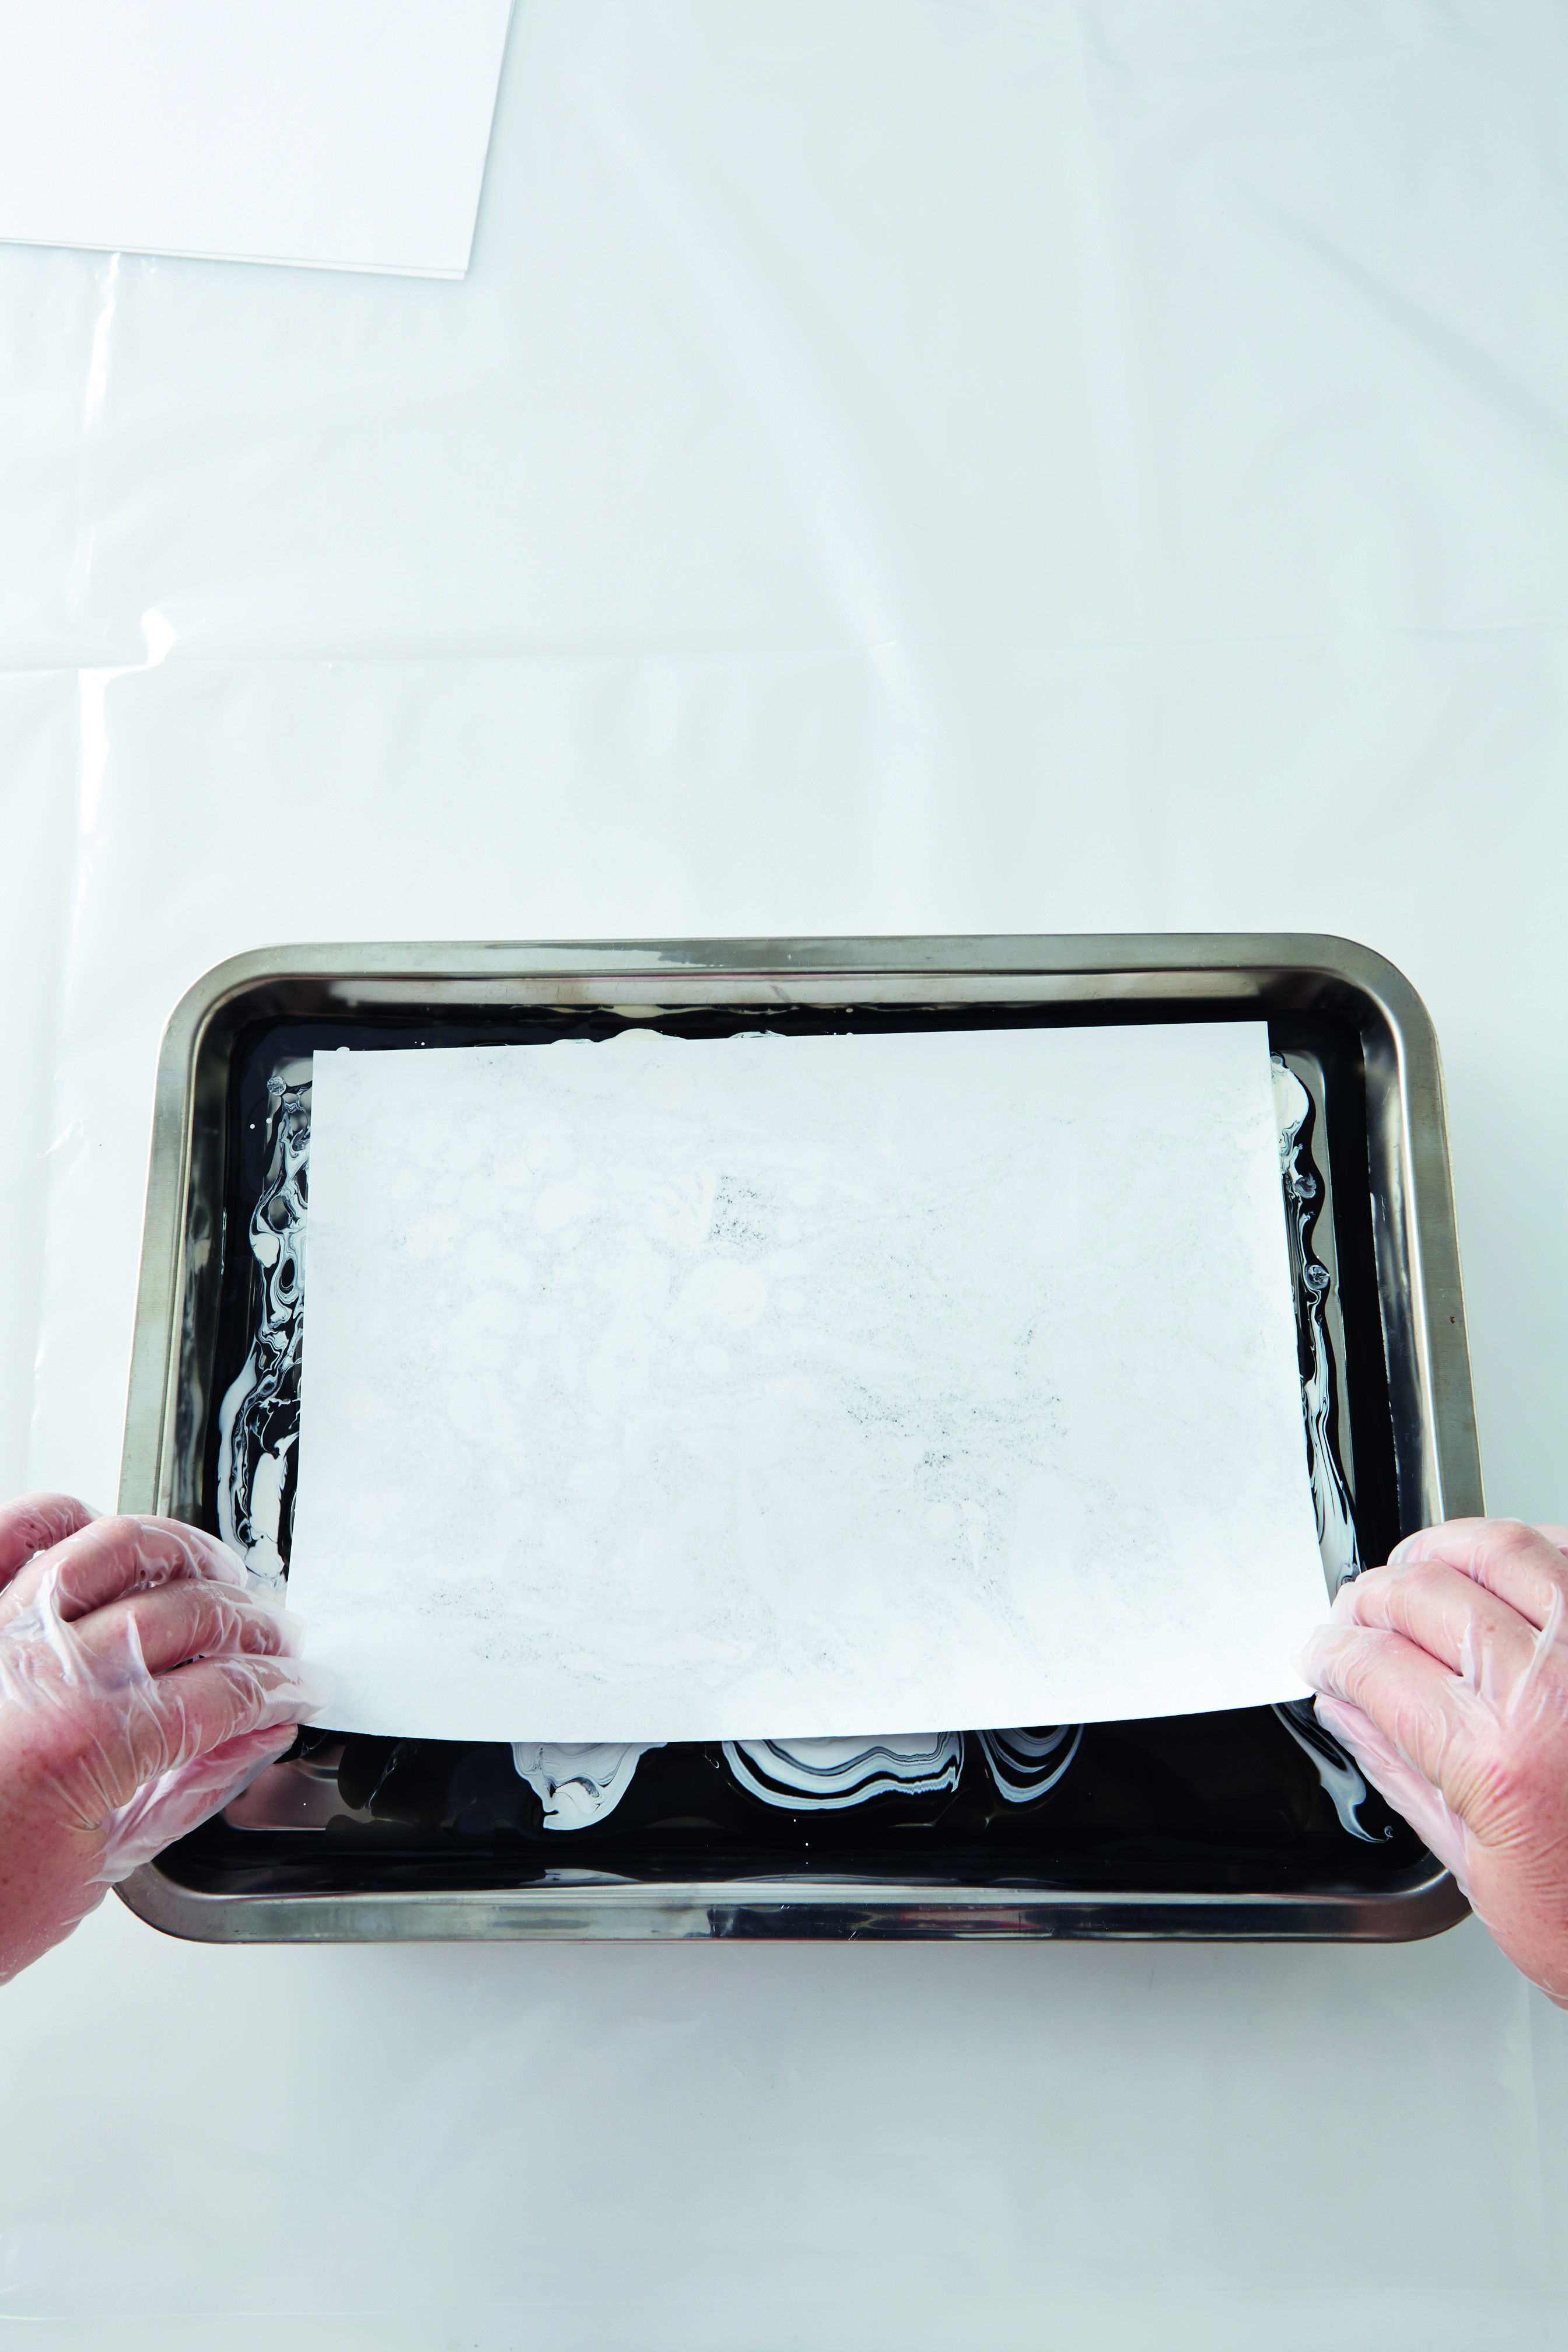
Place a sheet of paper onto the water surface and rub your hands lightly over it to remove any air bubbles.
Step 5
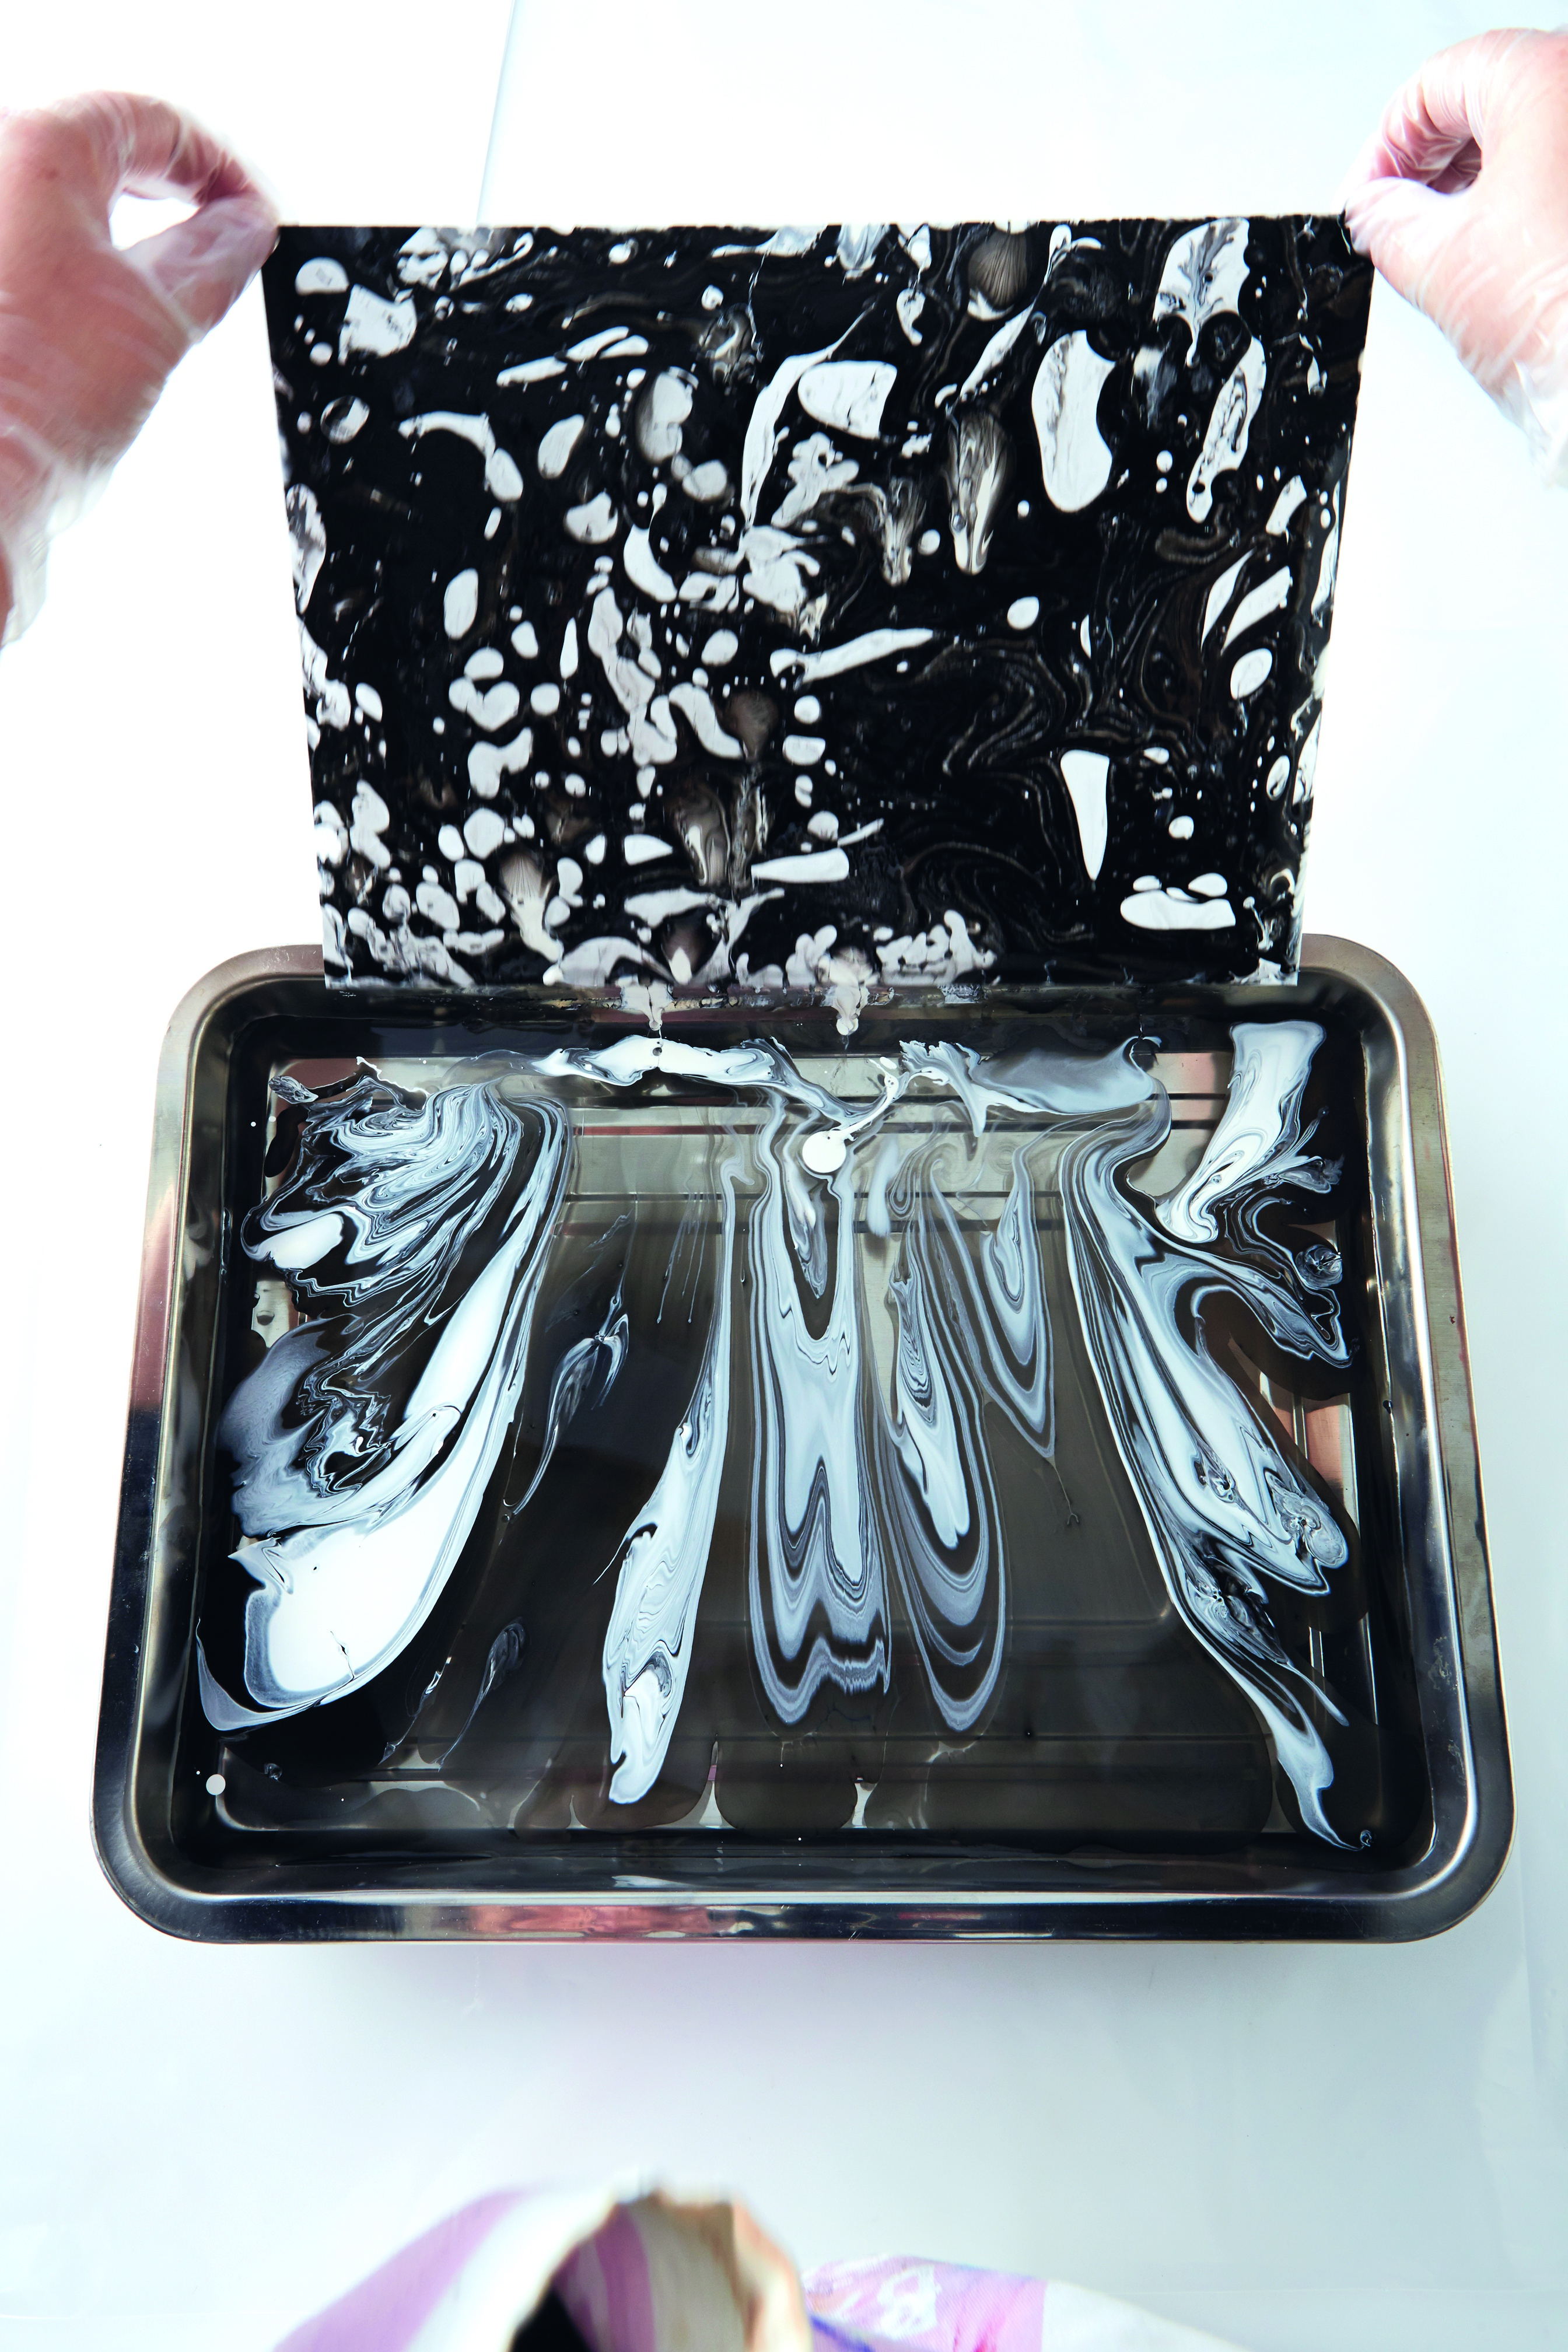
Lift the paper carefully out of the water by two of the corners and place it to one side
Note: the first print is usually thrown away as it is just to blot the excess paint.

Step 6
use your comb or a single toothpick to swirl the remaining paint around before you create your second print.
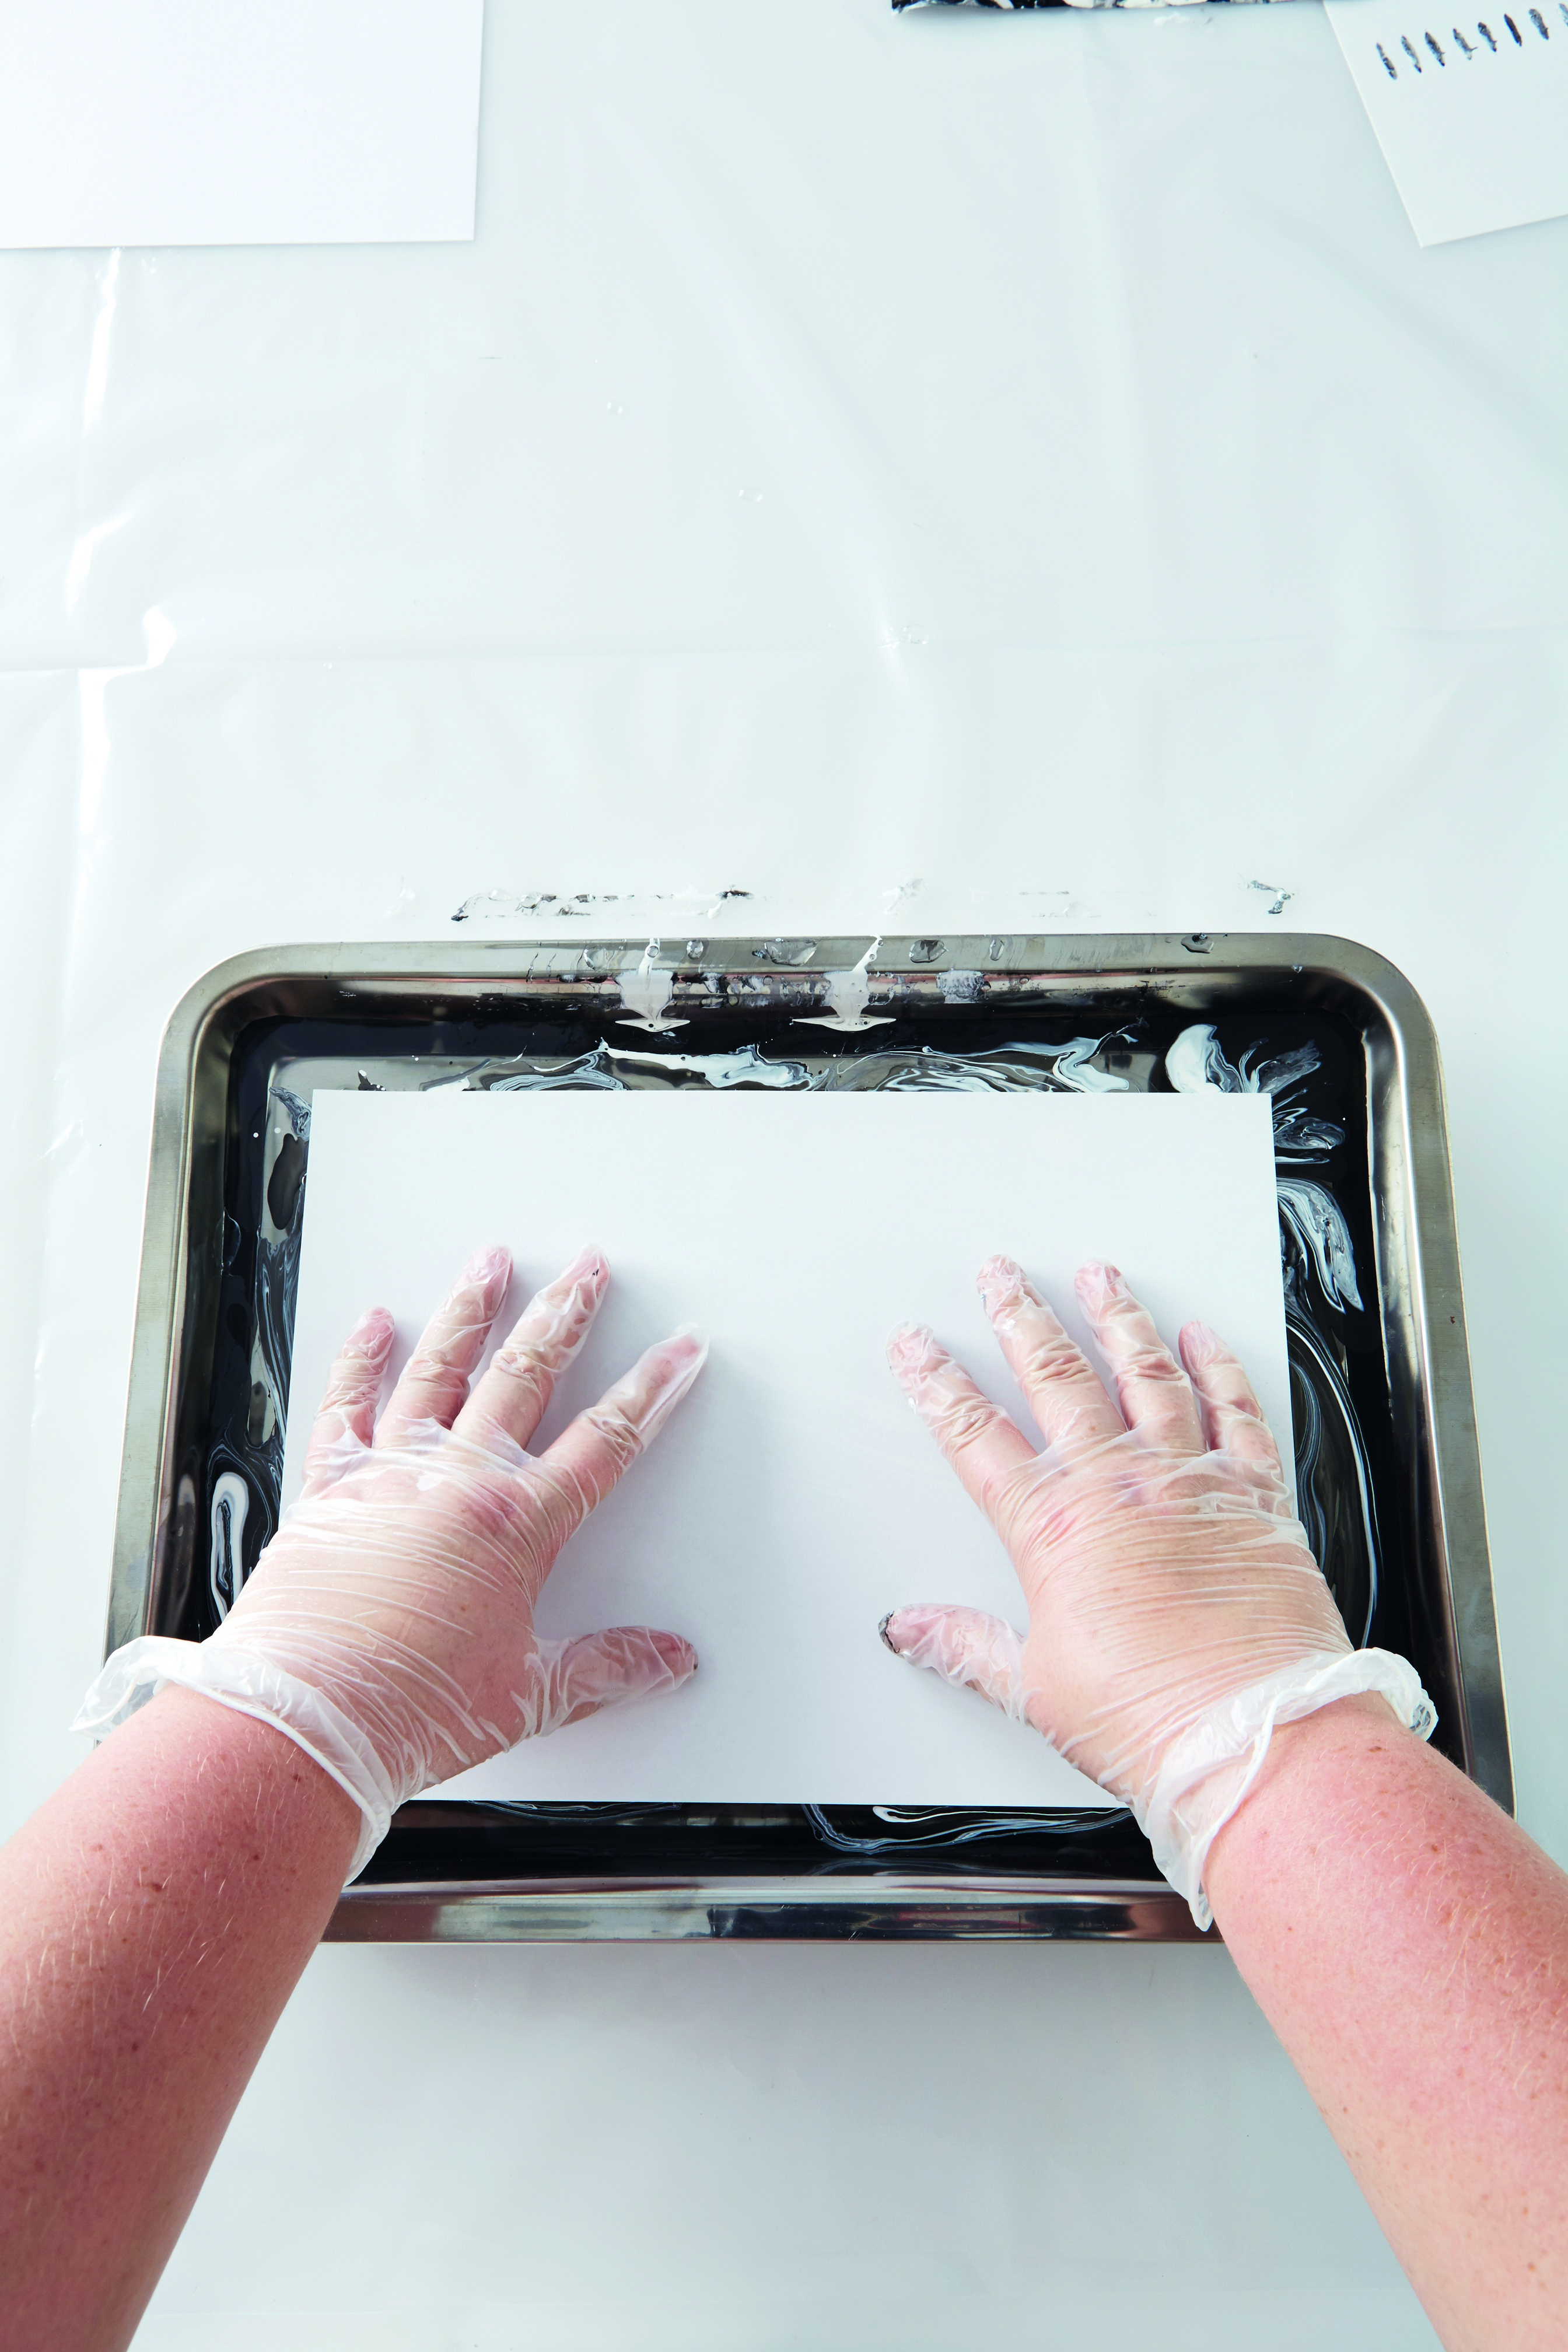
Step 7
Place a clean sheet of paper onto the water and rub to remove any air bubbles.
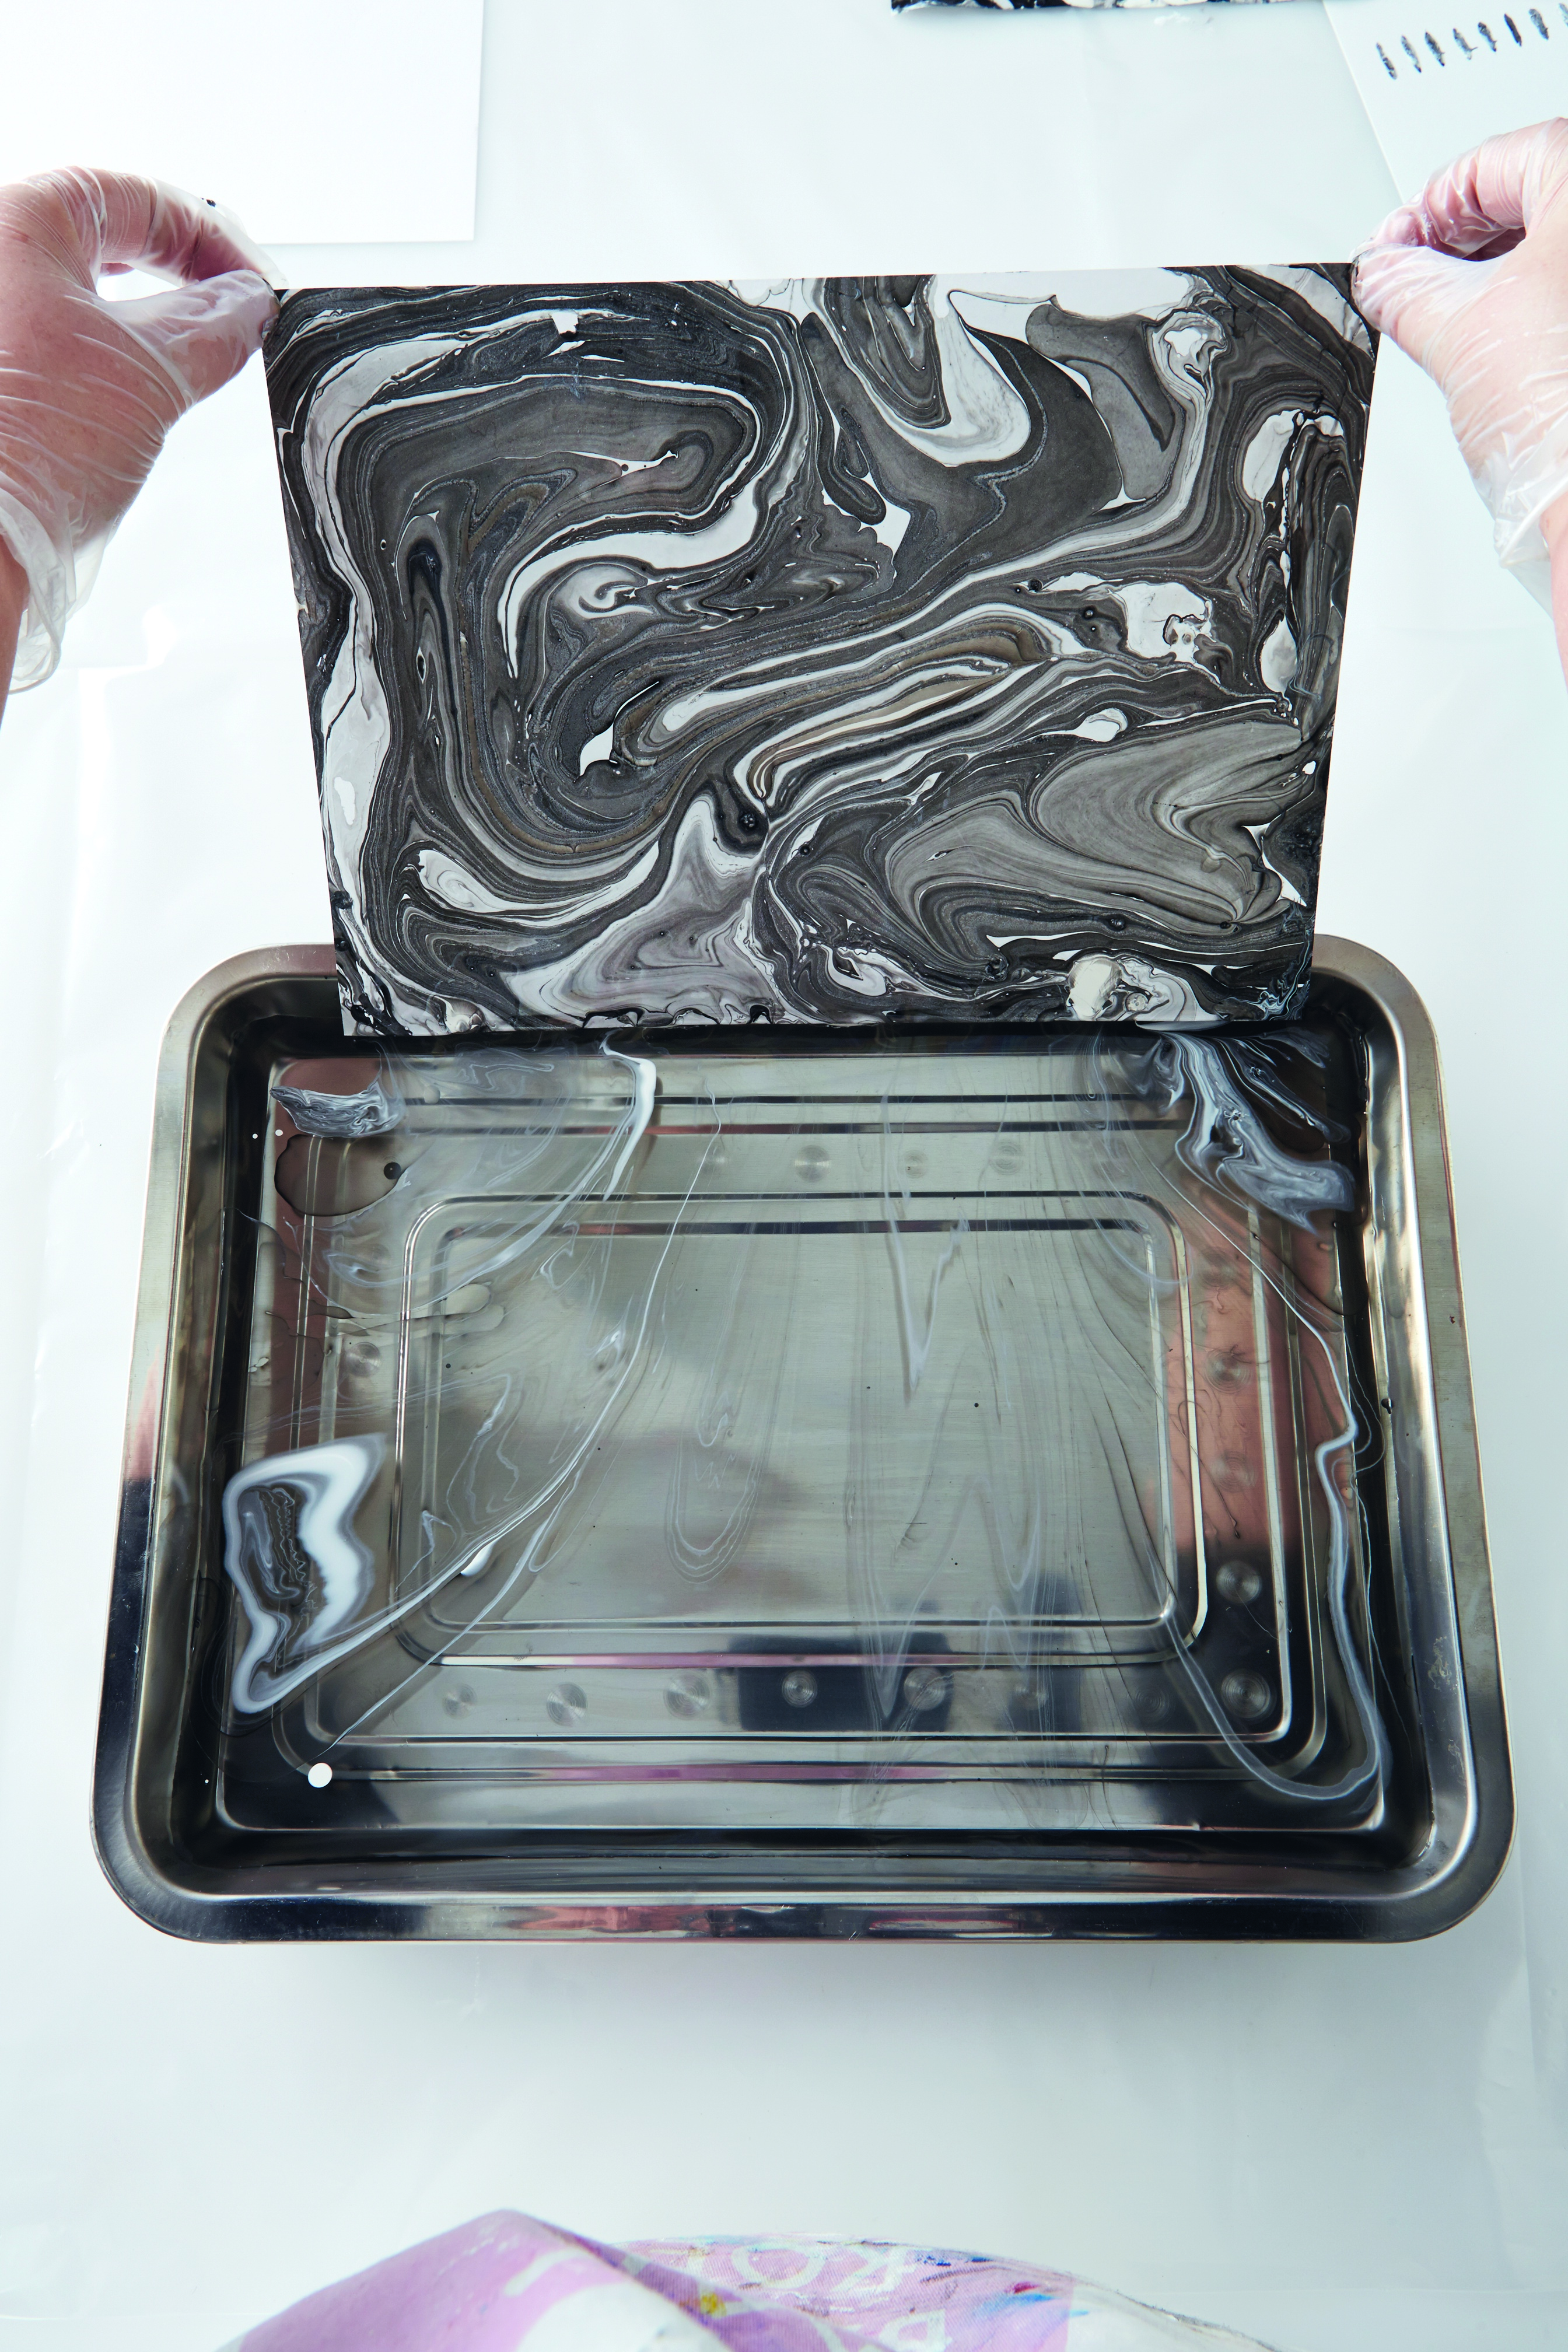
Step 8
Lift the paper from the water. This second print should be lighter than the first one and have a nicer design. if you now wish to print on more sheets of paper, you will need to drip more paint into the container.
Step 9
Leave your sheets of paper to dry overnight before you use them in your projects.
Top Tip: To clean your tray, first ‘blot’ the paint with newspaper then place a fabric remnant in your sink before you throw out the water. This will prevent the paint from blocking the sink and drain.
Good idea: you can print on fabric using the same technique.
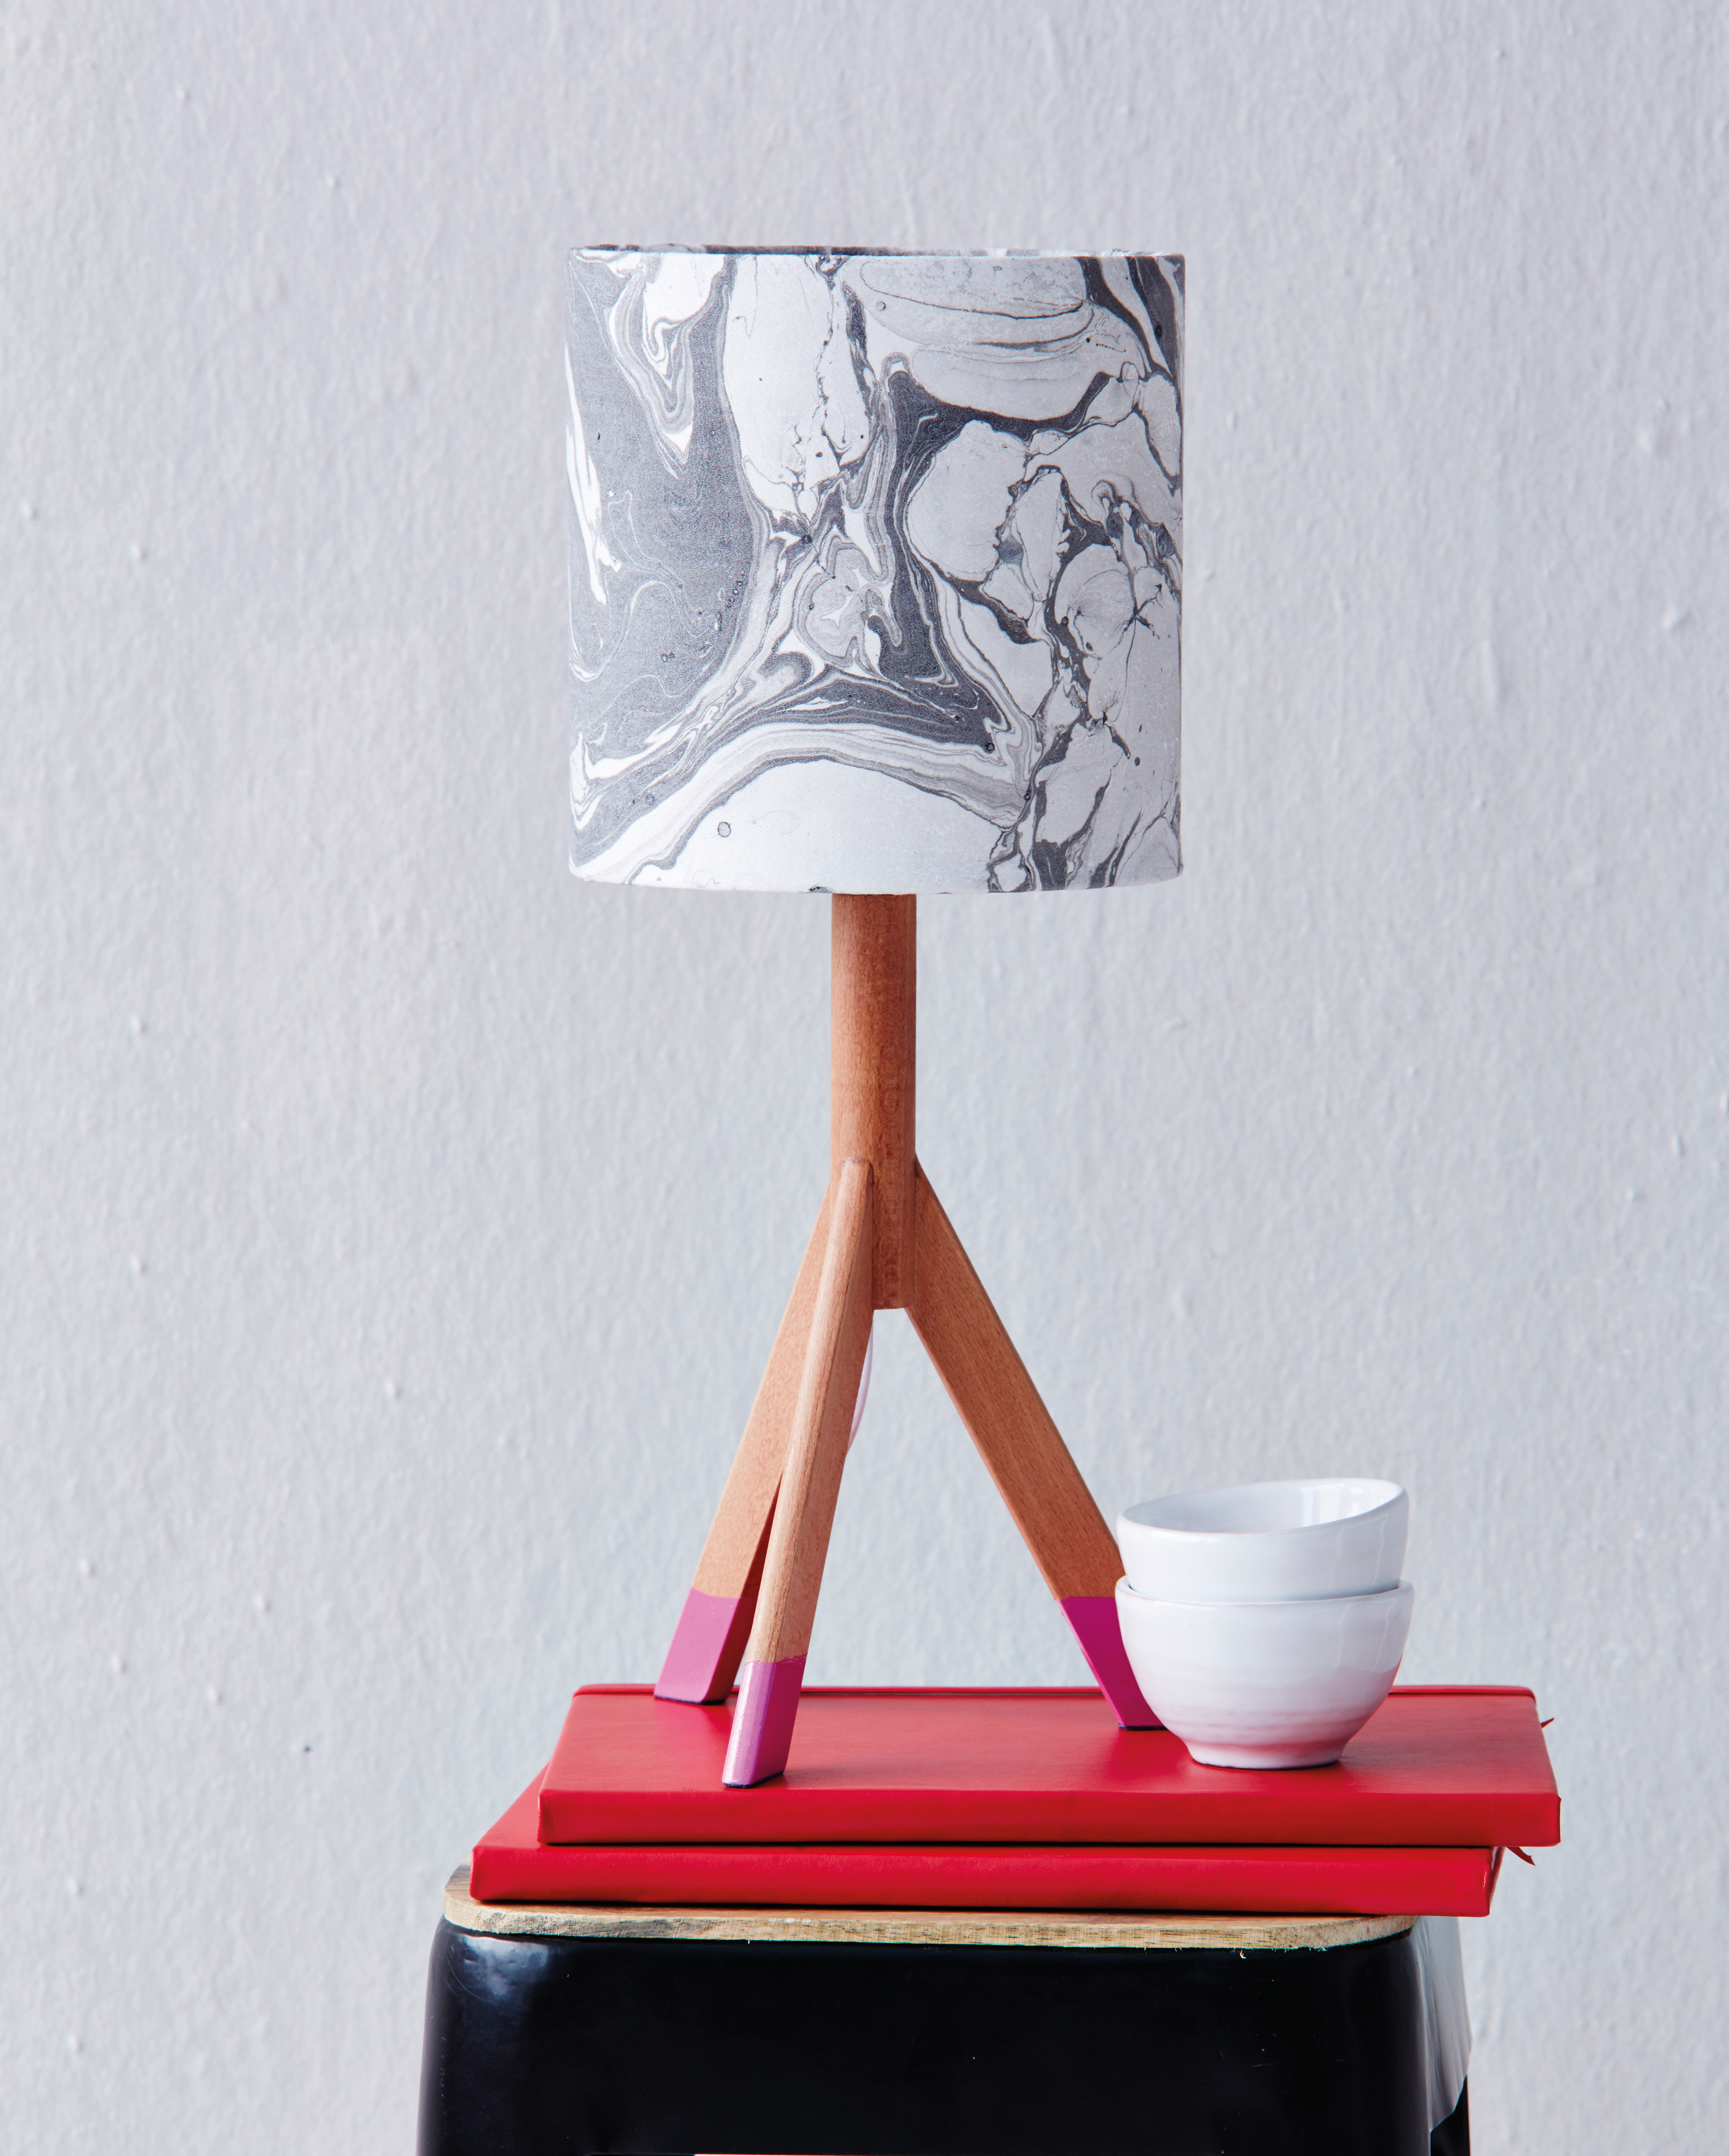
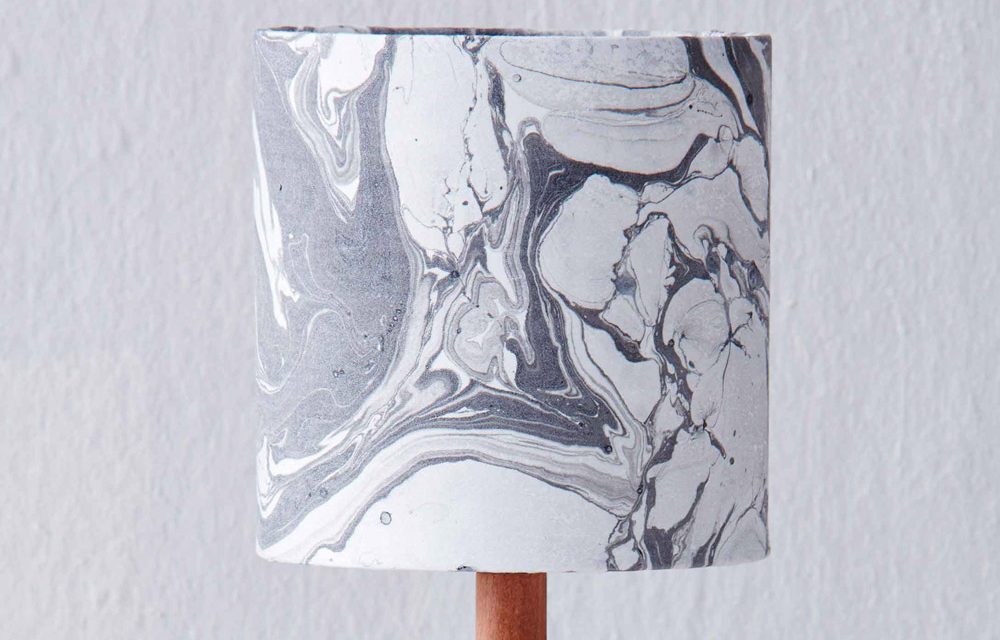
Lampshade with a pattern
Print a strip of fabric with a marbled design (follow our steps above) and use it to cover a lampshade. Ours is black and white, but you can use any colours that match your décor. We painted the lampstand’s feet pink, for a splash of colour.
Credits
Referenced from Gallo images / IDEAS Magazine
Browse 1000’s of products available to you. Select your country to Shop Online.


