Today’s painting tools are positively high tech, make painting easier, faster and more pleasant to do.
Getting to know paintbrushes
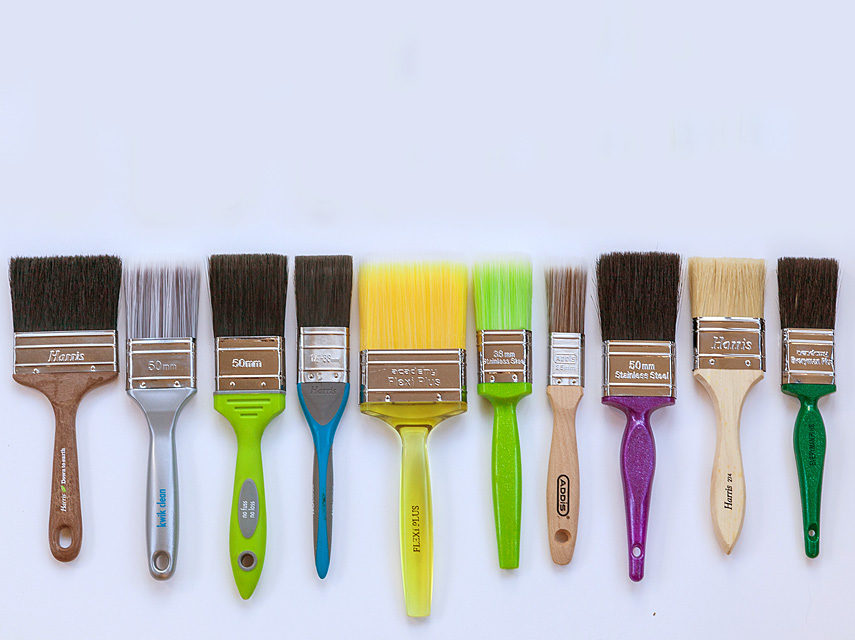
Most paintbrushes these days are synthetic and designed to hang onto their bristles (the packaging should say “no-bristle-loss”). These ensure effortless application of PVA and oil-based paints, they can be used on a variety of surfaces and easily cleaned. Buy them singly or in economy packs containing a range of sizes. You get what you pay for in paintbrushes as much as anything else. Here’s why a quality brush will serve you better than a cheapie. However, there are some jobs a quality brush is wasted on.
The pros and cons of using quality or cheap paint brushes
Quality brushes:
- Improve with use as their loose bristles are lost and the tips become rounded, enhancing paint pick up and release.
- You won’t have to load the brush with paint so often as quality brushes have a high loading capacity.
- If the ferrule (the metal binder between the handle and bristles) is made of stainless steel, it won’t ever rust.
- Quality brushes also hold their shape and form over long periods, but you do need to clean, look after and store them correctly.
Cheap brushes:
- Cheap brushes are acceptable when you’re buying an all-rounder brush to use only a few times, but they tend to drop their bristles into your paint and onto your newly painted surface, and they don’t spread the paint evenly.
- They also have fewer bristles for their width, which affects their paintloading capacity, and the bristles are often anchored with an adhesive which deteriorates with use, which means you lose bristles every time.
- Projects where cheap brushes are needed include applying wood preservatives to rough timber or for removing dust after sanding.
Natural vs synthetic paintbrushes
Nowadays synthetic brushes can do all the paint jobs you need, but a good quality natural brush (made from hog hair) gives a fine smooth finish. Natural bristle brushes are often used with varnishes, oils, fibreglass, glues and resins. Ones with unpainted wooden handles are meant for resins and solvents that would dissolve any paint on the handles. Natural bristle brushes are the best for oil-based paints (but not latex paints, which need synthetic bristles).
Top tip: Remember that oil-based paint should be applied with a brush, using a criss-cross pattern followed by gentle upward movements to delete the brush marks.
What size paint brush to use
<25mm – Small jobs, touch up work on toys, chairs, interior trim
38mm – Furniture, small panels, window frames, downpipes
50mm– Small to medium-sized projects, including doors, tabletops, cabinets, gutters
75mm – Medium to large projects, including floorboards, skirting, fence posts, cupboards, outdoor furniture
Top Tip: If a paint requires a particular type of brush or roller, it will say so on the tin.
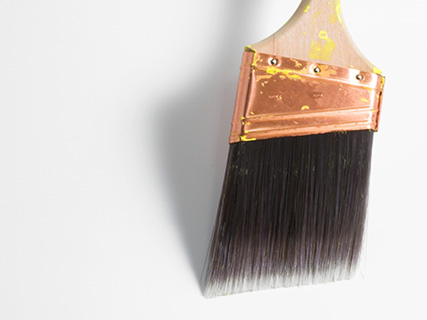
Cutting in brushes
These are narrow and angled so as to give a smooth line. They are used for painting around fixtures and areas where a roller or larger brush would be unwieldy. Quality cutting in brushes have a convex chisel shape to produce smooth even lines.
Caring for brushes
Store brushes by hanging them, lying them flat or propping them upside down in a jar. The bristles need to be protected, so never store brushes with pressure on the tips or sides of the bristles. Most manufacturers include handy tips on the packing on how to care for your paintbrush to ensure many hassle-free hours of painting. Remember, for water-based paints rinse your brushes and rollers with warm water. For oilbased paints, use a solvent and then rinse with water. Never store the brush in the paintbrush cleaner.
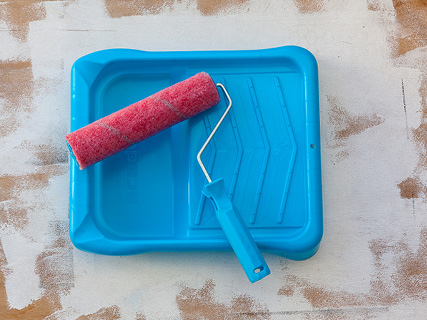
All about rollers
When you are ready to use a roller, you are spoiled for choice. They’re ideal for covering large areas such as walls, doors and ceilings quickly and smoothly. Foam rubber or mohair rollers are best for smooth surfaces while lambswool or nylon pile rollers are best for textured ones. Lambswool and mohair rollers are now largely replaced by synthetics. Look for the manufacturer’s recommendations to be sure you choose the correct one for the job.
Top Tip: Mini foam rollers are suitable for all types of paint and for covering small to medium areas. Handy for spots where normal rollers can’t fit (behind pipes etc).
Tape it up
Blocking edges with tape will ensure paint doesn’t sneak into places where you don’t want it. Many people use masking tape because it’s usually what they’ve got lying in the cupboard. Sure, it does the job, but honestly, it’s not as good as proper painter’s tape. You’ll see the difference in the amount of bleeding under the tape – painter’s tape stops all that.
Top Tip: Cover your floor with protective sheets. When doing interior walls it’s useful to stick the sheets on top of the floor skirting, using duct tape, so they don’t pull away from the wall.
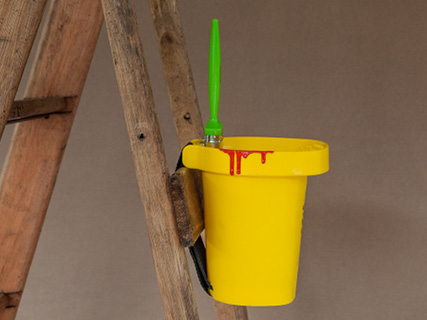
Paint kettles
If you’re climbing a ladder, you have to have a paint kettle. These have hook handles or Velcro fastenings, which attach the bucket to the ladder so you don’t have to run up and down to dip your brush, eliminating precarious bucket balancing on the ladder. It’s always advisable to decant paint into another container rather than use it straight from the tin. This ensures that any bristles that fall out of your brush and any dirt that it picks up won’t contaminate the entire tin.
Scrapers and putty knives
Scrapers are ideal for removing old paint, rust, putty or glue, but as they have sharp edges and corners, mind you don’t scar the surface with one. Before storing a scraper, make sure it’s clean. A quick wipe with turpentine will do the job. Before filling a crack, knock off any loose bits of plaster, brick or paint and brush out any loose material and dust. Open up the crack if necessary. Paint the crack with plaster primer to ensure the filler bonds well with it, then use a putty knife or filler tool to press the filler into the crack. A filler tool is similar to a scraper but has a more flexible blade which makes it easier to press filler into a crack and scrape off the excess afterwards. Once dry, sand the filler smooth, paint with plaster primer and then your topcoat.
Sandpaper
Sanding a previously painted surface before repainting it ensures that the new paint or primer will bond well with the surface and you will end up with a lasting, quality coat. Some electric sanders are too abrasive to use on paint so you have to be careful not to gouge the surface with them. Always choose sandpaper with the right grit for the job. For removing old paint you will need to start with a coarse grit, whereas if you are just scuffing the surface to paint over it, you will need an extra fine grit (220).
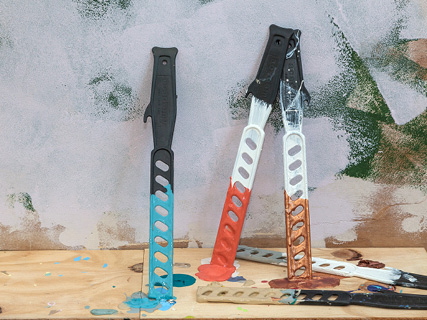
Stirring things up
Most paint needs stirring before use, the exception being non-drip enamel. Always read the instructions on the tin before stirring, then stir with a clean, flat, smooth piece of wood with holes drilled through it, or a ready-made paint stirrer, which is the reusable option. Or use a drill attachment stirrer.
Mutton cloth
Mutton cloth is a pure cotton, soft and absorbent fabric that’s ideal for buffing, polishing, dusting and cleaning. Some waxes and polishes cannot be removed by washing so it’s best to keep separate cloths for specific uses. Mutton cloth is good for wiping up spills too.
Don’t spill a drop
It’s important to protect your floors, furnishings and trim when painting. Flecks of paint can go everywhere, even when you are being careful. Drop cloths are for protecting floors from drips and spills and are positioned right up against the walls or under the ceiling being painted. Plastic sheeting is slippery so it’s not that good to use under a ladder or underfoot, but it is handy for wrapping around furniture, taping over doorways and taping to skirting boards to save you lots of cleaning up afterwards.
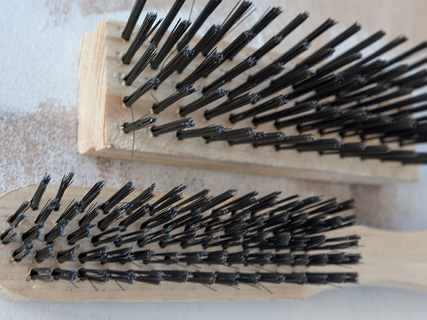
Wire brushes
These are mainly used for removing old paint and rust. They come in all shapes and sizes and also as attachments for electric drills (excellent for cleaning rusted burglar bars).

