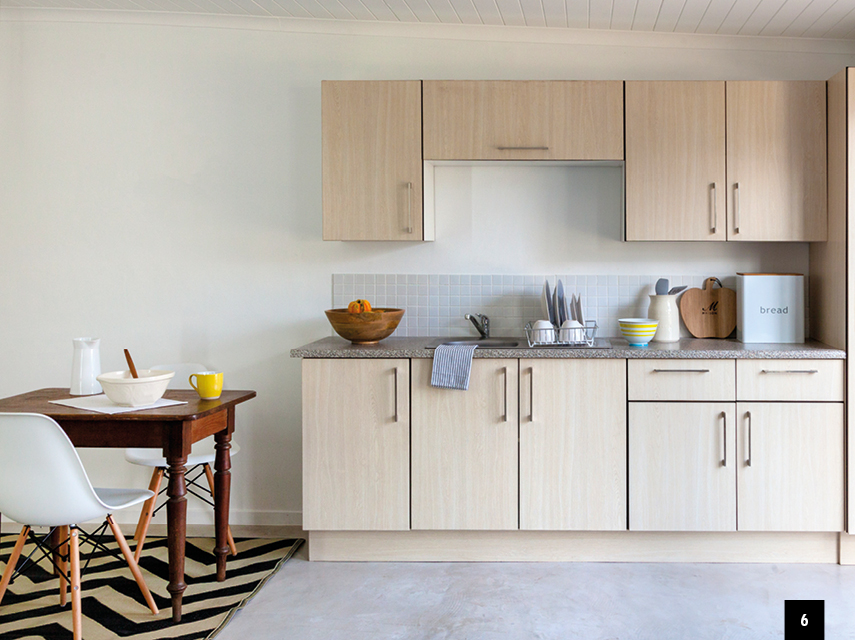
Unleash your inner child and build your own kitchen using pre-assembled standard-size units. It’s easier than it looks and very affordable. All you need is a few screws and basic tools to put it together.
- Drill with hammer option
- 6mm concrete drill bit
- Cordless drill
- Hammer
- Nail-in screws (6 x 70mm)
- Chipboard screws (6 x 30mm)
- Chipboard screws (6 x 40mm)
- Safety glasses when drilling
- Spirit level
- Acrylic sealant
- Damp cloth
- Tape measure
- Wall anchors
Preparation:
Measure your space carefully. Use the sizes of ready-made units to determine your layout.
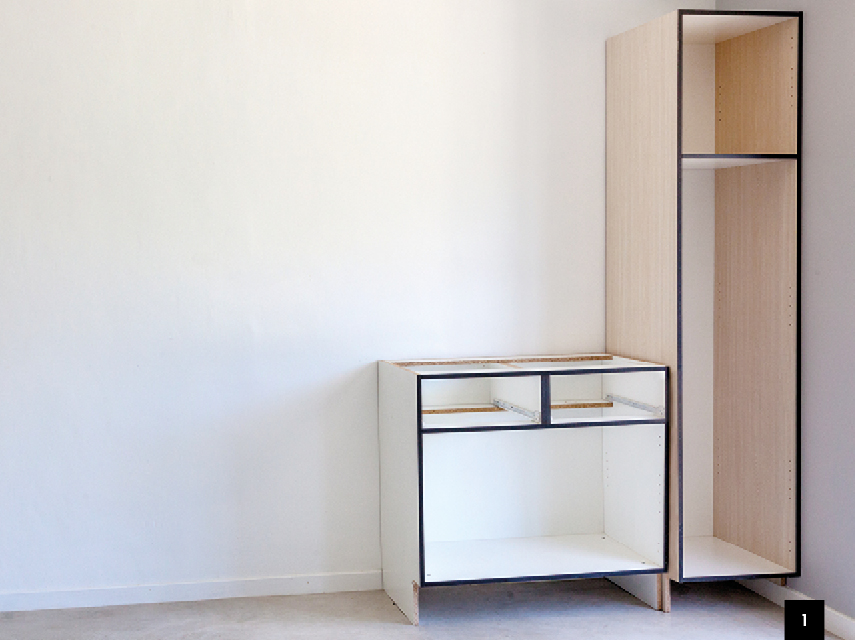
Step 1
Starting from the corner, move the first cupboard into place. Remove existing skirting boards so that the cupboards fit flush against the wall.
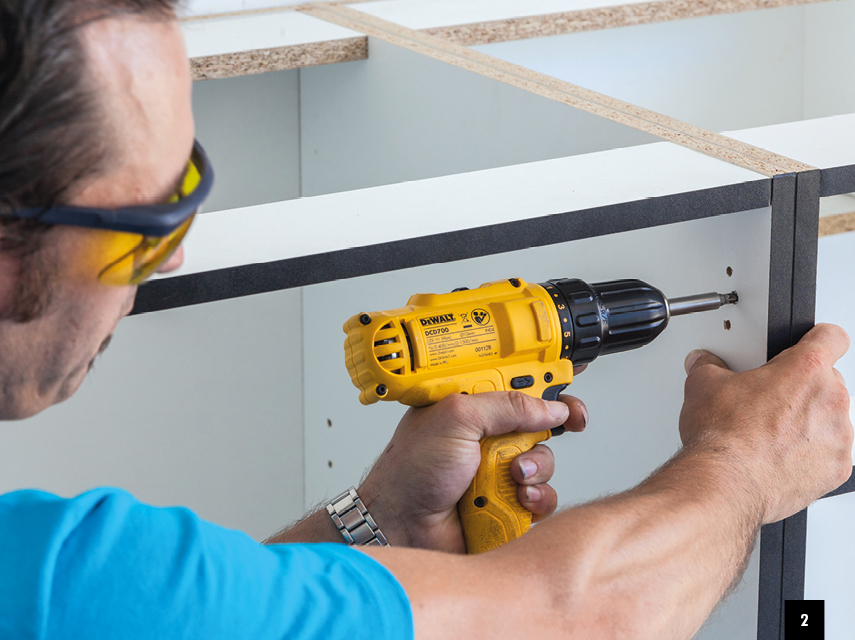
Step 2
Once the cabinets are in place, attach them to each other using the 6 x 30mm chipboard screws. The neatest place to do this is between the two holes pre-drilled for the hinges. Ensure the cupboards are level.
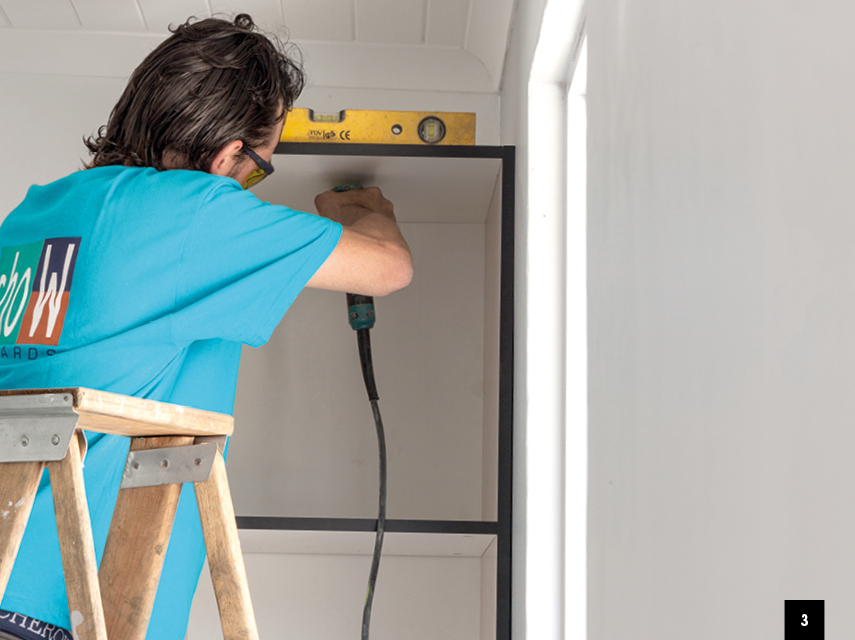
Step 3
Secure the cabinets to the walls. On the inside back of each unit, mark up where screw holes need to be – about 50mm from the top. Using a hammer-action drill coupled with the 6mm masonry bit, drill through the back of the unit and into the wall. Ensure the holes are deep enough to accommodate the full length of the nail-in screws. Use 6 x 70mm wall anchors.
Top Tip: Keep your spirit level handy to constantly check the cabinets are level. Walls and ceilings and floors are notoriously crooked and you can easily go wrong here.
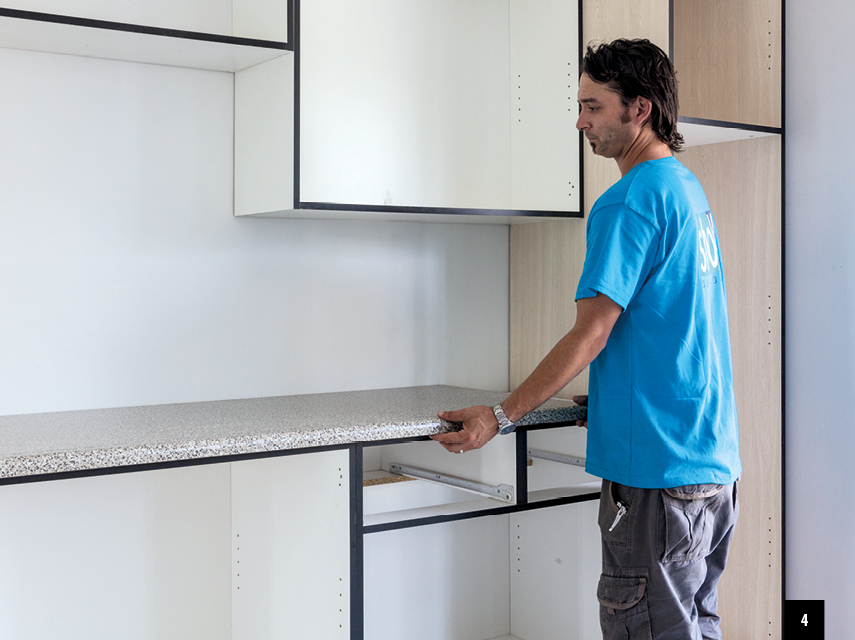
Step 4
Place your pre-cut countertop into position on the lower cabinets and secure it with 6 x 40mm screws through the braces underneath. If you’re installing a stone or granite countertop, use epoxy glue.
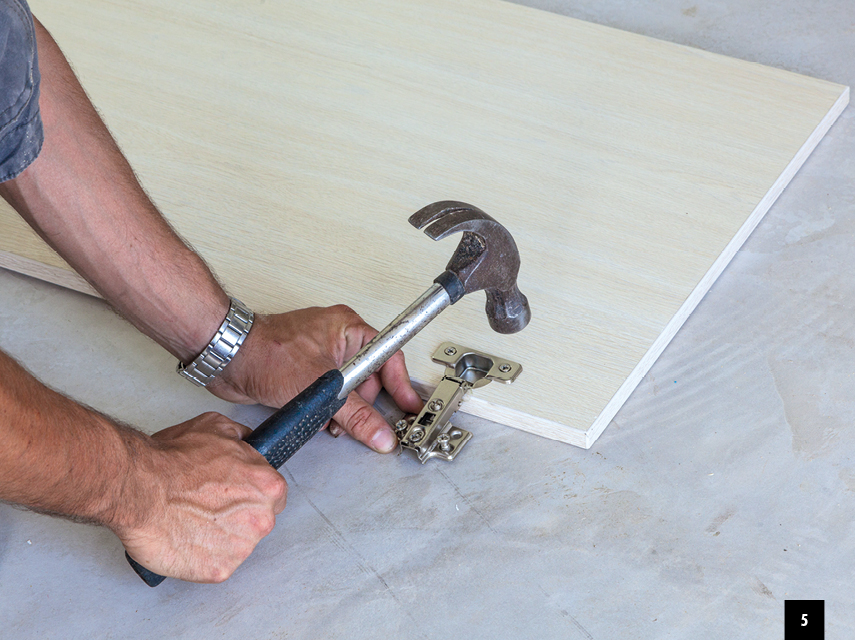
Step 5
To fit the cupboard doors to the units, tap the hinges into the predrilled slots on the doors and fasten securely with screws provided. Then screw the baseplates of the hinges into the pre-drilled holes in the units, using screws provided with the hinges.
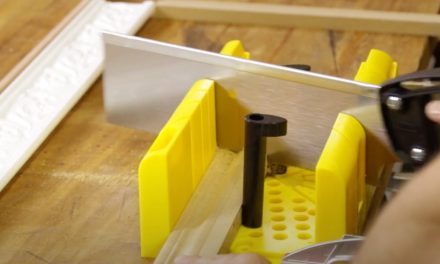
Top Tip: It’s much easier to attach the handles to the doors before you hang them, so measure, mark and drill holes, then screw them in using the screws provided with the handles.
Step 6
Finally, attach the kickboard to give your kitchen that professional flourish. Nobody will know you did it yourself!
Watch the video – How to assemble a flat-packed cupboard
Watch the video – How to install a drop-in sink
Browse 1000’s of products available to you. Select your country to Shop Online.


