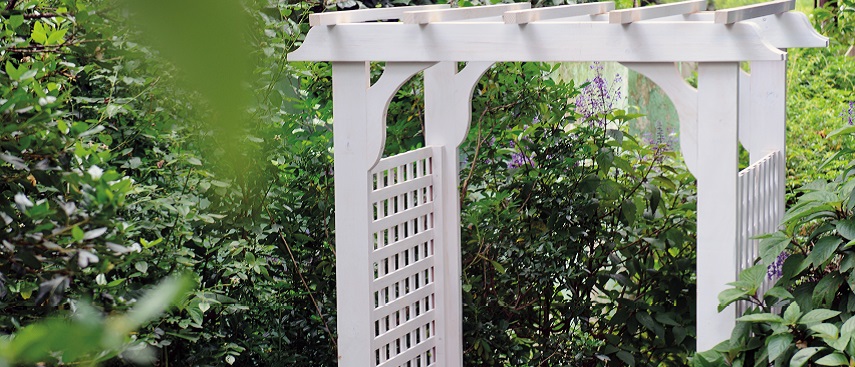
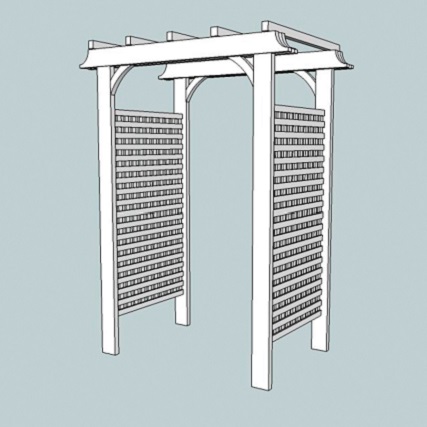
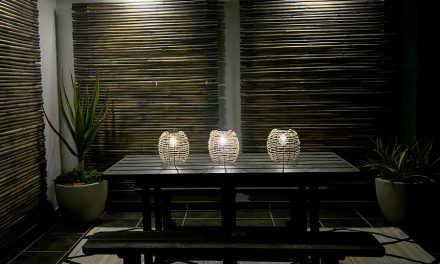
Bring your garden to life or create a peaceful pause area with this simple wooden structure.
- wood glue
- 8.0 x 75mm screws; 8.0 x 50mm screws
- 120- and 240-grit sandpaper
- wood filler
- universal undercoat and top coat
- 20mm pin tacks (nails)
- drill and pilot drill
- jigsaw
- pencil
- measuring tape
- screwdriver
- water level
- hammer
- large square
Cutting list
- six 3m lengths of 114 x 38mm planed all round pine (PAR) cut to:
- four 2100mm legs
- four 1500mm support beams
- four 3m lengths of 38 x 38mm PAR pine cut to:
- four 1200mm trellis supports
- five 1000mm top beams
- fifteen 3m lengths of 30 x 10mm cover strips pine cut to:
- thirty 750mm lengths
- sixteen 1200mm lengths (for the trellis)
- one 3m length of 228 x 38mm PAR pine (for the corner braces)
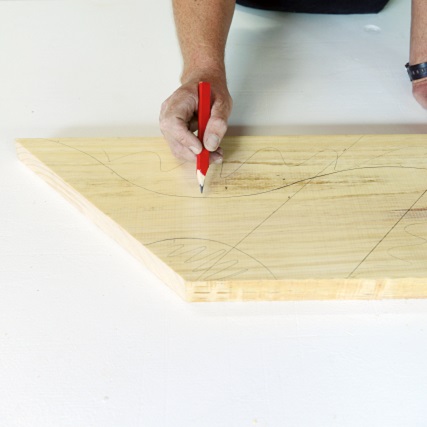
Step 1
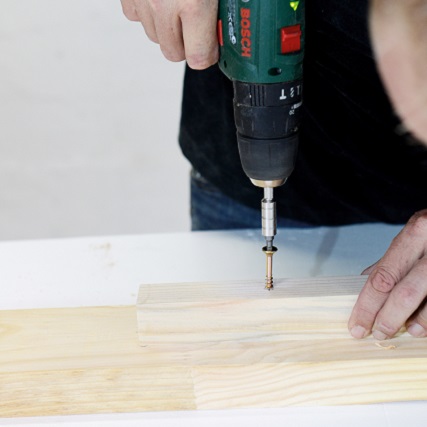
Beforehand Cut a detail on both sides of the top lateral beams. You will fit these later. Attach the four trellis supports onto the four legs, drilling a pilot hole and using 50mm screws; position them 240mm from the bottom and 30mm from the side – you will need two lefts and two rights.
Step 2
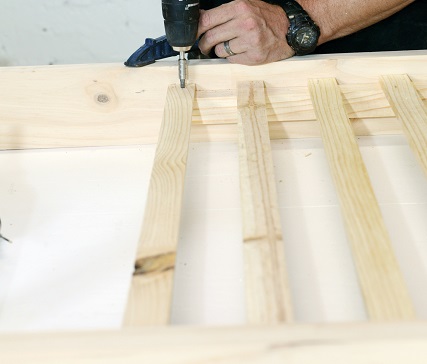
Position a left and a right leg on the edges then lay out 15 cover strips (750mm) with equal spacing onto the trellis supports. Fix with glue and pin tacks.
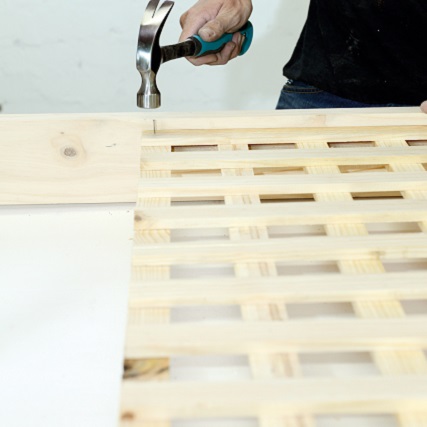
Step 3
Now fix eight vertical cover strips in place and then repeat on the other side.
Step 4
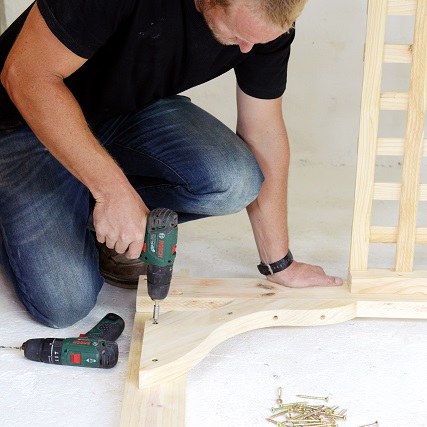
Cut four corner braces out of the 228 x 38mm pine using a jigsaw.
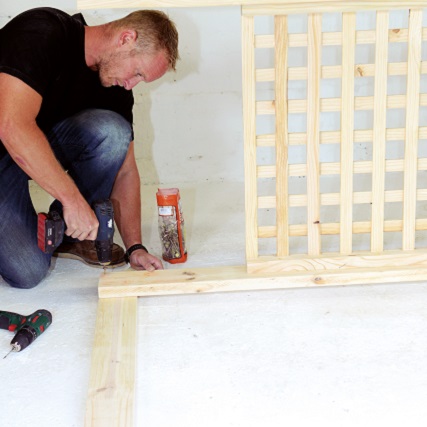
Step 5
Lay one support beam on the ground, then position the trellis sides spaced in from the edges to show the detail; check using the square.
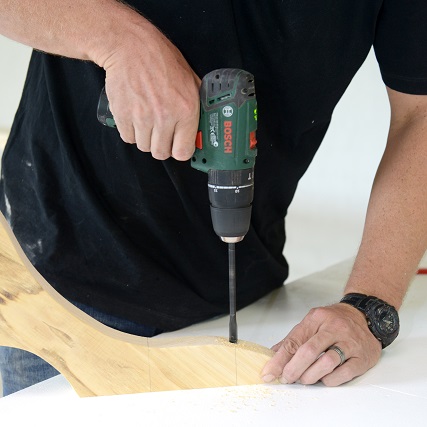
Step 6
Counter bore the corner braces to get the screw in deeper, using a bit larger than the head of the screw.
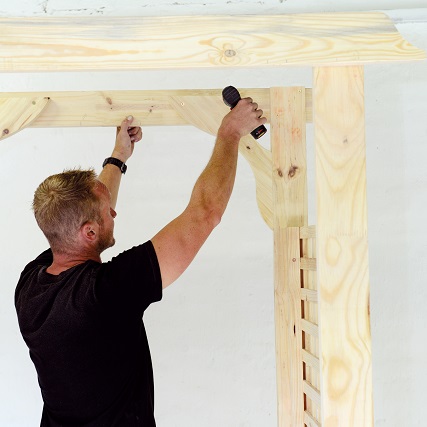
Step 7
Install corner braces which will be sandwiched in-between two support beams. Turn the structure over and repeat on the other side.
Step 8
Now fix the other support beam over this to hide the screws.

Top Tip
Ask someone to help you hold the structure upright while you attach the corner braces.
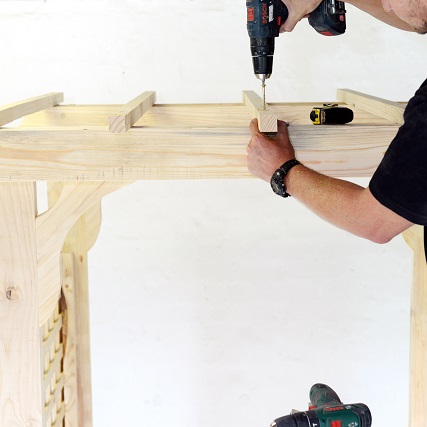
Step 9
Install the top beams on top of the support beams.
Credits
Referenced from Gallo images / Home Magazine
Browse 1000’s of products available to you. Select your country to Shop Online.


