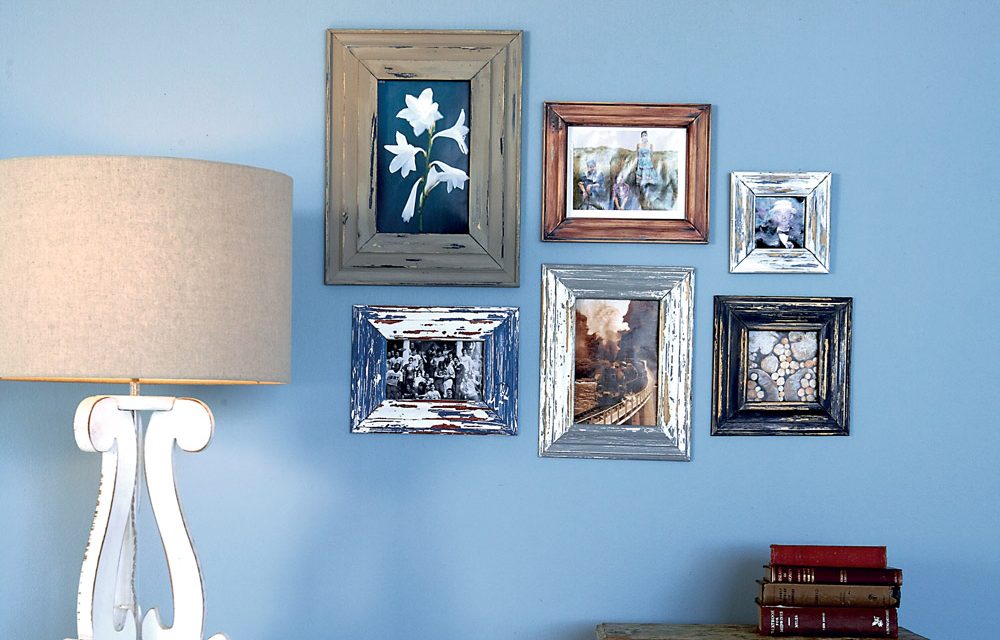
Picture frames that have an aged appearance complement images in a unique manner; make your own and create a focal wall.
- paintbrush
- sponge roller
- paint scraper
- staple gun with staples
- soft cloth or paper towel
- wood profiles to construct the frames; we used four different profiles to make ours
- wood glue
- petroleum jelly
- dark brown shoe polish
- acrylic PVA in the colours of your choice – we used white, grey and blue to match the tones in this room
Step 1
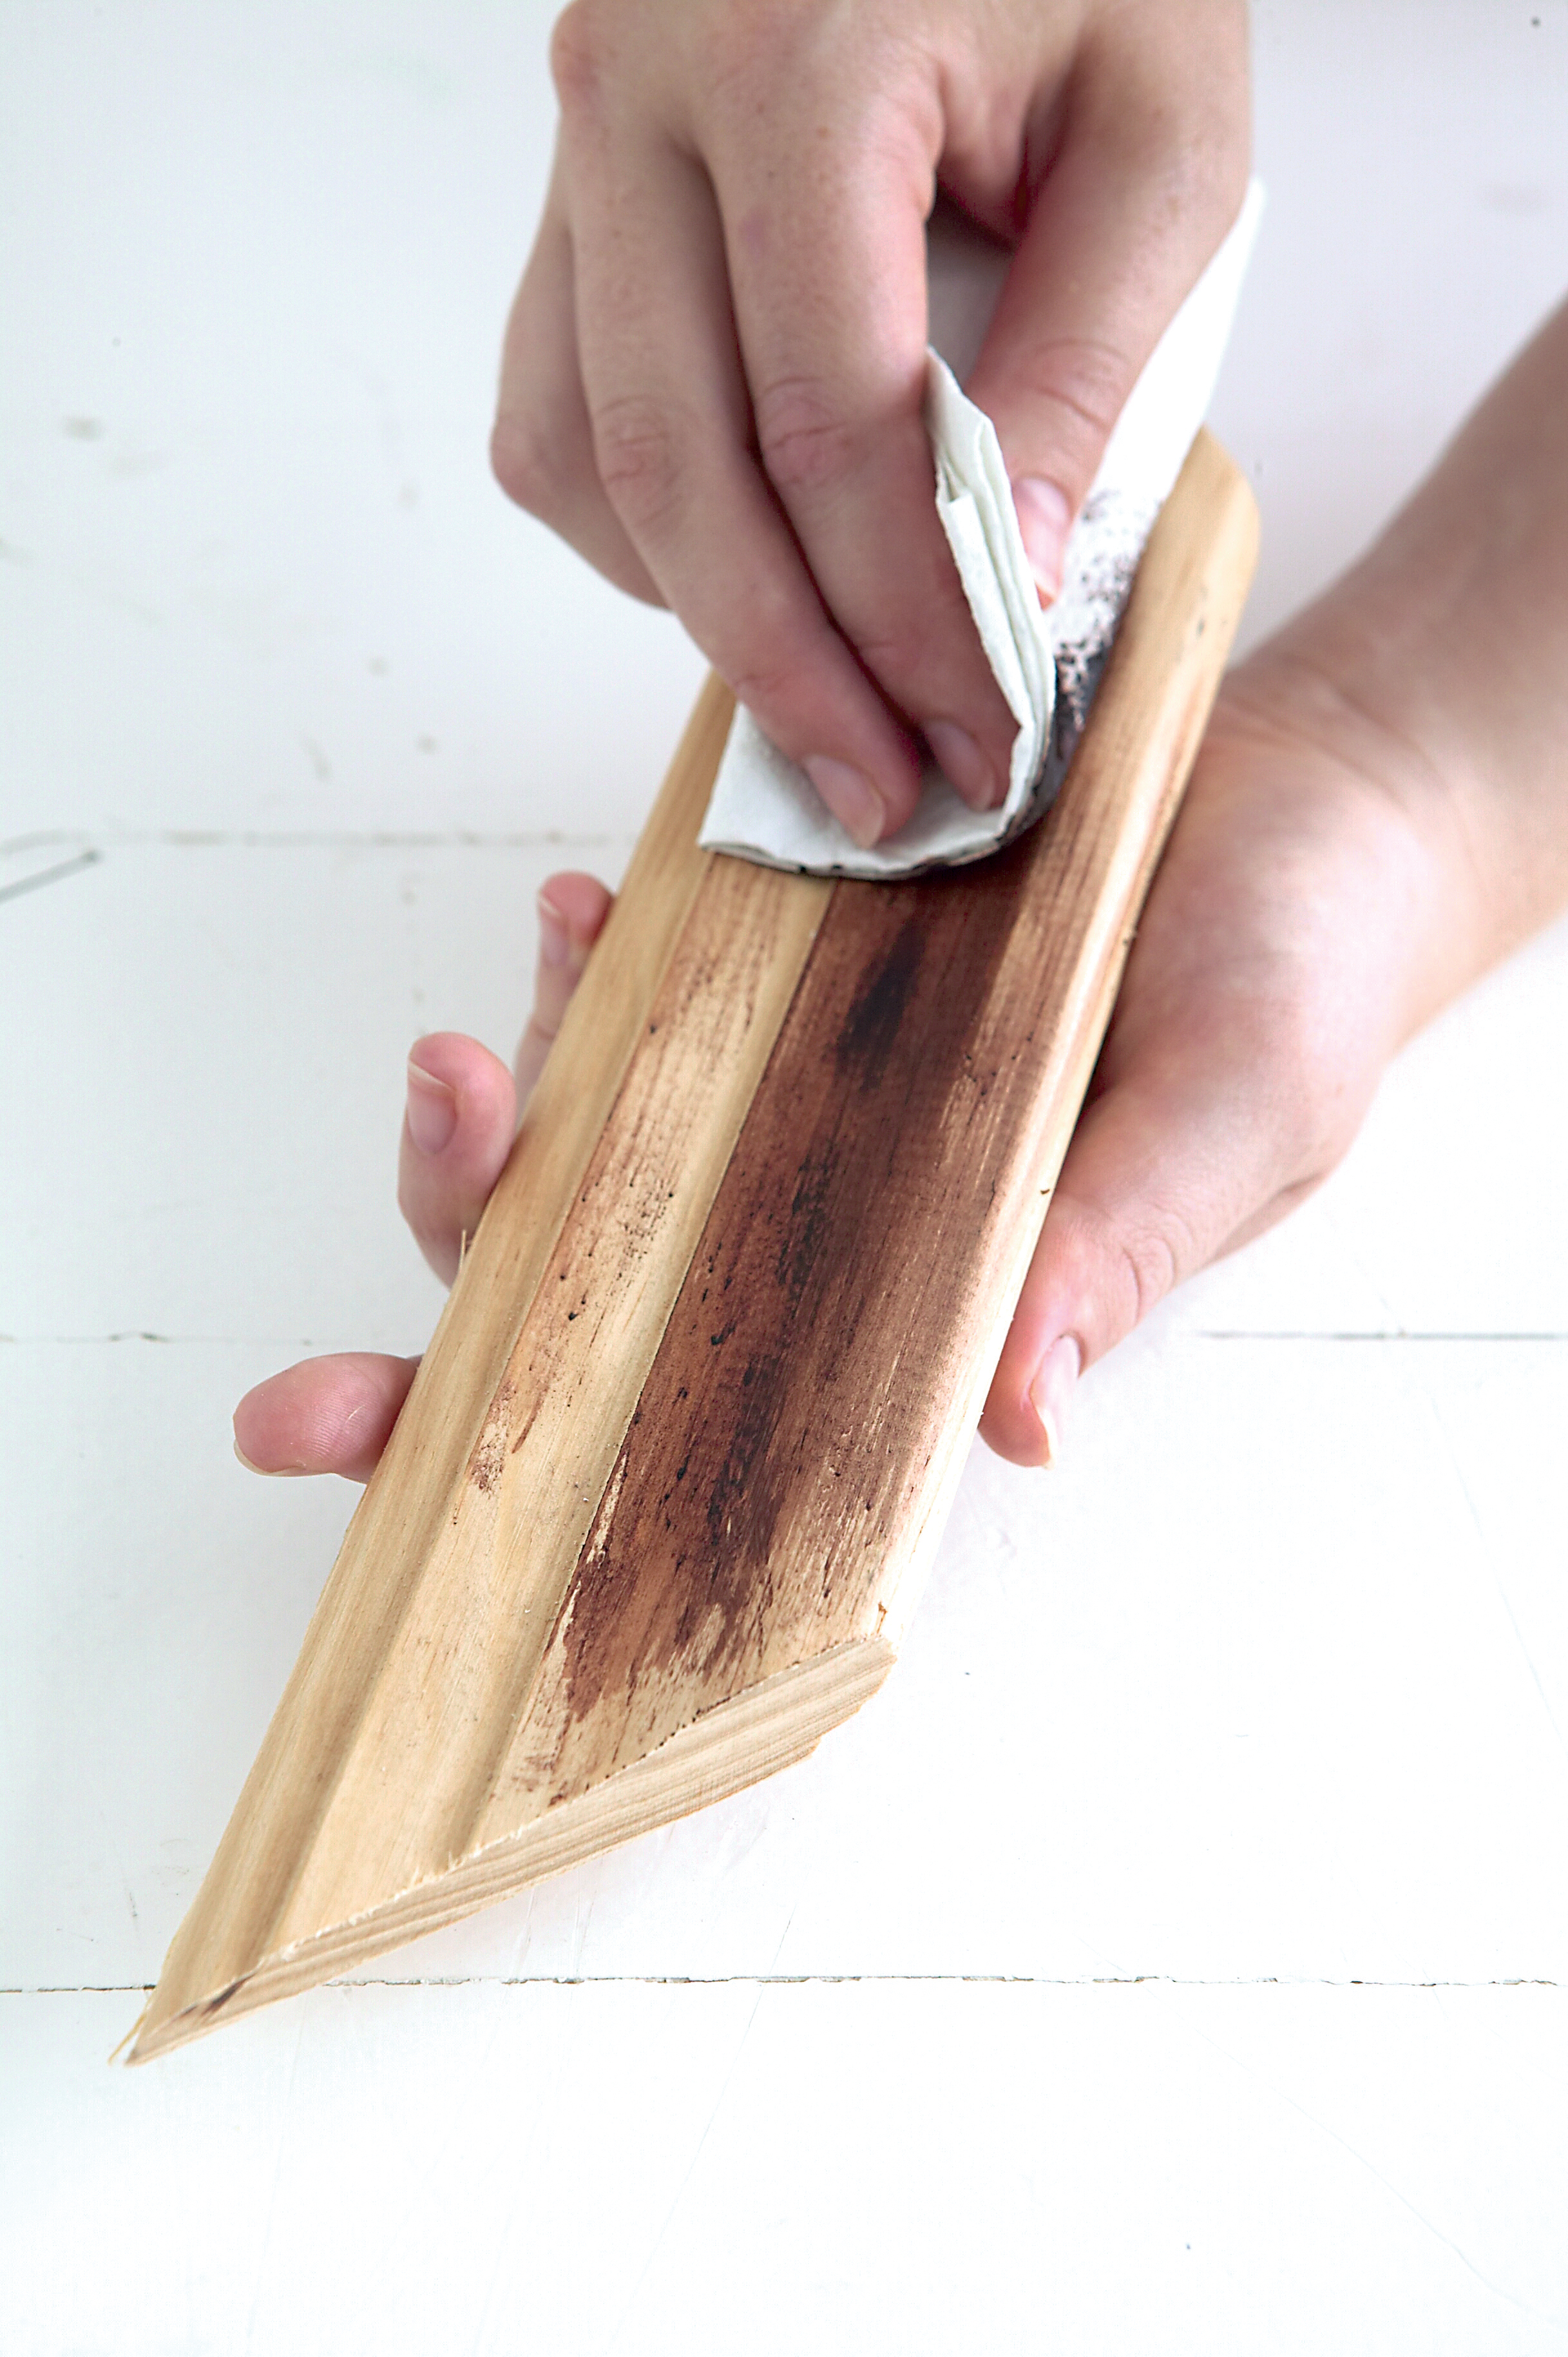
With the cloth, rub shoe polish into the grain of the wood to darken the surface – but keep in mind that the waxy properties of the polish will also prevent subsequent coats of paint from adhering to the wood. This will assist in creating the peeling paint effect.
Top Tip: Do not rub the polish onto the mitred edges, as glue will not adhere properly there either.
Step 2
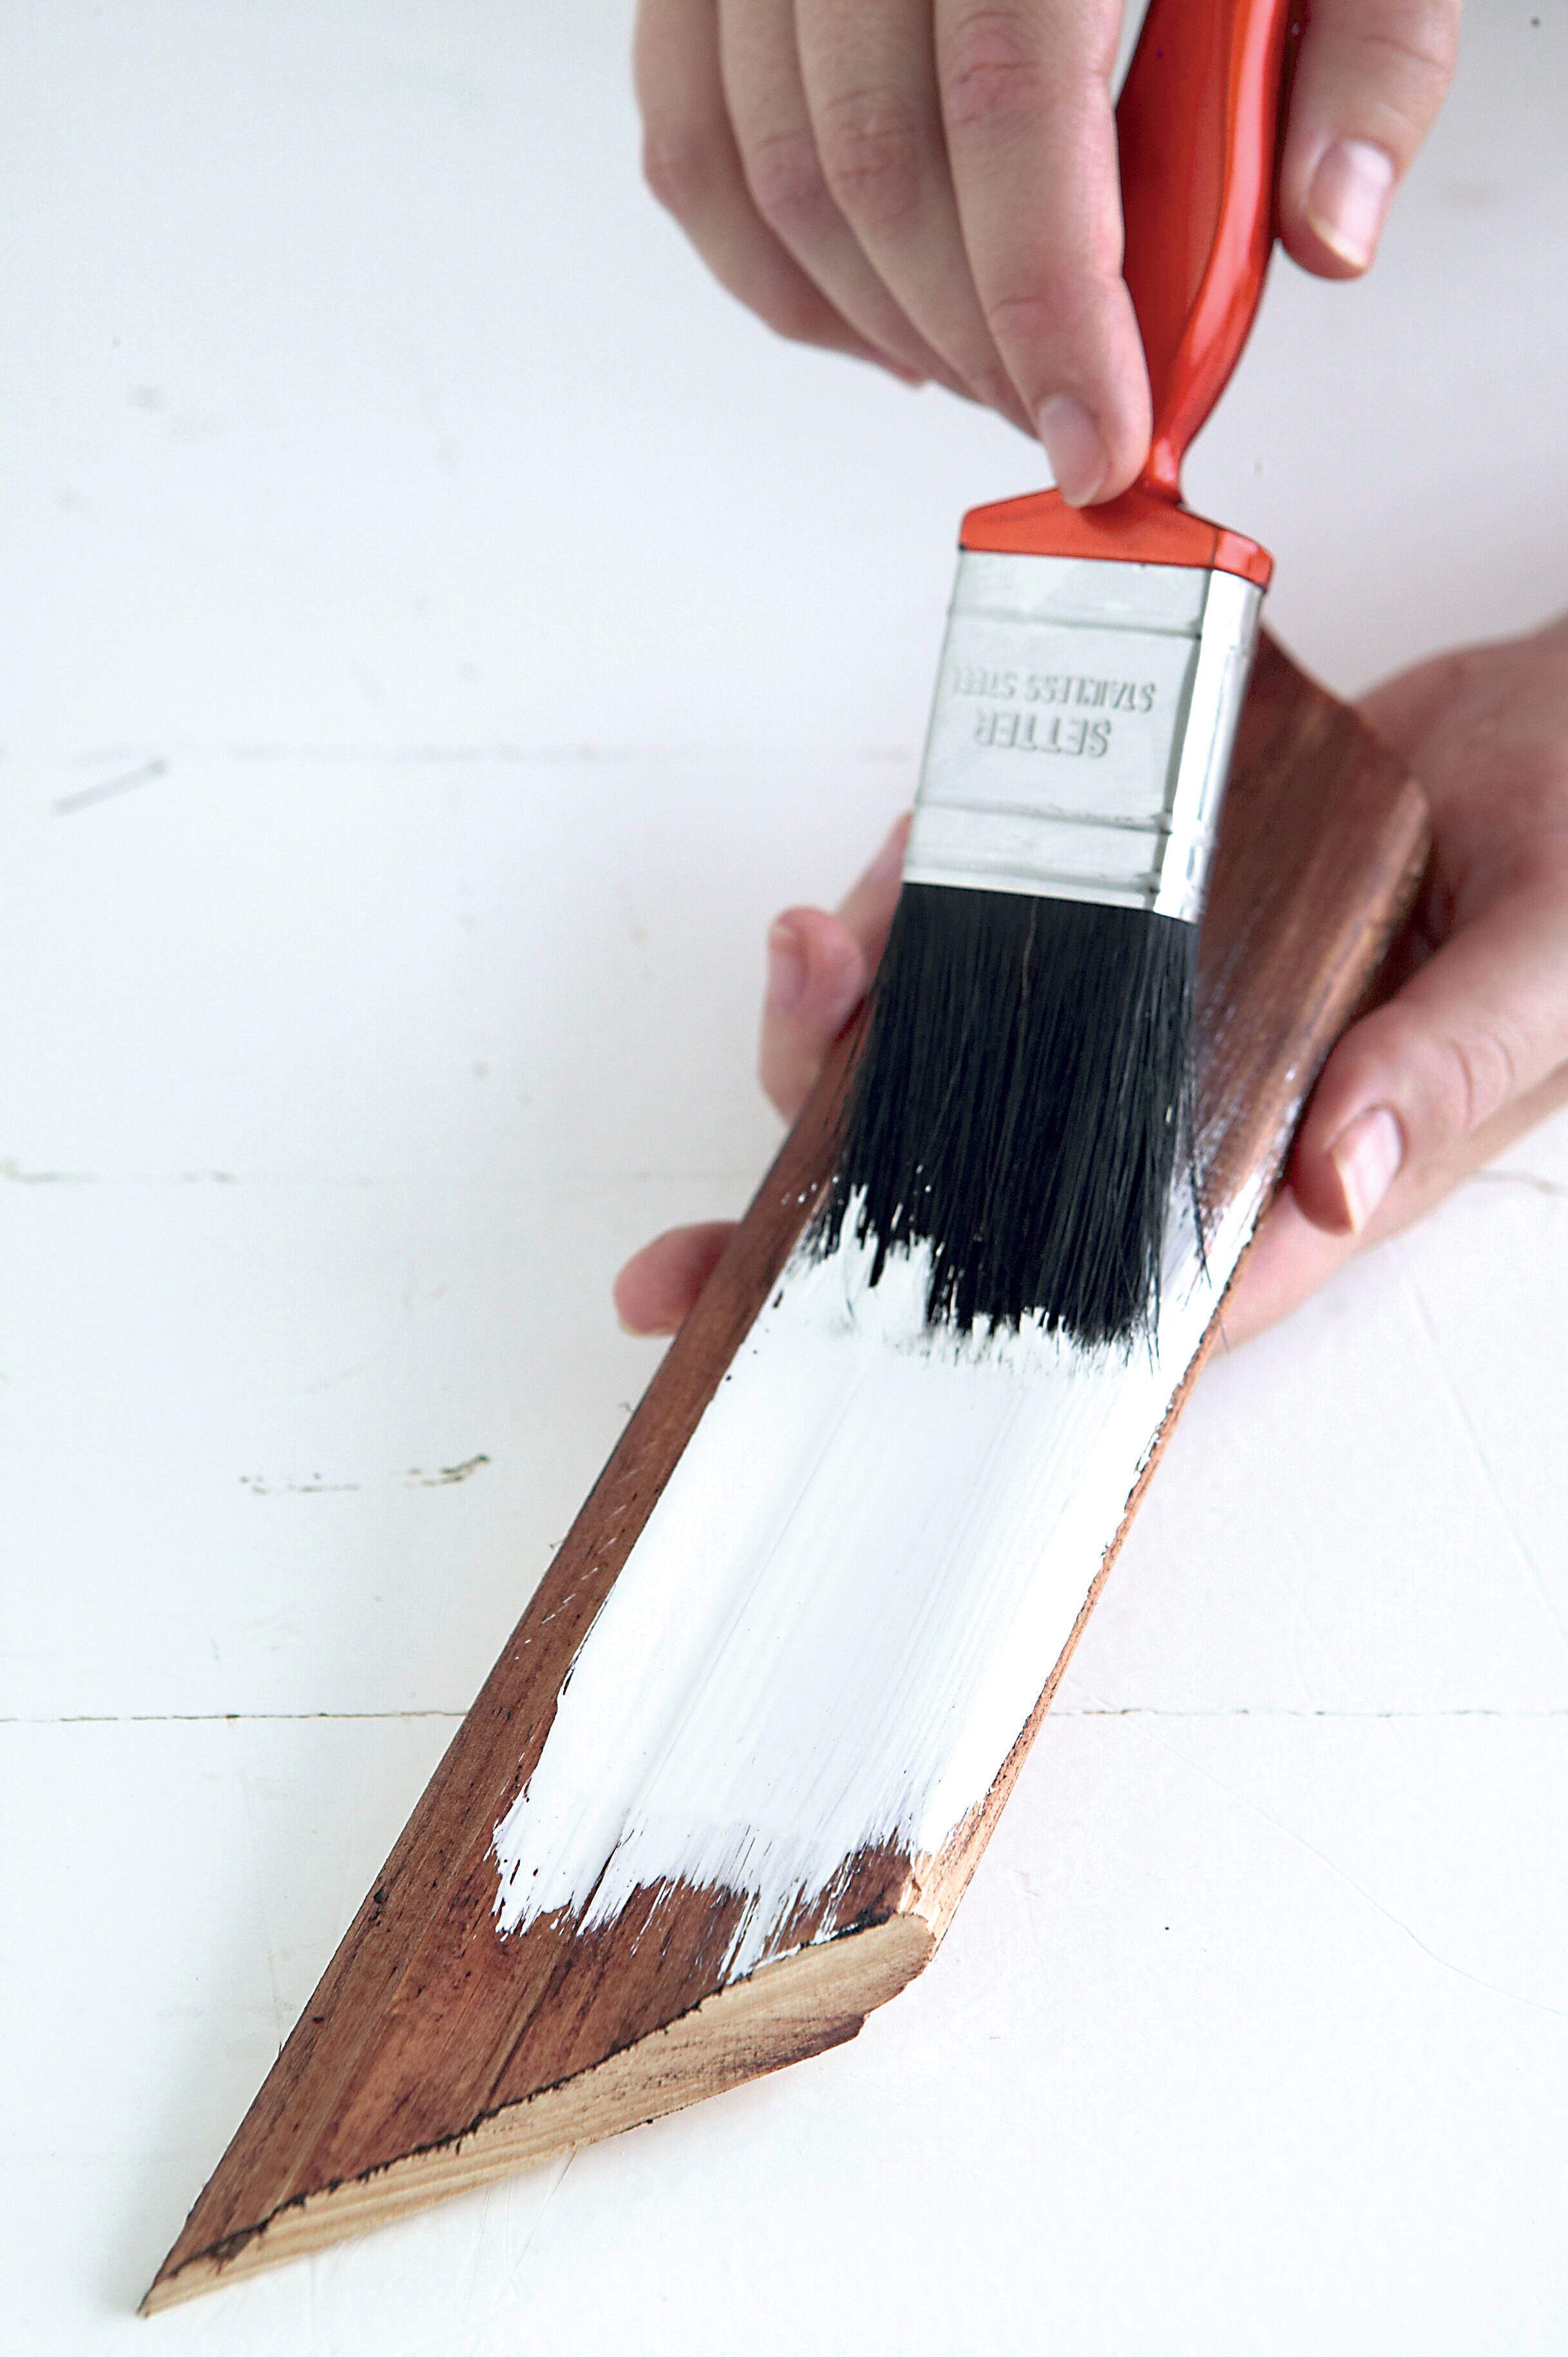
Apply two coats of white paint.
Note: The shoe polish may turn the paint pink; wait for the paint to dry and apply another coat of white.
Step 3
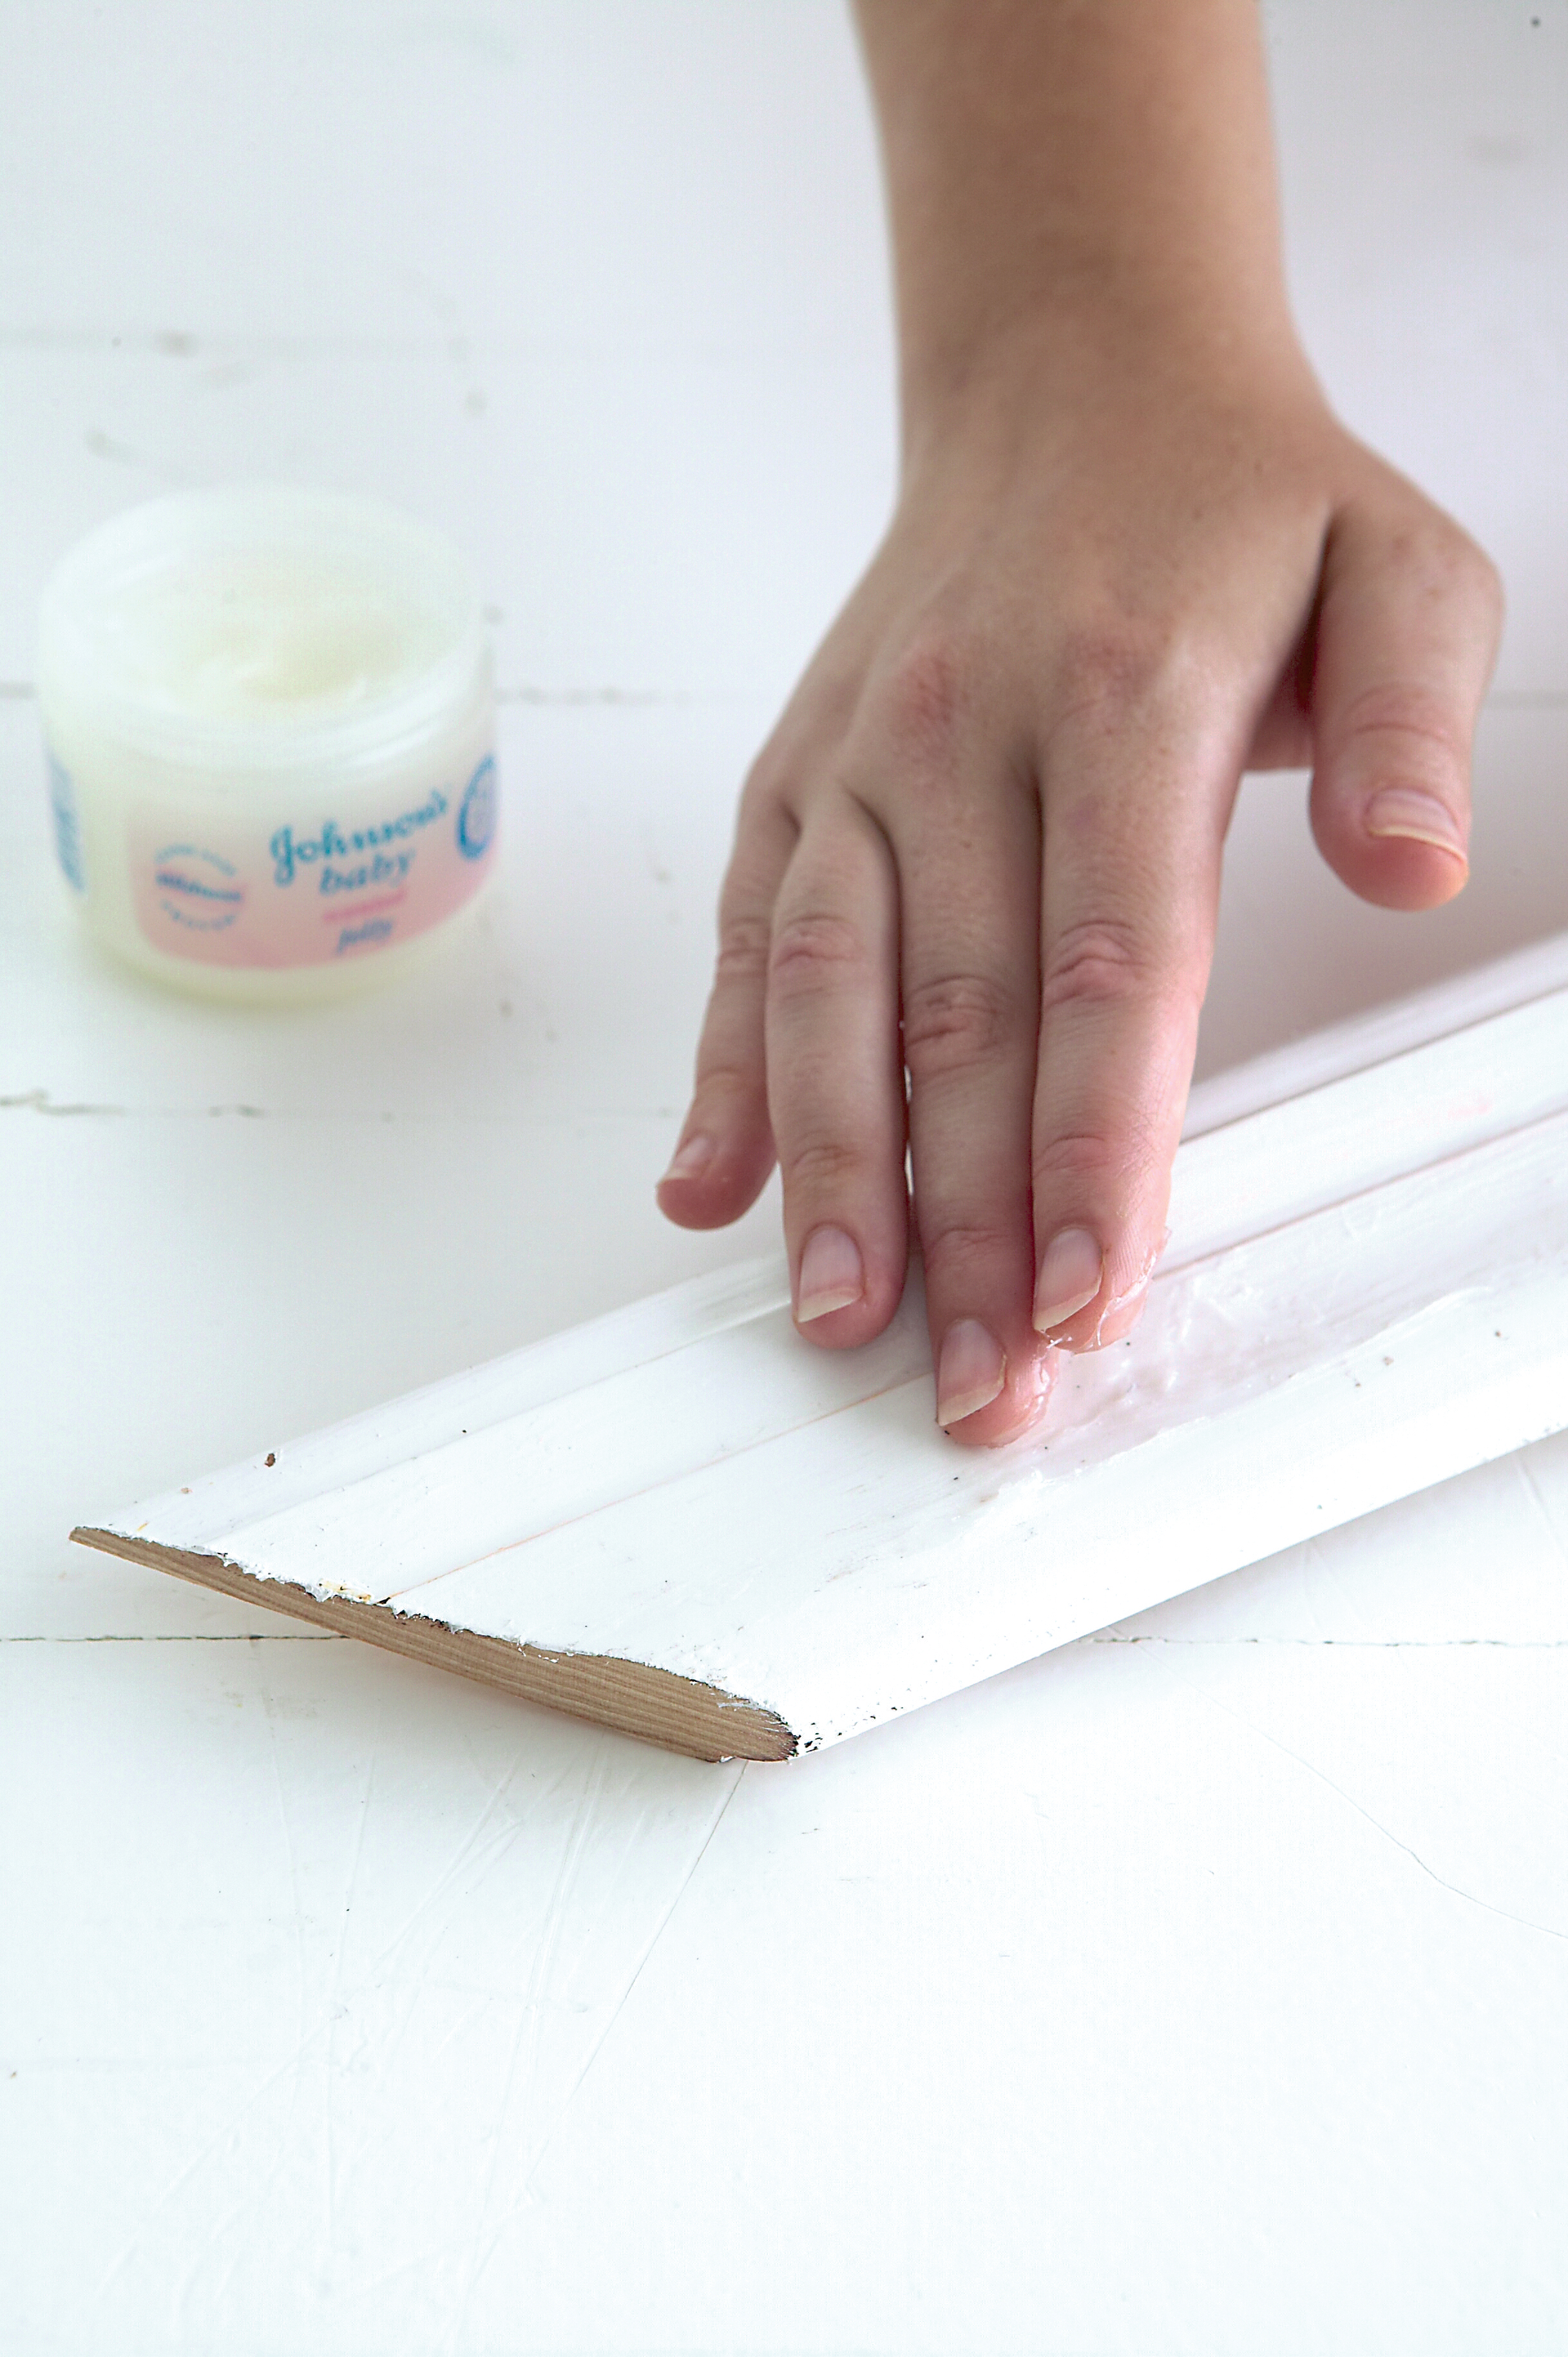
When the paint has dried completely, rub an even layer of petroleum jelly onto the surface. This will prevent subsequent (coloured) layers of paint from adhering to the white layer, and help to create the effect of cracked, peeling paint.
Step 4
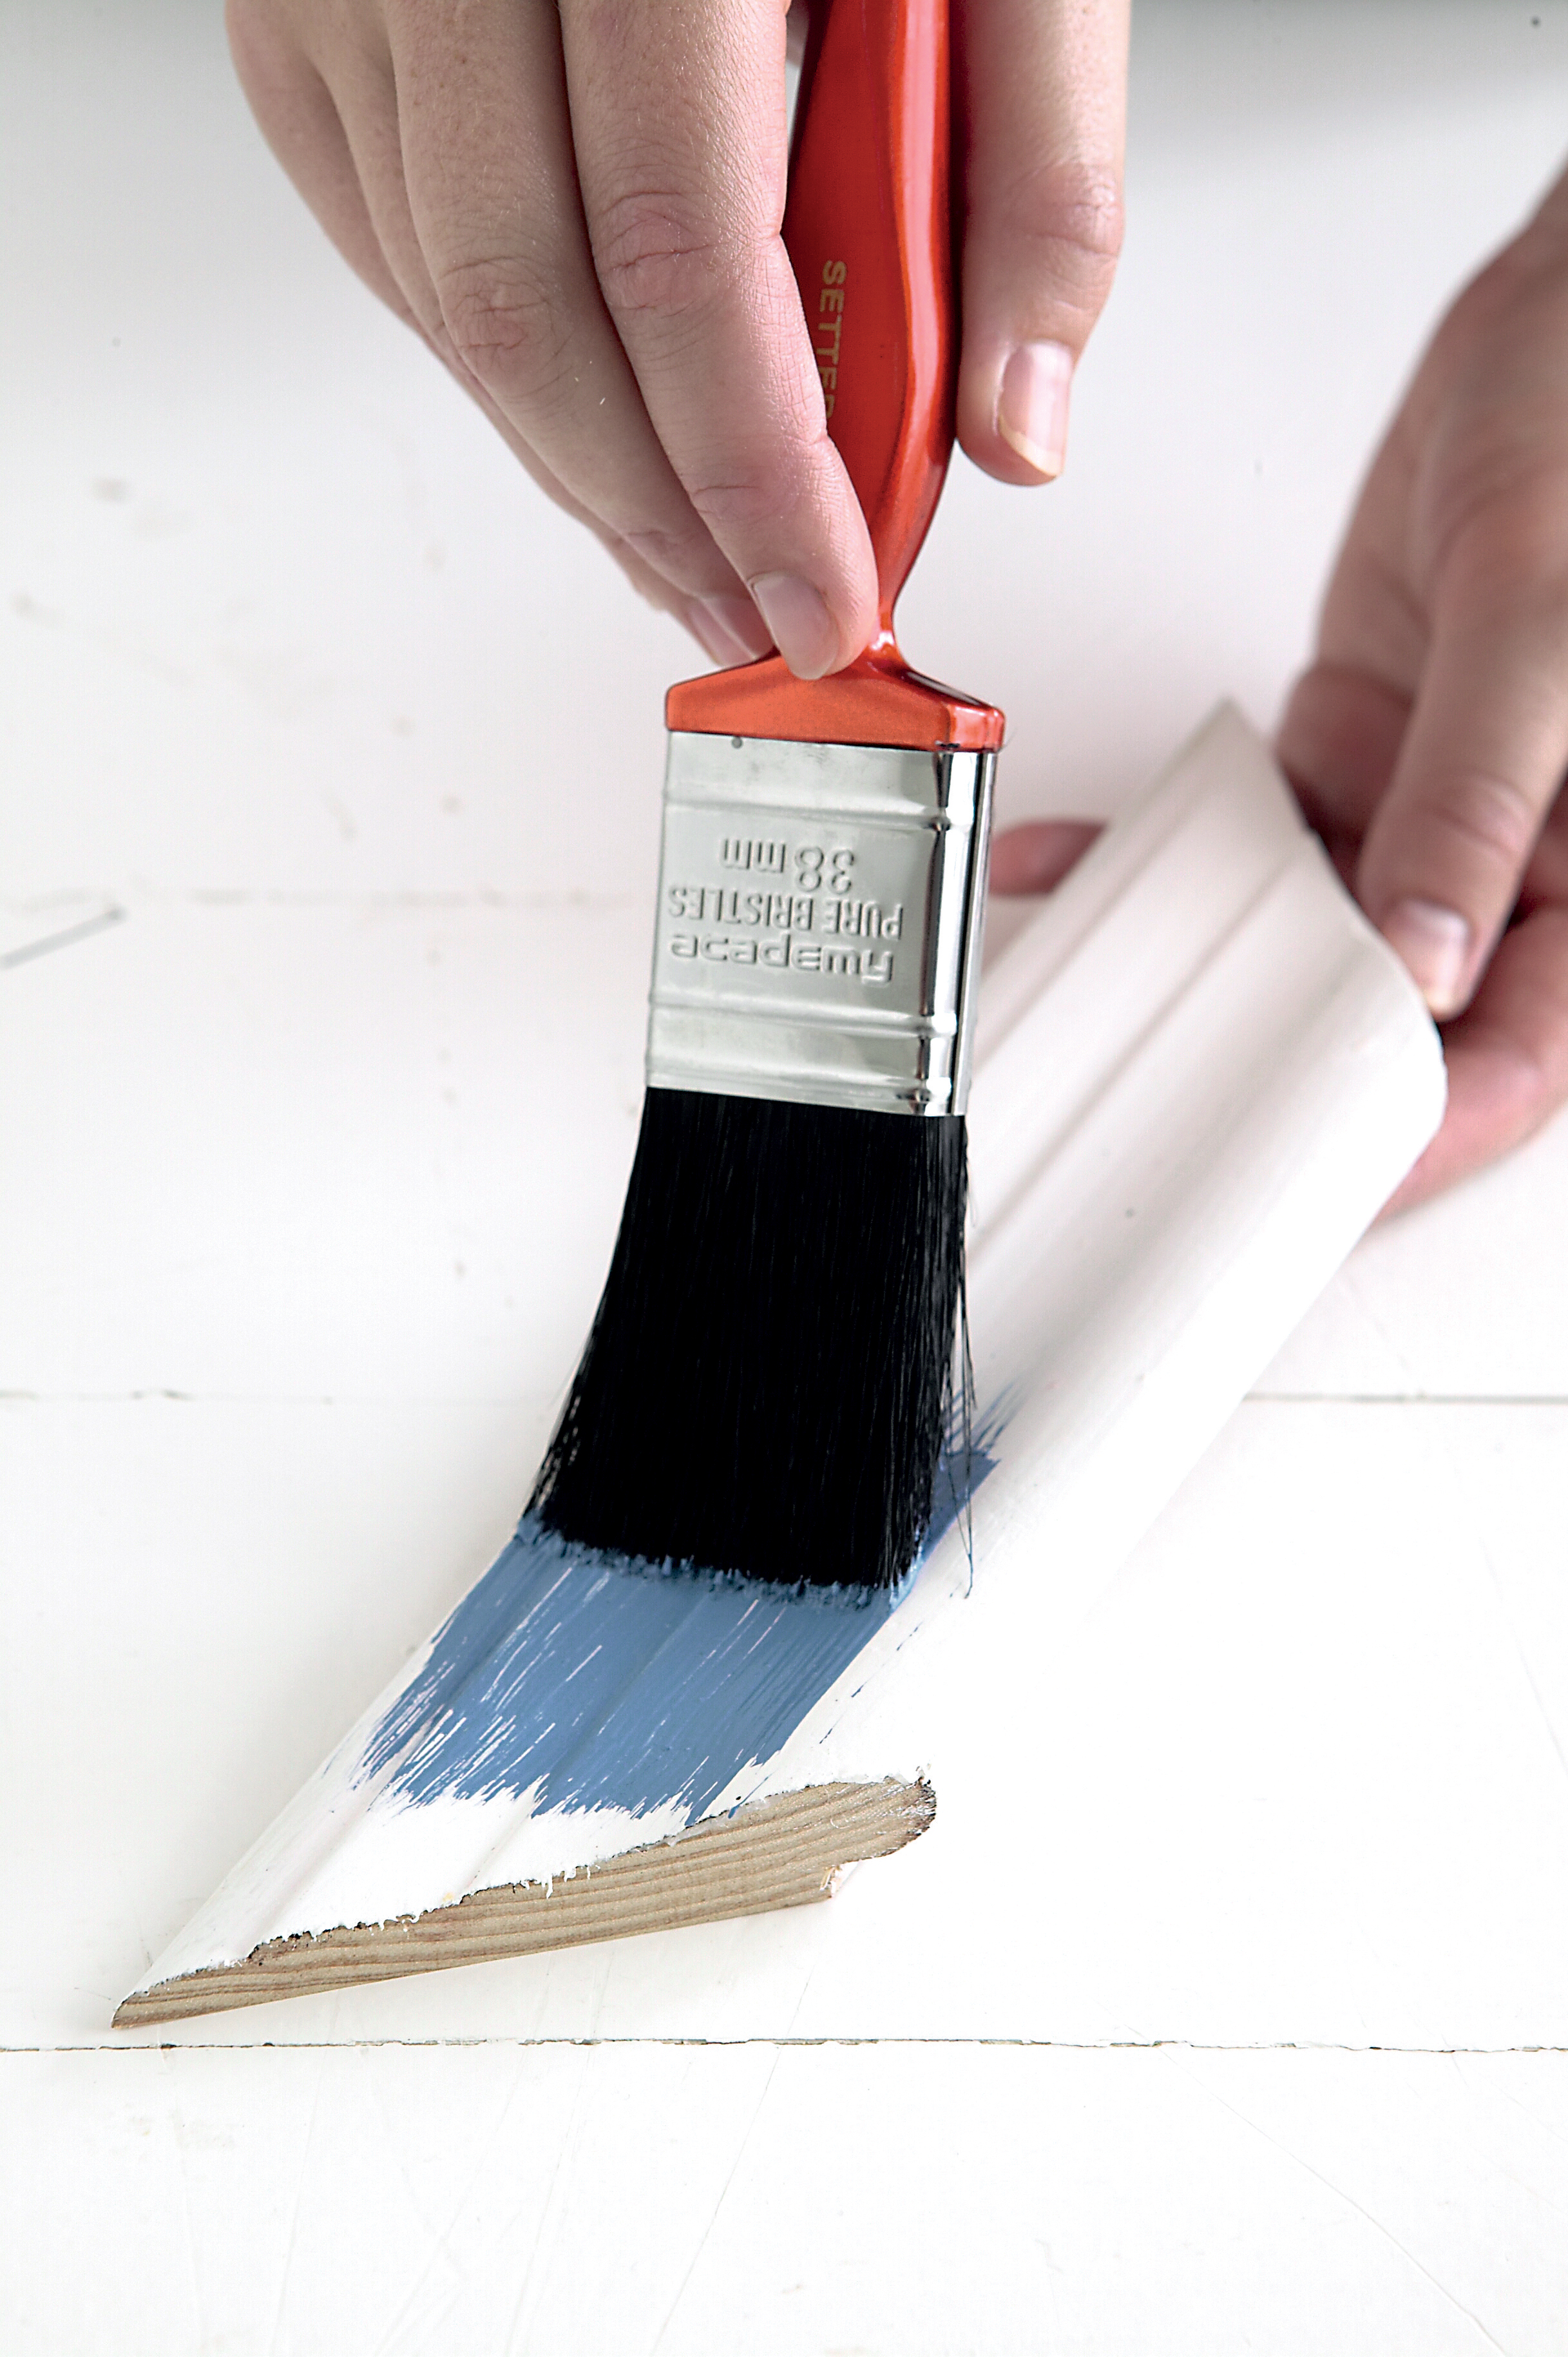
Now paint a thin layer of grey or blue paint (shown here) onto the wood using quick movements and then allow it to dry thoroughly.
Note: Drying time may be affected by the petroleum jelly.
Step 5
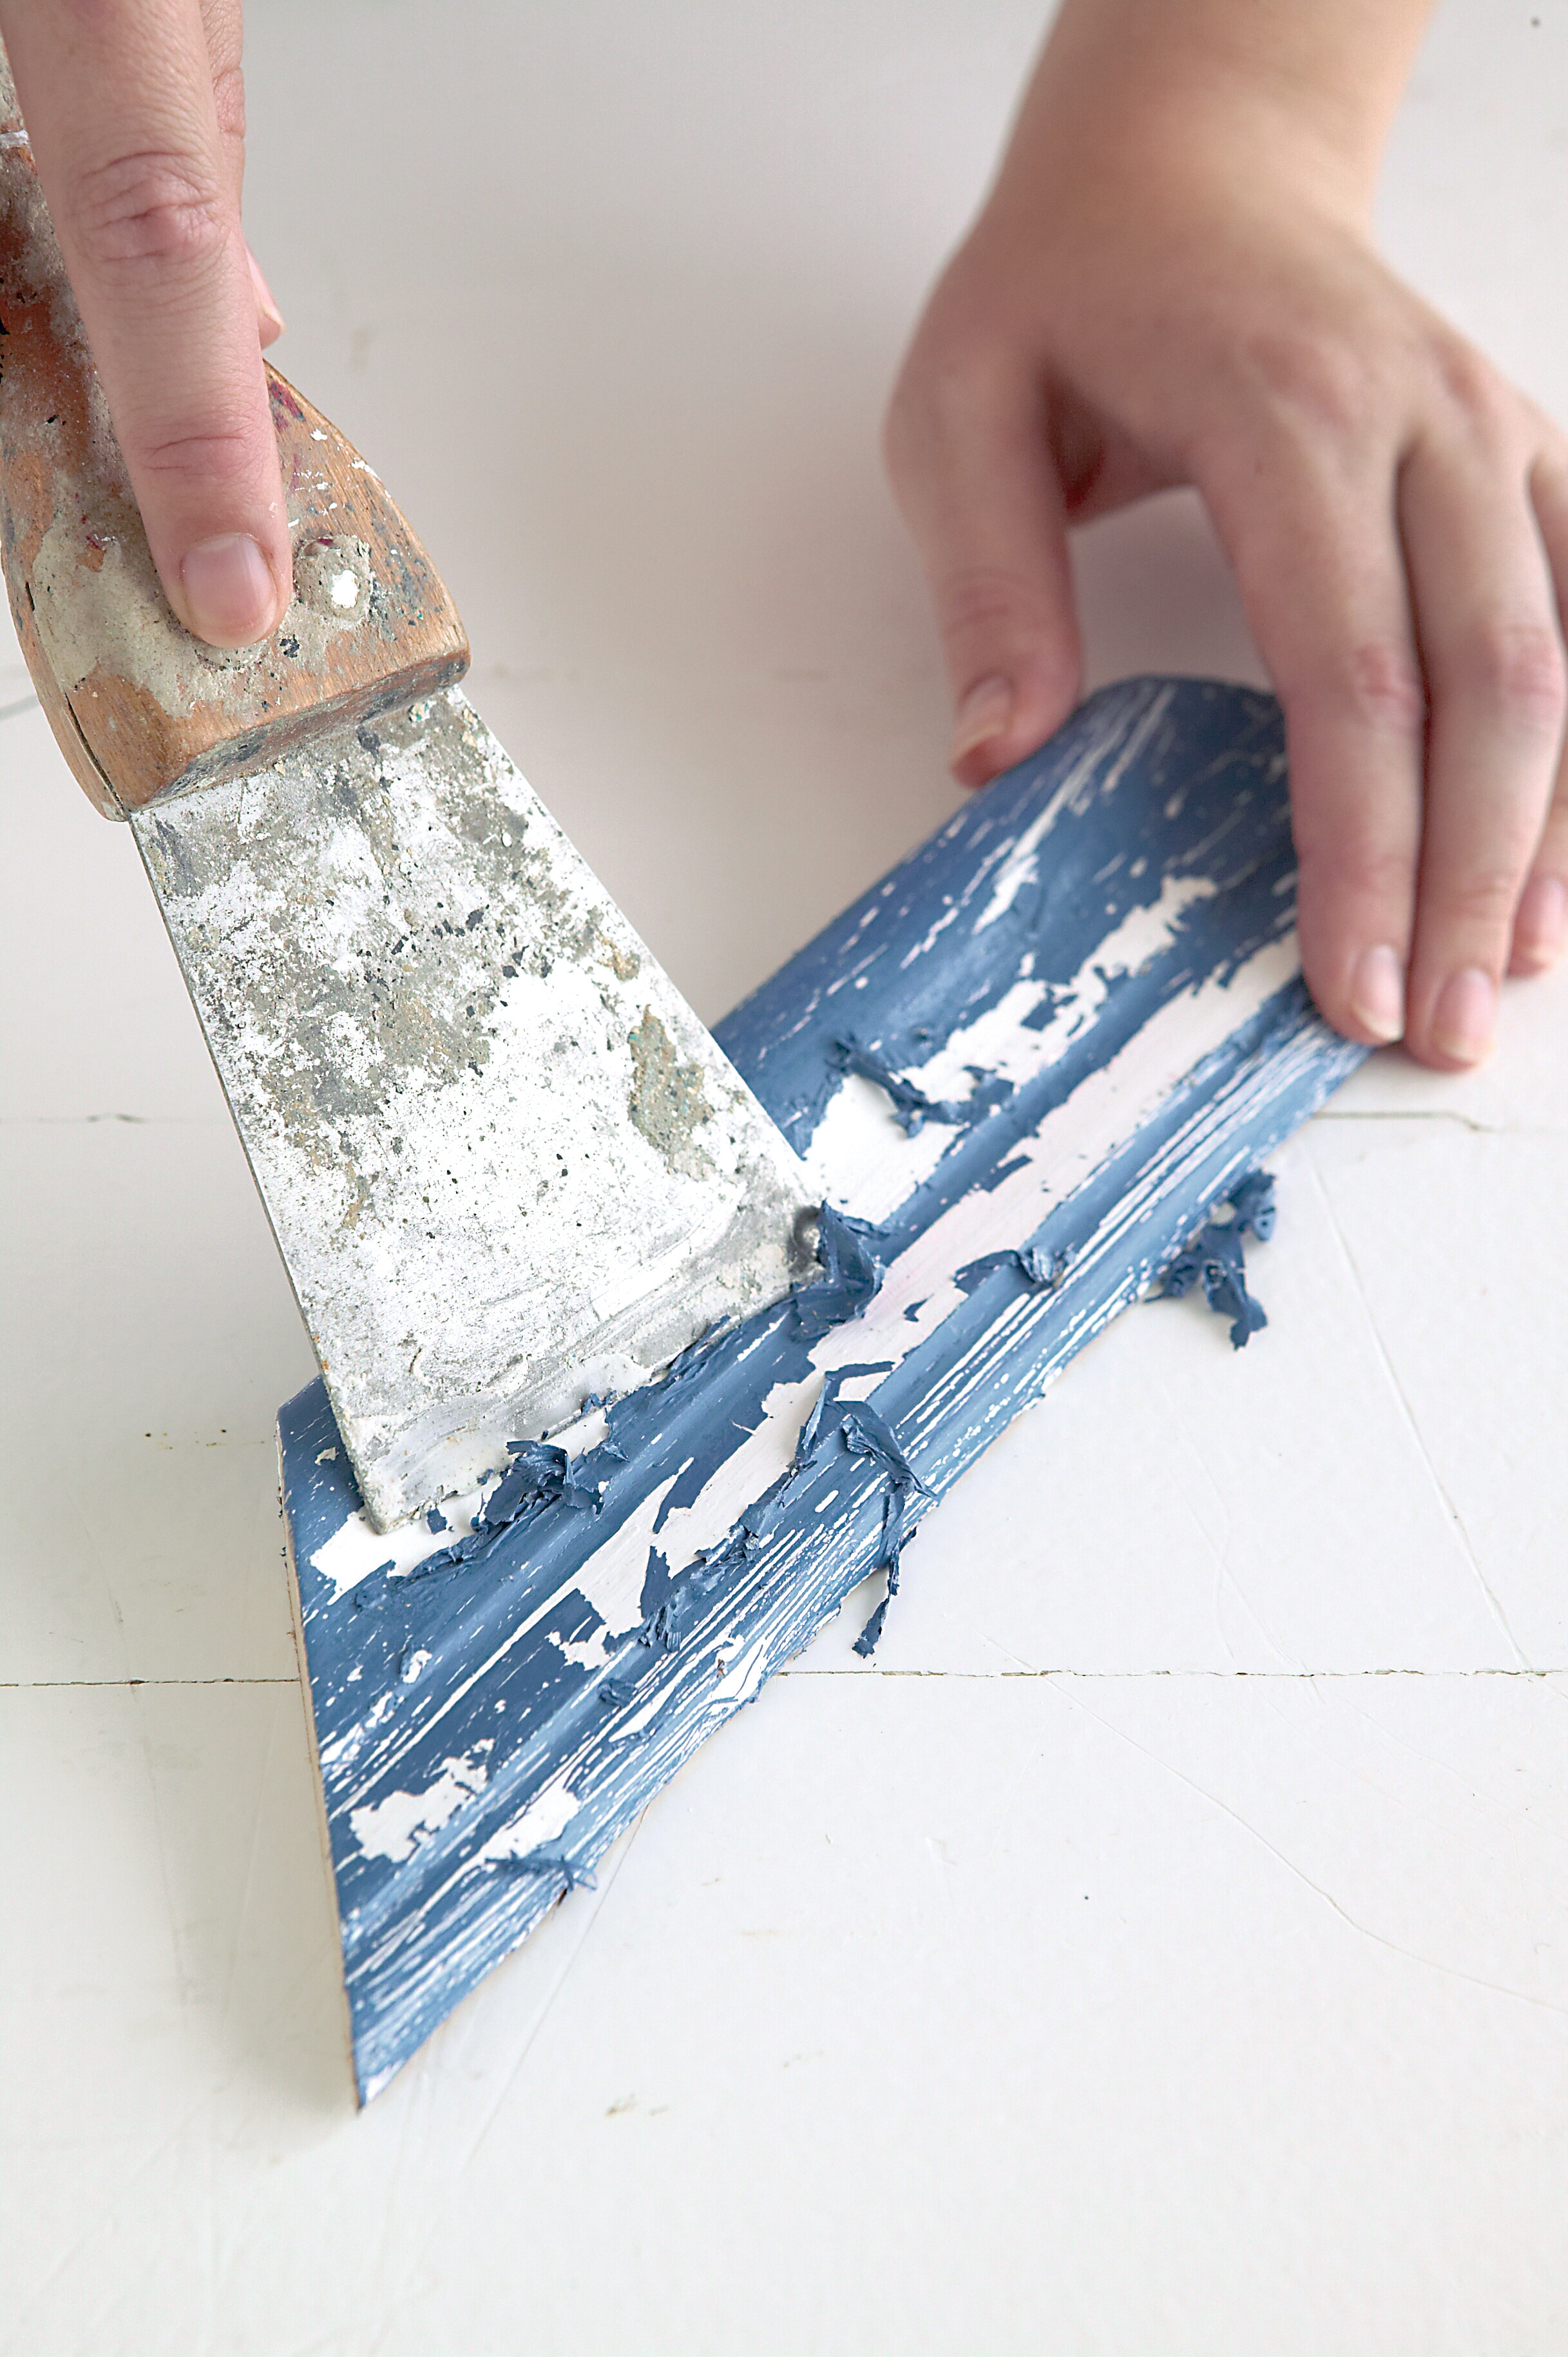
Use the paint scraper to remove sections of paint to reveal the wood underneath.
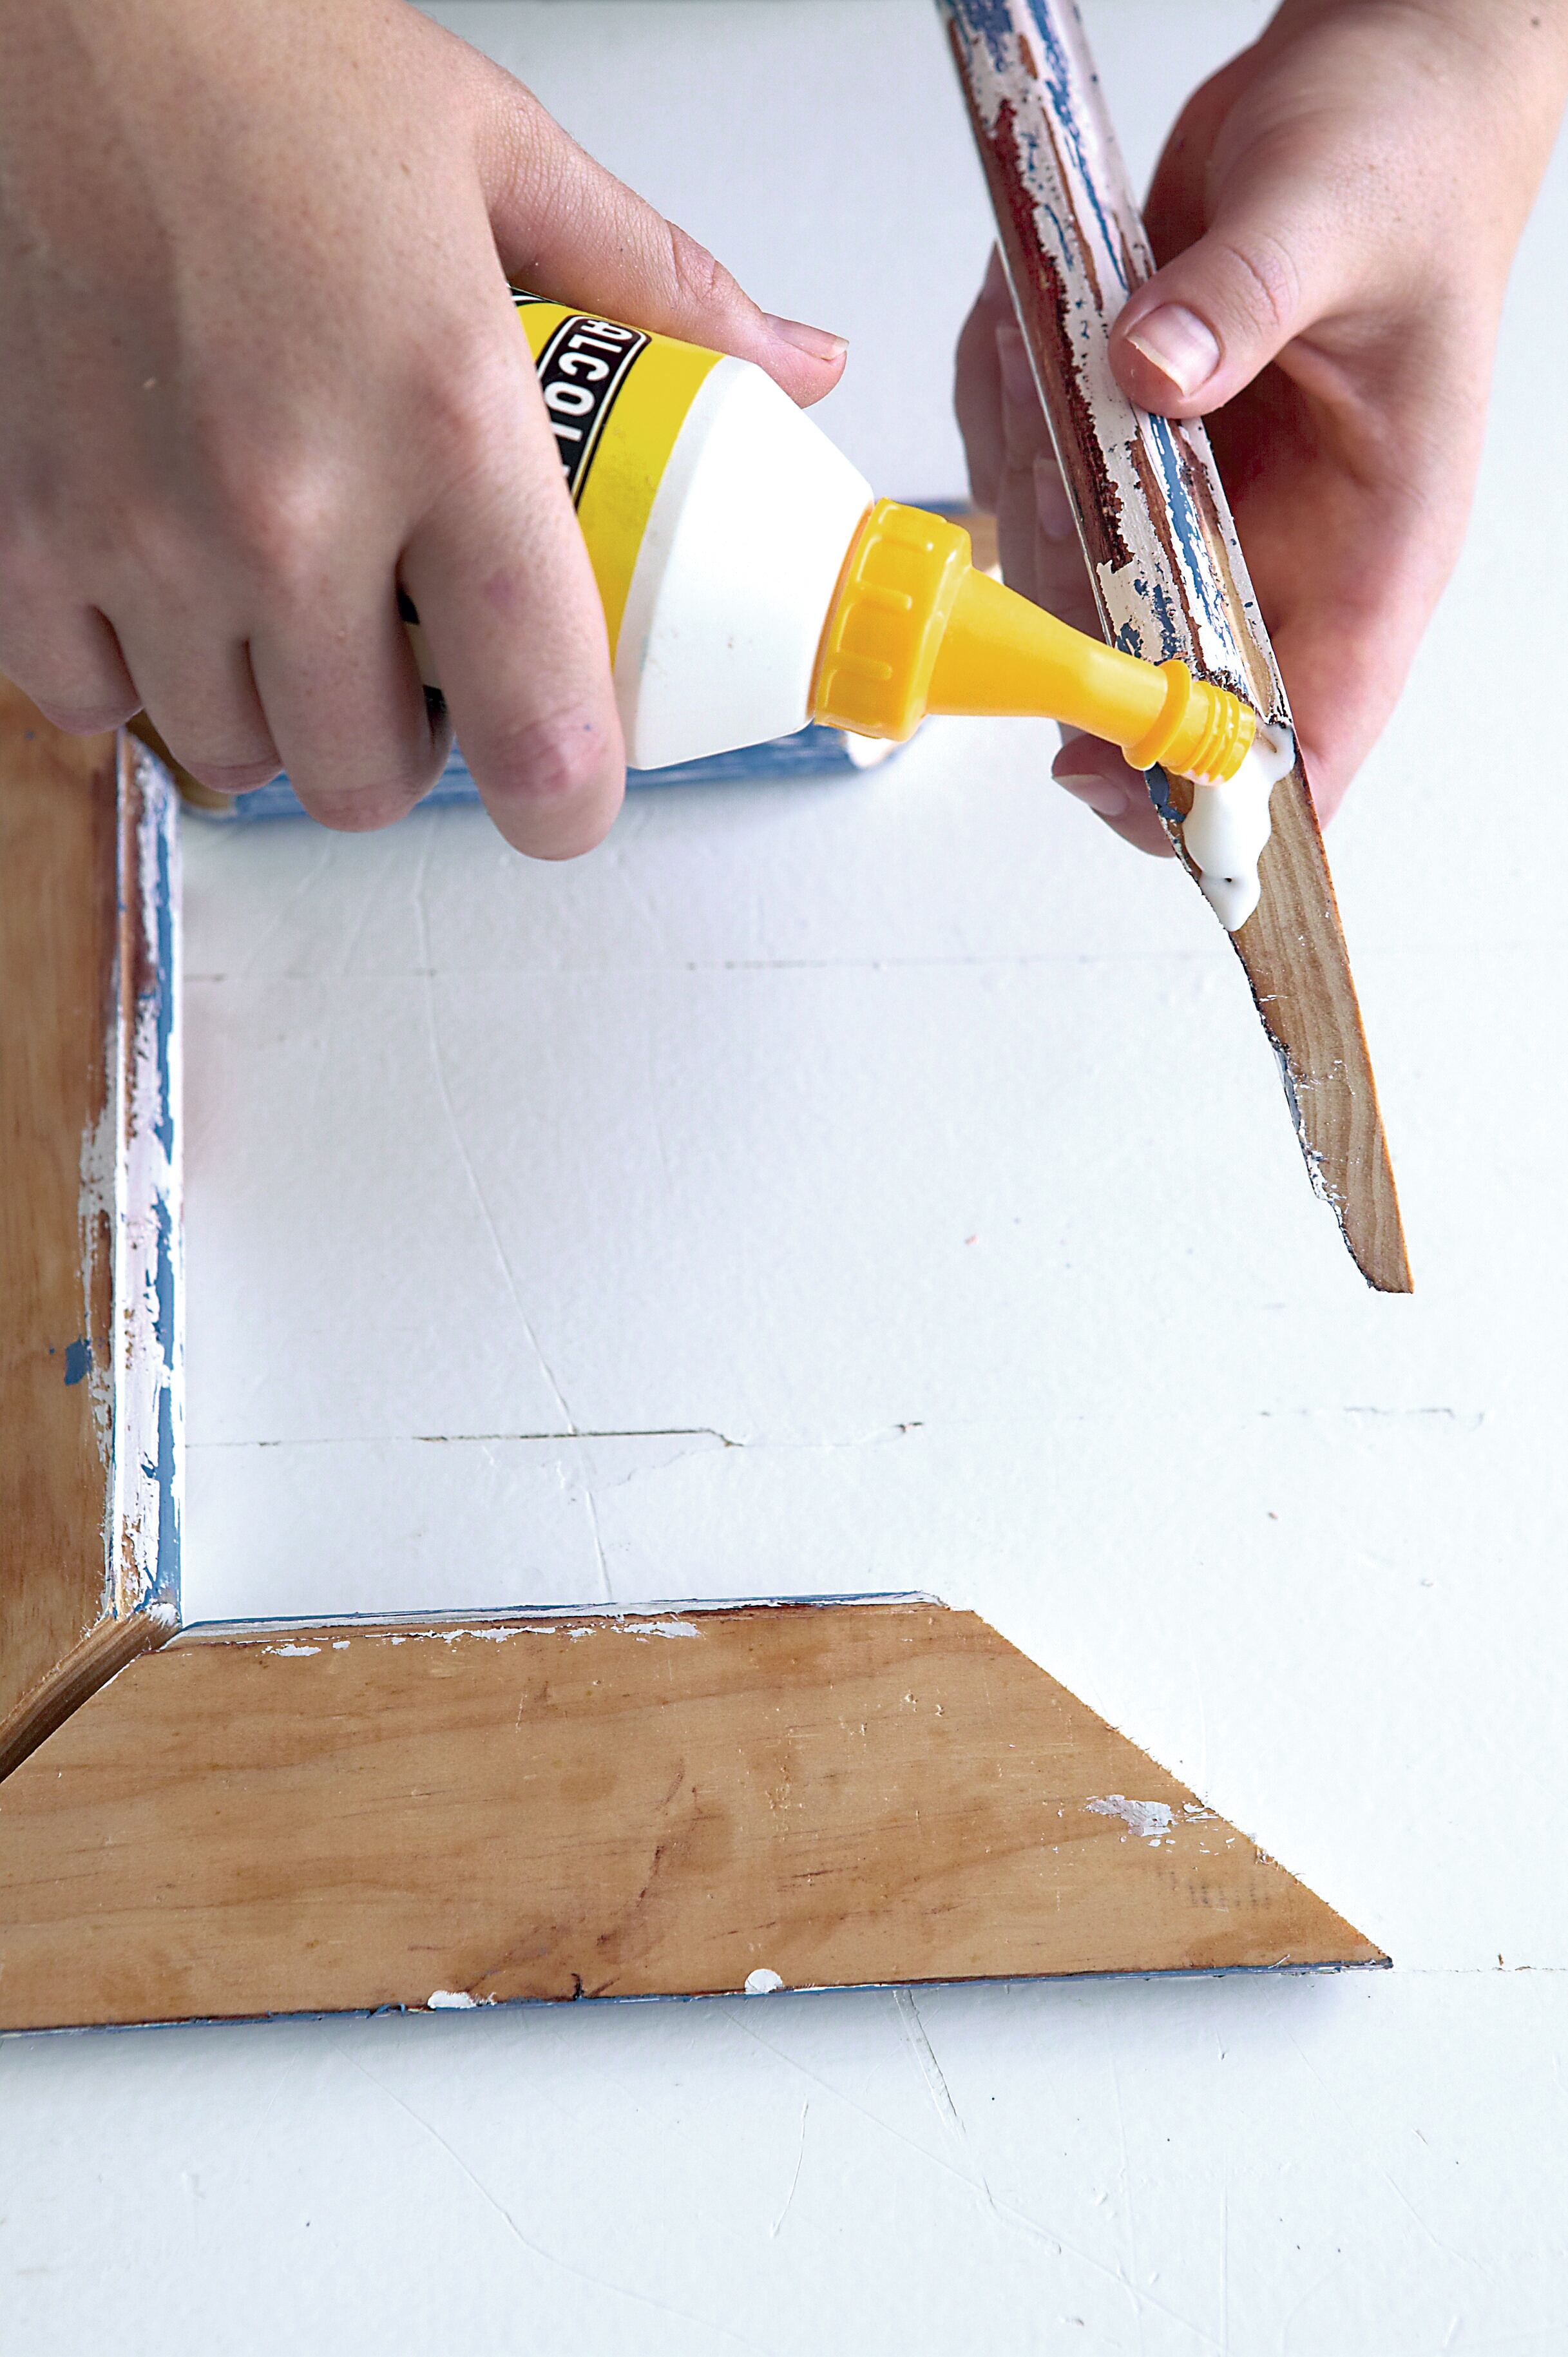
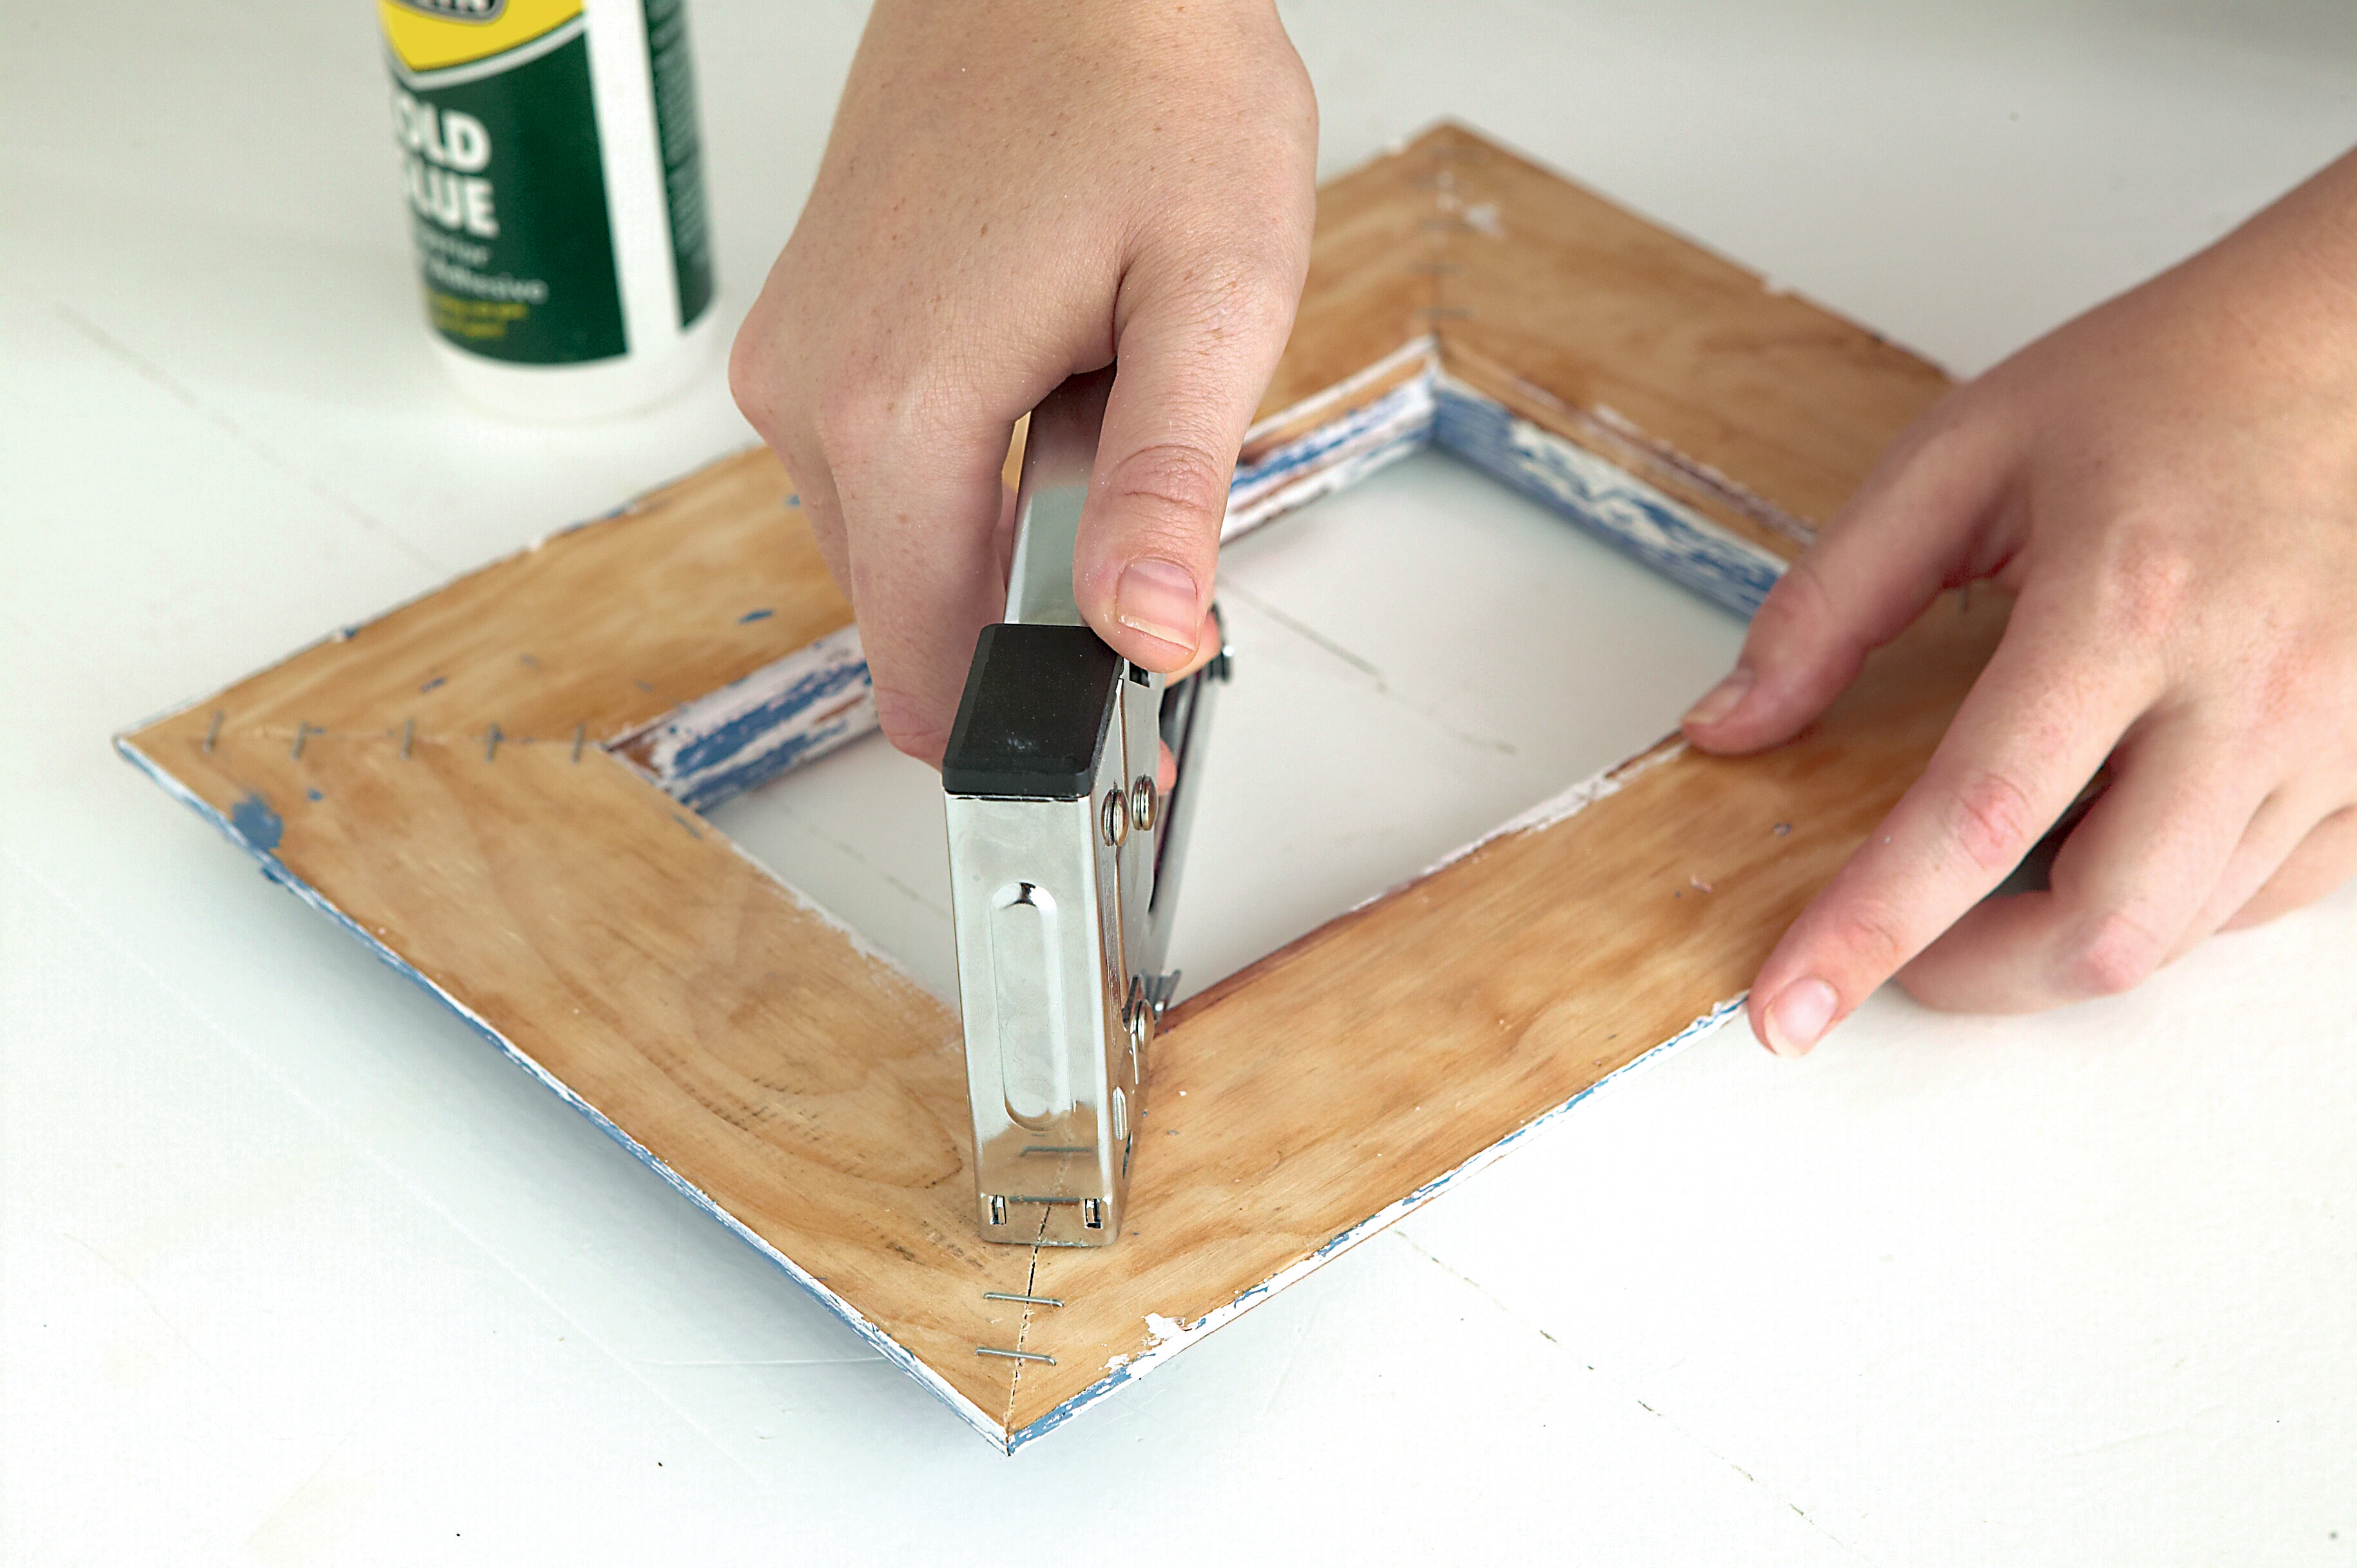
Step 6 & 7
Put some glue onto the mitred edges of the wood and hold the corners firmly together while stapling it together from the back; you may need an extra pair of hands for this. Place the frame face down and weigh it down for an hour to ensure the joints are sturdy. Take the completed frame to a glass supplier and ask them to cut a pane to fit within the rebate. Mount the image you wish to use, and display.
Credits
Referenced from Gallo images / Home Magazine

