
This small bathroom needed a new, updated look, and the old bath needed to be replaced with a shower.
Plumbing and Building
Using Superpipe (SP) has got to be one of the easiest methods of installing water. This is a product from Israel and is certified ISO 9001/2000. The advantage of SP is a successful combination of metal and plastic, together in one pipe. It is completely corrosion and scale resistant, both internally and externally. SP is manufactured in outer diameters of: 14, 16, 18, 20, 25, 32, 40, 50 mm, in standard roll lengths of 50 m and 100 m. SP is colour-coded: orange, blue, white and black for different uses and easy identification. It can be used in a wide variety of installations and can be simply and easily bent by hand. SP pipes are acoustically and thermally insulated, can be located quickly by metal detectors and can be easily attached to any existing system.

Step 1
Chase channels into the wall for the water supply to the shower mixers. Continue a single channel up to approximately 300 mm from the ceiling.
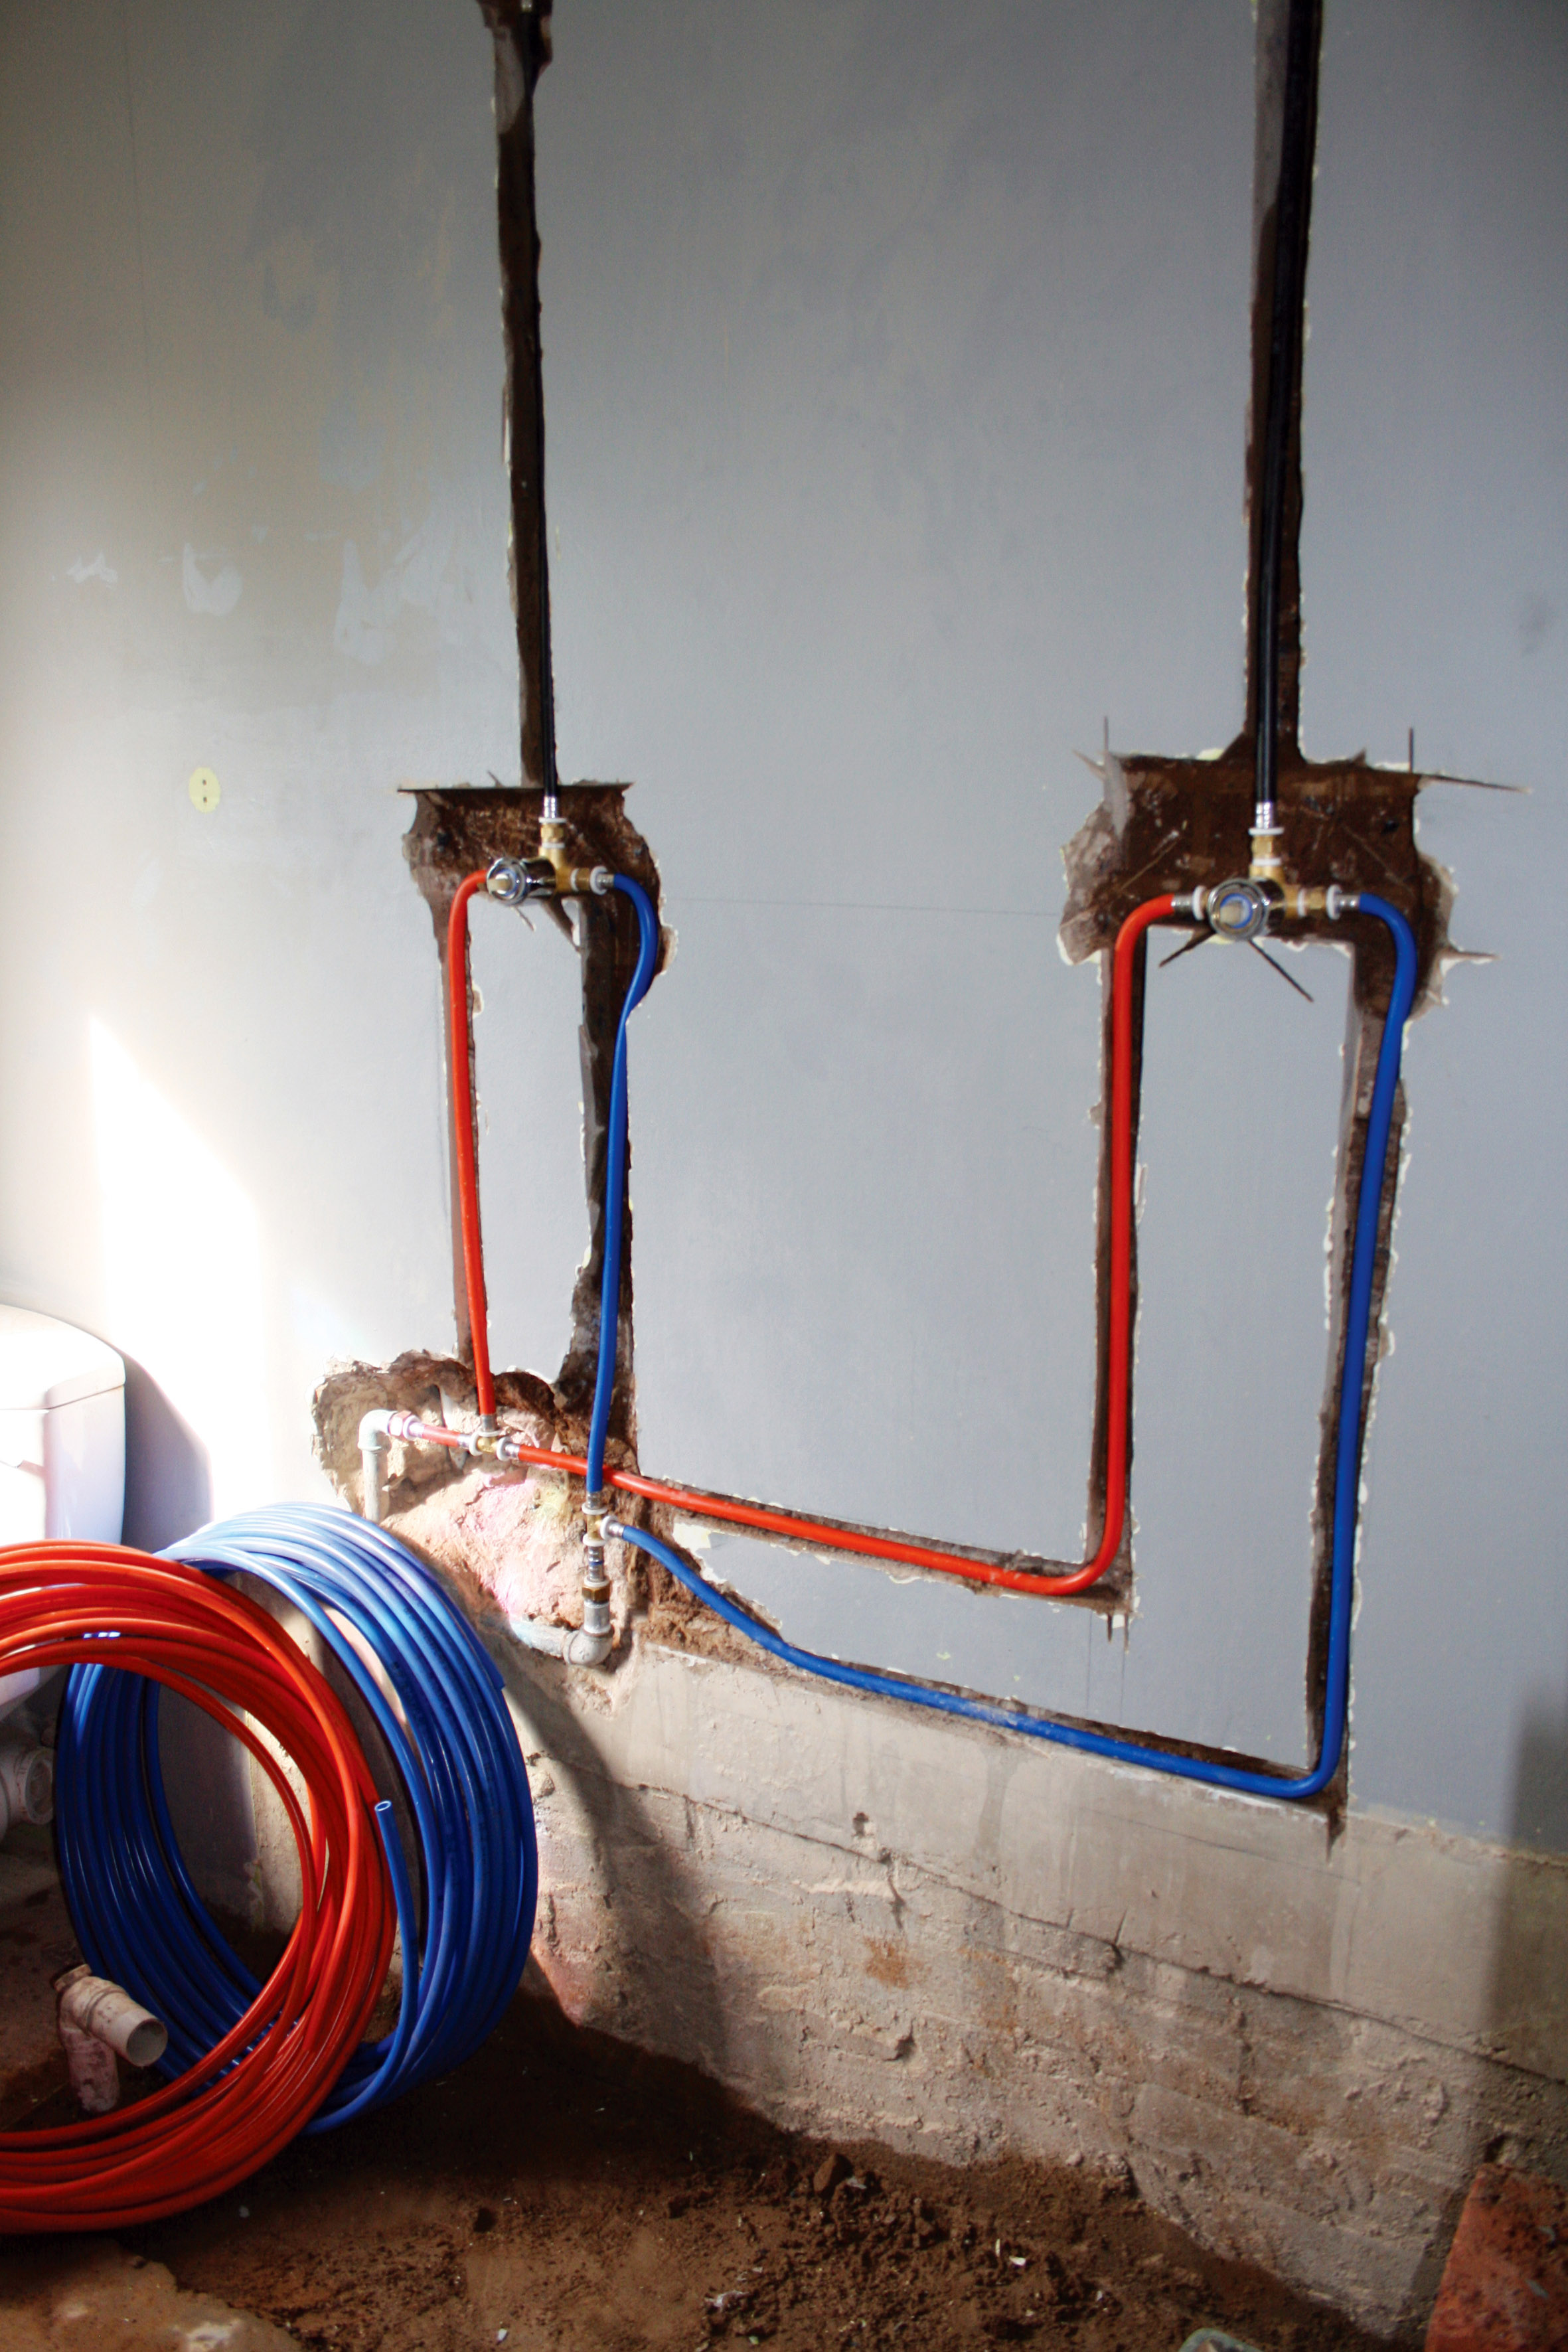
Step 2
Using Superpipe’s products, link into the existing galvanised pipes. Fit the hot and cold water supply pipes to the shower mixer. Fit the water supply for the shower rose to the mixer outlet. Open the main water supply and check for leaks.
Step 3
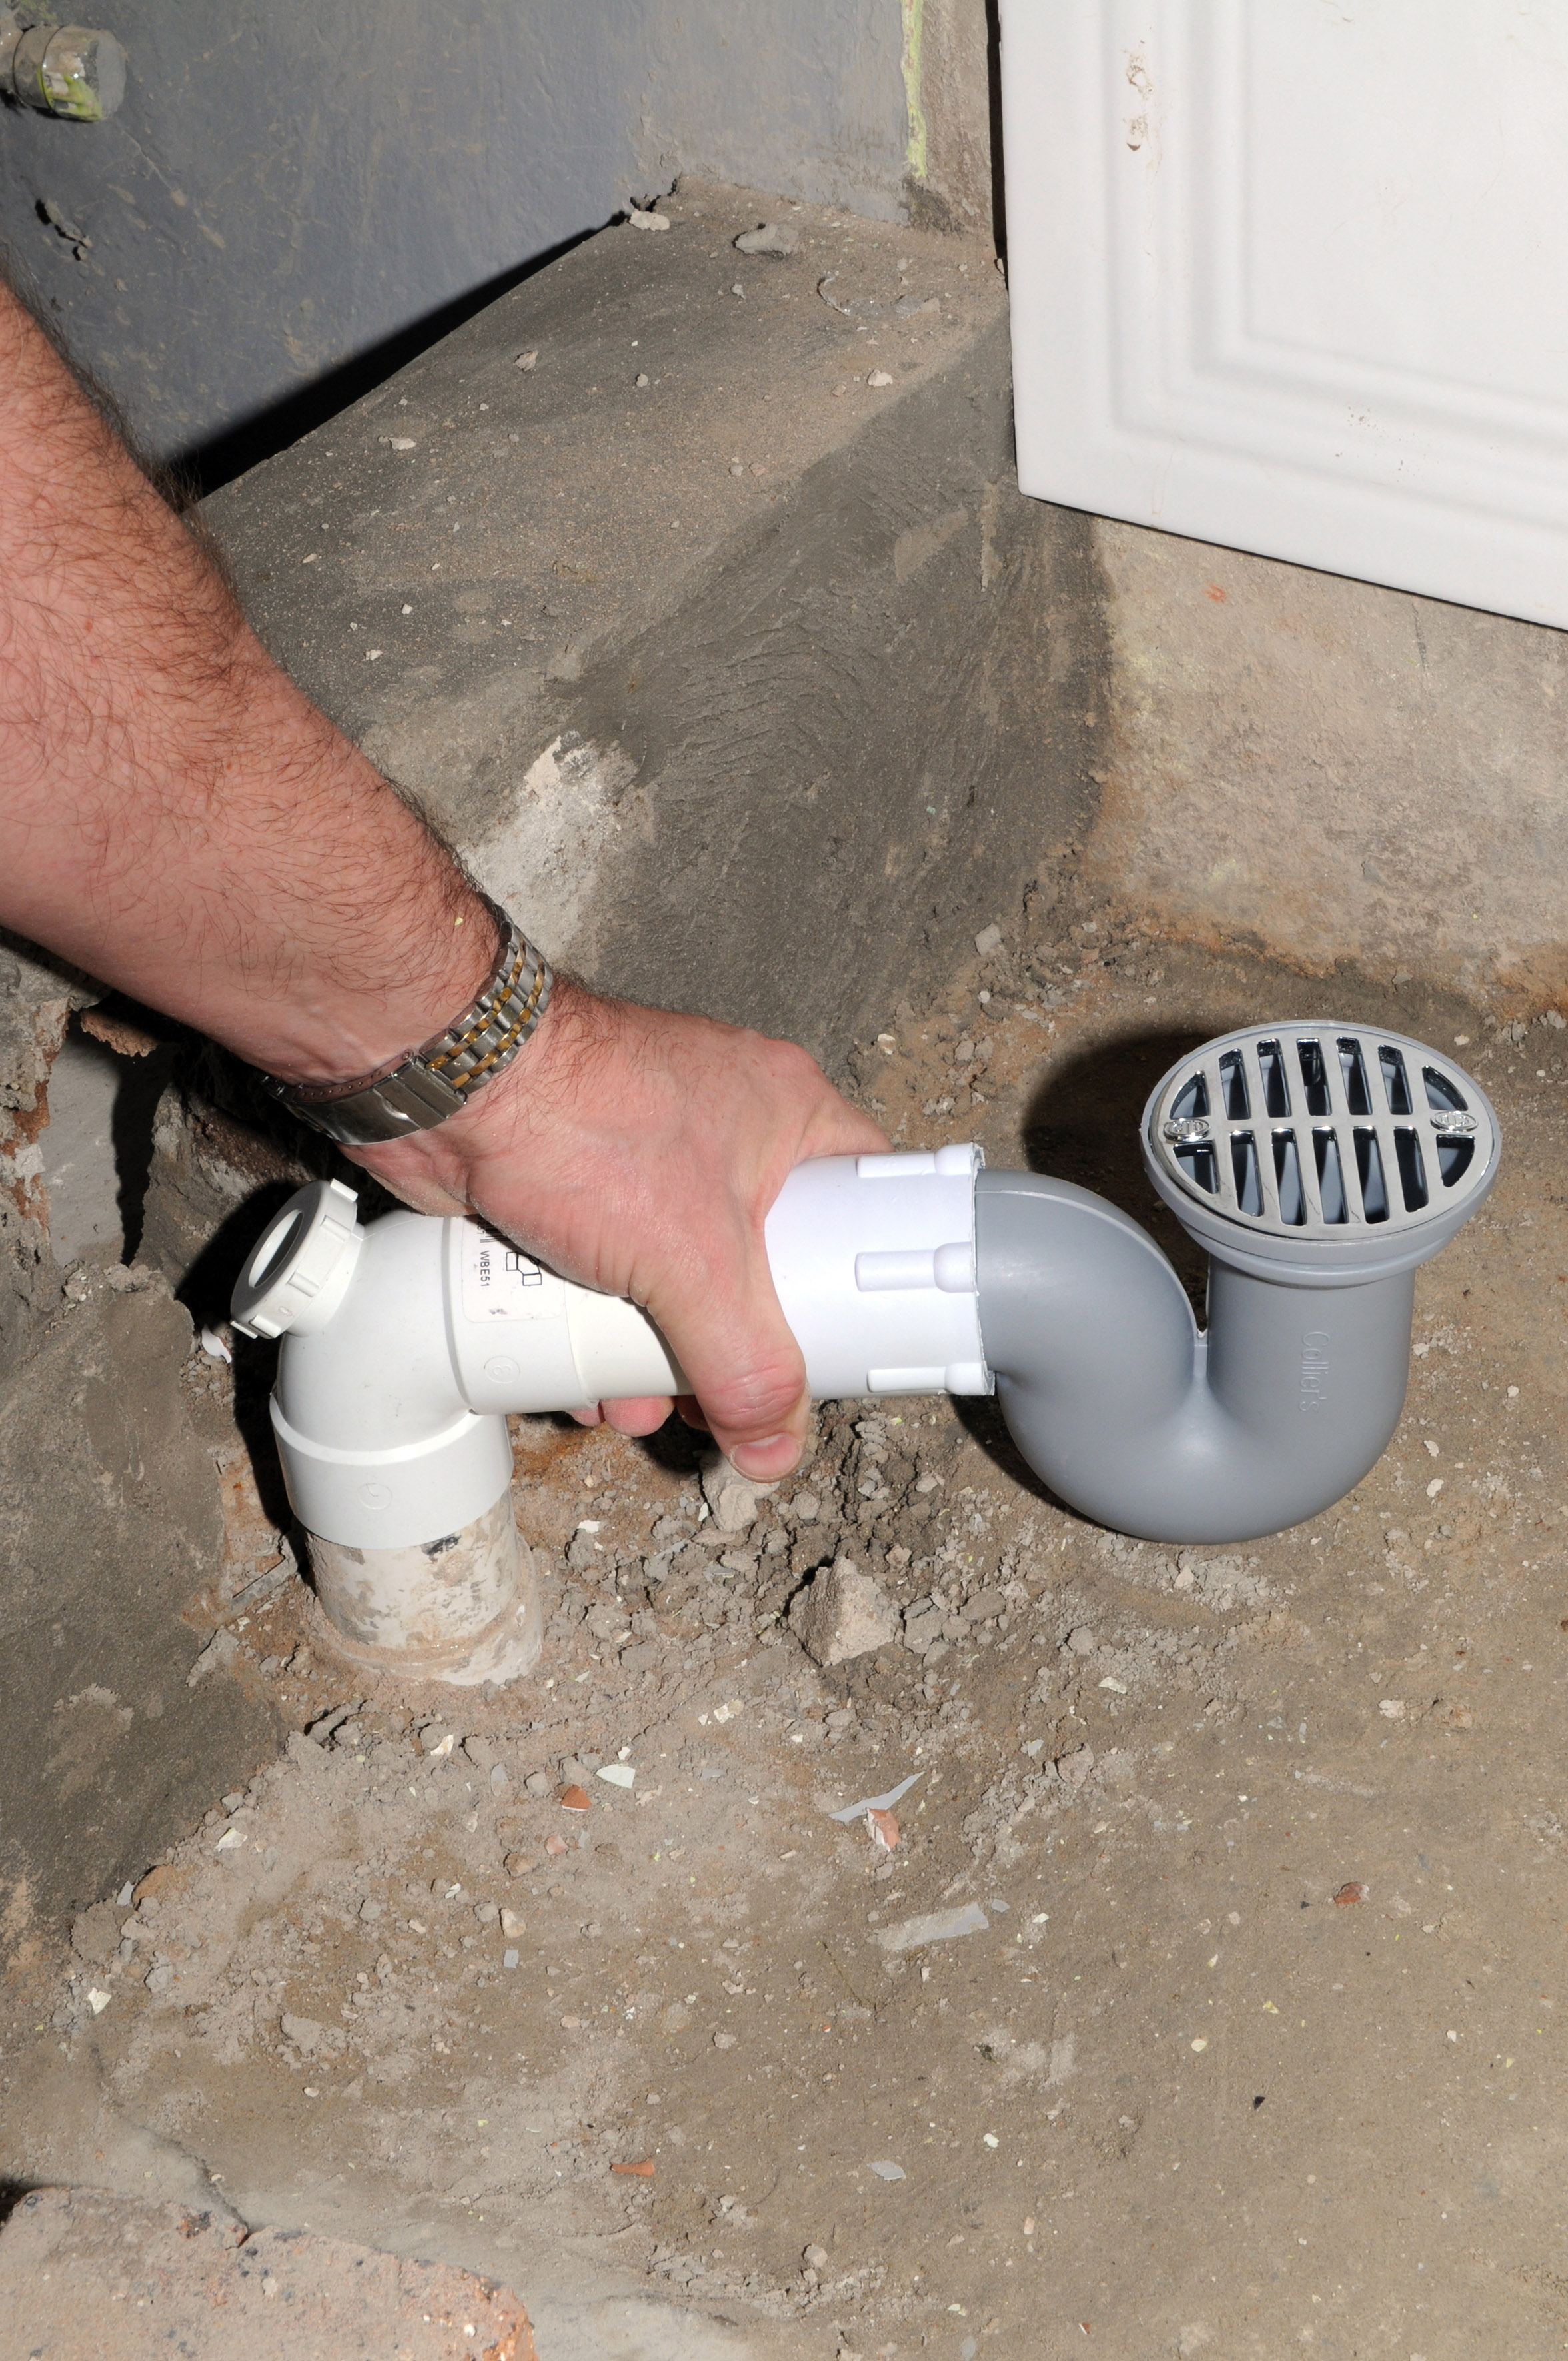
Fit the shower trap to the 50 mm waste pipe and plaster all the pipes closed.
The floor:
- Remove the floor tiles.
- Build a wall two bricks high for the shower enclosure – the size of the shower is 1 700 mm x 900 mm. These measurements are taken from the centre of the bricks, as the shower panels will rest on the centre of the wall. Plaster the wall.
- Make a concrete mixture of two wheelbarrows of river sand, one wheelbarrow of stone and one bag of cement, and cast the floor of the shower. Allow the floor to slope towards the shower trap.
A quick facelift
To update a bathroom’s look, you can do the following:
- Replace the taps – the basin mixer, the bath or shower mixers.
- Repaint the walls.
- Replace the accessories – the towel rail, toilet paper holder and toilet brush holder. Stay with the same style or choose a style that will complement that of the taps.
- Replace the floor if possible. We removed the old tiles, applied some self-levelling screed on the floor (which can be bought in bags from your hardware store) and then painted the floor with white floor paint from Plascon. You can also choose from a wide variety of concrete floor finishes from Africote (www.africote.co.za).
- Replace the lights. Beautiful lighting is available at affordable prices – ours cost less than R200! Repaint the ceiling with matt white enamel.
- Repaint the door with matt white enamel paint and replace the door handles – our door handles cost less than R100!
- Hide ugly waste pipes behind plants.
To replace a bath with a shower:
People replace a bath with a shower if the bath was cheap and in bad condition, or if there is more need for a shower, as many people prefer to shower than to bath. This involves the following steps:
- Changing the plumbing to accommodate the shower. This means chasing channels into the wall and extending the pipe work. We decided to install his and hers showers, to make the bathroom trendy.
- Changing the floor area, as the floor needs to be raised.
- Installing a shower enclosure.
- Tiling walls to create a waterproof shower splashback.
Tiling
Materials you will need
- Pebble mosaics from Island Stone.
- White 600 mm x 300 mm ceramic tiles (we used 300 mm x 550 mm white ceramic tiles from the Samca Tiles range, available at most tile outlets)
- Mirror mosaic tiles (300 mm x 300 mm sheets, available at most tile outlets)
- 1 x 20 kg bag of TAL Wall & Floor Tile cement
- 1 x 20 kg bag of TAL Mosaic fix
- 1 x 5 kg bag of white grout
- 1 x 5 kg bag of dove grey grout
- 3 x 5 ℓ bottles of Tylon Bond It
- A firm sponge
- A rubber squeegee
- A rubber mallet
- A piece of mutton cloth
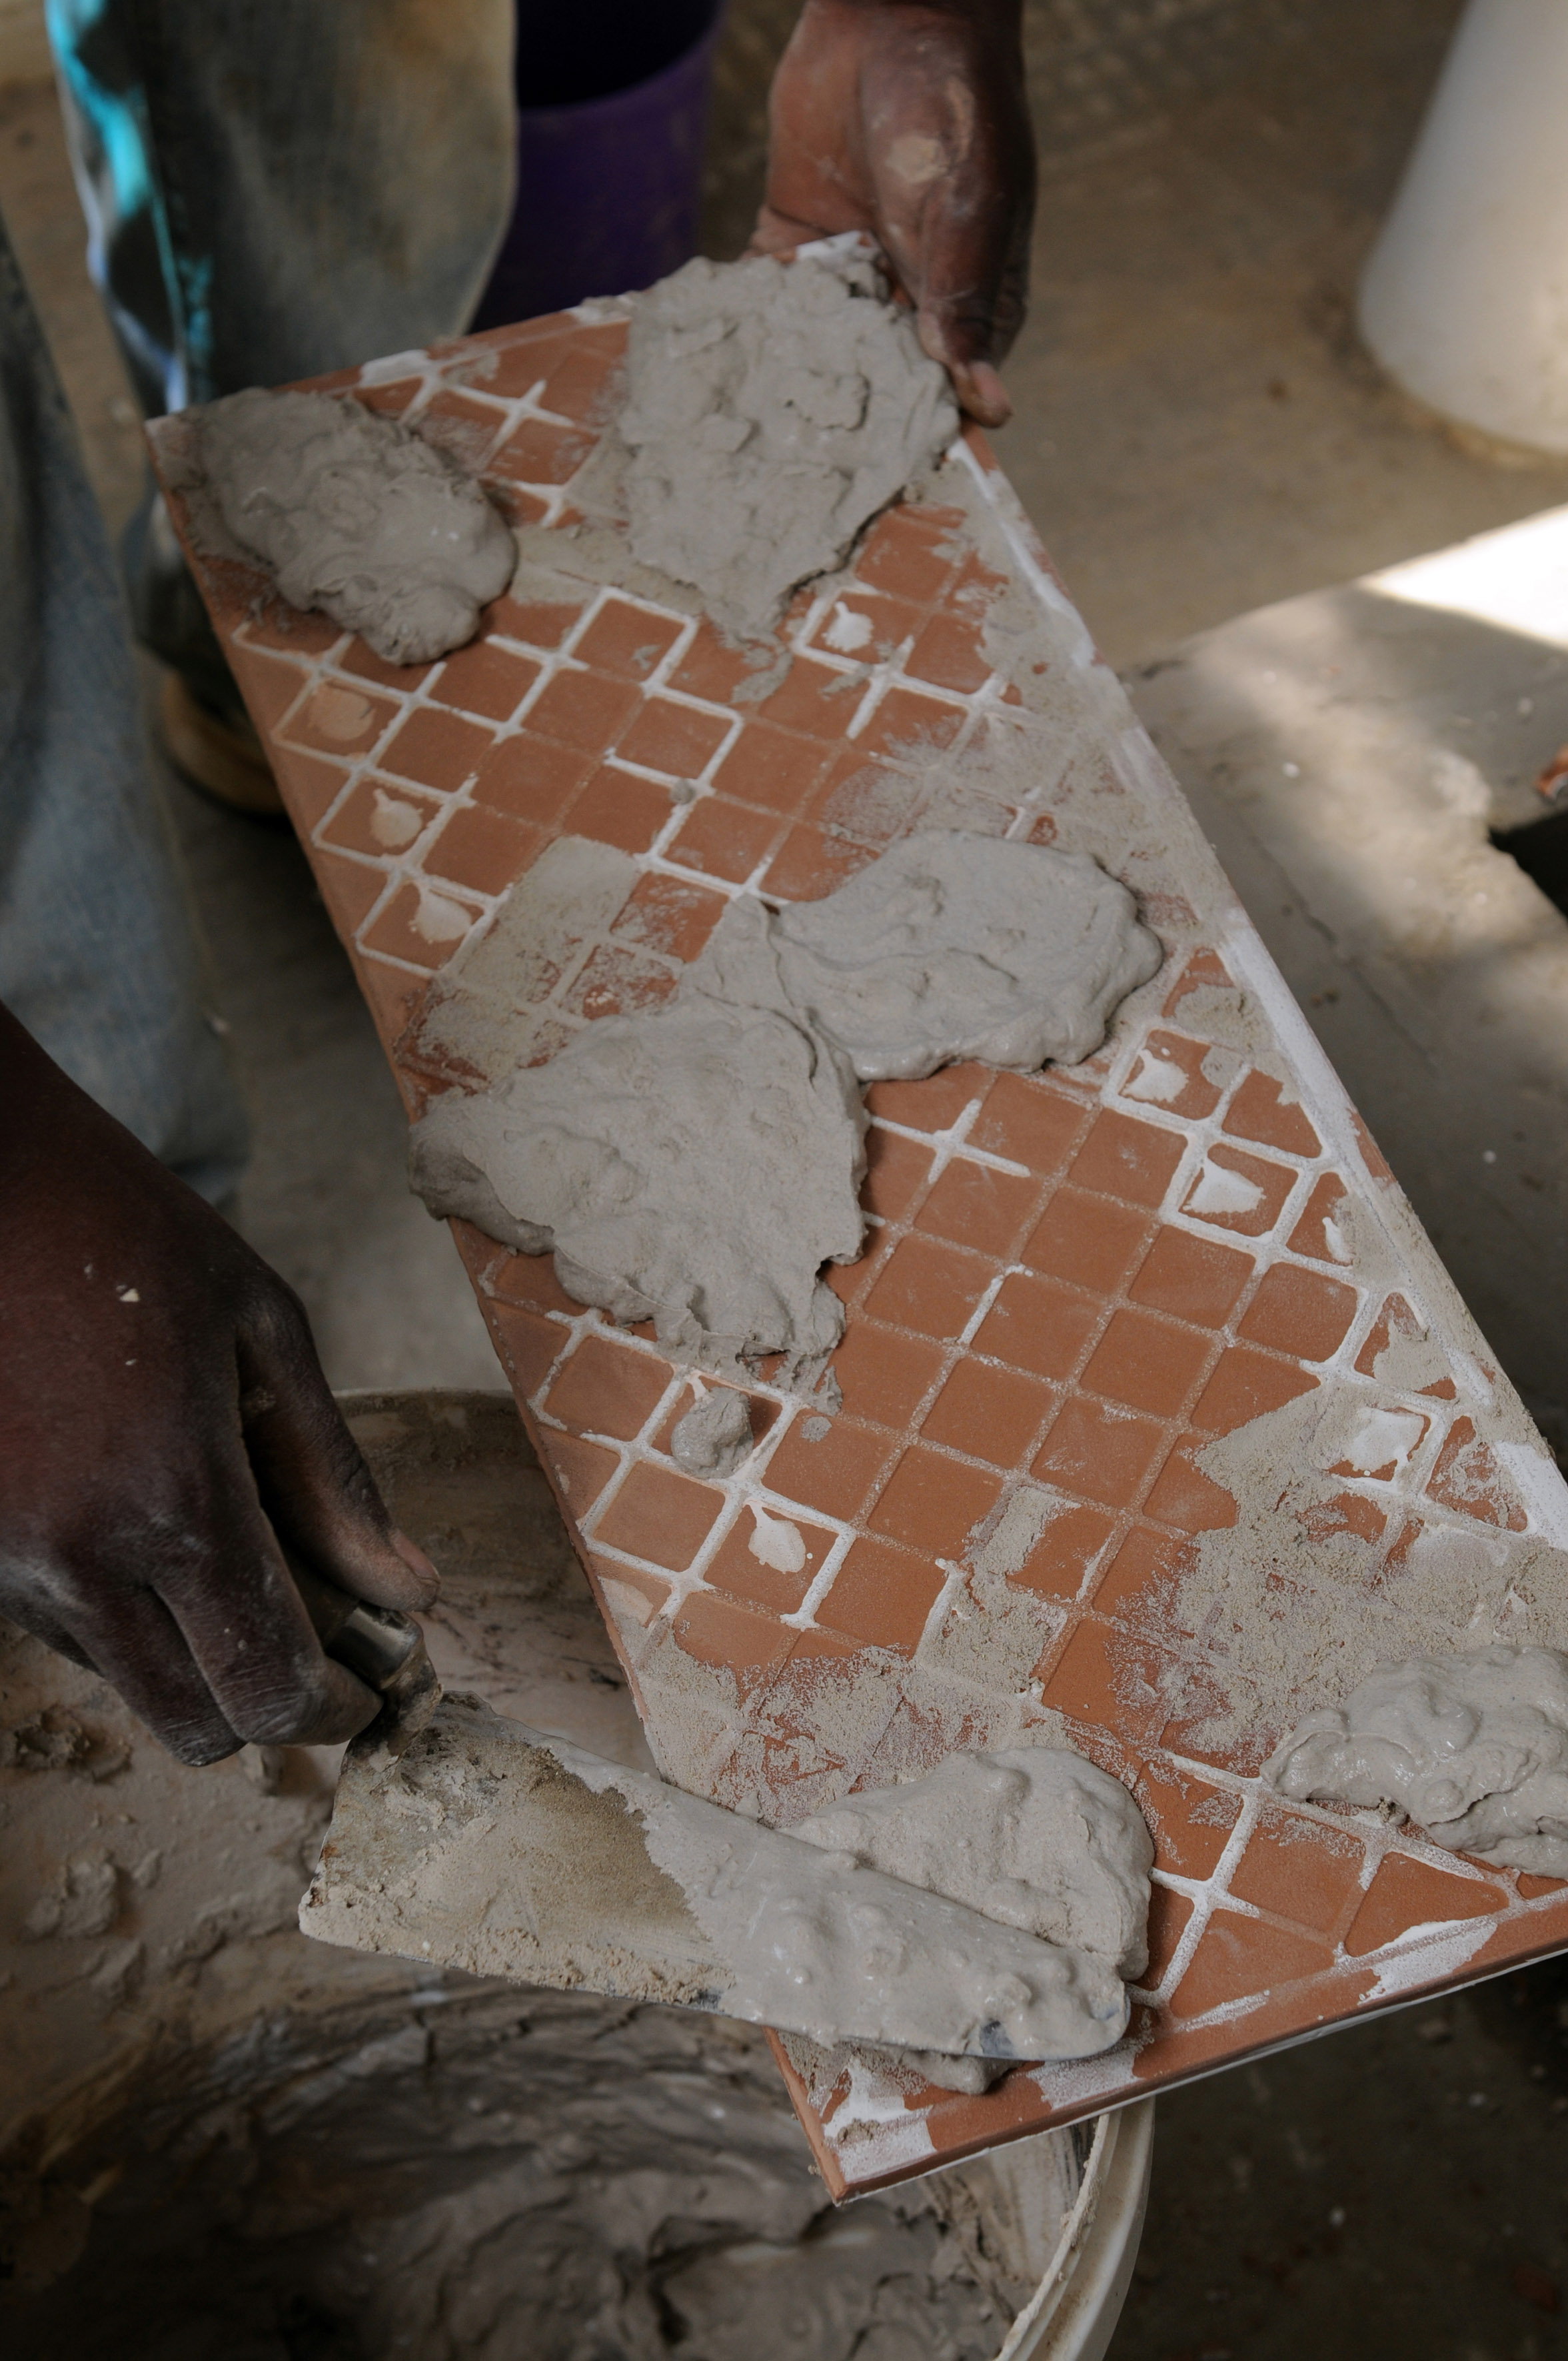
Step 1
Place a mixture of tile cement and Bond It on the back of the ceramic tiles.
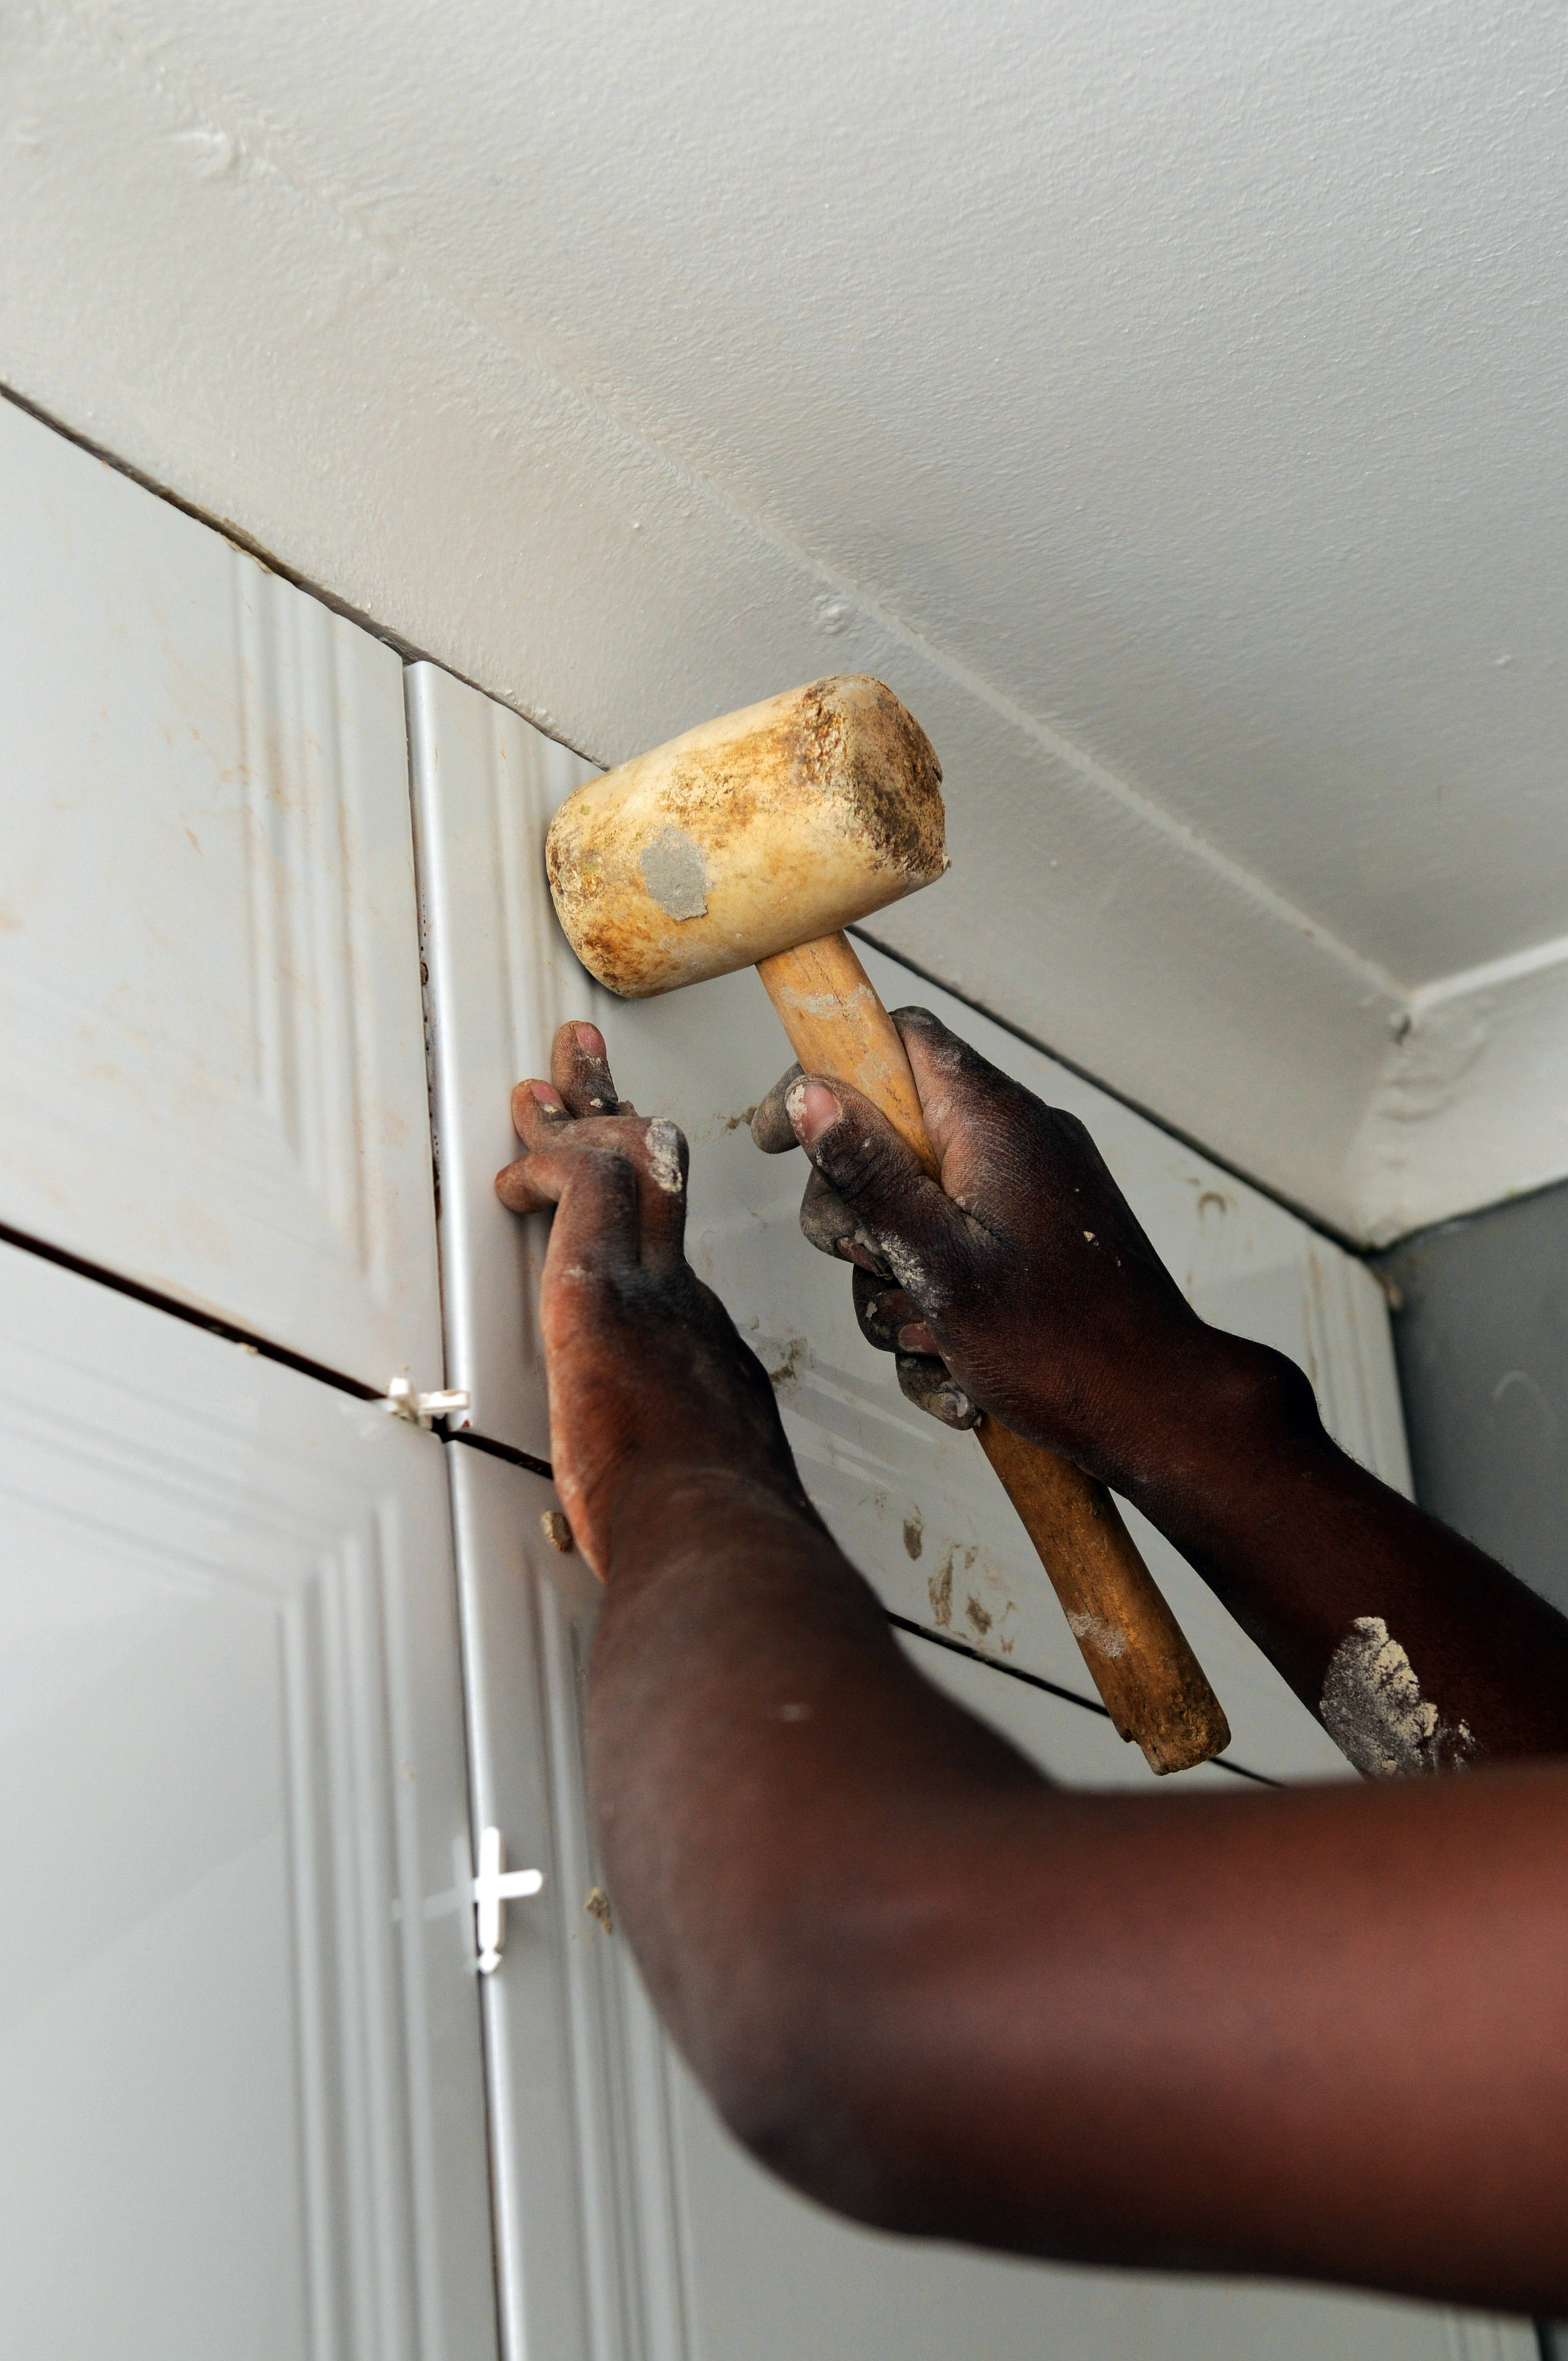
Step 2
Place the tile in position and lightly knock the tile into position with the rubber mallet. Continue in this manner with all the tiles. Grout with white grout mixed with Bond It.
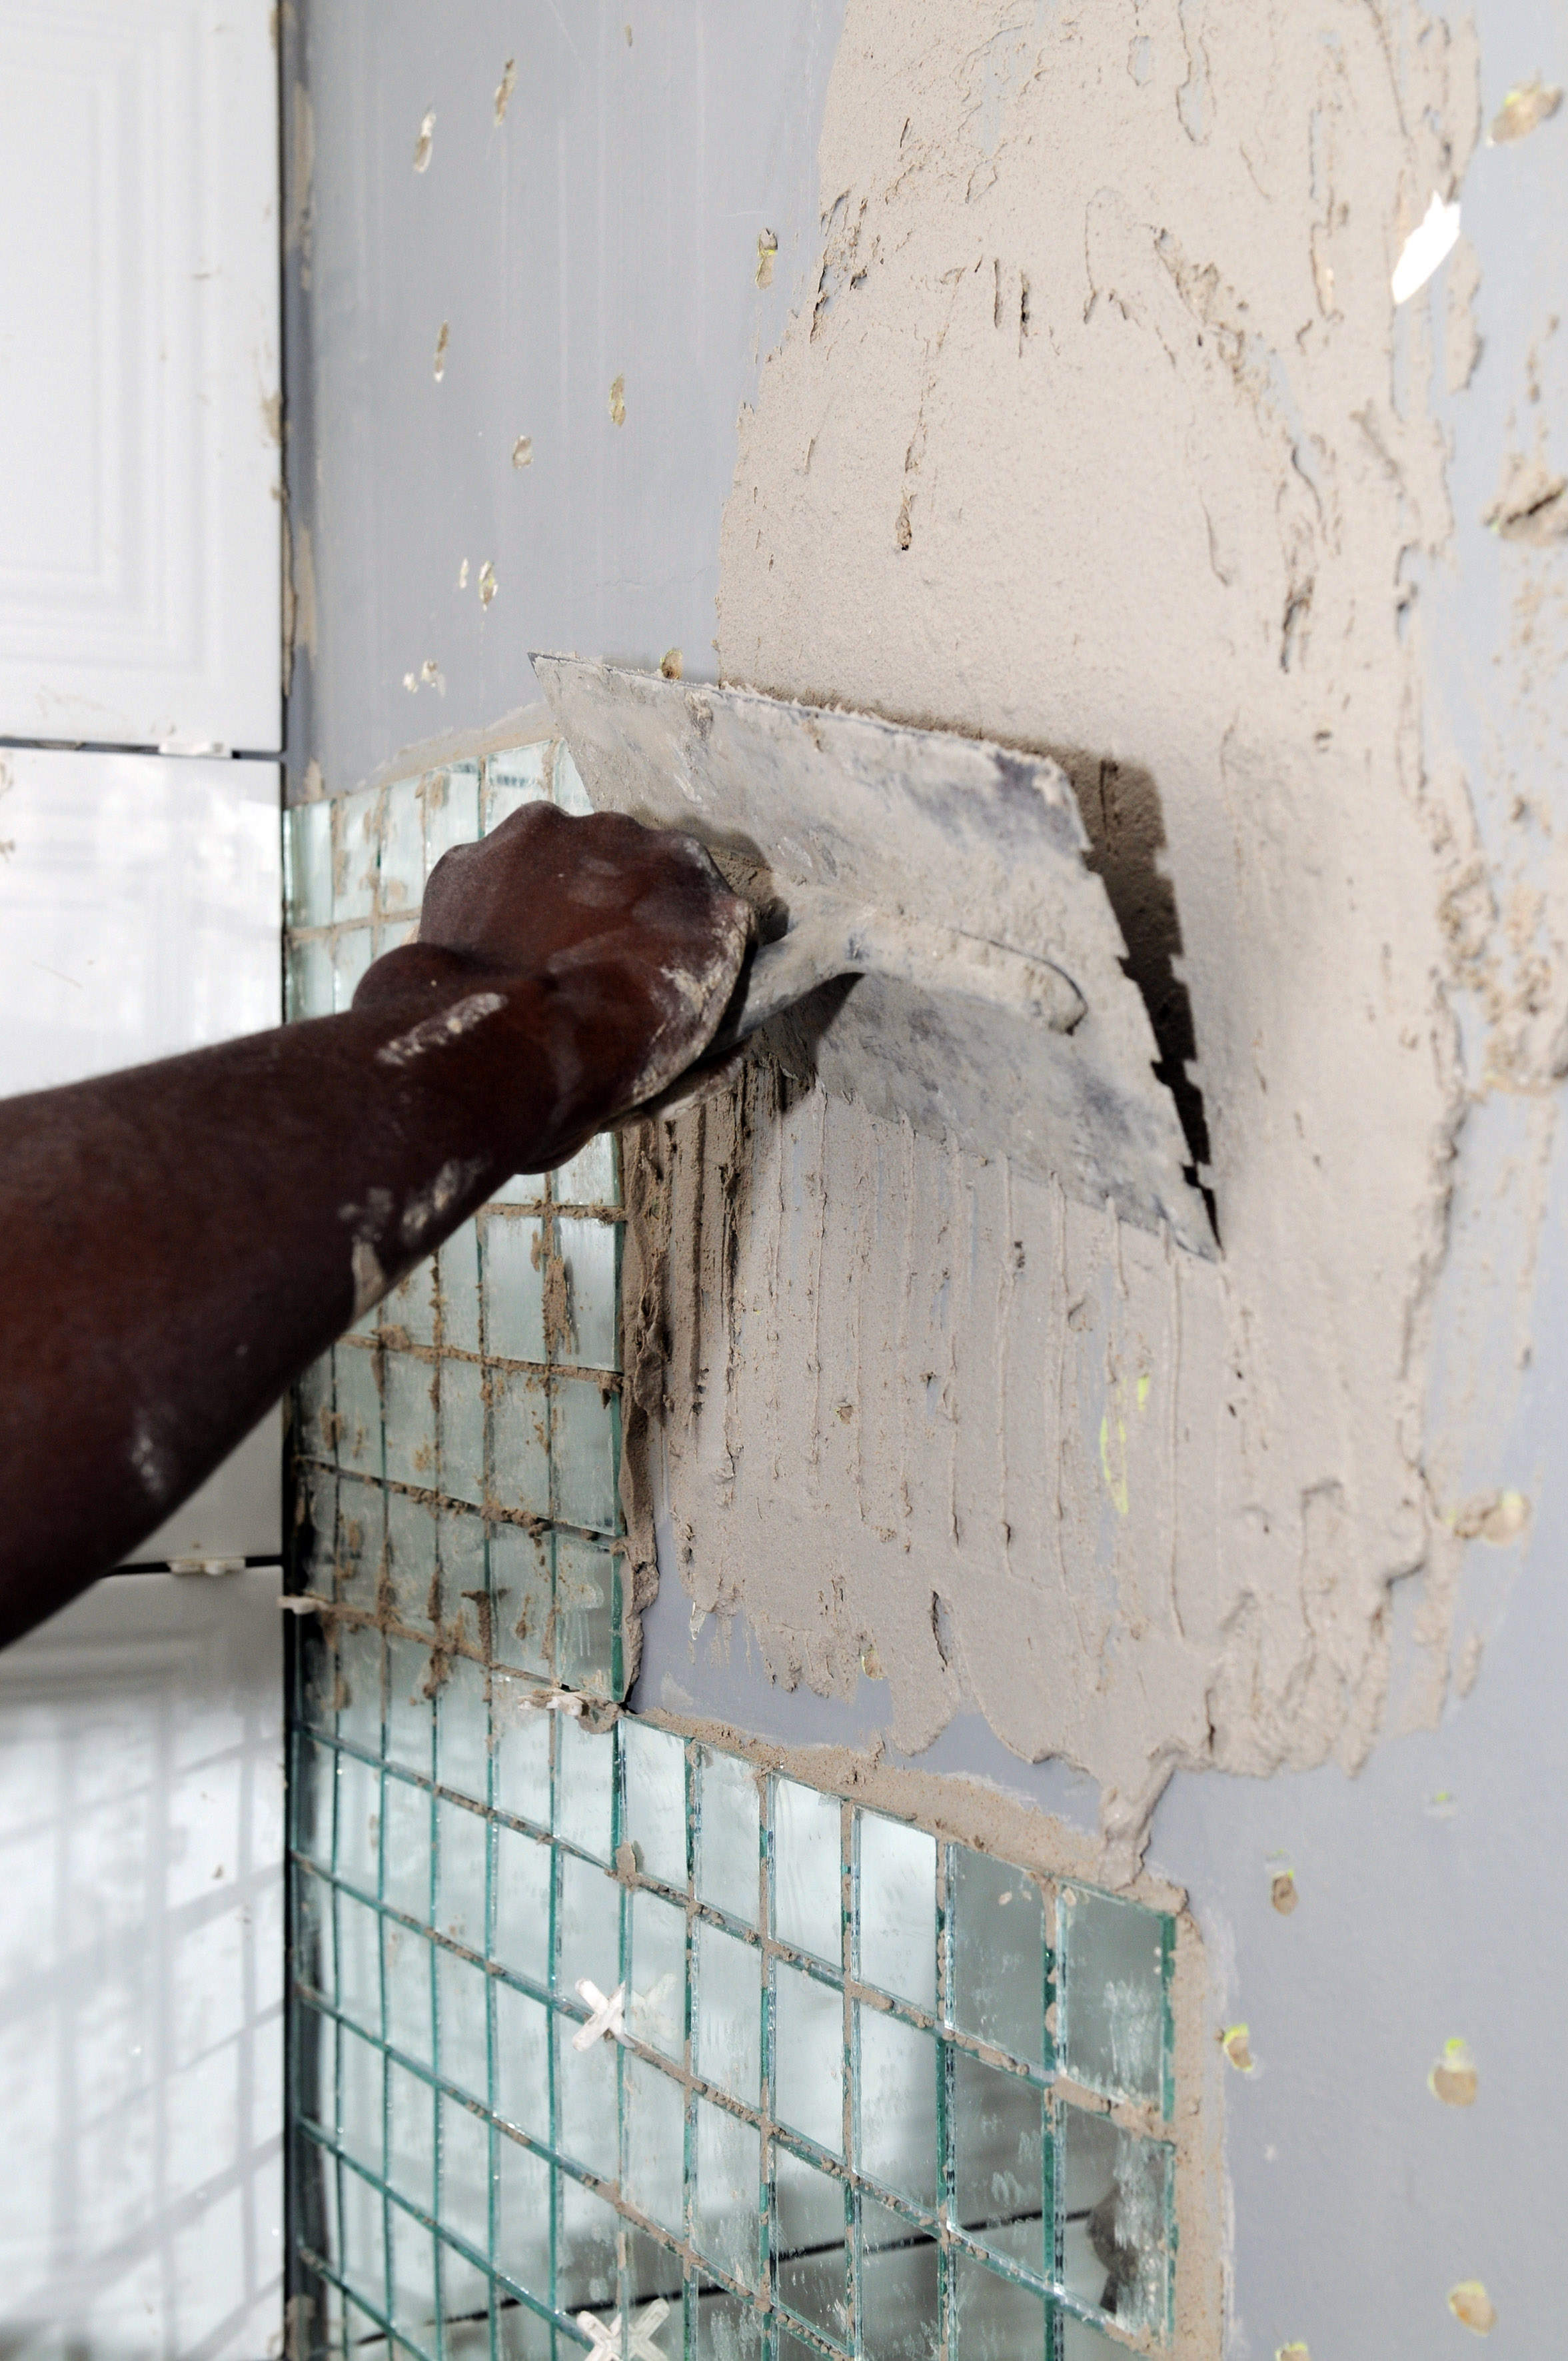
Step 3
Trowel a thin layer of tile cement to the wall with a grooved tiling float.
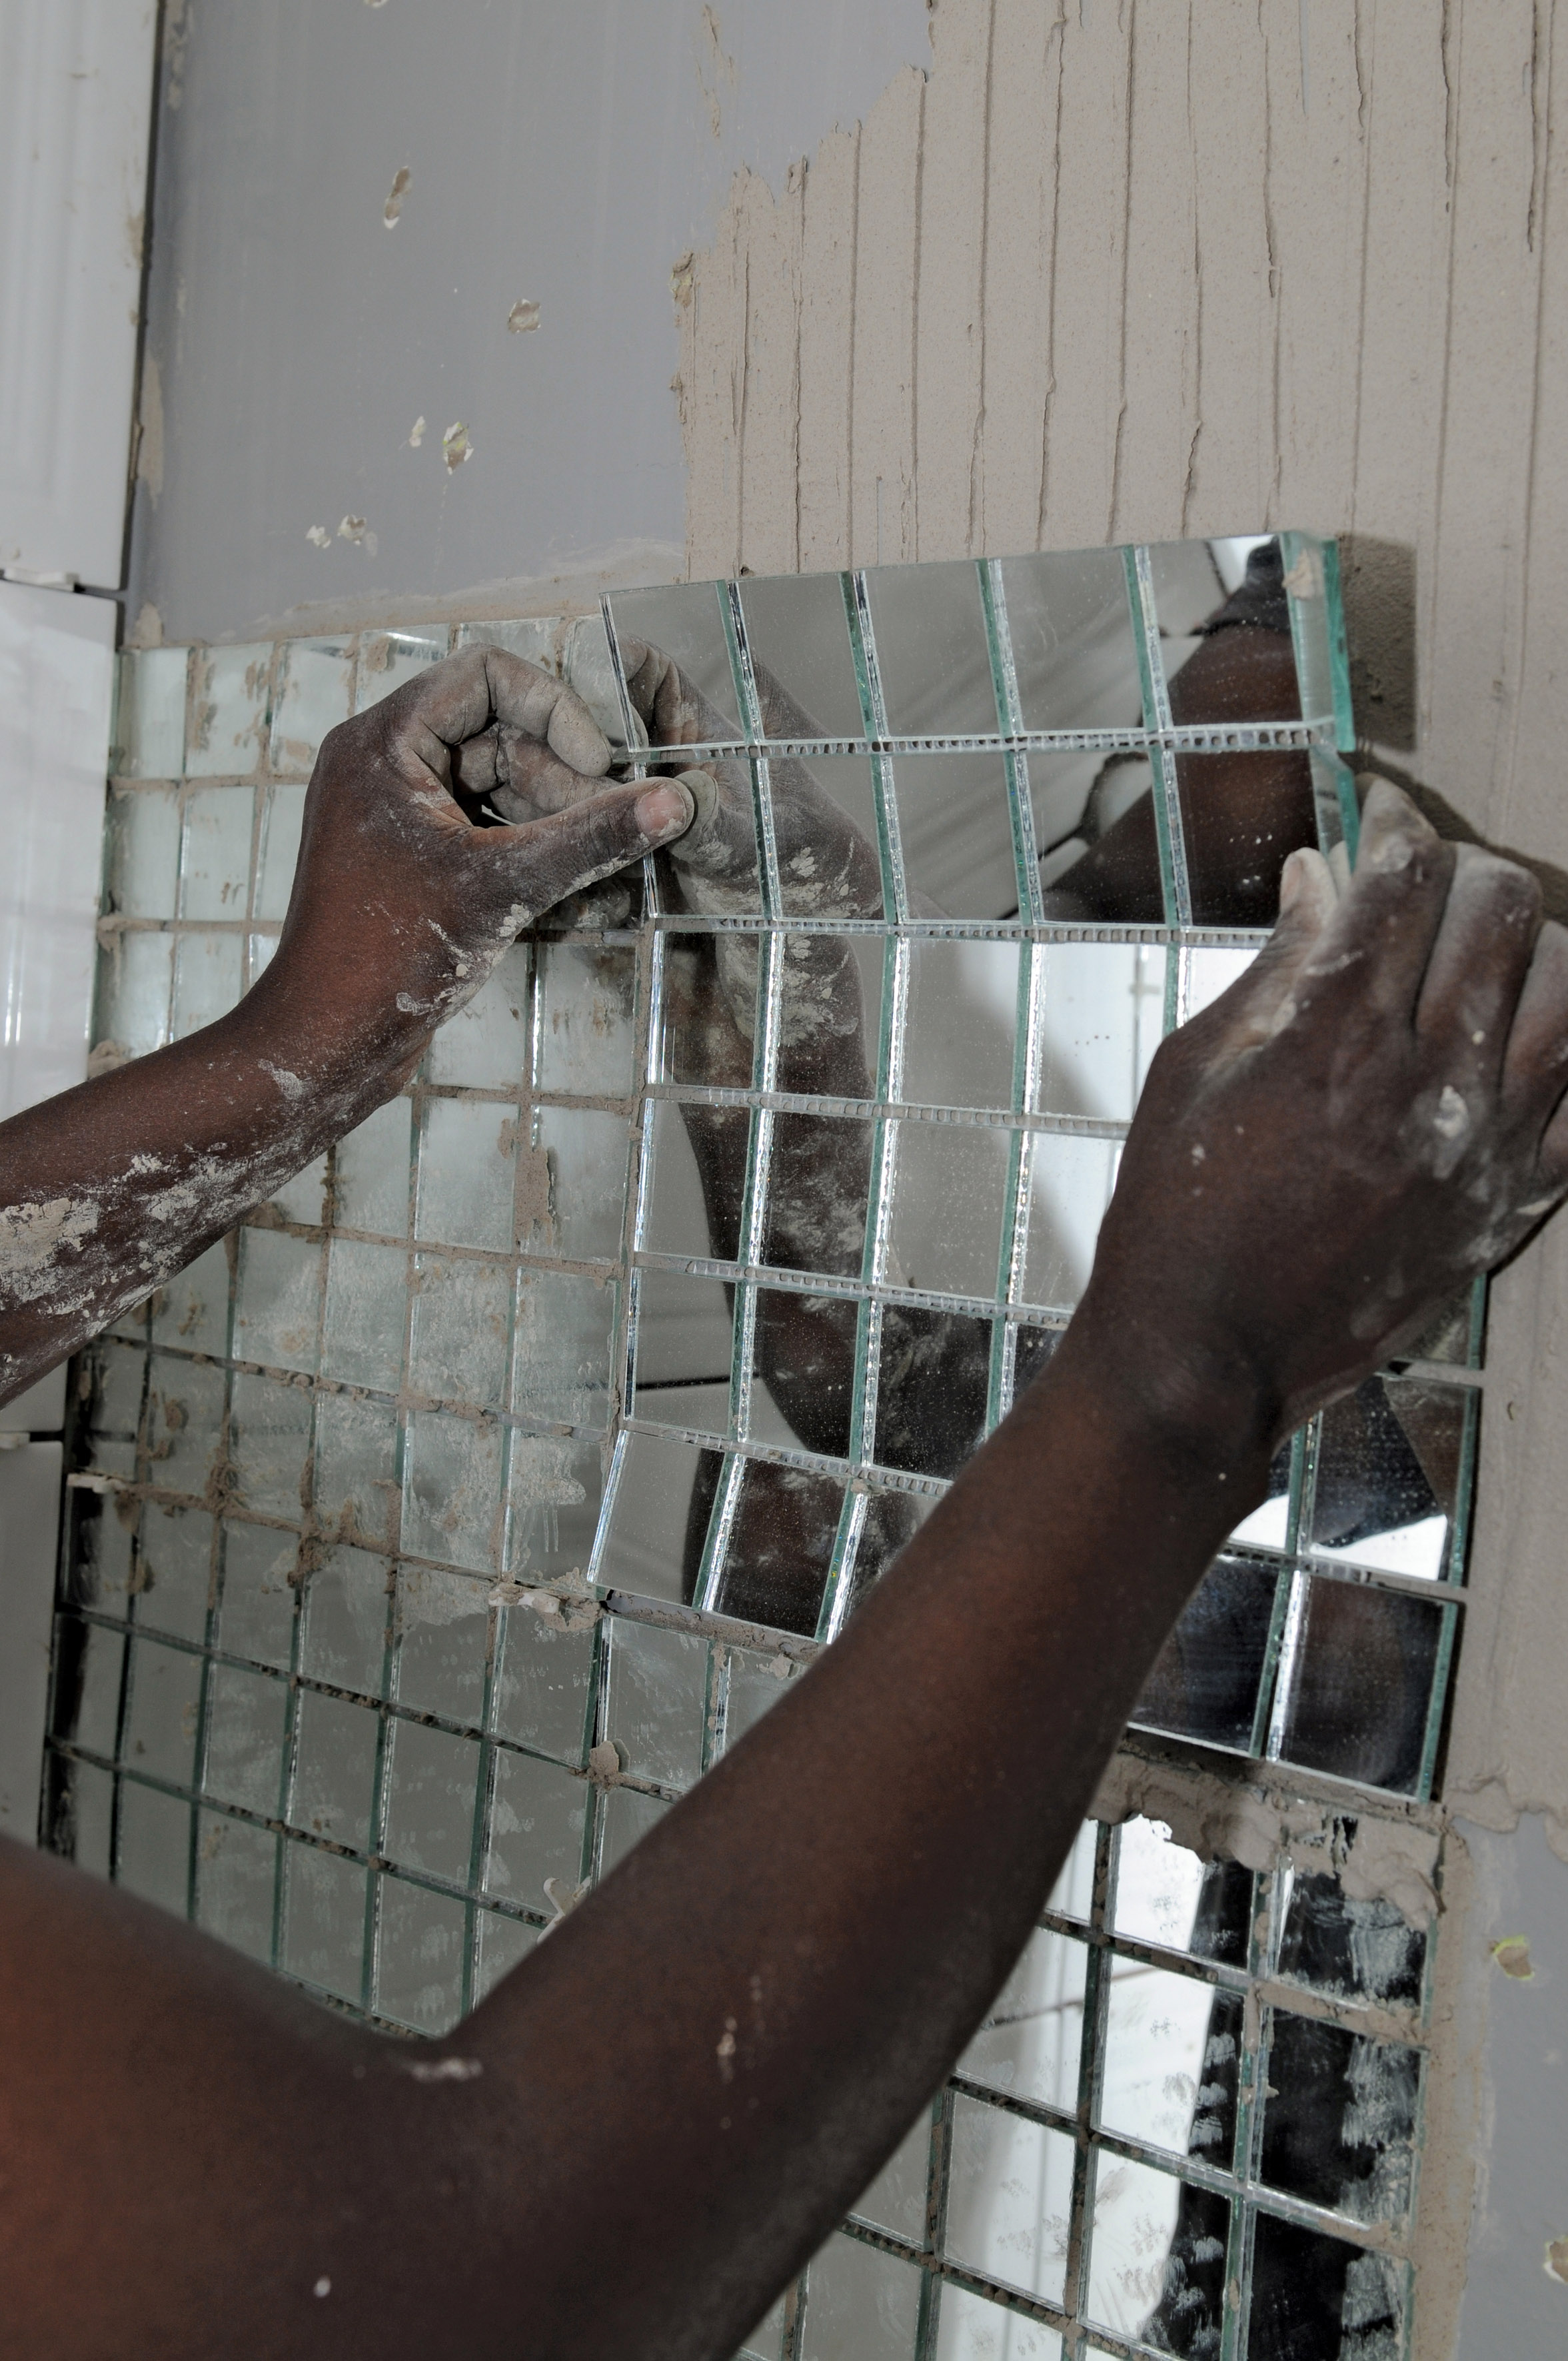
Step 4
Fit the mirror mosaics a maximum of four sheets at a time. Ensure that you leave a space between the sheets similar to that in the sheet itself. Using the dove grey grout mixed with Bond It, grout the tiles using a rubber squeegee. Clean off excess grout with a firm, damp sponge. Once dry, wash the tiles and mosaics with a mutton cloth to remove any remaining grout dust.
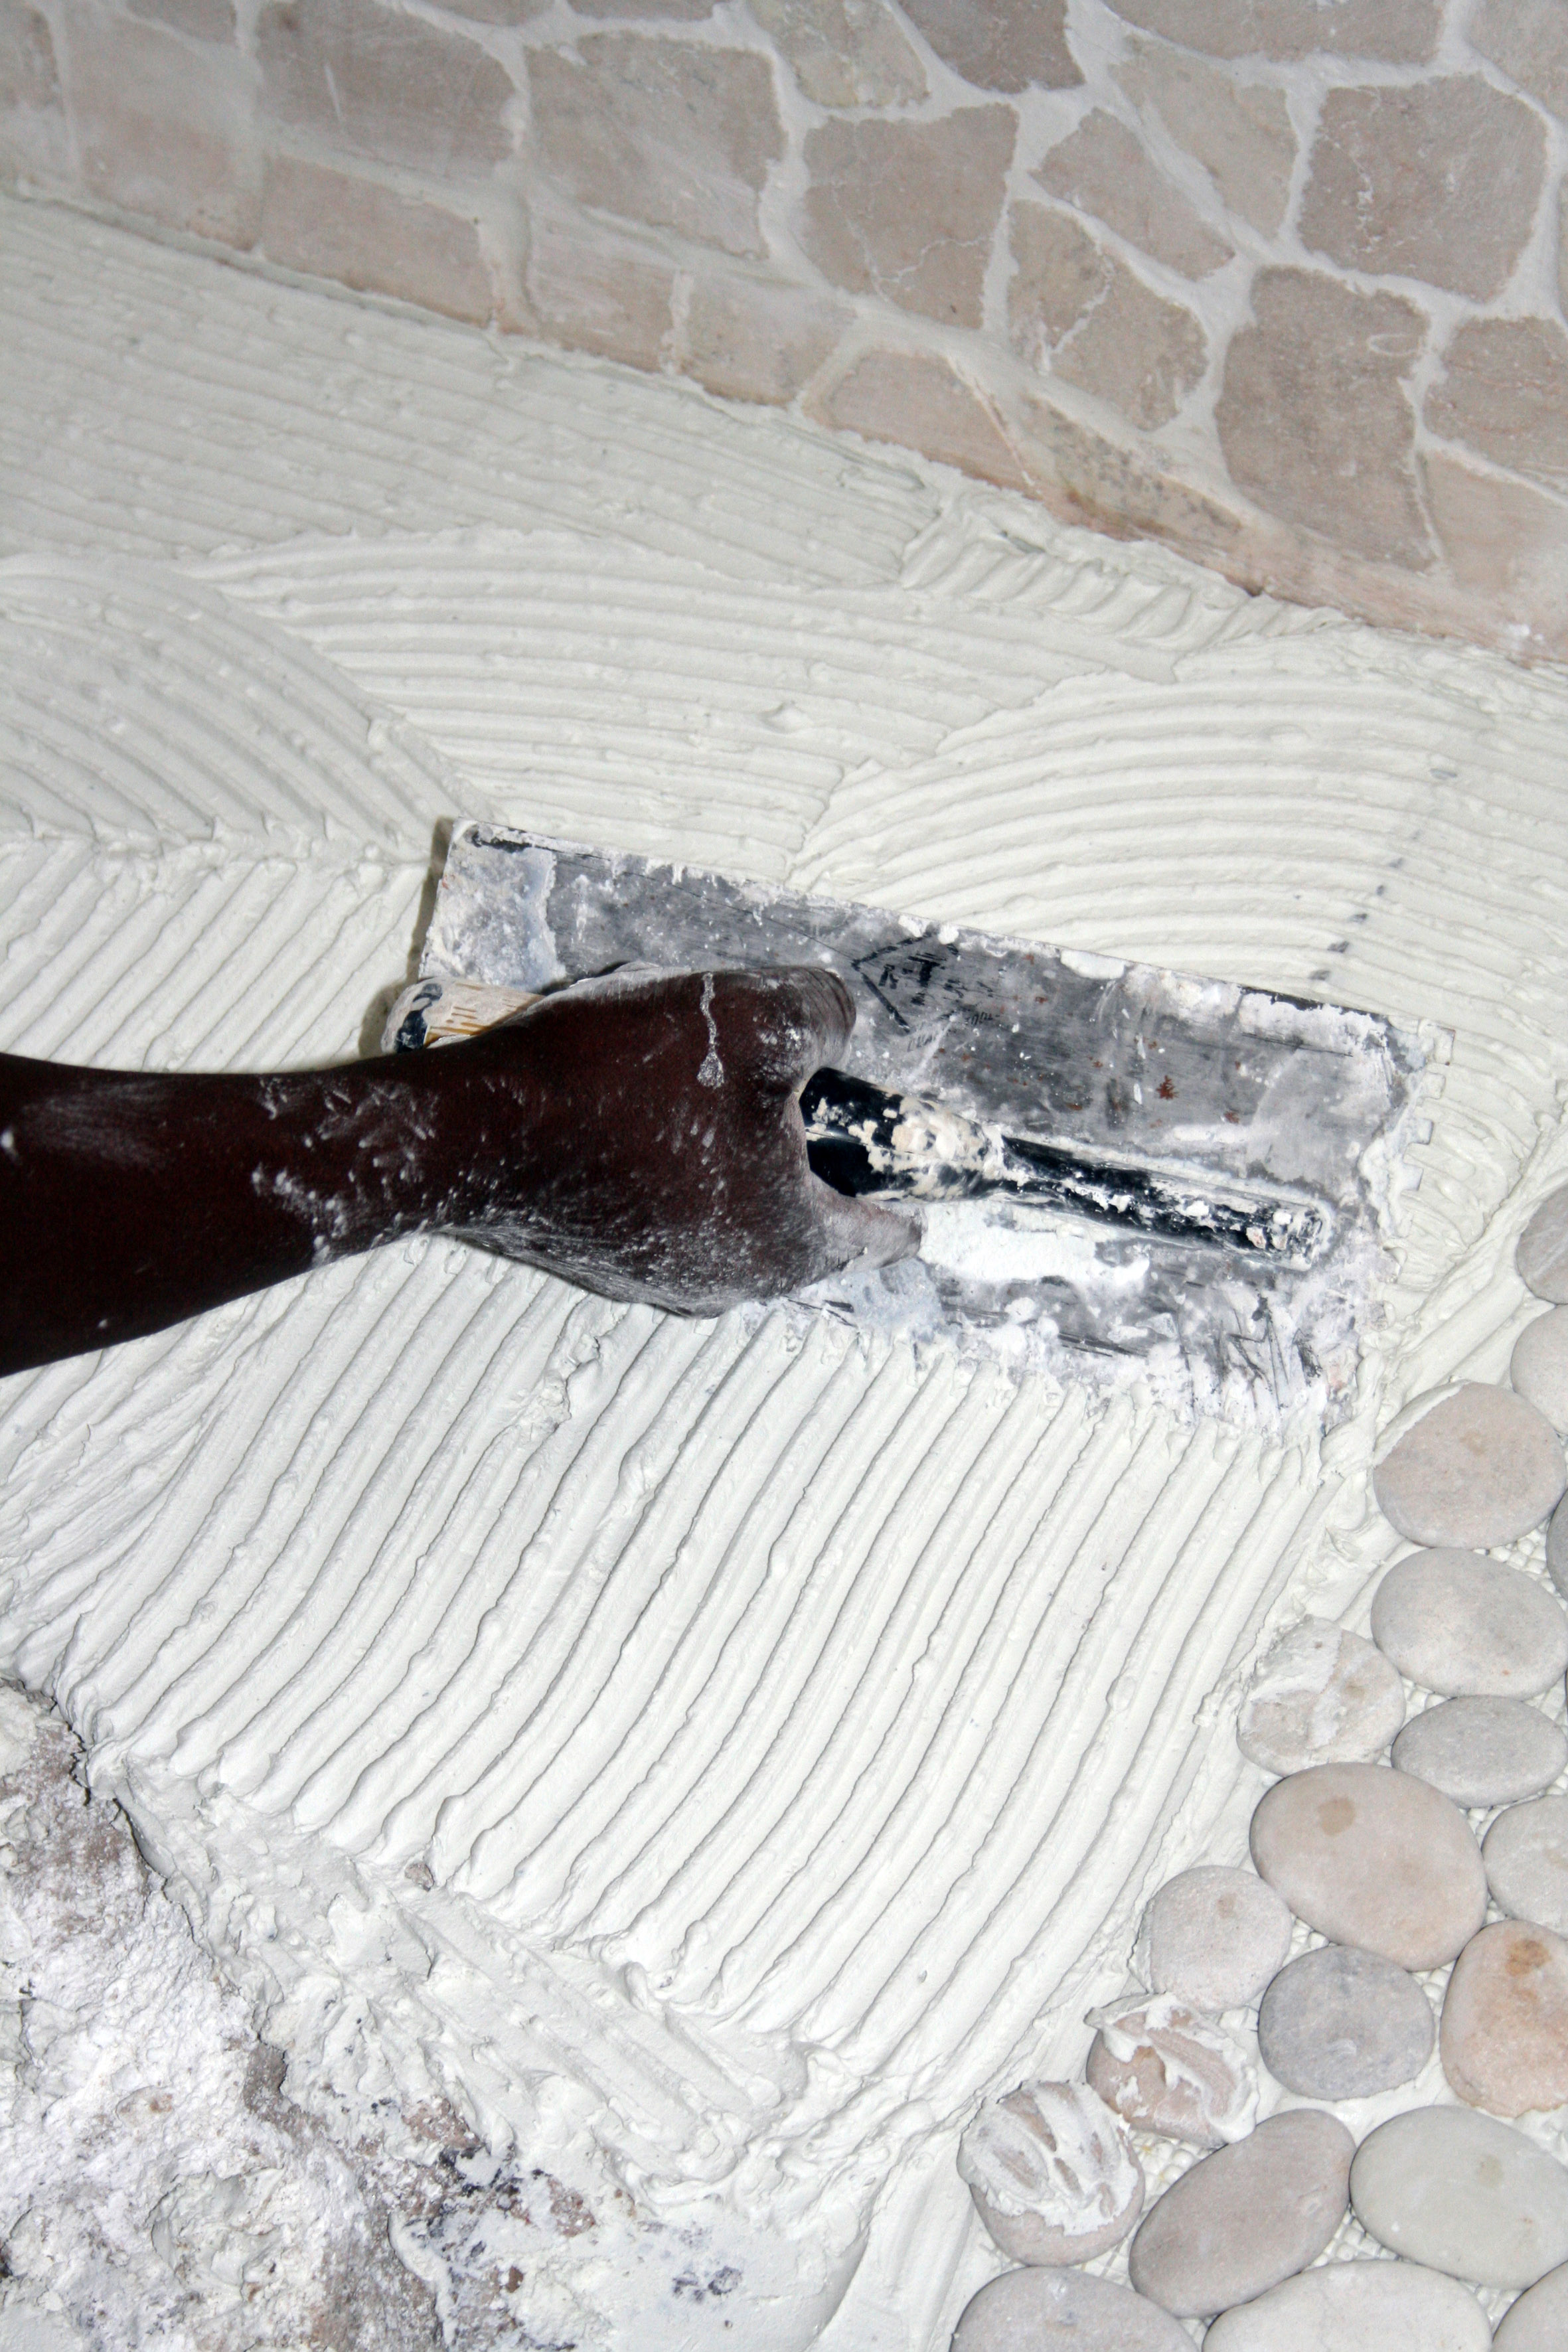
Tiling the shower floor
Step 1
Place a mixture of mosaic fix and Bond It on the floor using a grooved tiling float.
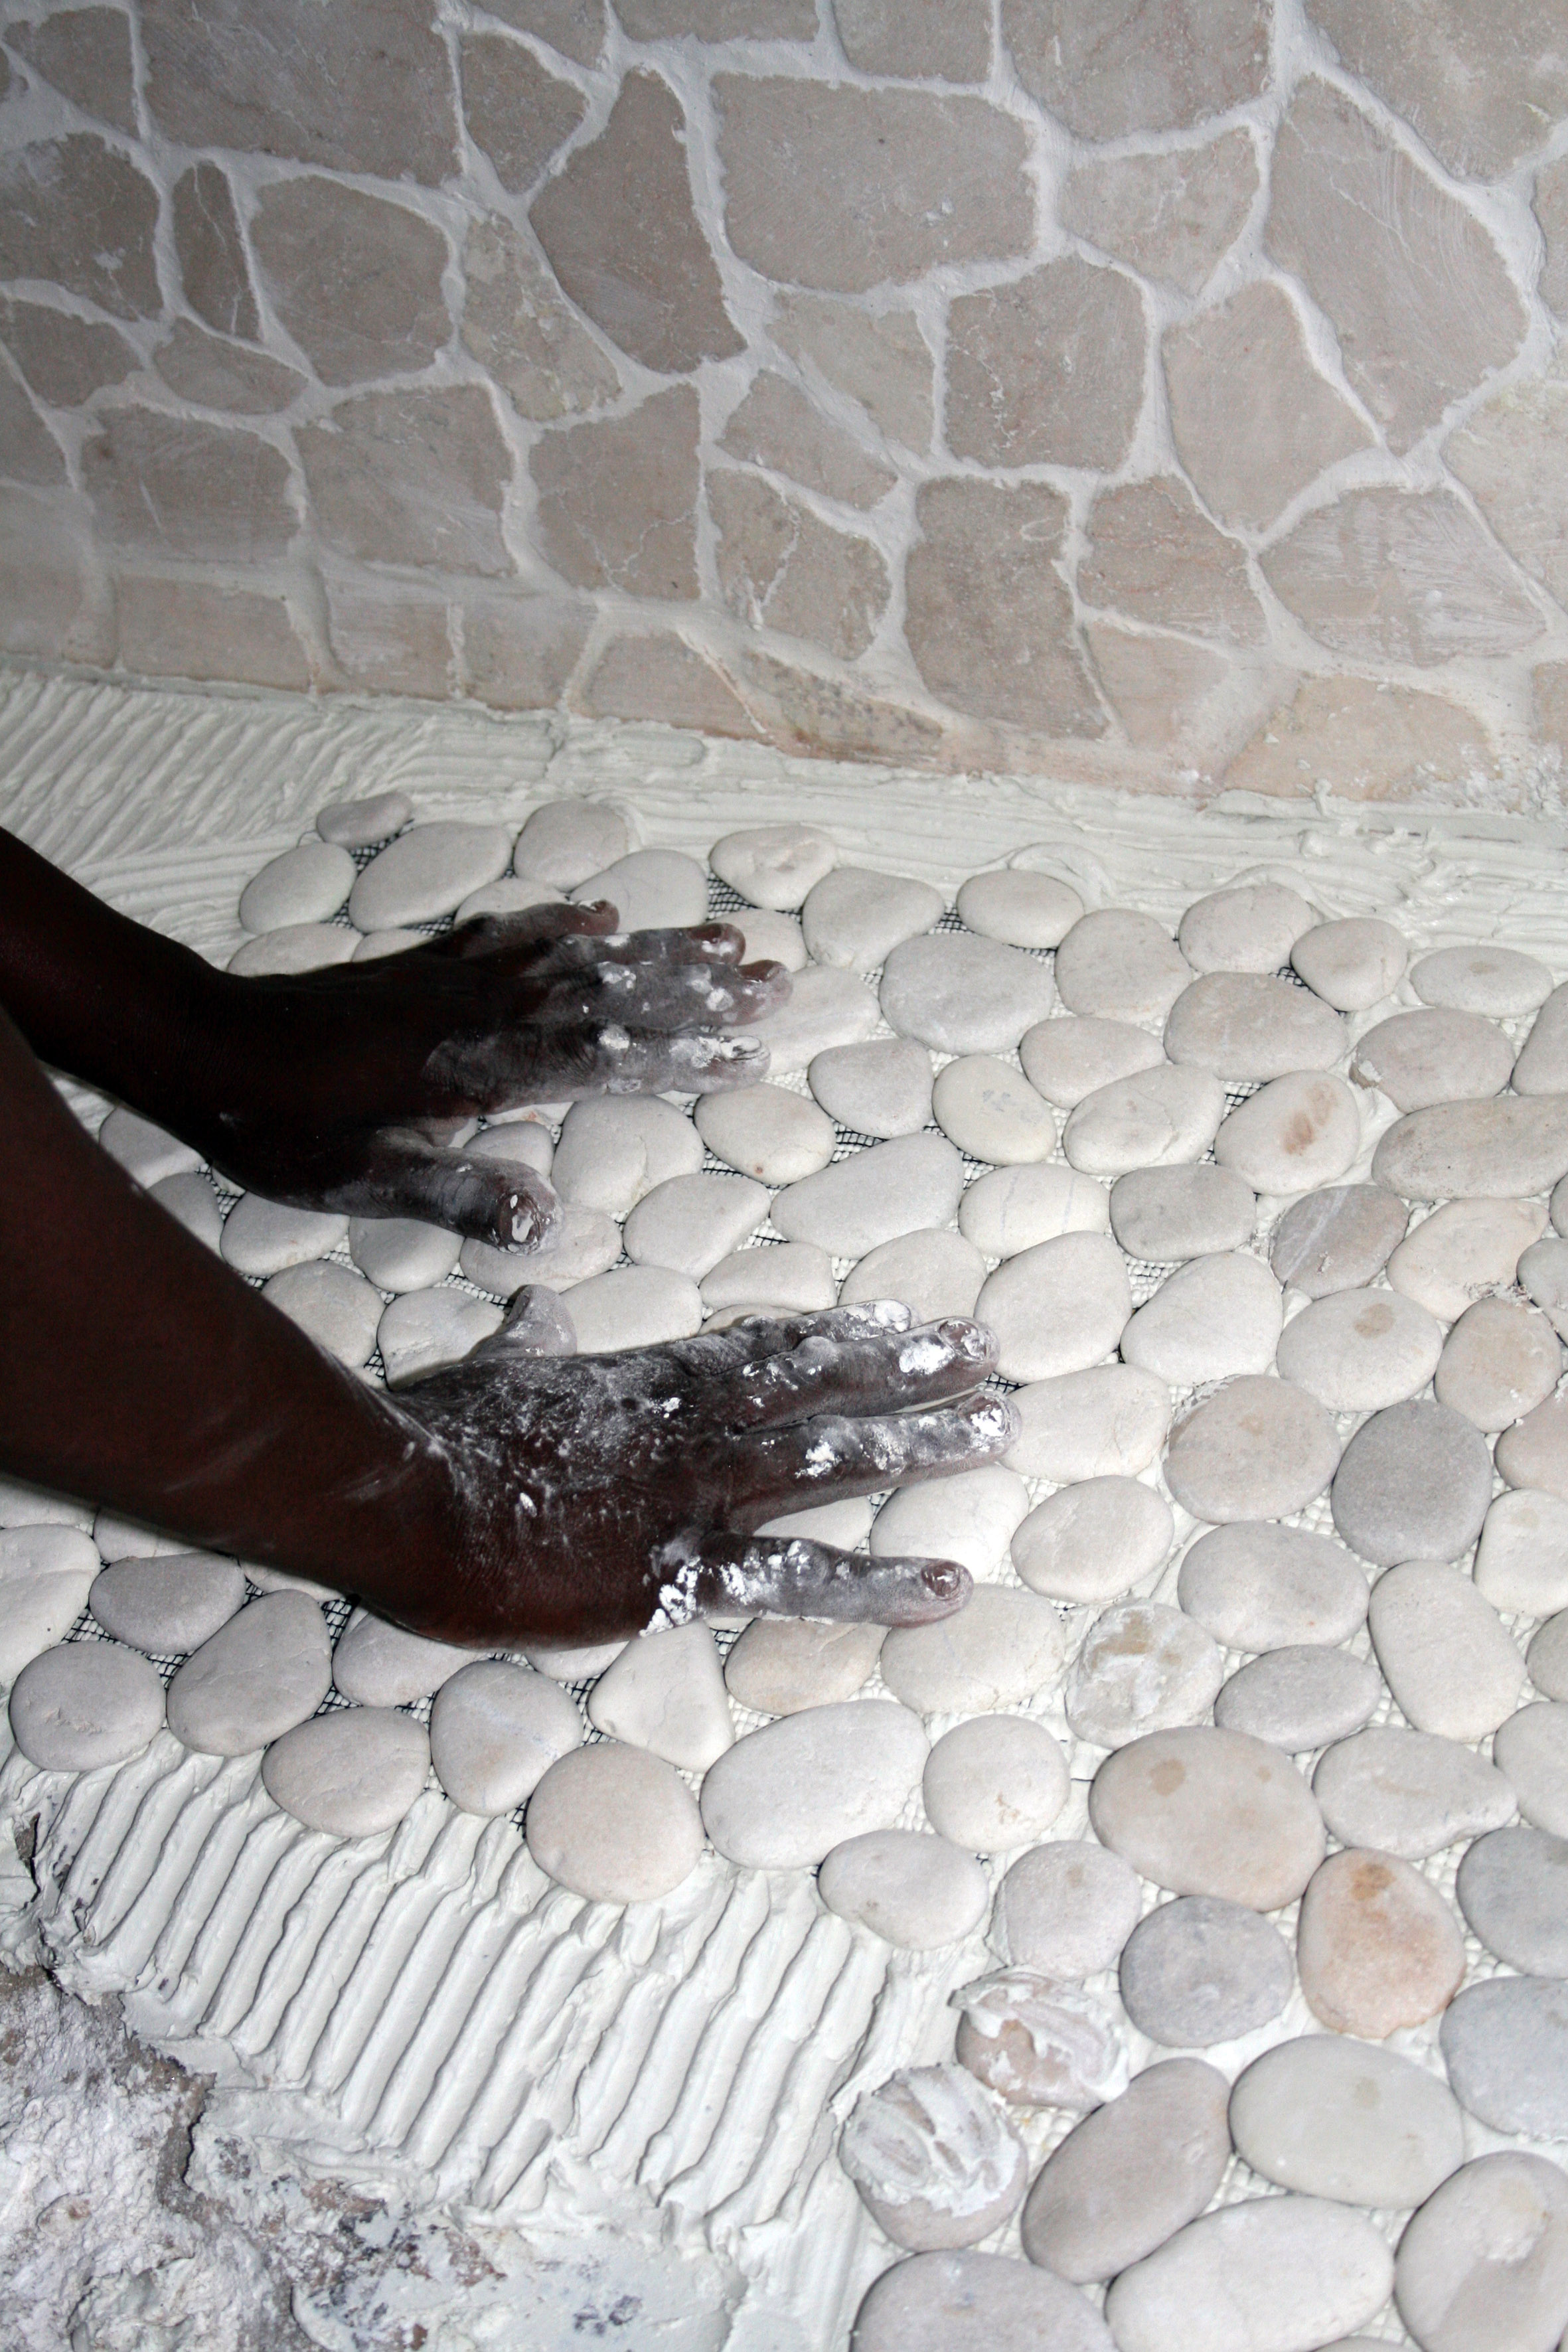
Step 2
Fit the pebble mosaics a maximum of four sheets at a time. Firmly bed the pebble sheets close together so that you have no lines visible where the joins are. Remember to let the floor slope slightly toward the shower trap so that the water will run off properly.
Installing the shower arms and roses
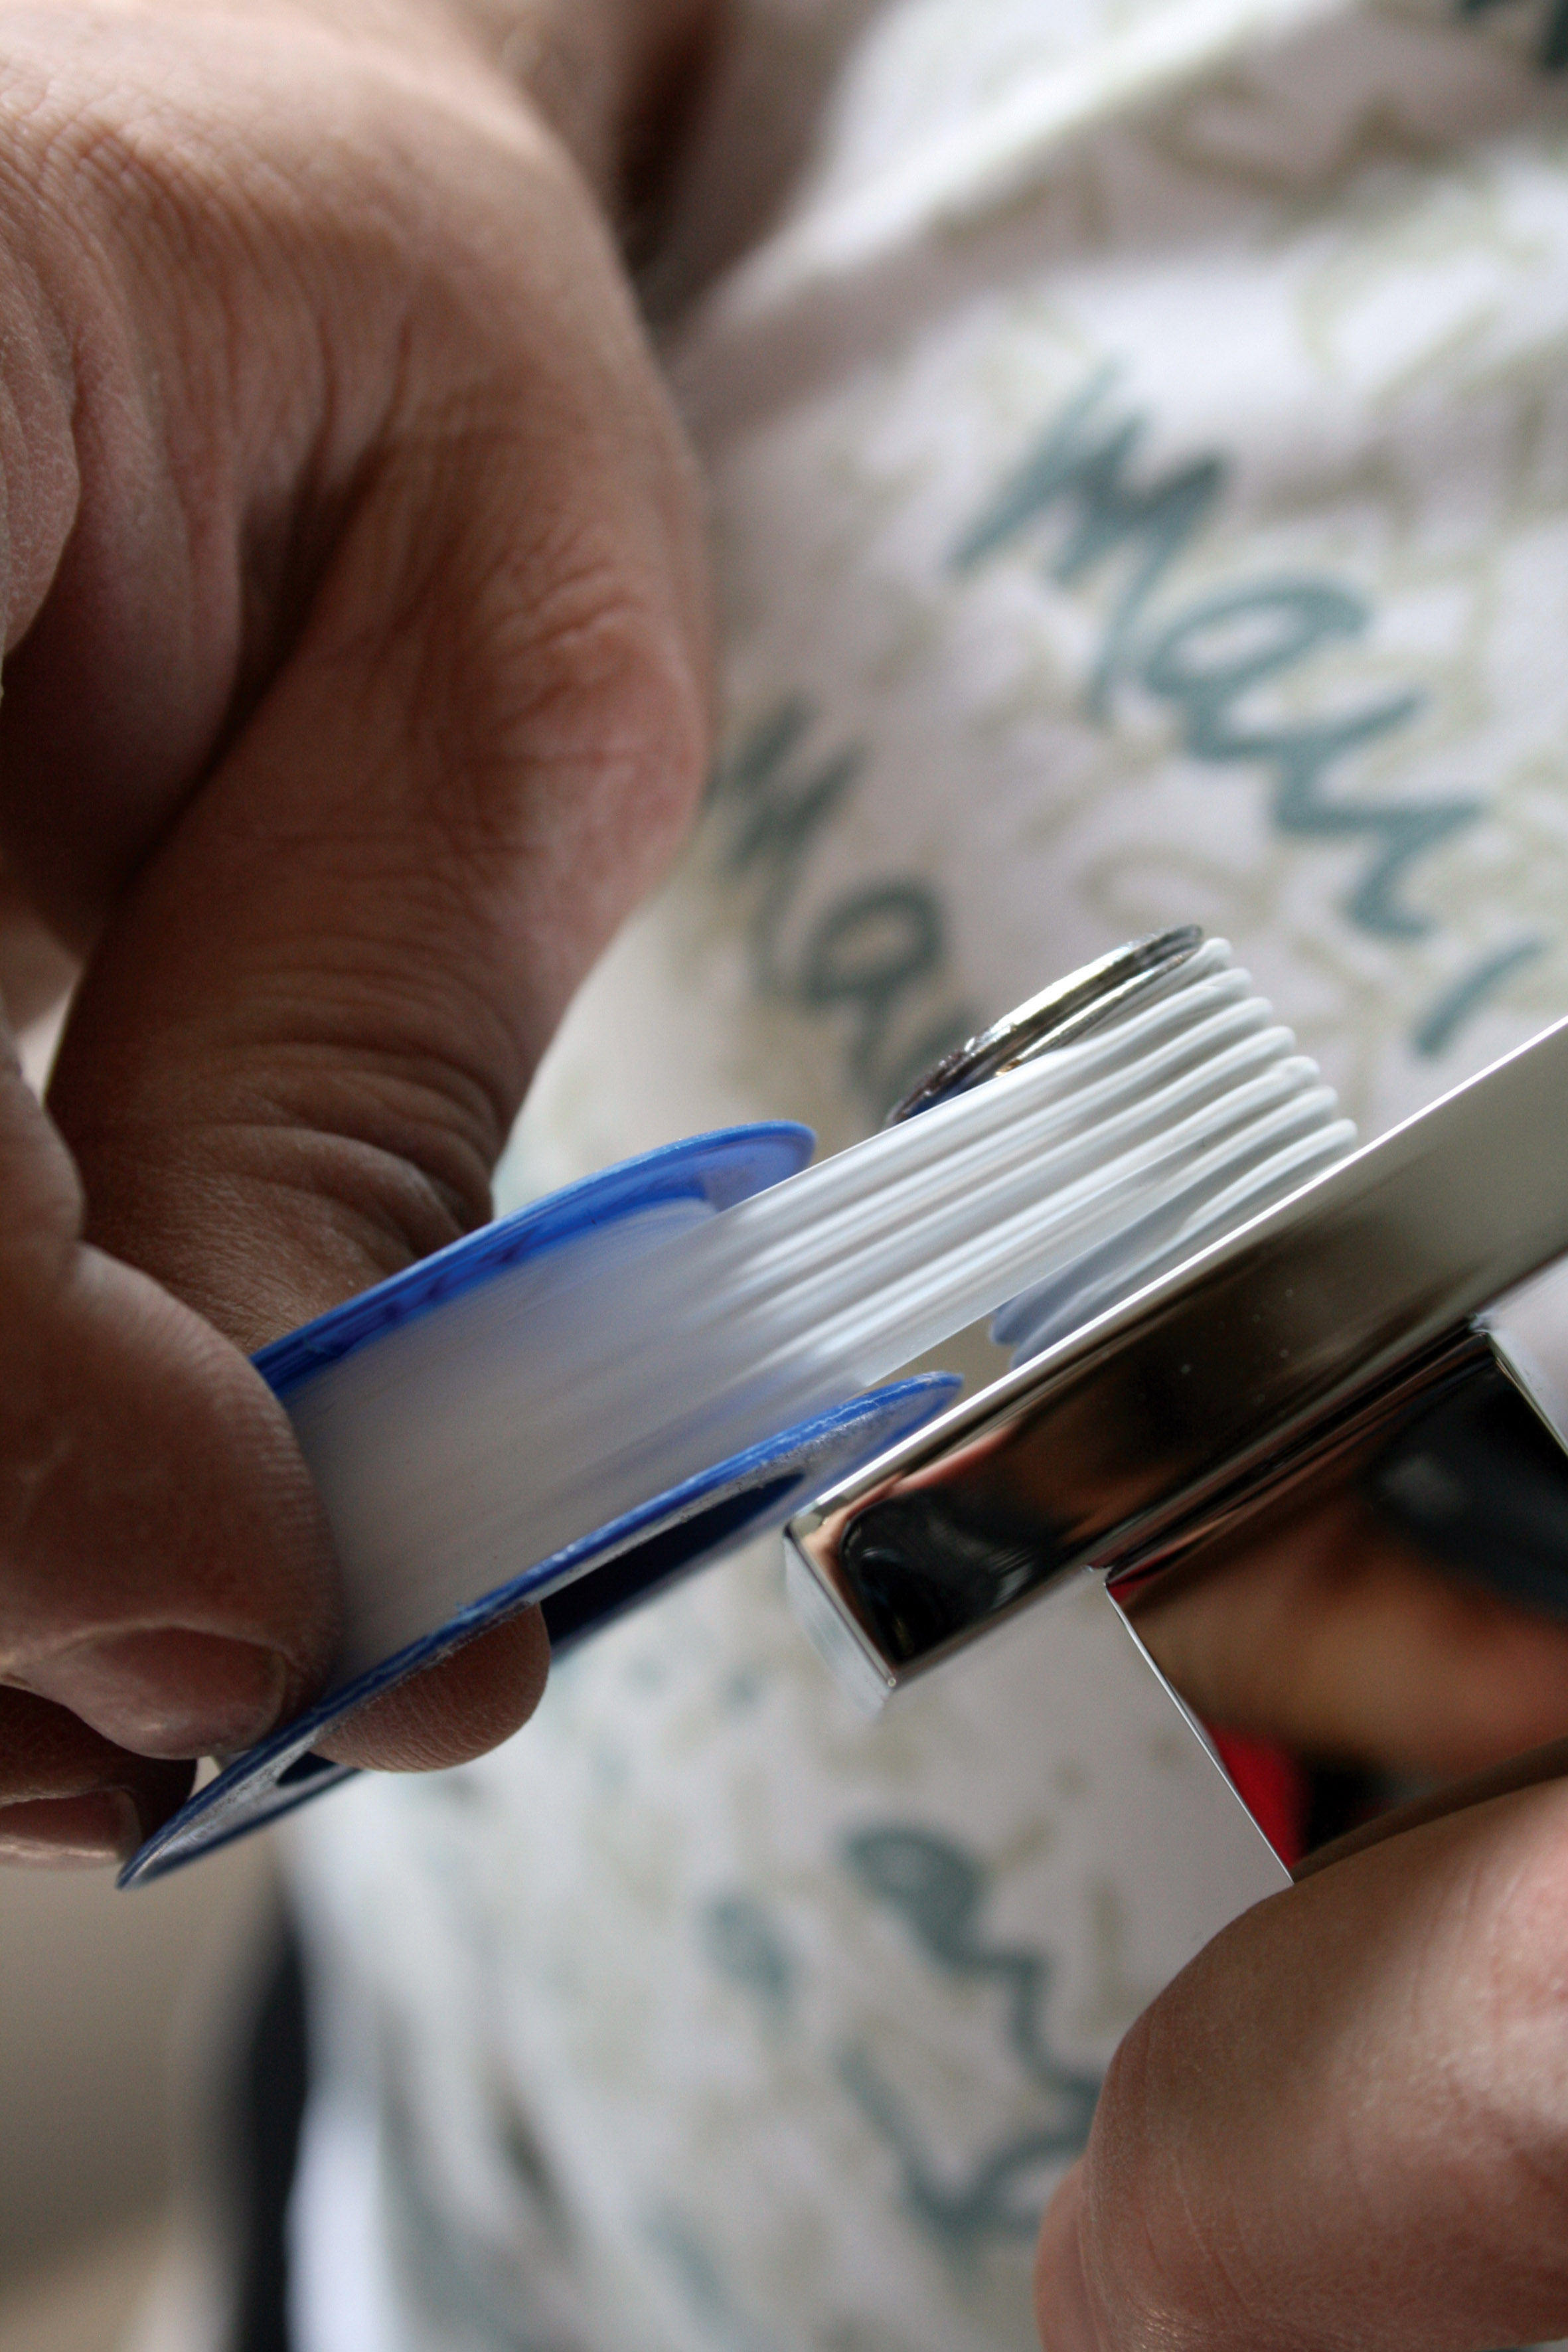
- Fit the cover plate to the shower arm and tape the thread with PTFE thread tape.
- Fit the shower arms to the water supply fitting in the wall.
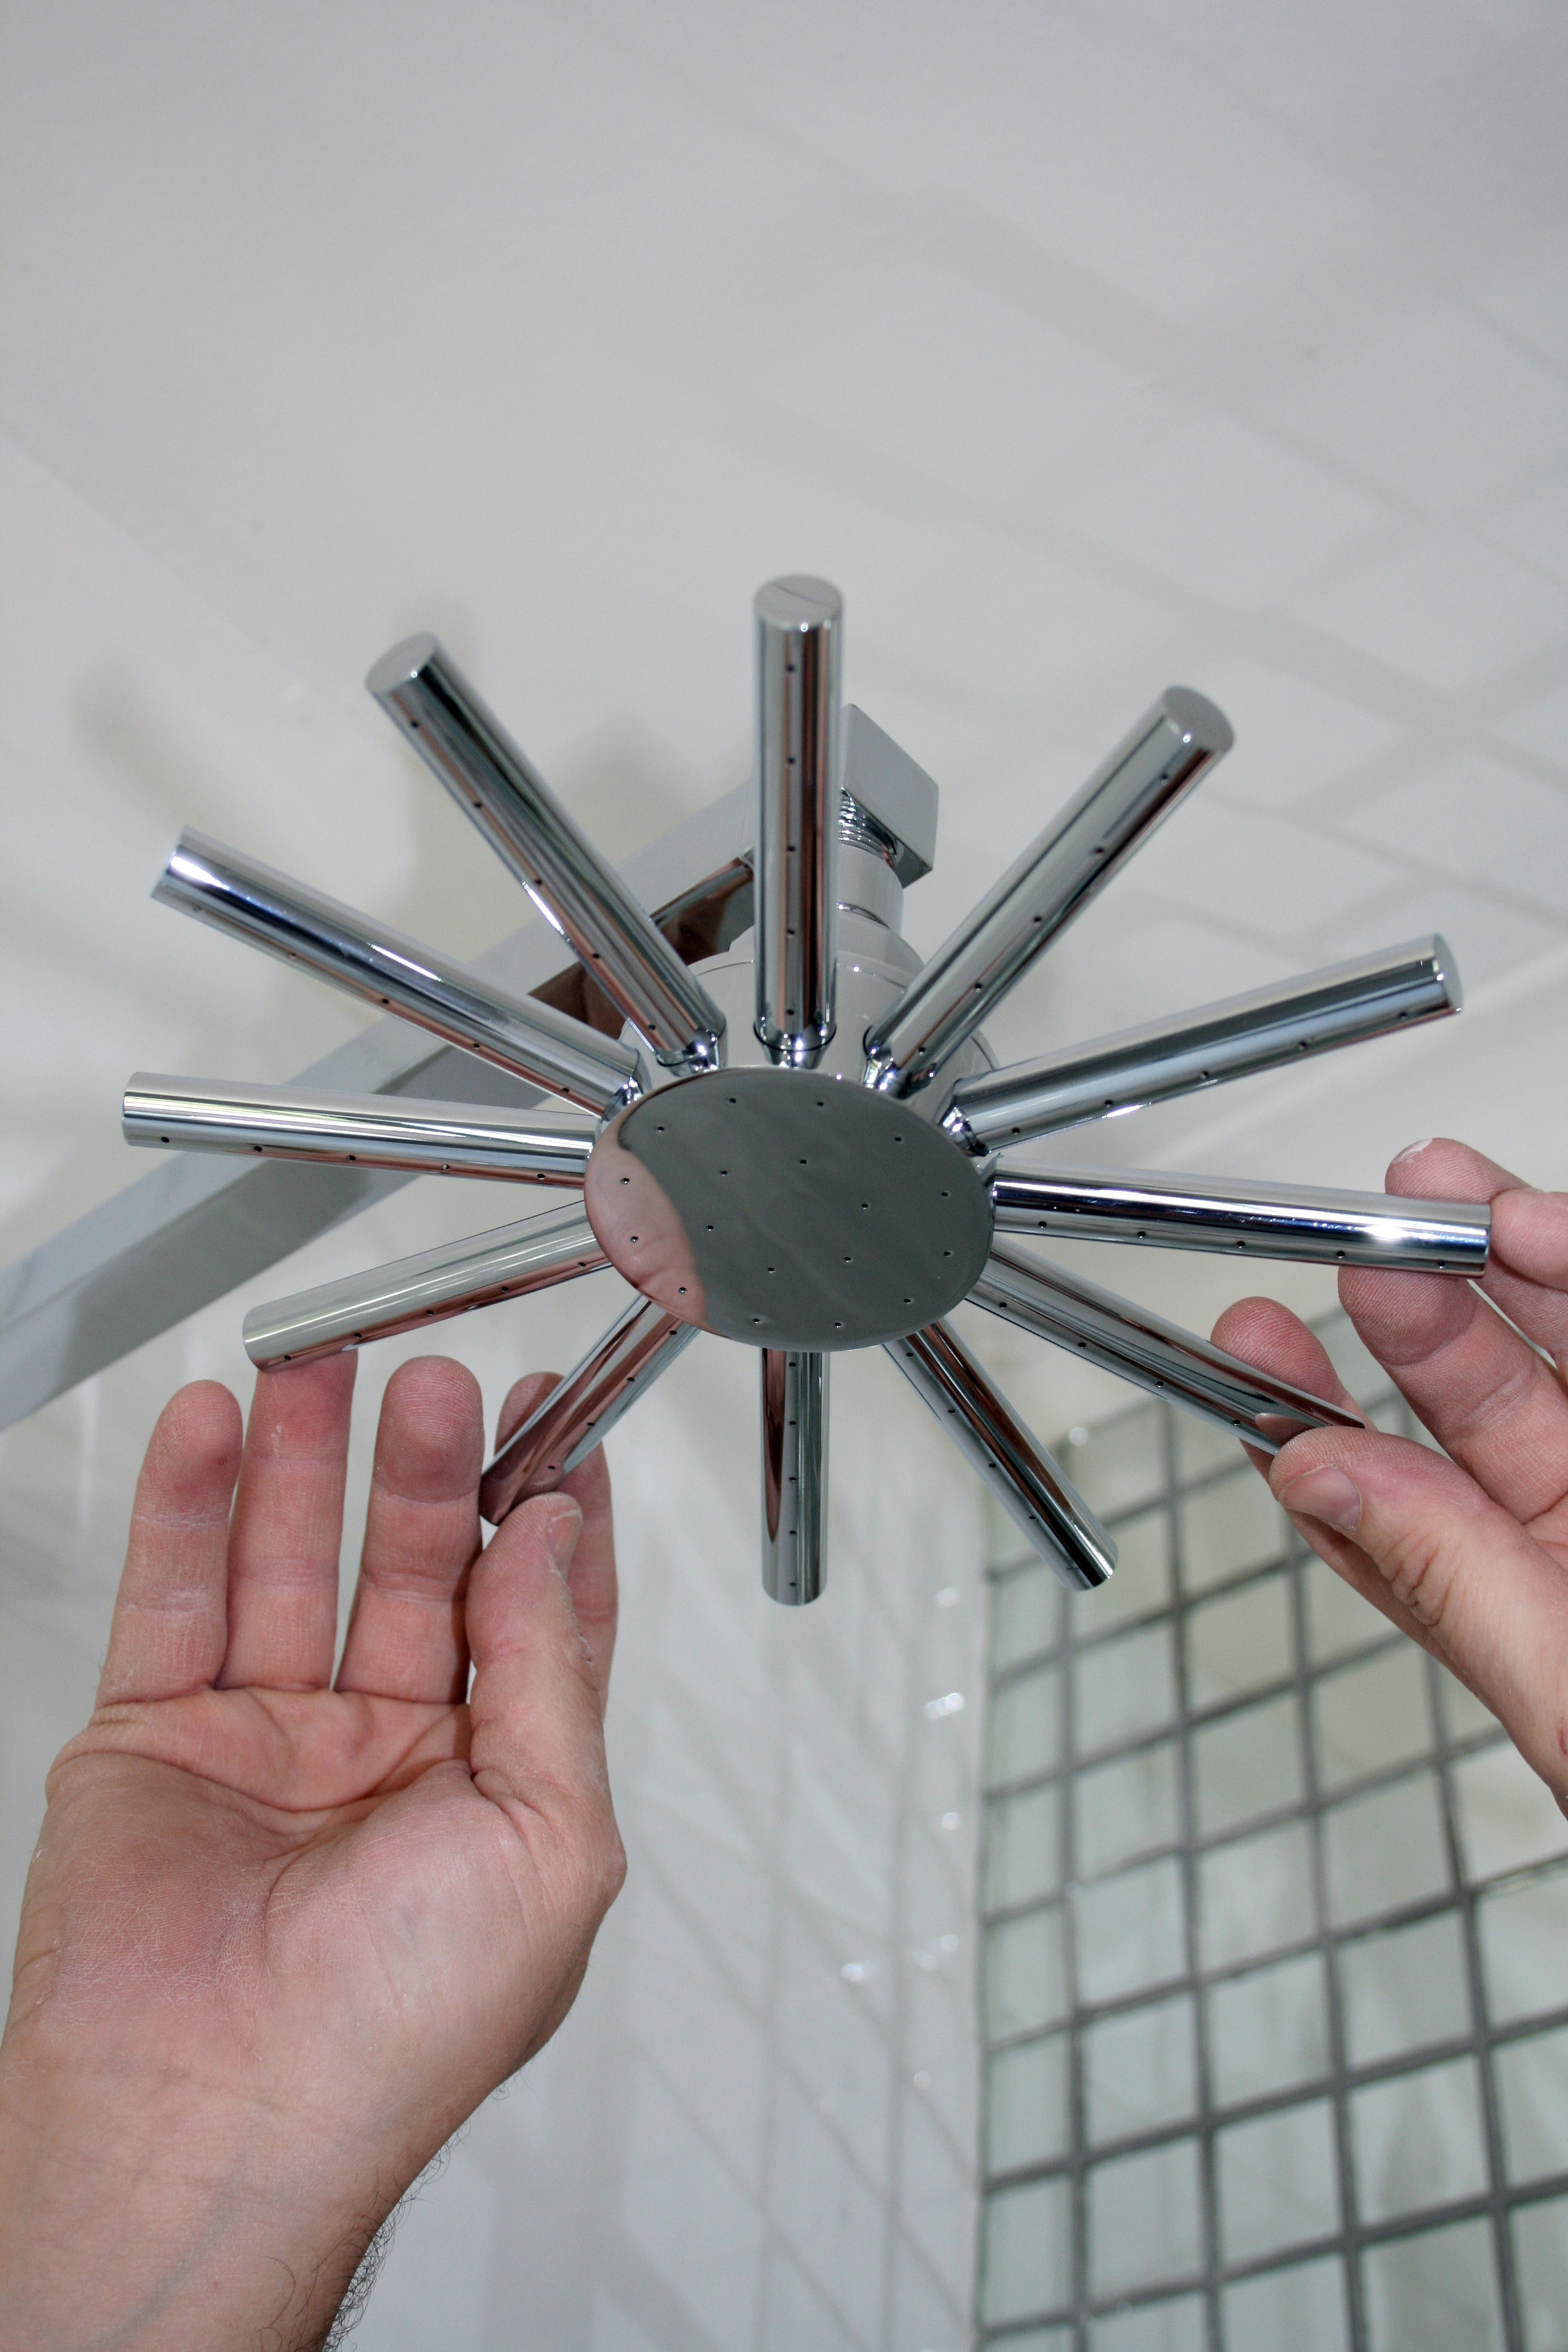
- Fit the shower roses to the shower arms.
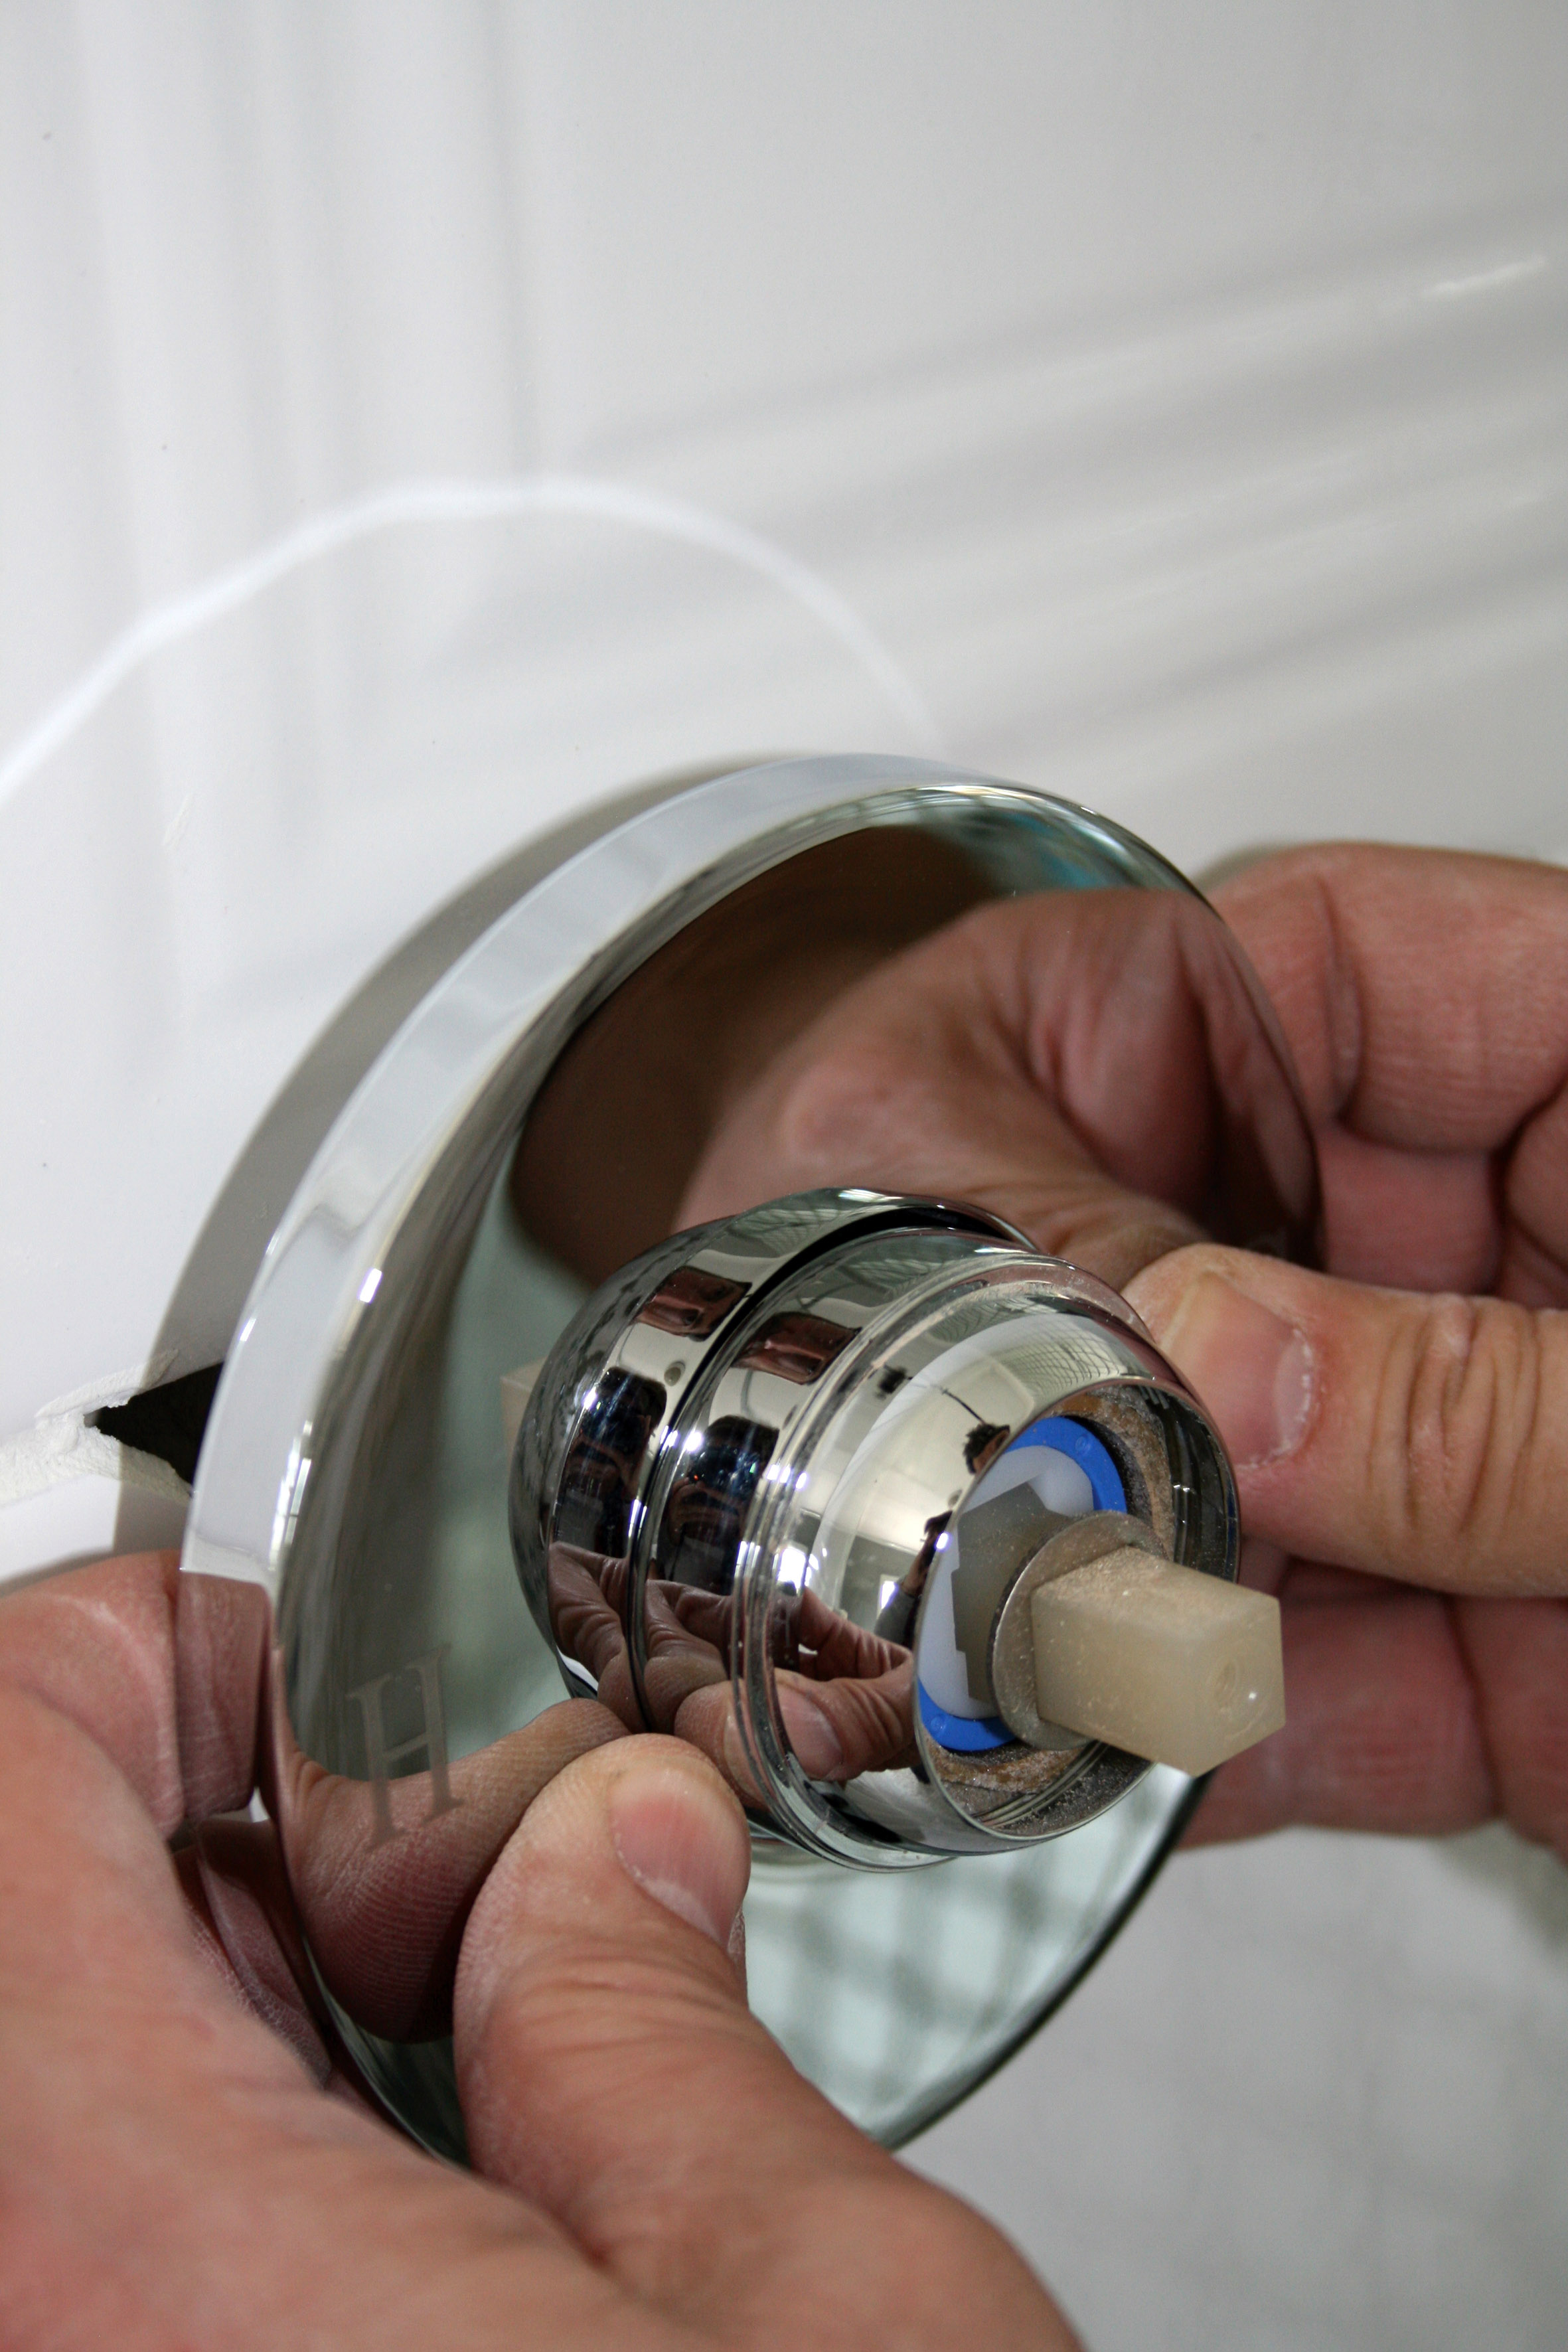
- Fit the cover plates to the shower mixers.
- Fit the tap levers to the shower mixers and tighten.

Installing the shower enclosure
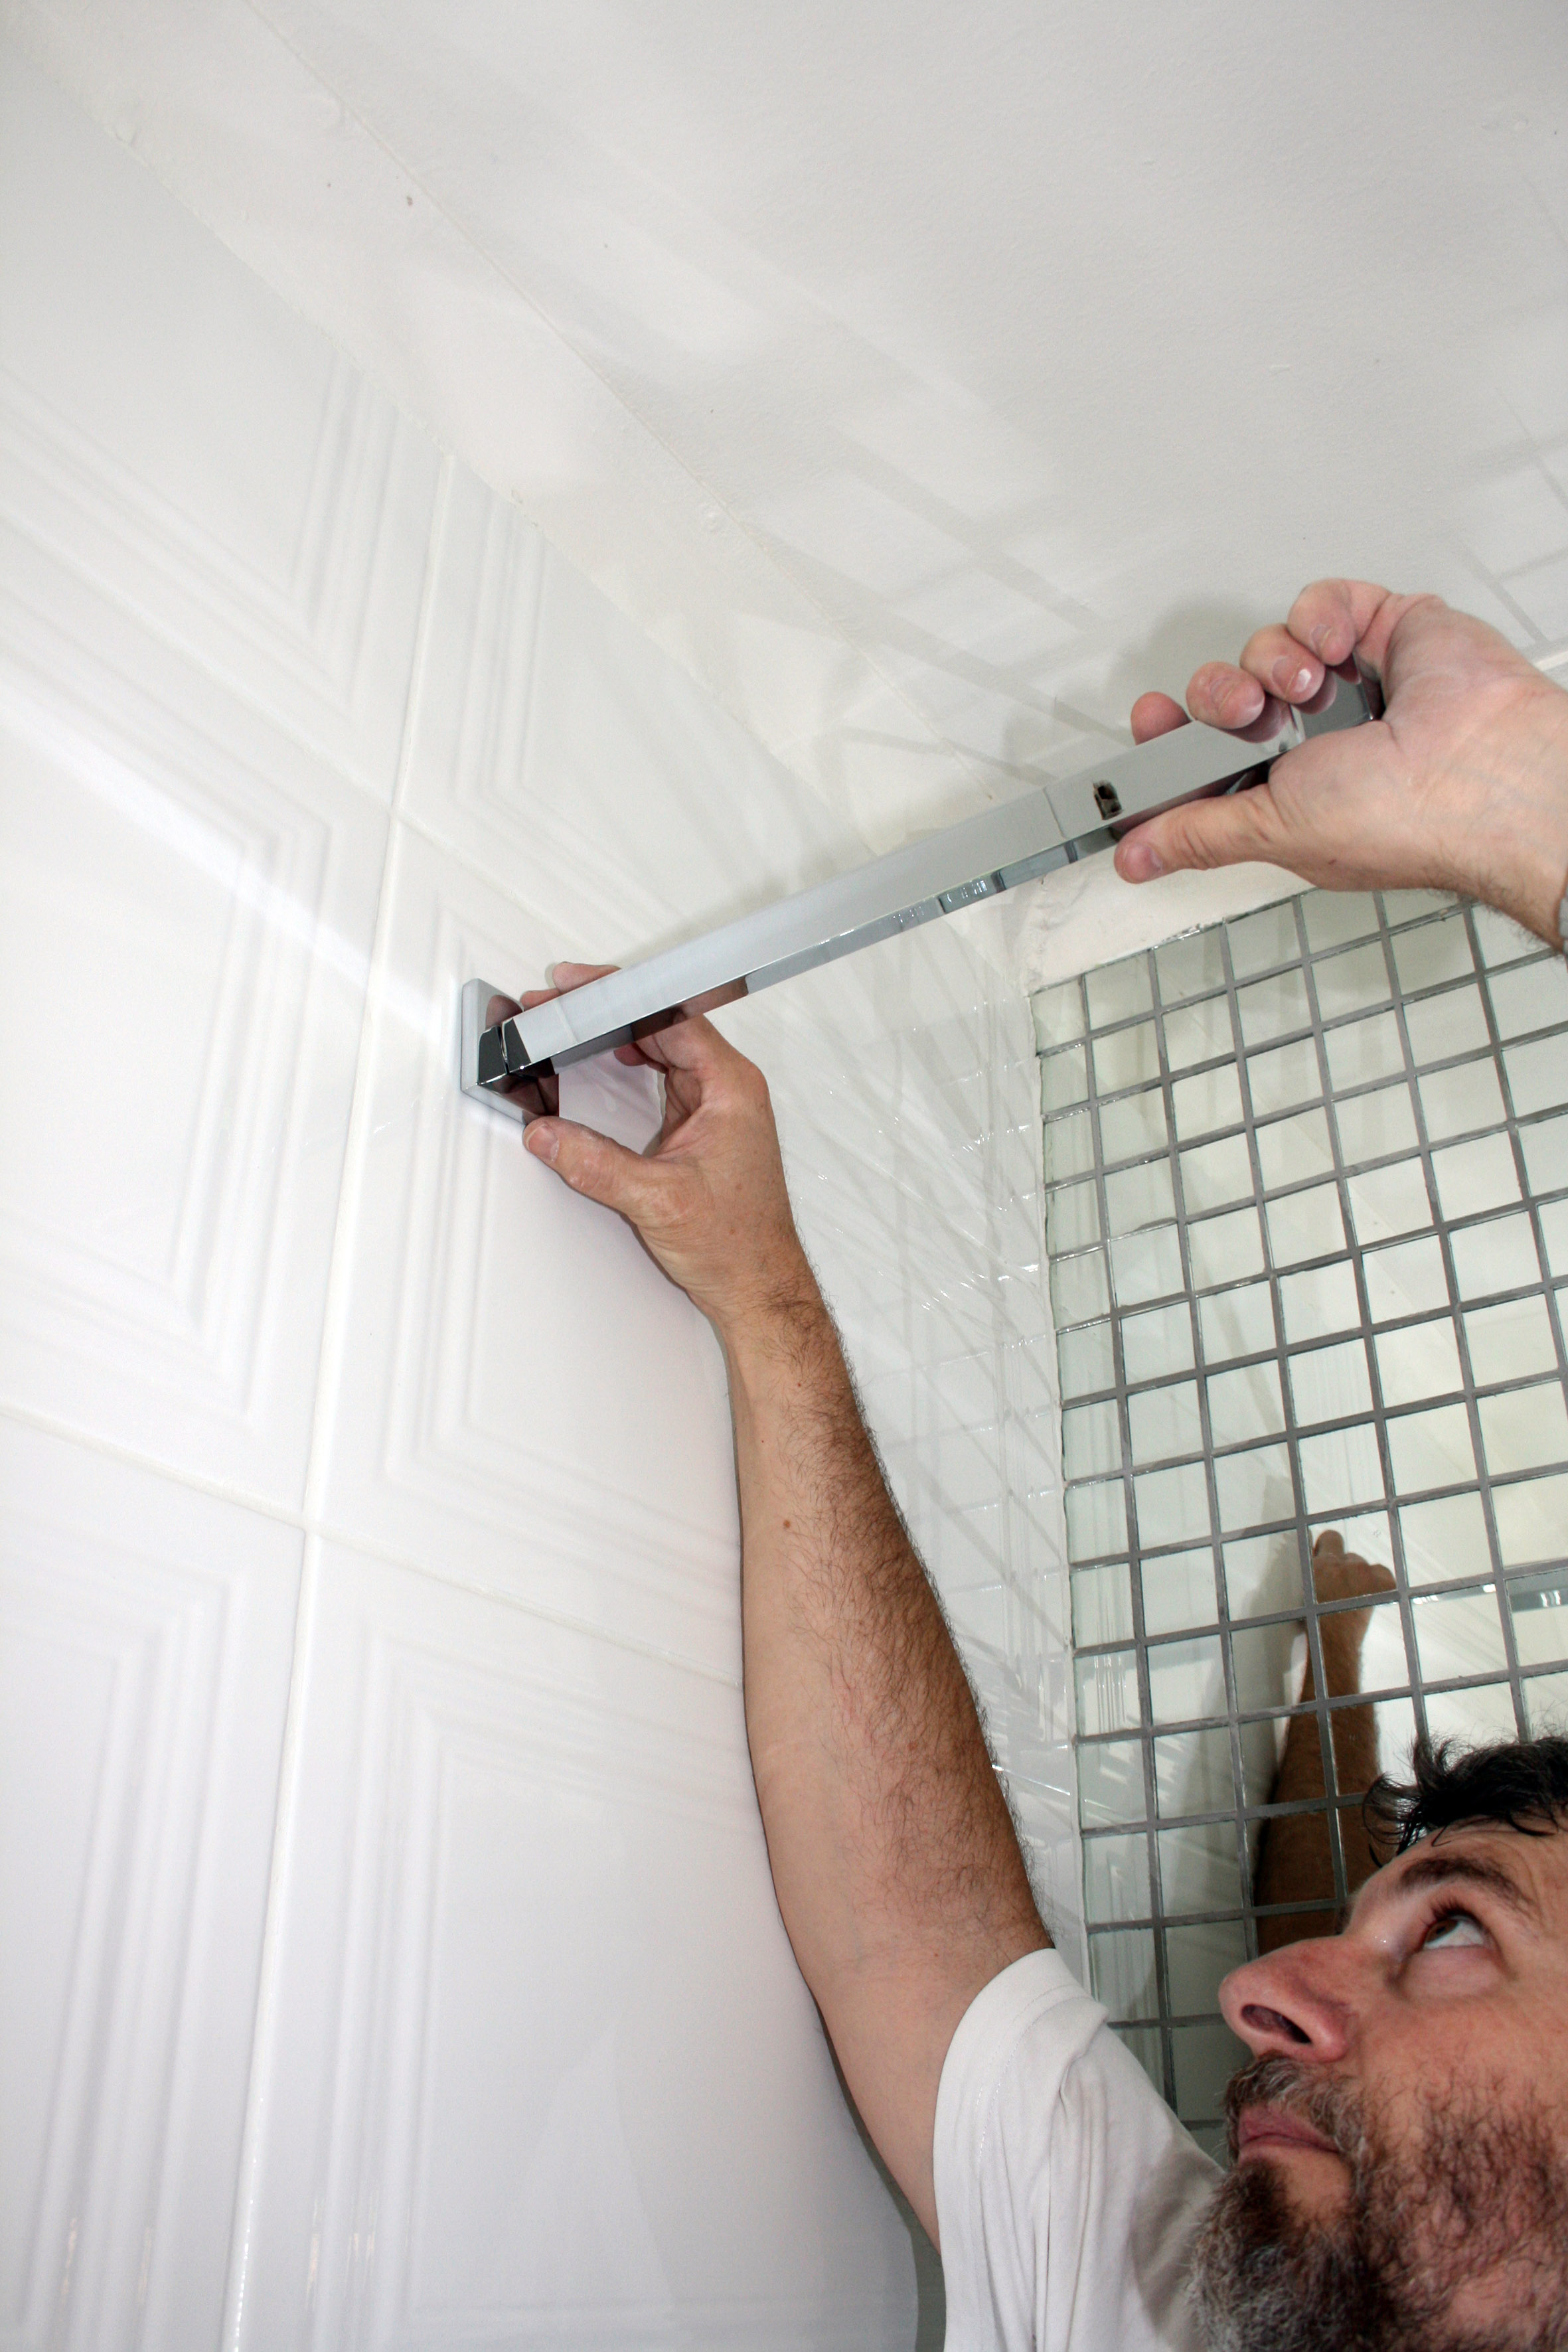
- Place the wall mount for the door panel against the wall. Mark, drill and fit with the supplied screws. Remember to measure accurately and use a spirit level to ensure that the wall mount is level. Repeat for the side panel.
- Place the side panel on the wall and fit it into the wall mount. At this stage you can fit the bullnose to the other end of the side panel.
- Place the door panel on the wall and fit over the wall mount. Be careful not to get your fingers in the way – the panel is heavy.
- Fit the side panel to the door panel and shift it into place. Drill three 3 mm holes on the inside of the wall mount and fix using the screws and screw caps supplied. Fit the doorknobs to the panels.
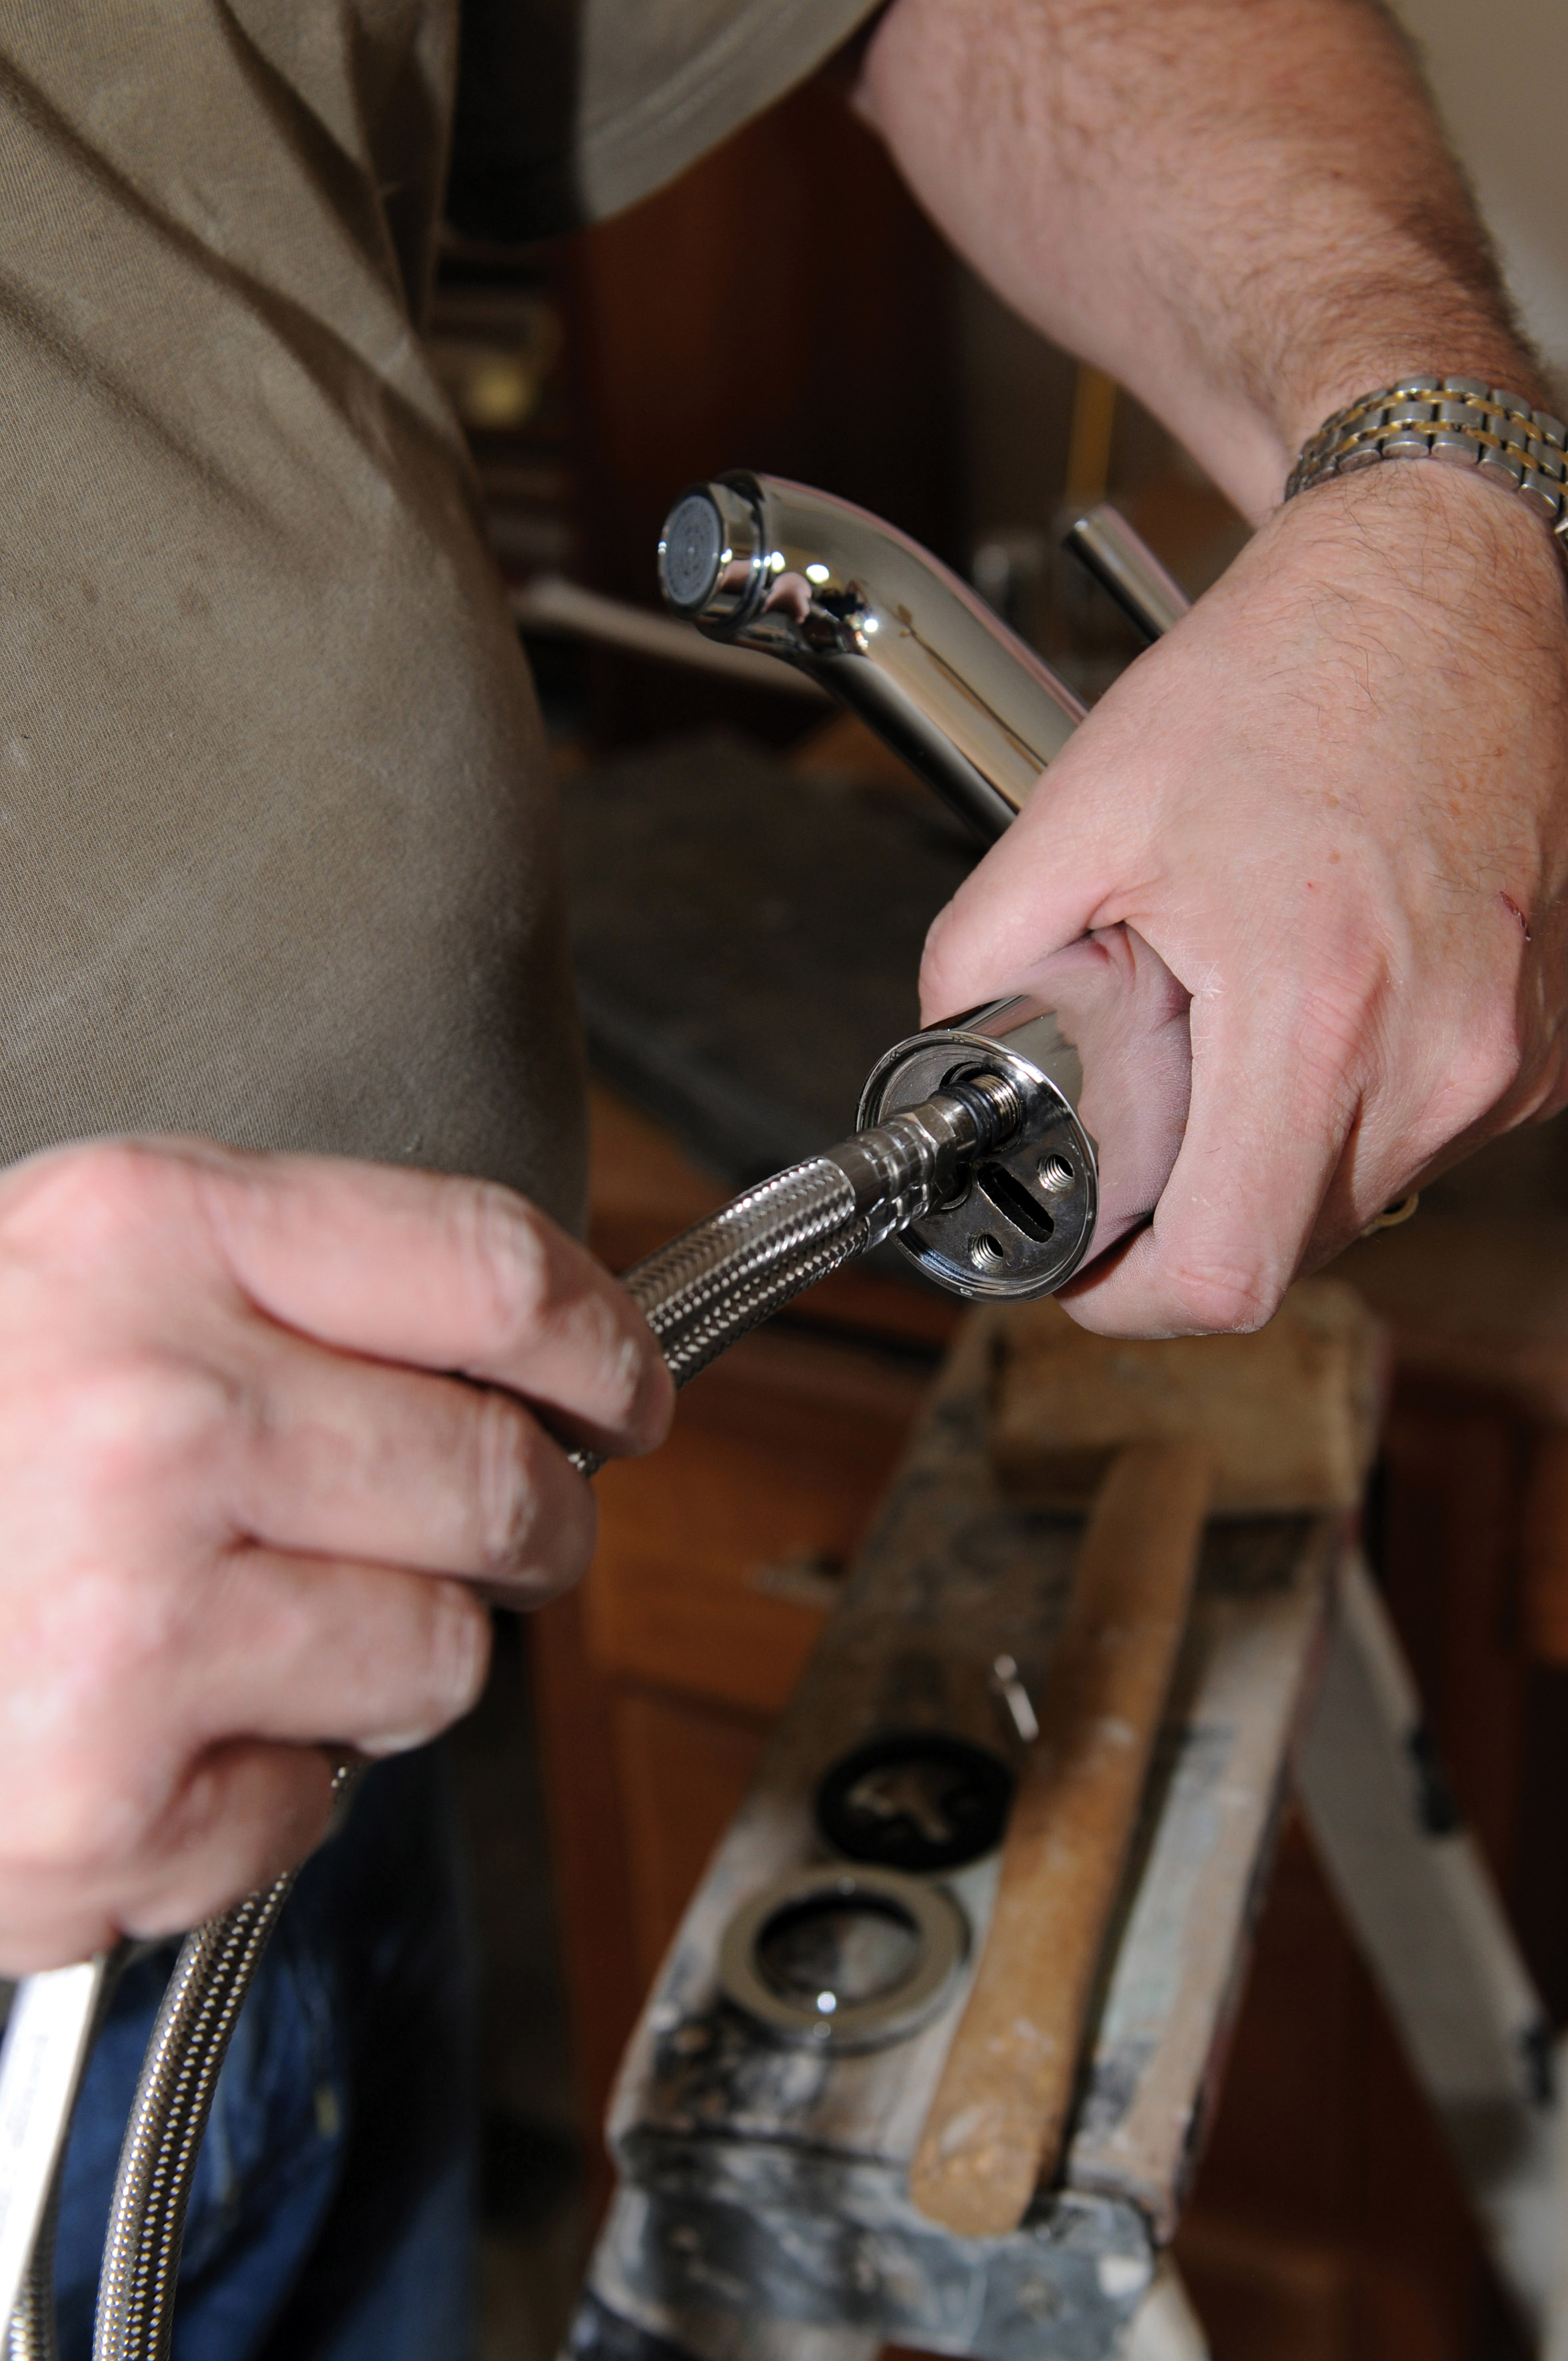
Replacing the basin mixer
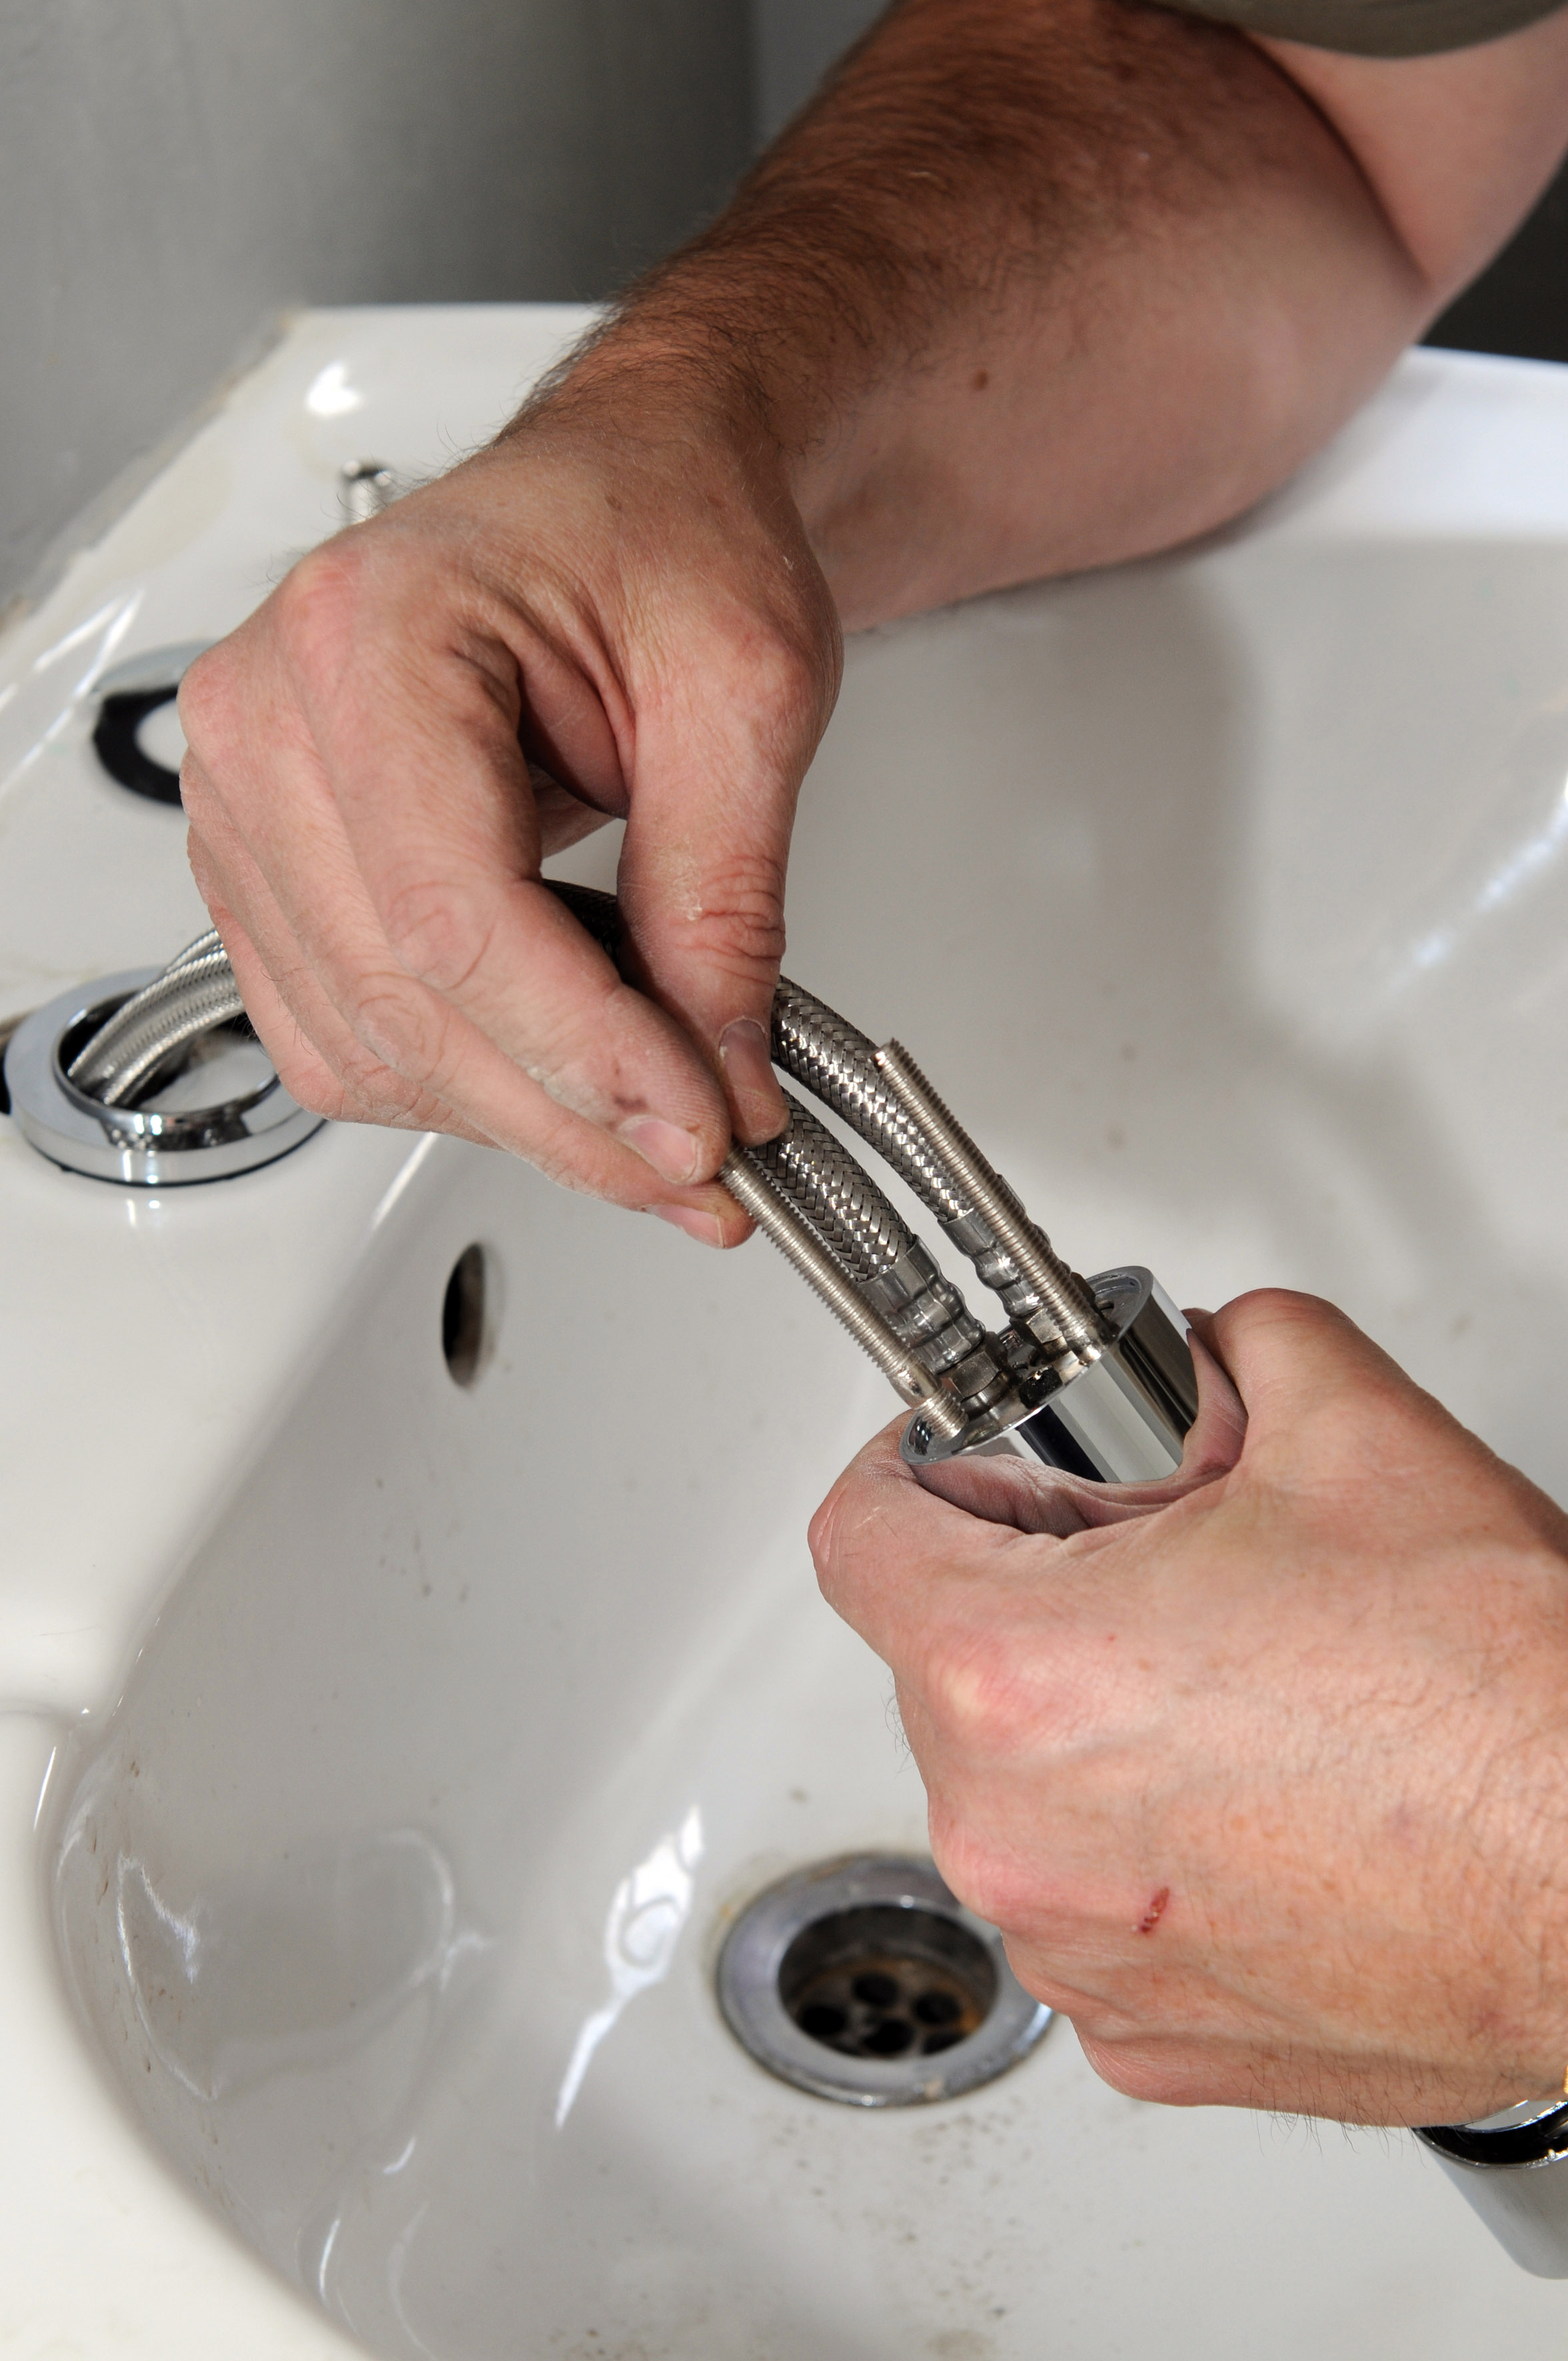
- Remove the old basin mixer. Fit the water connector pipes to the new basin mixer.
- Fit the screws to the mixer.
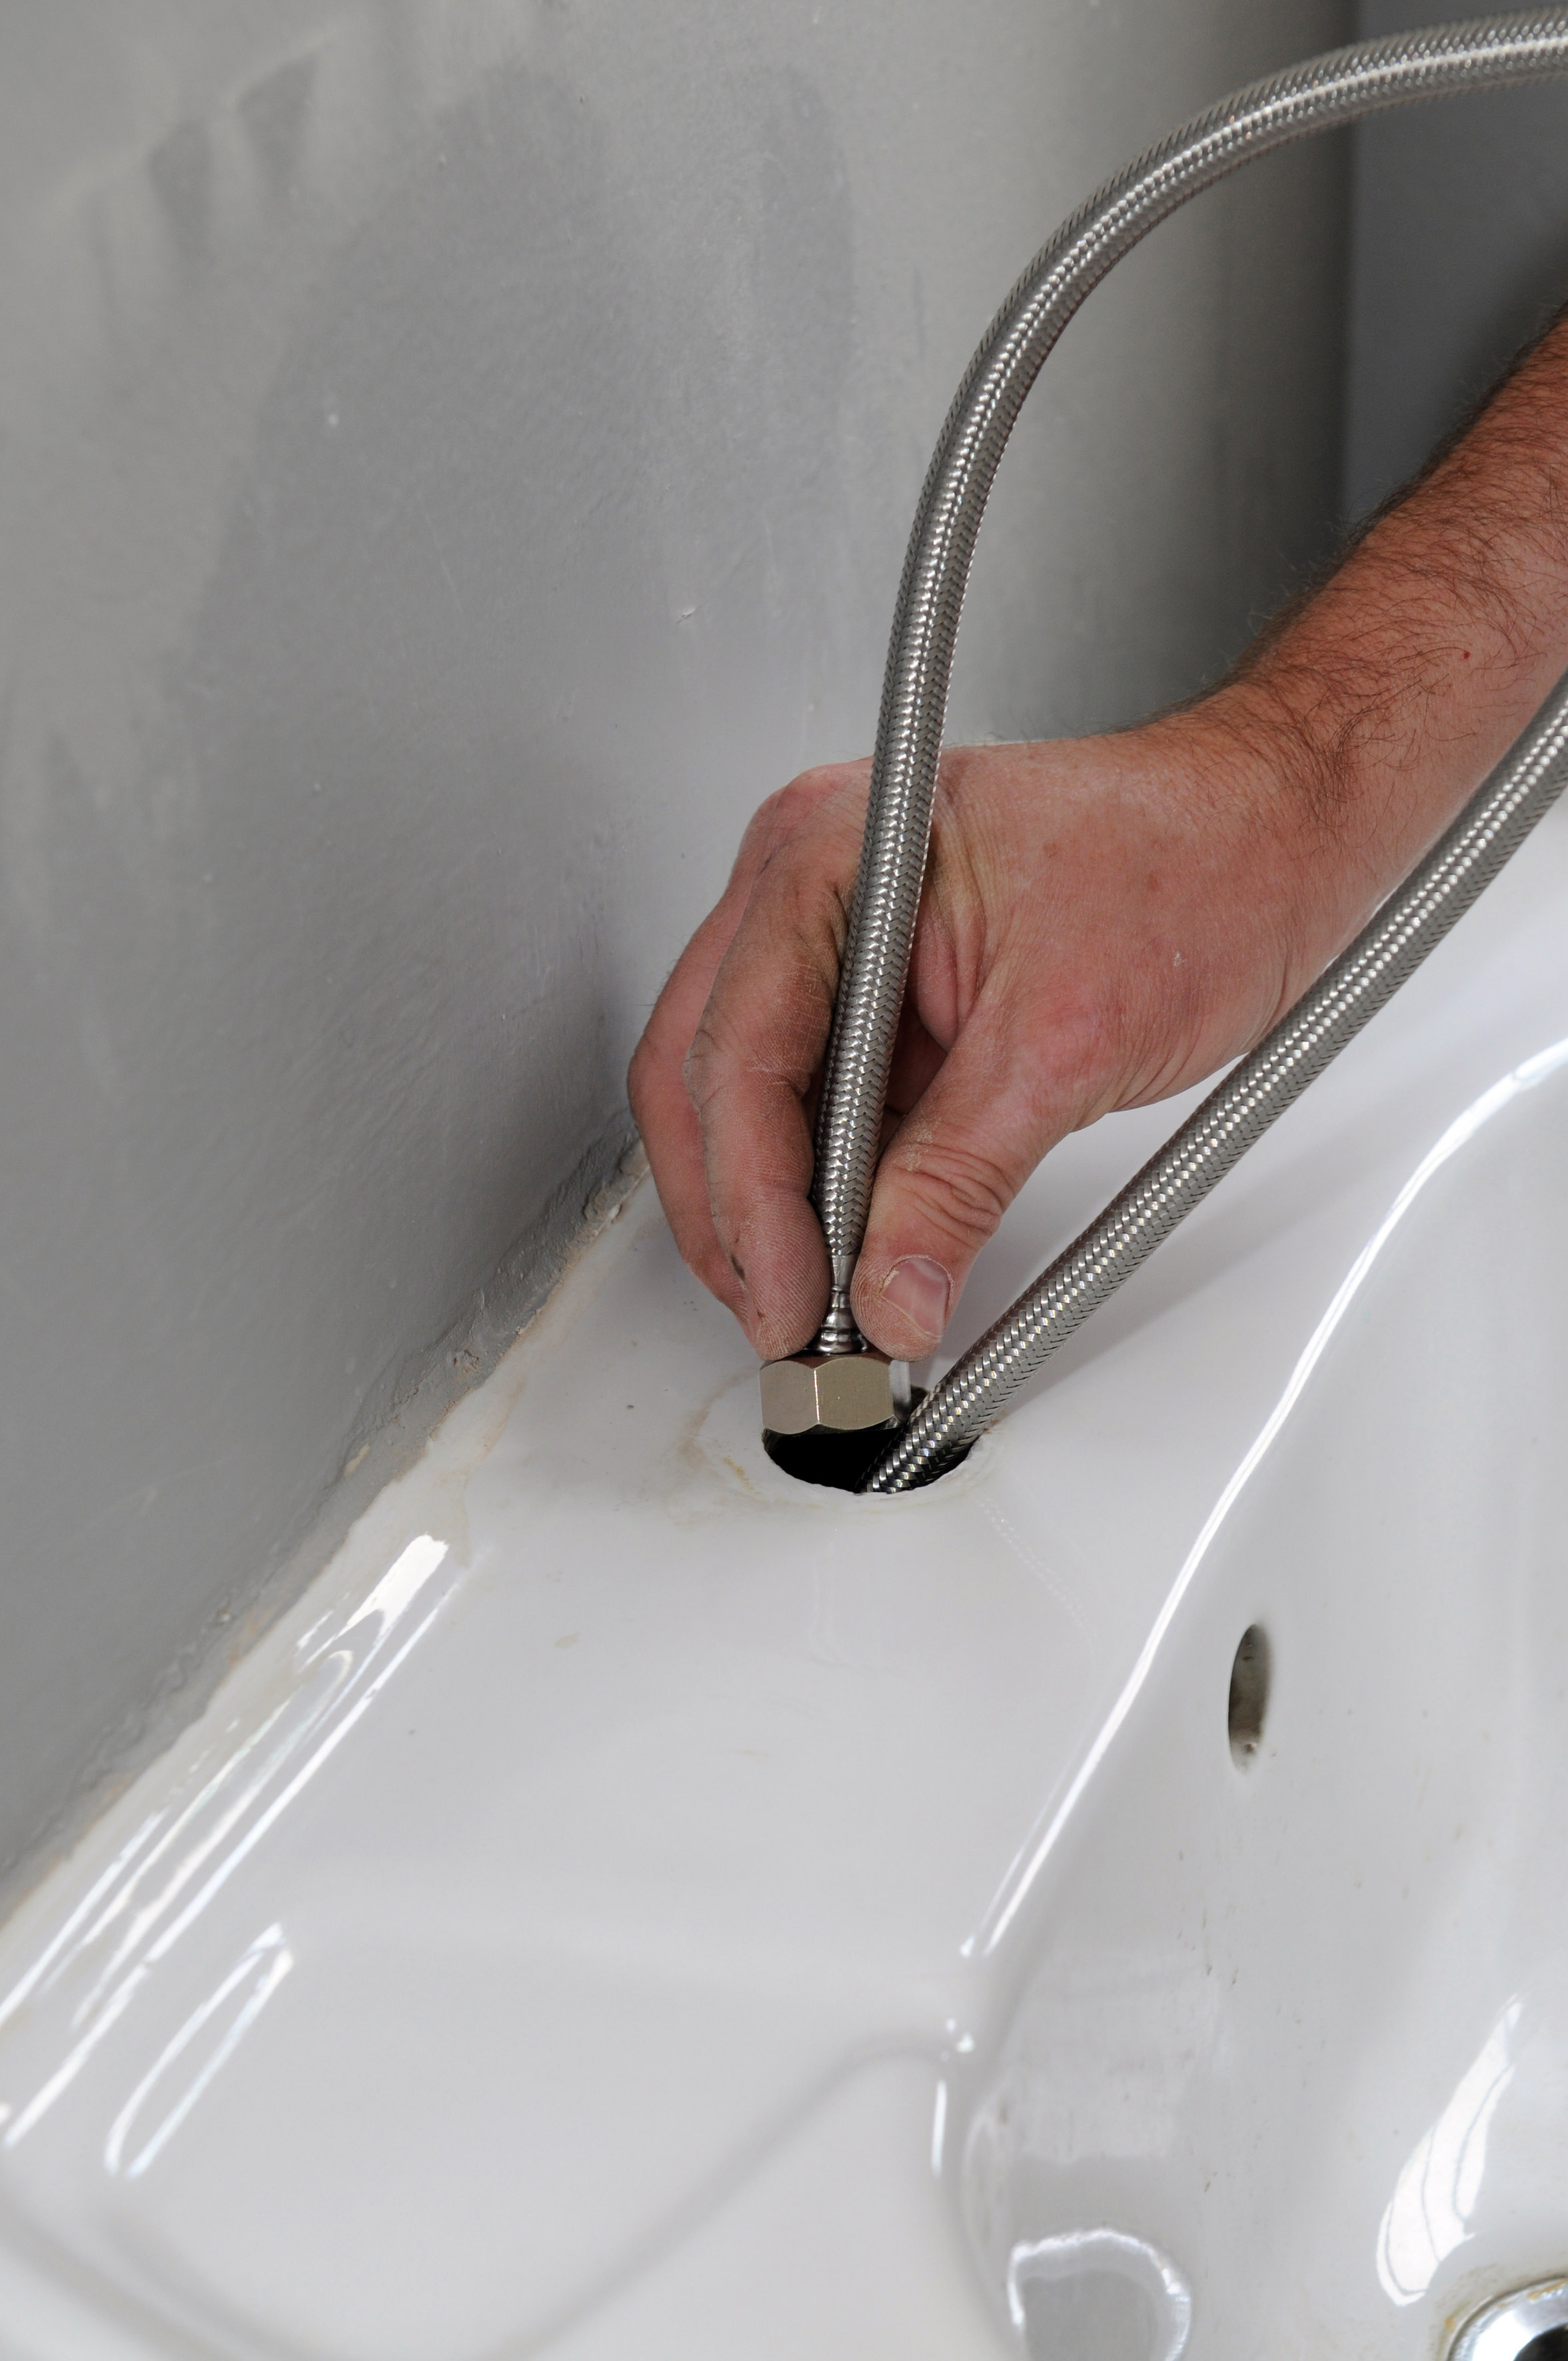
- Thread the water connector pipes through the hole in the basin. Fit the rubber mount and base plate on the underside of the basin and fix with the screws supplied.
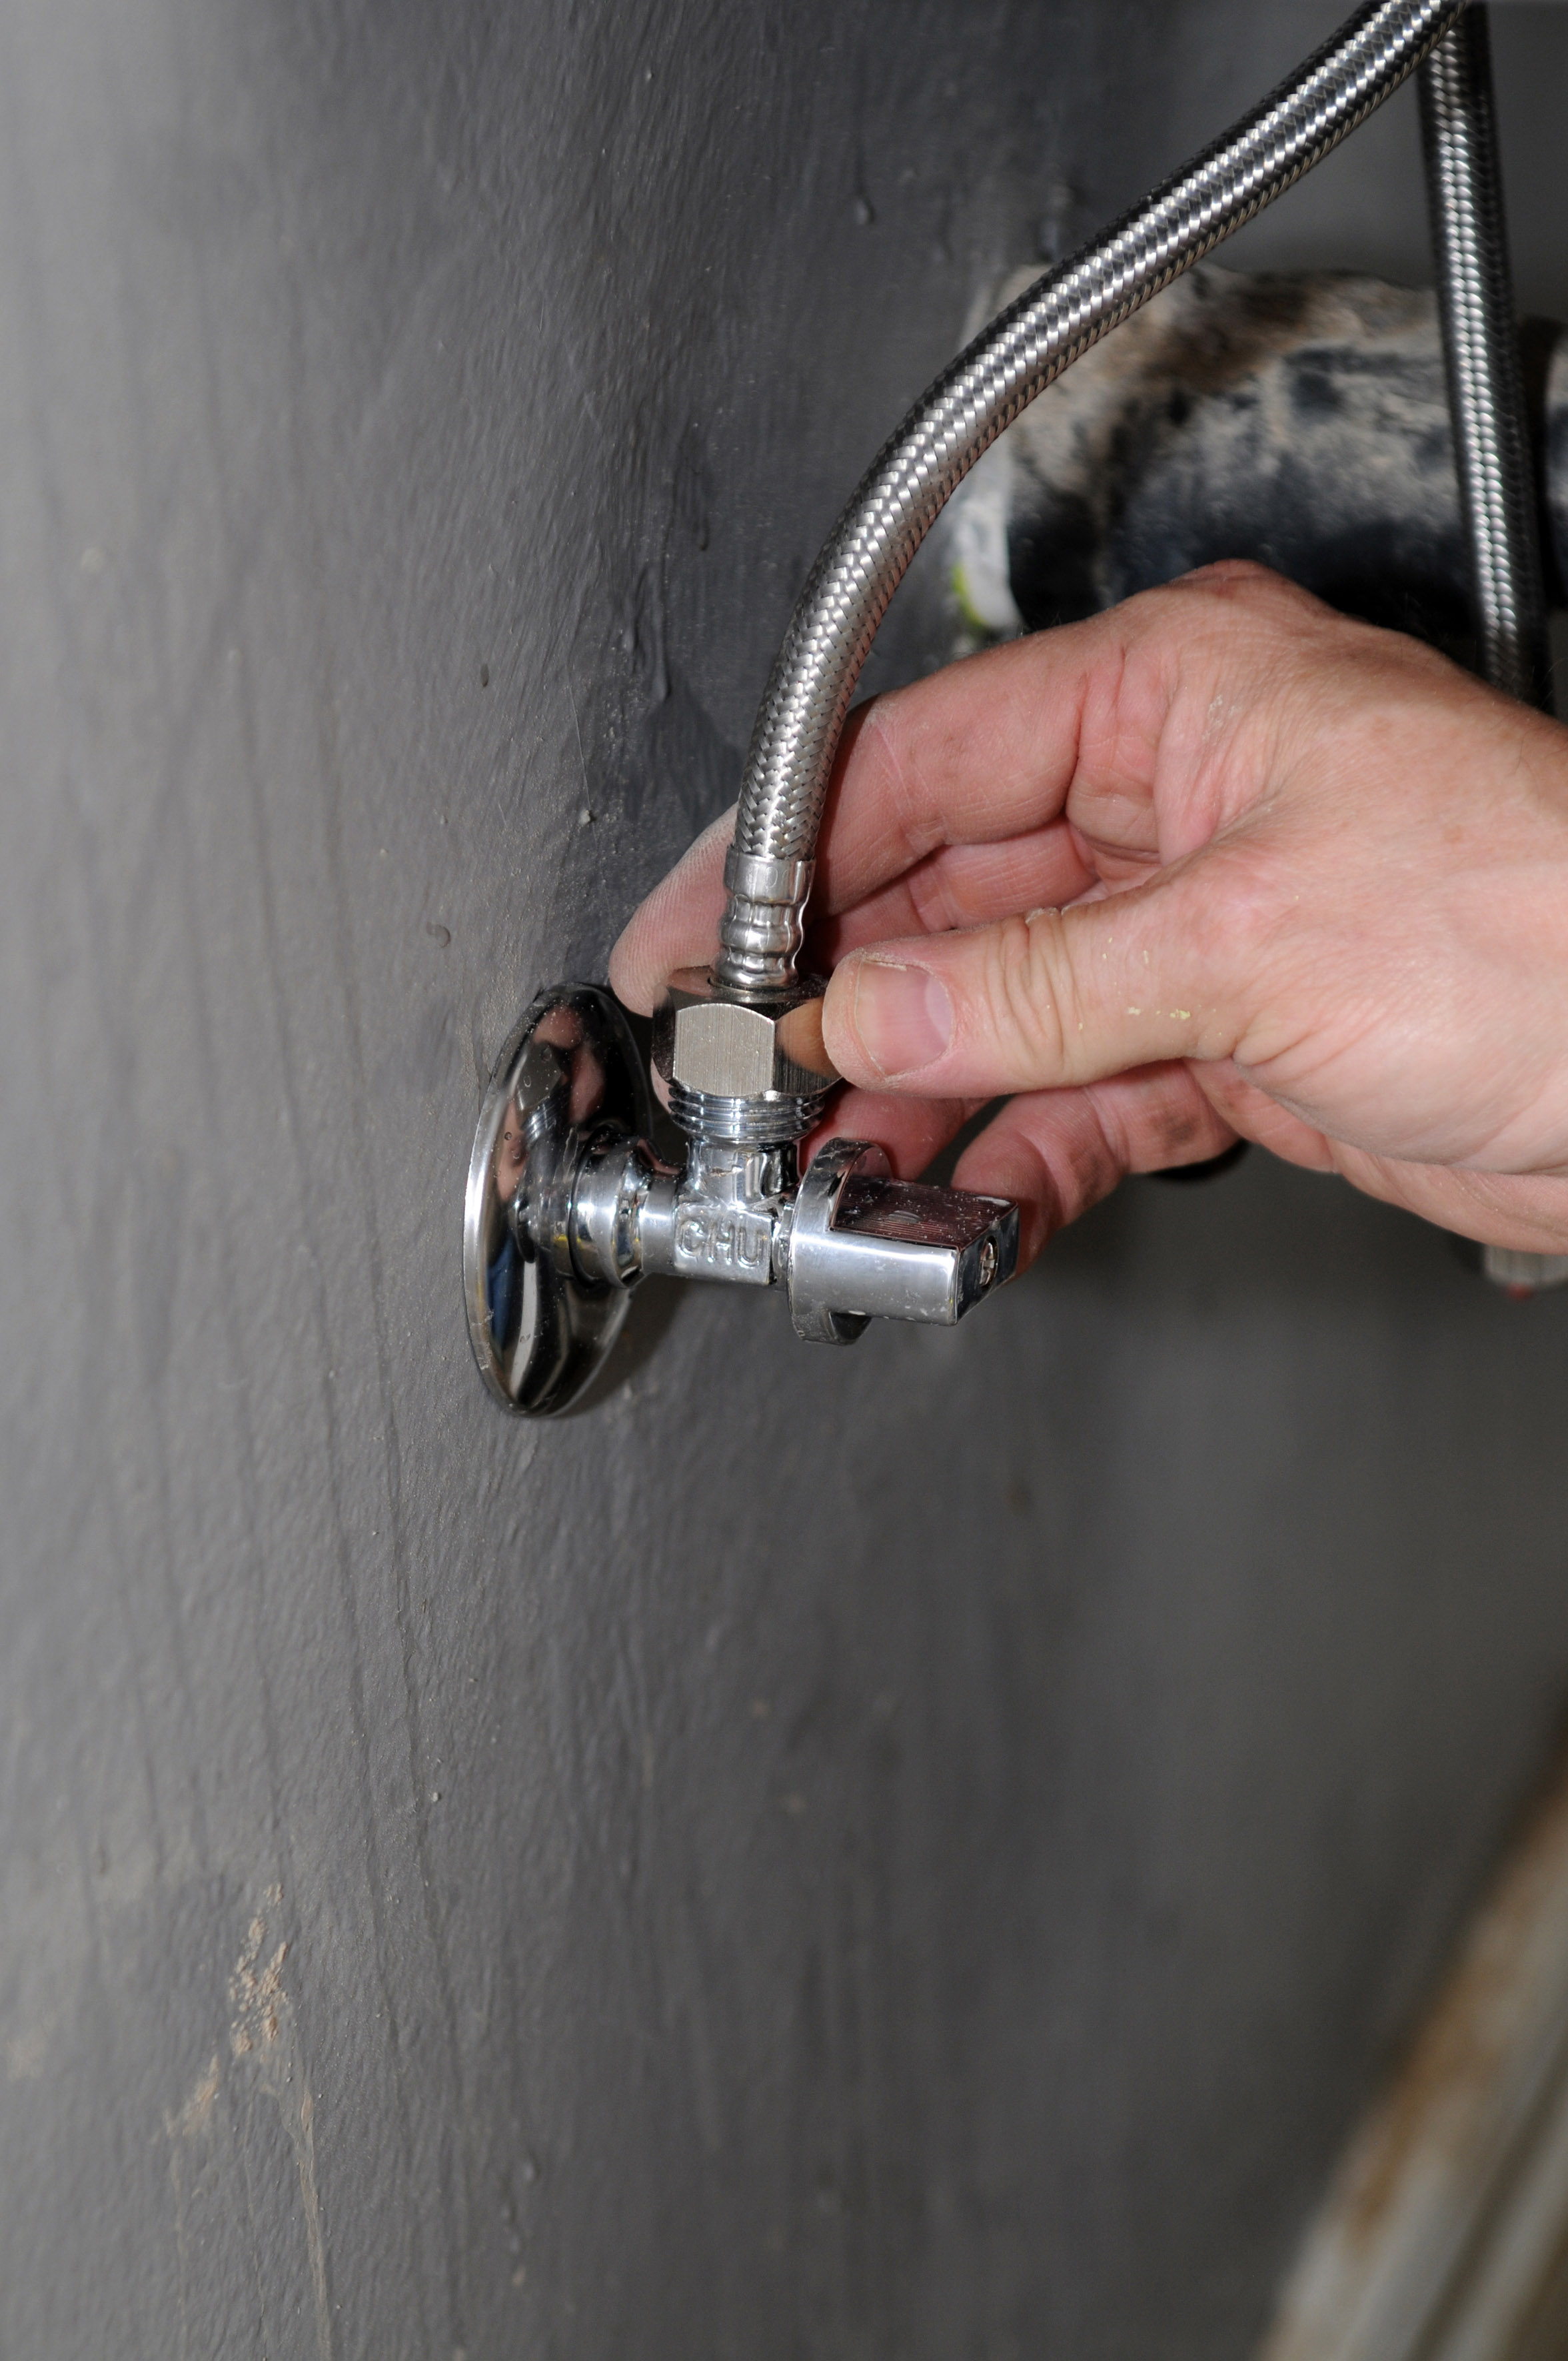
- Fit the water connector pipes to the angle valves, open and check for leaks.
Credits
Referenced from Gallo images / SA Garden Magazine
Browse 1000’s of products available to you. Select your country to Shop Online.


