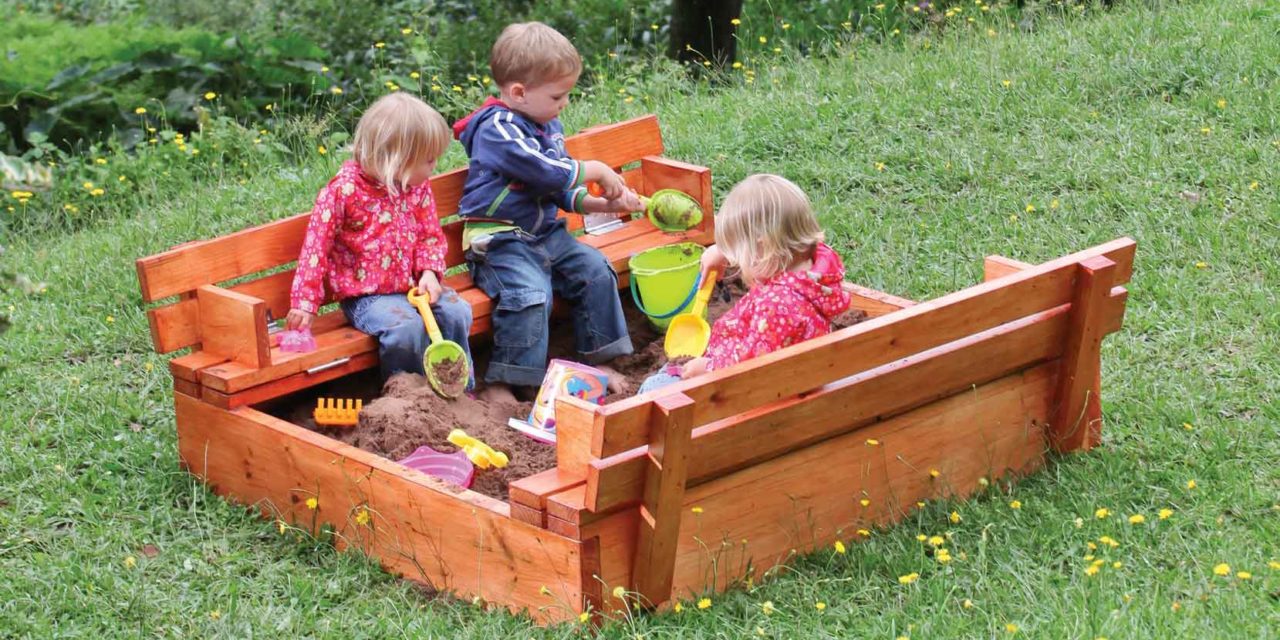
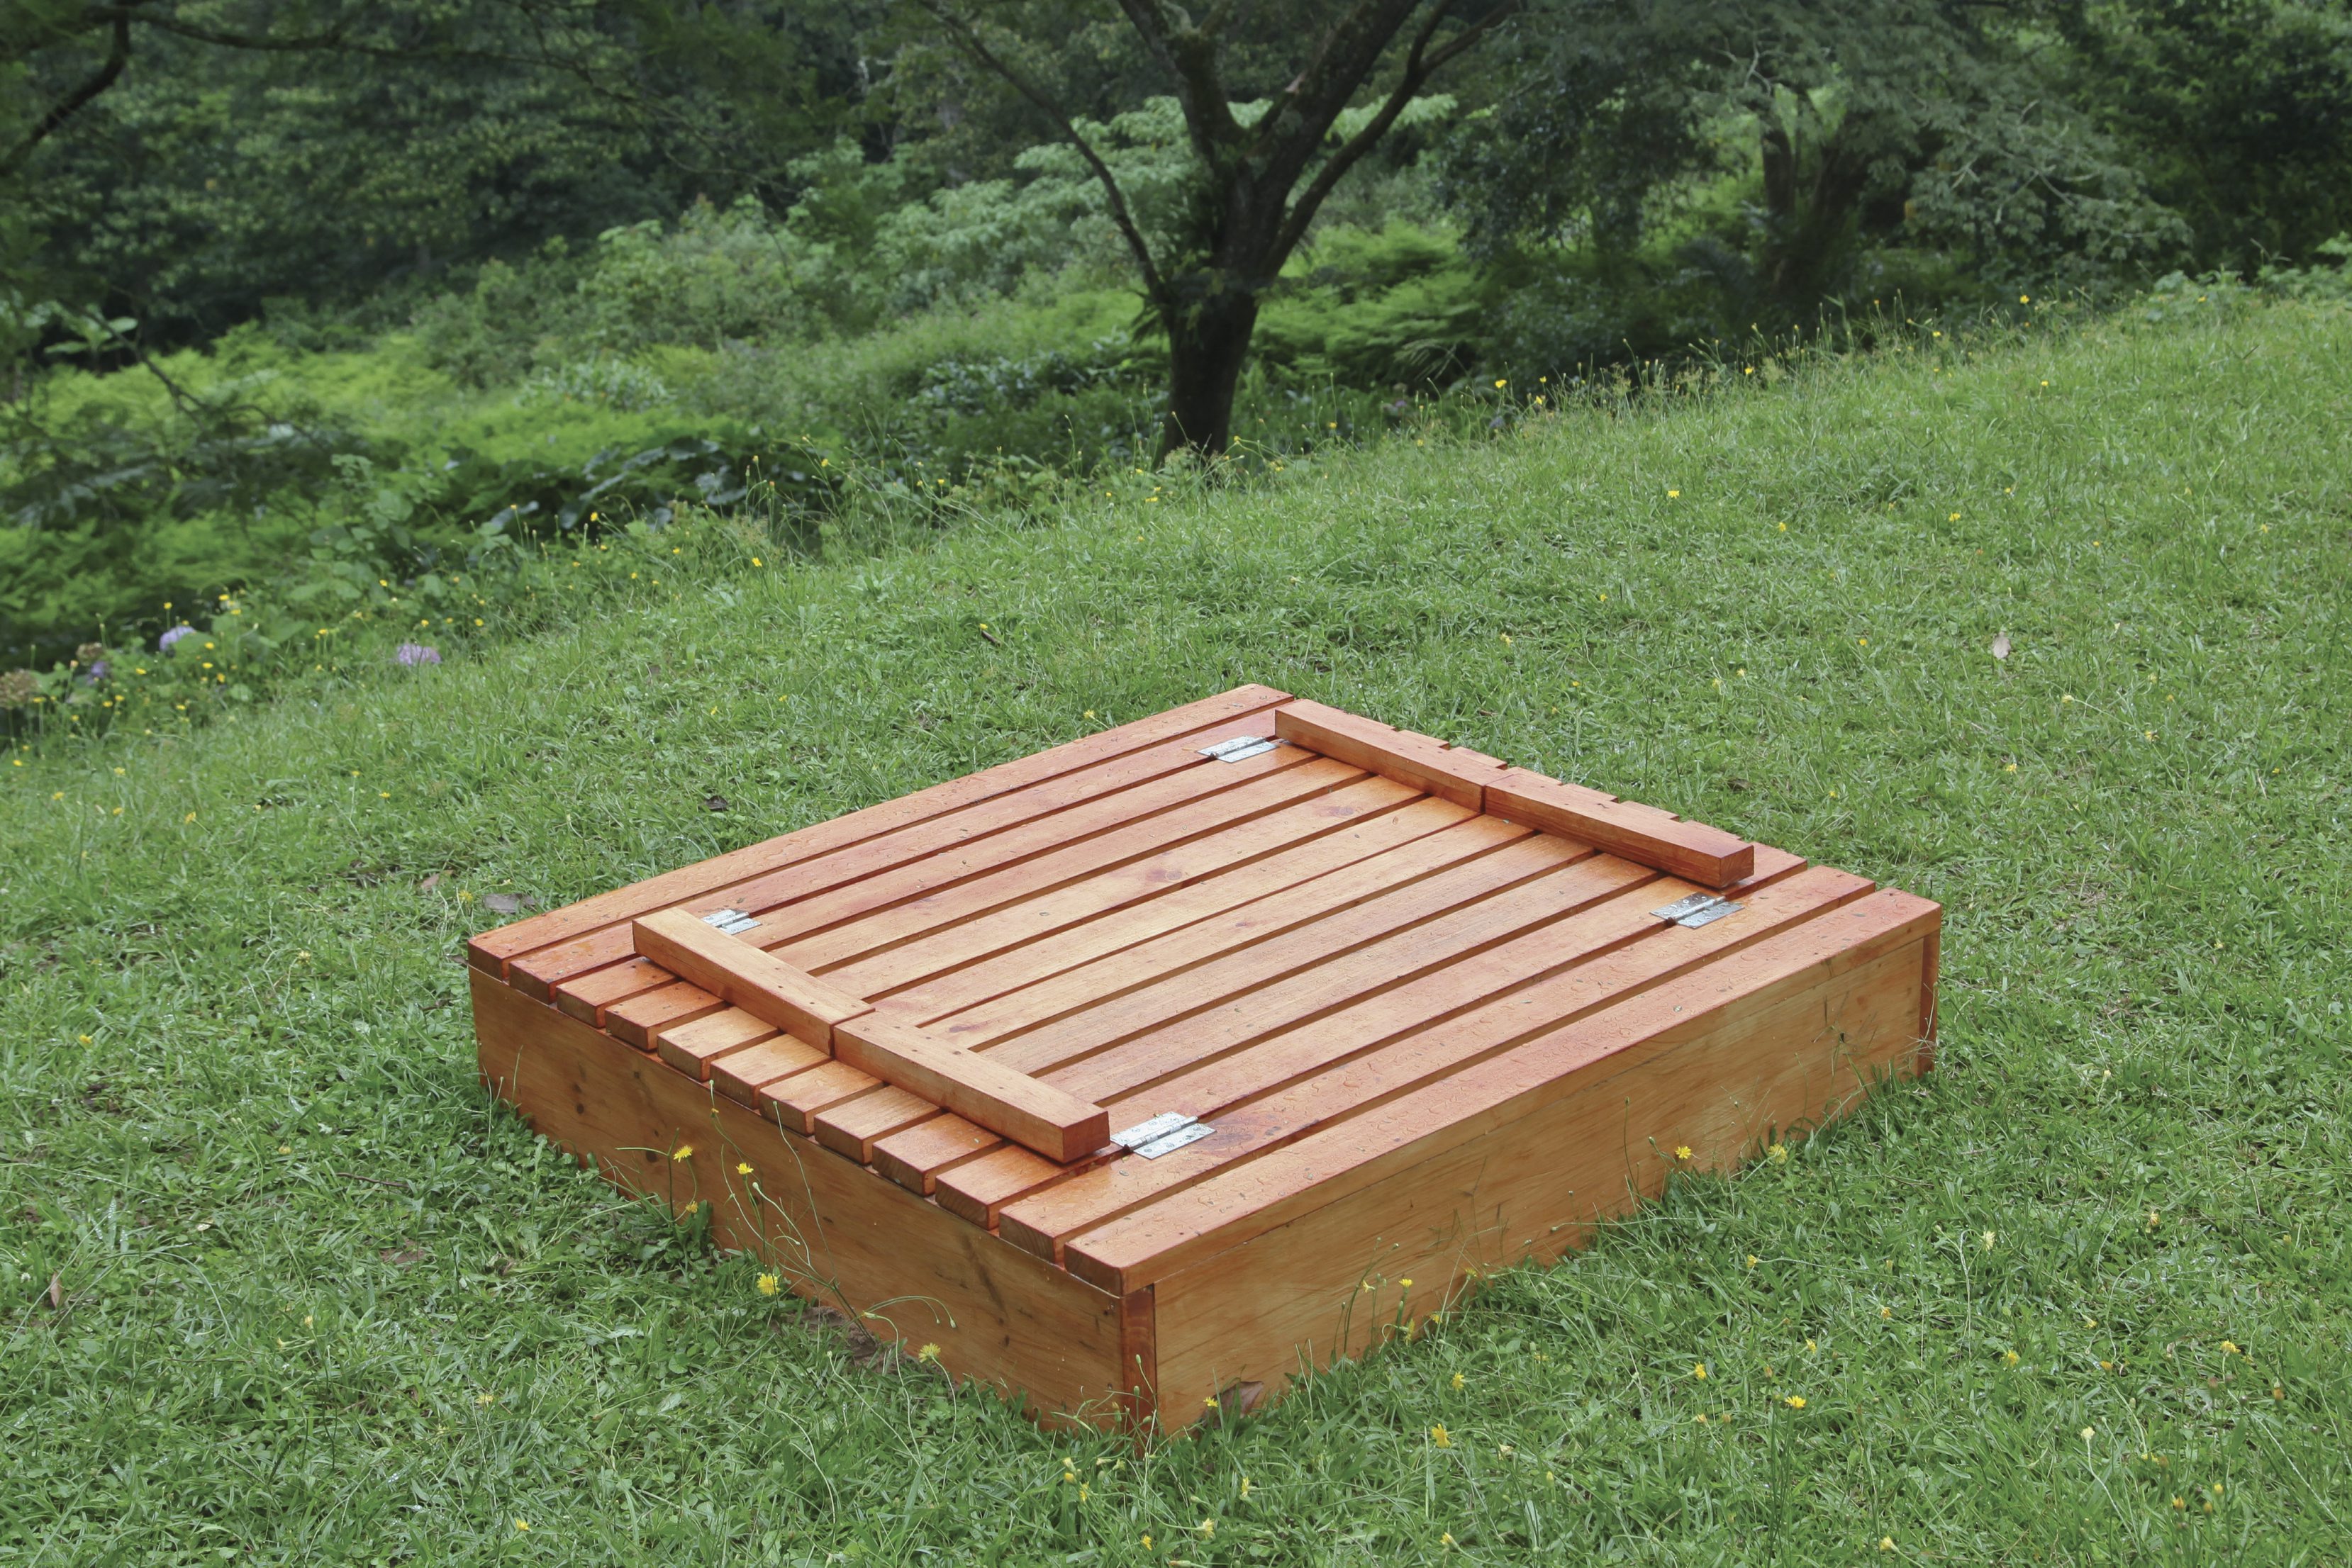
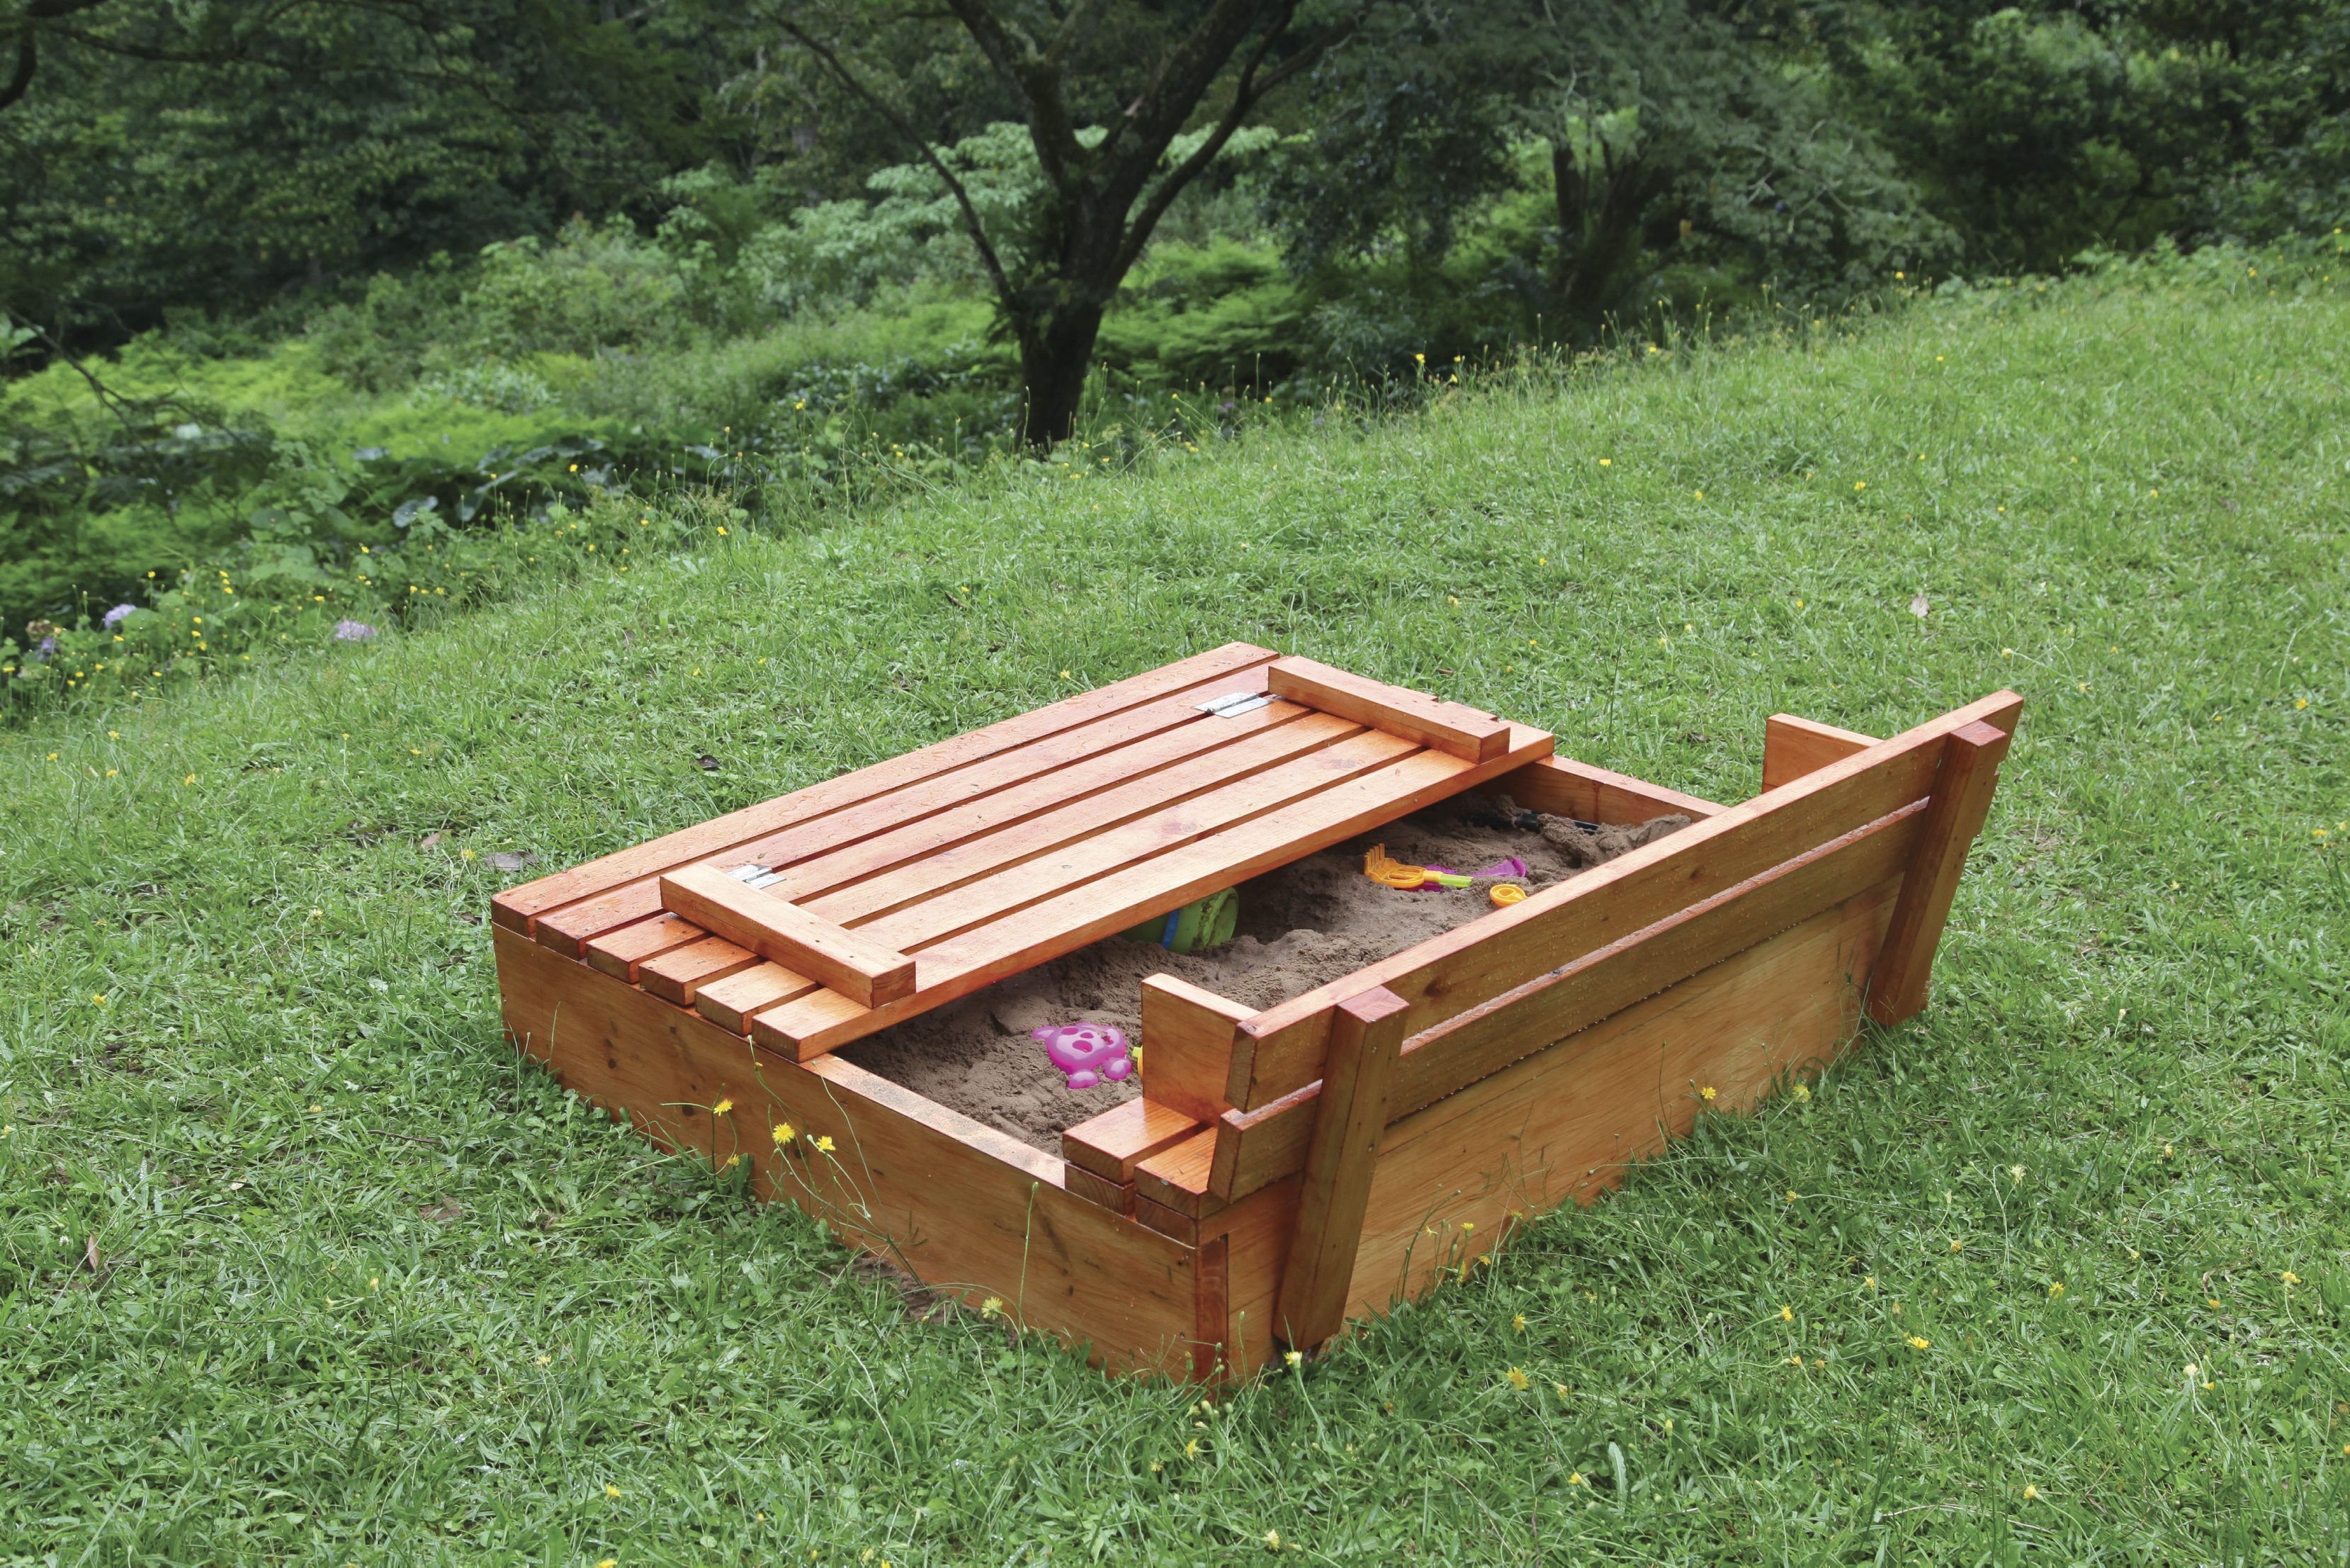
This sandpit has an innovative split lid that folds open into two, facing benches – perfect for a kiddies’ sandpit party. When not in use, the lid can be closed, so kitty will have to look elsewhere for toilet facilities!
- Decking screws – 60 mm and 75 mm
- Sherwood Exterior Varnish (oregon colour)
- Alcolin cold glue
- 8 x hinges, 100 mm x 76 mm x 2 mm
- Tape measure
- Screw driver
- Belt sander
- Combination square
- Handsaw or circular saw
- Finishing sander
- Paintbrushes
- Drill and a small drill bit for pilot holes.
- CCA-treated SA Pine, cut as follows:
- 1 x 18 mm x 18 mm x 50 mm (spacer block)
- 4 x 1 320 mm x 220 mm x 44 mm (base box sides)
- 12 x 1 460 mm x 100 mm x 32 mm (slats, oversized to be sanded flush later)
- 4 x 200 mm x 140 mm x 32 mm (armrests)
- 4 x 426 mm x 68 mm x 45 mm (backrest supports)
Step 1
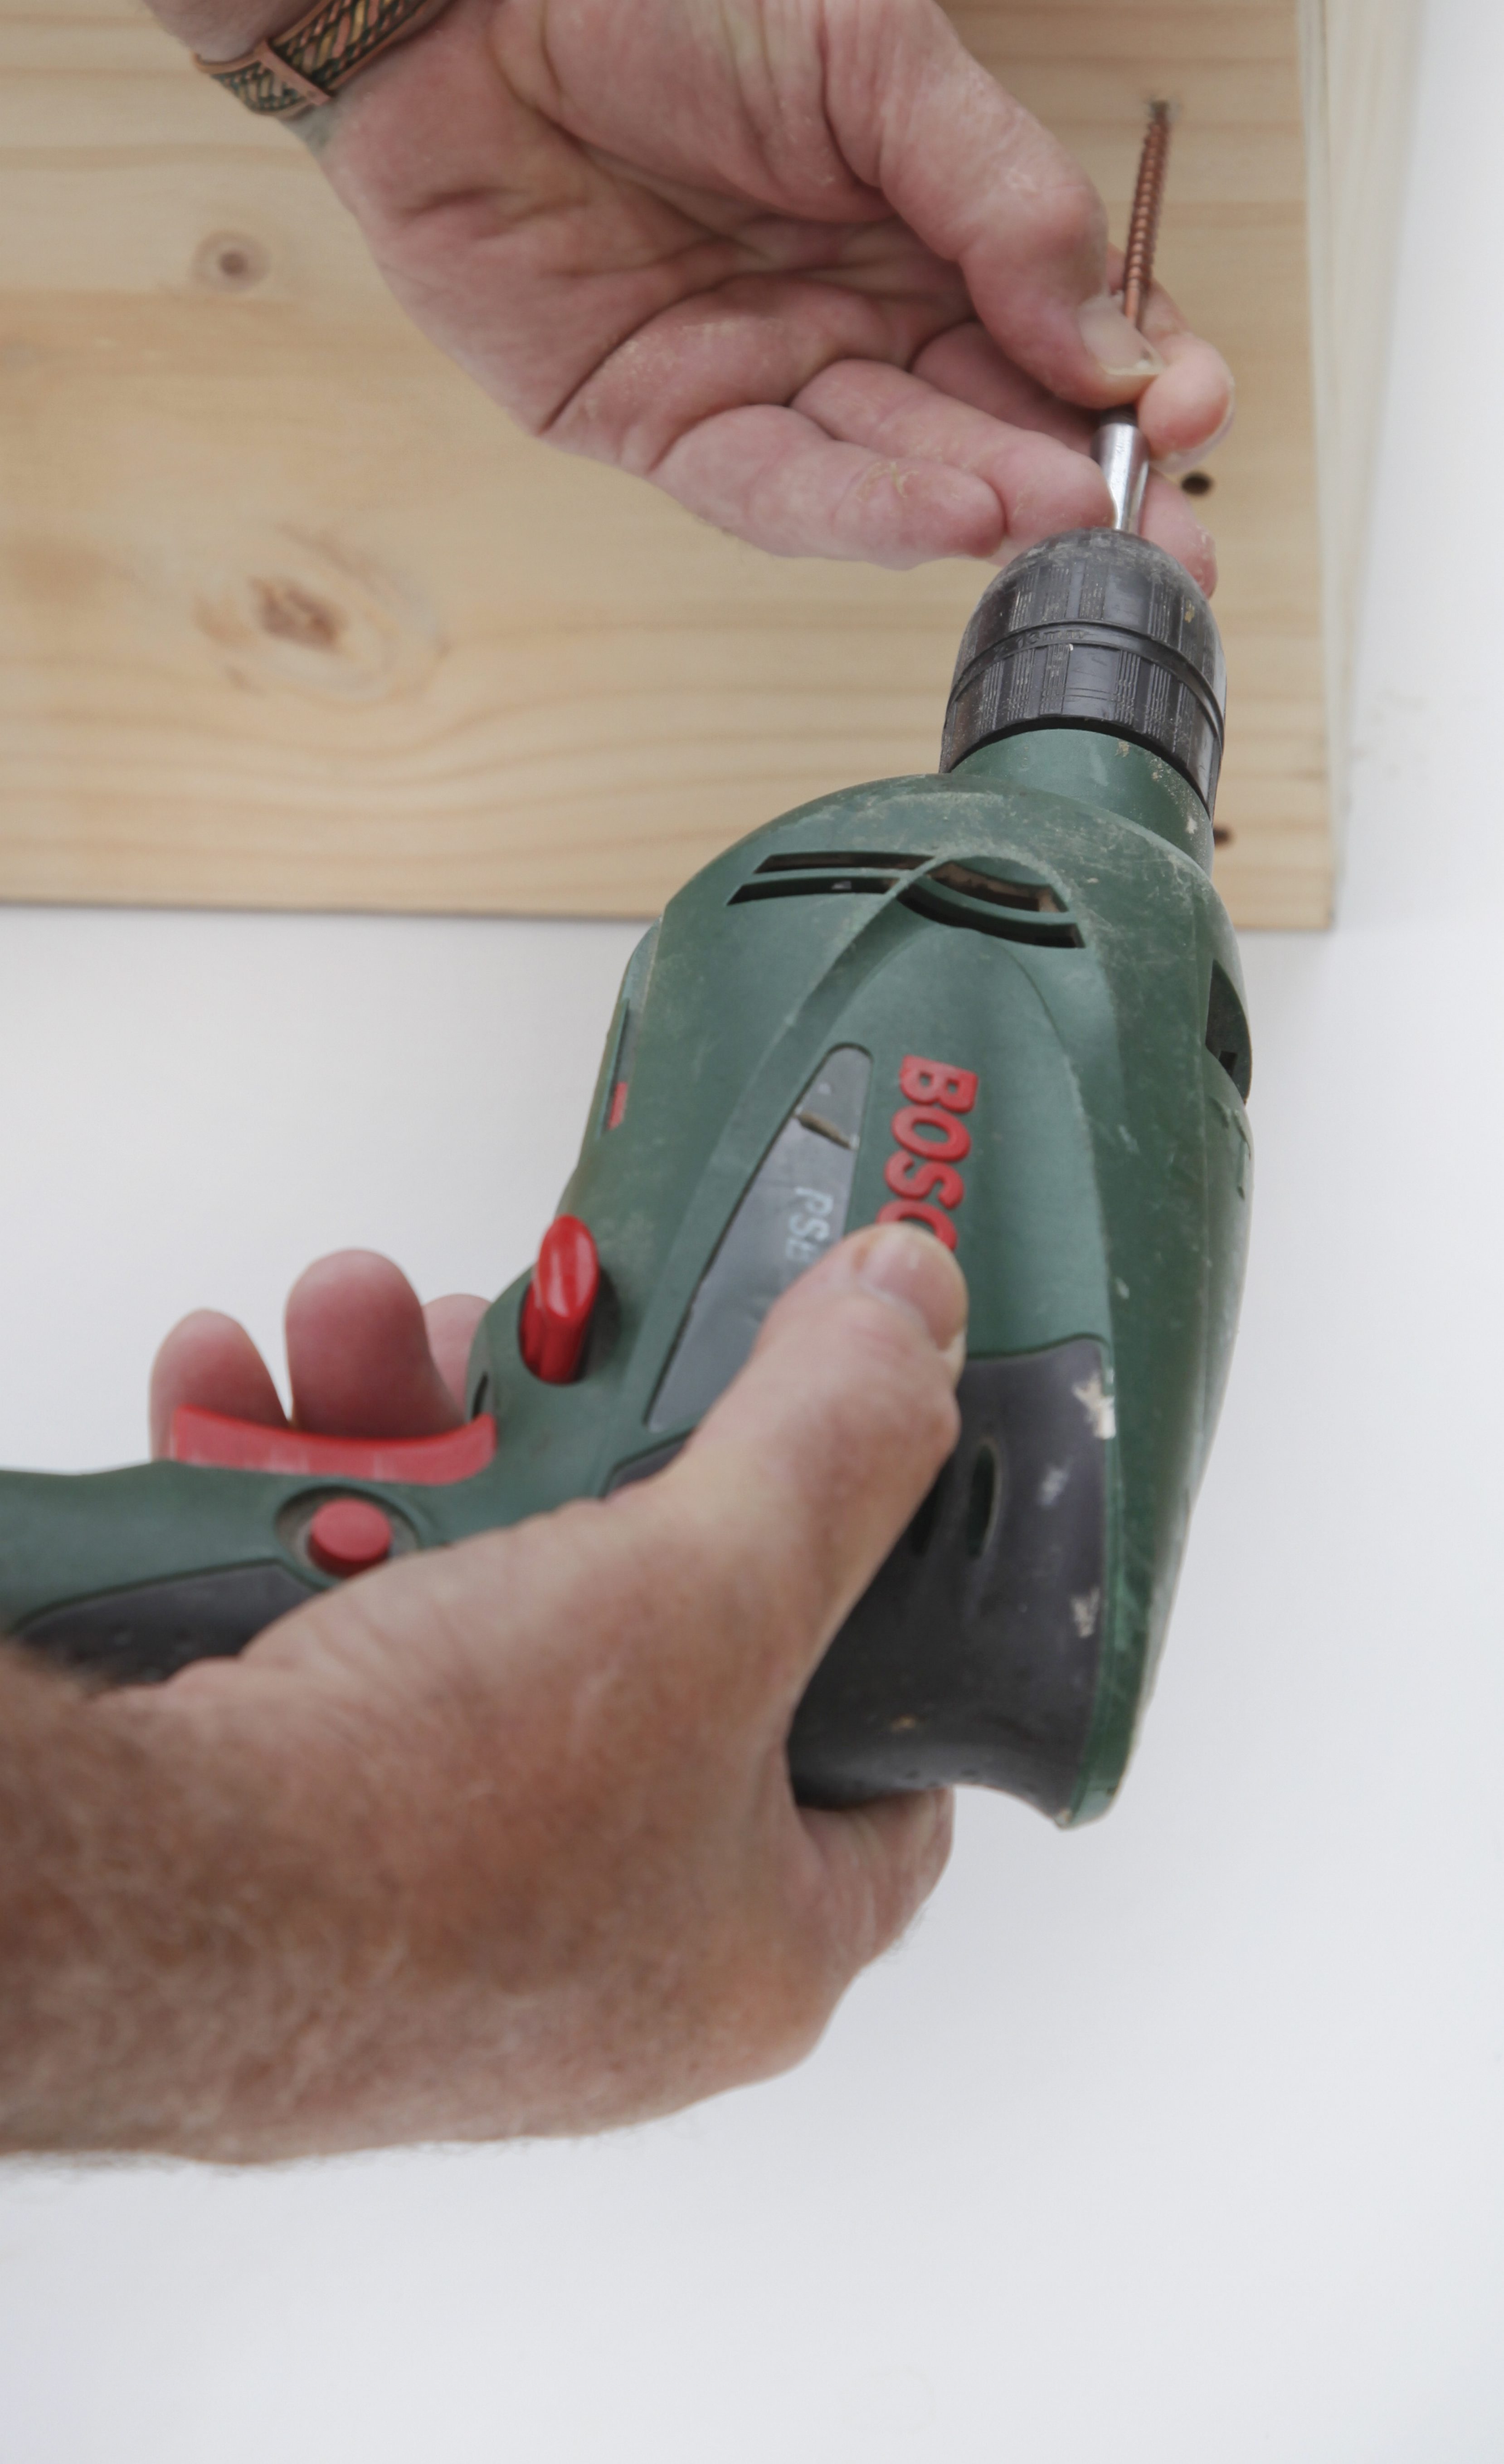
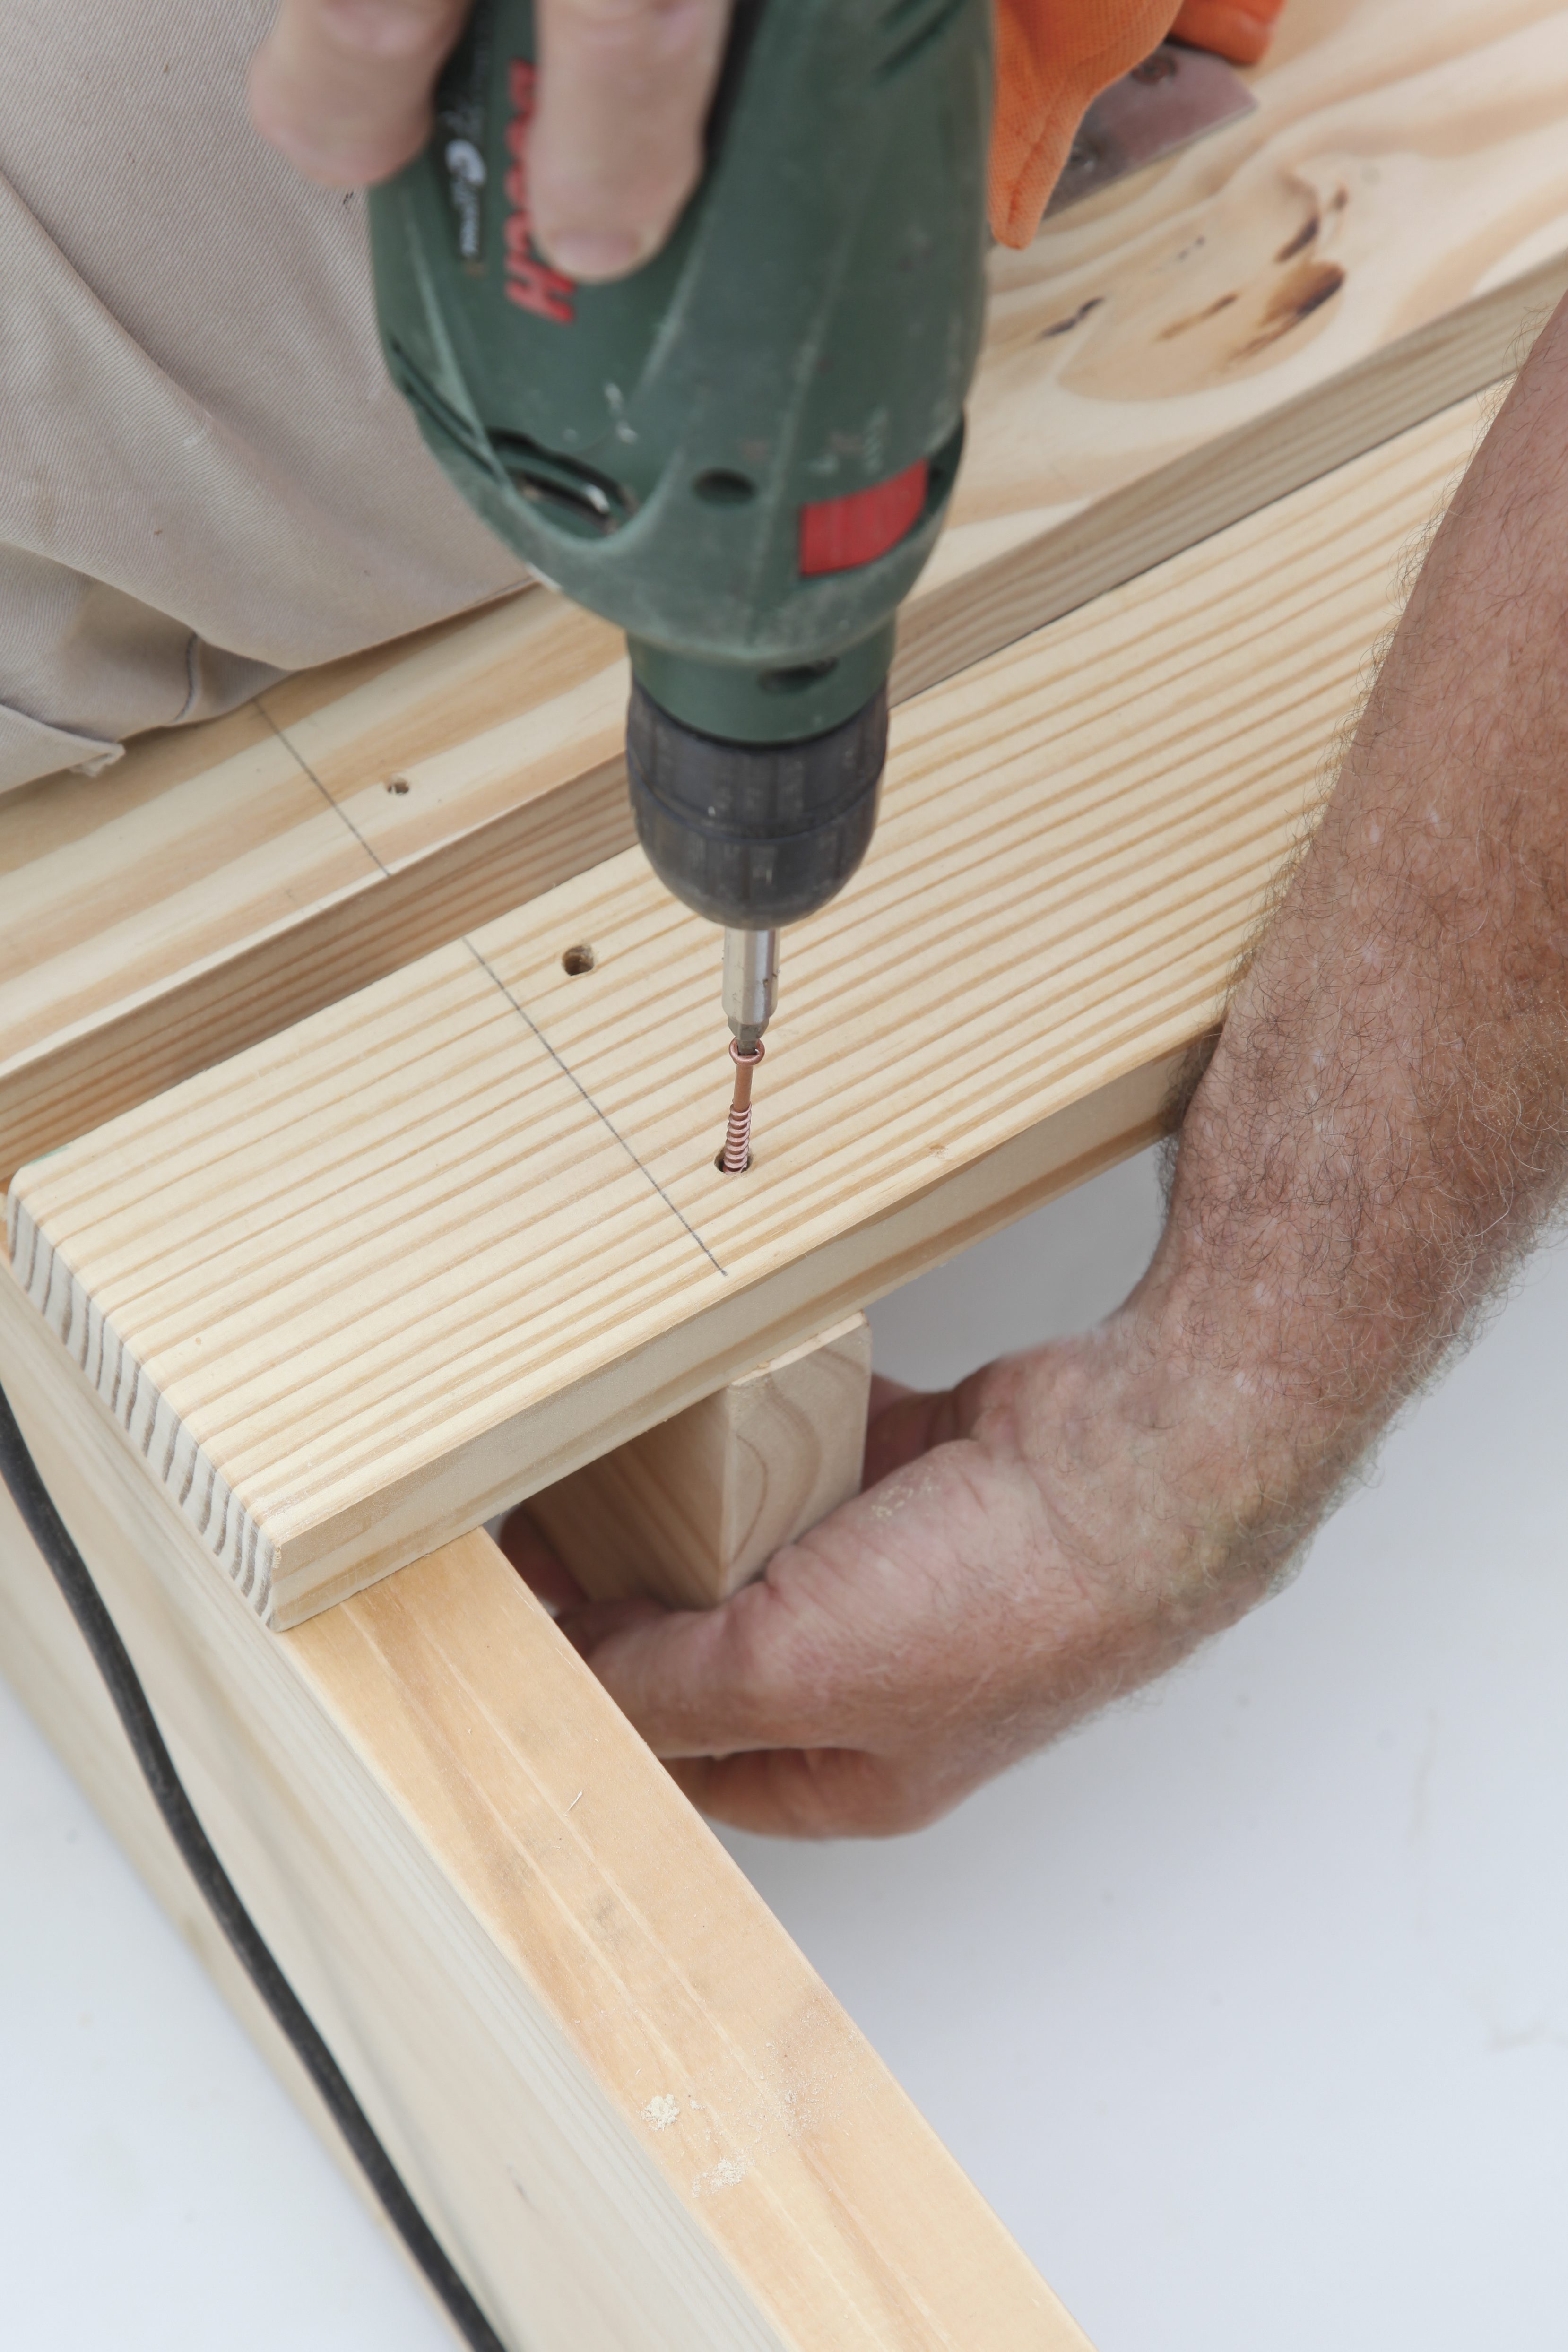
First, join the sides to form a box-shaped sandpit. Drill three 4 mm pilot holes at both ends of two base box sides. Then join these sides to the remaining two sides, using the 75 mm decking screws. Check that the base box is square.
Top Tip: use waterproof wood glue on all joins if you are sure you will not need to dismantle the sandpit at any stage.
Step 2
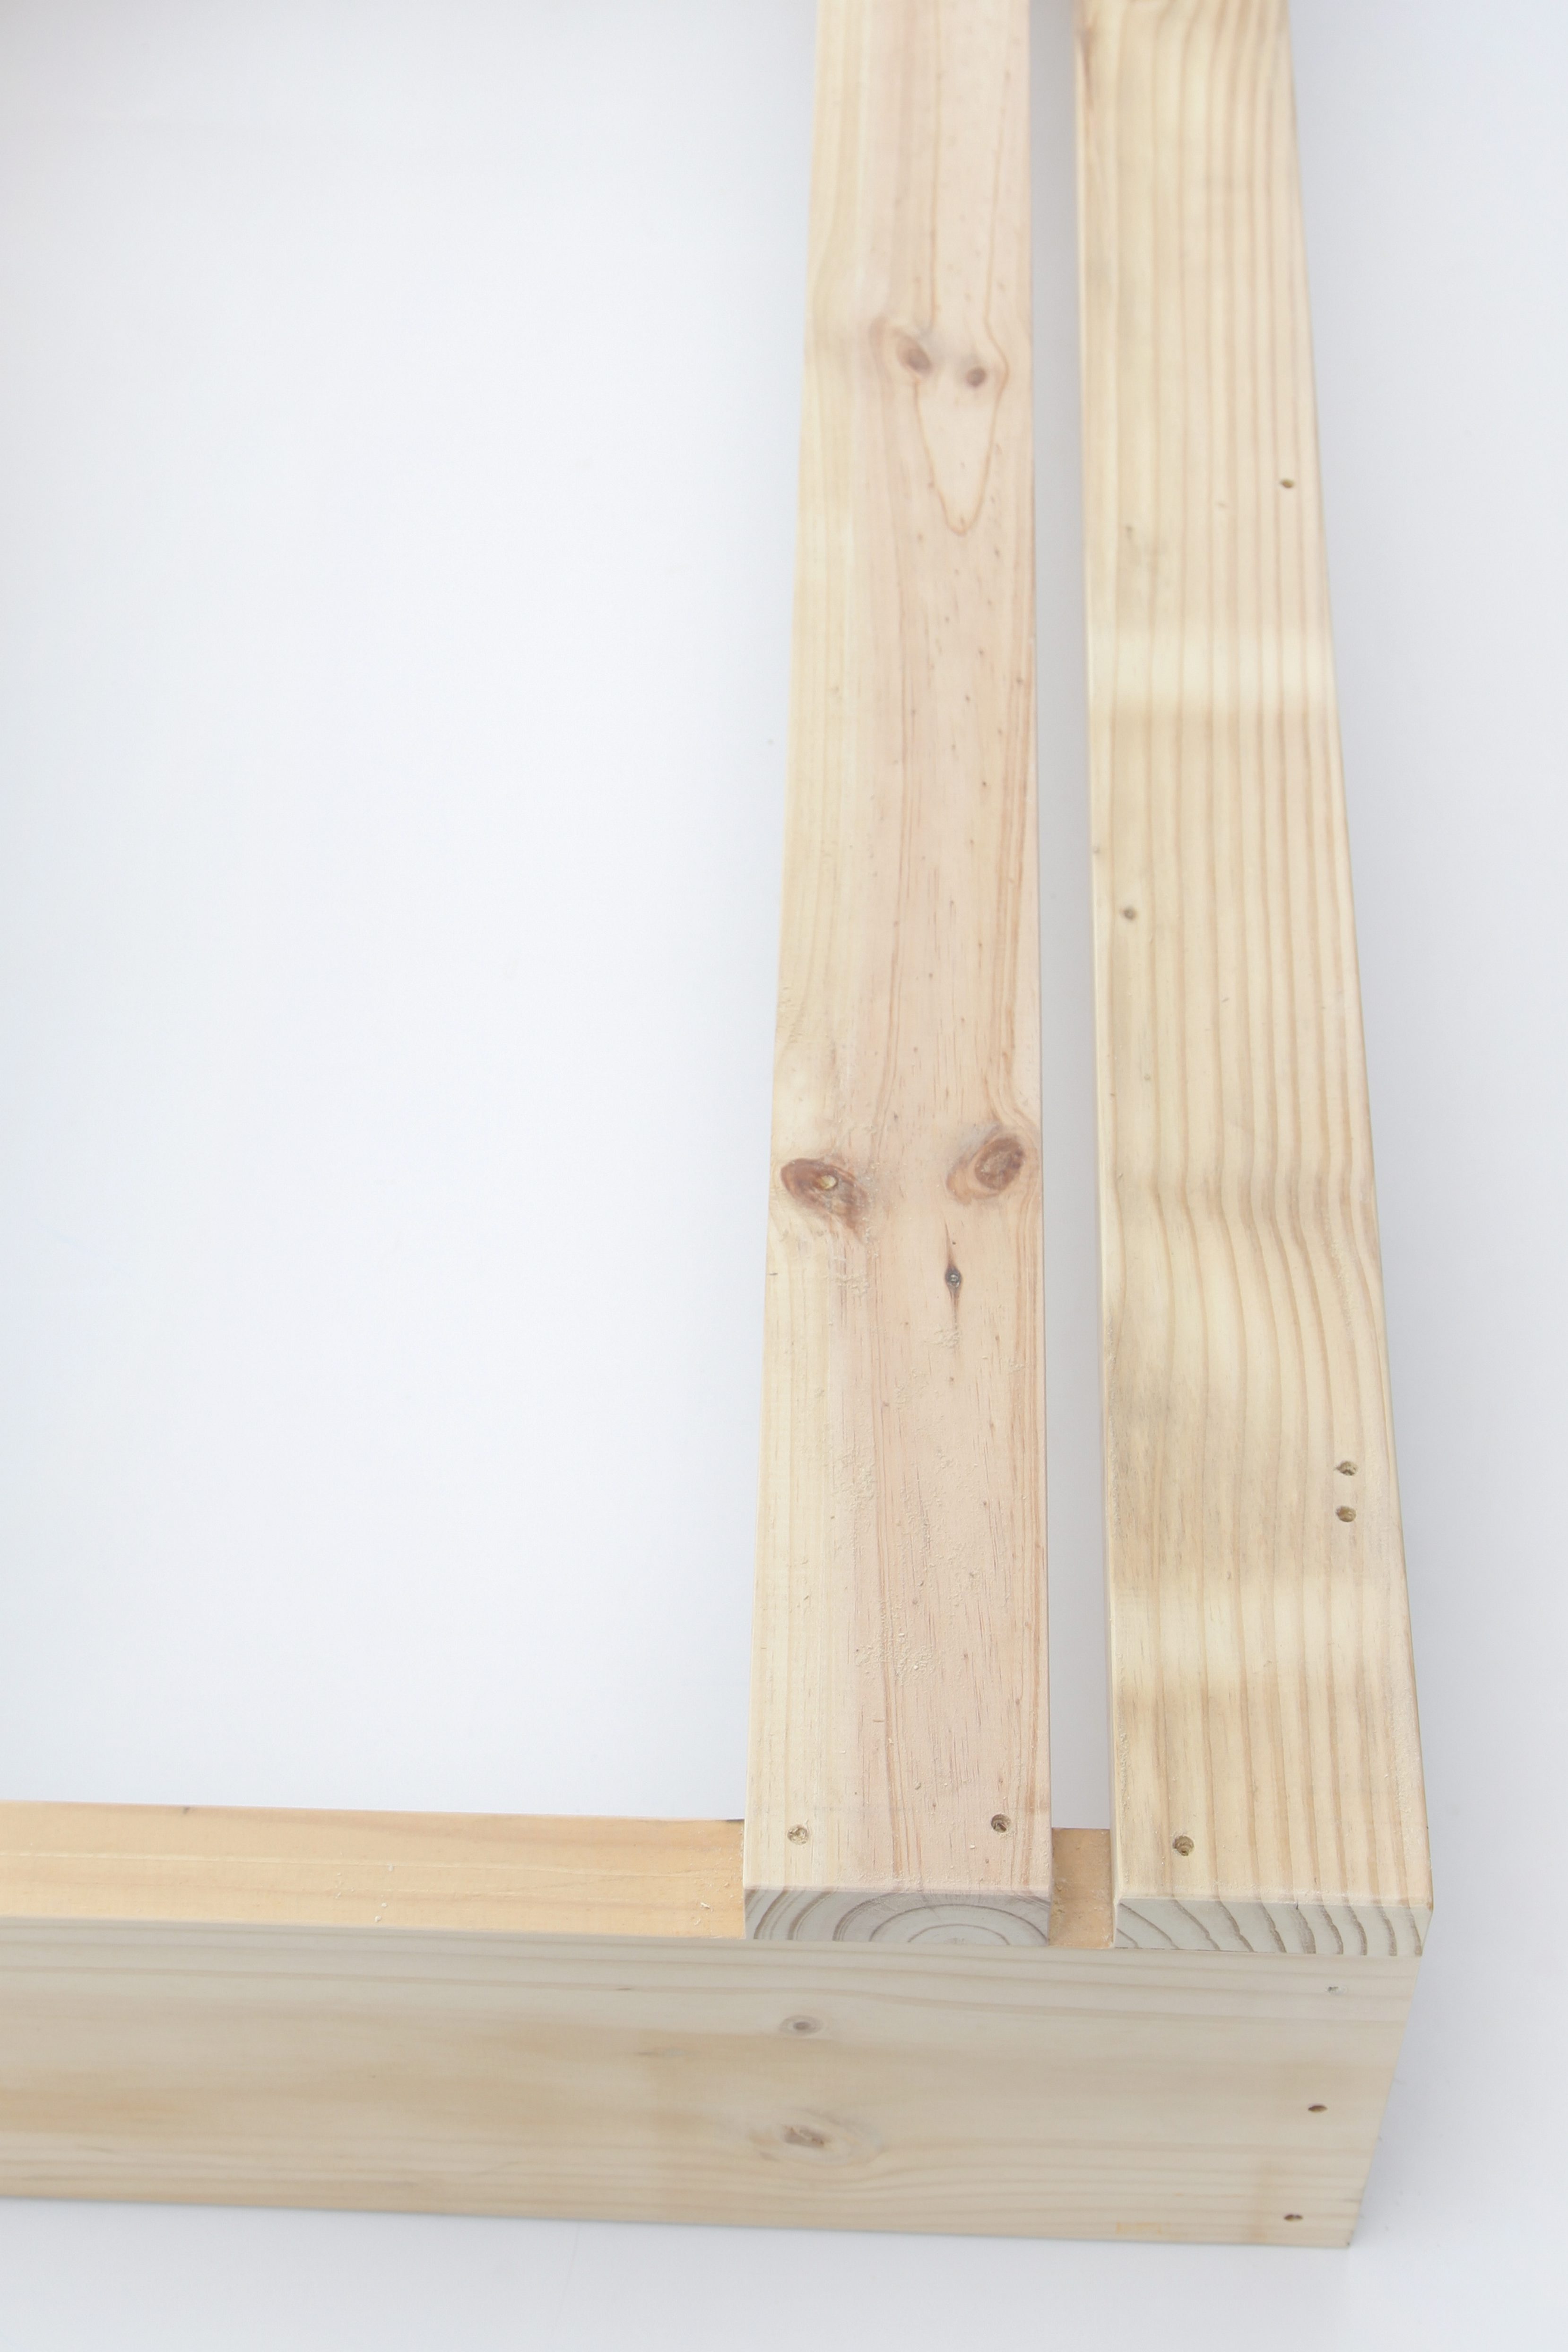
Drill pilot holes and fix the first two slats (slats 1 and 2 on diagram) at one end of the base box, using the 60 mm decking screws. Use the 18 mm spacer blocks to maintain the correct gap between the slats.
Step 3
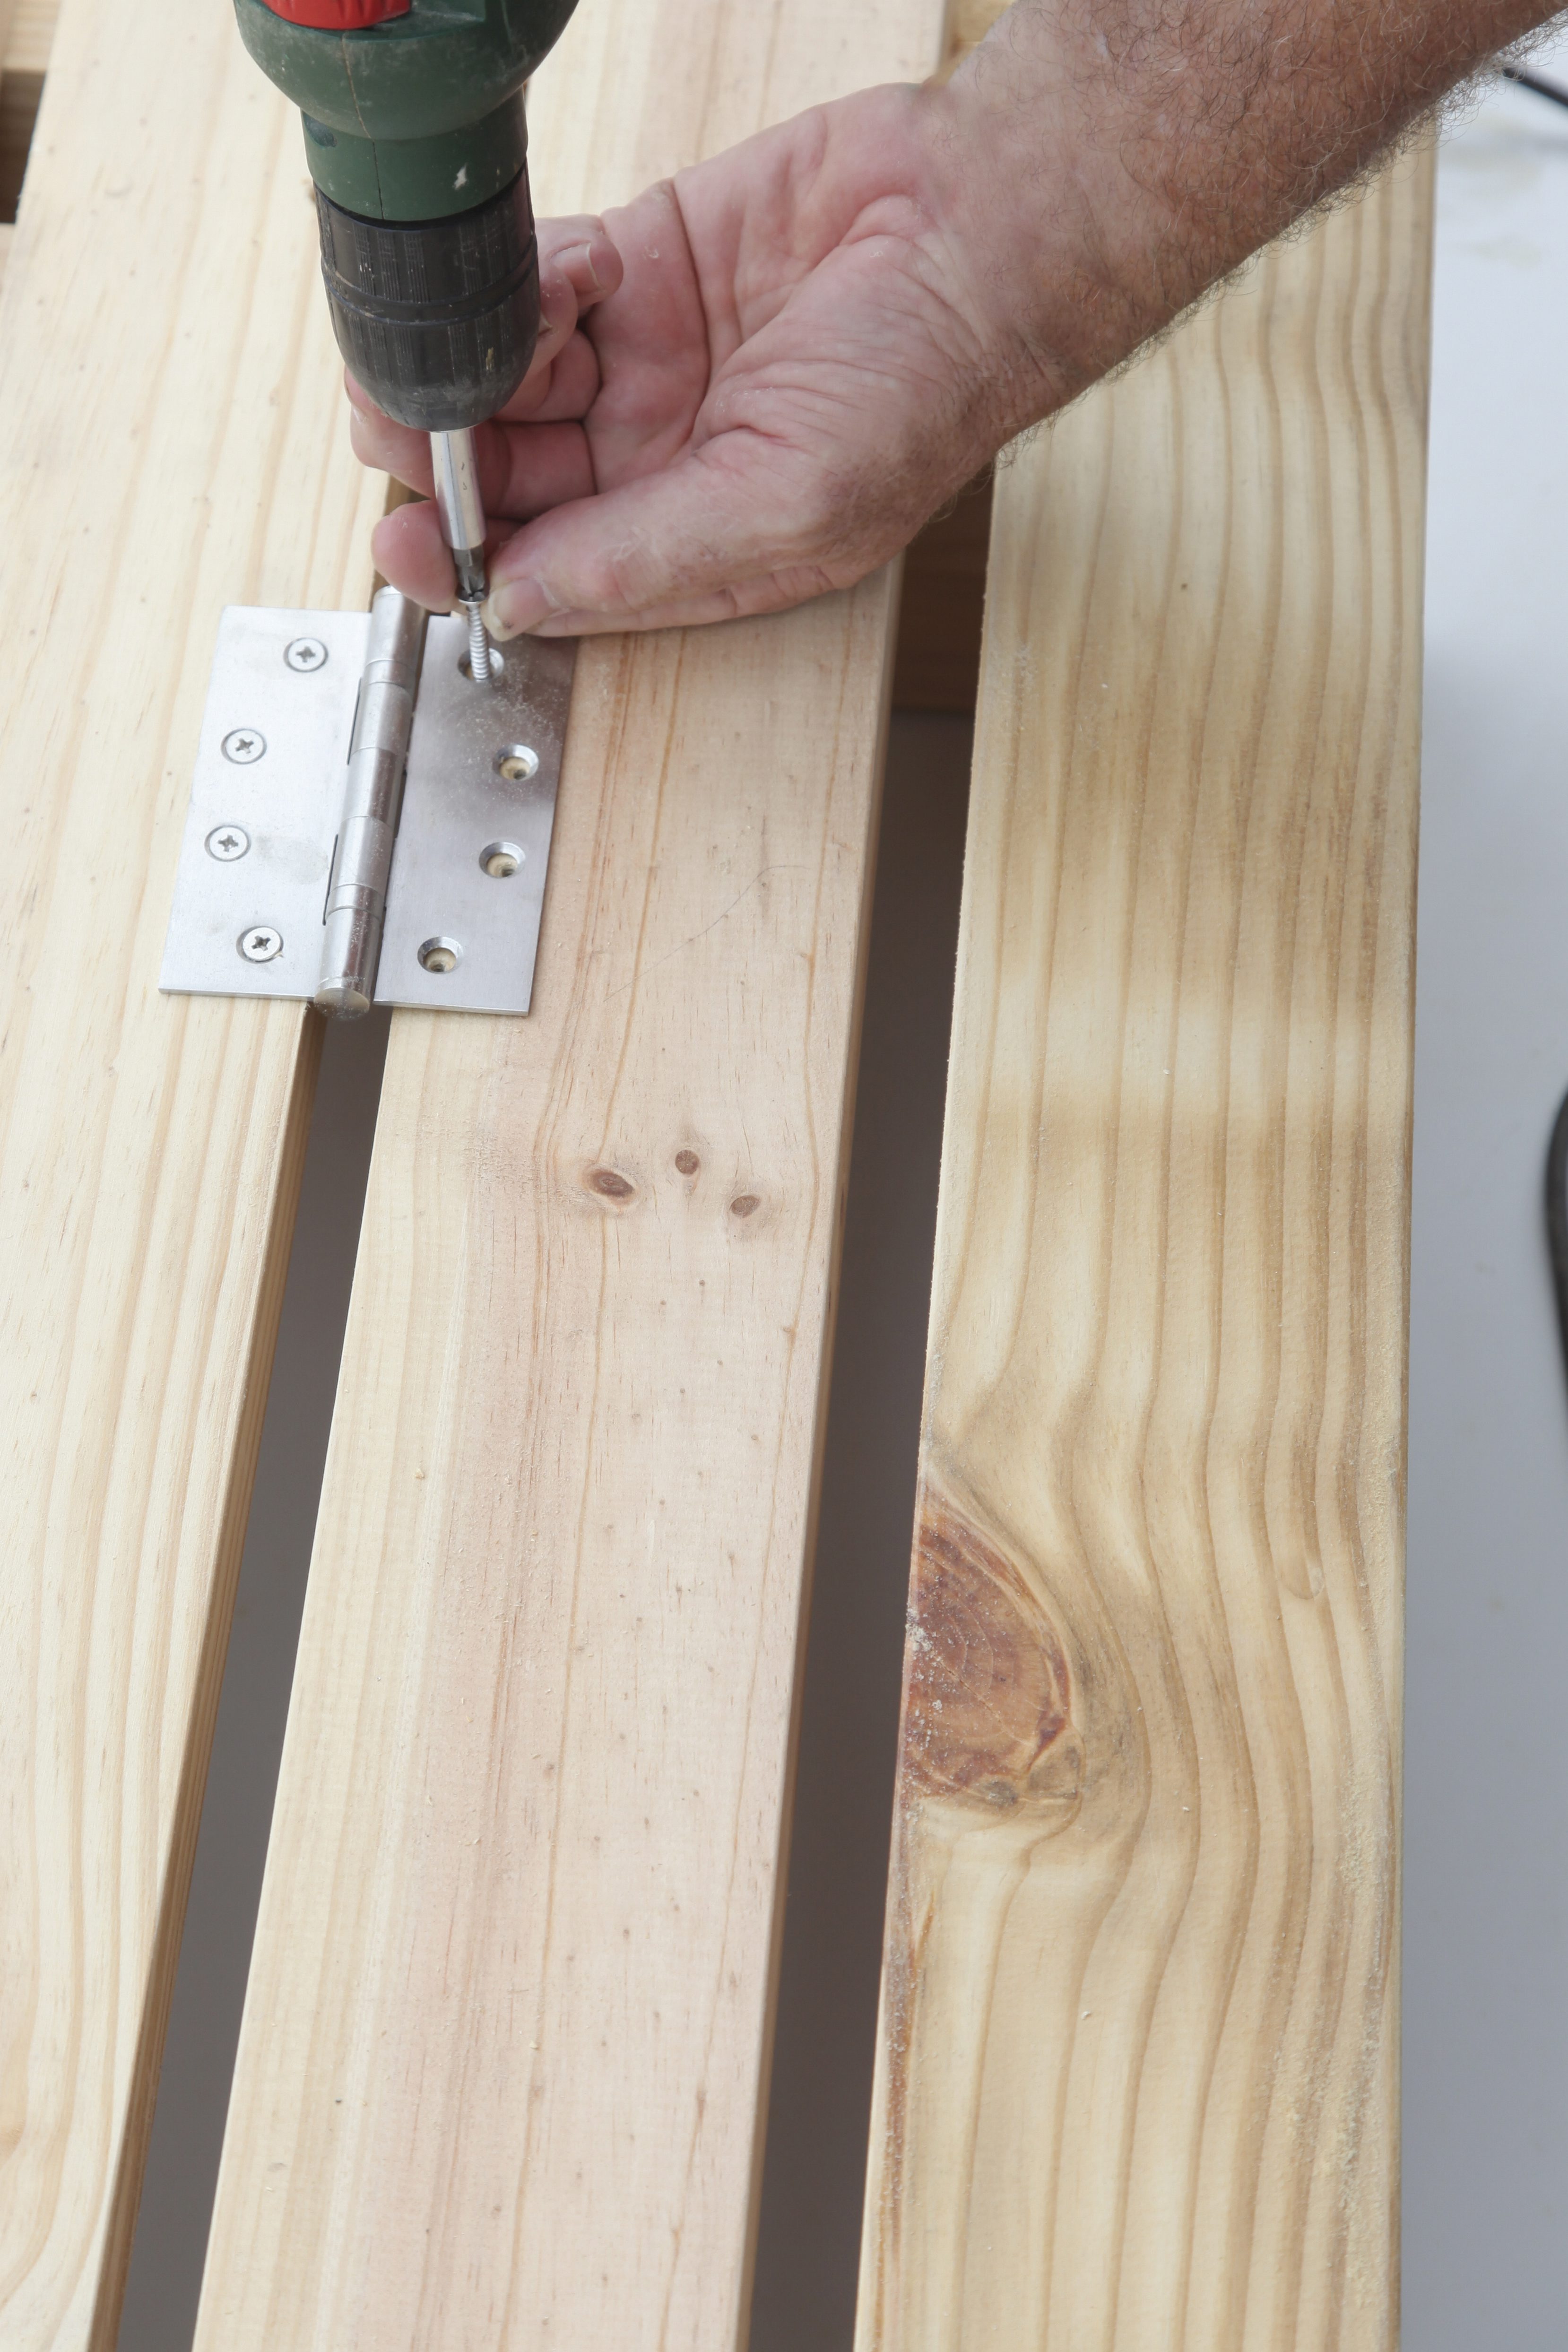
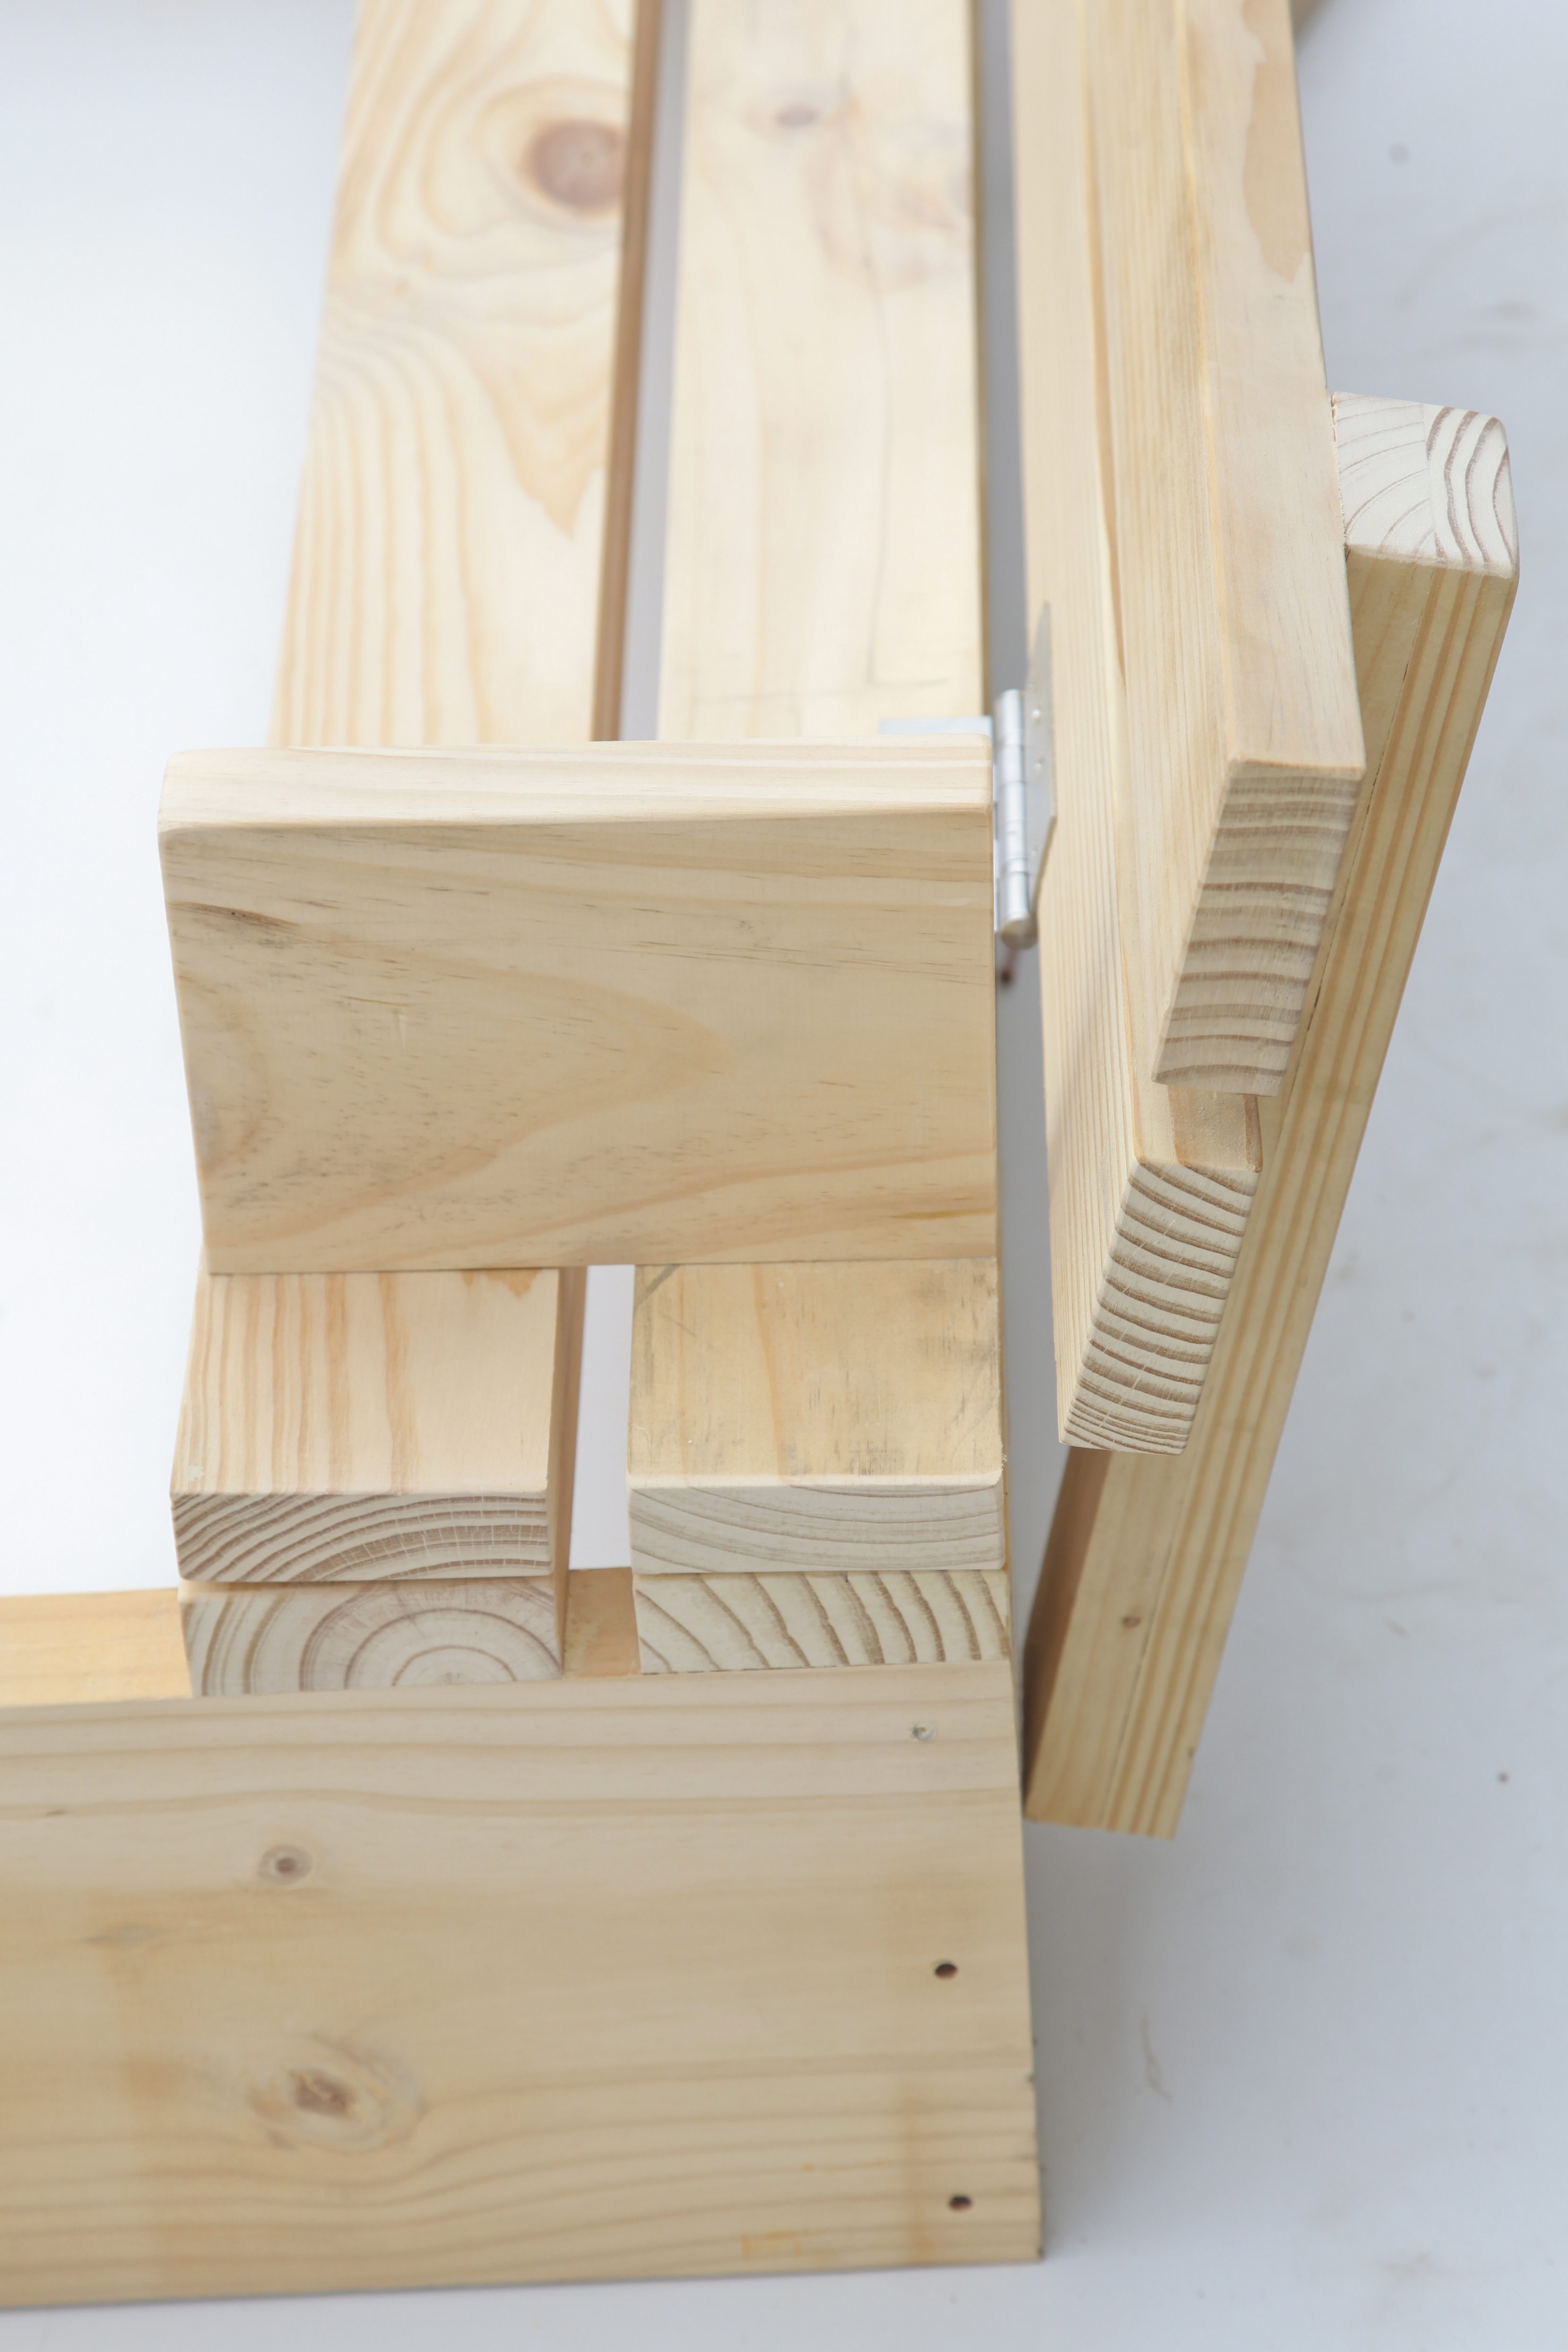
Place slats 3 and 4 on the base box, positioning them with the spacer blocks. Do not fix these to the base box. Now fasten hinges between slats 2 and 3.
Step 4
Fix two of the armrests below slats 3 and 4, by screwing 75 mm screws through the top of the slats. (A second pair of hands is
recommended for this part of the job.)

Step 5
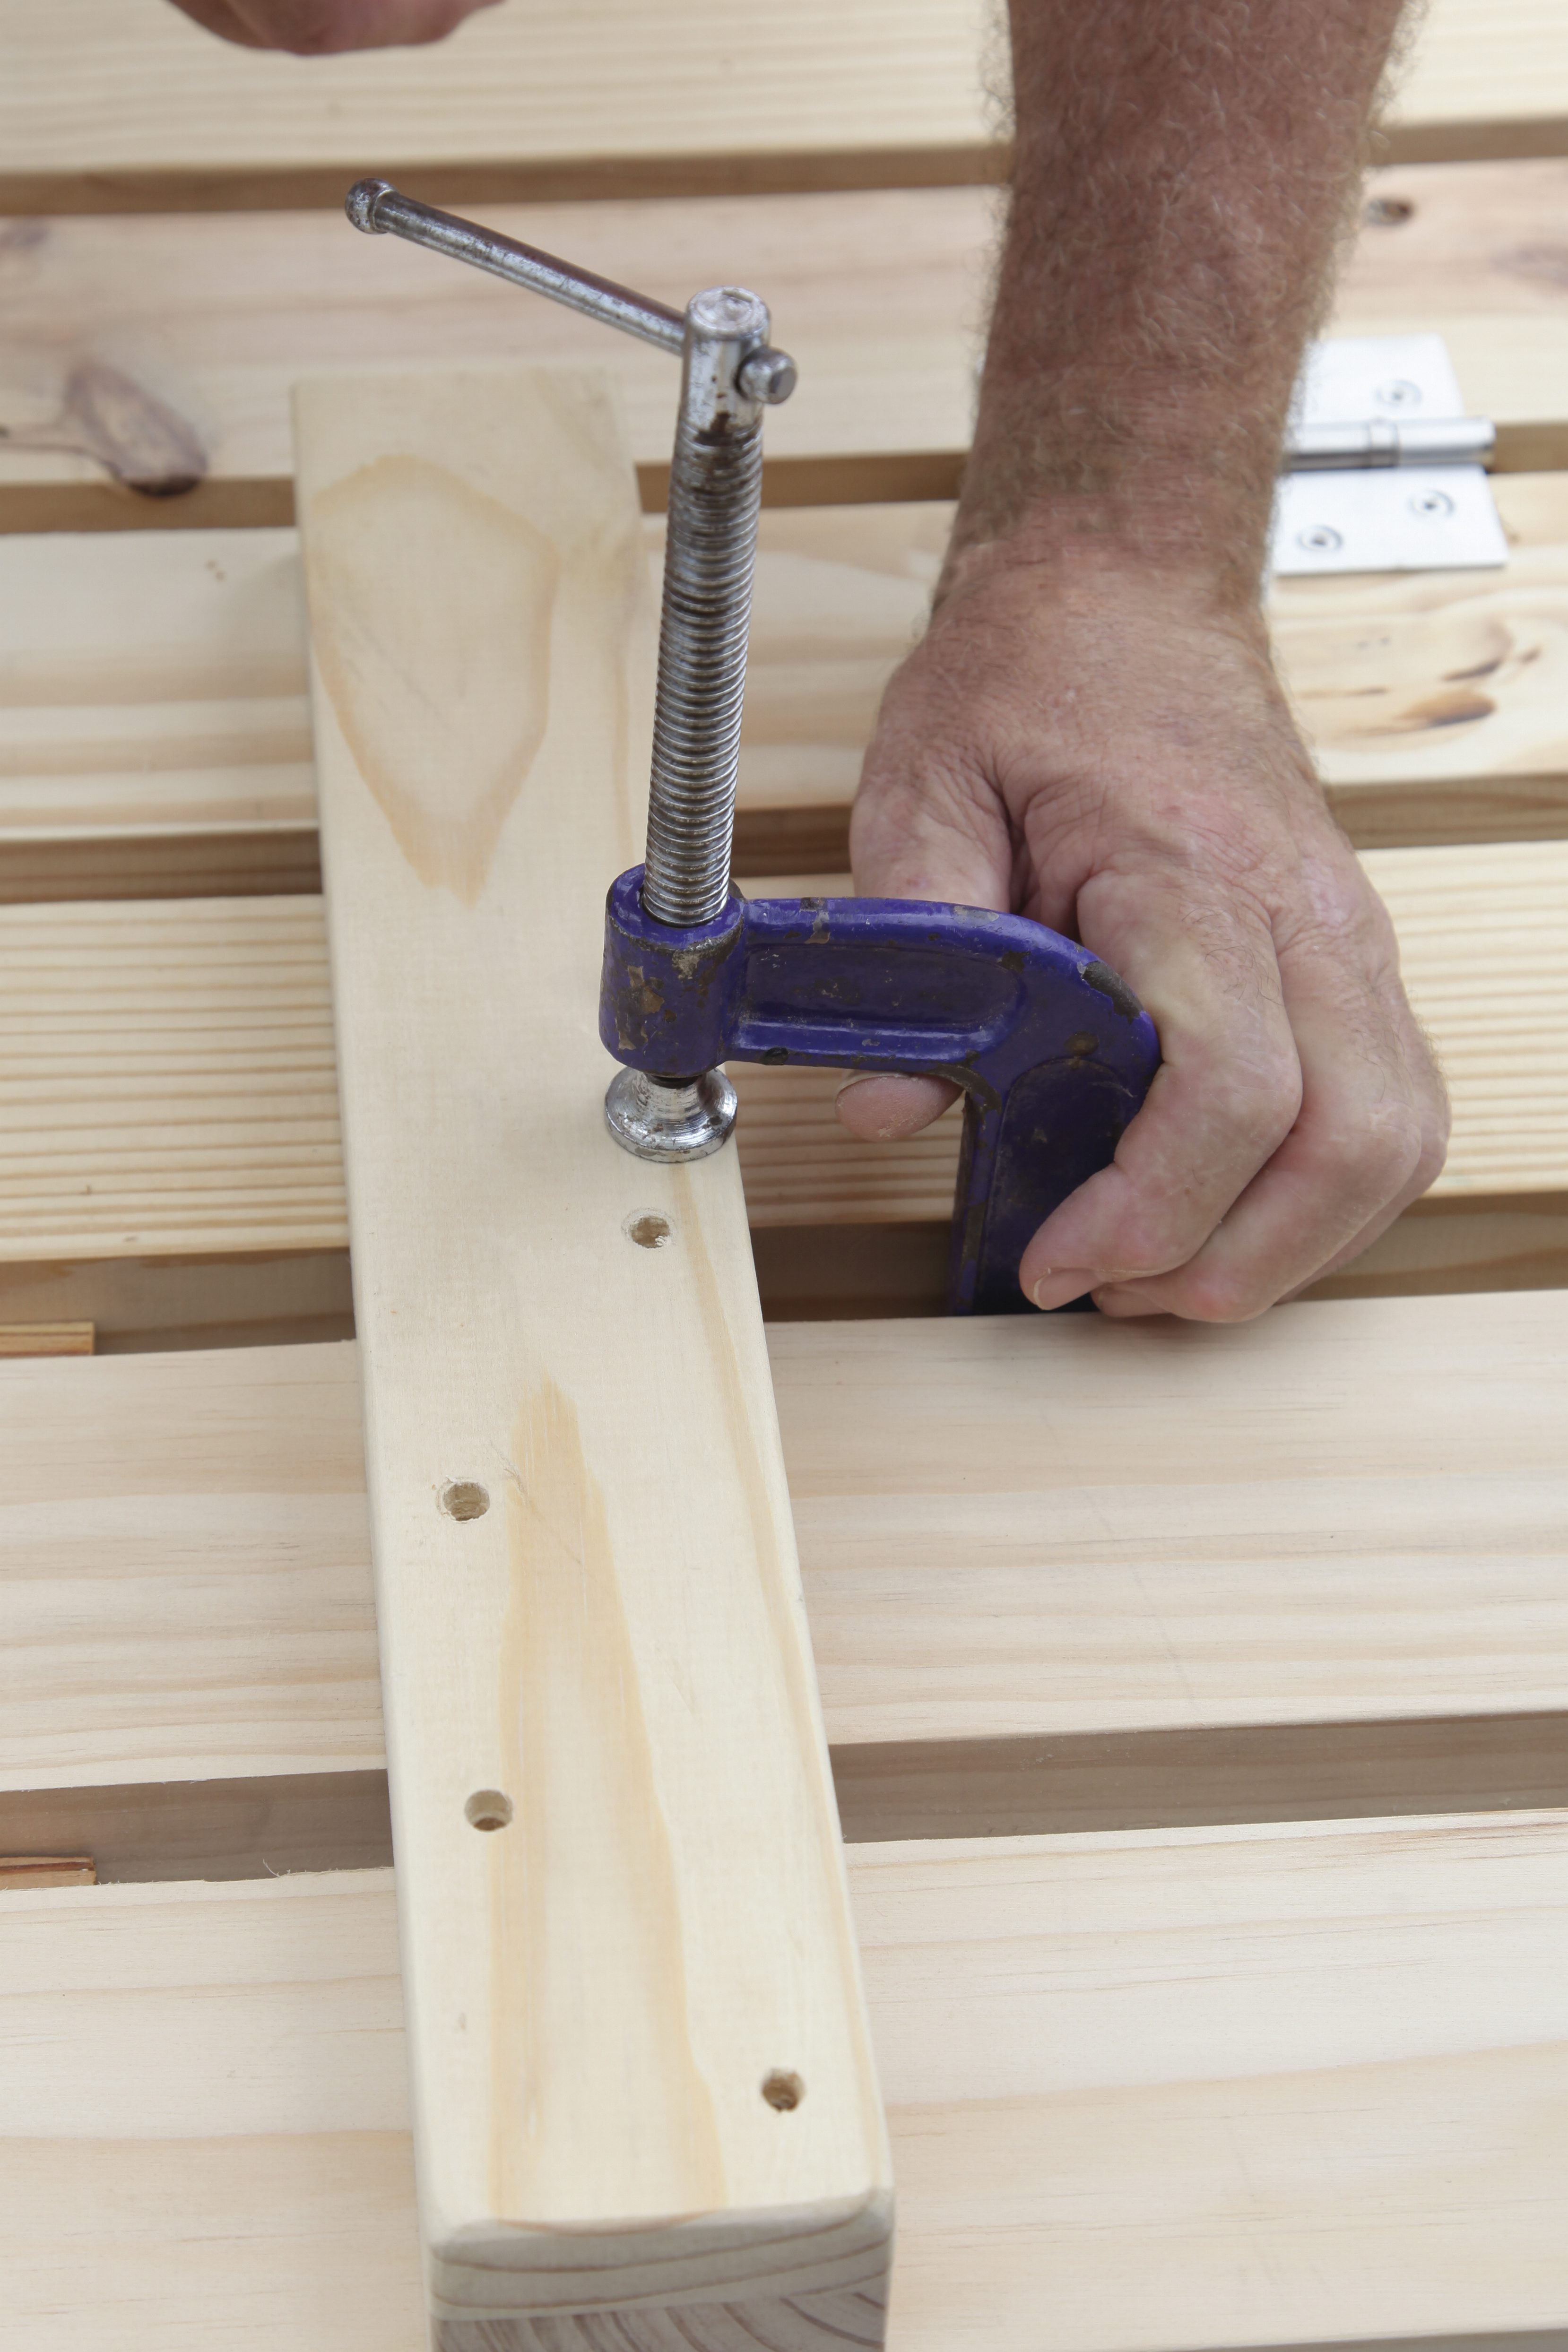
Position slats 5 and 6 on the base box, using the spacer. Then fix two of the backrest supports to them, using 60 mm decking screws. Do not attach the backrest supports to slats 3 and 4.
Step 6
Clamp the backrest supports to slat 4, and then open the lid vertically to fix the hinges between slats 4 and 5.
Step 7
Trim any oversized slats to approximately 3 mm from the edges of the base box, and belt sand them until they are flush with the box.
Step 8
Repeat steps 2-7 on the other side of the box, in order to create the second seat/lid.
Step 9
Seal with Sherwood exterior varnish (we used the oregon colour).
Credits
Referenced from Gallo images / www.thegardener.co.za
Browse 1000’s of products available to you. Select your country to Shop Online.


