Make a simple, fun bottle opener, ideal for your home bar or as a unique gift for a friend.
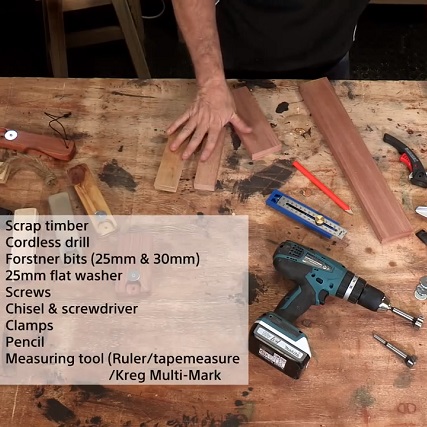
- Scrap timber
- Cordless drill
- Forstner bits (25mm and 30mm)
- 25mm flat washer
- Screws
- Chisel and screwdriver
- Pencil
- Measuring tool (Ruler/Tape measure/ Kreg Multi-mark)
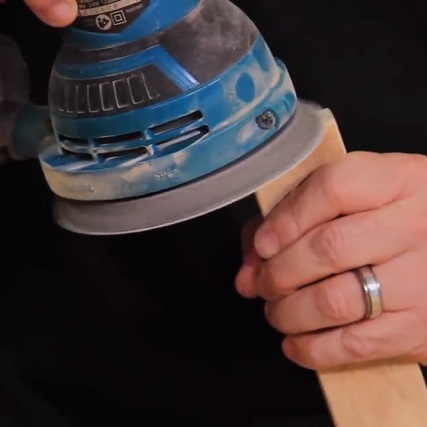
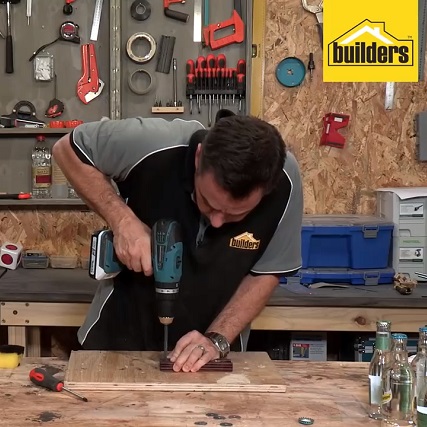
Step 1
Sand down your piece of scrap timber.
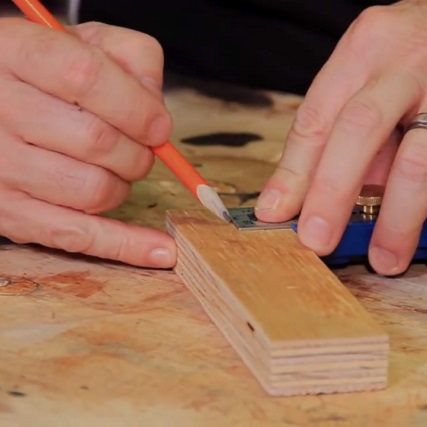
Step 2
Mark the centre line down your timber lengthways – making sure the space on either side is equal. Measure along the centre line; mark a horizontal line 12mm from the end of the timber. Mark a further 23mm on top of the 12mm. (This brings the distance from the edge of the timber to 35mm).
Step 3
Clamp your timber to your work surface tightly.
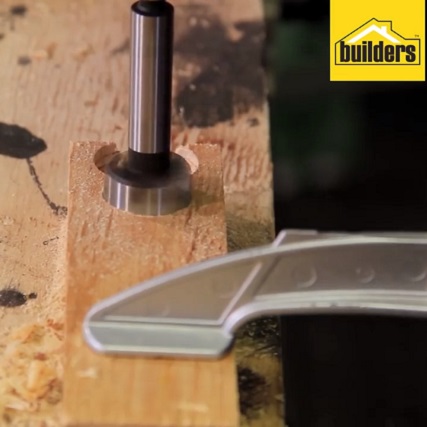
Step 4
Once you have marked all the positions, it is time to begin drilling. Place the 30mm forstner at the 12mm mark, making sure it is centred as you drill approximately 10mm down. Remember to hold the drill straight and keep a firm pressure on it during the process. Repeat the process with the 25mm forstner, beginning at the 35mm mark and drill just slightly deeper than the depth of the washer.
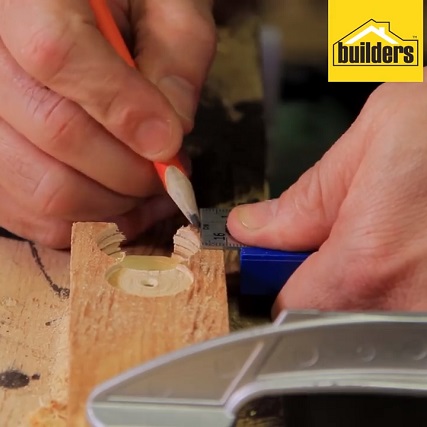
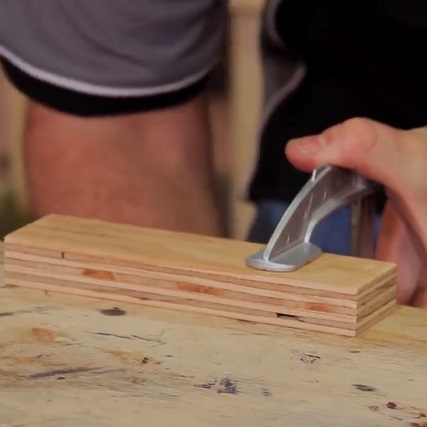
Step 5
Once you have finished drilling, use a chisel to trim the ears off of the recess. Make sure to line up the flat surface on the side that you want to keep in order for the chip to be deflected away as you knock it down. Sand your timber again to smooth all rough edges.
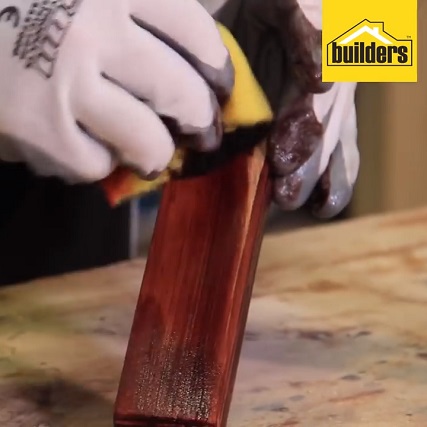
Step 6
Once sanded, it is time to stain and seal it. The colour is up to you – let your imagination run wild.
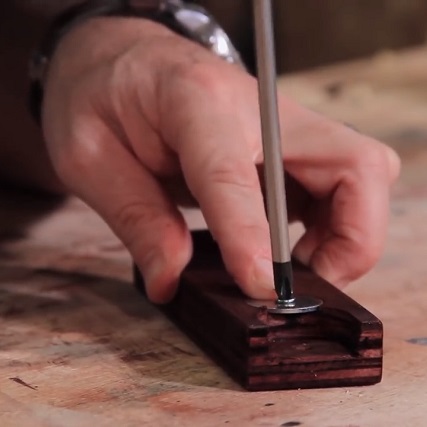
Step 7
Once dry, put the washer into place (beginning at the 35mm line, you will note that the washer overlaps slightly – this lip will be used to catch the bottle tops and remove them.) and screw it securely to your timber.
Step 8
To give your bottle opener a handle, drill a hole through the opposite end of the timber and thread a piece of rope through. Remember to have a scrap piece of wood beneath your timber the wood breaking as the drill passes through.
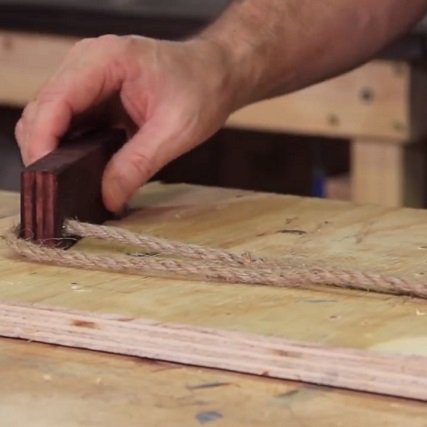
Step 9
Once the hole is drilled thread some rope through it and tie a knot to complete the handle. Remember to always allow extra rope to compensate for the knot you will tie.
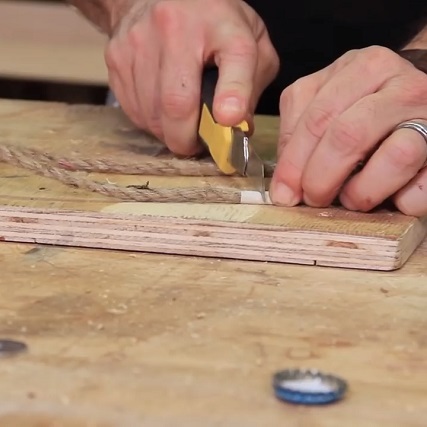
Quick Tip
When cutting the rope, first wrap masking tape tightly around the area you will be cutting and cut over that. This will keep the rope from fraying and unravelling.
Browse 1000’s of products available to you. Select your country to Shop Online.


