Make a strong and sturdy stool that is the perfect accompaniment for any bar area.
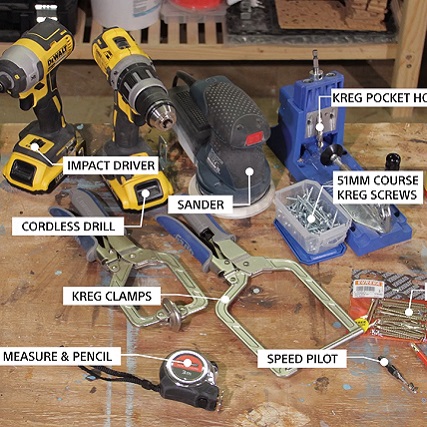
- 51mm coarse Kreg screws
- Wood glue
- Wood filler
- Pocket plugs
- 60mm screws
- Kreg pocket hole jig
- Speed pilot drill bit
- Kreg clamps
- Tape measure
- Pencil
- Sander
- Cordless drill
- Impact driver
- Paint scraper
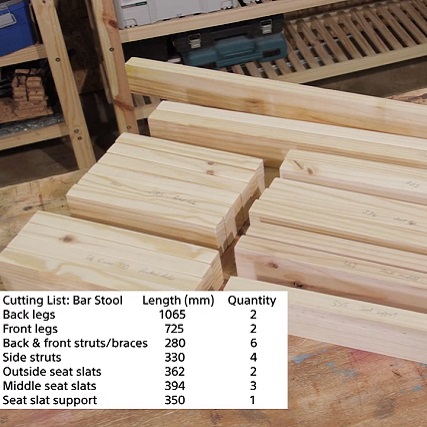
- 6 x 1.8m x 32mm x 69mm PAR pine timber, cut according to the cutting list. For your convenience get Builder’s to cut all the timber to size.
- Back legs: 1065mm (2)
- Front legs: 725mm (2)
- Back and front struts/braces: 280mm (6)
- Side struts: 330mm (4)
- Outside seat slats: 362mm (2)
- Middle seat slats: 394mm (3)
- Seat slat support: 350mm (1)
Once the timber is cut, separate the pieces and use a pencil to mark them according to the cutting list to make it easier to identify which piece goes where.
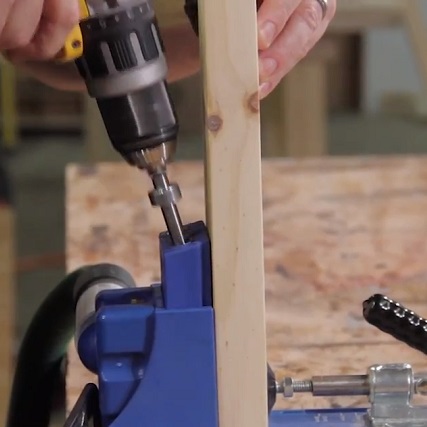
Step 1
Using the Kreg jig and the cordless drill, drill two pocket holes into each end of the front slats and side braces.
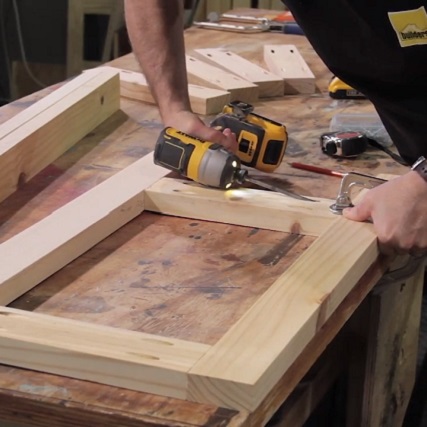
Step 2
Once the pocket holes are drilled it’s time to assemble the front and back sections. For the front section. Clamp the 725mm leg to the work surface and lay the out the 280mm slats. Place one slat at the top of the leg and another offset 150mm from the bottom. Use wood glue between the mating surfaces to ensure a secure bond. Screw a 51mm Kreg screw into each of the Kreg pocket holes created in Step 1. Once completed, flip the wood and repeat the process on the other side, attaching the other leg.
Step 3
The back legs are 1065mm long, not 725mm like the front legs, but the slats need to match on back and front. Use the front section as a template when laying out the placement of the slats for the back legs. Once the first two slats are in place (matching the front legs), screw in another slat at the top of the leg – this will form the backrest of the stool.
Step 4
Use a spacer of 64mm below the backrest slat and place a fourth slat below it to be used as the cross brace. Use wood glue between the mating surfaces and screw the components together using Kreg screws. Repeat the process on the other side of the back section.
Step 5
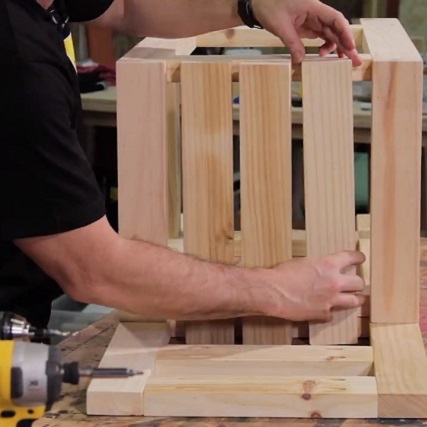
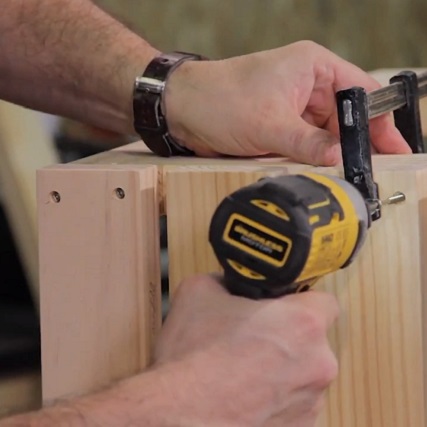
Once the back section is complete, join it to the completed front section using the side braces. Use the Kreg jig to drill pocket holes in the ends of the side braces. Begin with the front section. Secure the side brace 150mm from the bottom by screwing the pocket screws into the pocket holes. Tip: Make use of the Kreg 90 degree clamp to hold the timber in place. Once complete, flip the structure and repeat the process on the back section.
Step 6
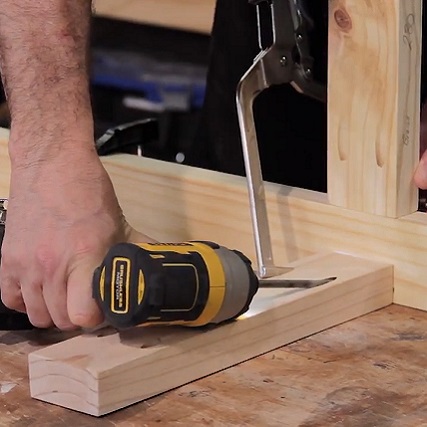
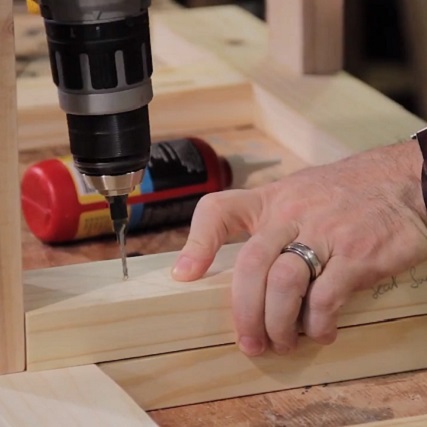
Once the basic structure of the stool is complete, attach the 350mm seat slat support to the inside of the back cross brace and to screw the seat slats into to create a firm foundation for the stool’s seat. Use a speed pilot bit to drill pilot holes and and counter sinks simultaneously, then use wood glue and the 60mm wood screws to secure it in place.
Step 7
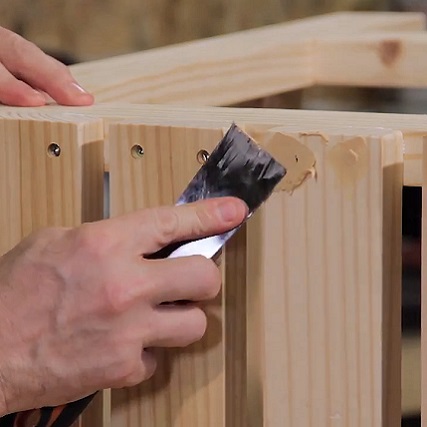
Once the structure is complete screw the seat slats into place. The two shorter slats go on the outer edges. Once the outer slats are in place, you can evenly space the inner slats to create you seat and screw them in place. Fill in any visible screw holes with wood filler and a scraper. Use the Kreg pocket hole plugs to fill the visible Kreg pocket holes, or alternatively you can just use wood filler.
Step 8
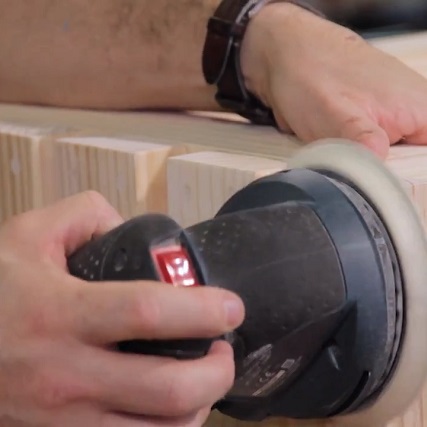
Sand down the stool to smooth out any imperfections.
Step 9
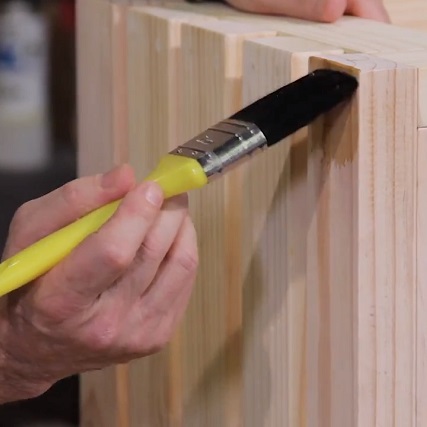
Once sanded, stain your stool to the desired colour or simply seal the timber if you’d like to keep the pine finish. Apply at least 2 – 3 coats and leave to dry in between coats. Once dry the stool is ready to use!
Browse 1000’s of products available to you. Select your country to Shop Online.


